This survey will take about 1 minute.
Your answers will help us to improve our website.
Warhammer 40K: Space Marine 2
The Best Heavy Builds
★ Best PvE Classes | Best PvP Classes | Best Weapons
☆ Classes and Builds: Tactical | Assault | Vanguard
┗Bulwark | Sniper | Heavy
★ All Weapons | Armor Customization | Chapters
☆ Mission Lists: Campaign and Operations
★ Locations: Dataslates | Armory Data | Gene-Seeds
Heavy is one of the six classes available in Warhammer 40K: Space Marine 2. See the best Heavy build and loadout for the early game, midgame, & max level, the best weapons and perks, how to pass all Heavy Trials, as well as how to play this class!
List of Contents
Heavy Class Overview
Heavy Class Abilities
| Heavy Class Information | |
|---|---|
 Heavy |
|
| Class Perk | Armour Class |
| Iron Halo | 3 |
| Iron Halo Description | |
| A powerful barrier blocks all Ranged Damage. | |
| PvE Rating | PvP Rating |
|
|
|
Heavy Class Builds and Loadout
| Jump to a Build! | ||
|---|---|---|
| Endgame | Mid Game | Early Game |
Endgame Heavy Class Build
Class Perk Build
| Heavy Class Perk Build | |||
|---|---|---|---|
| Core | Multi-Kill | Fortitude | Versatility |
| Team | Additional Supplies | ||
| Gear | Emperor's Protection | Field Adjustment | Brute Force |
| Signature | Conversion Field | ||
Towards the endgame, focus on improving the overall damage of Multi-Melta and at make the most out of Iron Halo buffs. Emperor's Protection and Field Adjustment is the combo perk pair for armor restoration via rapid reuses of Iron Halo, but you can opt for Power Regulator if you are looking for longetivity with Conversion Field.
Conversion Field is the strongest support ability of the Heavy, giving 50% ability charge regeneration for all squad members within 100m while Iron Halo is active. This will greatly benefit classes that can spam strong abilities such as the Tactical, and can synergize well from a Sniper's Squad Renewal.
We still opted for Additional Supplies as the team perk to help the entire team with ammo economy. You can take Encompassing Aegis if you are more comfortable with damage reduction from ranged attacks (useful against Chaos).
Weapon Builds
| Heavy Class Weapon Build | |||
|---|---|---|---|
| Primary Weapon |
 Multi-Melta Multi-Melta (Gathalamor Crusade) |
||
| Primary Weapon Perks |
Standard: Master-Crafted: Artificer: Relic: |
||
| Secondary Weapon |
 Plasma Pistol Plasma Pistol (Ophelian Liberation) |
||
| Secondary Weapon Perks |
Standard: Master-Crafted:
• Rampage
Artificer: Relic: |
||
| Melee Weapon | NOT AVAILABLE FOR THIS CLASS | ||
In the endgame, the most important weapon perk to get is another Increased Capacity. This is especially essential for Multi-Melta as you will see yourself eat through the magazine without you knowing. The perk loadout maintains the increase in damage while in Heavy Stance. We also opted for the Gathalamor Crusade variant of the weapon as this increases the range of the Multi-Melta, making it a lot easier to mow down creeps and get the required 5 kills for the Multi-Kill perk.
With the points obtained after unlocking the Relic versions of the Plasma Pistol, we now have access to perks that increases the charge speed of your Plasma Pistol. You will not be able to reach the final perk, but that's okay because it is just a heat management perk.
Note that the Ophelian Liberation Plasma Pistol here is the Relic version that increases the Magazine Capacity of your weapon! There are two weapons that are named similarly, so don't be confused.
Mid Game Heavy Class Build
Class Perk Build
| Heavy Class Perk Build | |||
|---|---|---|---|
| Core | Multi-Kill | Fortitude | Overcharge |
| Team | Additional Supplies | ||
| Gear | Adamant Will | Obdurate Bastion | Brute Force |
| Signature | Offensive Capability | ||
For the mid-game, we'd want to aim at improving the ammo economy while at the same time increasing your overall DPS. Multi-Kill and Brute Force would work well here for Multi-Melta runners as it essentially gives you free ammo whenever you kill 5 enemies at the same time.
Weapon Builds
| Heavy Class Weapon Build | |||
|---|---|---|---|
| Primary Weapon |
 Multi-Melta Multi-Melta (Drogos Reclamation - Alpha) |
||
| Primary Weapon Perks |
Standard: Master-Crafted: Artificer: |
||
| Secondary Weapon |
 Plasma Pistol Plasma Pistol (Salvation of Bakka) |
||
| Secondary Weapon Perks |
Standard: Master-Crafted:
• Rampage
Artificer: |
||
| Melee Weapon | NOT AVAILABLE FOR THIS CLASS | ||
In the mid-game, you will get access to more ammo economy perks for your weapon. This is especially essential for Multi-Melta as you will see yourself eat through the magazine without you knowing. This perk loadout also increases your damage while in Heavy Stance which is basically you aiming with your weapon and you will do so more often than not.
The Plasma Pistol perk loadout helps increase your overall DPS when using charge shots considering it is your long-range option over Multi-Melta, which is more short-range.
Early Game Heavy Class Build
Class Perk Build
| Heavy Class Perk Build | |||
|---|---|---|---|
| Core | Restoration | Thermal Boost | Overcharge |
| Team | Encompassing Aegis | ||
| Gear | Adamant Will | Obdurate Bastion | Saving Grace |
| Signature | Offensive Capability | ||
Early-game builds are pretty much straightforward for the Heavy, taking all available perks from Level 1 to Level 9. These will only aim to improve on your overall performance, making it a bit easier to take on Operations.
Weapon Builds
| Heavy Class Weapon Build | |||
|---|---|---|---|
| Primary Weapon |
 Multi-Melta Multi-Melta (Master-Crafted - Alpha) |
||
| Primary Weapon Perks |
Standard: Master-Crafted: |
||
| Secondary Weapon |
 Plasma Pistol Plasma Pistol (Master-Crafted - Alpha) |
||
| Secondary Weapon Perks |
Standard: Master-Crafted:
• Rampage
|
||
| Melee Weapon | NOT AVAILABLE FOR THIS CLASS | ||
For early-game weapons, we opted for a Multi-Melta considering it boasts great crowd-control and AoE potential. We also went for perks that increase the overall magazine size of the weapon and the capability to restore ammo reserves.
We chose the Plasma Pistol as the secondary weapon because it can be charged for big damage, something the Heavy should do more of. The perks slotted in this weapon focus on the management of heat with a bonus of increasing the damage radius of Charged Shots.
Best Heavy Class Weapons
Best Weapon for Heavy
| Weapon | Explanation |
|---|---|
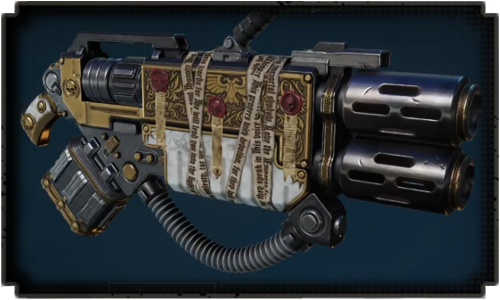
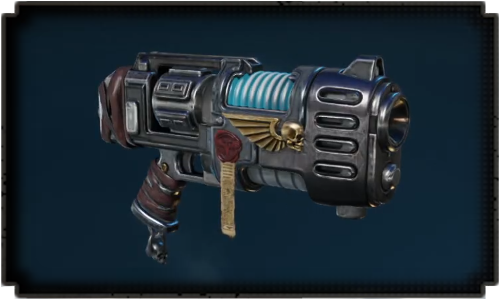
 Multi-Melta Multi-Melta
|
The Multi-Melta is the Heavy class version of the Melta Rifle, the undisputed best weapon in the game. It offers the same punch-through effect perfect for hordes and can even make use of the Heavy Stance bonuses of this class. |
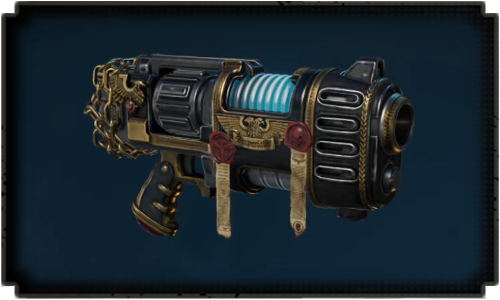
 Plasma Pistol Plasma Pistol
|
The Plasma Pistol is the best one for the Heavy as an option for long range sniping. You can even change the pistol to deal great damage especially when you are inside the effects of Iron Halo. |
The best weapons for the Heavy class consists of the Multi-Melta and the Plasma Pistol. Multi-Melta can take care of any enemy in front of the Heavy while the Plasma Pistol takes care of those that are far away. This provides the perfect blend of situational firepower that the Heavy, a ranged specialist, needs.
All Heavy Primary Weapons
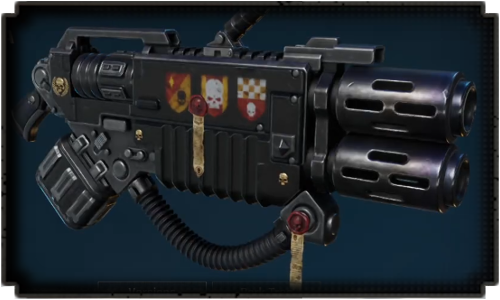
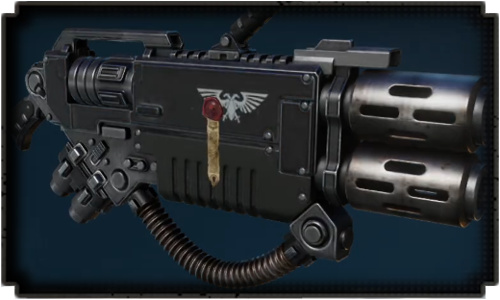
 Heavy Bolter Heavy Bolter
|
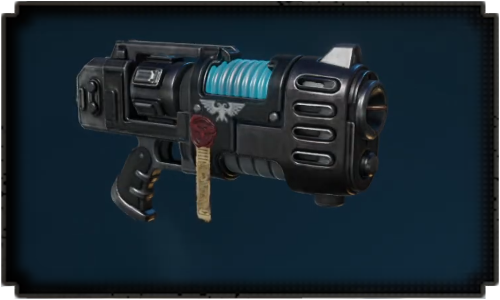
 Heavy Plasma Incinerator Heavy Plasma Incinerator
|
Multi-Melta
|
All Heavy Secondary Weapons
 Bolt Pistol Bolt Pistol
|
Plasma Pistol
|
All Heavy Melee Weapons
| This class cannot use any weapons of this type. |
Best Heavy Perks
Best Perks to Get For Heavy
| Perk | Explanation |
|---|---|
| Overcharge | Straight up increases Charge Attack damage with no conditions. A great perk for plasma-type weapons. |
| Restoration | Killing 15 enemies restores an armor segment. Works really well with Multi-Kill! |
| Multi-Kill | Essentially free ammo for the Multi-Melta if you are able to kill 5 enemies or more. |
| Additional Supplies | Unconditional 25% increase in ammo reserves for the entire team which is great for ammo economy. |
| Brute Force | Increase in Ranged damage when the Iron Halo is down, which is mostly the case. |
| Overwhelming Power | When the Halo is up, increases Ranged damage. Really great for rallying your team and approaching a target. |
| Bonds of Brotherhood | Really helpful when in a pinch and your team needs to survive. This has saved our missions a lot of times already. |
All Heavy Class Skills
| Level | Class Perk | Effect |
|---|---|---|
| 1 | Iron Halo | Type: Starting When Iron Halo is active, all Squad Members within 50 metres take 10% less Damage from Ranged Attacks. |
| 2 | Restoration | Type: Core Killing 15 enemies in rapid succession restores 1 Armour Segments |
| 3 | Thermal Boost | Type: Core When a Ranged Weapon is 50% Overheated, Ranged Damage increases by 15% |
| 4 | Overcharge | Type: Core Damage of Charged Attacks increases by 20% |
| 5 | Encompassing Aegis | Type: Team All Squad Members take 20% less Damage from Ranged Attacks |
| 6 | Adamant Will | Type: Gear After Iron Halo deactivates, you take 20% less Health Damage for 5 seconds |
| 7 | Obdurate Bastion | Type: Gear Iron Halo's Durability increases by 20% |
| 8 | Saving Grace | Type: Gear Reviving a Squad Member fully restores Iron Halo's Charge |
| 9 | Offensive Capability | Type: Signature When active, Iron Halo deals Damage over time to all enemies within 5 metres |
| 10 | Multi-Kill | Type: Core Killing 5 or more enemies with one shot from a Multi-Melta restores Ammo by 1 |
| 11 | Fortitude | Type: Core Health increases by 20% |
| 12 | Overwhelming Power | Type: Core When Iron Halo is active, all Squad Members within 10 metres deal 10% more Ranged Damage |
| 13 | Additional Supplies | Type: Team Ammo Capacity for all Squad Members' Weapons increases by 25% |
| 14 | Consecutive Execution | Type: Gear Killing 15 enemies in rapid succession restores Equipment Charge by 1. Cooldown is 180 seconds. |
| 15 | Field Adjustment | Type: Gear Iron Halo recharges 20% faster, but its Durability is reduced by 30% |
| 16 | Brute Force | Type: Gear When Iron Halo is in cooldown, Ranged Damage increases by 15% |
| 17 | Coolant Reserve | Type: Signature If both of your Squad Members are Incapacitated or grabbed, your Primary Weapon will not Overheat |
| 18 | Auxiliary Ammunition | Type: Core When your Primary Weapon is out of Ammo, killing 15 enemies in rapid succession restores Ammo Reserve by 20% |
| 19 | Strategic Stand | Type: Core While in Heavy Stance, dealing Damage restores 15% more Contested Health, but you will not be able to move |
| 20 | Versatility | Type: Core After switching Weapons, your Secondary Weapon does 20% more Damage. The effect lasts until reloading or switching back to your Primary Weapon. |
| 21 | Bonds of Brotherhood | Type: Team Reviving a Squad Member restores them to full Health |
| 22 | Emperor's Protection | Type: Gear When Iron Halo expends all its energy, 1 Armour Segments are restored for all Squad Members |
| 23 | Power Regulator | Type: Gear Iron Halo loses energy 15% more slowly |
| 24 | Wrath of the Imperium | Type: Gear When Iron Halo expends all of its energy, enemies in a 5-metre radius take significant Damage |
| 25 | Conversion Field | Type: Signature When Iron Halo is active, all Squad Members within 100 metres regenerate Ability Charge 50% faster |
Heavy Trials Guide
| Jump to a Trial! | ||
|---|---|---|
| Trial 1 | Trial 2 | Trial 3 |
Heavy Trial 1: Iron Halo
| Directives |
|---|
| Complete in 60 seconds |
| Complete in 50 seconds |
| Complete in 40 seconds |
Complete all three (3) to get the full rewards.
Use Your Iron Halo Immediately
At the start of the fight, you need to use your Iron Halo immediately to soak up all the damage that will come from the Termagaunts on the right platform. Then, switch to your Plasma Pistol to focus on the Elites at the left and back platforms.
Use Charged Shots for the Elites
The Hormagaunts present on the left and back platforms are easily dispatched using your Plasma Pistol by charging it up and aiming for their heads! Don't forget to evade-roll the laser shots from the Hormagaunts as it can punch a hole through your Iron Halo!
Use the Heavy Bolter for the Smaller Enemies
After dispatching the two enemies, switch to your primary weapon and deal with the Termagaunts on the right platform.
Heavy Trial 2: Ceramite Strongpoint
| Directives |
|---|
| Do not leave the capture zone |
| Complete in 80 seconds |
| Complete in 60 seconds |
Complete all three (3) to get the full rewards.
Use Your Multi-Melta on the First Few Enemies
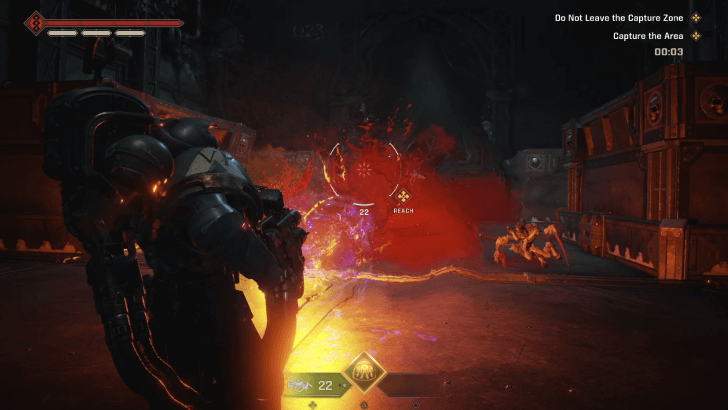
For the first few enemies present in the capture zone, use your Multi-Melta to dispatch them quickly.
Switch to Plasma Pistol and Aim for the Barrels on the First Wave
For the first wave, aim for the Barrel to defeat the whole wave instantly. This will save you a lot of time!
Switch to Multi-Melta to Deal with Close Range Enemies
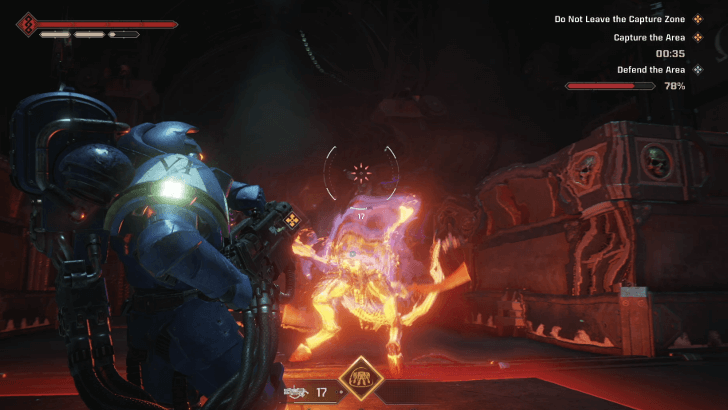
When facing enemies that draw closer, use the Multi-Melta. Just spam the attack to push enemies back!
Use the Pistol for Farther Enemies
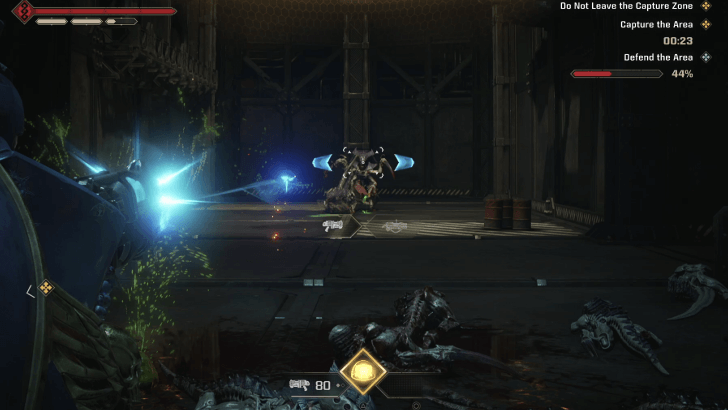
To dispose of the enemies that are farther away, use the Plasma Pistol! Don't forget to charge it up so you can kill them in about 1-3 hits!
Avoid the Spore Mines But Don't Leave the Zone!
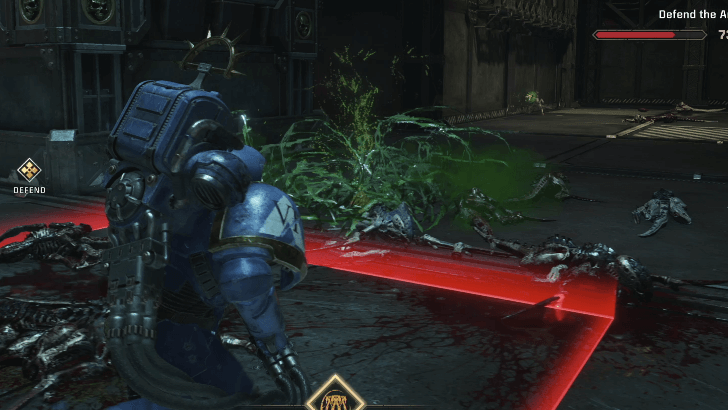
Spore mines can spawn towards the end of the mission, but never perform an evade roll. Just stand on the space within the capture zone that is not occupied by the spores and shoot from there. You usually run the risk of going out of the capture zone if you roll.
Heavy Trial 3: Covering Fire
| Directives |
|---|
| Complete in 80 seconds |
| Absorb Damage with the Iron Halo |
| Do not let your plasma Weapon overheat |
Complete all three (3) to get the full rewards.
Open Your Iron Halo If Available
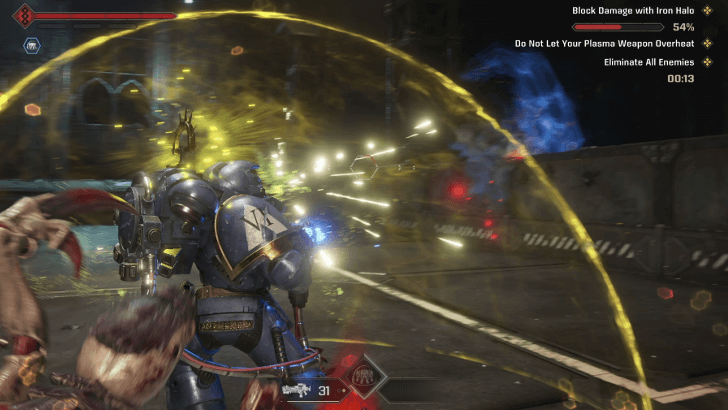
The key here is to open your Iron Halo whenever available to help mitigate all incoming ranged damage. If you don't open the Iron Halo, there is a high chance that you will not survive this trial.
Watch Out for Overheating!
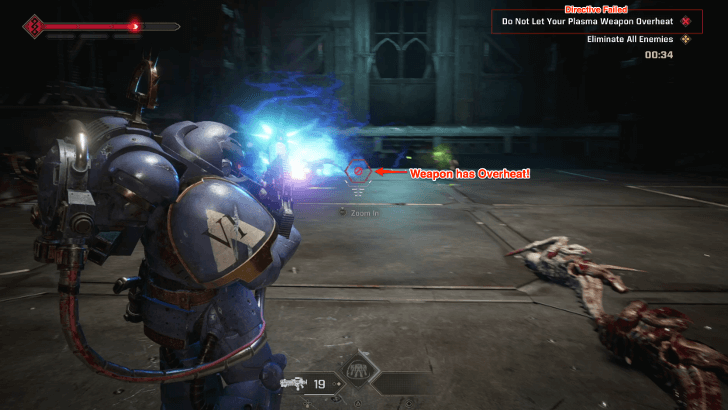
Once of the directives here is to not let any of your weapons overheat. One that note, always be mindful of the red meter on your crosshair. Never let it fill up, or you straight up miss a directive.
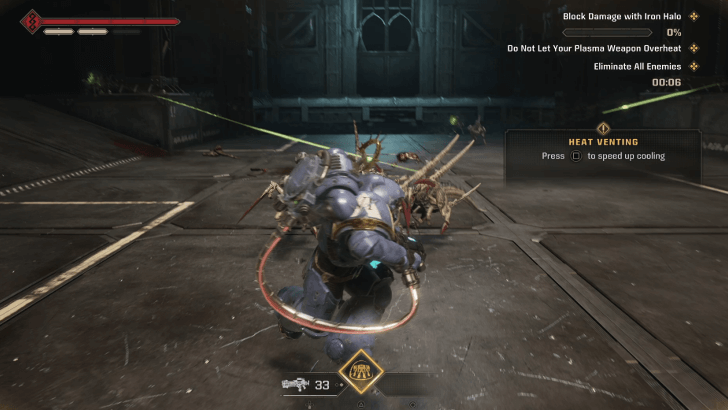
Press the Button to Manage Heat!

Press the venting button repeatedly to manage the heat of your weapons. Use this at all times so you don't run the risk of overheating.
Switch to Your Secondary If Close to Overheating
When you don't have the liberty to vent the heat of your plasma weapons, switch to your secondary to continue firing. This will alleviate some pressure from your primary weapon and can give it time to vent out heat.
How to Play Heavy Class
- Use Iron Halo for Defense and Buffs
- Use Heavy Stance Strategically
- Attack From Long Range
- Parry, Dodge, and Gun Strike for Defense
- Always Reposition and Be on the Move
- Manage Your Weapon Heat and Ammo
Use Iron Halo for Defense and Buffs

| Best Iron Halo Perks | ||
|---|---|---|
| Emperor's Protection | Field Adjustment | Conversion Field |
Above is the best Iron Halo perk combo for armor recovery and fast ability recharge.
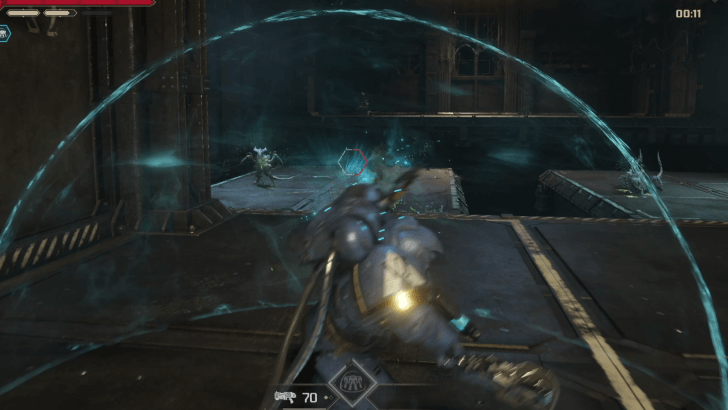
The Heavy class can defend their teammates from ranged attacks with Iron Halo. Anyone behind the Iron Halo's cone is safe from all manners of ranged attacks. Paired with class perks, an active Iron Halo can also give your squad powerful buffs such as the Conversion Field's 50% ability recharge within 100m.
The Iron Halo has a set durability which shows how much damage it can soak before depleting, from blue to yellow, then finally red. You know that the durability is close to being depleted if it turns red.
Once activated, it can be deactivated at any time, but you wil have to wait for the ability charge to be refilled to use it again.
Use Heavy Stance Strategically
Heavy Stance is done by aiming your weapon as the Heavy class. During this stance, your movement is slower, but you have more accuracy and increased fire right. You cannot dodge during Heavy Stance (you can still parry), so be on alert and exit the stance if you sense an incoming unblockable attack.
There are a lot of weapon perks that increase damage while in Heavy Stance such as Heavy Might for the Heavy Bolter and Multi-Melta, so always take advantage of it at safe distances.
Attack From Long Range
It is best to engage at a range when using either the Heavy Bolter or the Heavy Plasma Incinerator. When using Multi-Melta, you can be a bit more comfortable near enemies since it's a close-range heavy weapon.
Though it is quite tempting to come in head-first in battles with the Heavy, we suggest sticking on the side and providing cover to your teammates. Remember that the Iron Halo can only defend against ranged attacks so you will still soak up melee attacks from enemies.
Parry, Dodge, and Gun Strike for Defense
The Heavy suffers at close-range from lacking a melee weapon and will have to rely on bashing with the gun or charged heavy foot stomps for keeping swarms out. When in danger, especially when low on ammo, the best defense is to use parries and dodges.
Doing perfect parries and perfect dodges will open an enemy up to gun strike which uses no ammo, so aim to perfect those techniques whenever possible.
Always Reposition and Be on the Move
Heavy classes do not have access to melee weapons and will easily get swarmed at close range. Make sure to keep out of enemies by repositioning and using dodges.
Being overwhelmed will happen more often than you think, so knowing how to reposition properly and keeping your distance from enemies is the key to surviving when using the Heavy class.
Manage Your Weapon Heat and Ammo
Heavy weapons have a single, big clip of magazine which requires no reloads and only heat management for the Heavy Bolter and Heavy Plasma Incinerator. This makes it easier to go into combat at any time, but you will have to watch out and use ammo only when needed.
Unless you are near an Ammo Cache where you are free to go trigger-happy, we suggest not spamming shots for most of combat and instead go for single and accurate shots, with headshots being the best option. When low on ammo, look for crates you can break that can drop Ammo Boxes.
Warhammer 40K: Space Marine 2 Related Guides

All Space Marine 2 Classes
| All Space Marines 2 Classes | ||
|---|---|---|
 Tactical Tactical |
 Assault Assault |
 Vanguard Vanguard |
 Bulwark Bulwark |
 Sniper Sniper |
Heavy |
Comment
1  Anonymous over 1 year
10/10 guide, I'd say. Even if you recommend a bugged signature. Offensive Capability doesn't work as listed.
Author

The Best Heavy Builds
Please participate in our site
improvement survey
03/2026
improvement survey
03/2026
Would you assist in
improving Game8's site?
improving Game8's site?

×
We are listening to our users' valuable opinions and discussing how to act on them.
The information collected through this survey will be used for the purpose of improving our services. In addition, the information will only be disclosed a part of a statistic in a format that will not allow identification of personal information.
Begin Survey
Not Now
×
Please rate each item regarding Game8.co's Advertisements.
Amount of Ads
Very Dissatisfied
Somewhat Dissatisfied
Fine
Somewhat Satisfied
Highly Satisfied
Placement of Ads
Timing of Ad Display
Ad Loading Speed
Safeness of Ads
Content of Ads
×
Please rate each item regarding Game8.co's Quality of Articles.
Amount of information
Very Dissatisfied
Somewhat Dissatisfied
Fine
Somewhat Satisfied
Highly Satisfied
Frequency of updates
Speed of new information
Accuracy of articles
Understandibility of articles
Readability of sentences
×
Please rate each item regarding Game8.co's Usability of the Site.
Ease of finding information
Very Dissatisfied
Somewhat Dissatisfied
Fine
Somewhat Satisfied
Highly Satisfied
Loading Speed
Use of Color
Font Size
Visibility of Images
Easy to Understand Layout
×
Please rate each item regarding Game8.co's Message Boards, Comments.
Ease of Writing
Very Dissatisfied
Somewhat Dissatisfied
Fine
Somewhat Satisfied
Highly Satisfied
Readability
Ease in Finding Information
Comment Quality
Comment Quantity
Admin Response
×
Please rate each item regarding Game8.co's Site's new design.
Please rate our site's new design
Very Dissatisfied
Somewhat Dissatisfied
Fine
Somewhat Satisfied
Highly Satisfied
Do you think that the website's design change makes the site easier to use?
Has the new design made it easier for you to find information on the site?
Has the new design improved the overall visual appeal of the site?
How would you rate your overall satisfaction with the new design of the site?
×
How likely are you to recommend Game8 to someone you know?
Very Unlikely
0
1
2
3
4
5
6
7
8
9
10
Very Likely
If you have other opinions regarding potential improvement to the website, please share them with us. We would appreciate your honest opinion.
Note: This is a free response section, so you can proceed without entering anything.
Note: Please be sure not to enter any kind of personal information into your response.
Note: Please be sure not to enter any kind of personal information into your response.
×
Thank You
×
Thank you for participating in our survey! Your answers will help us to improve the quality of our website and services.
We hope you continue to make use of Game8.
We hope you continue to make use of Game8.
Close
Rankings
- We could not find the message board you were looking for.
Gaming News


![Monster Hunter Stories 3 Review [First Impressions] | Simply Rejuvenating](https://img.game8.co/4438641/2a31b7702bd70e78ec8efd24661dacda.jpeg/thumb)
Popular Games

Genshin Impact Walkthrough & Guides Wiki
Honkai: Star Rail Walkthrough & Guides Wiki
Umamusume: Pretty Derby Walkthrough & Guides Wiki
Pokemon Pokopia Walkthrough & Guides Wiki
Resident Evil Requiem (RE9) Walkthrough & Guides Wiki
Monster Hunter Wilds Walkthrough & Guides Wiki
Wuthering Waves Walkthrough & Guides Wiki
Arknights: Endfield Walkthrough & Guides Wiki
Pokemon FireRed and LeafGreen (FRLG) Walkthrough & Guides Wiki
Pokemon TCG Pocket (PTCGP) Strategies & Guides Wiki


Recommended Games
Diablo 4: Vessel of Hatred Walkthrough & Guides Wiki
Cyberpunk 2077: Ultimate Edition Walkthrough & Guides Wiki
Fire Emblem Heroes (FEH) Walkthrough & Guides Wiki
Yu-Gi-Oh! Master Duel Walkthrough & Guides Wiki
Super Smash Bros. Ultimate Walkthrough & Guides Wiki
Pokemon Brilliant Diamond and Shining Pearl (BDSP) Walkthrough & Guides Wiki
Elden Ring Shadow of the Erdtree Walkthrough & Guides Wiki
Monster Hunter World Walkthrough & Guides Wiki
The Legend of Zelda: Tears of the Kingdom Walkthrough & Guides Wiki
Persona 3 Reload Walkthrough & Guides Wiki


All rights reserved
© Saber Interactive and Focus Entertainment. Games are the property of their respective owners.
The copyrights of videos of games used in our content and other intellectual property rights belong to the provider of the game.
The contents we provide on this site were created personally by members of the Game8 editorial department.
We refuse the right to reuse or repost content taken without our permission such as data or images to other sites.
Will these get updates?