The Best Vanguard Builds
★ Best PvE Classes | Best PvP Classes | Best Weapons
☆ Classes and Builds: Tactical | Assault | Vanguard
┗Bulwark | Sniper | Heavy
★ All Weapons | Armor Customization | Chapters
☆ Mission Lists: Campaign and Operations
★ Locations: Dataslates | Armory Data | Gene-Seeds
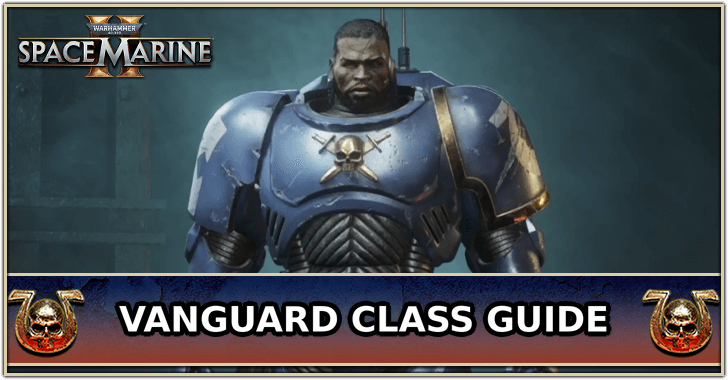
Vanguard is one of the six classes available in Warhammer 40K: Space Marine 2. See the best Vanguard build and loadout for the early game, midgame, & max level, the best weapons and perks, how to pass all Vanguard Trials, as well as how to play this class!
List of Contents
Vanguard Class Overview
Vanguard Class Abilities
| Vanguard Class Information | |
|---|---|
 Vanguard |
|
| Class Perk | Armour Class |
| Grapnel Launcher | 2 |
| Grapnel Launcher Description | |
| The Grapnel Launcher propels you to an enemy, allowing you to perform a Diving Kick. | |
| PvE Rating | PvP Rating |
|
|
|
Vanguard Class Builds and Loadout
| Jump to a Build! | ||
|---|---|---|
| Endgame | Mid Game | Early Game |
Endgame Vanguard Class Build
Class Perk Build
| Vanguard Class Perk Build | |||
|---|---|---|---|
| Core | Melee Mastery | Duelist | Honed Reactions |
| Team | Inner Fire | ||
| Gear | Shock Wave | Tip of the Spear | Combat Readiness |
| Signature | Tactical Prowess | ||
The end-game perk build is just a tweak of the already great mid-game build for the Vanguard. The perk loadout focuses more on improving the recharge rate of Abilities, with Inner Fire taking the spotlight.
Vanguard's Signature perk options from the early-mid game remain to be useful even at the endgame stage. Use Tactical Prowess if you are an offensive Vanguard then Emperor's Blessing if you needed to play more defensive.
Weapon Builds
| Vanguard Class Weapon Build | |||
|---|---|---|---|
| Primary Weapon |
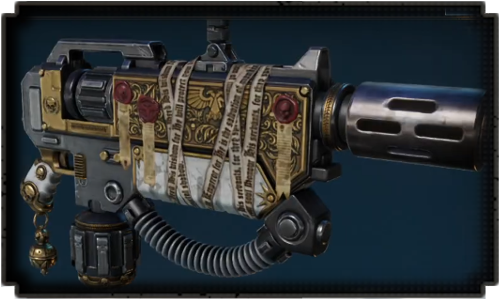 Melta Rifle Melta Rifle (Gathalamor Crusade) |
||
| Primary Weapon Perks |
Standard: Master-Crafted: Artificer: Relic: |
||
| Secondary Weapon |
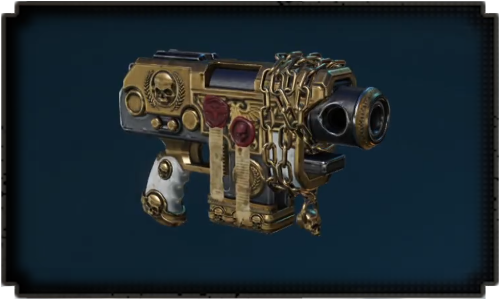 Bolt Pistol Bolt Pistol (Gathalamor Crusade) |
||
| Secondary Weapon Perks |
Standard: Master-Crafted: Artificer: Relic: |
||
| Melee Weapon |
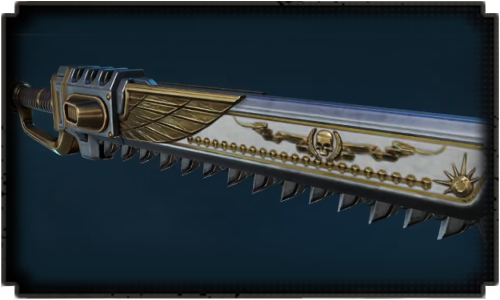 Chainsword Chainsword (Aquilan Dedication) |
||
| Melee Weapon Perks |
Standard: Master-Crafted: Artificer: Relic: |
||
For the weapon builds, we continued with ever reliable Melta Rifle with the Gathalamor Crusade Relic version to maximize the range of the weapon for more punch-through. The perks chosen here focuses on increasing damage and improving ammo economy so you don't need to focus on increasing the magazine capacity. Similar to the Melta Rifle, we approached the Bolt Pistol the same way - improving its overall damage, accuracy, and ammo economy for an easier time during missions.
For the Chainsword, we opted to go for the Aquilan Dedication variant to increase the overall attack speed. This works well with the Saw Blade perk which increases Light Combo length to 5 strikes. This time around though, your weapon has increased Parry window so you have more defensive melee options.
Mid Game Vanguard Class Build
Class Perk Build
| Vanguard Class Perk Build | |||
|---|---|---|---|
| Core | Melee Mastery | Duelist | Consecutive Execution |
| Team | Melee Champion | ||
| Gear | Shock Wave | Tenacity | Grim Determination |
| Signature | Tactical Prowess | ||
The perk build for the mid-build only improves on the already great lineup for the Vanguard in the early game. The perk lineup from Level 10 to Level 17 offers great option for the Vanguard especially on improving their melee damage and grapnel launcher charge economy.
On a side note, Vanguard's Signature perk option for the mid-game are both great but we ended up choosing Tactical prowess over Emperor's Blessing to improve on grapnel launcher charge economy. In contrast to that if you find yourself dying a lot, we suggest taking Emperor's Blessing.
Weapon Builds
| Vanguard Class Weapon Build | |||
|---|---|---|---|
| Primary Weapon |
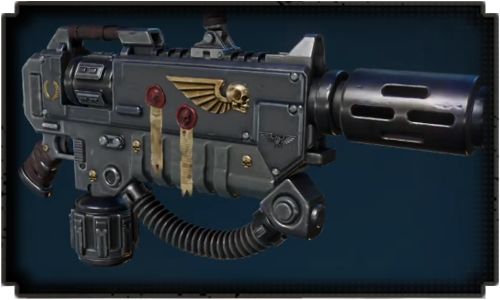 Melta Rifle Melta Rifle (Salvation of Bakka) |
||
| Primary Weapon Perks |
Standard: Master-Crafted: Artificer: |
||
| Secondary Weapon |
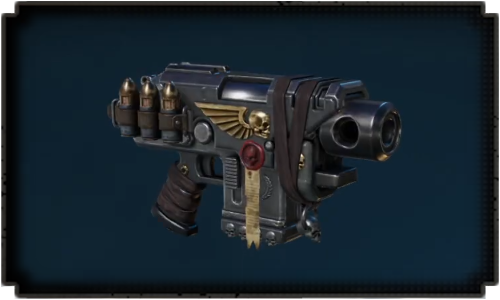 Bolt Pistol Bolt Pistol (Salvation of Bakka) |
||
| Secondary Weapon Perks |
Standard: Master-Crafted: Artificer: |
||
| Melee Weapon |
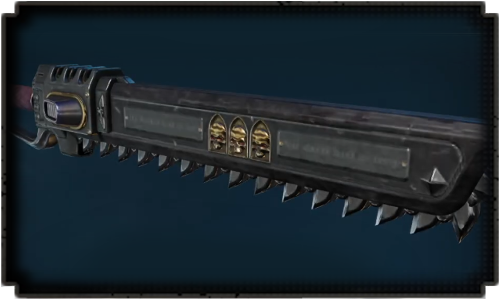 Chainsword Chainsword (Achortan Oath) |
||
| Melee Weapon Perks |
Standard: Master-Crafted: Artificer: |
||
For the weapon builds, we continued with ever reliable Melta Rifle as it continues to be a great primary option for the Vanguard. The perks chosen here focuses on increasing damage and improving ammo economy. Similar to the Melta Rifle, we approached the Bolt Pistol the same way - improving its overall damage and ammo economy for an easier time during missions.
For the Chainsword, we opted to go for the Achortan Oath variant to increase the overall attack speed. This works well with the Light Combo perk which increases Light Combo length to 5 strikes. This disallows parrying though but you can still dodge evade.
Early Game Vanguard Class Build
Class Perk Build
| Vanguard Class Perk Build | |||
|---|---|---|---|
| Core | Moving Target | Duelist | Retribution |
| Team | Melee Champion | ||
| Gear | Restless Fortitude | Zone of Impact | Thrill of the Fight |
| Signature | Tactical Prowess | ||
Early game builds are pretty much straight forward for the Vanguard, taking all available perks from Level 1 to Level 9. These will only aim to improve on your overall performance, making it a bit easier to take on Operations.
We stress the importance of Tactical Prowess for the Vanguard, as it would enable quick movements between dying enemies!
Weapon Builds
| Vanguard Class Weapon Build | |||
|---|---|---|---|
| Primary Weapon |
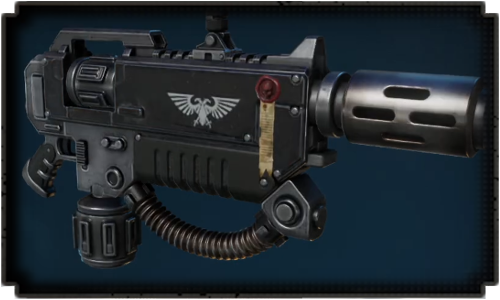 Melta Rifle Melta Rifle (Master-Crafted - Alpha) |
||
| Primary Weapon Perks |
Standard: Master-Crafted: |
||
| Secondary Weapon |
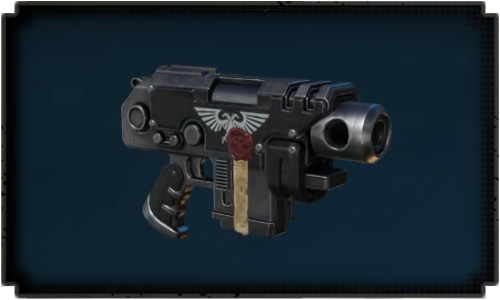 Bolt Pistol Bolt Pistol (Master-Crafted - Alpha) |
||
| Secondary Weapon Perks |
Standard: Master-Crafted: |
||
| Melee Weapon |
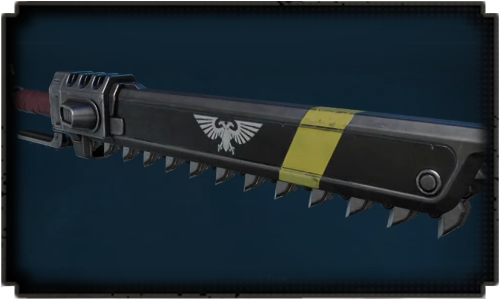 Chainsword Chainsword (Master-Crafted - Alpha) |
||
| Melee Weapon Perks |
Standard: Master-Crafted: |
||
For early game weapons, we opted for an Melta Rifle because of the insane damage this weapon provides. It still continues to be one of the best weapons carrying over since the first Space Marine game. The Master-Crafter Alpha variant was also chosen to increase the range of fire, hitting more enemies in a straight line. The ammo economy improvements will come from the weapon perk tree.
The Bolt Pistol is the only option for the Vanguard and the perk loadout focused on increasing damage. You will not be using this much anyway and you'll be using your melee or primary weapons more often. We also opted for the Master-Crafted - Alpha version to increase damage as much as possible.
Lastly, we opted for the Chansword as it has the perfect balance of damage and quickness. The Master-Crafted - Alpha upgrade was also chosen because of its increased Strength, but also not removing the Balance defence to enable parrying.
Best Vanguard Weapons
Best Weapons for Vanguard
| Weapon | Explanation |
|---|---|
 Melta Rifle Melta Rifle
|
The Melta Rifle is the undisputed best weapon to go for when playing a Vanguard. It offers great AoE, punch-through damage to defeat hordes and hordes of enemies. |
 Bolt Pistol Bolt Pistol
|
The Bolt Pistol is the only secondary weapon available for the Vanguard so it is the best secondary weapon for this class. |
 Chainsword Chainsword
|
The best melee weapon choice is the Chainsword. It offers great damage and well-balanced mobility, perfect for whenever you decide to attack enemies from close range after using your Grapnel Launcher. |
The best weapon choices for the Vanguard is by far the Melta Rifle and the Chainsword, both are capable of dealing with hordes of enemies and more powerful single-target Majoris-threats if presented. The Melta Rifle straight up melts anyone on your path, while Chainsword provides the perfect balance between mobility and damage.
All Vanguard Primary Weapons
 Melta Rifle Melta Rifle
|
 Instigator Bolt Carbine Instigator Bolt Carbine
|
 Occulus Bolt Carbine Occulus Bolt Carbine
|
All Vanguard Secondary Weapons
 Bolt Pistol Bolt Pistol
|
All Vanguard Melee Weapons
 Chainsword Chainsword
|
 Combat Knife Combat Knife
|
Best Vanguard Perks
Best Perks for Vanguard
| Perk | Explanation |
|---|---|
| Duelist | Unconditional increase to your own Perfect Parry window. Extremely great if you're fighting in melee rage against more powerful enemies. |
| Melee Champion | Works in conjunction with Duelist and makes sure you are dealing as much damage as possible against more powerful, Majoris-level and higher enemies. |
| Tactical Prowess | Provides a free charge if you are able to kill enemies with the Grapnel Launcher. This will enable you to be more mobile and tenacious in fights. |
| Shock Wave | The Diving Kick when using the Grapnel Launcher will produce an AoE shockwave which is extremely useful when jumping on hordes of minor enemies. |
| Emperor's Blessing | An additional insurance for when you take lethal damage. Just do take note of the cooldown on this perk! |
| Combat Readiness | Unconditional increase in the Grapne Launcher recharge rate. Allows you to use the Launcher more frequently! |
All Vanguard Class Skills
| Level | Class Perk | Effect |
|---|---|---|
| 1 | Grapnel Launcher | Type: Starting Contested Health regenerates 50% faster. |
| 2 | Moving Target | Type: Core Each Melee Attack you land reduces the Ranged Damage you take by 1% (up to 15%). If you do not land a Melee Attack for 3 seconds, the effect ends. |
| 3 | Duelist | Type: Core Perfect Parry window increases by 50% |
| 4 | Retribution | Type: Core After you are grabbed or knocked back, you deal 15% more Melee Damage for 10 seconds |
| 5 | Melee Champion | Type: Team All Squad Members deal 15% more Melee Damage |
| 6 | Restless Fortitude | Type: Gear After a Diving Kick, you take 10% less Ranged Damage for 10 seconds |
| 7 | Zone of Impact | Type: Gear Performing a Finisher with the Grapnel Launcher deals a small amount of Damage to nearby enemies |
| 8 | Thrill of the Fight | Type: Gear After a perfectly timed Parry or Dodge, you take 15% less Health Damage for 3 seconds |
| 9 | Tactical Prowess | Type: Signature Performing a Finisher with the Grapnel Launcher restores its Charge |
| 10 | Melee Mastery | Type: Core Melee Damage increases by 10% against Majoris-level and higher enemies |
| 11 | Close-Combat Focus | Type: Core You take 20% less Melee Damage but 10% more Ranged Damage |
| 12 | Consecutive Execution | Type: Core Killing 15 enemies in rapid succession restores Equipment Charge by 1. Cooldown is 180 seconds. |
| 13 | Unmatched Zeal | Type: Team Melee Finishers of Extremis enemies additionally restore a small amount of Health for any Squad Member |
| 14 | Shock Wave | Type: Gear Diving Kick additionally deals Damage in a 5-metre radius |
| 15 | Tenacity | Type: Gear After killing 15 enemies in rapid succession, Diving Kick's Damage increases by 25% for 10 seconds |
| 16 | Grim Determination | Type: Gear When Grapnel Launcher is in cooldown, Weapon Damage increases by 10% |
| 17 | Emperor's Blessing | Type: Signature Taking Lethal Damage restores all Armour instead of Incapacitating you. Cooldown in 180 seconds. |
| 18 | Upper Hand | Type: Core After a perfectly timed Parry or Dodge, you do not lose control upon taking Heavy Hits and you cannot be knocked back for 5 seconds |
| 19 | Conviction | Type: Core The moment your Armour is fully Depleted, you take 15% less Health Damage for 10 seconds |
| 20 | Honed Reactions | Type: Core When your Health is less than 50%, your Perfect Dodge window is doubled |
| 21 | Inner Fire | Type: Team All Squad Members can restore Ability Charge by 15% by performing Finishers |
| 22 | Collateral Damage | Type: Gear Diving Kick additionally deals a small amount of Damage to enemies on the way to the Grapnel Launcher's target |
| 23 | Tip of the Spear | Type: Gear Enemies hit by Diving Kick take 15% more Ranged Damage for 10 seconds |
| 24 | Combat Readiness | Type: Gear Grapnel Launcher recharges 20% faster |
| 25 | Adrenaline Rush | Type: Signature Melee kills of Majoris or higher enemies restore Health by 1% |
Vanguard Trials Guide
| Jump to a Trial! | ||
|---|---|---|
| Trial 1 | Trial 2 | Trial 3 |
Vanguard Trial 1: Cut the Synapse
| Directives |
|---|
| Complete in: 60 Seconds |
| Complete in: 50 Seconds |
| Complete in: 40 Seconds |
Complete all three (3) to get the full rewards.
Focus only on the Tyranid Warriors
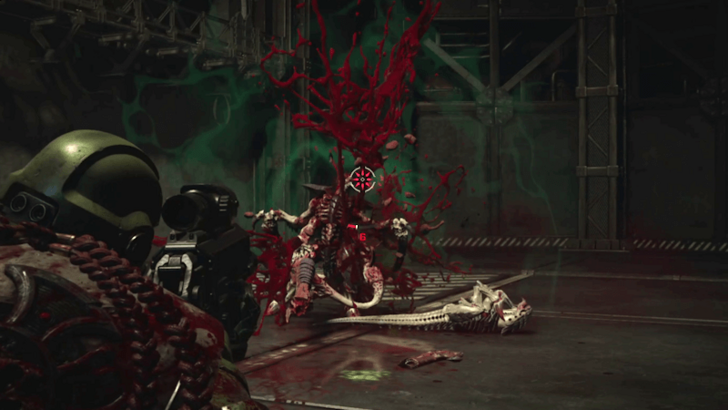
The Minoris Tyranids are controlled by the Hive Mind through nearby Tyranid Warriors. Eliminating the Tyranid Warriors will also take out the Minoris Tyranids around them, so focus on taking down the Warriors to save time.
Grapple the Minoris Tyranids to Reach the Tyranid Warrior
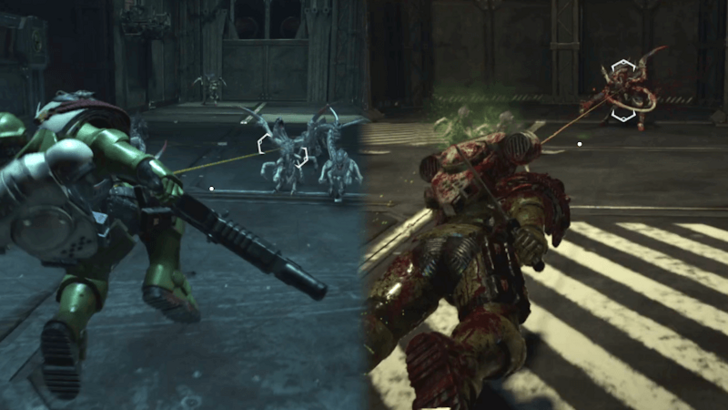
The Tyranid Warriors spawn at the far ends of the area, making them unreachable with the Grapnel Launcher initially. To close the distance, grapple onto a nearby Minor Tyranid first, then use the Grapnel to reach the Tyranid Warrior.
Eliminating the first Tyranid Warrior resets the Grapnel Launcher's cooldown, allowing you to quickly grapple to the opposite side of the area for the next target.
Vanguard Trial 2: Grapnel Launcher
| Directives |
|---|
| Complete in: 60 Seconds |
| Complete in: 50 Seconds |
| Complete in: 40 Seconds |
Complete all three (3) to get the full rewards.
Just Use the Primary Weapon and Go for Headshots
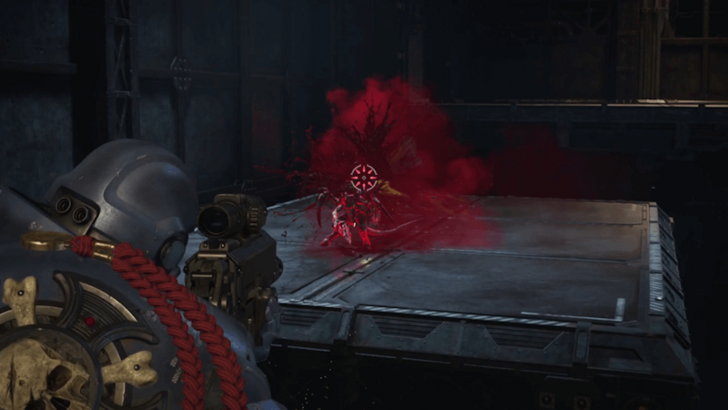
Though the trial encourages using the Grapnel Launcher to get close to each target, you can remain on the first platform and use your primary weapon, the Instigator Bolt Carbine, to deal significant damage through headshots on the Tyranid Warriors. With this strategy, you can complete the trial in around 15 seconds.
Grapnel Launcher and Ammo Resets on Kill
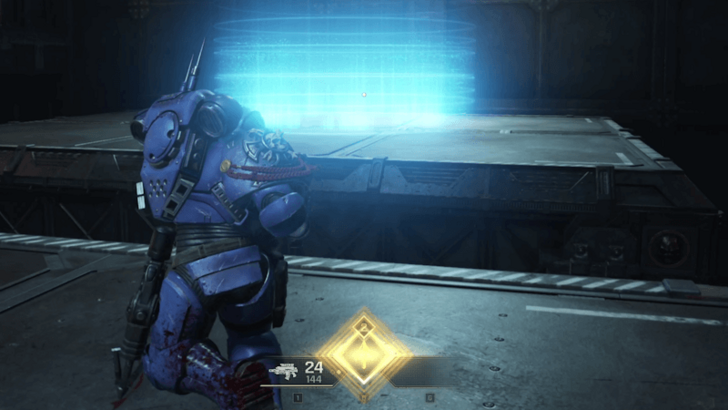
Eliminating each Tyranid Warrior resets your weapon's ammo and the Grapnel Launcher's cooldown, allowing you to seamlessly move on to the next target without any downtime. Make full use of your ammo and Grapnel Launcher during each encounter.
Vanguard Trial 3: Perfectly Timed
| Directives |
|---|
| Complete in: 80 Seconds |
| Hit 5 Enemies with the Grapnel Launcher |
| Kill 5 Enemies with Melee Attacks |
Complete all three (3) to get the full rewards.
Grapple the First Group of Minoris Tyranids
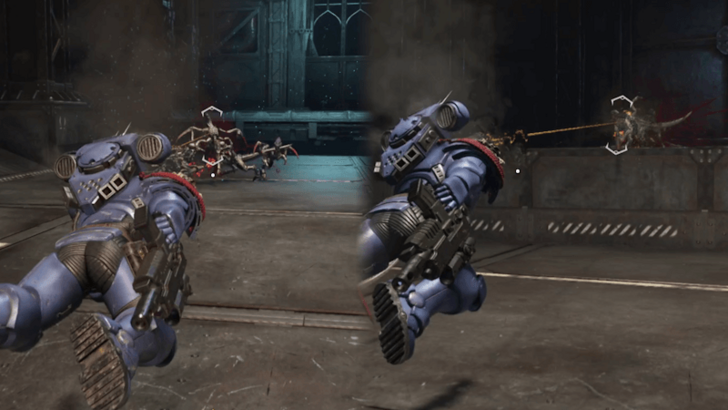
To meet the second directive of hitting five enemies with the Grapnel Launcher, target the group of Minoris Tyranids as soon as they spawn. Then, grapple onto the ranged enemies on the right side.
From this elevated position, the melee Tyranids will funnel onto the ramp, making it easier for you to complete the Melee Kills directive.
Focus on the Tyranid Warrior Next
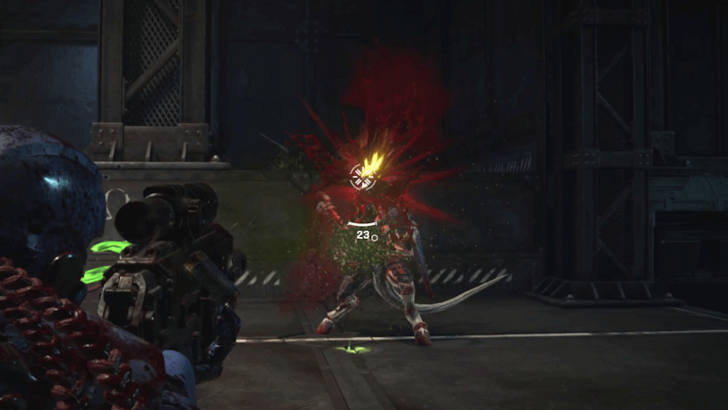
After completing the Grapnel Hits and Melee Kills directives, focus on eliminating the Tyranid Warrior, as this will also take out any nearby Minoris Tyranids. You may also need to deal with the ranged Tyranids on the opposite elevated platform to clear the area.
Grapple on to the Tyranid Warrior on the Next Platform
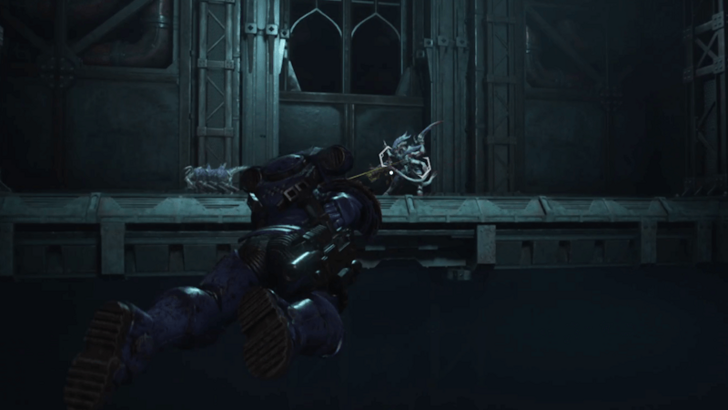
After clearing the room of all enemies, another set will spawn on a platform across the pit. Grapple onto the Tyranid Warrior here, which should complete the Grapnel Hits directive if you haven’t already. From this position, aim for headshots on the Tyranid Warrior, and then finish off any remaining enemies.
How to Play Vanguard Class
- Use the Grapnel Launcher
- Grapple to Enemies Calling Reinforcements
- Be Strategic with Grapple Charges
- Don't Forget to Parry and Dodge
Use the Grapnel Launcher
The Grapnel Launcher is the Vanguard's fastest mobility option for getting into close-quarters combat. This ability appears as a rotating reticle on a enemy, and its target automatically switches to the enemy nearest to your center aim.
Using the Grapnel Launcher will propel you forward and divekick the target upon hit. This ability can be buffed by the Vanguard's class perks such as Tip of the Spear.
Grapple to Enemies Calling Reinforcements
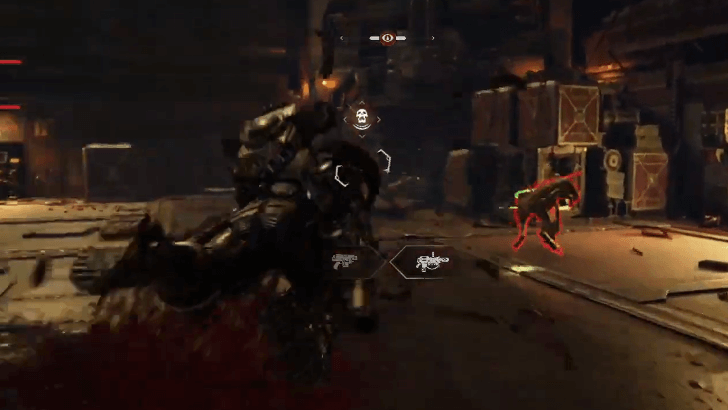
Enemies will periodically call for reinforcements, notifying you with a sound cue and a skull icon on top of the caller's head. Dealing with enemy reinforcements will be harder for your team, so neutralize these callers quickly.
Vanguards can quickly cancel reinforcement calls immediately by grappling onto the caller. As soon as the Grapnel Launcher hits the caller, the reinforcement call will be cancelled.
Be Strategic with Grapple Charges
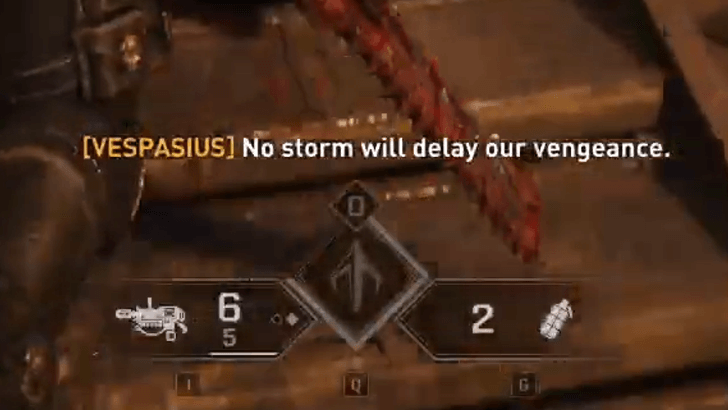
Make sure to keep an eye on your Grapnel Launcher charges. It is best to save them for targetting distant priority targets such as Majoris enemies with ranged weapons, or for getting out of trouble when you have been overwhelmed by swarms.
Take care of grappling onto enemies within swarms. For safety, grapple on isolated enemies behind the main force and think of the Grapnel Launcher as a highly effective flanking tool.
Don't Forget to Parry and Dodge
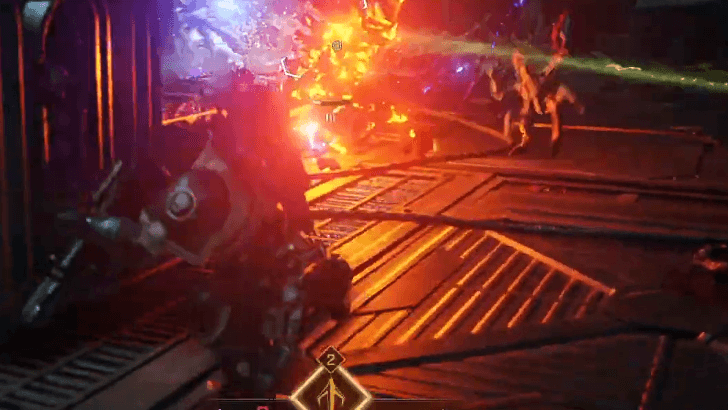
Using the Grapnel Launcher will often put you at melee range, so make sure to prepare your defense. Fencing weapons are recommended if you wish to take advantage of parrying, since the Vanguard class has one of the best parry perks available (50% more Perfect Parry window from Duelist).
For dodges, you can make use the Vanguard's Honed Reactions which gives the Vanguard 50% more window for Perfect Dodges below 50% health.
Fencing and Defence Type Explained
Warhammer 40K: Space Marine 2 Related Guides

All Space Marine 2 Classes
| All Space Marines 2 Classes | ||
|---|---|---|
 Tactical Tactical |
 Assault Assault |
 Vanguard Vanguard |
 Bulwark Bulwark |
 Sniper Sniper |
 Heavy Heavy |
Comment
Not sure why, but I'm getting locked out of the Majoris Slayer perk for the chainsword in the Relic tier, the connecting stem just disappears after I purchase Extremis Slayer.
Author
The Best Vanguard Builds
improvement survey
03/2026
improving Game8's site?

Your answers will help us to improve our website.
Note: Please be sure not to enter any kind of personal information into your response.

We hope you continue to make use of Game8.
Rankings
- We could not find the message board you were looking for.
Gaming News
Popular Games

Genshin Impact Walkthrough & Guides Wiki

Honkai: Star Rail Walkthrough & Guides Wiki

Umamusume: Pretty Derby Walkthrough & Guides Wiki

Pokemon Pokopia Walkthrough & Guides Wiki

Resident Evil Requiem (RE9) Walkthrough & Guides Wiki

Monster Hunter Wilds Walkthrough & Guides Wiki

Wuthering Waves Walkthrough & Guides Wiki

Arknights: Endfield Walkthrough & Guides Wiki

Pokemon FireRed and LeafGreen (FRLG) Walkthrough & Guides Wiki

Pokemon TCG Pocket (PTCGP) Strategies & Guides Wiki
Recommended Games

Diablo 4: Vessel of Hatred Walkthrough & Guides Wiki

Cyberpunk 2077: Ultimate Edition Walkthrough & Guides Wiki

Fire Emblem Heroes (FEH) Walkthrough & Guides Wiki

Yu-Gi-Oh! Master Duel Walkthrough & Guides Wiki

Super Smash Bros. Ultimate Walkthrough & Guides Wiki

Pokemon Brilliant Diamond and Shining Pearl (BDSP) Walkthrough & Guides Wiki

Elden Ring Shadow of the Erdtree Walkthrough & Guides Wiki

Monster Hunter World Walkthrough & Guides Wiki

The Legend of Zelda: Tears of the Kingdom Walkthrough & Guides Wiki

Persona 3 Reload Walkthrough & Guides Wiki
All rights reserved
© Saber Interactive and Focus Entertainment. Games are the property of their respective owners.
The copyrights of videos of games used in our content and other intellectual property rights belong to the provider of the game.
The contents we provide on this site were created personally by members of the Game8 editorial department.
We refuse the right to reuse or repost content taken without our permission such as data or images to other sites.


![Monster Hunter Stories 3 Review [First Impressions] | Simply Rejuvenating](https://img.game8.co/4438641/2a31b7702bd70e78ec8efd24661dacda.jpeg/thumb)


The melee build as suggested for end game is impossible. It skips the second column of the Relic tier perks.