Ancient Power Unearthed Walkthrough
△ Check out our review for the game!
△ Complete the story and all 9 Side Quests!
△ Traverse Mount Qaf using Time Powers!
△ Get all the weapons, amulets, and Athra Surges.
△ Earn platinum with our Trophy Guide!
Ancient Power Unearthed is a side quest in Prince of Persia: The Lost Crown that you can start in the Lower City. Check out our detailed walkthrough for Ancient Unearthed, its objectives and rewards, and how to solve every puzzle and overcome every trap!
List of Contents
Ancient Power Unearthed Location and Rewards
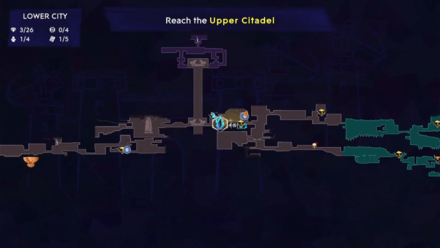
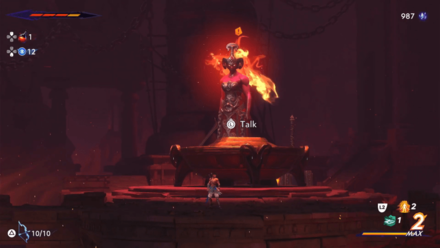
Location: Lower City - Haven
| Map Location | Overworld Location |
|---|---|
 |
 |
Objective and Rewards
| Ancient Power Unearthed | |
|---|---|
| Bring back a special stone for Kaheva so she can craft a protective shield amulet | |
| Quest Giver | Kaheva |
| Rewards | ・“Shield of Mithra” Amulet |
Ancient Power Unearthed Walkthrough Guide
- Speak to Kaheva in Her Forge
- Head to the Western Side of the Lower City
- Activate the Platform
- Jump Over the Spike Trap
- Wall Jump to the Next Area
- Open the Treasure Chest and Survive the Traps
- Return to Ore to Kaheva
Speak to Kaheva in Her Forge
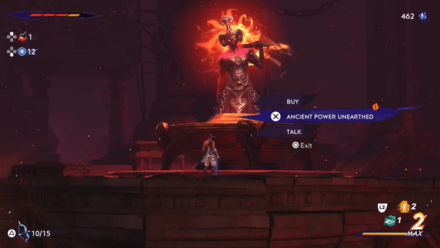
Head to Kaheva's Forge in the Lower City, which you can access during the Lost in Mount Qaf story quest and speak to the blacksmith.
After some quick introductions and checking her wares, interact with her and choose the Ancient Power Unearthed dialogue option to start the quest.
Location of the Ore is Marked on the Map
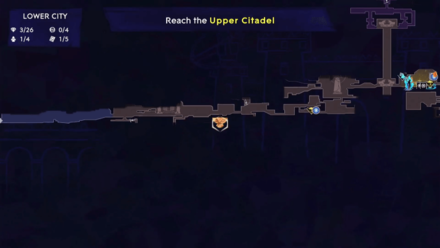
Kaheva will ask you to retrieve an ancient ore that she can use to forge an item of great power. Your map will automatically open and mark the location of the ore located in the western side of the Lower City.
Head to the Western Side of the Lower City
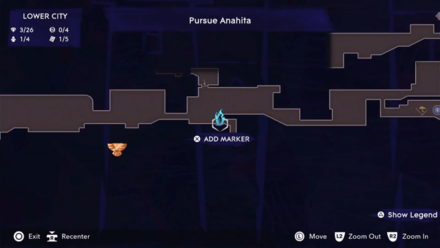
| Map Location | Overworld Location |
|---|---|
 |
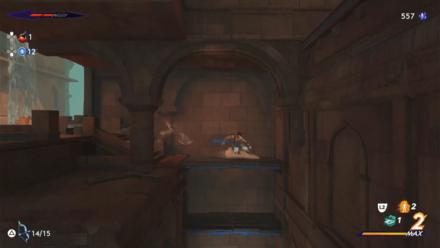 |
Make your way to the western side of the Lower City where you'll find a small alcove where you can drop down a hidden area.
Activate the Platform
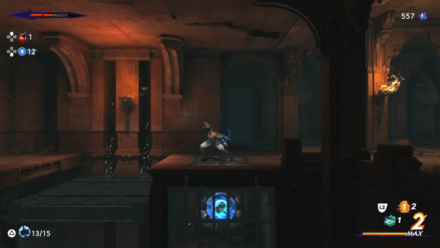
Make your way left until you reach a moving platform that you can use to descend further.
Move to the railing to the right of the platform and use your Bow and Chakram to shoot the switch to activate the platform to descend further.
Jump Over the Spike Trap
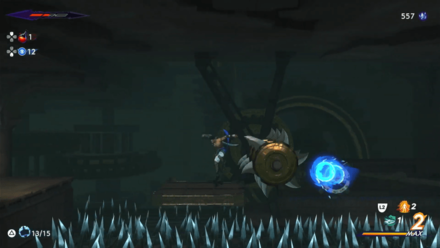
Head left until you reach a pit of spikes with another moving platform and switch. Step on the platform and use your Bow and Chakram to activate the platform which will move you right next to the rotating spike trap.
Wait for the switch to deactivate and then jump over the spike trap as soon as your chakram returns to reach the other side.
Wall Jump to the Next Area
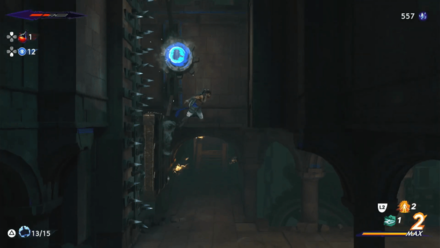
Head left to a wall of spikes with another moving platform and switch. Use your Bow and Chakram to activate the switch, which will cause the platform to descend and give you a safe spot to wall jump to the right side.
The switch deactivates fast so you'll have plenty of time to wall jump back to the platform as soon as it retracts, allowing you to reach the top section safely.
Open the Treasure Chest and Survive the Traps
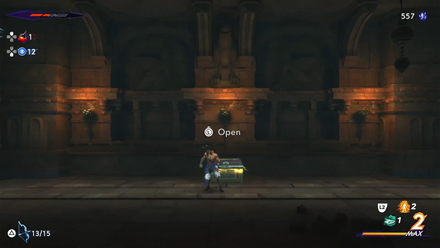
Head right to the next room and open the treasure chest which contains the ore that Kaheva needs. Unfortunately, this activates a gauntlet of spike traps that you'll need to survive!
- Jump Over the First Spike Trap
- Evade the Second Spike Trap
- Wall Jump to Avoid the Third Spike Trap
- Jump Over the Three Spike Traps
- Slide to Avoid the Rotating Spike Trap
- Survive the Last Spike Trap
- Retrieve the Ore from the Chest
Jump Over the First Spike Trap
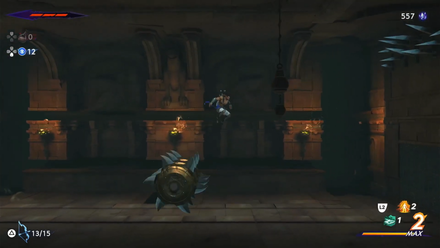
As soon as the walls move back, get ready and jump over the first spike trap which will appear from the right side of the room.
Evade the Second Spike Trap
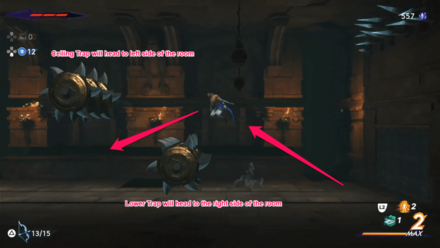
As soon as you jump over the first spike trap, stay on the right side of the room and wait for the next set of traps.
Wait for the spike trap on the ceiling to pass by, then quickly jump over the spike trap emerging from the left side of the room.
Wall Jump to Avoid the Third Spike Trap
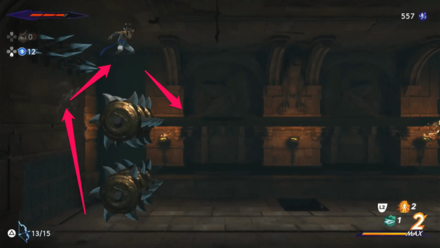
Quickly make your way to the left side of the room, giving yourself enough space to wall jump, and then wait for the two spike traps stacked on top of one another to emerge from the right side of the room.
As soon as the spike traps almost reach you, wall jump on the left wall to jump over the two spike traps.
Jump Over the Three Spike Traps
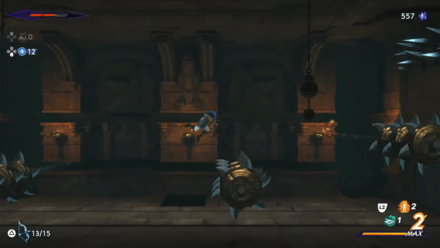
Head to the center of the room and jump over the three spike traps that will emerge from the left side of the room.
The spikes will emerge one after another, so make sure you quickly ready your jump as soon as you land after evading the previous spike trap!
Slide to Avoid the Rotating Spike Trap
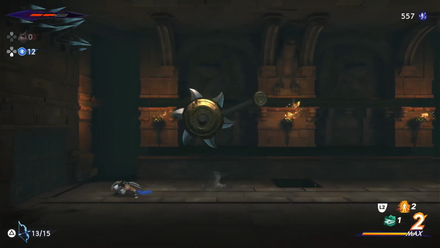
A rotating spike trap will emerge from the left side of the room. The trap is initially positioned close to the ceiling, but will rotate downwards in an attempt to hit you.
As soon as you see the spike trap about to rotate, quickly dash and slide to the left side of the room to evade the trap!
Survive the Last Spike Trap
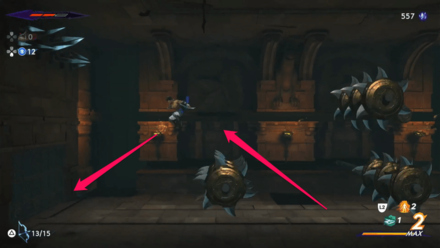
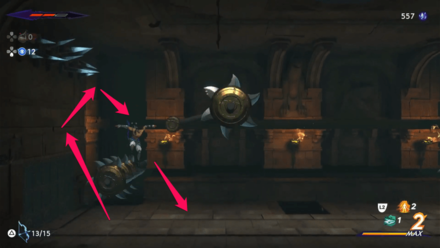
| Trap 1 Solution | Trap 2 Solution |
|---|---|
 |
 |
Quickly make your way to the center of the room for the last spike trap. Three spike traps will emerge, two close to the floor from both sides of the room and one rotating trap on the right side which will rest in the middle of the room.
As soon as the spike traps emerge, quickly jump over the left spike trap and position yourself on the left side of the room so you have enough space to wall jump.
The floor traps will then return to the wall while the rotating spike trap will make its way to the left side of the room. As soon as you see the left spike trap retract, wall jump on the left wall to evade the trap and delay your descent to avoid the rotating spike trap.
Note: You can delay your descent from a wall jump by moving to the opposite side of where Sargon will normally jump. Since Sargon is jumping to the right side, pressing left and force him to fall straight down to avoid the rotating spike trap.
Retrieve the Ore from the Chest
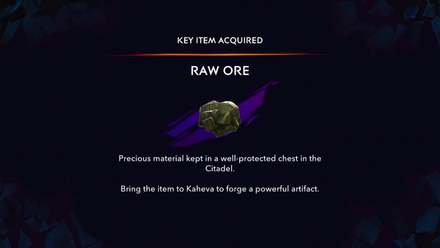
With all traps overcome, the chest will once again appear in the center of the room. Open the chest to retrieve the Raw Ore that Kaheva needs.
Return to Ore to Kaheva
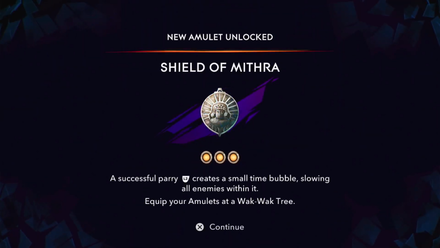
Make your way back to Kaheva's Forge and give her the Raw Ore which she'll use to fashion the Shield of Mithra Amulet.
Equipping this amulet creates a small time bubble that slows down enemies within it after executing a successful parry!
Prince of Persia: The Lost Crown Related Guides

List of All Side Quests
| Prince of Persia The Lost Crown Side Quests | ||
|---|---|---|
| Ancient Power Unearthed | The Deserter | The Lost Warriors |
| The Moon Gatherer | Motherly Love | Treasure of the Seven Seas |
| The Impossible Climb | The Architect | Prophecy of Mount Qaf |
Comment
Author
Ancient Power Unearthed Walkthrough
Rankings
- We could not find the message board you were looking for.
Gaming News
Popular Games

Genshin Impact Walkthrough & Guides Wiki

Honkai: Star Rail Walkthrough & Guides Wiki

Umamusume: Pretty Derby Walkthrough & Guides Wiki

Pokemon Pokopia Walkthrough & Guides Wiki

Resident Evil Requiem (RE9) Walkthrough & Guides Wiki

Monster Hunter Wilds Walkthrough & Guides Wiki

Wuthering Waves Walkthrough & Guides Wiki

Arknights: Endfield Walkthrough & Guides Wiki

Pokemon FireRed and LeafGreen (FRLG) Walkthrough & Guides Wiki

Pokemon TCG Pocket (PTCGP) Strategies & Guides Wiki
Recommended Games

Diablo 4: Vessel of Hatred Walkthrough & Guides Wiki

Cyberpunk 2077: Ultimate Edition Walkthrough & Guides Wiki

Fire Emblem Heroes (FEH) Walkthrough & Guides Wiki

Yu-Gi-Oh! Master Duel Walkthrough & Guides Wiki

Super Smash Bros. Ultimate Walkthrough & Guides Wiki

Pokemon Brilliant Diamond and Shining Pearl (BDSP) Walkthrough & Guides Wiki

Elden Ring Shadow of the Erdtree Walkthrough & Guides Wiki

Monster Hunter World Walkthrough & Guides Wiki

The Legend of Zelda: Tears of the Kingdom Walkthrough & Guides Wiki

Persona 3 Reload Walkthrough & Guides Wiki
All rights reserved
© 2023 Ubisoft Entertainment. All Rights Reserved. Based on Prince of Persia® created by Jordan Mechner. Ubisoft and the Ubisoft logo are registered or unregistered trademarks of Ubisoft Entertainment in the U.S. and/or other countries. Prince of Persia is a trademark of Waterwheel Licensing LLC in the US and/or other countries used under license. Content made in collaboration with Ubisoft.
The copyrights of videos of games used in our content and other intellectual property rights belong to the provider of the game.
The contents we provide on this site were created personally by members of the Game8 editorial department.
We refuse the right to reuse or repost content taken without our permission such as data or images to other sites.


![Monster Hunter Stories 3 Review [First Impressions] | Simply Rejuvenating](https://img.game8.co/4438641/2a31b7702bd70e78ec8efd24661dacda.jpeg/thumb)


