This survey will take about 1 minute.
Your answers will help us to improve our website.
Kirby and the Forgotten Land
The Ultimate Cup Z EX Guide
This guide shows you the list of bosses you face at the Ultimate Cup Z EX in the Star-Crossed World DLC for Kirby and the Forgotten Land, including all the new bosses. Read on to learn which recommended Copy Abilities to use for each boss, Ultimate Cup Z EX rewards, and more!
Ultimate Cup Z EX List of Bosses
Rounds 1-9
| The first nine bosses will appear in random order. In addition, two mid-bosses appear back to back in a single boss fight. After defeating the first mid-boss, a Galactal will appear, and you need to beat it first for the second mid-boss to appear. |
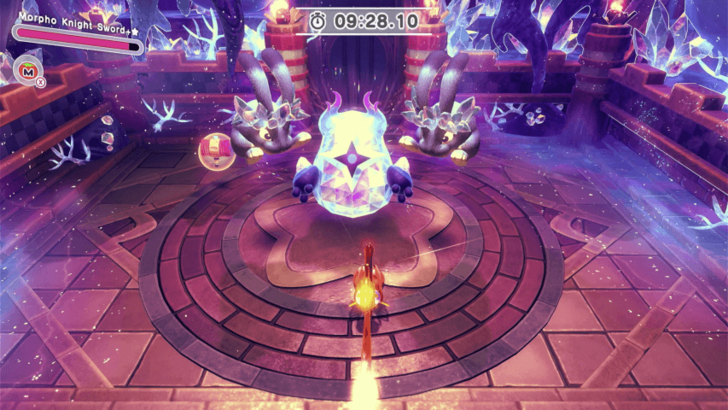 |
Appears after beating the first mid-boss. Has to be defeated for the second mid-boss to appear ・Attacks have long wind up. ・Appears along with 2 Crystal minions. |
|---|---|
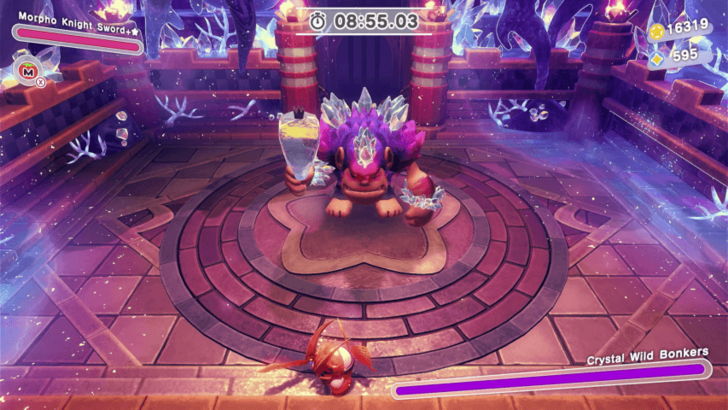 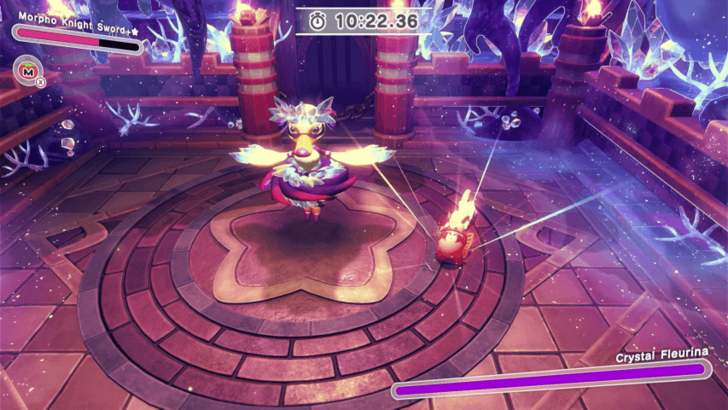 |
When defeated, Crystal Fleurina appears. ・Has slow attack speed. ・Throws fruit bombs at long-range. |
| Appears after defeating Crystal Wild Bonkers and a Galactal. ・ Uses long-range attacks. ・Can summon and surround itself with tornadoes. |
|
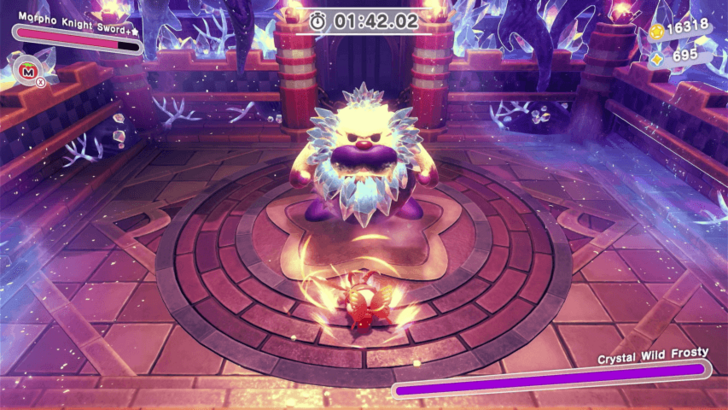 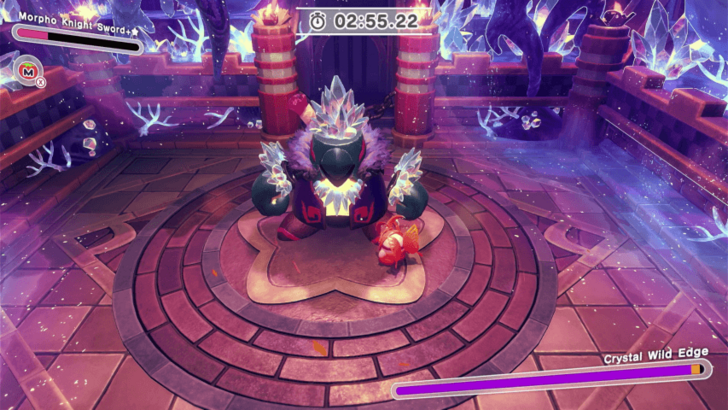 |
When defeated, Crystal Wild Edge appears. ・ Uses rushing attacks. ・Can throw small and large snowballs that roll around the arena. |
| Appears after defeating Crystal Wild Frosty and a Galactal. ・Uses close-range attacks. ・Uses a shield to block frontal attacks. |
|
 Phantom Gorimondo Phantom Gorimondo |
・Uses close-range attacks. ・Uses a stomp attack that produces shockwaves. ・Run from his spinning attack. |
 Phantom Tropic Woods Phantom Tropic Woods |
・The boss does not move at all, making it easy to hit. ・Stay in the middle of the arena to avoid the roots. |
 Phantom Clawroline Phantom Clawroline |
・Has fast attack speed. ・Hover to avoid the close-range attacks. |
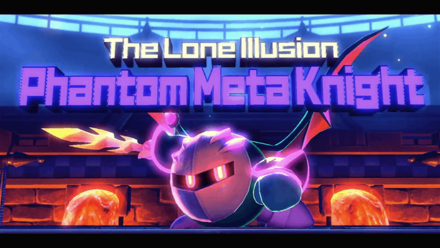 Phantom Meta Knight Phantom Meta Knight |
・Has fast attack speed. ・Has a rushing attack that cannot be guarded. ・ Summons multiple boulders from above when his health is low. |
 Phantom King Dedede Phantom King Dedede |
・Uses a rushing slam attack that can be dodged. ・Avoid the cracked spots when he uses the column to slam the ground. |
 Phantom Sillydillo Phantom Sillydillo |
・Use a jump attack when he chases you with the cage. ・Uses a rolling attack and spinning attack at the second phase of the fight. |
 Phantom Forgo Dedede Phantom Forgo Dedede |
・Uses a hammer combo attack to summon fire tornadoes. ・Stay clear of the lava surrounding the stage. |
Rounds 10-13
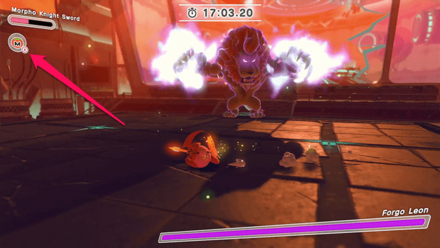
| 10 | 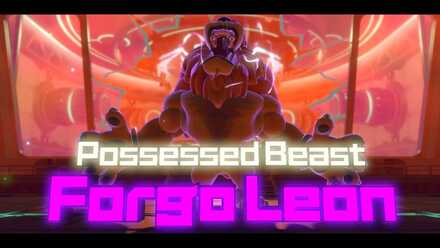 Forgo Leon Forgo Leon |
・Hover or dodge the shockwave attack. ・Dash at the corner of the stage to avoid Soul Forgo's large shockwave attack. ・Dodge his attacks at the right time to counterattack. |
|---|---|---|
| 11 | 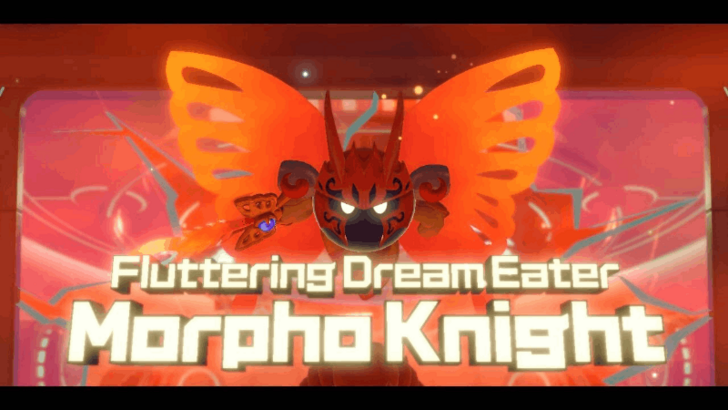 Morpho Knight Morpho Knight |
・Dodge to avoid the giant flaming sword attack. ・Attack Morpho Knight whenever he summons copies of Soul Forgo. ・Attack after he uses the wing flap combo. |
| 12 |  Genwel Meteonelfilis Genwel Meteonelfilis |
When defeated, becomes a giant, starting its second phase. ・Dodge its attacks and find an opening to attack. ・Has lots of area, charging, and projectiles attacks. |
 Genwel Meteonelfilis (Second Form) Genwel Meteonelfilis (Second Form) |
Genwel Meteonelfilis' second phase. ・Wait for it to expose its hand or tail to attack. ・Dodge its telegraphed attacks. ・Enter through the Hole in the Building during its building attack. |
|
| 13 | 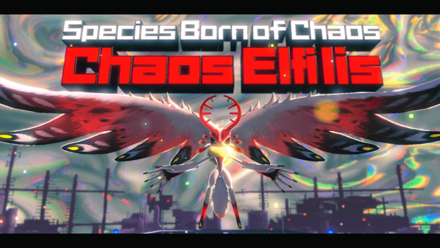 Chaos Elfilis (First Form) Chaos Elfilis (First Form) |
When defeated, a blob appears and absorbs the boss, starting the second phase. ・Dodge its spear attacks at the right time to counterattack. ・Summons projectiles that can be dodged. ・Attack its original form once it tries to heal itself. |
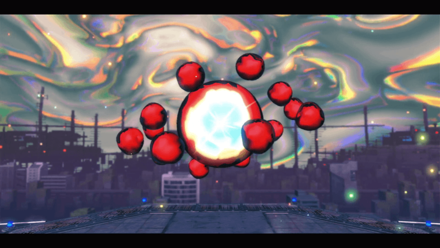 Chaos Elfilis (Second Form) Chaos Elfilis (Second Form) |
Appears after defeating Chaos Elifilis on the first phase. ・Run away from the black hole at the start of the fight. ・Dodge towards the boss when it performs the dual laser attack. ・ Climb up the pillars and hover to avoid the meteor attack. |
|
Final Secret Boss Chaos Elfilis
Just like in the Ultimate Z Cup, Chaos Elfilis is the the last boss you need to fight in the Ultimate Z EX Cup and is the true form of Fecto Eflilis, the final boss of the main story of the base game.
Ultimate Cup Z EX Recommended Copy Abilities
| First Clear |
 Morpho Knight Sword Morpho Knight Sword
|
|---|
Use Morpho Knight Sword to Complete the Tournament
|
Morpho Knight Sword
|
Morpho Knight Sword allows you to defeat the mid-bosses in one or two hits, saving you time and energy for the more difficult bosses. In addition, you can use its combo attacks to restore health each time the attack lands on the opponents.
The copy ability's dodge is enhanced, allowing you to vanish and travel for a short distance to avoid attacks. You can use this to dodge and perform a counterattack to fast-moving bosses.
Avoid using the charged attacks towards fast-moving bosses as this will leave you open to their attacks.
Ultimate Cup Z EX Tips
Have a Maxim Tomato on the Item Slot
Before entering the Ultimate Cup Z EX, purchase a Maxim Tomato from the Waddle Dee Cafe to have it on the item slot. This comes in handy if you have low health during a boss fight or if you ran out of oranges in between the fights.
Waddle Dee Cafe: How to Unlock and Item List
Save Three Oranges for the Last Three Fights

At the end of each fight, you can pick up the oranges at the sides of the area to restore a portion of your health. It is recommended to save at least three oranges once you face the last three bosses in the tournament.
Note that the oranges will not respawn once you return to the area after a boss fight.
Price for Retrying Gradually Increases
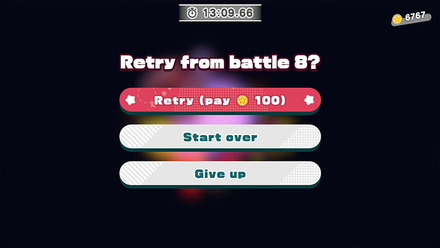
When you lose a battle, you have the option to retry, start over, or give up. Choosing to retry and pay the fee puts you back at the start of the battle with your health fully restored.
Note that the amount you need to pay doubles each time you lose. This means that if you lose for the second and third time, the payment increases to 200 star coins and 400 star coins, respectively.
Star Coin Farming Guide and Where to Use
Power Up Your Copy Ability to Increase Damage
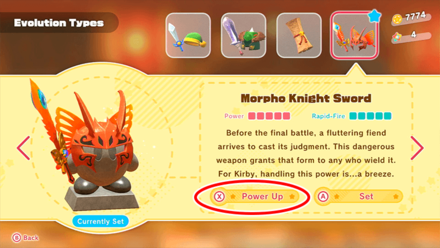
You can power up your copy ability three times at Waddle Dee's Weapon Shop. This upgrades its damage stat, allowing you to defeat the bosses faster.
Waddle Dee's Weapon Shop: How to Unlock and Things to Do
Play in Co-Op Mode for an Easier Experience
Playing in Co-Op mode allows you to fight the bosses with two characters instead of just Kirby, allowing for an easier experience overall.
While Bandana Waddle Dee does not have Kirby's copy ability, his attack power will match Kirby's copy ability. This means that Bandana Waddle Dee can have the same attack power as the Morpho Knight Sword if Kirby is using it.
Note that if you complete the Ultimate Cup Z EX in Co-Op mode, your record time will appear under the "Best Co-op Times" section of the tournament selection screen.
How to Unlock and Play Co-Op With 2 Players
Use All Item Buffs Before Entering the Tournament
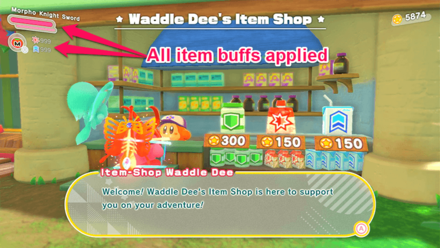
If you have Waddle Dee's Item Shop at the town, you can buy the item boosters that they sell to gain an advantage at the Ultimate Cup Z EX. In addition, these items can be stacked up to five times to increase their item effect.
It is recommended to use five Attack Boosts and Speed Boosts to increase your damage and speed for at least sixteen minutes. You can also buy the Life Up to double your health and ensure survivability in the tournament.
If you use any of the item buffs, they will show up in your record at the end of the tournament, although this has no negative impact.
Waddle Dee's Item Shop: How to Unlock and Item List
Change the Difficulty to Spring-Breeze Mode If Having Trouble
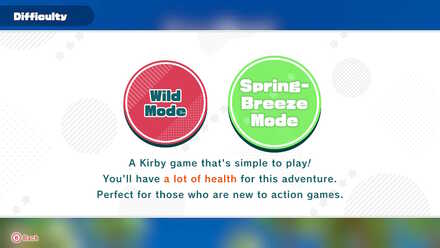
If you are having a difficult time completing the Ultimate Cup Z EX, you can change the difficulty to Spring-Breeze Mode. This mode lets you have more health, allowing to you to take more damage from the bosses.
Ultimate Cup Z EX Rewards
Invasive Species from Distance Stars Figure
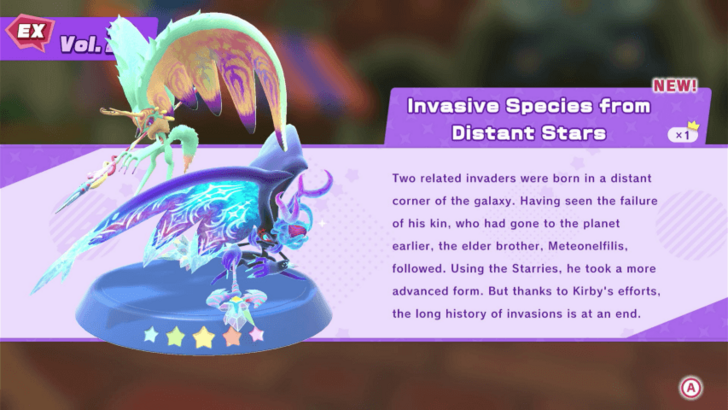
The most unique reward from finishing the Ultimate Cup Z EX is the Invasive Species from Distance Stars figure, which is the last Vol. 2 EX figure in the collection.
Gotcha Machine EX: List of DLC Figures
1500 Star Coins, 1500 Starry Coins, and 3 Rare Stones

You'll also get 1500 Star Coins, 1500 Starry Coins, and 3 Rare Stones.
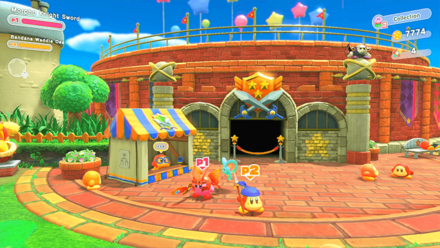
How to Unlock Ultimate Cup Z EX
Finish the Isolated Isles: Forgo Dreams

To unlock the Ultimate Cup Z EX, you have to finish the Isolated Isles: Forgo Dreams story first. After finishing the story, you can go to the colosseum booth to enter the Ultimate Cup Z EX.
Isolated Isles: Forgo Dreams Walkthrough and Stage List
Defeat the DLC Final Boss
You'll also need to beat Genwel Meteonelfilis, the final boss of the Star-Crossed World DLC. It's location will only appear after you've cleared all the Starry stages.
How to Beat Genwel Meteonelfilis
Kirby and the Forgotten Land Related Guides

All DLC Guides
| All Star-Cross World DLC Guides | |
|---|---|
| How to Start Star-Crossed World DLC | DLC Mouthful Modes |
| Will Star-Crossed World Be on Switch 1? | Are There New Copy Abilities in the DLC? |
| List of DLC Figures | How Long to Beat? |
| The Ultimate Cup Z EX | - |
Comment
Author

The Ultimate Cup Z EX Guide
Please participate in our site
improvement survey
04/2026
improvement survey
04/2026
Would you assist in
improving Game8's site?
improving Game8's site?

×
We are listening to our users' valuable opinions and discussing how to act on them.
The information collected through this survey will be used for the purpose of improving our services. In addition, the information will only be disclosed a part of a statistic in a format that will not allow identification of personal information.
Begin Survey
Not Now
×
Please rate each item regarding Game8.co's Advertisements.
Amount of Ads
Very Dissatisfied
Somewhat Dissatisfied
Fine
Somewhat Satisfied
Highly Satisfied
Placement of Ads
Timing of Ad Display
Ad Loading Speed
Safeness of Ads
Content of Ads
×
Please rate each item regarding Game8.co's Quality of Articles.
Amount of information
Very Dissatisfied
Somewhat Dissatisfied
Fine
Somewhat Satisfied
Highly Satisfied
Frequency of updates
Speed of new information
Accuracy of articles
Understandibility of articles
Readability of sentences
×
Please rate each item regarding Game8.co's Usability of the Site.
Ease of finding information
Very Dissatisfied
Somewhat Dissatisfied
Fine
Somewhat Satisfied
Highly Satisfied
Loading Speed
Use of Color
Font Size
Visibility of Images
Easy to Understand Layout
×
Please rate each item regarding Game8.co's Message Boards, Comments.
Ease of Writing
Very Dissatisfied
Somewhat Dissatisfied
Fine
Somewhat Satisfied
Highly Satisfied
Readability
Ease in Finding Information
Comment Quality
Comment Quantity
Admin Response
×
Please rate each item regarding Game8.co's Site's new design.
Please rate our site's new design
Very Dissatisfied
Somewhat Dissatisfied
Fine
Somewhat Satisfied
Highly Satisfied
Do you think that the website's design change makes the site easier to use?
Has the new design made it easier for you to find information on the site?
Has the new design improved the overall visual appeal of the site?
How would you rate your overall satisfaction with the new design of the site?
×
How likely are you to recommend Game8 to someone you know?
Very Unlikely
0
1
2
3
4
5
6
7
8
9
10
Very Likely
If you have other opinions regarding potential improvement to the website, please share them with us. We would appreciate your honest opinion.
Note: This is a free response section, so you can proceed without entering anything.
Note: Please be sure not to enter any kind of personal information into your response.
Note: Please be sure not to enter any kind of personal information into your response.
×
Thank You
×
Thank you for participating in our survey! Your answers will help us to improve the quality of our website and services.
We hope you continue to make use of Game8.
We hope you continue to make use of Game8.
Close
Rankings
- We could not find the message board you were looking for.
Gaming News

![Forza Horizon 6 Review [Preview] | Beautiful Roads With a Whole Lot of Oversteer](https://img.game8.co/4460981/a7254c24945c43fbdf6ad9bea52b5ce9.png/show)


![Forza Horizon 6 Review [Preview] | Beautiful Roads With a Whole Lot of Oversteer](https://img.game8.co/4460981/a7254c24945c43fbdf6ad9bea52b5ce9.png/thumb)
Popular Games

Genshin Impact Walkthrough & Guides Wiki
Crimson Desert Walkthrough & Guides Wiki
Umamusume: Pretty Derby Walkthrough & Guides Wiki
Honkai: Star Rail Walkthrough & Guides Wiki
Monster Hunter Stories 3: Twisted Reflection Walkthrough & Guides Wiki
Wuthering Waves Walkthrough & Guides Wiki
The Seven Deadly Sins: Origin Walkthrough & Guides Wiki
Pokemon TCG Pocket (PTCGP) Strategies & Guides Wiki
Pokemon Pokopia Walkthrough & Guides Wiki
Zenless Zone Zero Walkthrough & Guides Wiki


Recommended Games
Monster Hunter World Walkthrough & Guides Wiki
Fire Emblem Heroes (FEH) Walkthrough & Guides Wiki
Pokemon Brilliant Diamond and Shining Pearl (BDSP) Walkthrough & Guides Wiki
Super Smash Bros. Ultimate Walkthrough & Guides Wiki
Diablo 4: Vessel of Hatred Walkthrough & Guides Wiki
Cyberpunk 2077: Ultimate Edition Walkthrough & Guides Wiki
Yu-Gi-Oh! Master Duel Walkthrough & Guides Wiki
Elden Ring Shadow of the Erdtree Walkthrough & Guides Wiki
The Legend of Zelda: Tears of the Kingdom Walkthrough & Guides Wiki
Persona 3 Reload Walkthrough & Guides Wiki


All rights reserved
© HAL Laboratory, Inc. / Nintendo
The copyrights of videos of games used in our content and other intellectual property rights belong to the provider of the game.
The contents we provide on this site were created personally by members of the Game8 editorial department.
We refuse the right to reuse or repost content taken without our permission such as data or images to other sites.