This survey will take about 1 minute.
Your answers will help us to improve our website.
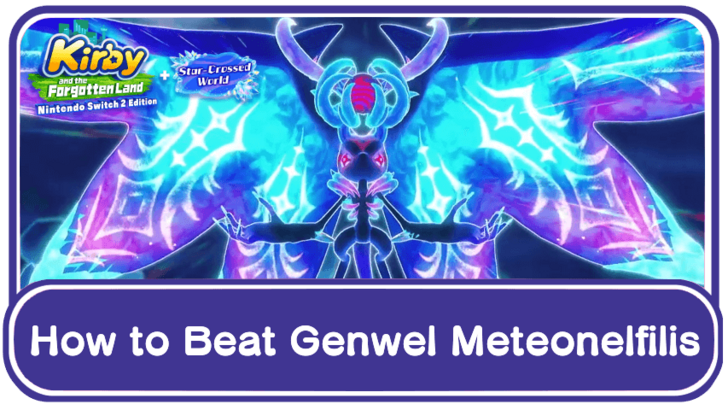
Kirby and the Forgotten Land
How to Beat Genwel Meteonelfilis (DLC Final Boss)
★Star-Crossed World DLC Out Now!
☆How to Start the DLC
★All DLC Starry Stages
☆List of DLC Figures
★List of DLC Mouthful Modes
☆How to Beat Genwel Meteonelfilis
Genwel Meteonelfilis is the final boss in the Star-Crossed World DLC for Kirby and the Forgotten Land. Learn how to beat Genwel Meteonelfilis, the best Copy Abilities to use, and the location of the DLC final boss in this guide!
List of Contents
Best Copy Ability to Use Against Genwel Meteonelfilis
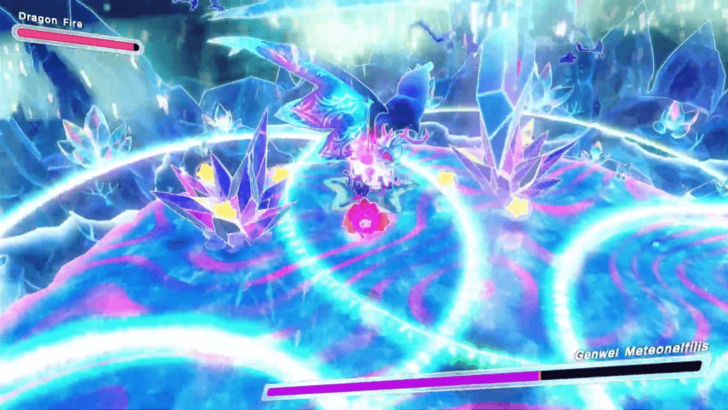
Dragon Fire
 Dragon Fire Dragon Fire
|
Dragon Fire is the best ability to use against Genwel Meteonelfilis due to its high attack power, and the residual burn damage it leaves after you stop attacking. It also provides Kirby with mobility via its charge attack when jumping and attacking in a direction.
Buzz-Saw Cutter
 Buzz-Saw Cutter Buzz-Saw Cutter
|
The Buzz-Saw Cutter is a great option for its high and consistent damage, especially when utilizing its charge-and-hold attack. This is great for Phases 2 and 3 of the boss fight.
Blizzard Ice
 Blizzard Ice Blizzard Ice
|
Blizzard Ice is recommended for those who prefer to guard rather than dodge. The guard on this ability blocks almost all attacks from the boss. Unblockable attacks include the big, final smashes with the building in Phase 2, and the explosion attacks in Phases 1 and 3.
Consistently using Blizzard Ice's attacks can also freeze the boss, especially during Phase 1. The reliability of this does decrease by the later phases of the fight though.
Use Deep Sleep in Waddle Dee's Weapon Shop Before the Fight
The Sleep's final evolution, Deep Sleep, can not only heal Kirby, but it can also give him one of three random buffs per use. These buffs are an attack boost for 200 seconds, a speed boost for 200 seconds, or a health boost that gives a second life bar.
The health boost is the best to get, especially if you're playing on Wild Mode, but feel free to keep using the Deep Sleep ability in Waddle Dee's Weapon Shop to get all three buffs before the fight!
Deep Sleep Ability Attacks, Evolutions, and Available Stages
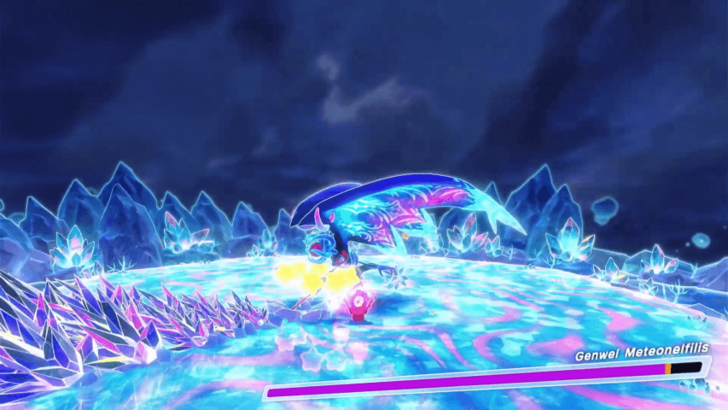
Genwel Meteonelfilis Boss Phase 1 Strategy
|
|
During phase 1, the boss will follow long attack patterns consisting of area, charging, and projectile attacks. At the end of these attacks, it will be vulnerable for a short amount of time, allowing you to deal as much damage as possible.
All you need to do is to avoid the attacks, wait for them to end, and once the boss becomes vulnerable, go in for an attack. Keep doing this until the boss is beaten and enters its second phase.
Hover During AOE Attacks
The boss has a lot of area attacks that cover a large portion of the arena. The simplest way to deal with them is to hover around since these attacks only deal damage on the ground.
Dodge During Charging Attacks
The boss also has attacks where it charges towards you in a straight line. The only way to deal with them is to dodge or move out of the path quickly.
Move Around During Projectile Attacks

The boss also has attacks where it hurls projectiles at you or call down a meteor from the sky. The best way to deal with projectile attacks is to keep moving around the arena to dodge them.
For meteors, you can actually see where they will land by looking at the shadows on the ground. All you need to do is to avoid the impact zone.
Jump to Avoid Its Beam Attack
Once the boss' HP gets low, it now does a new attack where it fires a beam at Kirby. To avoid getting hit, you just need to jump every time the beam sweeps across the arena.
Attack After Its Long Attack Patterns
After the boss performs its attacks, you will be given a short time window to freely attack. During this time window, the boss won't do anything, so make the most out of this time window to deal damage.
Dodge or Move Behind It to Attack Safely
Once you can anticipate the boss' combos and attacks, aim to get behind it to do safer, consistent attacks. Remember that perfectly timing dodges slows down time and allows you more windows to attack or reposition!
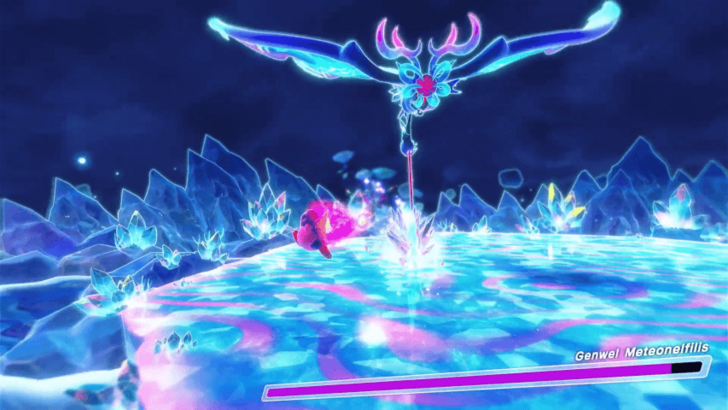
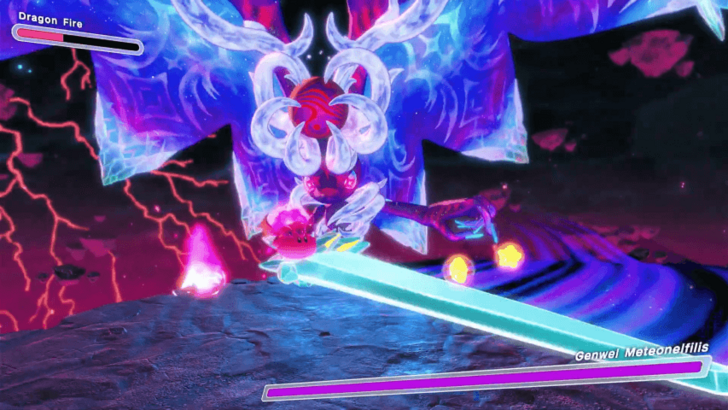
Genwel Meteonelfilis Boss Phase 2 Strategy
The boss's phase 2 turns up the difficulty since it grows giant and hovers outside the arena, making it harder to deal damage to it. However, its attacks can be anticipated easier since they're slower and more telegraphed. Do note that attacks during this phase will evolve more dangerously as the boss's health gets lower and lower.
Jump and Dodge During the Sword Sweep Attacks
One of the boss's attacks has it sweep its sword in an arc. Jump over these initial horizontal swings.
Once the boss's HP gets low enough this attack will add on more sword swings, including vertical ones where you have to dodge or guard in addition to jumping.
This Attack Adds More Sword Sweeps When HP Gets Lower
When its HP gets to certain points, the Sword Sweep attack will have more swings added, with its later variations having vertical swings coming from above. Jump over the horizontal swings then dodge or guard against the vertical ones. The biggest vertical swing will have an AOE attack after its smash, so avoid that as well.
Go In-Between or Dodge During the Projectile Attack
This attack has two variations: blue and pink. The blue projectiles have a set pattern that will come at you all at once. The pink projectiles will hone in towards your direction and shoot off one-by-one. For the blue variation, find a space in the pattern where you will be safe to avoid damage. For the pink variation, run or dodge away from the incoming projectiles.
Once the boss's HP gets low enough, more and more projectiles will be added and their patterns get more complicated.
Move Around During the Galactal Attack
Another one of the boss' attacks is summoning multiple Galactals and sending them to attack Kirby. All you need to do to avoid getting hit is to move out of the shadows you see on the ground since that's where the Galactals will emerge and attack. You can also dodge or guard from them.
The number of Galactals summoned significantly increases as the boss's HP becomes low, but the strategy to avoid them remains the same.
Dodge Its Building Attacks

Once the boss' HP gets low, it now performs a new attack where it grabs a large building and slams it on the ground. You just need to stay out of the building's shadow once you see it on the ground to avoid getting crushed, then avoid getting hit by the shock wave afterwards.
Enter Through the Holes in the Building
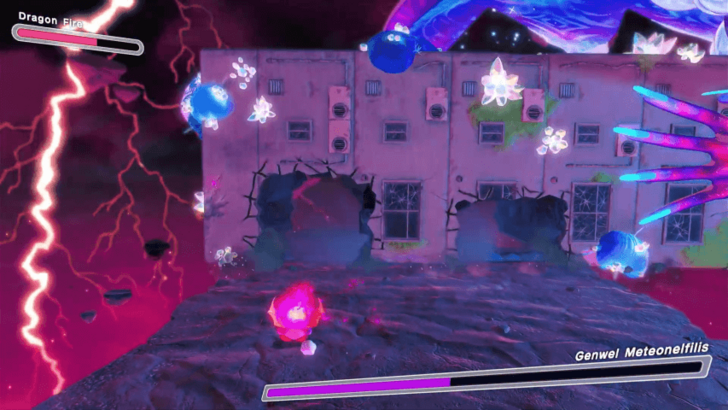
Additionally, there's a variation of this attack later on in the fight where the building will have holes on it. During this variation, the boss will drag the building across the arena. All you need to do is to stay under the holes of the building as it's dragged across. When it's about to smash the building overhead, you can also reside within the holes to avoid the damage, based on its shadow.
Attack When It Exposes Its Hand or Tail
| Body Part | When to Attack |
|---|---|
| Tail | 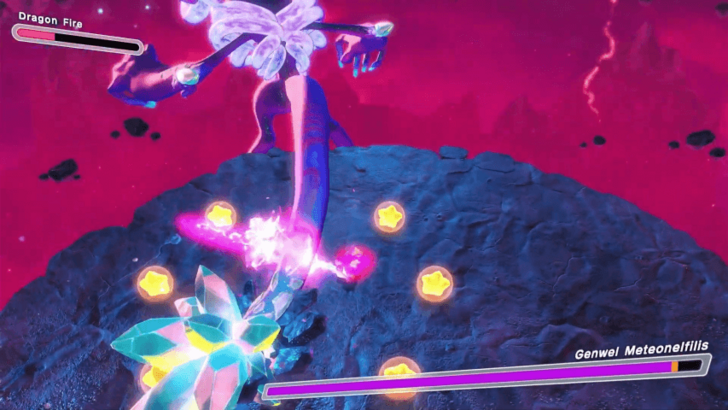 After the boss slams its tail on the ground. |
| Hand | 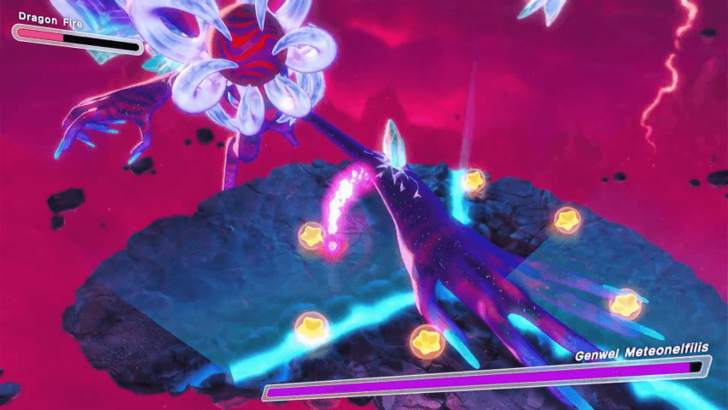 After the boss slams its hand or sword on the ground. |
| Torso |  While the boss is near the platform. |
Although the boss will be floating outside the arena during its second phase, it will occasionally expose its tail or hand after an attack. Once it does this, dodge or guard from these attacks and deal as much damage as possible, before the boss becomes unreachable again. Just be wary as the tail and hand attacks have AOE attacks to them.
Additionally, the boss will stay close to the platform, leaving its torso vulnerable. It usually does this during the Galactal and Sword Sweep attacks. You can also deal damage while the boss is close the platform, but you need to be careful while doing so.
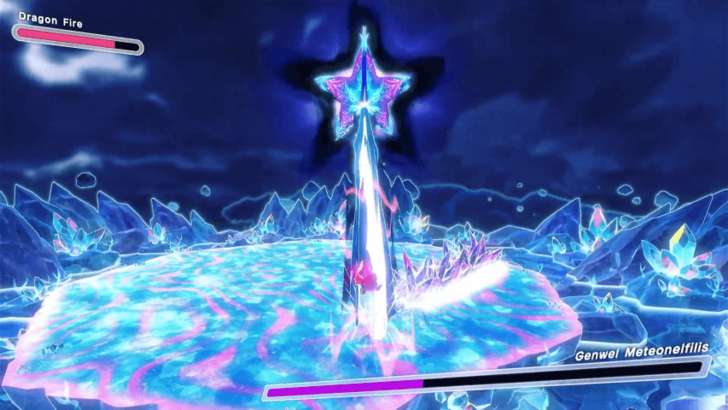
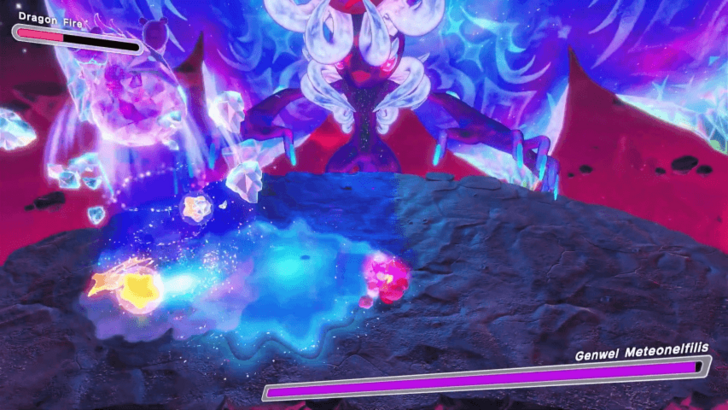
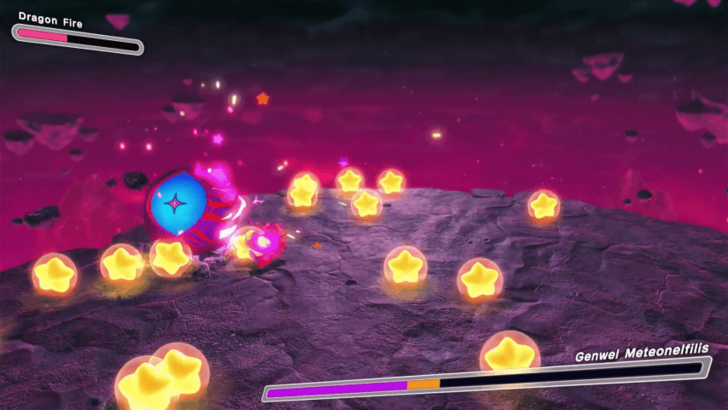
Genwel Meteonelfilis Boss Phase 3 Strategy
|
|
The boss's last phase is simpler compared to the 1st and 2nd phases in terms of the objective and attack patterns. During this phase, you'll fight the boss in the platform again just like the first phase, but it doesn't go out of it anymore. You do have to act more aggressively during this last phase.
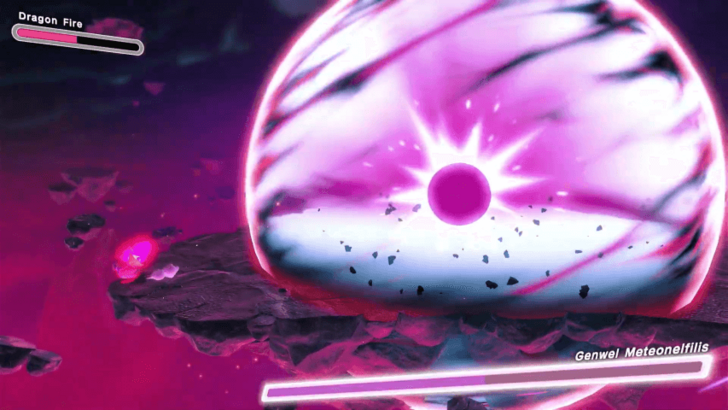
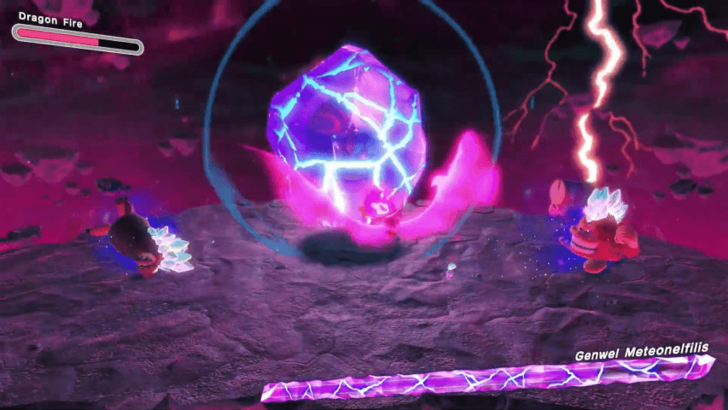
Focus on Breaking Its Shell
Your primary objective to beat the boss in this phase is to break its shell before it unleashes a big explosion. Breaking its shell is the only way for you to actually deal damage to the boss, and if you manage to do so before it unleashes a big explosion, it will deal a massive amount of damage. Do this a number of times, and you'll eventually beat the boss.
Additionally, if you manage to break its shell for the third time, it will be stunned for a while. Make sure to continue attacking the boss while it's stunned.
However, do take note that as it charges for the big explosion, the boss will perform AOE attacks, and summon meteors and minions, making hard for you to break its shell.
Move to the Edge If It Explodes
In the event that you didn't break the shell before the explosion, all you need to do is to move towards the edge of the platform to avoid getting hit by the explosion. You don't need to be quick since the explosion is really slow.
Defeat Its Minions First
Once it summons minions to attack you, it's best to get rid of them first since they can be a huge nuisance as you attempt to break the shell. After eliminating them, you can focus on breaking the shell again. You can even absorb some of these enemies for their abilities if you want to switch up your weapons.
You may also decide to ignore them if you want to focus on breaking the boss's shell, as the enemies do go away after a while. Just be careful as this means you have to dodge their attacks along with the boss's attacks if you decide to leave them be.
Genwel Meteonelfilis Boss Location
Fallen-Star Volcano
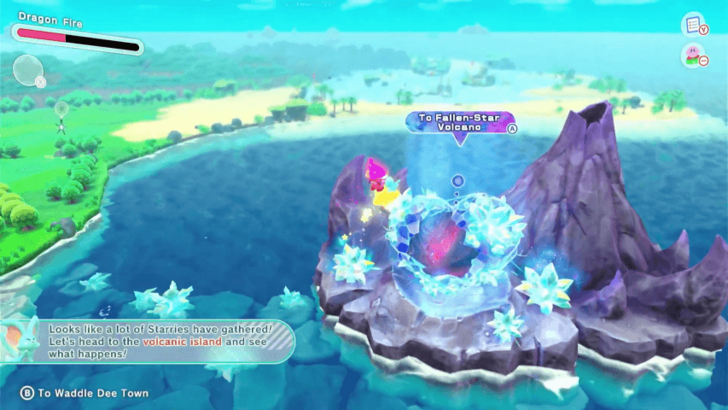
Genwel Meteonelfilis is located in the Fallen-Star Volcano. You must complete all 12 Starry Stages first before you can access this location.
Kirby and the Forgotten Land Related Guides

All Main Story Bosses
| Boss | Stage & Recommended Ability |
|---|---|
 Gorimondo Gorimondo |
Stage Name: The Brawl at the Mall Recommended Abilities:
・
|
 Tropic Woods Tropic Woods |
Stage Name: The Tropical Terror Recommended Abilities:
・
|
 Clawroline Clawroline |
Stage Name: Danger under the Big Top Recommended Abilities:
・
・
|
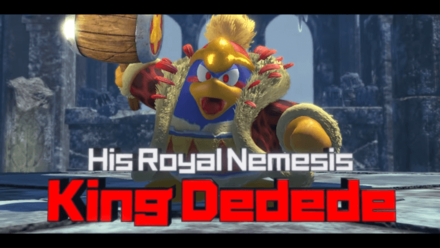 King Dedede King Dedede |
Stage Name: An Unexpected Beast King Recommended Abilities:
・
・
・
|
 Sillydillo Sillydillo |
Stage Name: Collector in the Sleepless Valley Recommended Abilities:
・
・
・
|
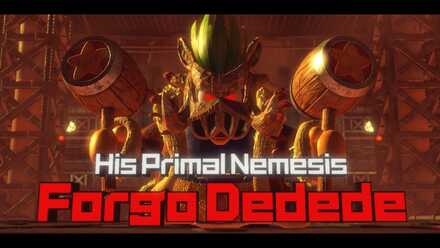 Forgo Dedede Forgo Dedede |
Stage Name: In the Presence of the King Recommended Abilities: |
 Leongar Leongar |
Stage Name: Lab Discovera Recommended Abilities: |
 Fecto Forgo Fecto Forgo |
Stage Name: Lab Discovera Recommended Abilities: |
 Fecto Elfilis Fecto Elfilis |
Stage Name: Lab Discovera Recommended Abilities: |
All Isolated Isles Bosses
| Boss | Stage & Recommended Ability |
|---|---|
 Phantom Gorimondo Phantom Gorimondo |
Stage Name: Forgo Plains Recommended Abilities: |
 Phantom Tropic Woods Phantom Tropic Woods |
Stage Name: Forgo Bay Recommended Abilities: |
 Phantom Clawroline Phantom Clawroline |
Stage Name: Forgo Park Recommended Abilities: |
 Phantom King Dedede Phantom King Dedede |
Stage Name: Forgo Horns Recommended Abilities: |
 Phantom Sillydillo Phantom Sillydillo |
Stage Name: Forgo Wasteland Recommended Abilities: |
 Phantom Forgo Dedede Phantom Forgo Dedede |
Stage Name: Forgo Zone Recommended Abilities: |
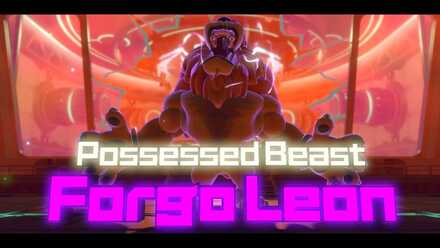 Forgo Leon Forgo Leon |
Stage Name: Forgo Land Recommended Abilities: |
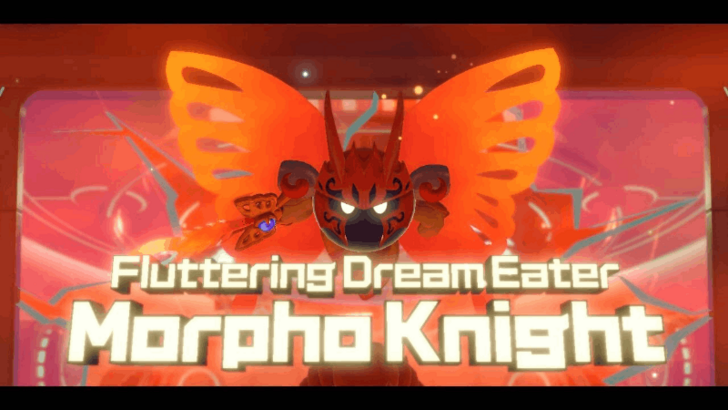 Morpho Knight Morpho Knight |
Stage Name: Forgo Land Recommended Abilities: |
All Colosseum Bosses
| Boss | Cup & Recommended Ability |
|---|---|
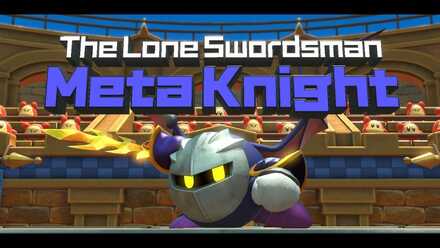 Meta Knight Meta Knight |
Appears In: Meta Knight Cup Recommended Abilities: |
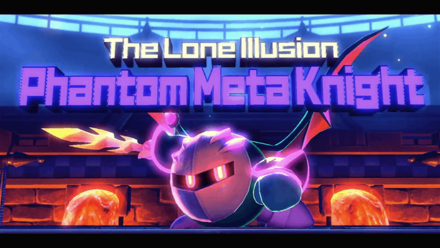 Phantom Meta Knight Phantom Meta Knight |
Appears In: The Ultimate Cup Z Recommended Abilities: |
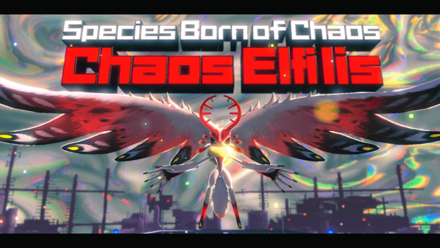 Chaos Elfilis Chaos Elfilis |
Appears In: The Ultimate Cup Z Recommended Abilities: |
Star-Crossed World DLC Bosses
| Boss | Cup & Recommended Ability |
|---|---|
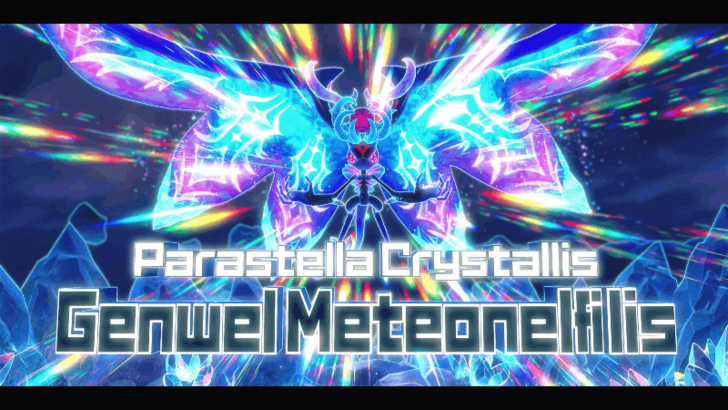 Genwel Meteonelfilis Genwel Meteonelfilis |
Appears In: Fallen-Star Volcano Recommended Abilities: |
Comment
Author

How to Beat Genwel Meteonelfilis (DLC Final Boss)
Please participate in our site
improvement survey
04/2026
improvement survey
04/2026
Would you assist in
improving Game8's site?
improving Game8's site?

×
We are listening to our users' valuable opinions and discussing how to act on them.
The information collected through this survey will be used for the purpose of improving our services. In addition, the information will only be disclosed a part of a statistic in a format that will not allow identification of personal information.
Begin Survey
Not Now
×
Please rate each item regarding Game8.co's Advertisements.
Amount of Ads
Very Dissatisfied
Somewhat Dissatisfied
Fine
Somewhat Satisfied
Highly Satisfied
Placement of Ads
Timing of Ad Display
Ad Loading Speed
Safeness of Ads
Content of Ads
×
Please rate each item regarding Game8.co's Quality of Articles.
Amount of information
Very Dissatisfied
Somewhat Dissatisfied
Fine
Somewhat Satisfied
Highly Satisfied
Frequency of updates
Speed of new information
Accuracy of articles
Understandibility of articles
Readability of sentences
×
Please rate each item regarding Game8.co's Usability of the Site.
Ease of finding information
Very Dissatisfied
Somewhat Dissatisfied
Fine
Somewhat Satisfied
Highly Satisfied
Loading Speed
Use of Color
Font Size
Visibility of Images
Easy to Understand Layout
×
Please rate each item regarding Game8.co's Message Boards, Comments.
Ease of Writing
Very Dissatisfied
Somewhat Dissatisfied
Fine
Somewhat Satisfied
Highly Satisfied
Readability
Ease in Finding Information
Comment Quality
Comment Quantity
Admin Response
×
Please rate each item regarding Game8.co's Site's new design.
Please rate our site's new design
Very Dissatisfied
Somewhat Dissatisfied
Fine
Somewhat Satisfied
Highly Satisfied
Do you think that the website's design change makes the site easier to use?
Has the new design made it easier for you to find information on the site?
Has the new design improved the overall visual appeal of the site?
How would you rate your overall satisfaction with the new design of the site?
×
How likely are you to recommend Game8 to someone you know?
Very Unlikely
0
1
2
3
4
5
6
7
8
9
10
Very Likely
If you have other opinions regarding potential improvement to the website, please share them with us. We would appreciate your honest opinion.
Note: This is a free response section, so you can proceed without entering anything.
Note: Please be sure not to enter any kind of personal information into your response.
Note: Please be sure not to enter any kind of personal information into your response.
×
Thank You
×
Thank you for participating in our survey! Your answers will help us to improve the quality of our website and services.
We hope you continue to make use of Game8.
We hope you continue to make use of Game8.
Close
Rankings
- We could not find the message board you were looking for.
Gaming News

![Forza Horizon 6 Review [Preview] | Beautiful Roads With a Whole Lot of Oversteer](https://img.game8.co/4460981/a7254c24945c43fbdf6ad9bea52b5ce9.png/show)


![Forza Horizon 6 Review [Preview] | Beautiful Roads With a Whole Lot of Oversteer](https://img.game8.co/4460981/a7254c24945c43fbdf6ad9bea52b5ce9.png/thumb)
Popular Games

Genshin Impact Walkthrough & Guides Wiki
Crimson Desert Walkthrough & Guides Wiki
Umamusume: Pretty Derby Walkthrough & Guides Wiki
Honkai: Star Rail Walkthrough & Guides Wiki
Monster Hunter Stories 3: Twisted Reflection Walkthrough & Guides Wiki
Wuthering Waves Walkthrough & Guides Wiki
The Seven Deadly Sins: Origin Walkthrough & Guides Wiki
Pokemon TCG Pocket (PTCGP) Strategies & Guides Wiki
Pokemon Pokopia Walkthrough & Guides Wiki
Zenless Zone Zero Walkthrough & Guides Wiki


Recommended Games
Monster Hunter World Walkthrough & Guides Wiki
Fire Emblem Heroes (FEH) Walkthrough & Guides Wiki
Pokemon Brilliant Diamond and Shining Pearl (BDSP) Walkthrough & Guides Wiki
Super Smash Bros. Ultimate Walkthrough & Guides Wiki
Diablo 4: Vessel of Hatred Walkthrough & Guides Wiki
Cyberpunk 2077: Ultimate Edition Walkthrough & Guides Wiki
Yu-Gi-Oh! Master Duel Walkthrough & Guides Wiki
Elden Ring Shadow of the Erdtree Walkthrough & Guides Wiki
The Legend of Zelda: Tears of the Kingdom Walkthrough & Guides Wiki
Persona 3 Reload Walkthrough & Guides Wiki


All rights reserved
© HAL Laboratory, Inc. / Nintendo
The copyrights of videos of games used in our content and other intellectual property rights belong to the provider of the game.
The contents we provide on this site were created personally by members of the Game8 editorial department.
We refuse the right to reuse or repost content taken without our permission such as data or images to other sites.