
This survey will take about 1 minute.
Your answers will help us to improve our website.
FANTASY LIFE i: The Girl Who Steals Time (FLi)
Chapter 3: Digging Up Secrets of the Past Walkthrough Guide
This is a walkthrough guide for Chapter 3, Digging Up Secrets of the Past, in FANTASY LIFE i: The Girl Who Steals Time (FLi). Check out a step-by-step guide to beat Chapter 3 here.
| ◀ Previous Guide | Next Guide ▶ |
|---|---|
| Chapter 2 | Chapter 4 |
List of Contents
Digging Up Secrets of the Past Walkthrough Guide
Gather Info at Eternia Village
| Step-by-Step Guide | |
|---|---|
| 1 |  Once you're back in Eternia Village, follow the quest marker and talk to Granny Dumpling, who will tell you the location of Duglas. |
| 2 | 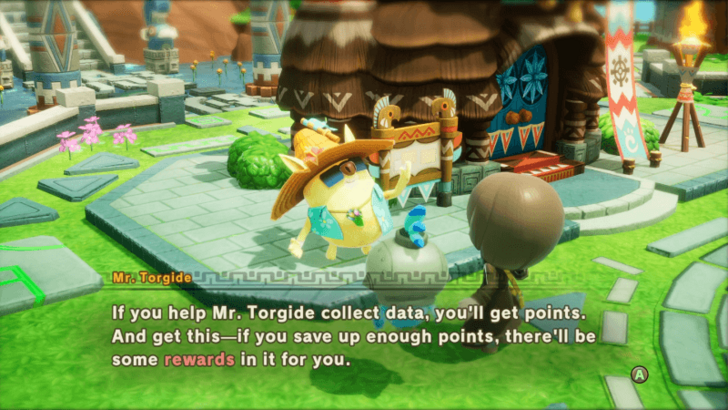 Before heading off to Warren Willow Hollow, talk to Mr. Torgide first so that you can learn more about the Island Bulletin Board. Check back here every now and then so you can check off completed tasks and track what you can work towards next. |
| * | Also, if you haven't already done so before leaving Chapter 1, you can take some time to do other quests and challenges now that you're back. |
Go to Warren Willow Hollow
| Step-by-Step Guide | |
|---|---|
| 1 | Before you proceed any further, it's highly recommended to level up your character, rank up your preferred Combat Life, learn new skills, and upgrade your equipment. The next part of the quest will have you encountering tougher enemies, and, ideally, you're prepared before going in. |
| 2 |  When you're ready, head to the north side of the island and enter Warren Willow Hollow. |
Search Warren Willow Hollow
| Step-by-Step Guide | |
|---|---|
| 1 | Once you're inside, make sure to fully explore the dungeon for any items and treasures you can gather. Don't worry about missing anything since you can always come back later. |
| 2 | 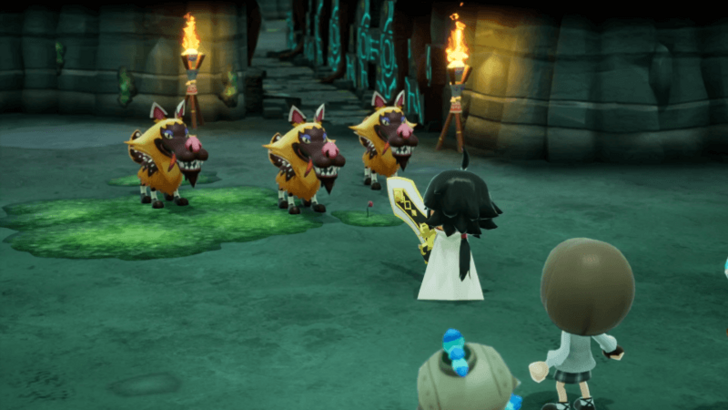 Part way through the dungeon, you will encounter three Jerkish Jackals. Thankfully, Glenn will appear out of nowhere to assist you in this fight. |
| 3 | After they've been defeated, Glenn will leave and you can resume your search for Duglas. |
Search for a Miner
| Step-by-Step Guide | |
|---|---|
| 1 | 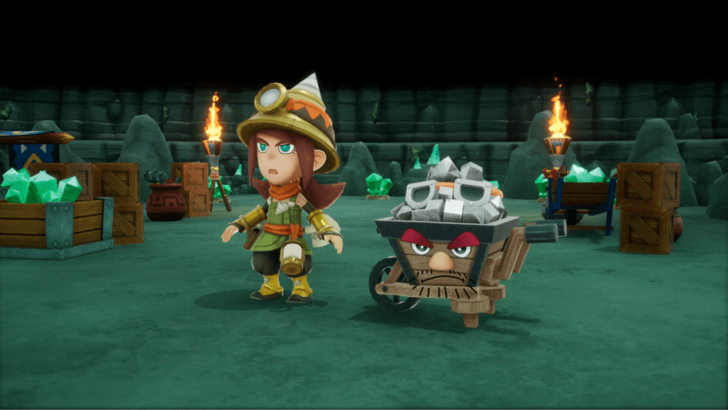 Continue through the dungeon until you've reached the end. Here you will encounter Meralda, the Miner Life Master, and Duglas, who's been transformed into the Sturdy Wheelbarrow Strangeling. |
| 2 | Before leaving, don't forget to grab anything that you may need from this room. |
Find the Exit
| Step-by-Step Guide | |
|---|---|
| 1 | Even if the objective says to find the exit, and it's implying that there's a hidden way out, you really only need to go back the way you came. |
| 2 | 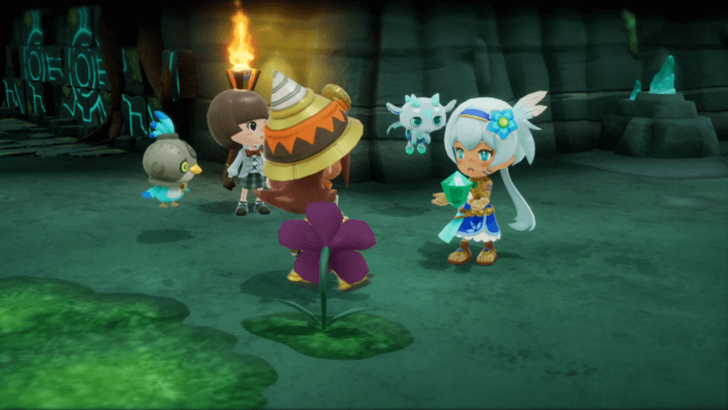 On the way out, there'll be a short cutscene with Rem and Eternia Ore. This has no bearing on the story at the moment, but it should be something to keep in mind in the future. |
Leave Warren Willow Hollow
| Step-by-Step Guide | |
|---|---|
| 1 | 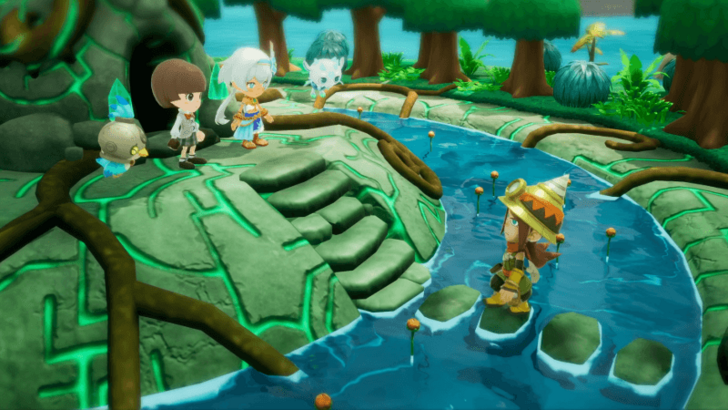 Now that that's over with, you're free to head back and leave Warren Willow Hollow. |
| 2 | The next part of the quest will have you travelling back to the present, but make sure to check back at the Bulletin Board first so that you can turn in any completed tasks. |
Return to the Present
| Step-by-Step Guide | |
|---|---|
| 1 | 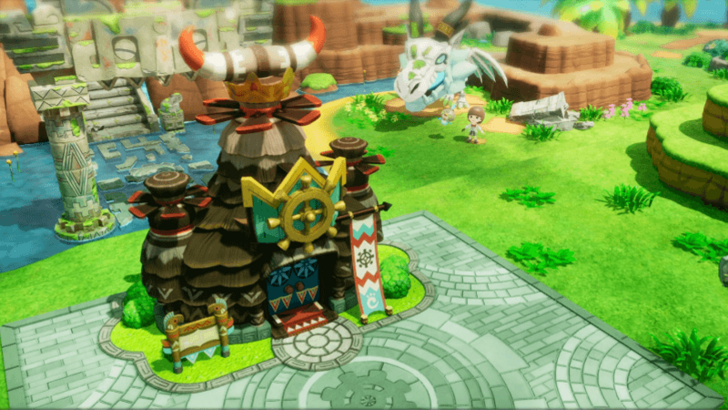 When you're ready, fast travel to your Base Camp, where you'll find that a new Guild Office has been erected. |
| 2 | 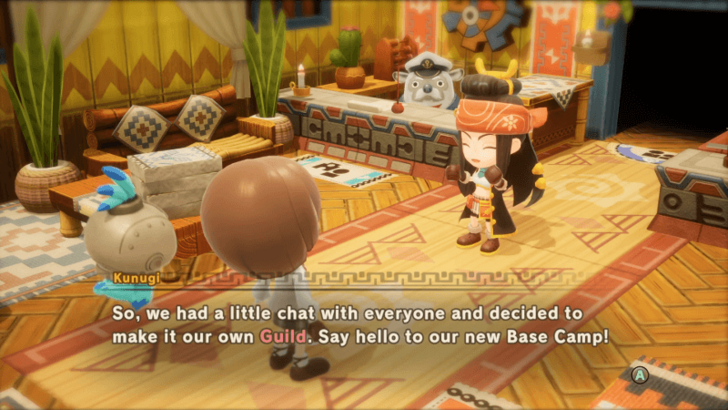 You'll then be teleported inside, and Kunugi will update you on what's new on the island. While you're here, make sure to talk to everyone in the office so that you're familiar with the new facilities available to you. |
| 3 | 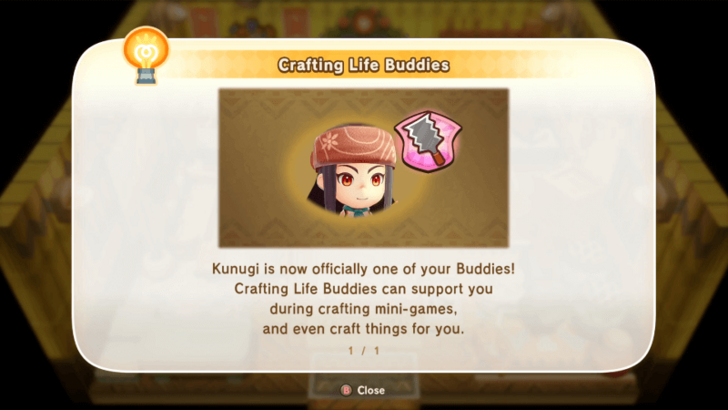 At this point, Kunugi will also become your first Buddy that can help you in combat or when performing tasks. Since she's a Carpenter, she will only be able to help you during the crafting mini-game. |
| 4 |  One other thing to note is that you can talk to Colm in the back room to initiate Multiplayer. If you're looking for other people to play with, then try posting or looking for a room in Game8's Room Sharing Board ▶︎ Room Sharing Board |
Visit the Goddess Statue
| Step-by-Step Guide | |
|---|---|
| 1 | When you're ready to continue the main quest, head up to the Goddess Statue. |
| 2 | 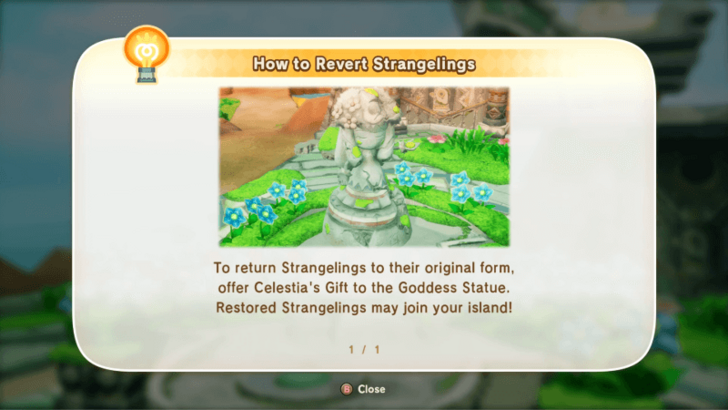 Like last time, you'll use the Goddess Statue to revert Duglas back to his human form. However, this time around, you will need to offer 100 Celestia's Gifts for the goddess to do this. |
| 3 | To get Celestia's Gifts to spawn, you will need to develop the island by talking to Cooke. |
Talk to Cooke at the Guild
| Step-by-Step Guide | |
|---|---|
| 1 | 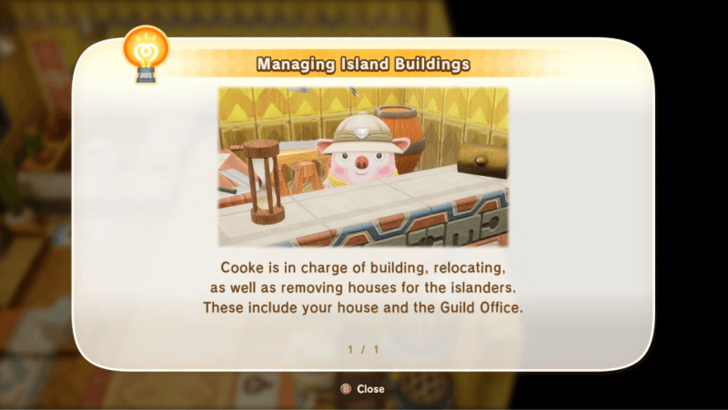 Head back to the Guild Office and talk to Cooke, who's manning the desk on your right. |
| 2 | Talk to them and you'll be tasked with building a house for Kunugi as the first step to developing and improving the island. |
Build an Islander House
| Step-by-Step Guide | |
|---|---|
| 1 | To build a house for Kunugi, talk to Cooke, and you will begin the Island Construction tutorial. Just follow the steps presented to you until you have control of your character again. |
| 2 | 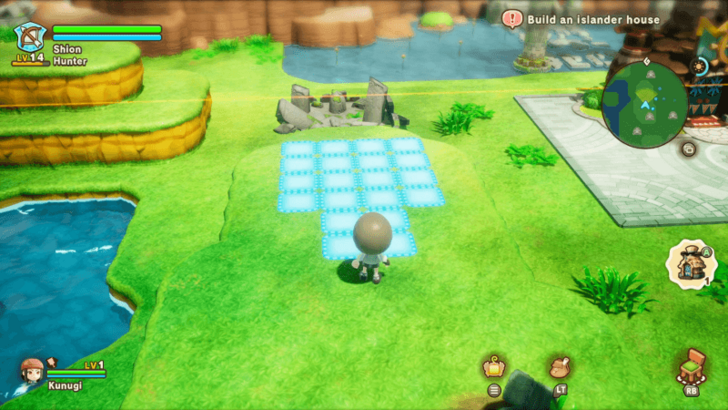 Once you have the Building Kit, head outside and continue following the tutorial to build the house. You don't have to worry about its placement for now, since you can always relocate it later at the cost of some Dosh. |
| 3 | 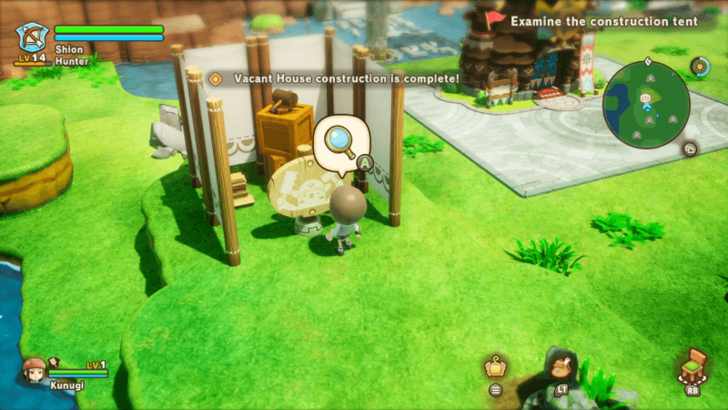 After selecting its placement, you'll need to wait for a bit for the building to be constructed. Once you get the notification that it's done, you can select it to unveil the new house. |
Give the House to Kunugi
| Step-by-Step Guide | |
|---|---|
| 1 | 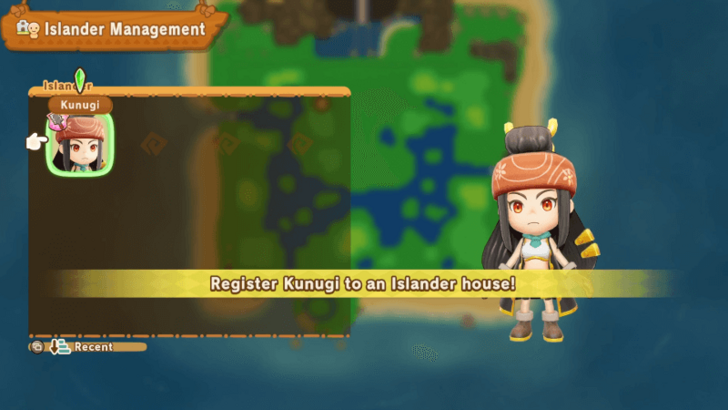 Now that you have a Vacant House, return to the Guild Office and talk to Boyle so that you can assign Kunugi to the house. |
Place the Sign and Furniture
| Step-by-Step Guide | |
|---|---|
| 1 | 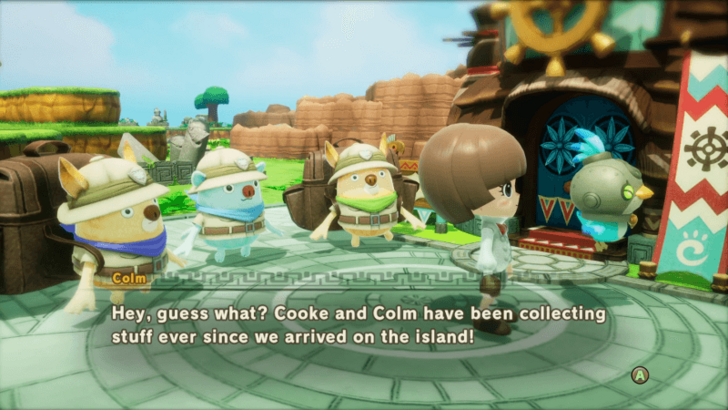 When you're done assigning Kunugi to her new house, there will be a short cutscene where some of the other members of the crew will give you decorations to put around the base. |
| 2 | 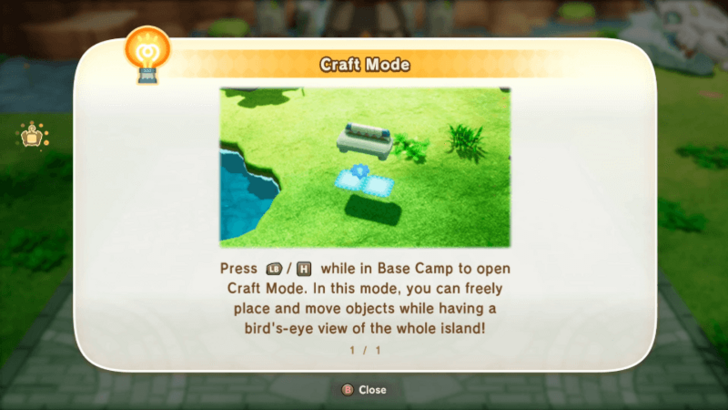 This part of the quest will introduce you to the Craft Mode, which is a more convenient way of building out your island when compared to running around on foot. |
| 3 | 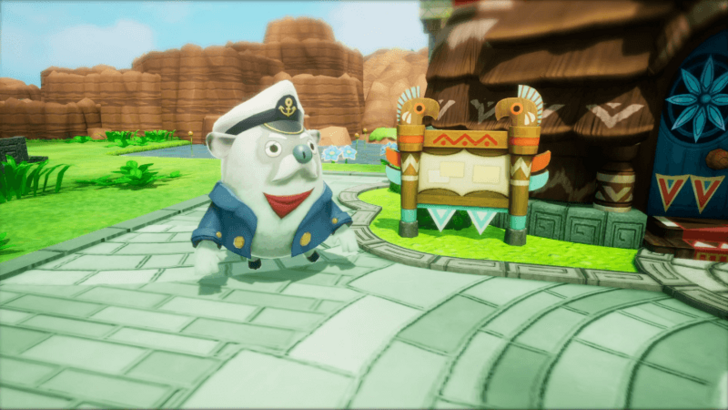 Once you're done putting down all the decorations, Boyle will show you that your Base Camp has its own Bulletin Board, with it's own challenges and rewards. |
Help Douglas Return to Normal
| Step-by-Step Guide | |
|---|---|
| 1 | 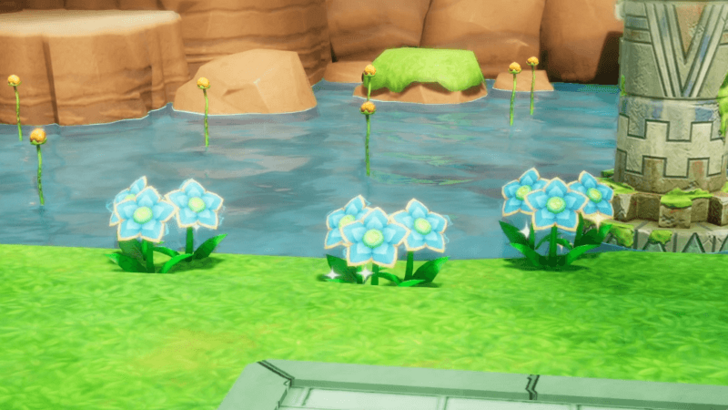 Now that your base is looking extra spiffy, Celestia's Gifts will start to spawn on the island. Start collecting them so that you can turn Duglas back into a human. |
| 2 | 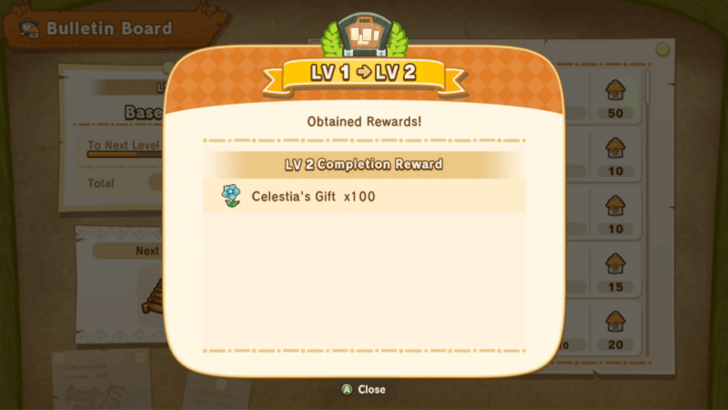 Alternatively, you can complete some Base Camp Guild Quests so that you can get the Level 2 Reward of 100 Celestia's Gifts, which is exactly enough for the quest. |
| * | Remember to visit your island every day so that you can harvest Celestia's Gifts. They will respawn every day, and you must harvest them since they're a key resource in converting Strangelings into Buddies. |
| 3 | 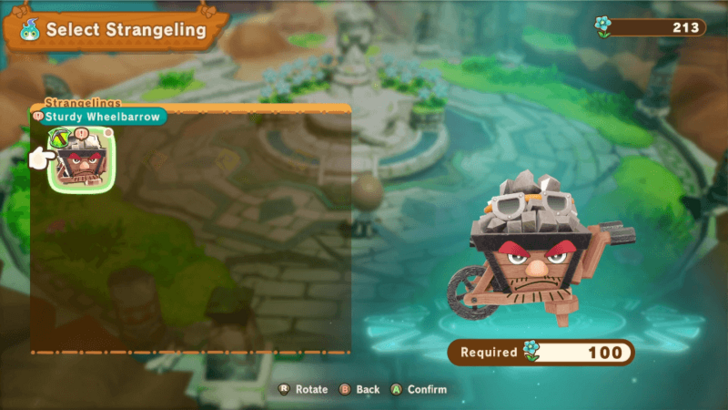 Once you have 100 Celestia's Gifts, return to the Goddess Statue and select the Sturdy Wheelbarrow to transform Duglas back into a human. |
Smash the Boulder
| Step-by-Step Guide | |
|---|---|
| 1 | Now that Duglas has his Mining capabilities back, head back down into the Depths. |
| 2 | 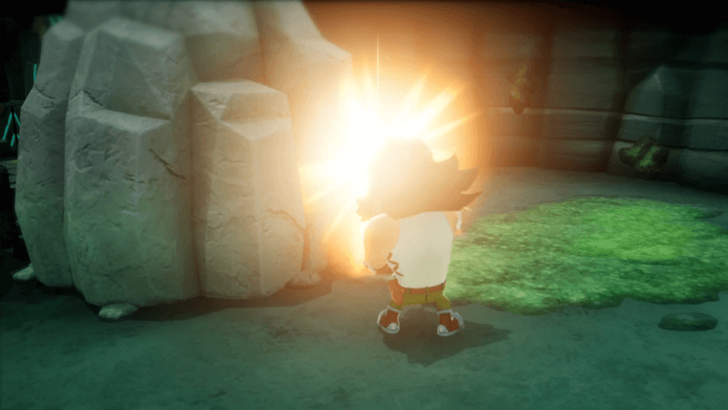 Once you've reached the quest marker, approach the boulder to start a cutscene where Duglas destroys the boulder and opens up the path to Edward. |
| * | 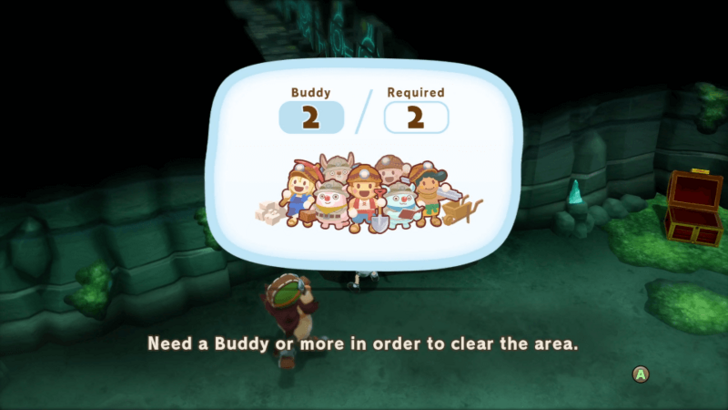 Now that Edward's rejoined you, you're free to continue exploring the Depths. Besides looking for items and treasure, look for any debris that you can clear now that you have 2 Buddies recruited. |
Explore the Depths
| Step-by-Step Guide | |
|---|---|
| 1 | 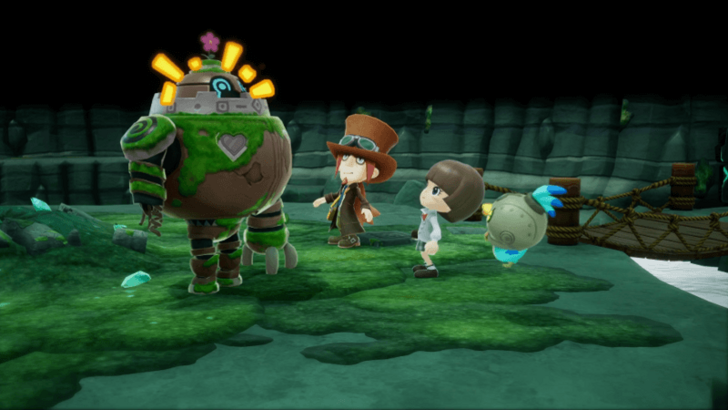 Once you're done exploring, follow the quest marker further into the Depths. It will lead you to a mech called Hagram, who can assist you with building out your dream base. |
| 2 | After meeting Hagram, continue exploring the Depths, looking for any items and treasures. |
| 3 | 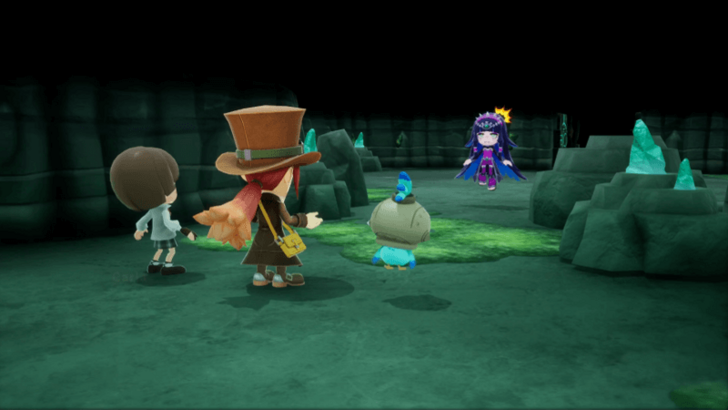 When you're ready, head to the quest marker to initiate a cutscene with Carla, who will summon a Polturnip that traps Edward and blocks off your progress again. |
| 4 | 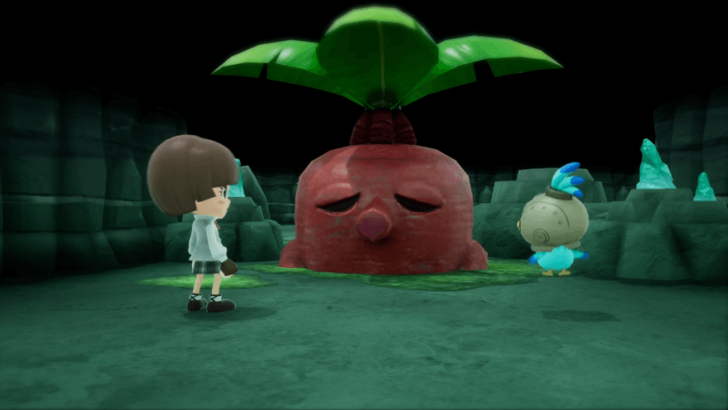 With history repeating itself, it's time to head back to the past to find a way to uproot the Polturnip and save Edward... again. ▶ Chapter 4 Walkthrough Guide |
FANTASY LIFE i: The Girl Who Steals Time Related Guides
List of All Main Quests
| List of All Main Quest Walkthroughs | |
|---|---|
| 1 | Chapter 1: Life on a Mysterious Island |
| 2 | Chapter 2: Leap of a Thousand Years |
| 3 | Chapter 3: Digging Up Secrets of the Past |
| 4 | Chapter 4: The Polturnip and the Leafe |
| 5 | Chapter 5: The Artist's Treasure Hunt |
| 6 | Chapter 6: The Island of Trials |
| 7 | Chapter 7: Crack the Cog, Free our Future |
| 8 | Post-Game Content |
Comment
Author
FANTASY LIFE i: The Girl Who Steals Time Walkthrough & Guides Wiki
Chapter 3: Digging Up Secrets of the Past Walkthrough Guide
Please participate in our site
improvement survey
03/2026
improvement survey
03/2026
Would you assist in
improving Game8's site?
improving Game8's site?

×
We are listening to our users' valuable opinions and discussing how to act on them.
The information collected through this survey will be used for the purpose of improving our services. In addition, the information will only be disclosed a part of a statistic in a format that will not allow identification of personal information.
Begin Survey
Not Now
×
Please rate each item regarding Game8.co's Advertisements.
Amount of Ads
Very Dissatisfied
Somewhat Dissatisfied
Fine
Somewhat Satisfied
Highly Satisfied
Placement of Ads
Timing of Ad Display
Ad Loading Speed
Safeness of Ads
Content of Ads
×
Please rate each item regarding Game8.co's Quality of Articles.
Amount of information
Very Dissatisfied
Somewhat Dissatisfied
Fine
Somewhat Satisfied
Highly Satisfied
Frequency of updates
Speed of new information
Accuracy of articles
Understandibility of articles
Readability of sentences
×
Please rate each item regarding Game8.co's Usability of the Site.
Ease of finding information
Very Dissatisfied
Somewhat Dissatisfied
Fine
Somewhat Satisfied
Highly Satisfied
Loading Speed
Use of Color
Font Size
Visibility of Images
Easy to Understand Layout
×
Please rate each item regarding Game8.co's Message Boards, Comments.
Ease of Writing
Very Dissatisfied
Somewhat Dissatisfied
Fine
Somewhat Satisfied
Highly Satisfied
Readability
Ease in Finding Information
Comment Quality
Comment Quantity
Admin Response
×
Please rate each item regarding Game8.co's Site's new design.
Please rate our site's new design
Very Dissatisfied
Somewhat Dissatisfied
Fine
Somewhat Satisfied
Highly Satisfied
Do you think that the website's design change makes the site easier to use?
Has the new design made it easier for you to find information on the site?
Has the new design improved the overall visual appeal of the site?
How would you rate your overall satisfaction with the new design of the site?
×
How likely are you to recommend Game8 to someone you know?
Very Unlikely
0
1
2
3
4
5
6
7
8
9
10
Very Likely
If you have other opinions regarding potential improvement to the website, please share them with us. We would appreciate your honest opinion.
Note: This is a free response section, so you can proceed without entering anything.
Note: Please be sure not to enter any kind of personal information into your response.
Note: Please be sure not to enter any kind of personal information into your response.
×
Thank You
×
Thank you for participating in our survey! Your answers will help us to improve the quality of our website and services.
We hope you continue to make use of Game8.
We hope you continue to make use of Game8.
Close
Rankings
- We could not find the message board you were looking for.
Gaming News


![Everwind Review [Early Access] | The Shaky First Step to A Very Long Journey](https://img.game8.co/4440226/ab079b1153298a042633dd1ef51e878e.png/thumb)

![Monster Hunter Stories 3 Review [First Impressions] | Simply Rejuvenating](https://img.game8.co/4438641/2a31b7702bd70e78ec8efd24661dacda.jpeg/thumb)
Popular Games

Genshin Impact Walkthrough & Guides Wiki
Honkai: Star Rail Walkthrough & Guides Wiki
Umamusume: Pretty Derby Walkthrough & Guides Wiki
Pokemon Pokopia Walkthrough & Guides Wiki
Resident Evil Requiem (RE9) Walkthrough & Guides Wiki
Monster Hunter Wilds Walkthrough & Guides Wiki
Wuthering Waves Walkthrough & Guides Wiki
Arknights: Endfield Walkthrough & Guides Wiki
Pokemon FireRed and LeafGreen (FRLG) Walkthrough & Guides Wiki
Pokemon TCG Pocket (PTCGP) Strategies & Guides Wiki


Recommended Games
Diablo 4: Vessel of Hatred Walkthrough & Guides Wiki
Fire Emblem Heroes (FEH) Walkthrough & Guides Wiki
Yu-Gi-Oh! Master Duel Walkthrough & Guides Wiki
Super Smash Bros. Ultimate Walkthrough & Guides Wiki
Pokemon Brilliant Diamond and Shining Pearl (BDSP) Walkthrough & Guides Wiki
Elden Ring Shadow of the Erdtree Walkthrough & Guides Wiki
Monster Hunter World Walkthrough & Guides Wiki
The Legend of Zelda: Tears of the Kingdom Walkthrough & Guides Wiki
Persona 3 Reload Walkthrough & Guides Wiki
Cyberpunk 2077: Ultimate Edition Walkthrough & Guides Wiki


All rights reserved
©LEVEL5 Inc.
The copyrights of videos of games used in our content and other intellectual property rights belong to the provider of the game.
The contents we provide on this site were created personally by members of the Game8 editorial department.
We refuse the right to reuse or repost content taken without our permission such as data or images to other sites.