Chapter 2: Leap of a Thousand Years Walkthrough Guide
This is a walkthrough guide for Chapter 2, Leap of a Thousand Years, in FANTASY LIFE i: The Girl Who Steals Time (FLi). Check out a step-by-step guide to beat Chapter 2 here.
| ◀ Previous Guide | Next Guide ▶ |
|---|---|
| Chapter 1 | Chapter 3 |
List of Contents
Leap of a Thousand Years Walkthrough Guide
Approach the Depths
| Step-by-Step Guide | |
|---|---|
| 1 | 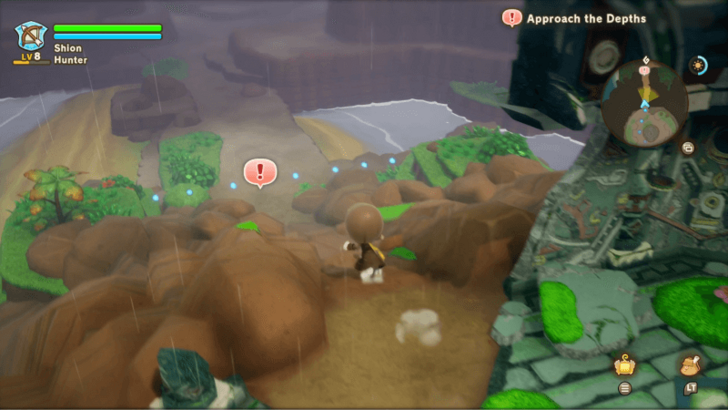 Once you have control of your character again, follow the marker north to trigger a cutscene. |
| * | You can also explore the island if you wish, but there isn't much to do yet. |
Enter the Dephts
| Step-by-Step Guide | |
|---|---|
| 1 | 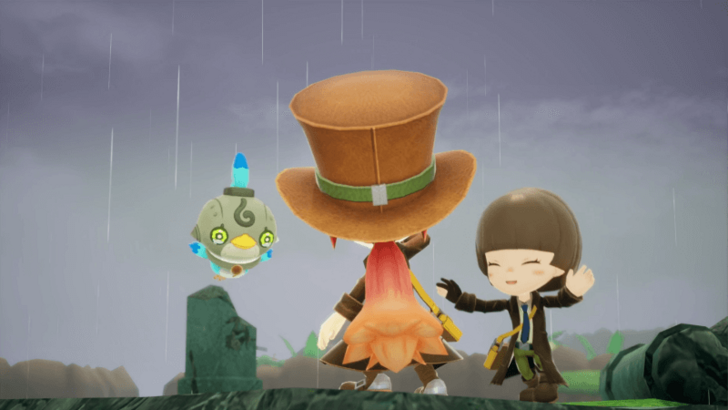 Now that you've reunited with Edward, you can head down to the Depths to search for the Cog. |
| 2 |  Once you've gone down, a cutscene will start and you will be introduced to the Shadow Girl. |
Investigate the Nearby Tower
| Step-by-Step Guide | |
|---|---|
| 1 | 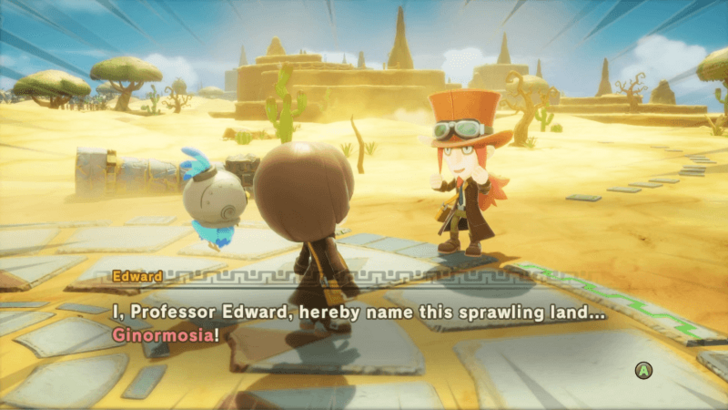 After the cutscene, you will now be in a strange new island named Ginormosia. If you wish, take some time to explore the area first since this is a new large open world area. |
| 2 | 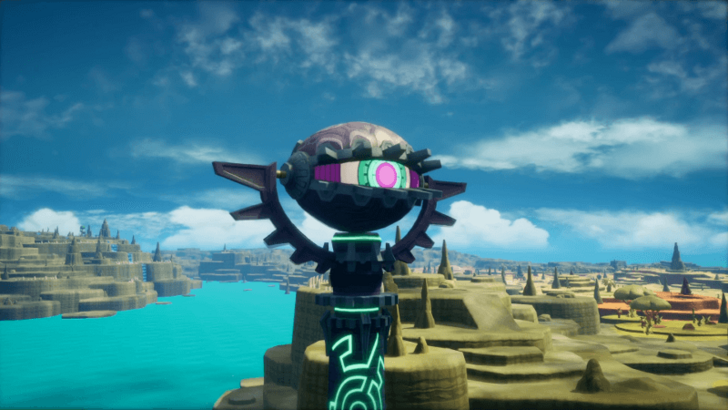 When you're ready, follow the quest marker and approach the strange eye tower. |
| 3 | 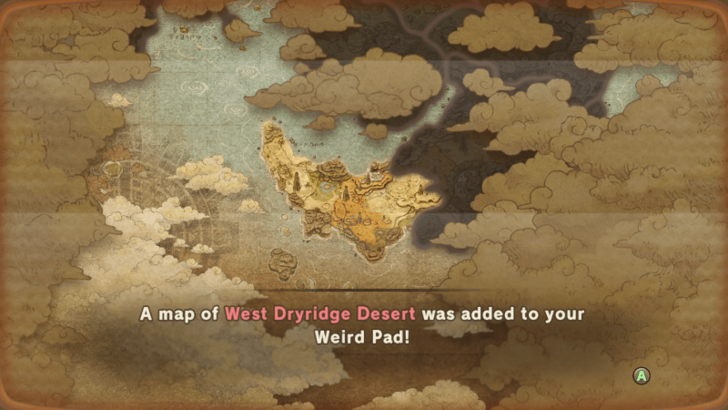 Once the cutscene is over, the fog on your map will be partially cleared and you can now properly see the West Dryridge Desert. |
| * | 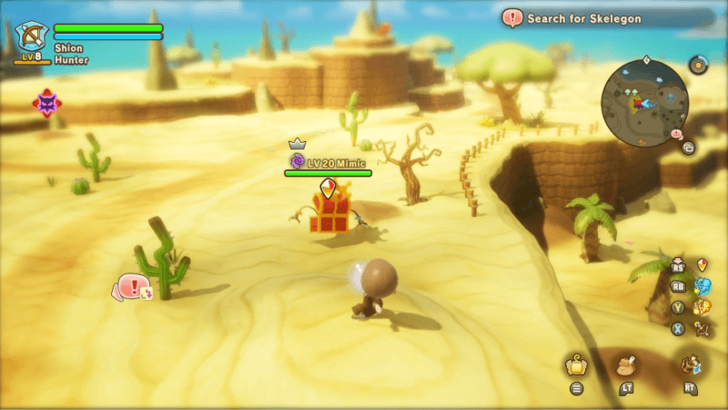 Before continuing, approach and attack the Mimic that just spawned behind you to learn more about the huge castle in the middle of the island. |
Search for Skelegon
| Step-by-Step Guide | |
|---|---|
| 1 | When you're ready, continue following the quest marker to search for Skelegon. |
| 2 | 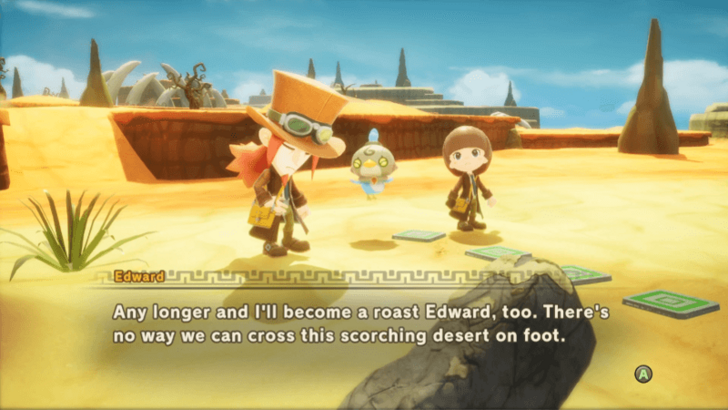 Once you've reached the marker, you won't be able to progress further since you take damage whenever you step on the darker shade of sand. |
| 3 | 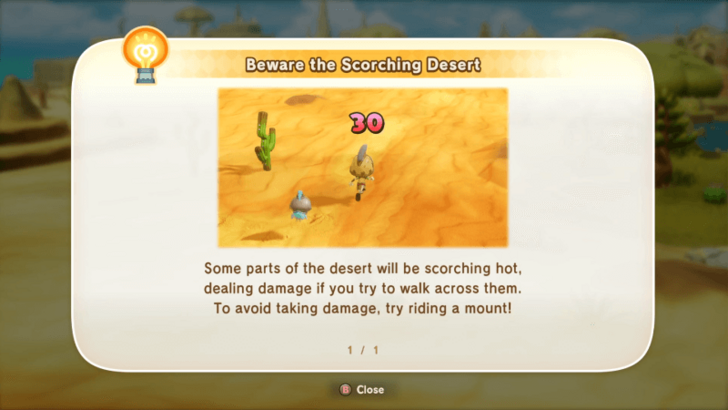 To progress further, you will need to find a mount and ride it since they won't take damage when crossing the scorching desert. |
Find a Ride
| Step-by-Step Guide | |
|---|---|
| 1 | 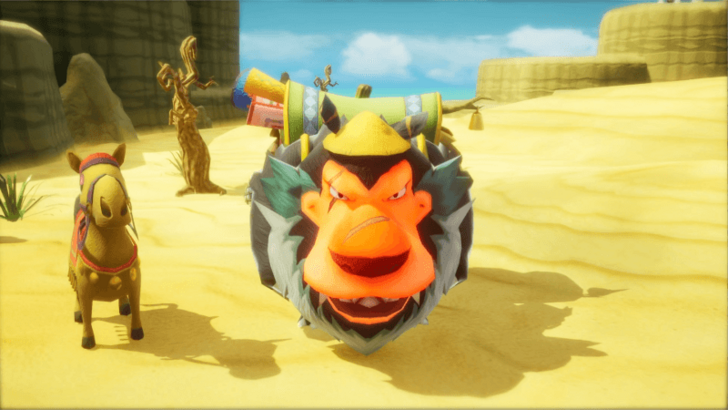 To find a ride needed to cross the desert, you will simply need to turn around and approach the monster with a camel. |
Listen to The Don
| Step-by-Step Guide | |
|---|---|
| 1 | When you're ready, go to The Don to speak to him and initiate a cutscene. |
| 2 | 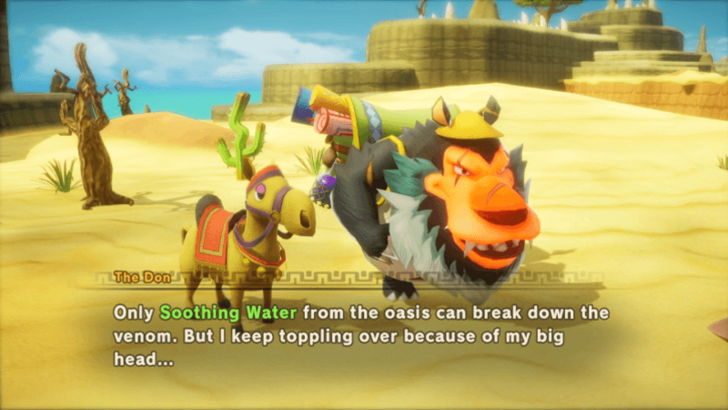 Before you can get the camel off of him, you will need to give him some Soothing Water first so that he can cure the venom that's causing him to swell up. |
Find Soothing Water
| Step-by-Step Guide | |
|---|---|
| 1 | 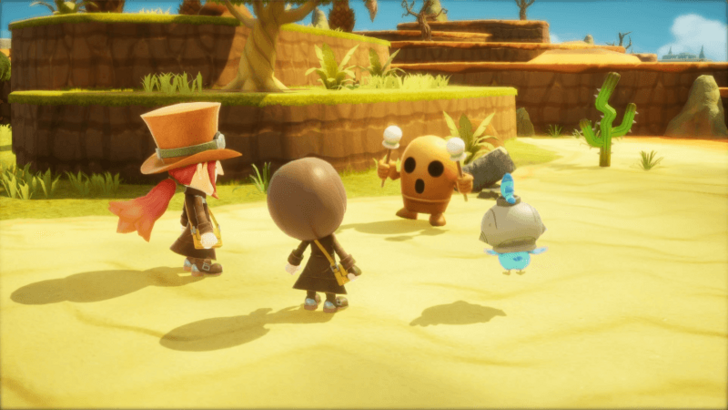 While The Don says that you can get some Soothing Water from the oasis behind you, you'll actually need to talk to the nearby Wandering Haniwa instead to get some. |
| 2 | 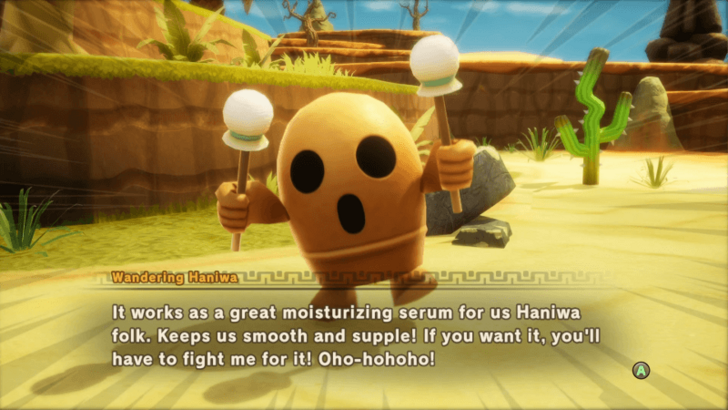 Unfortunately, the Haniwa took all of the Soothing Water, and you'll need to defeat them to get some. |
| 3 | 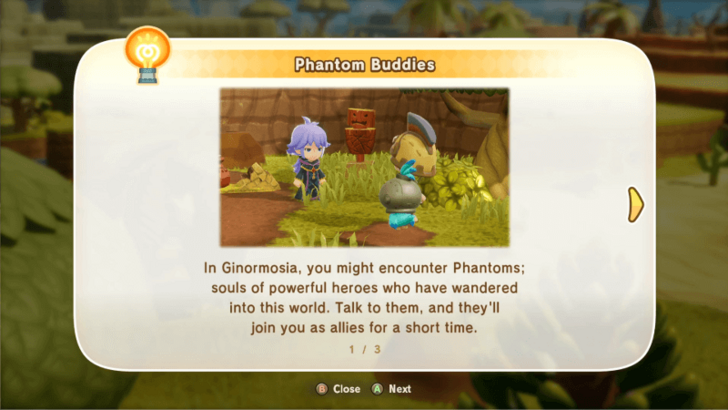 Thankfully, this is also the tutorial section for Phantom Buddies, so you can recruit them to assist you in the fight. |
Speak to the Phantom Buddy
| Step-by-Step Guide | |
|---|---|
| 1 | 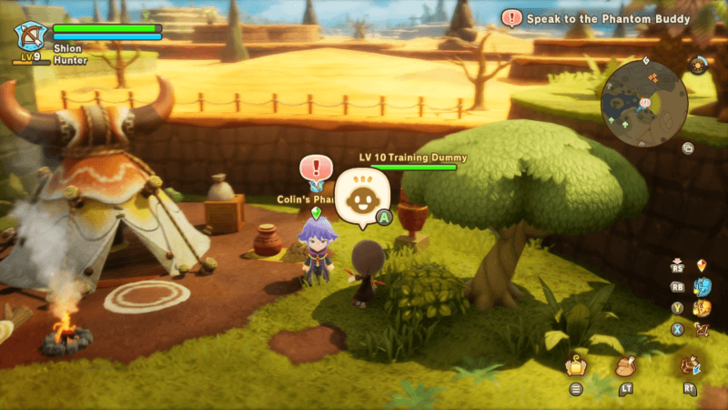 After the cutscene is over, go and talk to Colin's Phantom to recruit them. |
| * | Before you proceed to fight the Haniwa, it's recommended to rest at the campsite first, especially if you've lost some HP and SP. |
Defeat the Wandering Haniwa
| Step-by-Step Guide | |
|---|---|
| 1 | 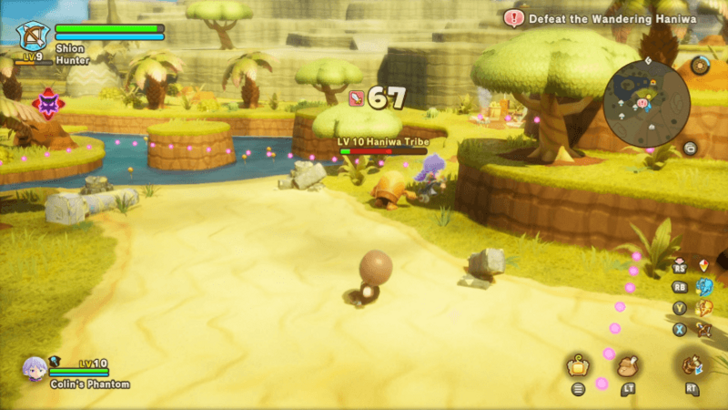 When you're ready, approach the Wandering Haniwa to start the fight. They're a lot tankier than most standard enemies, but their attacks can be easily predicted and dodged. |
| 2 | 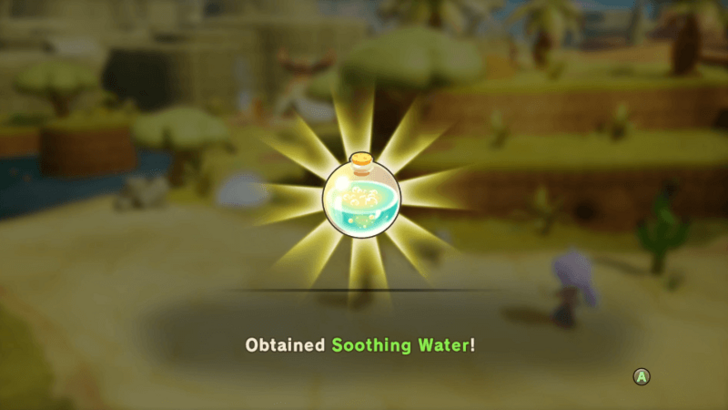 After they've been defeated, you will automatically obtain the Soothing Water. |
Report to The Don
| Step-by-Step Guide | |
|---|---|
| 1 | 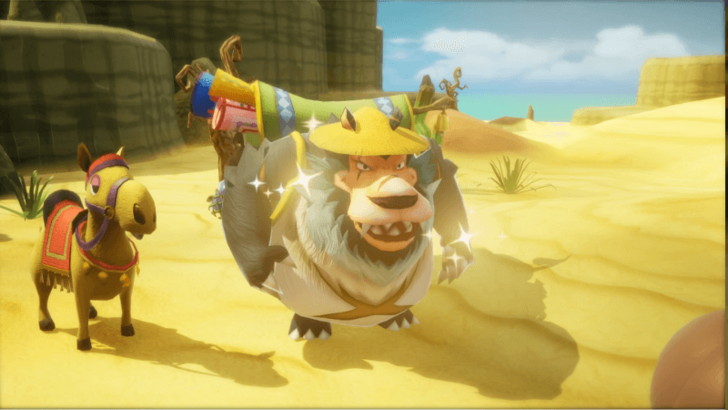 Now that you have some Soothing Water, you can return to The Don to give it to him and get the camel needed to cross the desert. |
| * | 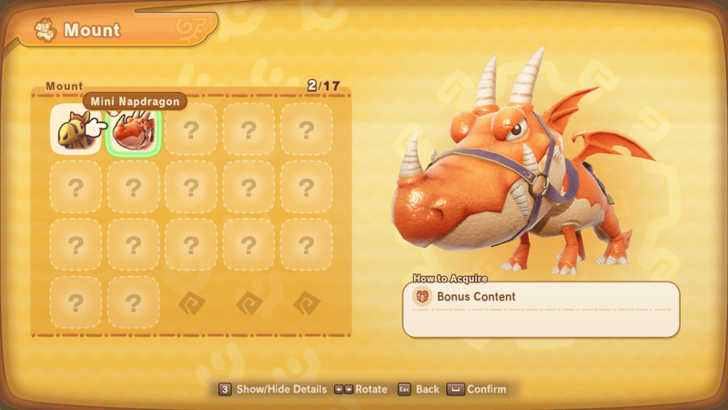 As a note, if you've purchased the Deluxe Edition and claimed your bonus items, you're able to change your mount from the Camel to the Mini Napdragon via the Mount Menu. |
Cross the Desert on a Camel
| Step-by-Step Guide | |
|---|---|
| 1 | 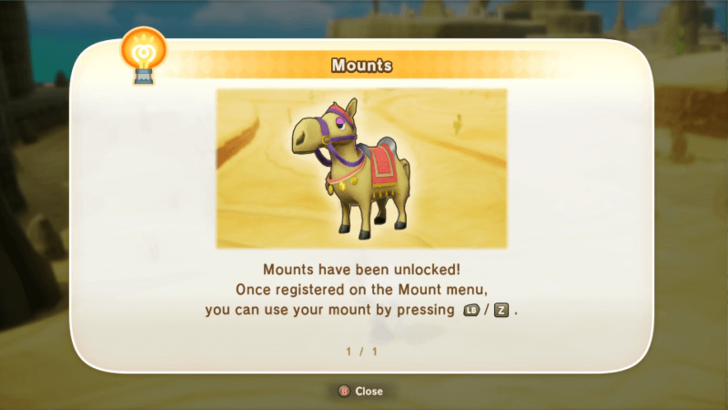 Now that you have a mount, you'll be able to cross the darkened sand to continue to the next part of the quest. |
| * | If you wish, you can also take some time to explore the desert some more since you're no longer blocked by the dark sand. |
Search for Dropped Belongings
| Step-by-Step Guide | |
|---|---|
| 1 | 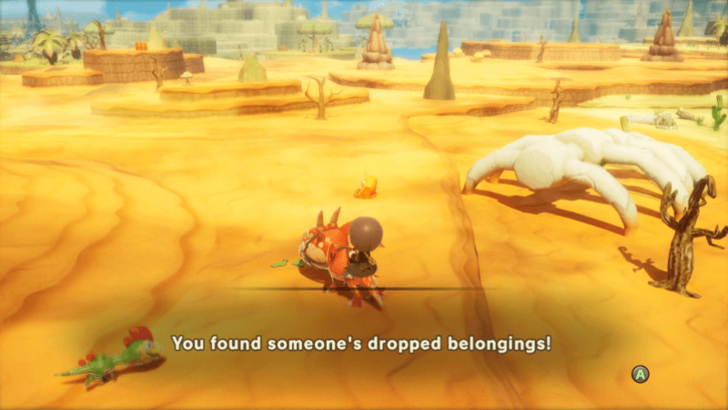 While you're searching for Skelegon, the quest marker will lead you to some dropped belongings on the ground. |
| 2 | Instead of finding the Bone Dragon, the quest will now sidetrack you to follow a trail of items on the ground to find the items' owner. |
Keep Searching for Belongings
| Step-by-Step Guide | |
|---|---|
| 1 | Keep following the quest marker to find two more pieces of clothing. |
| 2 | 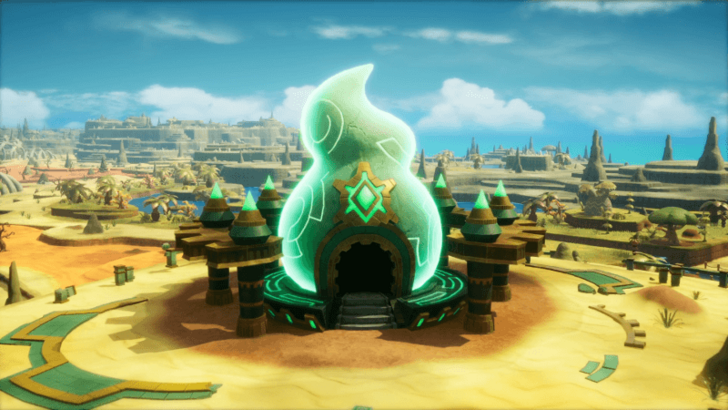 At the third and final item, a cutscene will start and you'll be introduced to Shrines. It also sounds like the owner of the clothes is inside, and the next part of the quest will have you help her. |
Enter the Gleaming Building
| Step-by-Step Guide | |
|---|---|
| 1 | Before going in, it's recommended to explore a bit to fight enemies and level up first. There will be a fight inside the shrine, and you might want to unlock some new skills before going in. |
| 2 | When you're ready and you've rested up back to full, head inside Jo'ee Shrine. |
Investigate the Shrine's Interior
| Step-by-Step Guide | |
|---|---|
| 1 | 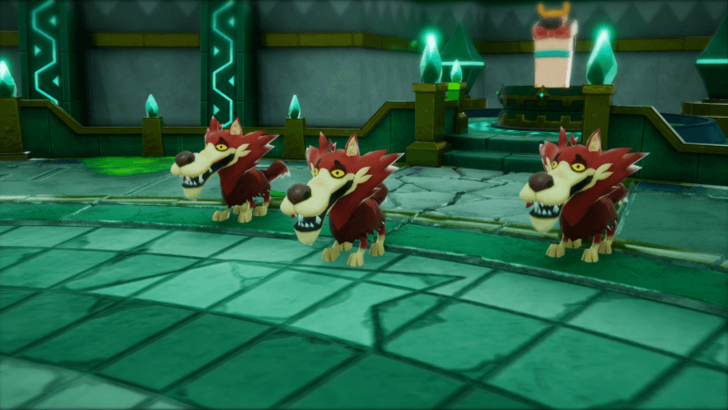 Approach the back of the shrine to find the Strangeling from the cutscene in Chapter 1, as well as three Red Wolves surrounding her. To progress the quest and save her, you will need to defeat the wolves with the help of Colin. |
| 2 | 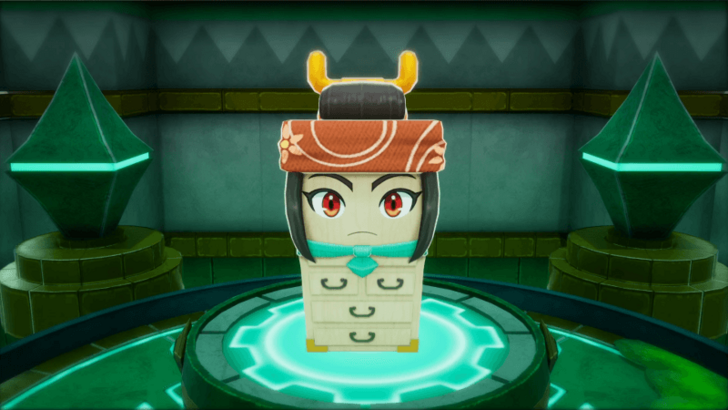 After they've been beaten, you will meet Kunugi in her Odd Dresser form. You will also recruit her, acquiring your first Strangeling. ▶︎ List of All Strangelings |
Head Towards Skelegon
| Step-by-Step Guide | |
|---|---|
| 1 | Now that your detour has been completed, you can resume searching for Skelegon. |
| 2 | 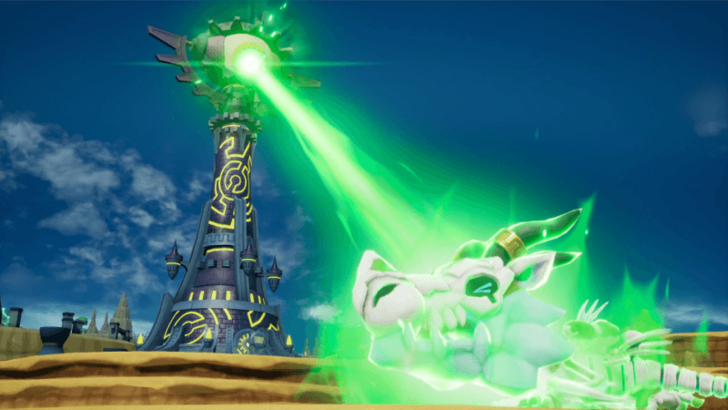 Continue following the quest marker until you come across Skelegon and another tower. |
| 3 | 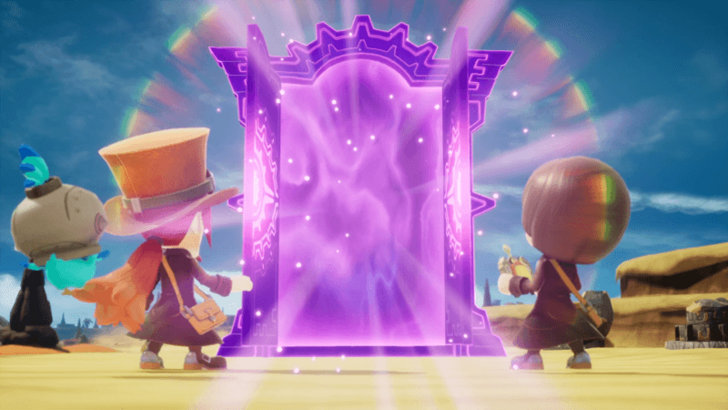 After the cutscene ends, you'll now be back in the Present and you'll have access to the Teleportation Gate, which can take you back to your last location in Ginormosia. |
| 4 | 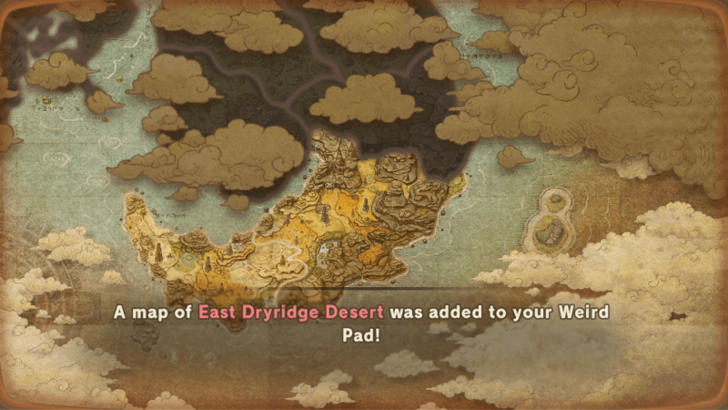 Also, since you've interacted with Googlbert's Tower, the map will expand to now show the East Dryridge Desert. |
Investigate the Depths
| Step-by-Step Guide | |
|---|---|
| 1 | Once you've regained control of your character, follow the quest marker back down into the Depths where you met the Shadow Girl, Carla. |
| 2 | 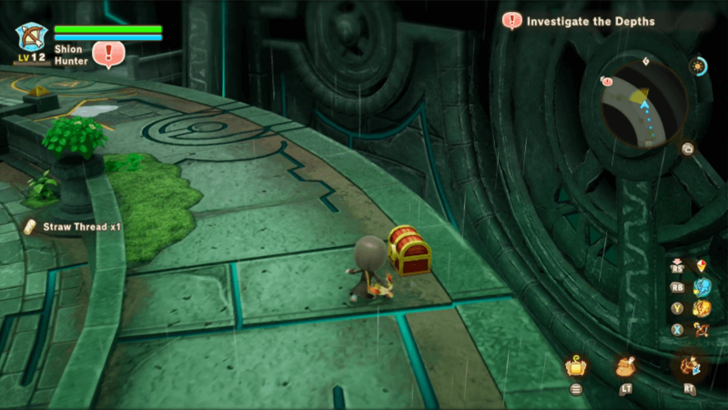 Now that you're down here, take some time to explore the area and grab any items and treasures you can find. |
| 3 | When you're ready, continue following the marker until you trigger a cutscene where you'll go inside a cave with a secret room. |
Investigate the Hidden Room
| Step-by-Step Guide | |
|---|---|
| 1 | 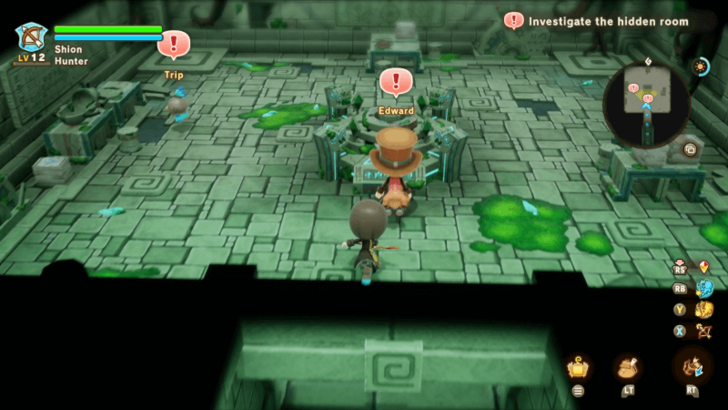 After the cutscene's ended, explore the cave first before talking to Edward and Trip. |
| 2 | 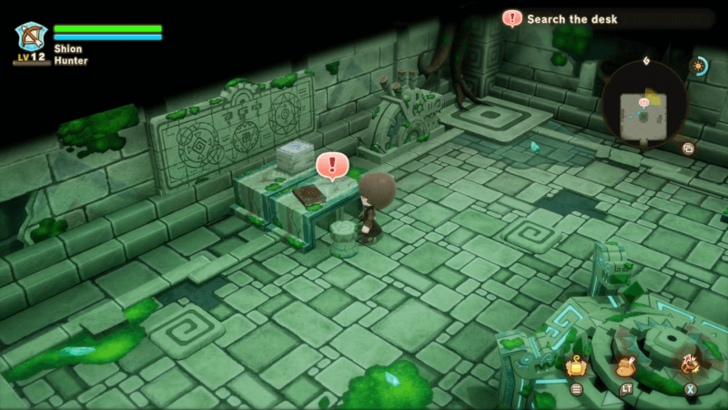 Once you're done talking to them, go to the back of the room and investigate the journal to learn more about Strangelings. |
Delve Deeper into the Depths
| Step-by-Step Guide | |
|---|---|
| 1 | After reading the book, follow the quest marker deeper into the cave, gathering any items and treasures along the way. |
| 2 | 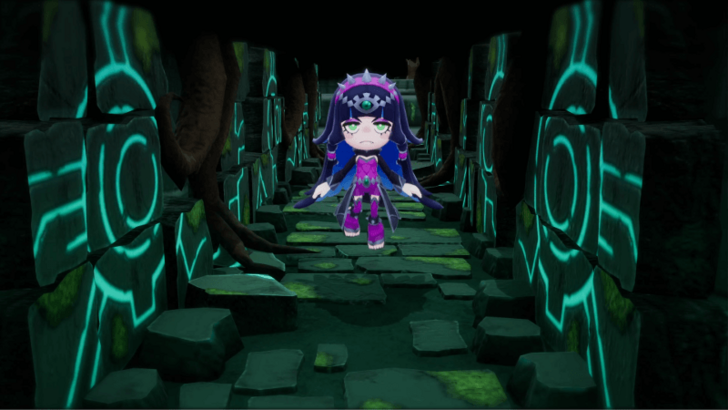 Once you've reached the marker, a cutscene will trigger where you will be ambushed by Carla and she will get trapped with Edward behind a boulder. |
| 3 | After the cutscene's over, you will be teleported back outside the Depths, where you initially landed after returning from Ginormosia. |
Go to the Ruined Square
| Step-by-Step Guide | |
|---|---|
| 1 | 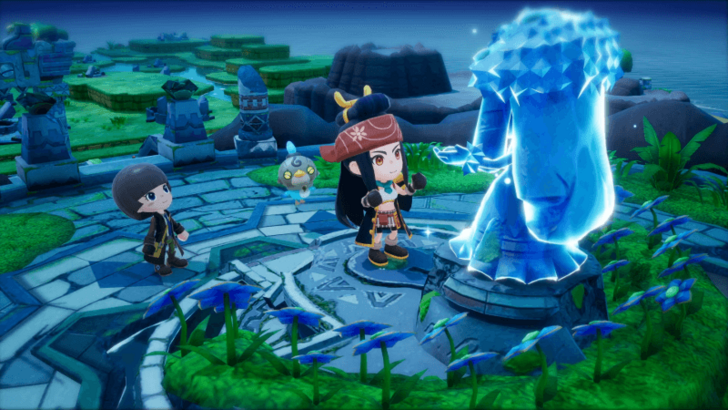 Now that you're back outside, another cutscene will play where the Goddess Statue will revert Kunugi back to her human form. |
| 2 | At the end of the cutscene, you will hear someone screaming, and you will now be tasked with finding where it came from. |
| 3 | 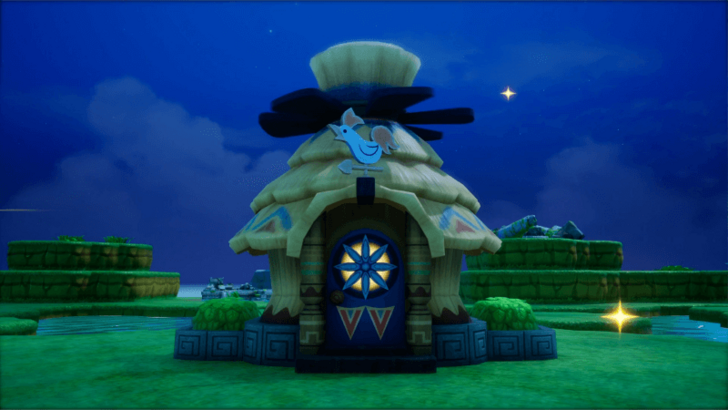 Follow the quest marker to find the rest of the crew from the ship at the beginning of the game. Once that cutscene's over, you will now have a house to customize and rest in. |
Rest at Your House
| Step-by-Step Guide | |
|---|---|
| 1 | 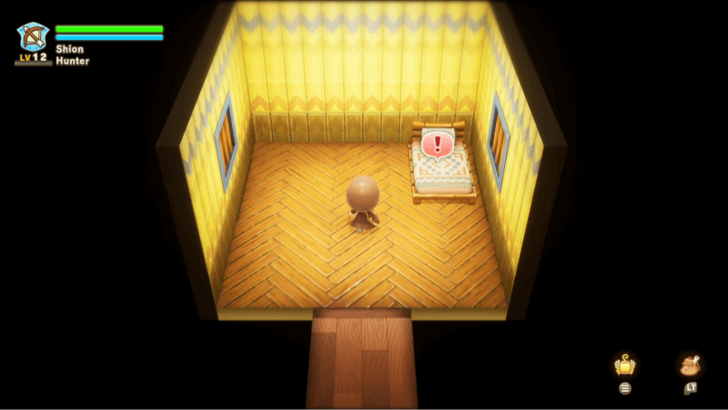 To progress the main quest, head inside your newly constructed house and sleep in your bed. |
| 2 | 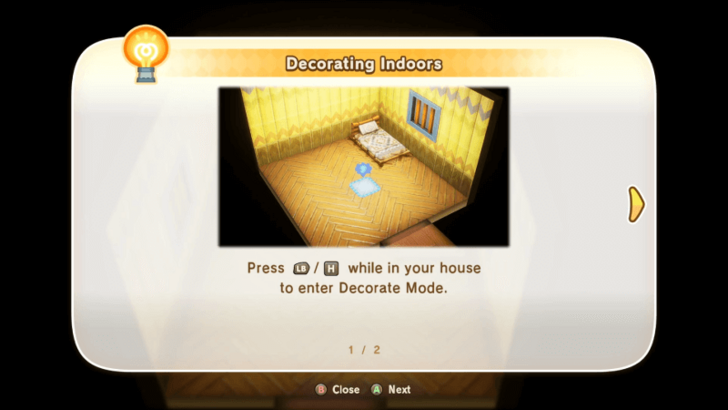 When you wake up the next day, you can decorate your house, if you have items to put down, before you continue your journey. |
Find Trip and the Others
| Step-by-Step Guide | |
|---|---|
| 1 | 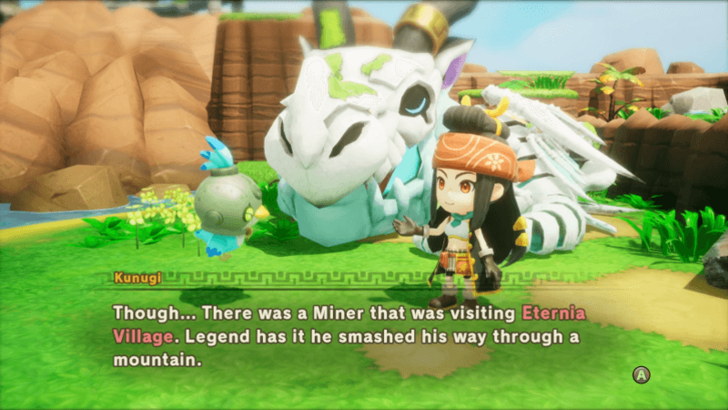 After you leave the house, just follow the quest marker to find Kunugi, Trip, and Skelegon. Once the cutscene is over, Chapter 2 will officially be completed. |
Ride Skelegon to Eternia
| Step-by-Step Guide | |
|---|---|
| 1 | 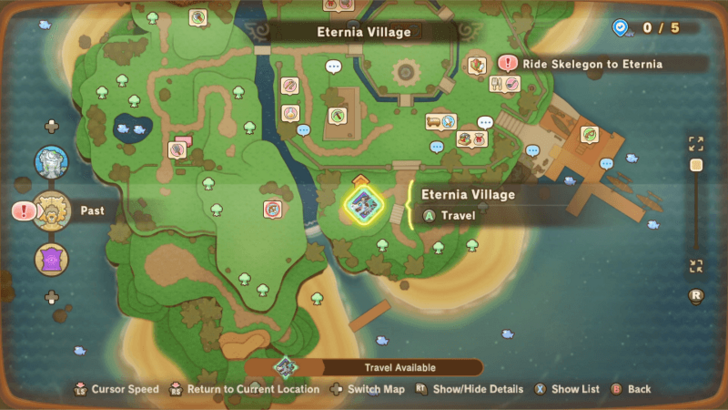 Even if you've beaten Chapter 2, Chapter 3 doesn't start until you've returned to Eternia Village. To do this, you can open the map and select the Skelegon Icon in Eternia Village to fast travel there. ▶ Chapter 3 Walkthrough Guide |
FANTASY LIFE i: The Girl Who Steals Time Related Guides
List of All Main Quests
| List of All Main Quest Walkthroughs | |
|---|---|
| 1 | Chapter 1: Life on a Mysterious Island |
| 2 | Chapter 2: Leap of a Thousand Years |
| 3 | Chapter 3: Digging Up Secrets of the Past |
| 4 | Chapter 4: The Polturnip and the Leafe |
| 5 | Chapter 5: The Artist's Treasure Hunt |
| 6 | Chapter 6: The Island of Trials |
| 7 | Chapter 7: Crack the Cog, Free our Future |
| 8 | Post-Game Content |
Comment
Author
FANTASY LIFE i: The Girl Who Steals Time Walkthrough & Guides Wiki
Chapter 2: Leap of a Thousand Years Walkthrough Guide
improvement survey
03/2026
improving Game8's site?

Your answers will help us to improve our website.
Note: Please be sure not to enter any kind of personal information into your response.

We hope you continue to make use of Game8.
Rankings
Gaming News
Popular Games

Genshin Impact Walkthrough & Guides Wiki

Honkai: Star Rail Walkthrough & Guides Wiki

Umamusume: Pretty Derby Walkthrough & Guides Wiki

Pokemon Pokopia Walkthrough & Guides Wiki

Resident Evil Requiem (RE9) Walkthrough & Guides Wiki

Monster Hunter Wilds Walkthrough & Guides Wiki

Wuthering Waves Walkthrough & Guides Wiki

Arknights: Endfield Walkthrough & Guides Wiki

Pokemon FireRed and LeafGreen (FRLG) Walkthrough & Guides Wiki

Pokemon TCG Pocket (PTCGP) Strategies & Guides Wiki
Recommended Games

Diablo 4: Vessel of Hatred Walkthrough & Guides Wiki

Fire Emblem Heroes (FEH) Walkthrough & Guides Wiki

Yu-Gi-Oh! Master Duel Walkthrough & Guides Wiki

Super Smash Bros. Ultimate Walkthrough & Guides Wiki

Pokemon Brilliant Diamond and Shining Pearl (BDSP) Walkthrough & Guides Wiki

Elden Ring Shadow of the Erdtree Walkthrough & Guides Wiki

Monster Hunter World Walkthrough & Guides Wiki

The Legend of Zelda: Tears of the Kingdom Walkthrough & Guides Wiki

Persona 3 Reload Walkthrough & Guides Wiki

Cyberpunk 2077: Ultimate Edition Walkthrough & Guides Wiki
All rights reserved
©LEVEL5 Inc.
The copyrights of videos of games used in our content and other intellectual property rights belong to the provider of the game.
The contents we provide on this site were created personally by members of the Game8 editorial department.
We refuse the right to reuse or repost content taken without our permission such as data or images to other sites.





![Everwind Review [Early Access] | The Shaky First Step to A Very Long Journey](https://img.game8.co/4440226/ab079b1153298a042633dd1ef51e878e.png/thumb)

![Monster Hunter Stories 3 Review [First Impressions] | Simply Rejuvenating](https://img.game8.co/4438641/2a31b7702bd70e78ec8efd24661dacda.jpeg/thumb)


