 Walkthrough
 Lives
Lives Tips and Tricks
 Quests
 Strangelings
 Buddies
 Interactive Map
 Shrines
 Life Challenges
 Characters
 Weapons
 Life Tools
 Armor
Armor Materials
 Gathering Spots
 Bosses
 Monsters
 Furniture and Decor
 News and Updates
 Message Boards
 Gift Codes and Passwords
 Best Life to Start With
 All Tower Locations
 All Leafe Locations
 All Legendary Recipe Locations
 Best Lives Tier List
 List of All Mounts
 Trophy Guide
 Daily Activities Guide
 Best Buddies Tier List
 House Decoration Guide
 All Chest Locations
This survey will take about 1 minute.
Your answers will help us to improve our website.
FANTASY LIFE i: The Girl Who Steals Time (FLi)
100% Main Quest Walkthrough
This is a complete walkthrough guide for the main quest of FANTASY LIFE i: The Girl Who Steals Time. Check out a step-by-step guide to beat the main quest here.
| Related Articles | ||
|---|---|---|
| Main Quest Walkthrough | All Quests | All Life Challenges |
List of Contents
Chapter 1 Walkthrough Guide
| Jump to Walkthrough Section | |||
|---|---|---|---|
| 1 | Talk to Everyone | 2 | Find Edward |
| 3 | Chase Off the Lizards | 4 | Search for the Bone Dragon |
| 5 | Talk to the King | 6 | Visit the Guild Office |
| 7 | Talk to the Life Master | 8 | Reach Fledgling Rank |
| 9 | Talk to Auntie Anne | 10 | Go to Mysteria Castle |
| 11 | Talk to the Life Master | 12 | Visit the Bone Dragon |
| 13 | Pay Back Auntie Anne's Dosh | 14 | Visit the Bone Dragon |
Talk to Everyone
| Step-by-Step Guide | |
|---|---|
| 1 | 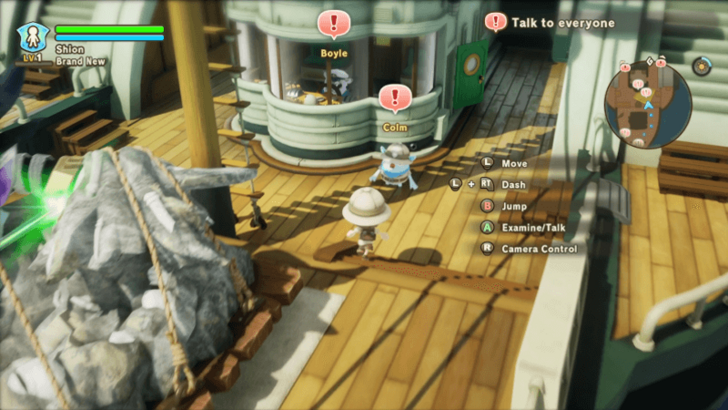 Once you've started the game and created your character, you will need to talk to everyone aboard the ship. |
| 2 | 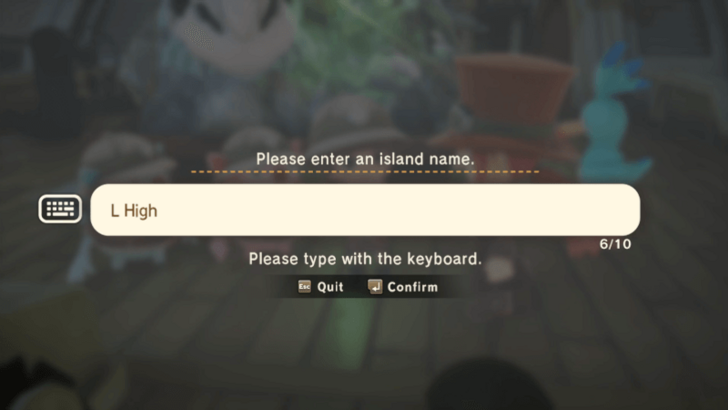 After that, a cutscene will start, and you will come across a deserted island. Since you and the ship's crew are the ones who found it, you also get to name the island! Similar to your character, you can always go back and change the name later. |
| 3 | 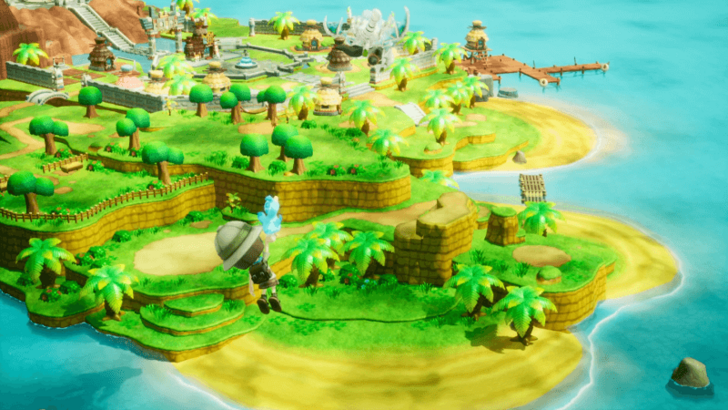 Once you're done, another cutscene will play and the Bone Dragon will take you to a new uncharted island. |
Find Edward
| Step-by-Step Guide | |
|---|---|
| 1 | Once you've regained control of your character, get familiar with the new menu options available to you and go towards the map marker afterwards. |
| 2 | 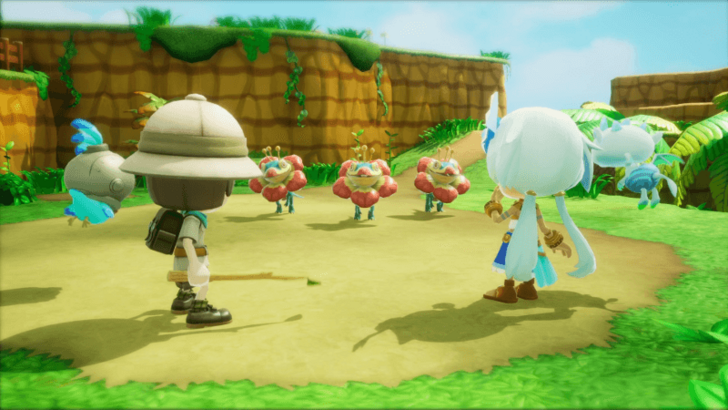 Instead of finding Edward, you'll run into a mysterious girl and three Tunoco Lizards. |
Chase Off the Lizards
| Step-by-Step Guide | |
|---|---|
| 1 | 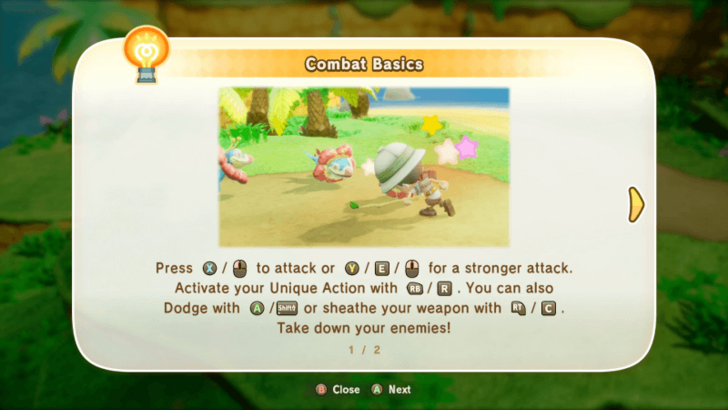 The fight with the lizards will serve as the combat tutorial section of the game, and it shouldn't be too hard unless you're standing still and not fighting back. |
| 2 | 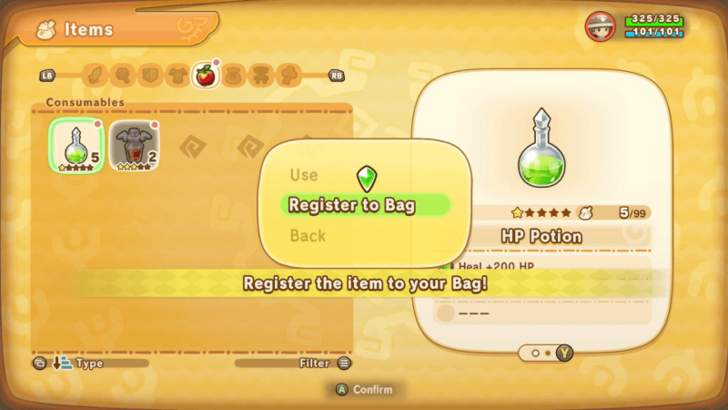 Once the fight's over, the girl will leave and you'll get a quick tutorial for registering items to your bag. Afterwards, you're free to go around and look for the dragon. |
| * | 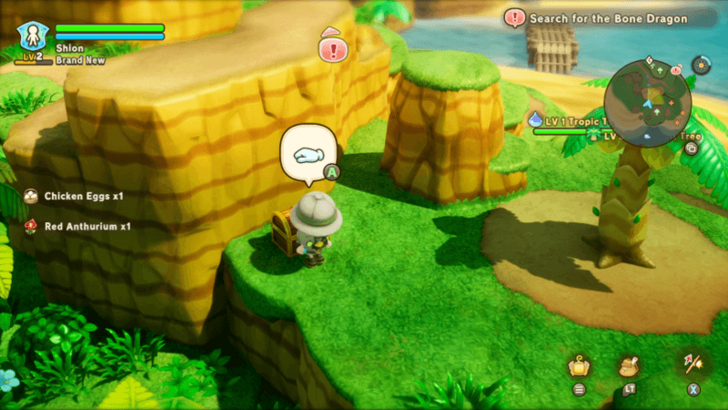 Take this opportunity to explore the island some more so that you can collect items, look for treasure, and defeat enemies for EXP. |
Search for the Bone Dragon
| Step-by-Step Guide | |
|---|---|
| 1 | 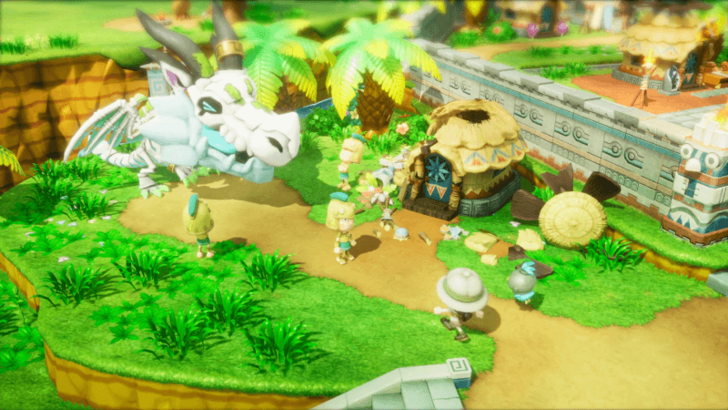 Once you're done exploring, follow the quest marker to find the Bone Dragon surrounded by some guards. |
| 2 | After the cutscene, you will be automatically teleported to the next part of the quest, where you'll need to talk to the King. |
Talk to the King
| Step-by-Step Guide | |
|---|---|
| 1 | 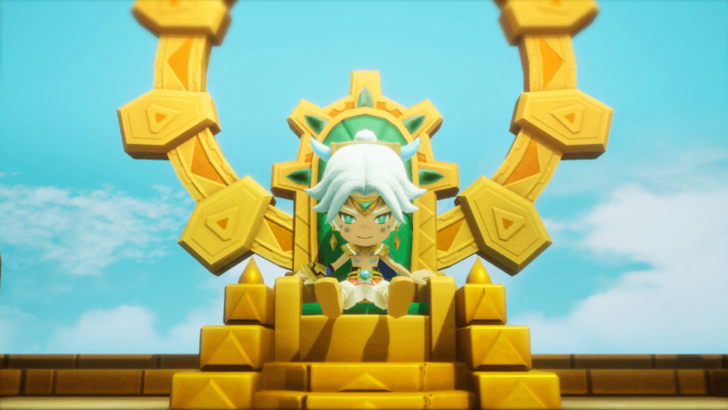 Head all the way up to the top of the stairs to meet the King of Mysteria, Ranoah. |
| 2 | 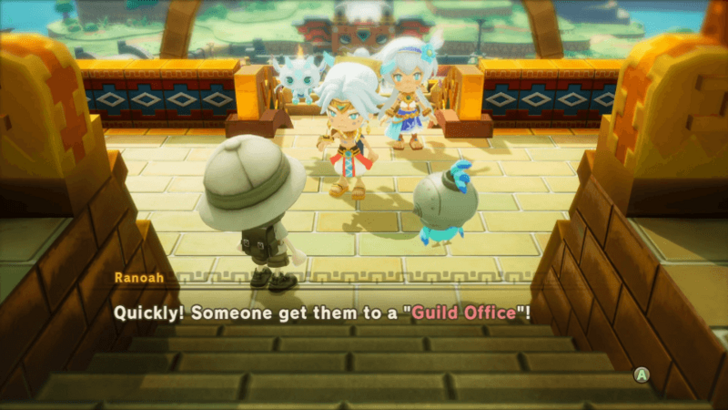 Unfortunately, he won't help you just yet since you currently don't have a Life. He will then send you away to the Guild Office so that you can pick one for yourself. ▶︎ List of All 14 Lives and Jobs |
Visit the Guild Office
| Step-by-Step Guide | |
|---|---|
| 1 | Thankfully, you will be transported right outside the Guild Office after the cutscene ends, so head inside once you're ready. |
| * | 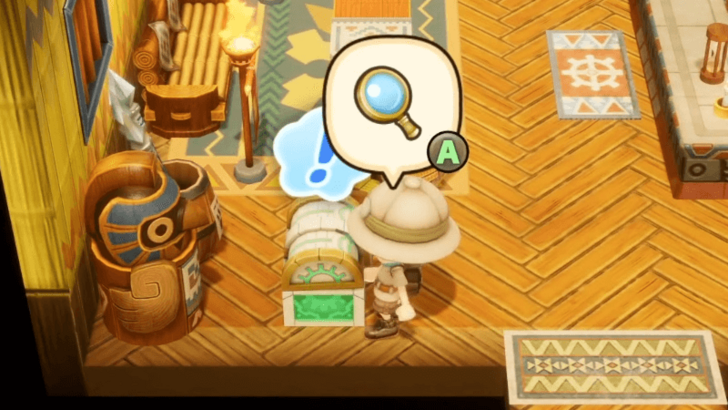 If you've pre-ordered or purchased the Deluxe Edition of the game, then you can find the bonus items inside a chest in the Guild Office. |
| 2 | 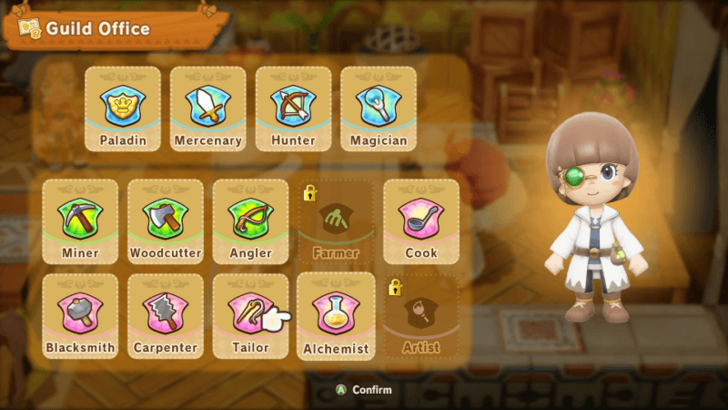 Head to the desk and talk to Auntie Anne so that you can select your first Life. Unfortunately, the Farmer and Artist are unavailable for now, so choose one of the other 12 available Lives instead. ▶︎ List of All 14 Lives and Jobs |
| 3 | 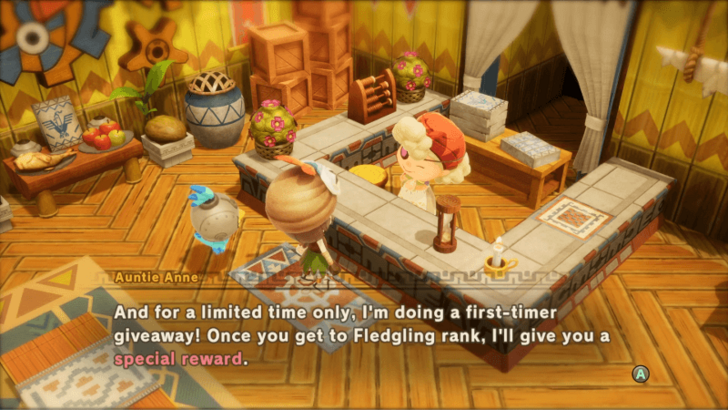 After selecting your life, you will be tasked with ranking up your chosen Life first before you can proceed with the main quest. |
| * | Also, you'll now have access to a ton of new menu options. Take some time to explore some of the new things that are available to you before you proceed onwards. |
Talk to the Life Master
| Step-by-Step Guide | |
|---|---|
| 1 | 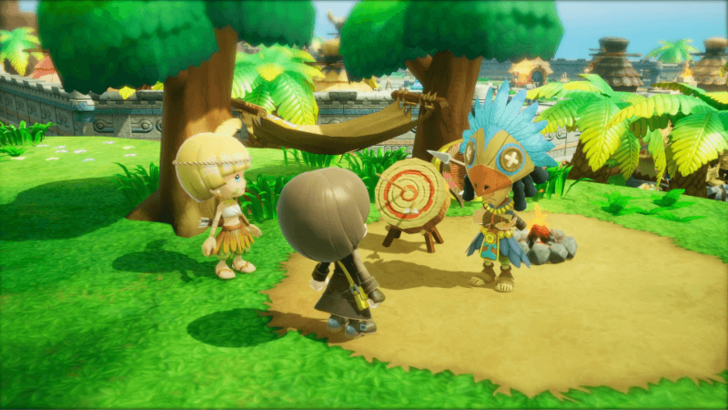 Depending on the Life that you've chosen, you will end up talking with the Master of that specific Life. Thankfully, they will be marked on the map so you won't need to run around looking for them. |
| * | Before approaching them, you can also explore the island some more first, since it's opened up and you now have a Life selected. |
Reach Fledgling Rank
| Step-by-Step Guide | |
|---|---|
| 1 |  Upon talking to your respective Life Master, you will be tasked with a Life Challenge that needs to be completed so that you can rank up. Again, this challenge will differ depending on the Life that you've chosen, so just follow the quest marker until you've completed it. ▶︎ List of All Life Challenges |
| 2 | Once you're done and you've reported back to the Life Master, you can head back to the Office Guild to claim your reward. |
Talk to Auntie Anne
| Step-by-Step Guide | |
|---|---|
| 1 |  Now that you've reached the Fledgling Rank, you can talk to Auntie Anne so that you can claim your special reward of 1000 Dosh. |
| 2 | 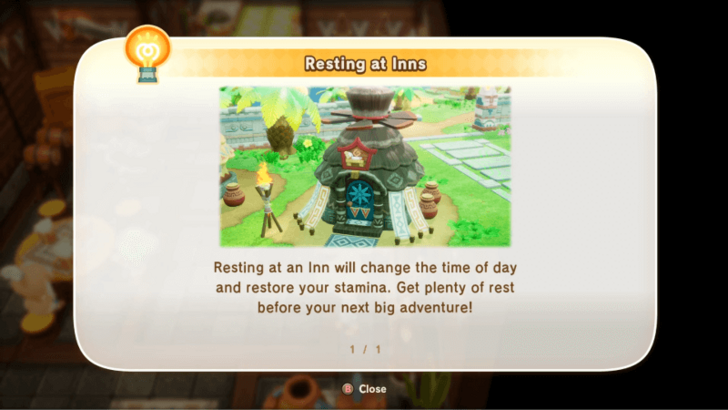 Since you now have a Life, you can report back to Ranoah so that he can help you. However, it's late, and you'll need to rest at an inn first. Thankfully, there's one right across from the Guild Office, and it also happens to be where the Mercenary Life Master's located if that was the initial Life that you chose. |
Go to Mysteria Castle
| Step-by-Step Guide | |
|---|---|
| 1 | 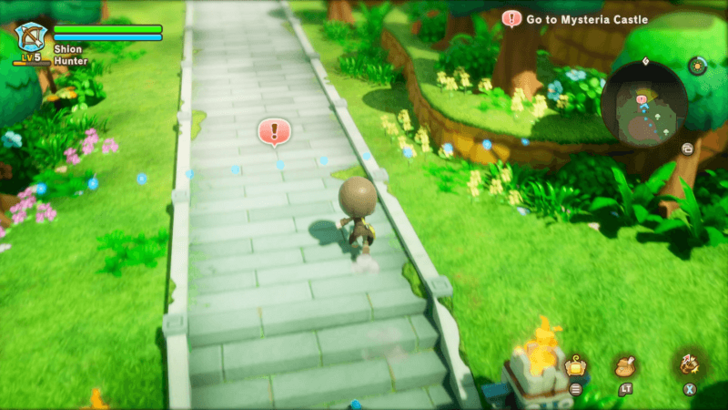 Once you've woken up the next day, follow the marker to the back of the village so that you can go to the Capital of Mysteria. |
| 2 | 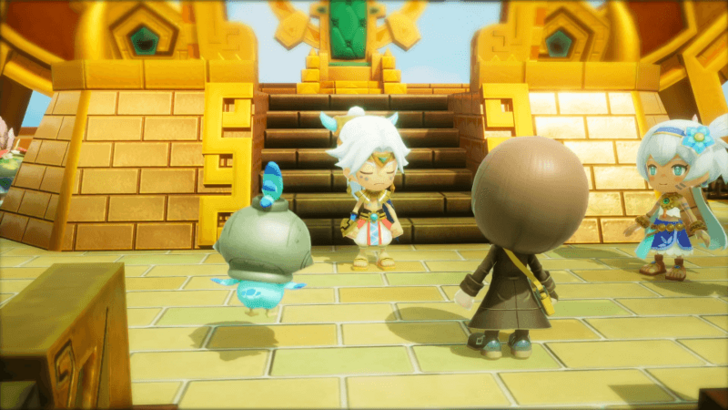 From there, just continue following the marker back up to where Ranoah is so that you can talk to him and get 3000 Dosh for your efforts. |
Talk to the Life Master
| Step-by-Step Guide | |
|---|---|
| 1 | During the cutscene with Ranoah, you will learn that you'll need to feed the Bone Dragon a Dragonut so that it will recover and take you back to where Edward is. To get one, you will need to talk to your Life Master since all of the masters have some. |
| 2 | 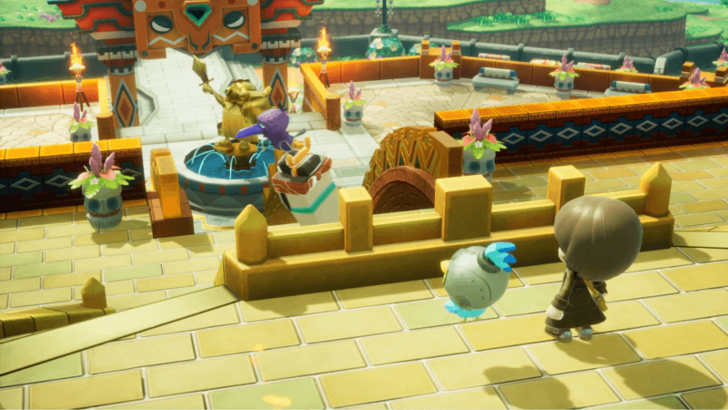 Before going to your Life Master, head down the stairs first to trigger a shortcutscene where a crow is carrying a Strangeling away. Once that's done, you're free to go to your master. |
| * | 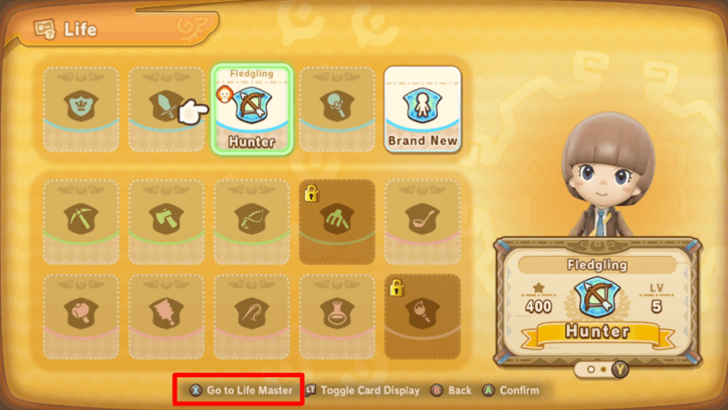 To quickly teleport to a Life Master, you can simply go to the Life Menu and select "Go to Life Master" when hovering over a Life. |
| 3 | 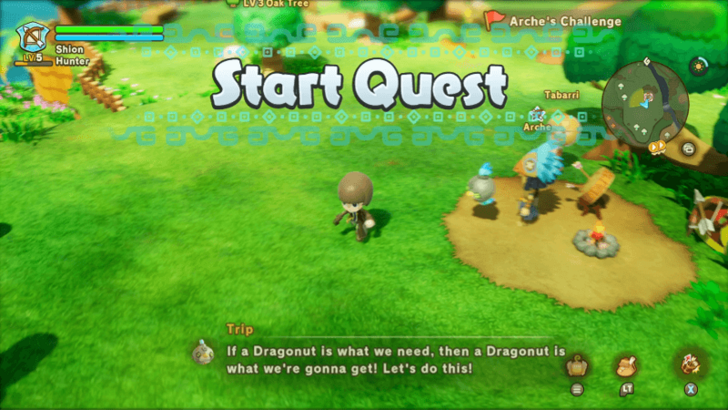 When you're ready, talk to your Life Master so that they can have you complete a Life Challenge in exchange for the Dragonut. Again, this will differ depending on the Life you've chosen, so check the Quests Menu to see what you need to do. ▶︎ List of All Life Challenges |
Visit the Bone Dragon
| Step-by-Step Guide | |
|---|---|
| 1 |  Once you've completed the challenge and gotten the Dragonut, you can head back to where the Bone Dragon is so that you can give it the nut. |
| 2 | 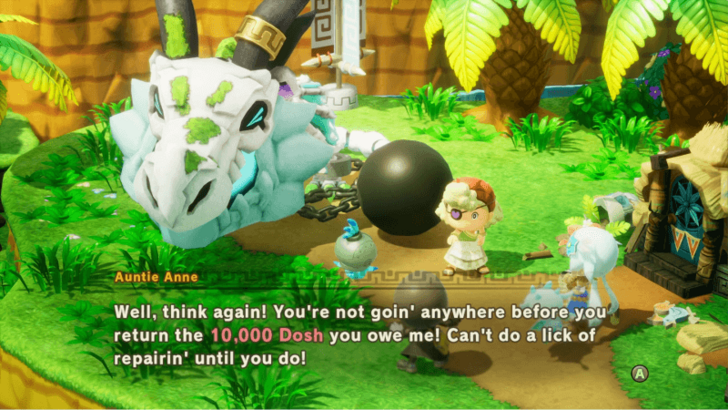 Unfortuntately, you can't leave just yet since Auntie Anne will demand that you pay her 10,000 Dosh to repair her broken house. |
Pay Back Auntie Anne's Dosh
| Step-by-Step Guide | |
|---|---|
| 1 | 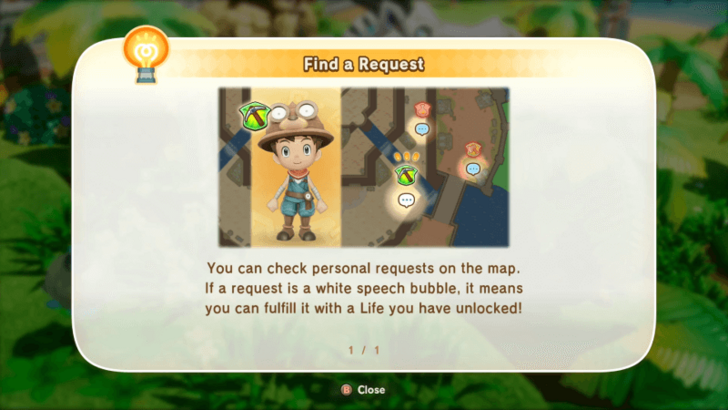 To pay back Auntie Anne, you will need to complete various different Requests and get some Dosh as a reward. Thankfully, as mentioned in the cutscene, you can get enough from completing both Feelings Sway, Emotions Weigh and Ranoah's Treasure. |
| * | As a note, you can take this opportunity to complete other Requests that you come across since it's always nice to get more rewards. |
| 2 | 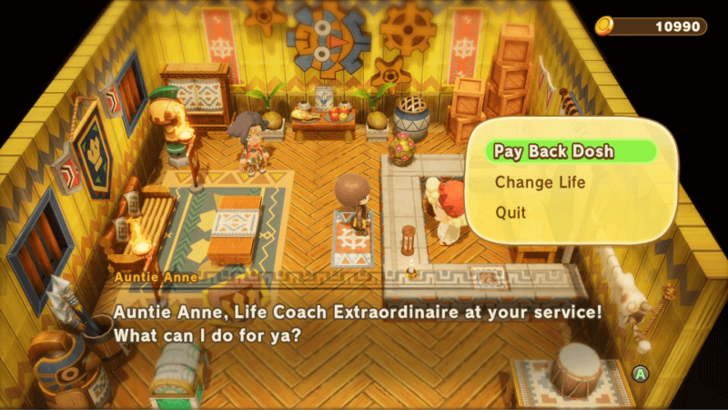 Once you've gathered enough Dosh, you can head back to the Guild Office so that you can pay Auntie Anne. |
Visit the Bone Dragon
| Step-by-Step Guide | |
|---|---|
| * | 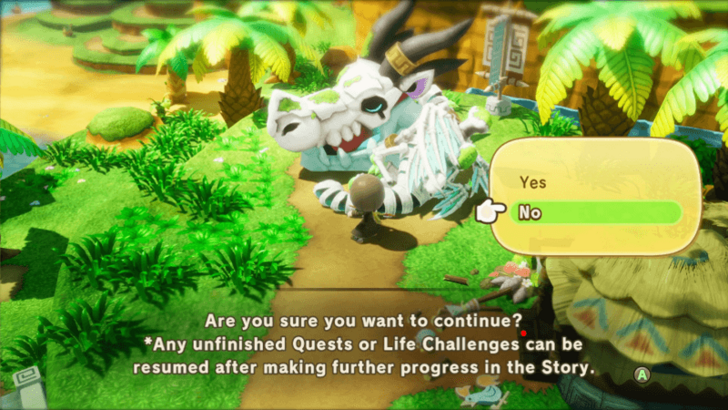 Before proceeding onwards, it's highly recommended to fully explore the island, unlock every available Life, and complete every available Request. Once you interact with the Bone Dragon, you won't be able to return until you're taken back as part of the story. |
| 1 | When you're ready, approach the Bone Dragon and select Yes to continue to Chapter 2, Leap of a Thousand Years. |
Chapter 2 Walkthrough Guide
Approach the Depths
| Step-by-Step Guide | |
|---|---|
| 1 | 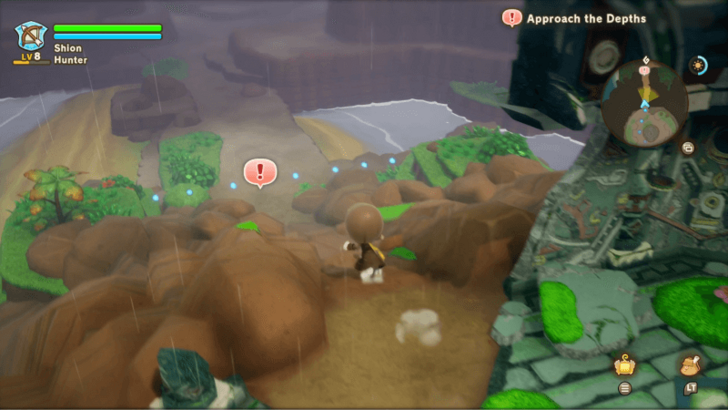 Once you have control of your character again, follow the marker north to trigger a cutscene. |
| * | You can also explore the island if you wish, but there isn't much to do yet. |
Enter the Dephts
| Step-by-Step Guide | |
|---|---|
| 1 | 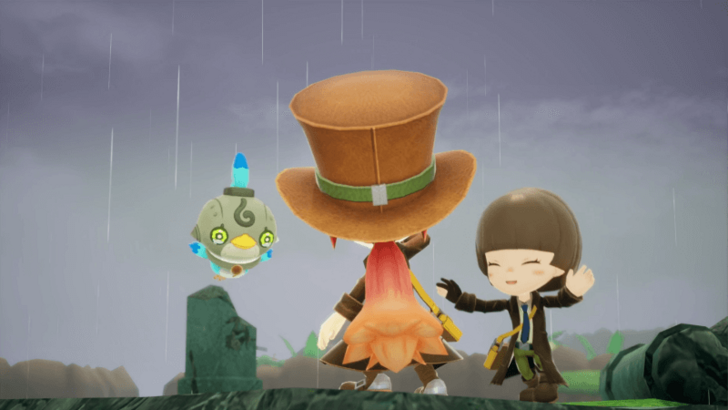 Now that you've reunited with Edward, you can head down to the Depths to search for the Cog. |
| 2 | 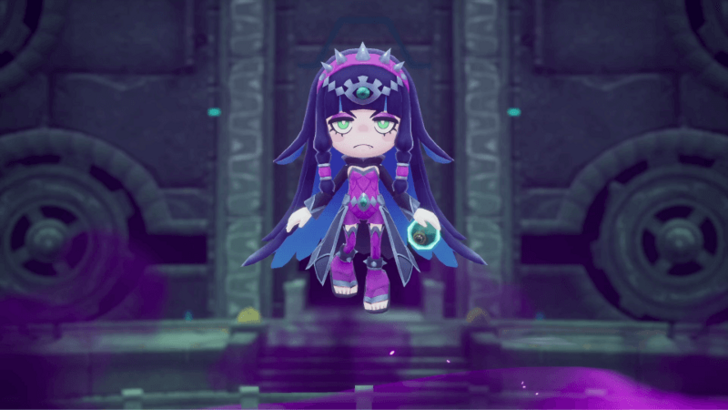 Once you've gone down, a cutscene will start and you will be introduced to the Shadow Girl. |
Investigate the Nearby Tower
| Step-by-Step Guide | |
|---|---|
| 1 | 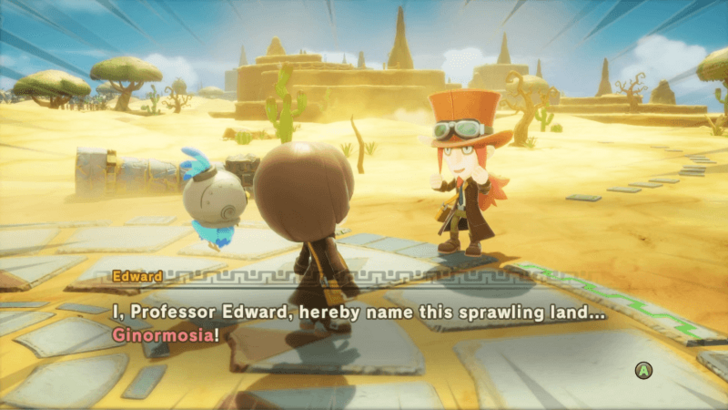 After the cutscene, you will now be in a strange new island named Ginormosia. If you wish, take some time to explore the area first since this is a new large open world area. |
| 2 | 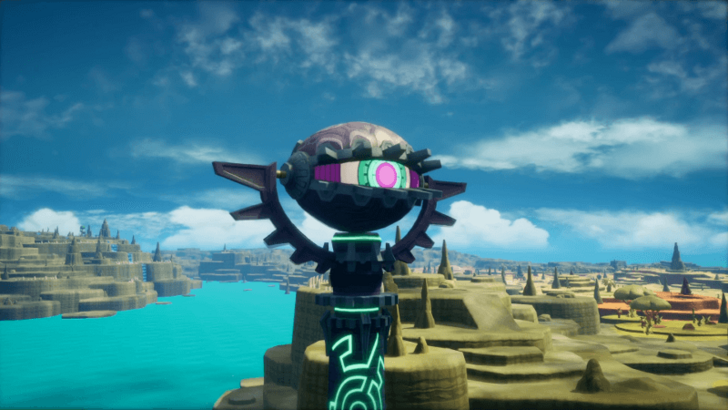 When you're ready, follow the quest marker and approach the strange eye tower. |
| 3 | 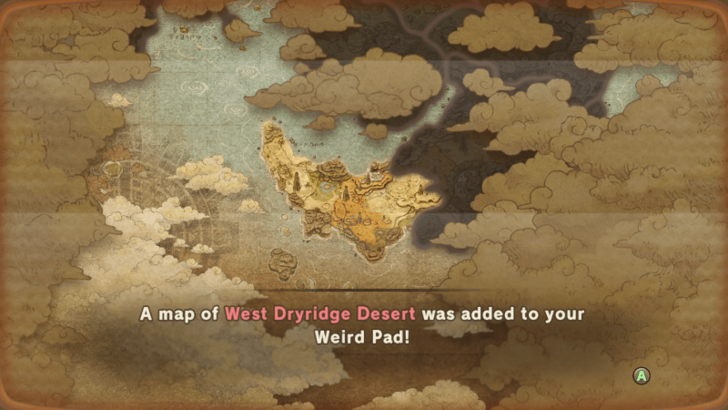 Once the cutscene is over, the fog on your map will be partially cleared and you can now properly see the West Dryridge Desert. |
| * | 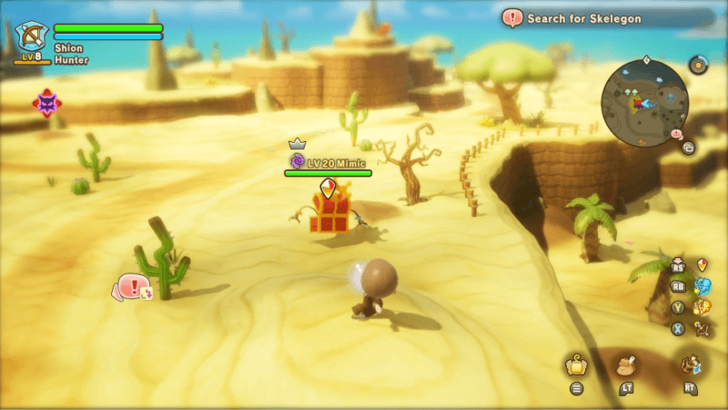 Before continuing, approach and attack the Mimic that just spawned behind you to learn more about the huge castle in the middle of the island. |
Search for Skelegon
| Step-by-Step Guide | |
|---|---|
| 1 | When you're ready, continue following the quest marker to search for Skelegon. |
| 2 | 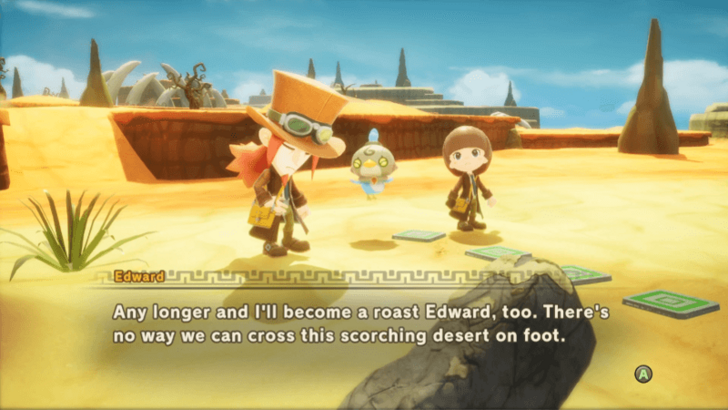 Once you've reached the marker, you won't be able to progress further since you take damage whenever you step on the darker shade of sand. |
| 3 | 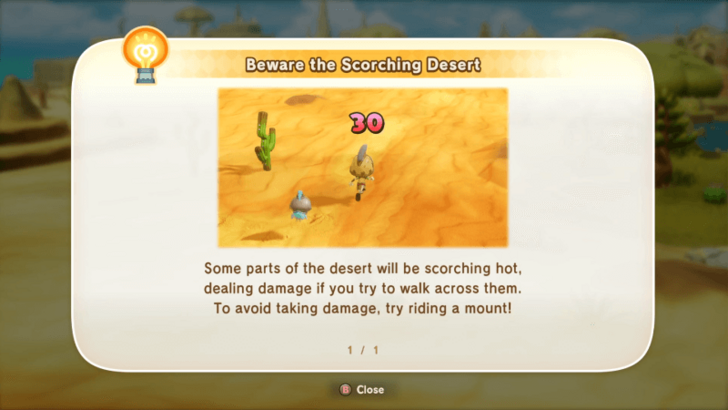 To progress further, you will need to find a mount and ride it since they won't take damage when crossing the scorching desert. |
Find a Ride
| Step-by-Step Guide | |
|---|---|
| 1 | 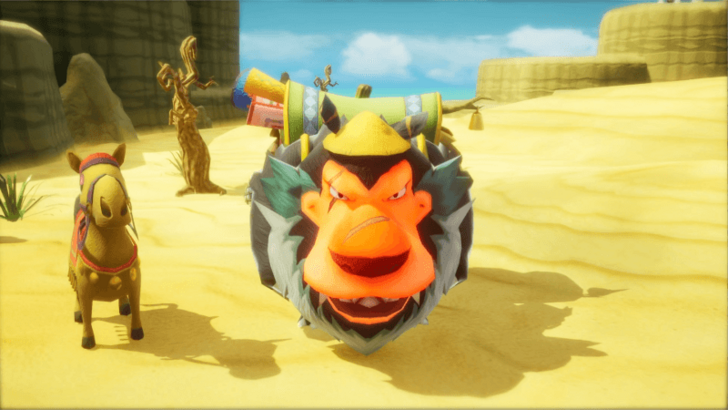 To find a ride needed to cross the desert, you will simply need to turn around and approach the monster with a camel. |
Listen to The Don
| Step-by-Step Guide | |
|---|---|
| 1 | When you're ready, go to The Don to speak to him and initiate a cutscene. |
| 2 | 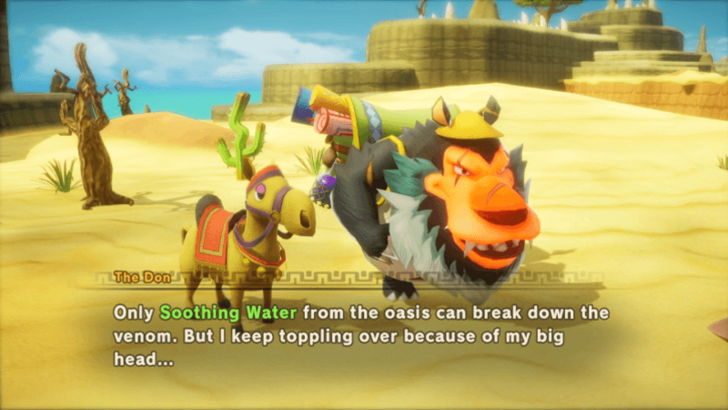 Before you can get the camel off of him, you will need to give him some Soothing Water first so that he can cure the venom that's causing him to swell up. |
Find Soothing Water
| Step-by-Step Guide | |
|---|---|
| 1 | 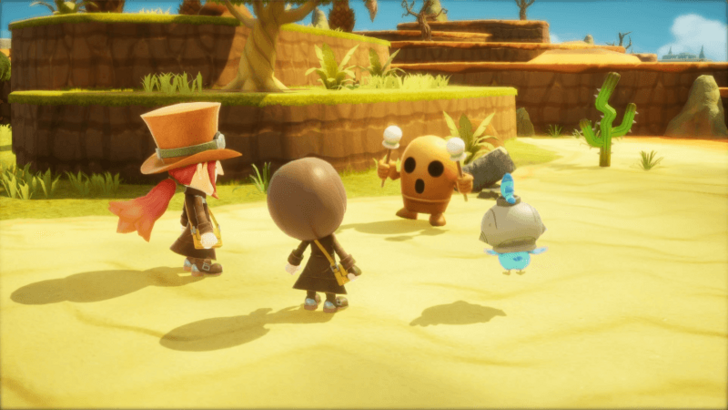 While The Don says that you can get some Soothing Water from the oasis behind you, you'll actually need to talk to the nearby Wandering Haniwa instead to get some. |
| 2 |  Unfortunately, the Haniwa took all of the Soothing Water, and you'll need to defeat them to get some. |
| 3 | 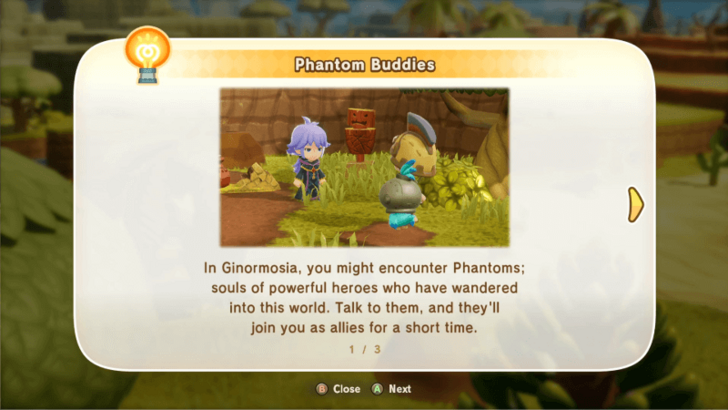 Thankfully, this is also the tutorial section for Phantom Buddies, so you can recruit them to assist you in the fight. |
Speak to the Phantom Buddy
| Step-by-Step Guide | |
|---|---|
| 1 | 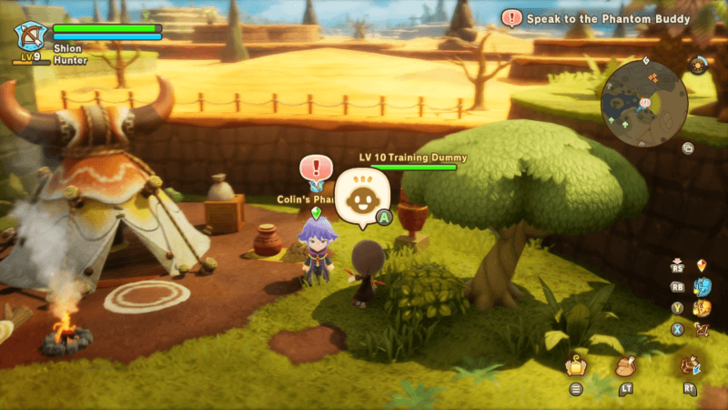 After the cutscene is over, go and talk to Colin's Phantom to recruit them. |
| * | Before you proceed to fight the Haniwa, it's recommended to rest at the campsite first, especially if you've lost some HP and SP. |
Defeat the Wandering Haniwa
| Step-by-Step Guide | |
|---|---|
| 1 | 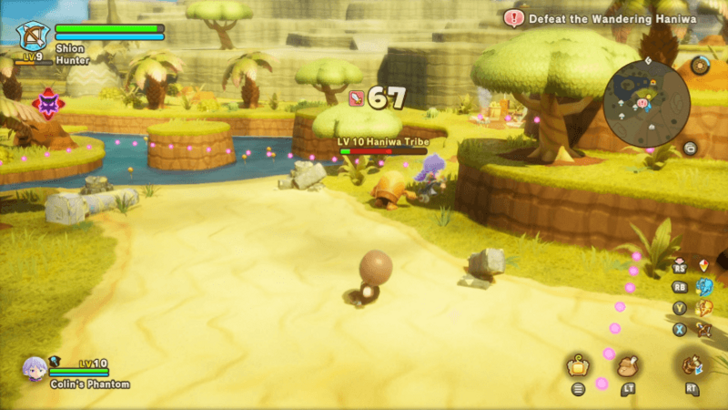 When you're ready, approach the Wandering Haniwa to start the fight. They're a lot tankier than most standard enemies, but their attacks can be easily predicted and dodged. |
| 2 | 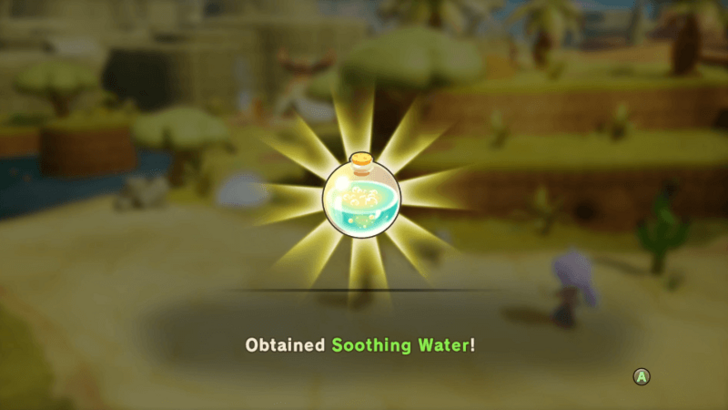 After they've been defeated, you will automatically obtain the Soothing Water. |
Report to The Don
| Step-by-Step Guide | |
|---|---|
| 1 | 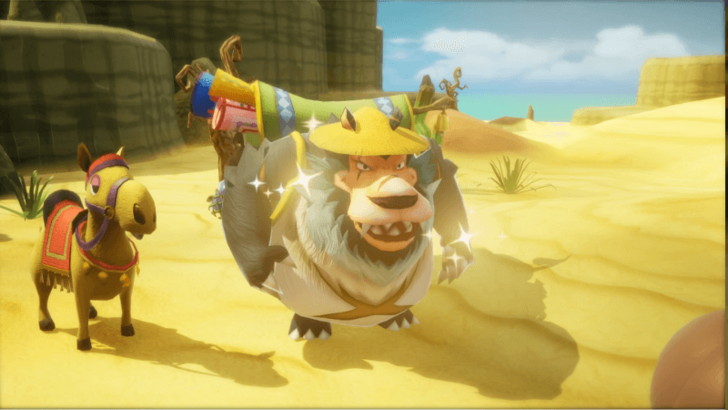 Now that you have some Soothing Water, you can return to The Don to give it to him and get the camel needed to cross the desert. |
| * | 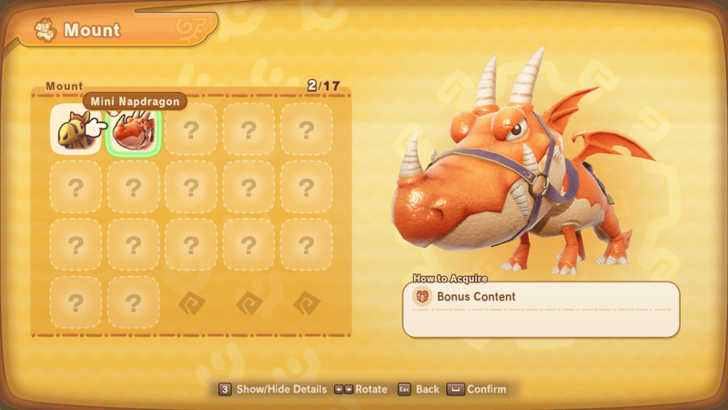 As a note, if you've purchased the Deluxe Edition and claimed your bonus items, you're able to change your mount from the Camel to the Mini Napdragon via the Mount Menu. |
Cross the Desert on a Camel
| Step-by-Step Guide | |
|---|---|
| 1 |  Now that you have a mount, you'll be able to cross the darkened sand to continue to the next part of the quest. |
| * | If you wish, you can also take some time to explore the desert some more since you're no longer blocked by the dark sand. |
Search for Dropped Belongings
| Step-by-Step Guide | |
|---|---|
| 1 | 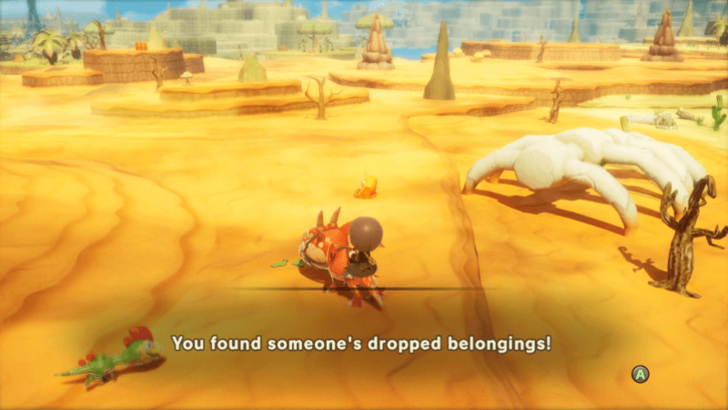 While you're searching for Skelegon, the quest marker will lead you to some dropped belongings on the ground. |
| 2 | Instead of finding the Bone Dragon, the quest will now sidetrack you to follow a trail of items on the ground to find the items' owner. |
Keep Searching for Belongings
| Step-by-Step Guide | |
|---|---|
| 1 | Keep following the quest marker to find two more pieces of clothing. |
| 2 | 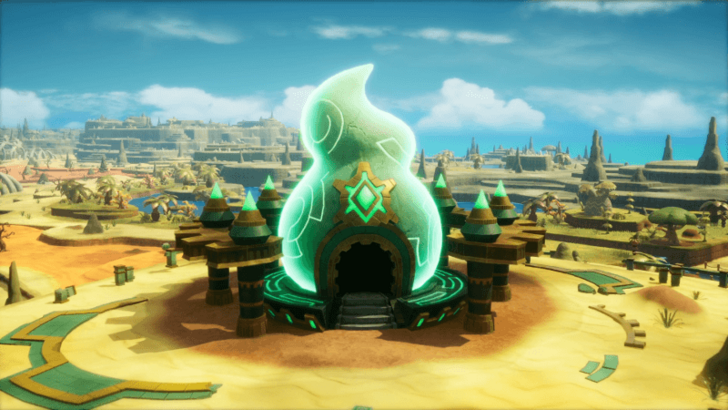 At the third and final item, a cutscene will start and you'll be introduced to Shrines. It also sounds like the owner of the clothes is inside, and the next part of the quest will have you help her. |
Enter the Gleaming Building
| Step-by-Step Guide | |
|---|---|
| 1 | Before going in, it's recommended to explore a bit to fight enemies and level up first. There will be a fight inside the shrine, and you might want to unlock some new skills before going in. |
| 2 | When you're ready and you've rested up back to full, head inside Jo'ee Shrine. |
Investigate the Shrine's Interior
| Step-by-Step Guide | |
|---|---|
| 1 | 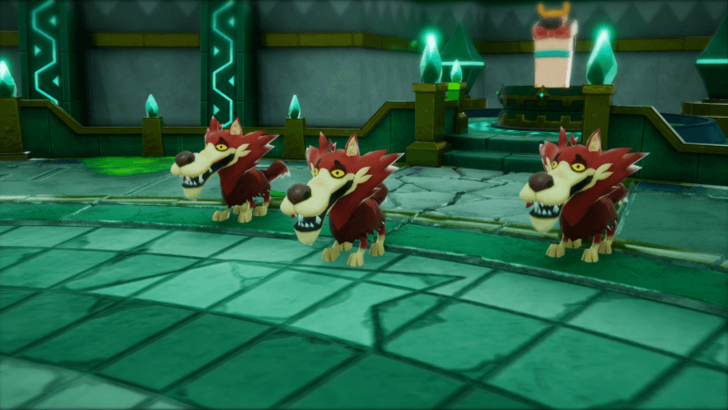 Approach the back of the shrine to find the Strangeling from the cutscene in Chapter 1, as well as three Red Wolves surrounding her. To progress the quest and save her, you will need to defeat the wolves with the help of Colin. |
| 2 |  After they've been beaten, you will meet Kunugi in her Odd Dresser form. You will also recruit her, acquiring your first Strangeling. ▶︎ List of All Strangelings |
Head Towards Skelegon
| Step-by-Step Guide | |
|---|---|
| 1 | Now that your detour has been completed, you can resume searching for Skelegon. |
| 2 | 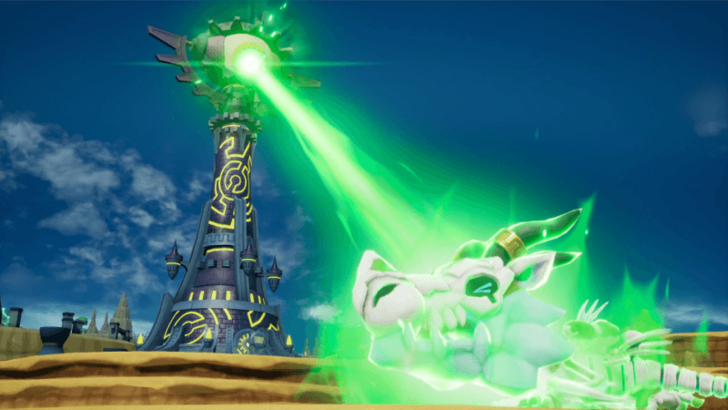 Continue following the quest marker until you come across Skelegon and another tower. |
| 3 | 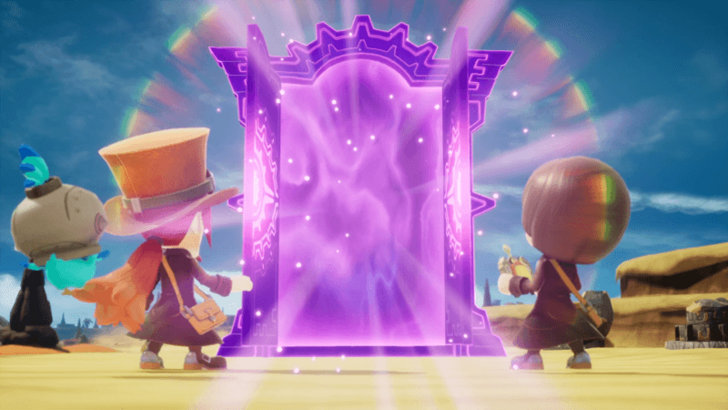 After the cutscene ends, you'll now be back in the Present and you'll have access to the Teleportation Gate, which can take you back to your last location in Ginormosia. |
| 4 | 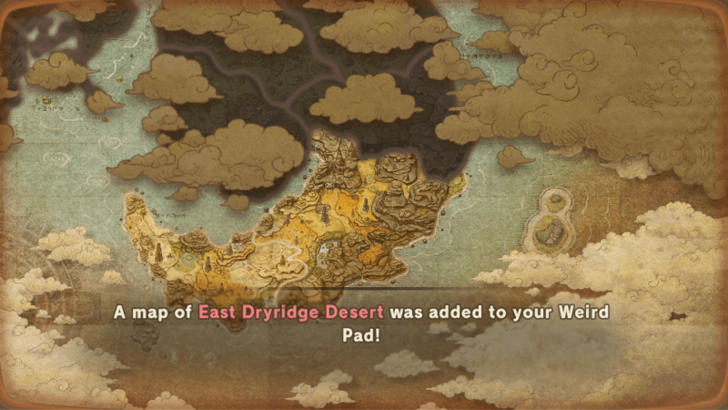 Also, since you've interacted with Googlbert's Tower, the map will expand to now show the East Dryridge Desert. |
Investigate the Depths
| Step-by-Step Guide | |
|---|---|
| 1 | Once you've regained control of your character, follow the quest marker back down into the Depths where you met the Shadow Girl, Carla. |
| 2 | 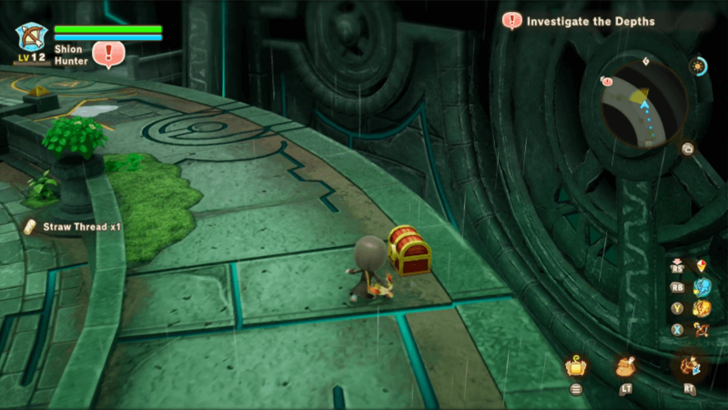 Now that you're down here, take some time to explore the area and grab any items and treasures you can find. |
| 3 | When you're ready, continue following the marker until you trigger a cutscene where you'll go inside a cave with a secret room. |
Investigate the Hidden Room
| Step-by-Step Guide | |
|---|---|
| 1 | 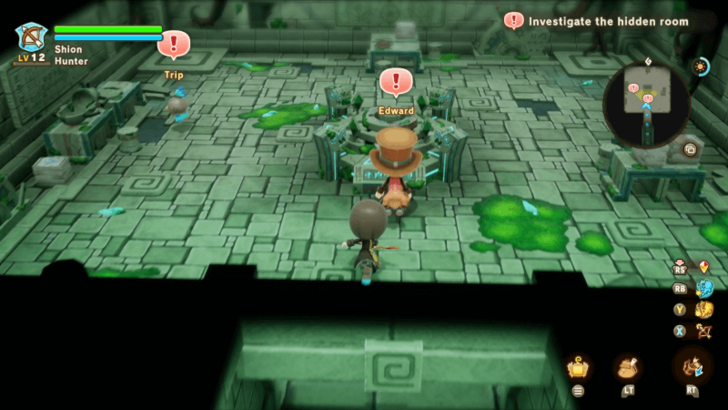 After the cutscene's ended, explore the cave first before talking to Edward and Trip. |
| 2 | 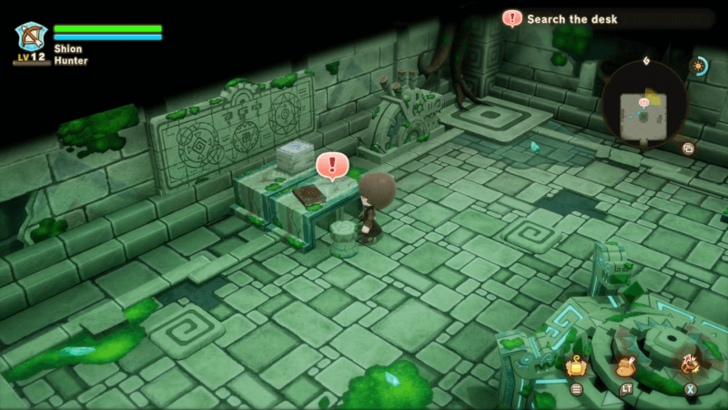 Once you're done talking to them, go to the back of the room and investigate the journal to learn more about Strangelings. |
Delve Deeper into the Depths
| Step-by-Step Guide | |
|---|---|
| 1 | After reading the book, follow the quest marker deeper into the cave, gathering any items and treasures along the way. |
| 2 | 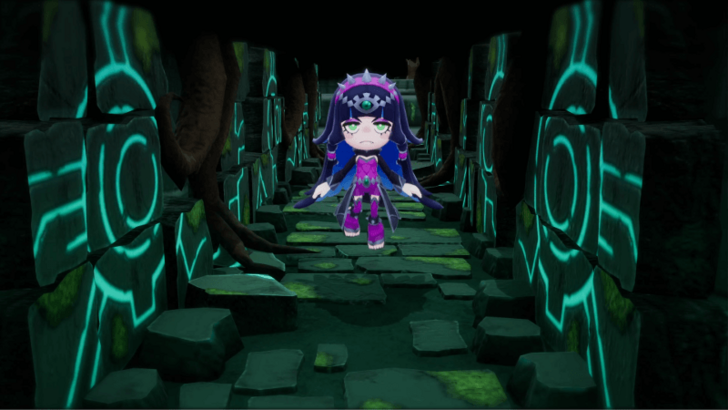 Once you've reached the marker, a cutscene will trigger where you will be ambushed by Carla and she will get trapped with Edward behind a boulder. |
| 3 | After the cutscene's over, you will be teleported back outside the Depths, where you initially landed after returning from Ginormosia. |
Go to the Ruined Square
| Step-by-Step Guide | |
|---|---|
| 1 | 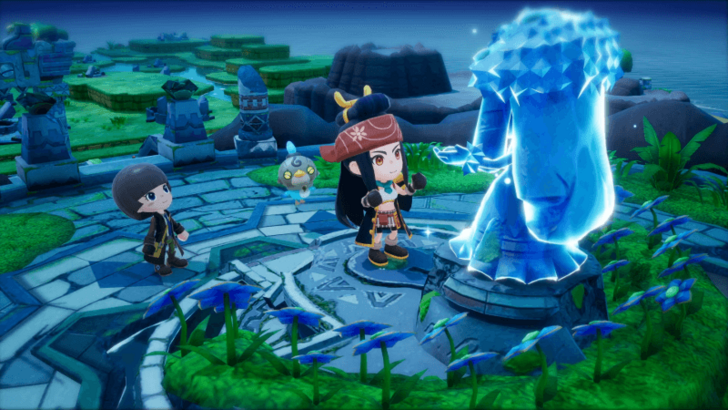 Now that you're back outside, another cutscene will play where the Goddess Statue will revert Kunugi back to her human form. |
| 2 | At the end of the cutscene, you will hear someone screaming, and you will now be tasked with finding where it came from. |
| 3 | 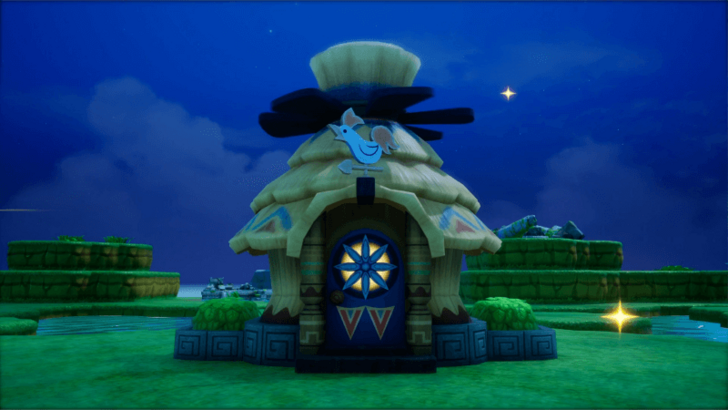 Follow the quest marker to find the rest of the crew from the ship at the beginning of the game. Once that cutscene's over, you will now have a house to customize and rest in. |
Rest at Your House
| Step-by-Step Guide | |
|---|---|
| 1 | 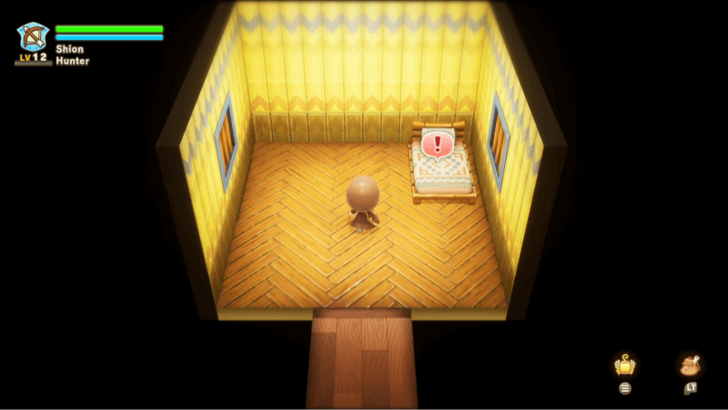 To progress the main quest, head inside your newly constructed house and sleep in your bed. |
| 2 | 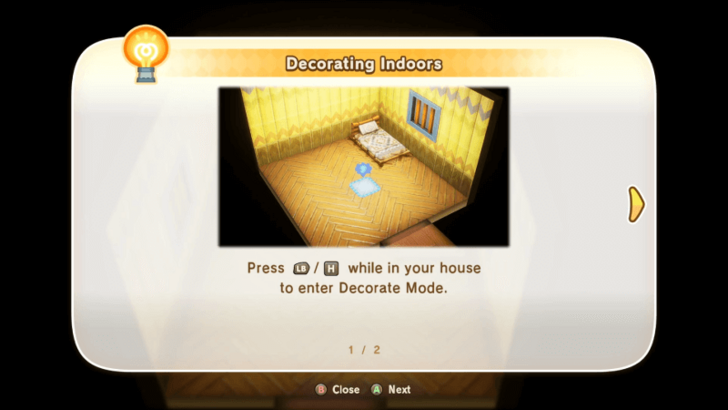 When you wake up the next day, you can decorate your house, if you have items to put down, before you continue your journey. |
Find Trip and the Others
| Step-by-Step Guide | |
|---|---|
| 1 | 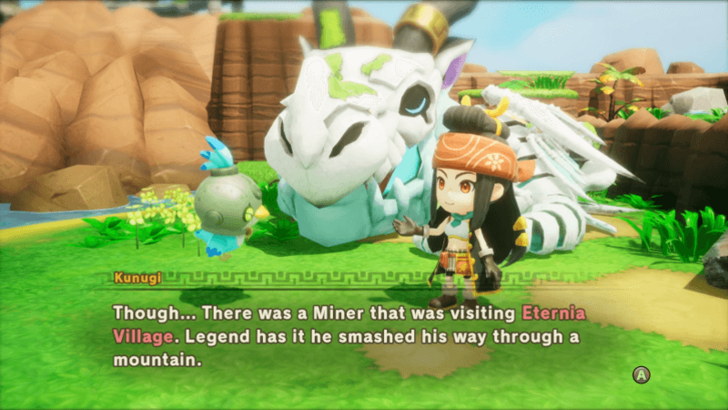 After you leave the house, just follow the quest marker to find Kunugi, Trip, and Skelegon. Once the cutscene is over, Chapter 2 will officially be completed. |
Ride Skelegon to Eternia
| Step-by-Step Guide | |
|---|---|
| 1 | 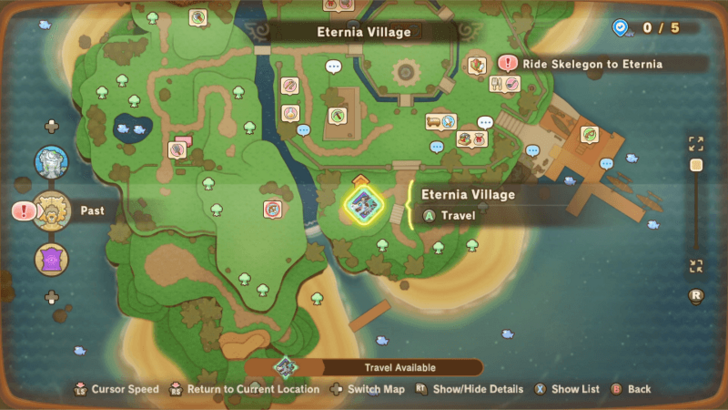 Even if you've beaten Chapter 2, Chapter 3 doesn't start until you've returned to Eternia Village. To do this, you can open the map and select the Skelegon Icon in Eternia Village to fast travel there. |
Chapter 3 Walkthrough Guide
Gather Info at Eternia Village
| Step-by-Step Guide | |
|---|---|
| 1 |  Once you're back in Eternia Village, follow the quest marker and talk to Granny Dumpling, who will tell you the location of Duglas. |
| 2 | 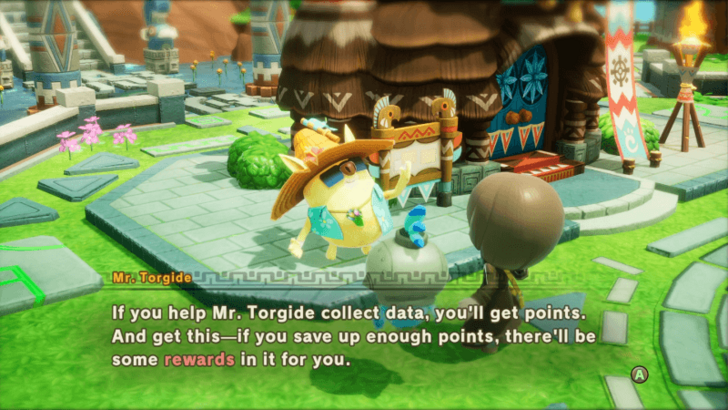 Before heading off to Warren Willow Hollow, talk to Mr. Torgide first so that you can learn more about the Island Bulletin Board. Check back here every now and then so you can check off completed tasks and track what you can work towards next. |
| * | Also, if you haven't already done so before leaving Chapter 1, you can take some time to do other quests and challenges now that you're back. |
Go to Warren Willow Hollow
| Step-by-Step Guide | |
|---|---|
| 1 | Before you proceed any further, it's highly recommended to level up your character, rank up your preferred Combat Life, learn new skills, and upgrade your equipment. The next part of the quest will have you encountering tougher enemies, and, ideally, you're prepared before going in. |
| 2 |  When you're ready, head to the north side of the island and enter Warren Willow Hollow. |
Search Warren Willow Hollow
| Step-by-Step Guide | |
|---|---|
| 1 | Once you're inside, make sure to fully explore the dungeon for any items and treasures you can gather. Don't worry about missing anything since you can always come back later. |
| 2 | 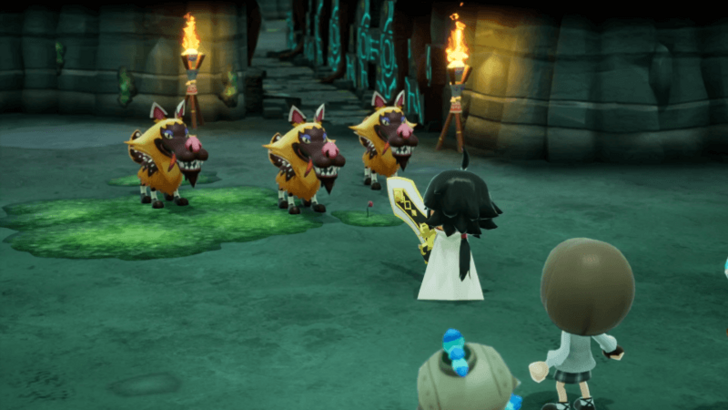 Part way through the dungeon, you will encounter three Jerkish Jackals. Thankfully, Glenn will appear out of nowhere to assist you in this fight. |
| 3 | After they've been defeated, Glenn will leave and you can resume your search for Duglas. |
Search for a Miner
| Step-by-Step Guide | |
|---|---|
| 1 | 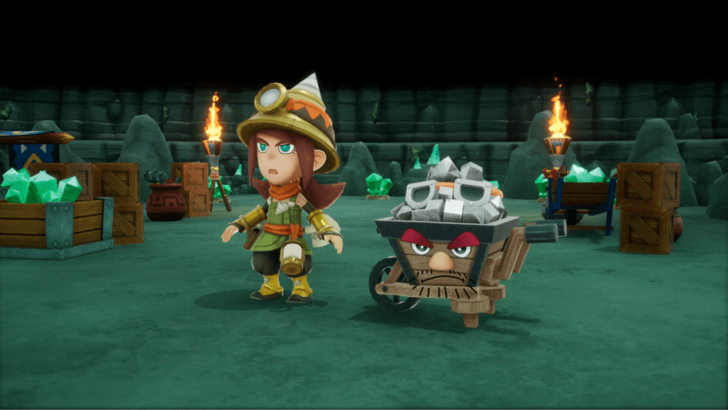 Continue through the dungeon until you've reached the end. Here you will encounter Meralda, the Miner Life Master, and Duglas, who's been transformed into the Sturdy Wheelbarrow Strangeling. |
| 2 | Before leaving, don't forget to grab anything that you may need from this room. |
Find the Exit
| Step-by-Step Guide | |
|---|---|
| 1 | Even if the objective says to find the exit, and it's implying that there's a hidden way out, you really only need to go back the way you came. |
| 2 | 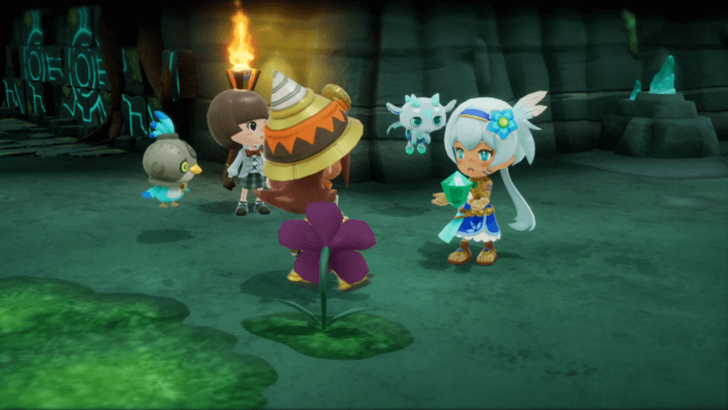 On the way out, there'll be a short cutscene with Rem and Eternia Ore. This has no bearing on the story at the moment, but it should be something to keep in mind in the future. |
Leave Warren Willow Hollow
| Step-by-Step Guide | |
|---|---|
| 1 | 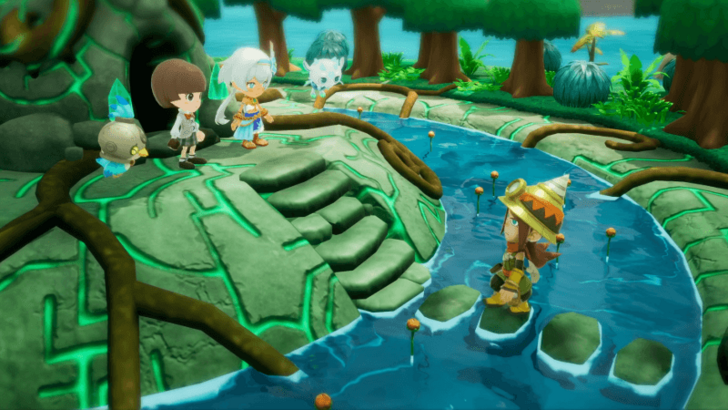 Now that that's over with, you're free to head back and leave Warren Willow Hollow. |
| 2 | The next part of the quest will have you travelling back to the present, but make sure to check back at the Bulletin Board first so that you can turn in any completed tasks. |
Return to the Present
| Step-by-Step Guide | |
|---|---|
| 1 | 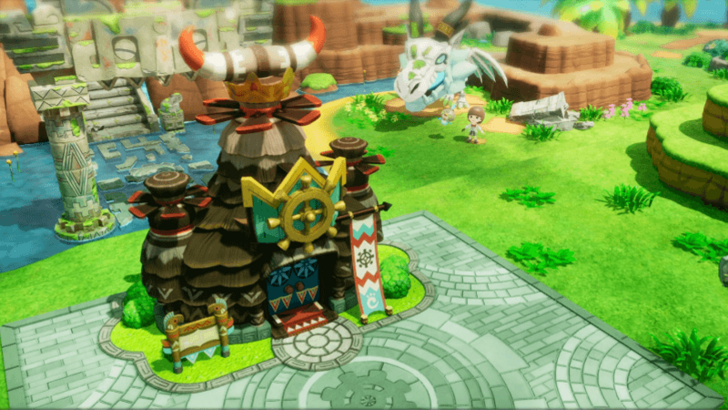 When you're ready, fast travel to your Base Camp, where you'll find that a new Guild Office has been erected. |
| 2 | 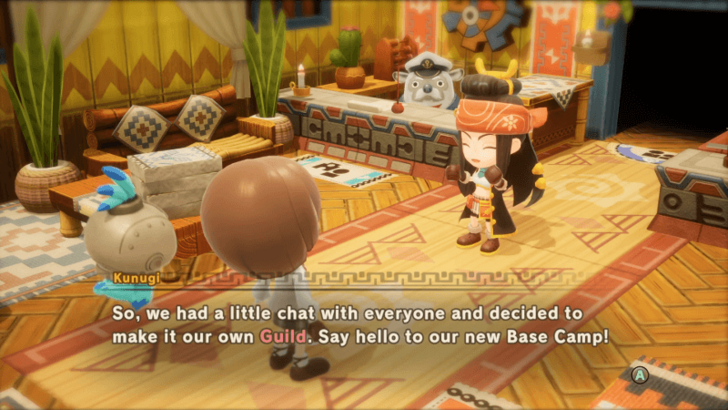 You'll then be teleported inside, and Kunugi will update you on what's new on the island. While you're here, make sure to talk to everyone in the office so that you're familiar with the new facilities available to you. |
| 3 | 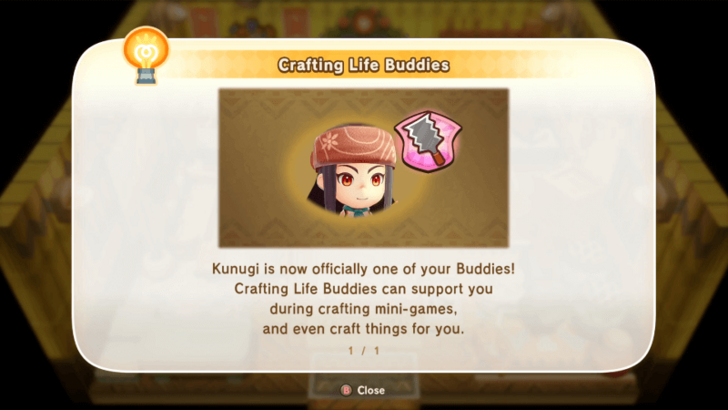 At this point, Kunugi will also become your first Buddy that can help you in combat or when performing tasks. Since she's a Carpenter, she will only be able to help you during the crafting mini-game. |
| 4 |  One other thing to note is that you can talk to Colm in the back room to initiate Multiplayer. If you're looking for other people to play with, then try posting or looking for a room in Game8's Room Sharing Board ▶︎ Room Sharing Board |
Visit the Goddess Statue
| Step-by-Step Guide | |
|---|---|
| 1 | When you're ready to continue the main quest, head up to the Goddess Statue. |
| 2 | 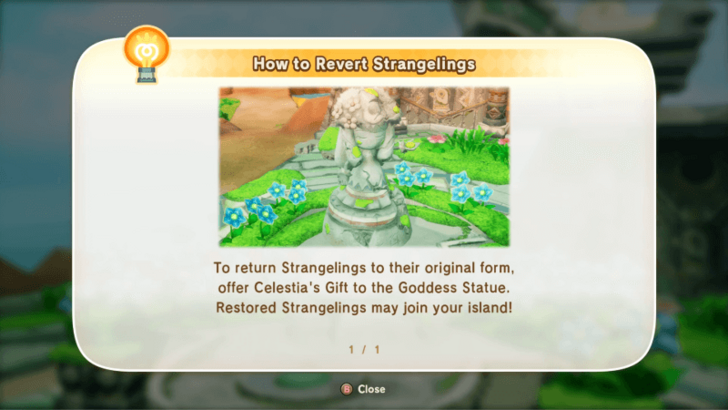 Like last time, you'll use the Goddess Statue to revert Duglas back to his human form. However, this time around, you will need to offer 100 Celestia's Gifts for the goddess to do this. |
| 3 | To get Celestia's Gifts to spawn, you will need to develop the island by talking to Cooke. |
Talk to Cooke at the Guild
| Step-by-Step Guide | |
|---|---|
| 1 | 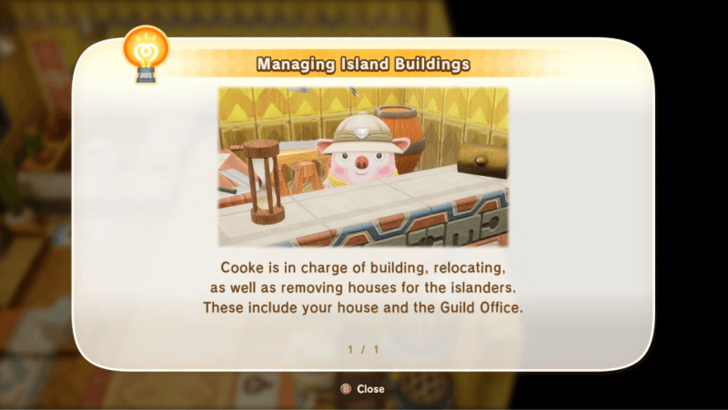 Head back to the Guild Office and talk to Cooke, who's manning the desk on your right. |
| 2 | Talk to them and you'll be tasked with building a house for Kunugi as the first step to developing and improving the island. |
Build an Islander House
| Step-by-Step Guide | |
|---|---|
| 1 | To build a house for Kunugi, talk to Cooke, and you will begin the Island Construction tutorial. Just follow the steps presented to you until you have control of your character again. |
| 2 | 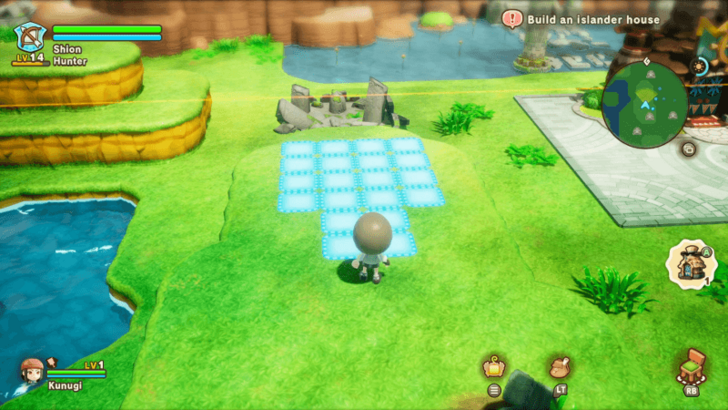 Once you have the Building Kit, head outside and continue following the tutorial to build the house. You don't have to worry about its placement for now, since you can always relocate it later at the cost of some Dosh. |
| 3 | 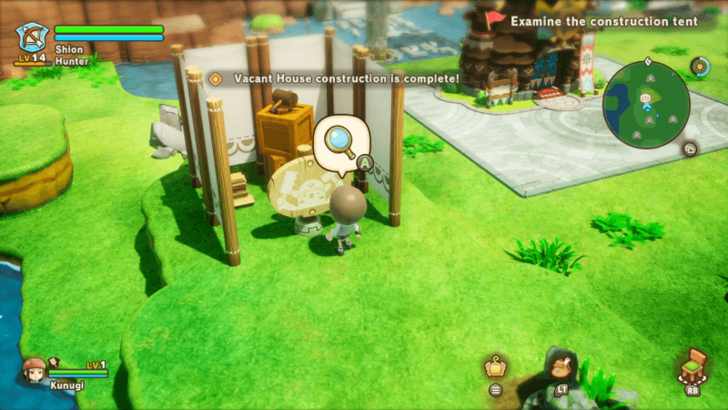 After selecting its placement, you'll need to wait for a bit for the building to be constructed. Once you get the notification that it's done, you can select it to unveil the new house. |
Give the House to Kunugi
| Step-by-Step Guide | |
|---|---|
| 1 | 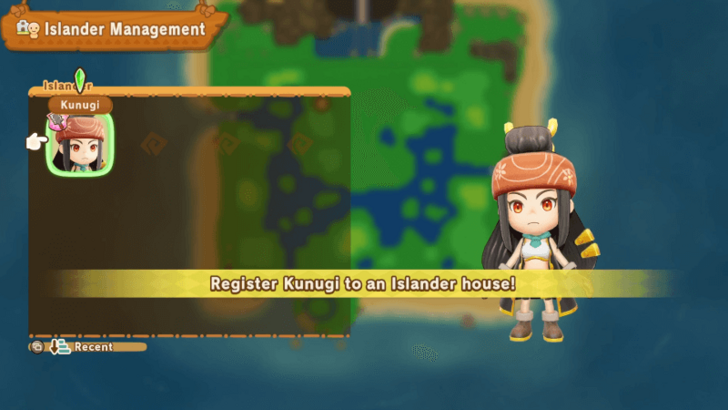 Now that you have a Vacant House, return to the Guild Office and talk to Boyle so that you can assign Kunugi to the house. |
Place the Sign and Furniture
| Step-by-Step Guide | |
|---|---|
| 1 | 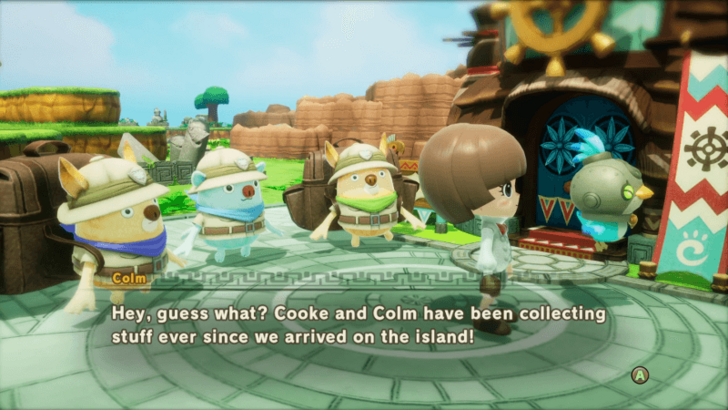 When you're done assigning Kunugi to her new house, there will be a short cutscene where some of the other members of the crew will give you decorations to put around the base. |
| 2 | 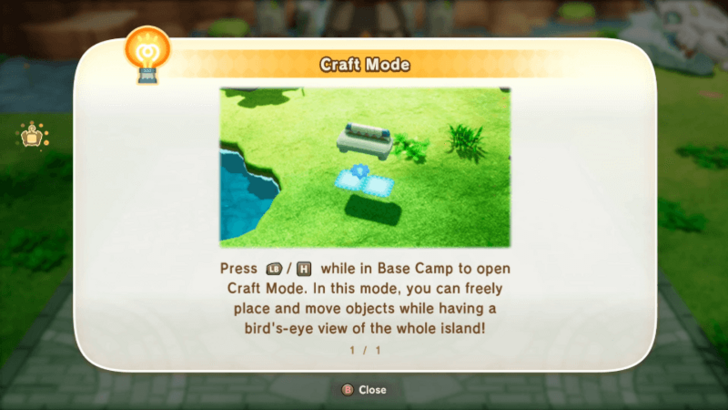 This part of the quest will introduce you to the Craft Mode, which is a more convenient way of building out your island when compared to running around on foot. |
| 3 | 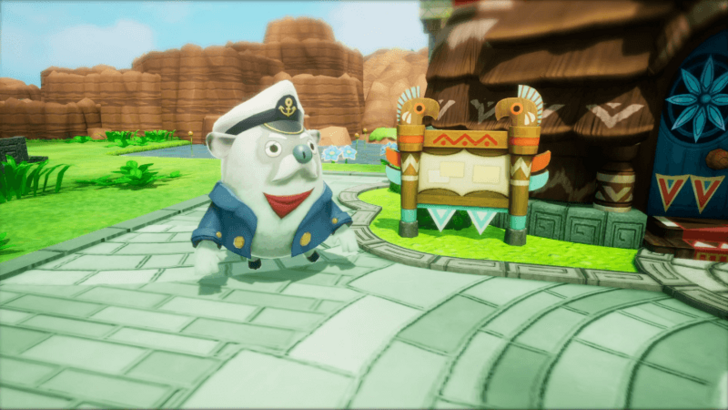 Once you're done putting down all the decorations, Boyle will show you that your Base Camp has its own Bulletin Board, with it's own challenges and rewards. |
Help Douglas Return to Normal
| Step-by-Step Guide | |
|---|---|
| 1 | 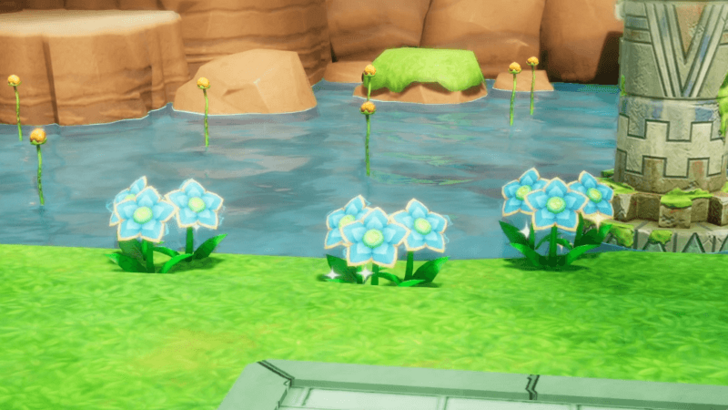 Now that your base is looking extra spiffy, Celestia's Gifts will start to spawn on the island. Start collecting them so that you can turn Duglas back into a human. |
| 2 | 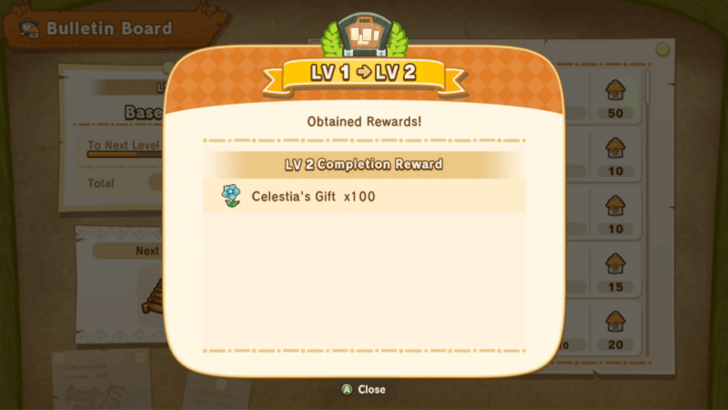 Alternatively, you can complete some Base Camp Guild Quests so that you can get the Level 2 Reward of 100 Celestia's Gifts, which is exactly enough for the quest. |
| * | Remember to visit your island every day so that you can harvest Celestia's Gifts. They will respawn every day, and you must harvest them since they're a key resource in converting Strangelings into Buddies. |
| 3 | 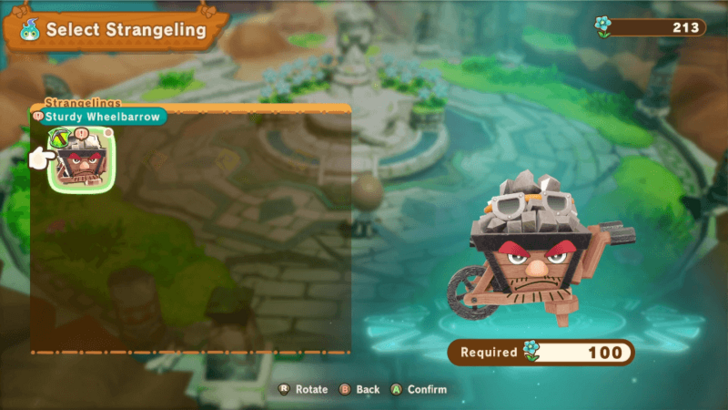 Once you have 100 Celestia's Gifts, return to the Goddess Statue and select the Sturdy Wheelbarrow to transform Duglas back into a human. |
Smash the Boulder
| Step-by-Step Guide | |
|---|---|
| 1 | Now that Duglas has his Mining capabilities back, head back down into the Depths. |
| 2 | 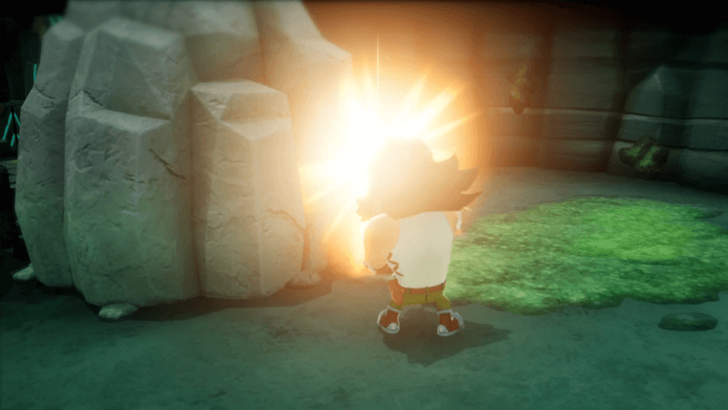 Once you've reached the quest marker, approach the boulder to start a cutscene where Duglas destroys the boulder and opens up the path to Edward. |
| * | 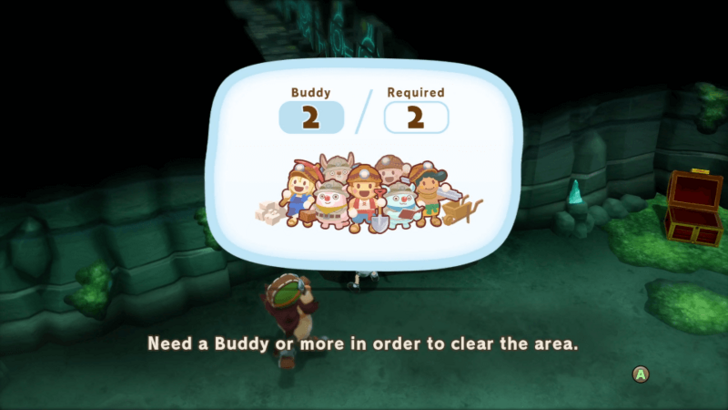 Now that Edward's rejoined you, you're free to continue exploring the Depths. Besides looking for items and treasure, look for any debris that you can clear now that you have 2 Buddies recruited. |
Explore the Depths
| Step-by-Step Guide | |
|---|---|
| 1 | 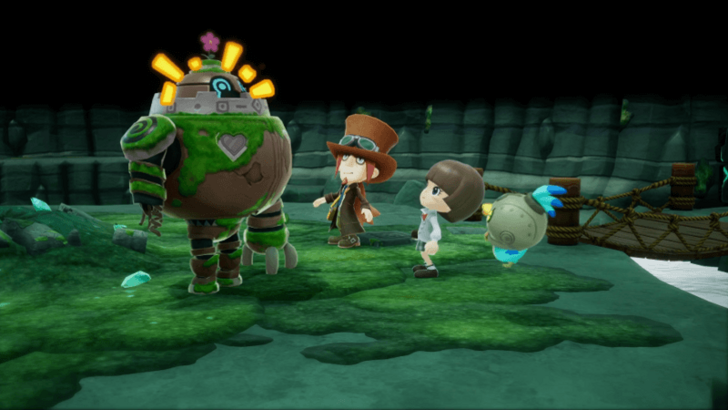 Once you're done exploring, follow the quest marker further into the Depths. It will lead you to a mech called Hagram, who can assist you with building out your dream base. |
| 2 | After meeting Hagram, continue exploring the Depths, looking for any items and treasures. |
| 3 | 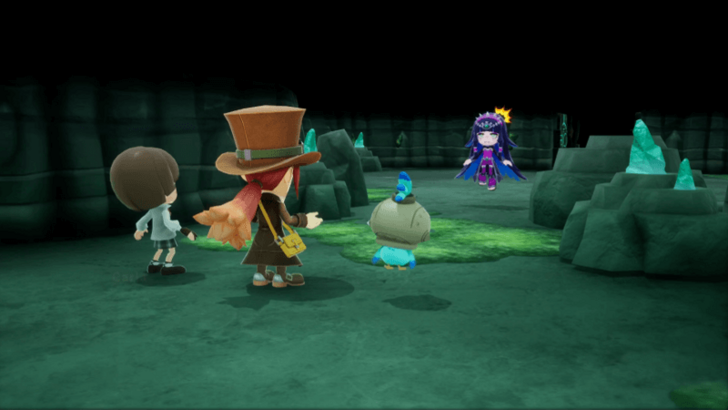 When you're ready, head to the quest marker to initiate a cutscene with Carla, who will summon a Polturnip that traps Edward and blocks off your progress again. |
| 4 | 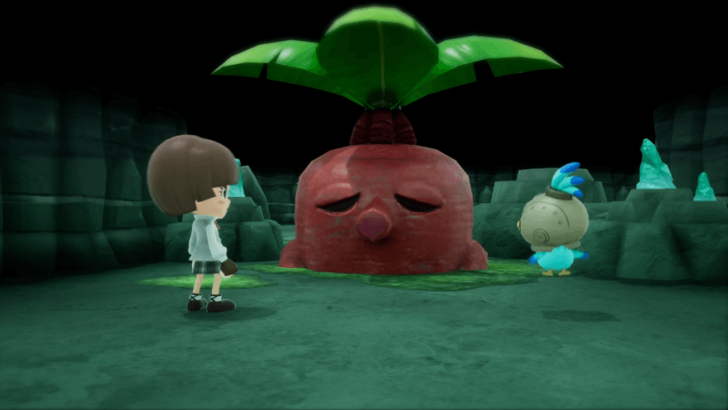 With history repeating itself, it's time to head back to the past to find a way to uproot the Polturnip and save Edward... again. |
Chapter 4 Walkthrough Guide
Look Into Polturnip (Past)
| Step-by-Step Guide | |
|---|---|
| 1 | Head back outside and, when you're ready, travel back to Eternia Village. |
| * | If you feel like you're underlevelled or you need more Buddies, then you can always head to Ginormosia to fight enemies and take on Shrines. |
Find Rem in Eternia Village
| Step-by-Step Guide | |
|---|---|
| 1 | 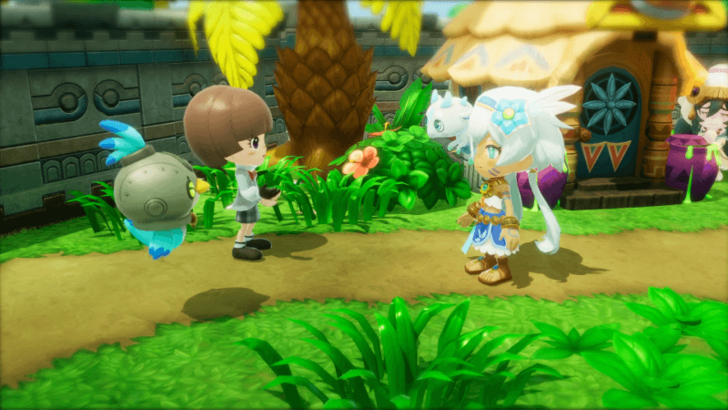 Once you've arrived, and the cutscene with Auntie Anne is over, head to the west side of the village to find Rem. |
| 2 | 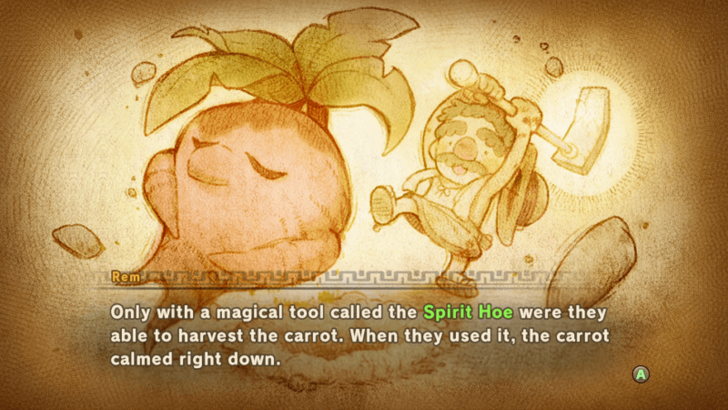 During the cutscene, you will learn about the Spirit Hoe, and that you'll need to get one from the Valley of Spirits in Faraway Island. |
| * | While you're here, it's recommended to visit the Life Masters if you haven't done so recently, so that you can clear any completed Life Challenges. ▶ List of All Life Challenges |
Talk to Skelegon
| Step-by-Step Guide | |
|---|---|
| 1 | 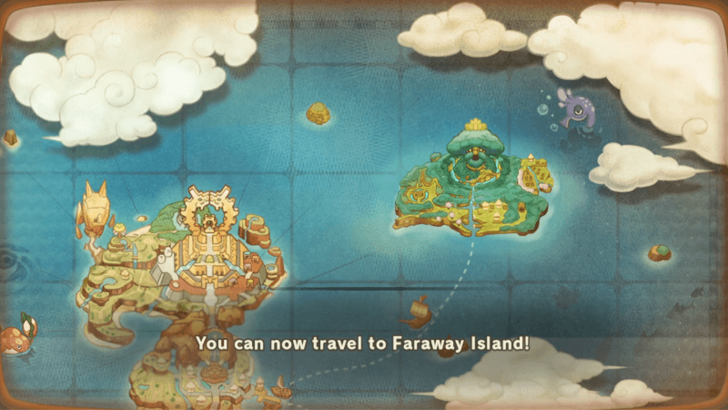 After the cutscene, talk to Skelegon to unlock Faraway Island and officially start Chapter 4. |
Ride Skelegon to Faraway
| Step-by-Step Guide | |
|---|---|
| 1 |  When you're ready, talk to Skelegon again so that you can fly to Faraway Island. |
| 2 | 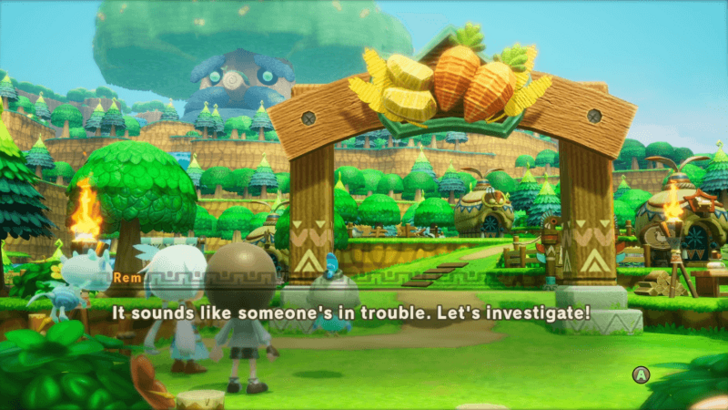 Once you land, a short cutscene will play, ending with someone screaming. |
Find the Source of the Scream
| Step-by-Step Guide | |
|---|---|
| 1 | 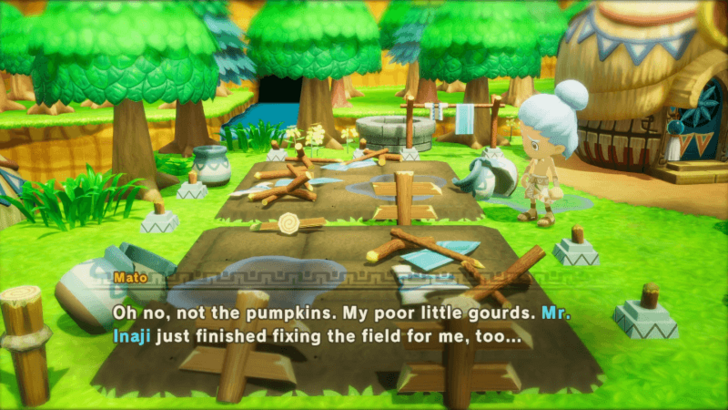 Head into the village and talk to Mato. Thankfully, nothing serious has happened and you do get some information on Lulab Forest and where to go next. |
| 2 | Before proceeding, check out your immediate area first for anything new you may need. Make sure not to miss the Bulletin Board as well, so that you can take note of tasks to be cleared. |
Go to Lulab Forest
| Step-by-Step Guide | |
|---|---|
| 1 |  When you're ready, head east from Idylla Village to enter Lulab Forest. |
| 2 | Once you're inside, explore the area first before proceeding to the quest marker. There are a bunch of new enemies and items here, so take your time before progressing the story. |
| * | 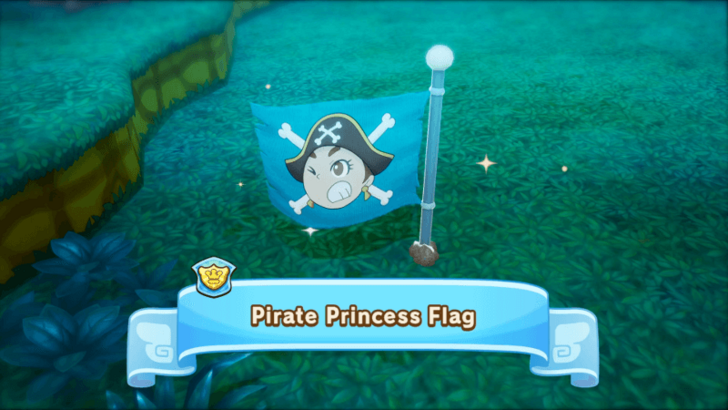 One enemy you shouldn't avoid is the Carrotella. When they're defeated, they drop the Pirate Princess Flag Strangeling, who will turn into Olivia once they've been reverted at the Goddess Statue. |
| * | 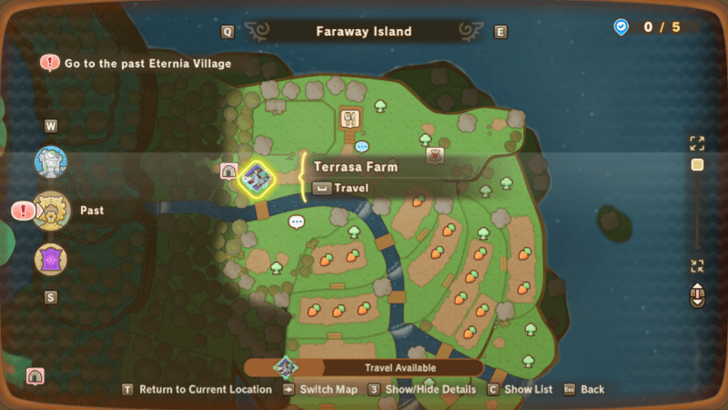 Another thing to note that it's recommended to exit east first before proceeding north so that you can register Terrasa Farm as a fast travel point for later. |
Make it Through Lulab Forest
| Step-by-Step Guide | |
|---|---|
| 1 | When you're ready, go through the north exit to enter the next area of Lulab Forest. |
| 2 | 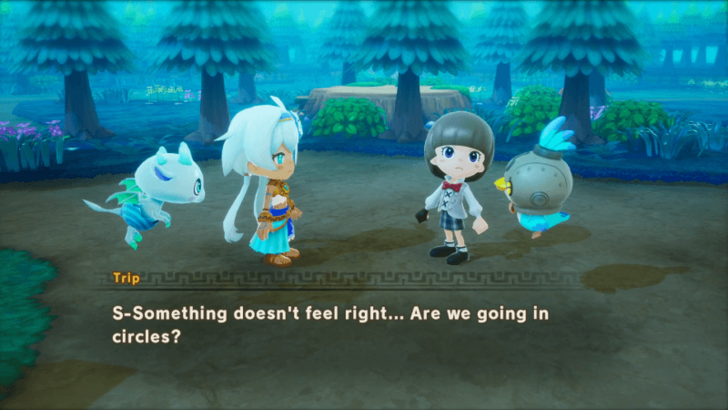 In this area, you can't open the map, and you'll get teleported back to the beginning whenever you go through an exit. For now, just keep going through different exits until you trigger a cutscene where you'll teleport back to the village to search for a way through that area. |
| 3 |  Upon returning to the village, Mato will tell you that a fellow named Pino can help you get through the forest, and that you can find him at Terrasa Farm. |
Go to Terrasa Farm
| Step-by-Step Guide | |
|---|---|
| 1 | 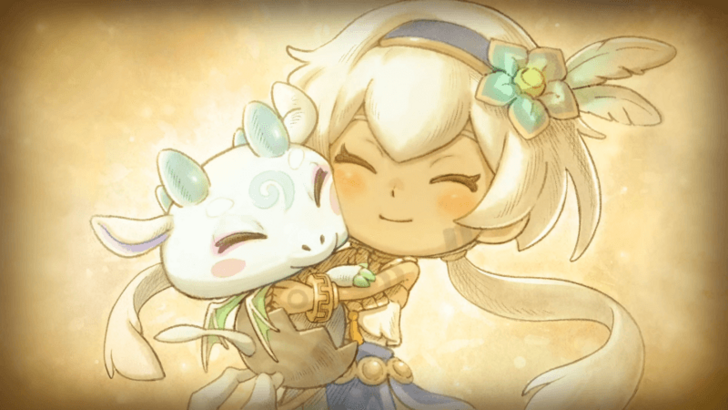 Upon arriving at the farm, a short cutscene will play. Once that's done, follow Growler to some corn that's been harvested. |
Talk to Growler
| Step-by-Step Guide | |
|---|---|
| 1 | 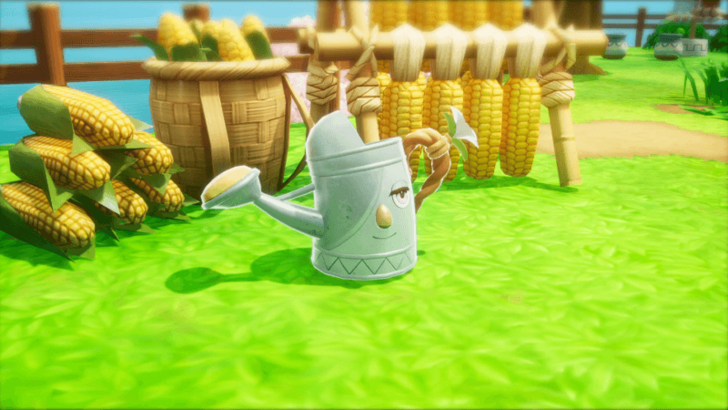 When you catch up to Growler, another cutscene will play where you find that Pino has turned into the Leafy Watering Can Strangeling. |
| 2 | Now that you've found Pino, the next step on your quest will be to transform him back to normal at the Goddess Statue. |
Help Pino Return to Normal
| Step-by-Step Guide | |
|---|---|
| 1 | 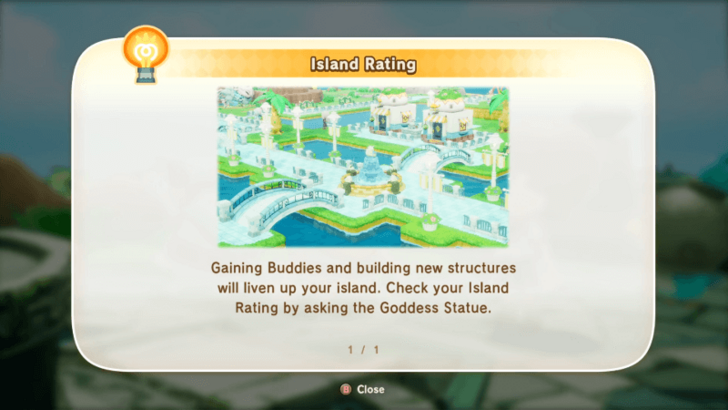 When you return to the Goddess Statue, you will get a tutorial cutscene for your Island Rating. Whenever you can, look to increase it so that you can reduce the Celestia's Gift cost for reverting Strangelings. |
| 2 | 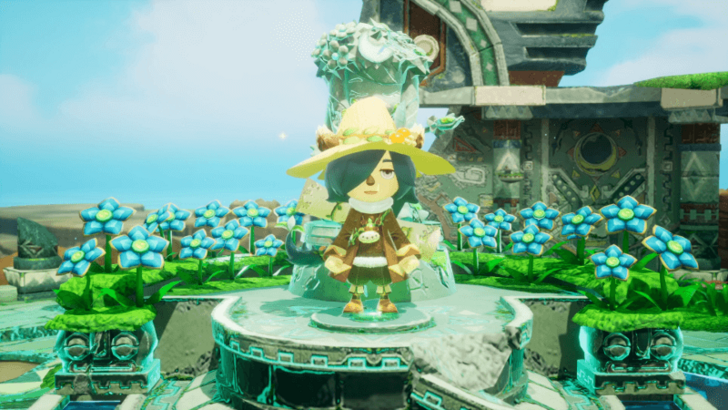 Once you've improved your Island Rating, revert Pino so that you can continue with the main quest. |
Go to the Forest's Entrance
| Step-by-Step Guide | |
|---|---|
| 1 | Now that you have someone to guide you, you're free to head back to the middle of Lulab Forest. |
| 2 | 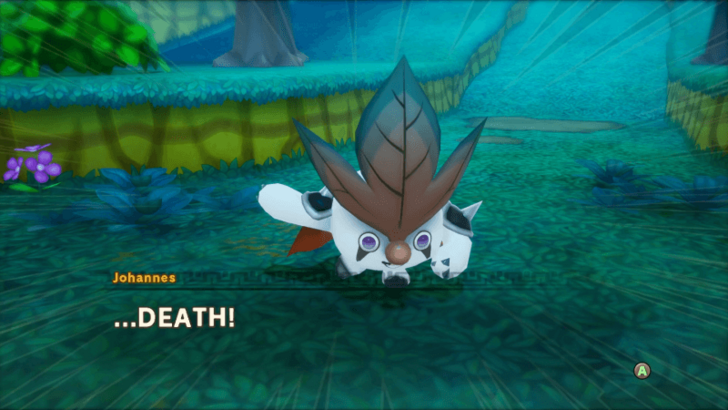 When you enter the forest again, you'll get a quick cutscene where you'll be introduced to Johannes, who will lead you through the forest. |
Return to the Forest's Center
| Step-by-Step Guide | |
|---|---|
| 1 | After the cutscene has ended, go through the forest and exit north to reach the center again. |
| 2 | 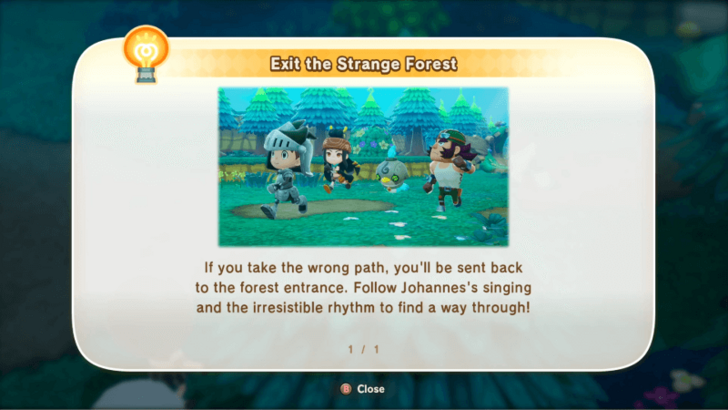 To exit the forest, you'll need to listen for Johannes whenever you approach an exit. You can easily tell which one to go through because your characters will start headbanging once they hear the music. |
Go to the Valley of Spirits
| Step-by-Step Guide | |
|---|---|
| 1 | Now that you're out of the forest center, follow the quest marker west to the last section of Lulab Forest. |
| 2 | 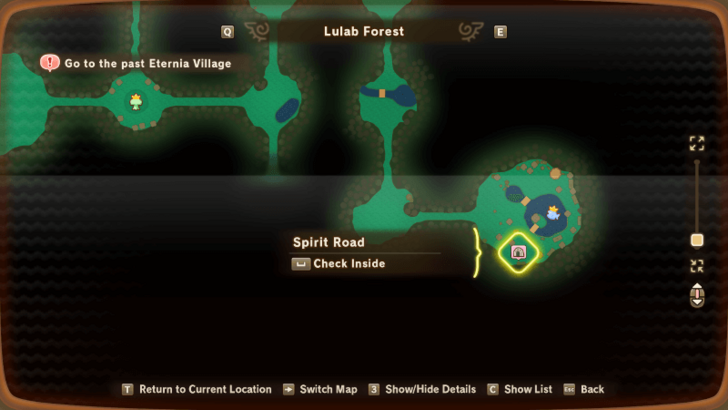 Again, explore the area first for anything new that you may need. Make sure not to miss the well in the southeast since it leads to Spirit Road, another area that you can explore for more goodies. |
| * | 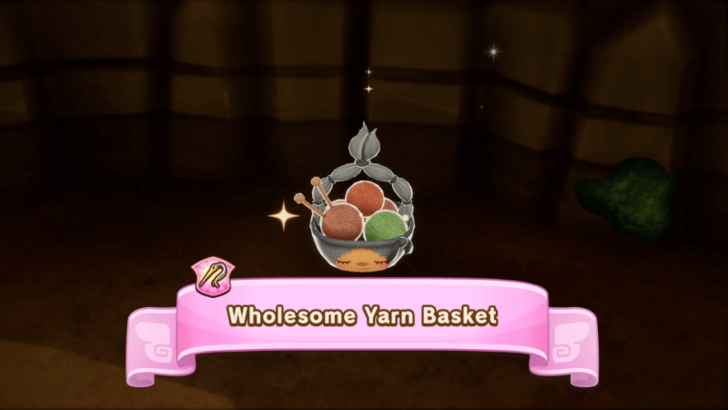 As soon as you descend the well into Spirit Road, there will be a Strangeling Chest at the north side of the room. Opening it will free the Wholesome Yarn Basket, which will turn into Taylor once she's reverted to her human form. |
Go to the Village Square
| Step-by-Step Guide | |
|---|---|
| 1 | Once you're done exploring, exit the forest to reach the Valley of the Spirits. |
| 2 | 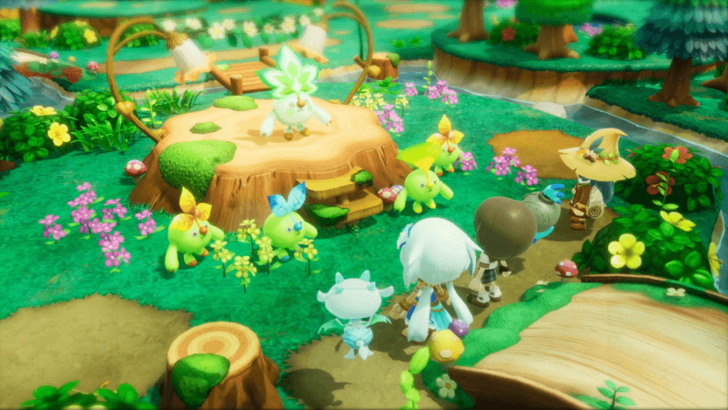 After a short cutscene, head to the center of the village to meet Leafah. You'll also learn that the Elder Tree is sick, and that you'll need to help cure it. |
Visit the Elder Tree
| Step-by-Step Guide | |
|---|---|
| 1 | Once you're done in the Valley of the Spirits, head back through to the forest to reach the transition area with a lot of bridges. |
| 2 | 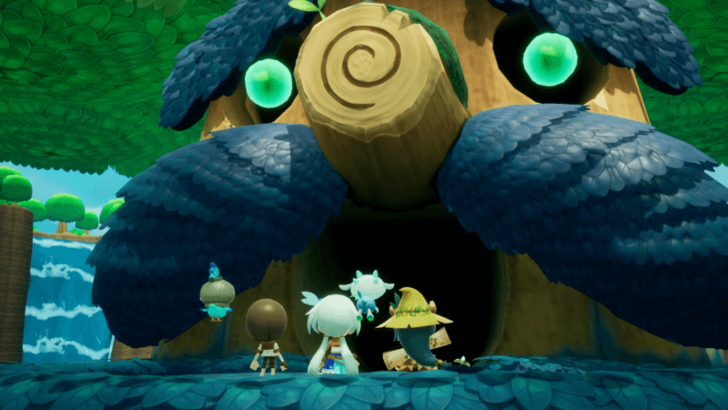 When you get there, head north and go up the hill to reach the Elder Tree. |
| * | Before going inside, double-check your equipment and level up if you need to, since there's an upcoming fight. |
Explore the Elder Tree
| Step-by-Step Guide | |
|---|---|
| 1 | When you're ready, go inside the Elder Tree and follow the quest marker to the center of the room. |
| 2 | 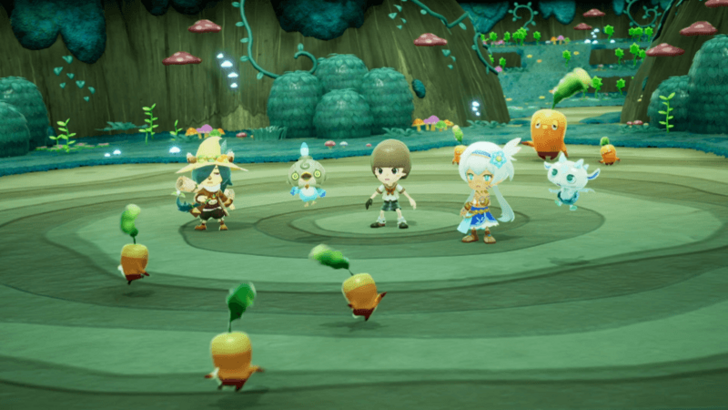 After the cutscene ends, you'll be faced against 6 Carrots. Pick off the small ones first so that you and your Buddies can fully focus down the big one. |
Reach the Elder Tree's Center
| Step-by-Step Guide | |
|---|---|
| 1 |  Once the enemies have been defeated, you'll be able to reach the center of the tree. This is also where you'll meet Inaji, the Farmer Life Master |
Go Outside
| Step-by-Step Guide | |
|---|---|
| 1 | 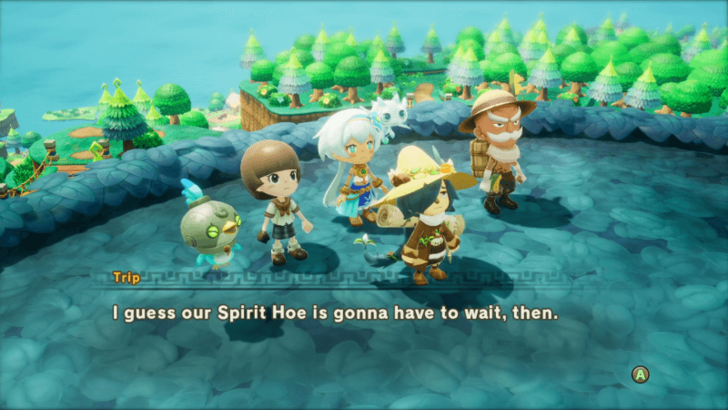 After the cutscene with Inaji is over, head outside for another cutscene. Here you'll learn that you can't get the Spirit Hoe just yet since the Elder Tree is sick. |
| 2 | To progress the story, you'll need to follow Inaji and meet him back at his farm in Idylla Village. |
Go to Inaji's Field
| Step-by-Step Guide | |
|---|---|
| 1 | Teleport back to the village and head north to where you met Mato originally. |
| 2 | 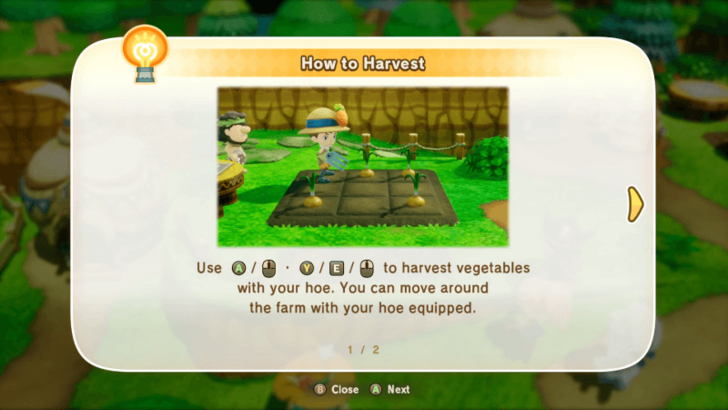 When you reach Inaji's house, a cutscene will start and you'll need to harvest some crops to use for the fern soup, which also doubles as the farming tutorial. |
| * | As a note, this tutorial doesn't count towards unlocking the Farmer Life, and you'll still need to get your license for that a bit later. |
Give the Vegetables to Cocott
| Step-by-Step Guide | |
|---|---|
| 1 | 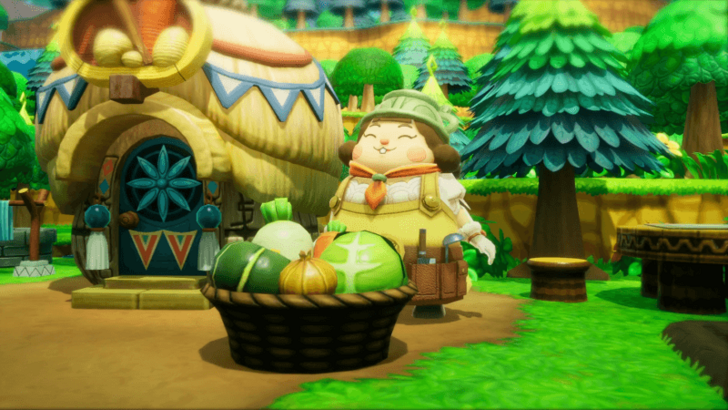 Once you're done harvesting the crops, talk to Cocott, the Cook Life Master, so that you can give them to her. |
| 2 | 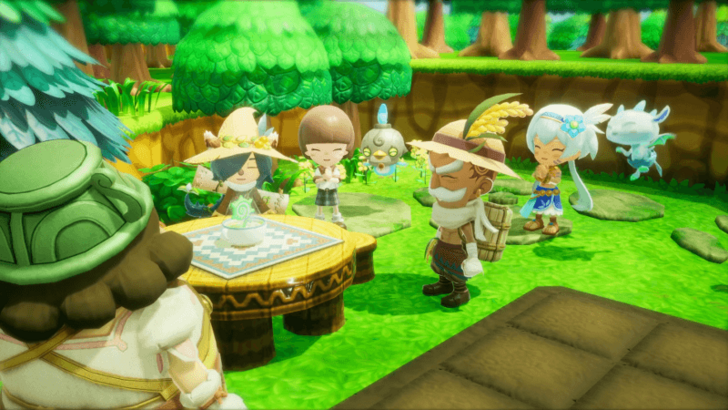 After the cutscene's over, you'll now have some fern soup to give to the Elder Tree. |
| * | In case you haven't done so already, check back at the Bulletin Board so that you can clear any tasks that you've completed. |
Visit the Elder Tree
| Step-by-Step Guide | |
|---|---|
| 1 | 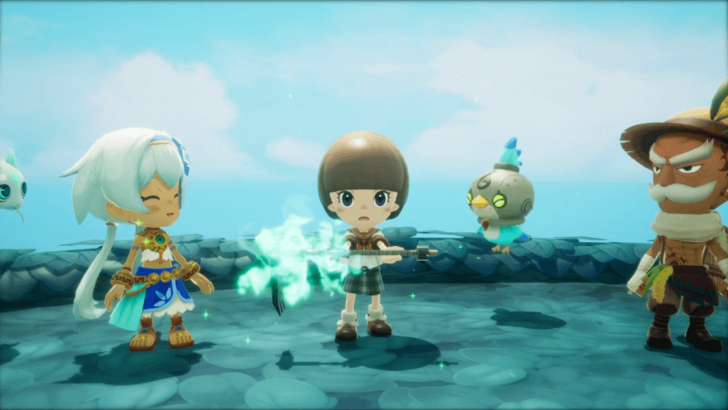 Teleport back to the Elder Tree, and after the cutscene, you'll now have the Spirit Hoe. |
| 2 | Once the cutscene's over, you'll be teleported back to the entrance of Idylla Village, and you can now head back to the present to rescue Edward. |
| * | 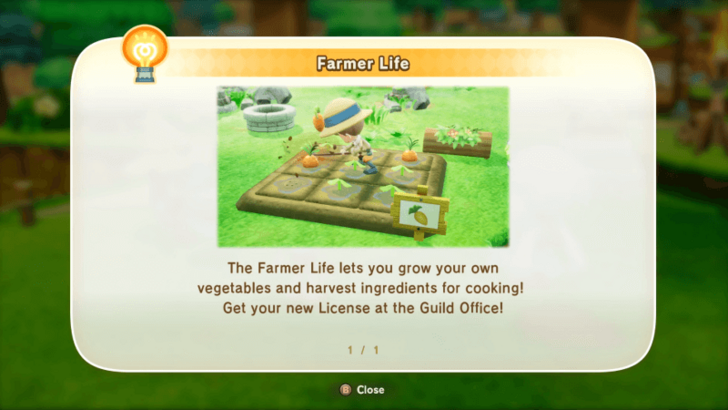 Now that the events at Faraway Island are over, you can unlock the Farmer Life at the Guild Office. ▶ How to Unlock the Farmer Life |
Return to the Present
| Step-by-Step Guide | |
|---|---|
| 1 | When you're ready, head back to the Depths Entrance and go back down to where the Polturnip is. |
Pull Out the Polturnip
| Step-by-Step Guide | |
|---|---|
| 1 | 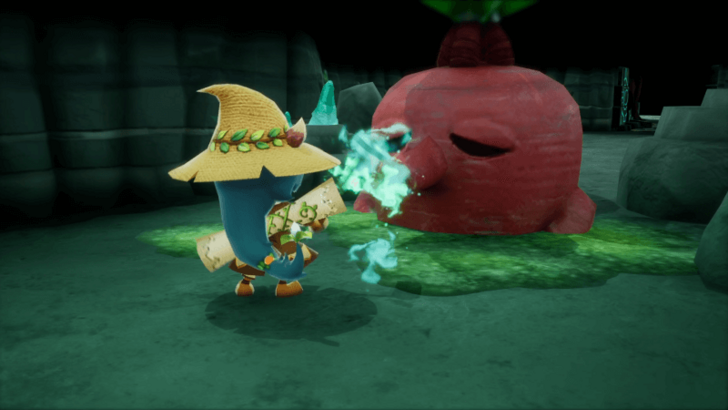 Approach the Polturnip to start a cutscene where Pino will uproot it for you and save Edward. |
| * | Pino will officially join the island after this, so make sure to explore the island for any new debris that can be removed. |
| 2 |  Now that Edward has been saved again, Chapter 4 has been completed and you can progress down to the next floor of the Dephts. |
Explore the Depths - B2
| Step-by-Step Guide | |
|---|---|
| 1 | To start Chapter 5, all you need to do is head down to the Depths - B2. |
Chapter 5 Walkthrough Guide
Proceed Into the Depths - B2
| Step-by-Step Guide | |
|---|---|
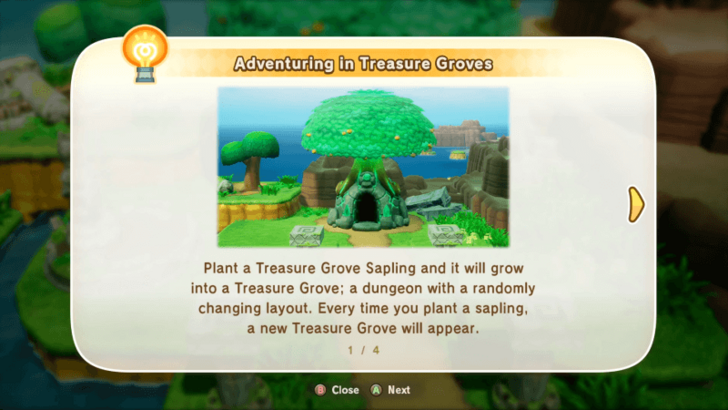
| 1 | 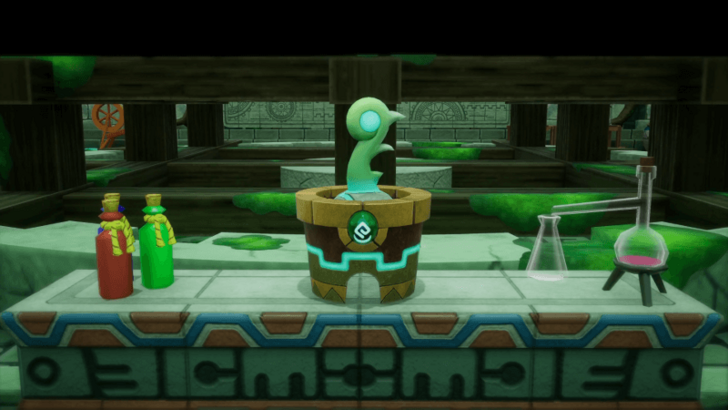 Now that you've reached B2, follow the quest marker until you enter a room that looks like it's used for research. You'll also find a Treasure Grove Sapling in here, which can then be planted at your base camp to create a randomized dungeon. |
| 2 | 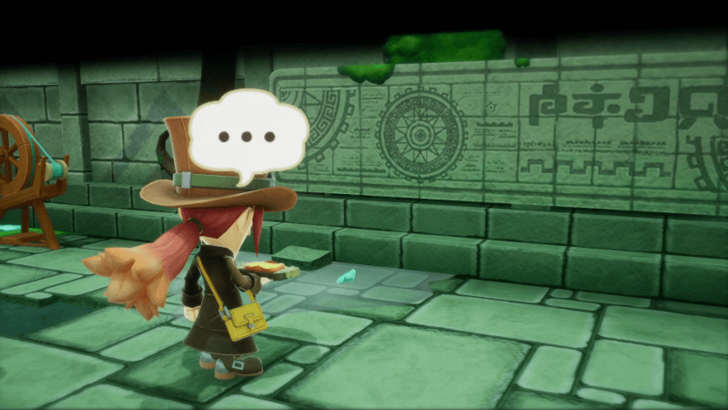 Once that's done, head to the back of the room to check out the mural on the wall. Afterwards, continue following the quest marker further into the dungeon. |
| 3 | 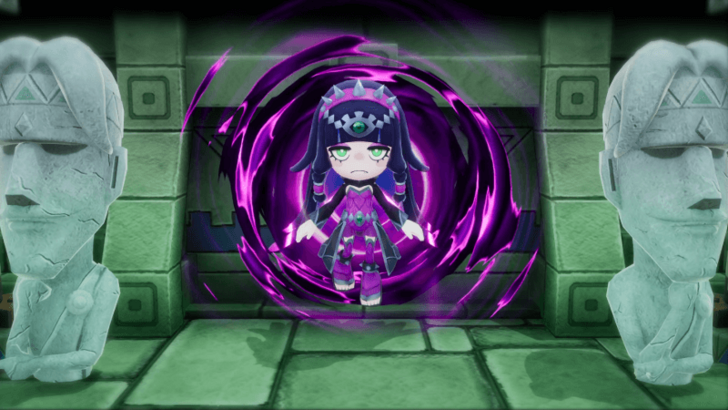 Keep going until you reach a door guarded by two statues. Carla will come out to ambush you again, and, as usual, you'll need to find a way to rescue Edward. |
| 4 | 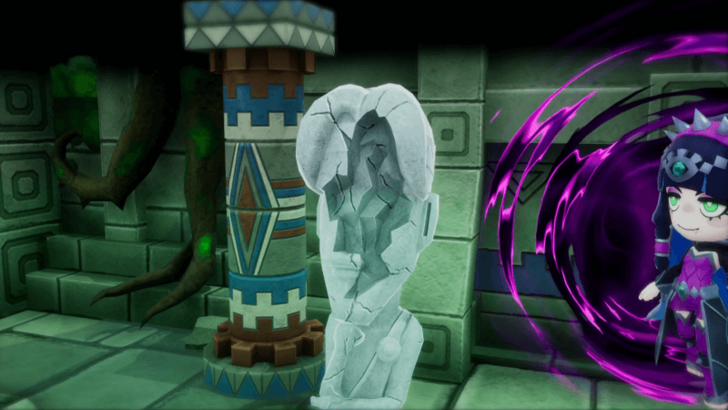 To save Edward, you will need to head back to the past to look for an Artist who can repair the statue's face. |
Go to the Past Eternia Village
| Step-by-Step Guide | |
|---|---|
| * |  Before leaving to travel to the past, make sure to pass by your Base Camp first so that you can upgrade the Guild Office and plant the Treasure Grove Sampling. |
| 1 | When you're ready, teleport to Eternia Village, and once the cutscene with Auntie Anne is over, teleport to Mysteria Castle. |
Talk to Rem in the Capital
| Step-by-Step Guide | |
|---|---|
| 1 | 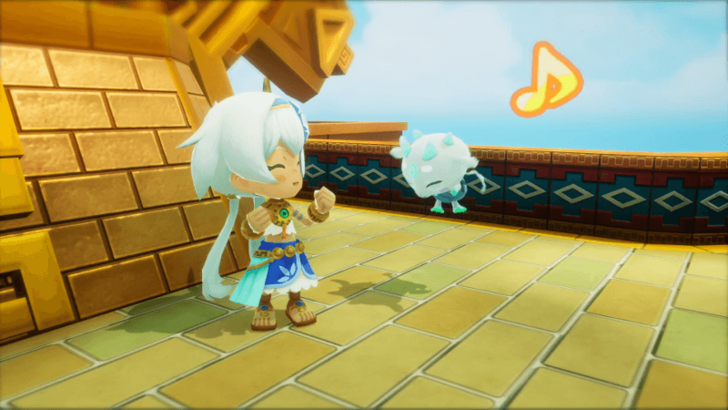 Once you've arrived at the castle, head up the stairs to talk to Rem. |
Return to Skelegon
| Step-by-Step Guide | |
|---|---|
| 1 | 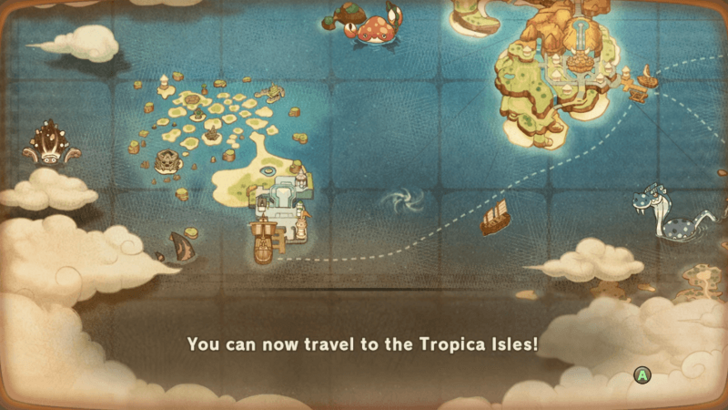 After the cutscene with Rem is over, teleport back to Eternia Village to trigger the cutscene with Skelegon and unlock Tropica Isles. |
| * | Similar to last time, it's recommended to level up and upgrade your equipment since you're heading into a new area with stronger enemies. |
Ride Skelegon to Tropica Isles
| Step-by-Step Guide | |
|---|---|
| 1 |  When you're ready, talk to Skelegon and teleport to Tropica Isles. |
| 2 | 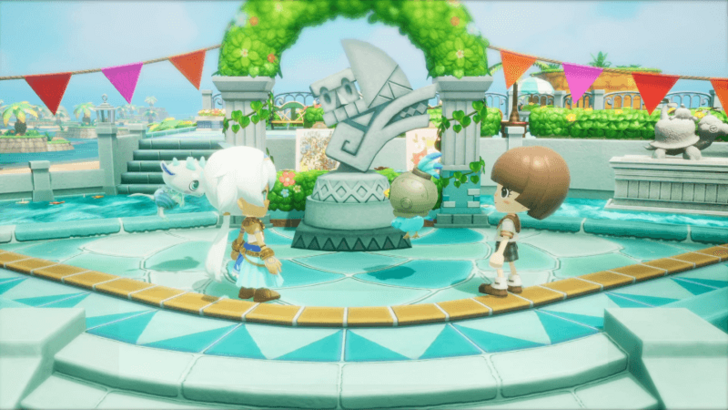 Once you've arrived, head to the center to trigger a short cutscene. |
Go to Paulette's Atelier
| Step-by-Step Guide | |
|---|---|
| 1 | 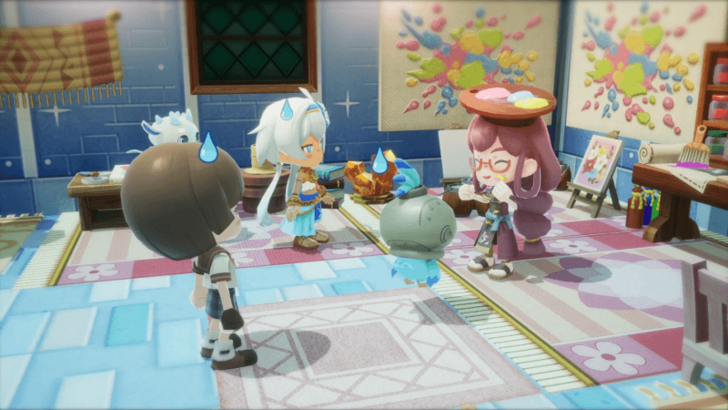 After that's done, follow the quest marker and enter Paulette's house to meet her. Unfortunately, she can't help you. However, she does know someone who can, but you'll need to find them first. |
| 2 | When you're ready, head down the beach for one more cutscene before you go off searching for Kikyo. |
Search for Kikyo at the X Spots
| Step-by-Step Guide | |
|---|---|
| * | Before you continue the story, it's recommended to fully explore the island first. Just avoid going to the southwestern cave for now, since the main quest will take you there anyway. |
| 1 | 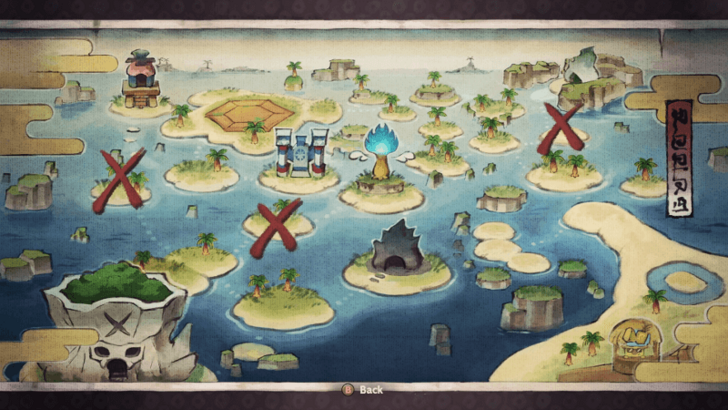 To find Kikyo's location, you'll need to search for the Xs that were marked on her map. Since the X's aren't marked on the in-game map, you'll need to pull up Kikyo's hand drawn map instead using the indicated button at the bottom right of the Map Menu. |
| 2 | Once you've investigated all the Xs, a cutscene will play, and Growler will fly off chasing the Crow that's carrying some corn. |
Follow Growler
| Step-by-Step Guide | |
|---|---|
| 1 | 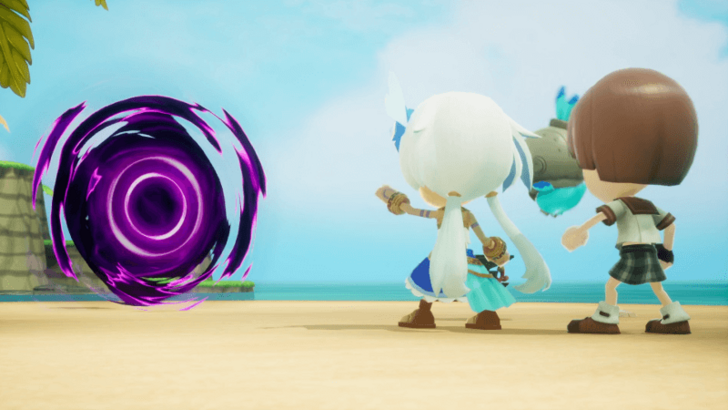 Follow the quest marker north and you'll chase after Growler into a dark portal. Thankfully, nothing bad happens, and you all escape from the portal unharmed. |
Talk to Rem
| Step-by-Step Guide | |
|---|---|
| 1 | 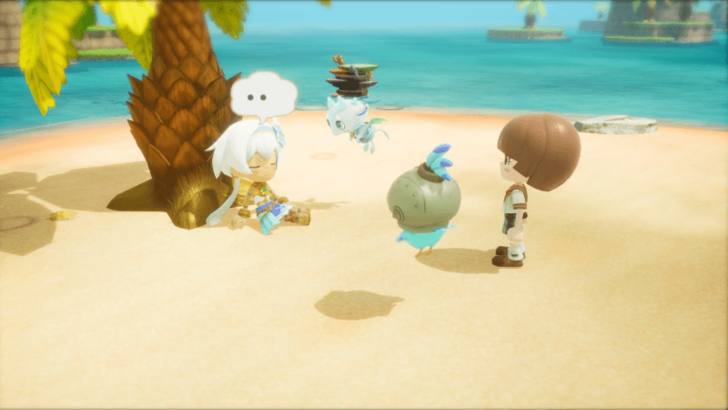 Once you have control over your character again, talk to Rem who's resting nearby. |
Talk to Paulette
| Step-by-Step Guide | |
|---|---|
| 1 | 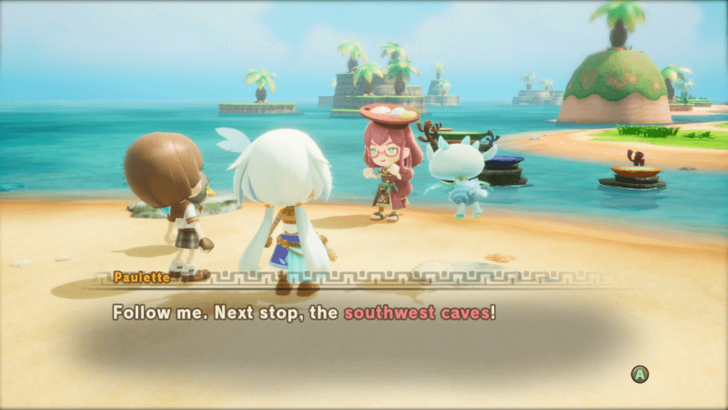 After that's done, talk to Paulette next and she will tell you to go look for Kikyo in the southwestern cave. |
Go to the Southwest Caves
| Step-by-Step Guide | |
|---|---|
| 1 | 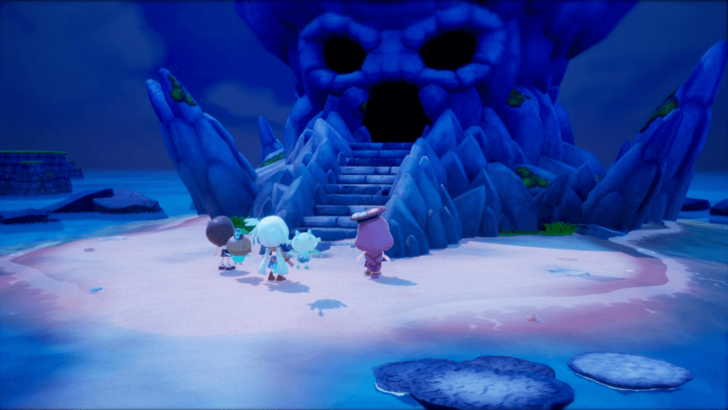 When you're ready, head southwest and enter Yohoho Cavern. |
| * | This should be the last area you haven't visited yet, so make sure to explore the cave before heading out to the quest marker. |
Reach the Cave's Center
| Step-by-Step Guide | |
|---|---|
| 1 | Once you're done exploring, follow the quest marker out to a cove in the center of the cave. |
| 2 | 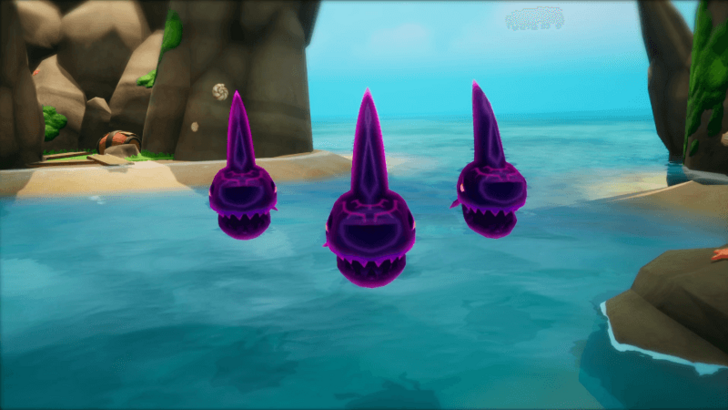 During the cutscene, you will be ambushed by some Shadow Sharks. Defeat them so that you can progress to the next part of the story. |
Find the Treasure
| Step-by-Step Guide | |
|---|---|
| 1 | 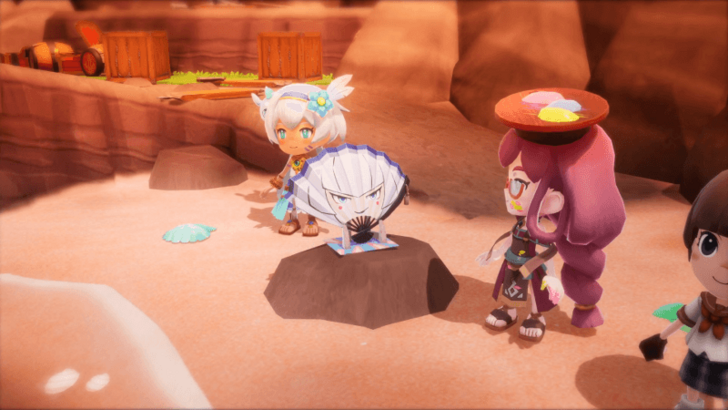 After the sharks have been defeated, head to the west side of the cove to find the treasure and Kikyo, who's turned into a Graceful Fan. |
| 2 | Once the cutscene ends, you're free to head back to the Goddess Statue to turn Kikyo back into a human. Just remember to pass by the Tropical Isles' Bulletin Board first so that you can clear any completed tasks. |
Help Kikyo Return to Normal
| Step-by-Step Guide | |
|---|---|
| * | Before you go to the Goddess Statue, try to increase your Island Ranking first so that you can reduce the transformation cost. |
| 1 | 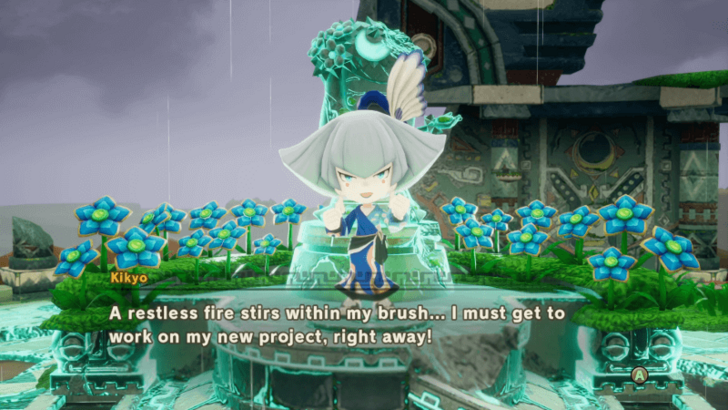 When you're ready, interact with the Goddess Statue to transform Kikyo back into a human. Now that she has regained her motor skills, she's itching to return to her home to complete the painting for the art competition. |
Go to Kikyo's House
| Step-by-Step Guide | |
|---|---|
| 1 | 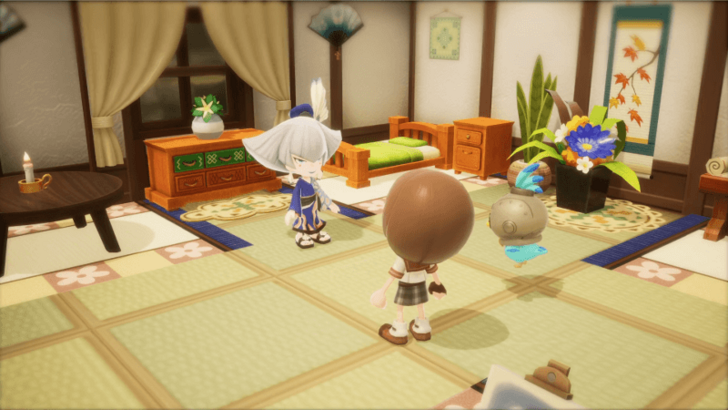 Head to Kikyo's house back in Tropical Isles to start a quick cutscene. |
| 2 | 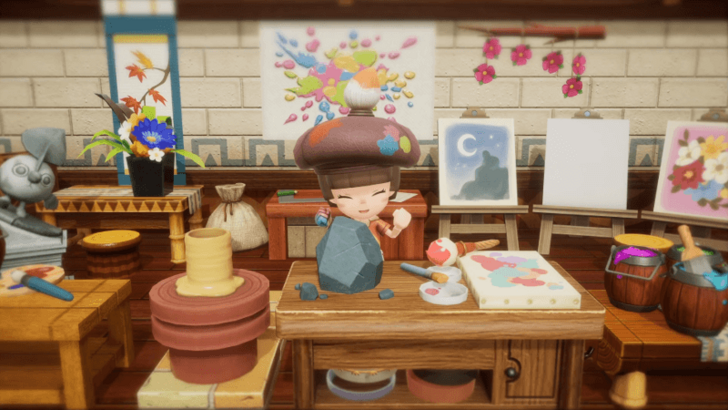 To pass the time, you'll make your own painting while Kikyo is finishing her piece. This also serves as the Artist tutorial, but it's pretty much the same as every other Crafting Life if you've done the mini-game already. |
| 3 | 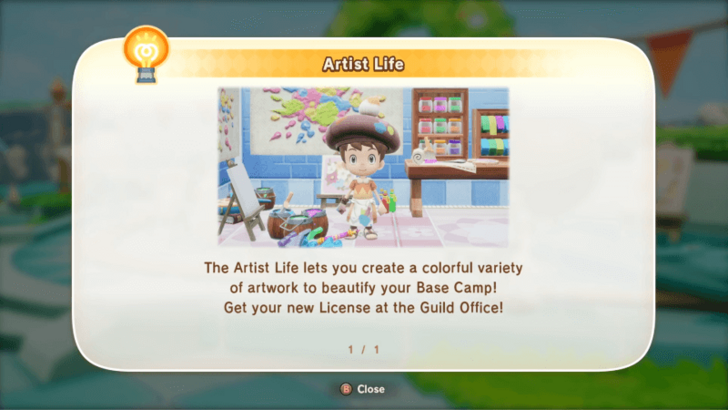 Once that's done, the art competition will begin and you'll unlock the Artist Life in the Guild Office. ▶︎ How to Unlock the Artist Life |
Return to the Present
| Step-by-Step Guide | |
|---|---|
| 1 | Now that Kikyo's free, she can help you fix the statue's face. When you're ready, head back down to the Depths B2. |
| 2 | 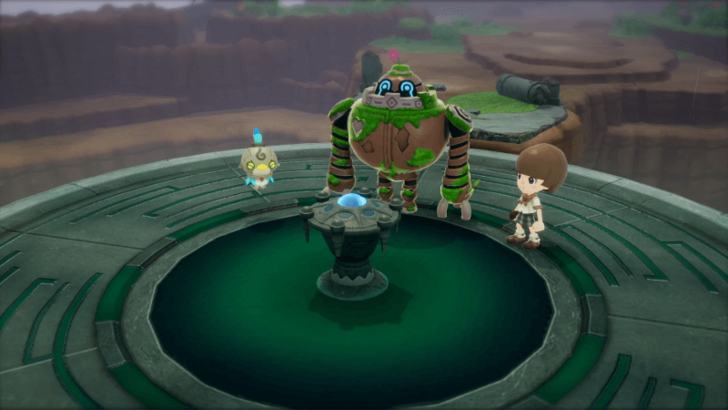 When you arrive at the Depths Entrance, you'll get a cutscene where there'll now be a platform that you can use to quickly travel between the different floors. |
Restore Clefton
| Step-by-Step Guide | |
|---|---|
| 1 | 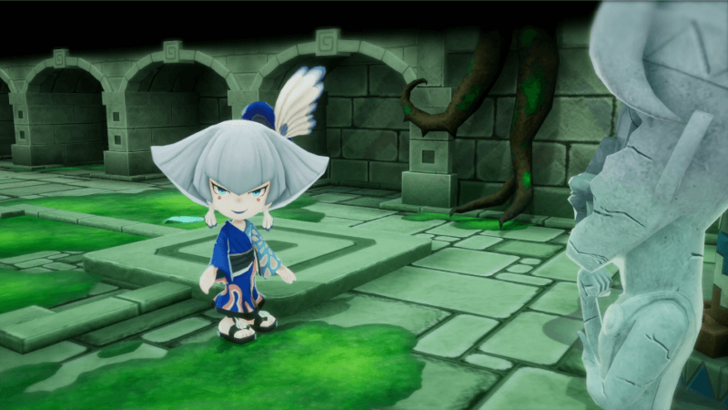 Approach the statues and Kikyo will repair Clefton. Once that's done, the doors will open up and you'll reunite with Edward, again. |
| 2 | This also officially ends Chapter 5, and you're free to explore the rest of the floor. |
Delve Deeper into the Depths
| Step-by-Step Guide | |
|---|---|
| 1 |  To start the next chapter, follow the quest marker and head down into B3. |
Chapter 6 Walkthrough Guide
Investigate the Room
| Step-by-Step Guide | |
|---|---|
| 1 | 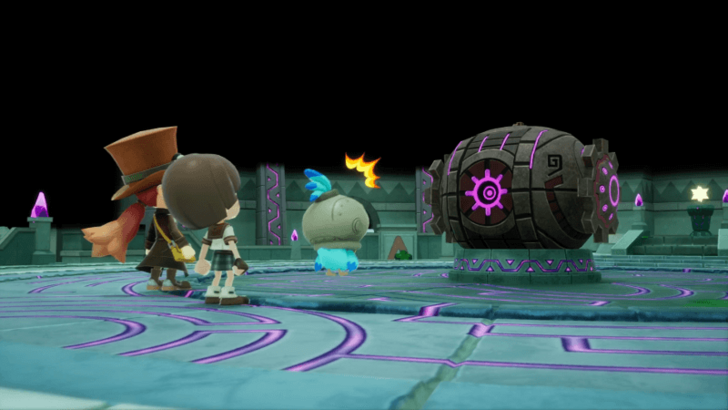 Now that you're at B3, keep following the quest marker until you enter a room with a strange object. |
| 2 | 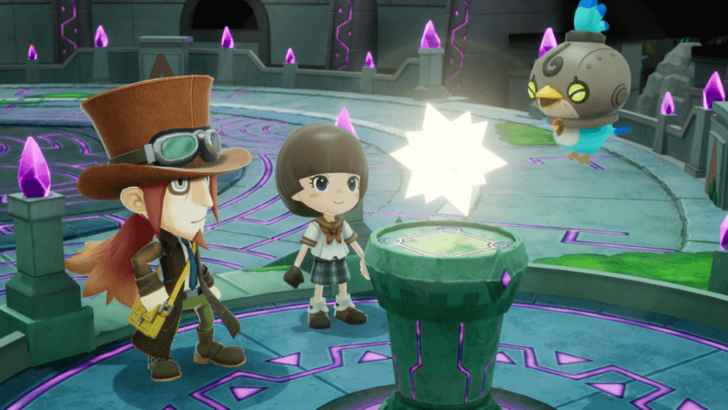 Once the short cutscene is over, investigate the floating object at the back of the room. |
| 3 | 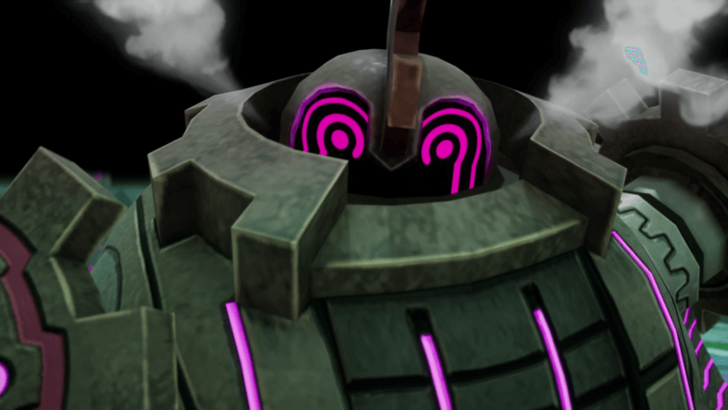 During the cutscene, Trip will take the Gemstone and trigger a trap. You will then need to fight the Guardian Hagram that was activated, but its barrier can't be penetrated, so just keep attacking until you're sent into a cutscene where you flee. |
Head to the Hidden Room - B1
| Step-by-Step Guide | |
|---|---|
| 1 | 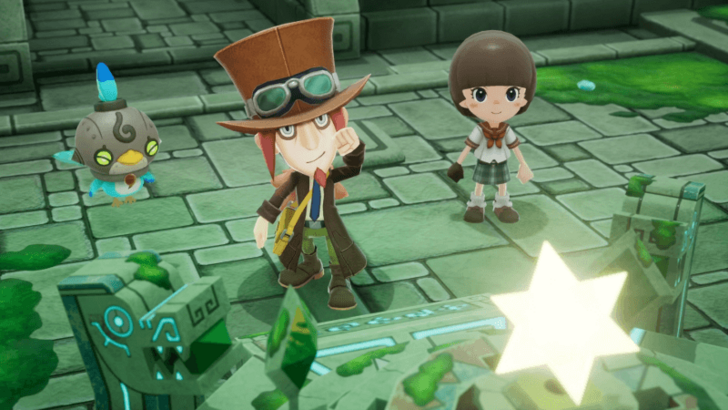 With no way to progress further, head back to the secret room in B1 so that you can use the Gemstone. |
| 2 | 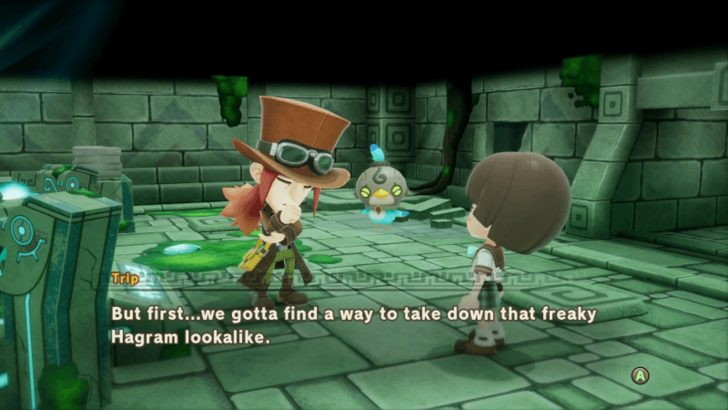 After using the Gemstone and learning what the Cog does, you'll be tasked with finding a way to take down the Guardian Hagram. |
Visit Rem at the Castle
| Step-by-Step Guide | |
|---|---|
| * | As usual, since you're heading into a new area, consider levelling up and upgrading your equipment first. |
| 2 | 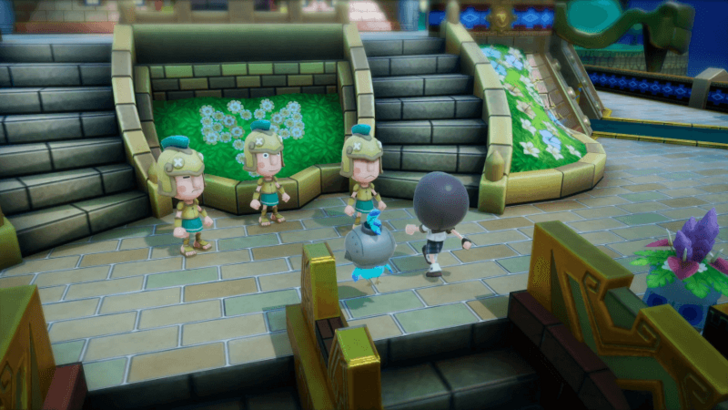 When you're ready, teleport to Mysteria Castle. Unfortunately, you're not allowed to enter, but, thankfully, Auntie Anne will help you instead. |
Visit Auntie Anne's House
| Step-by-Step Guide | |
|---|---|
| 1 | 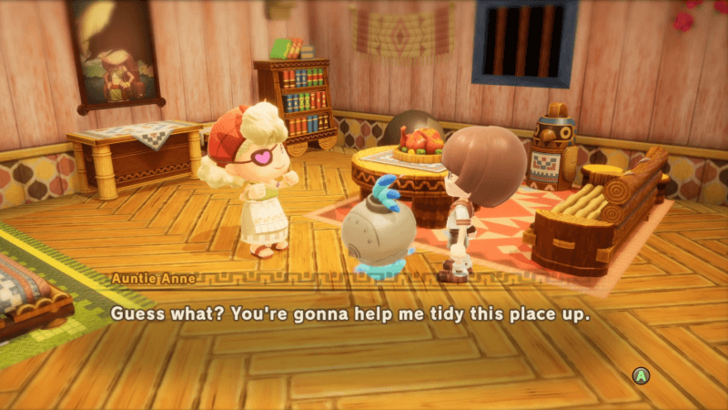 Teleport to Eternia Village and enter Auntie Anne's house to talk to her. However, before Auntie Anne will help you, you'll need to do her a favour and clean up her house first. |
Clean Up the Room
| Step-by-Step Guide | |
|---|---|
| 1 | 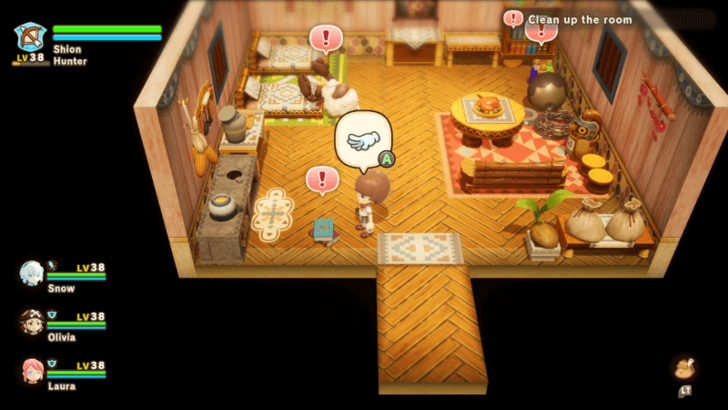 Cleaning the house is simple, just interact with anything that has a marker on it. If ever you get stuck and nothing happens, just wait for Trip to finish talking first. |
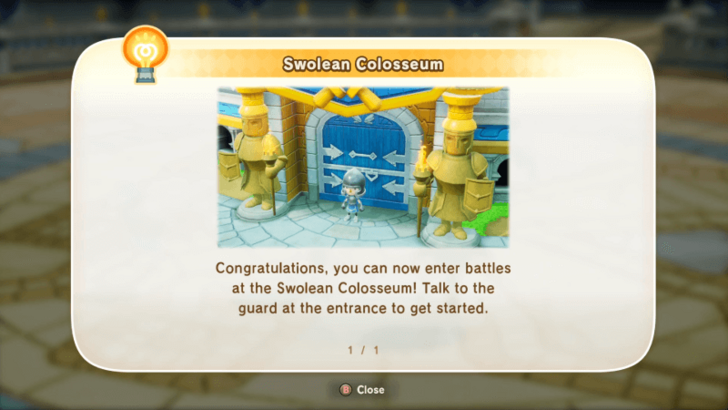
| 2 | 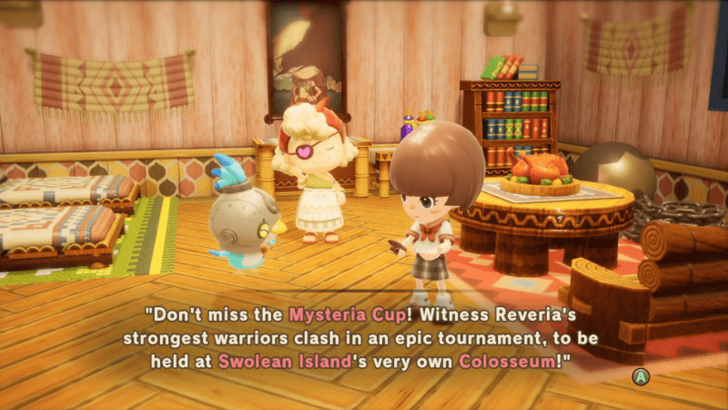 Once that's done, you'll find a leaflet on the floor which states that you can get a Legendary Sword from winning the Mysteria Cup at Swolean Island's Colosseum. |
Ride Skelegon to Swolean
| Step-by-Step Guide | |
|---|---|
| 1 | 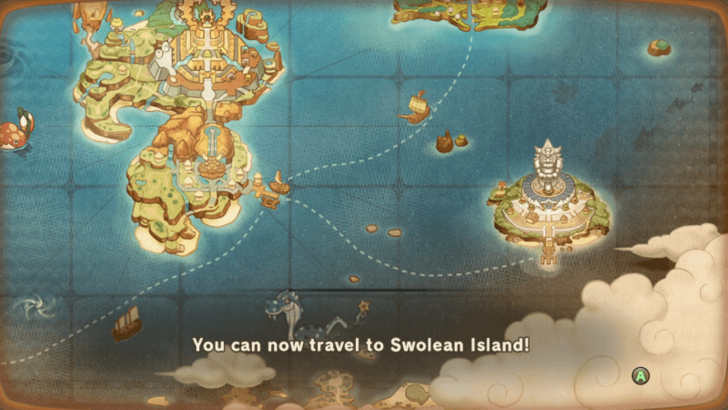 At the end of the cutscene, you'll head outside, and Swolean Island will now be unlocked. |
| 2 | 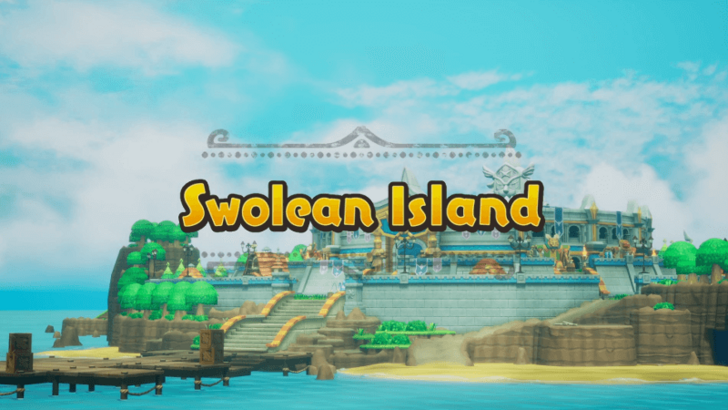 When you're ready, talk to Skelegon and teleport to Swolean Island. |
Go to the Colosseum
| Step-by-Step Guide | |
|---|---|
| 1 | Once you've arrived, you can explore the island first. As usual, remember to check the Bulletin Board so that you know what tasks to do. |
| 2 |  When you're done exploring the small island, approach the Colosseum doors for a cutscene. |
Enter the Tournament
| Step-by-Step Guide | |
|---|---|
| * | Before entering the tournament, make sure you're fully prepared since you'll be faced with three back-to-back fights. The most important things to have are weapons with an element equipped or that you use or have Buddies that are the Magician Life. This is to account for a specific round that's really difficult to complete without them. |
| 1 |  When you're ready, talk to the man in front of the door to enter the tournament. |
| 2 | 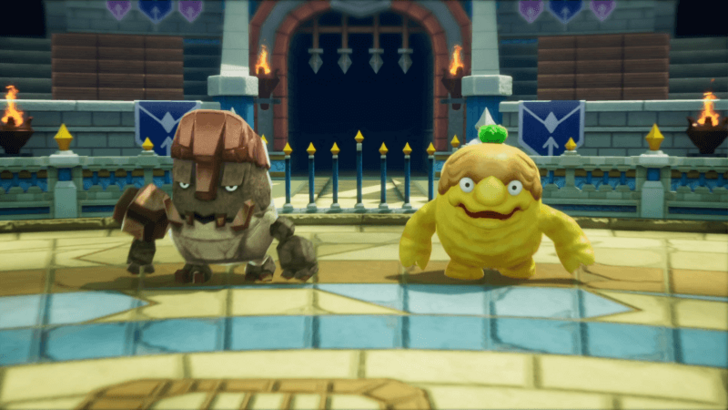 The only notable enemies you'll encounter are the Golems in the second round, since they're extremely resistant to physical attacks. This is why it's important that you have some form of magic damage before going in. |
Help Glenn Return to Normal
| Step-by-Step Guide | |
|---|---|
| 1 | 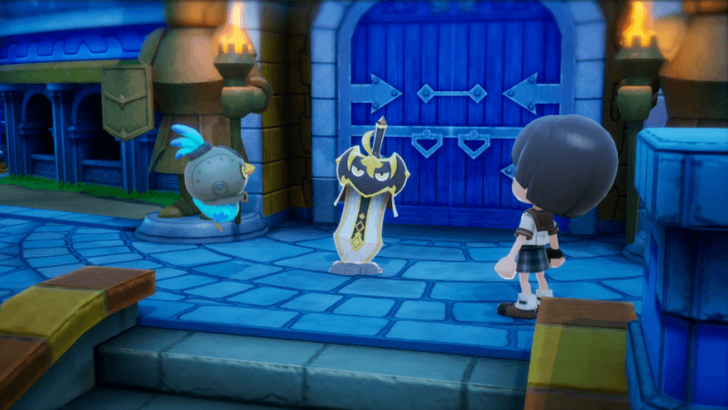 After beating the third and final round, you'll be rewarded with the Dragonslayer's Sword for making it to the finals. However, this is actually Glenn turned into a Strangeling, and you'll need turn him back into a human so that he can help you defeat Frajeel. |
| 2 | 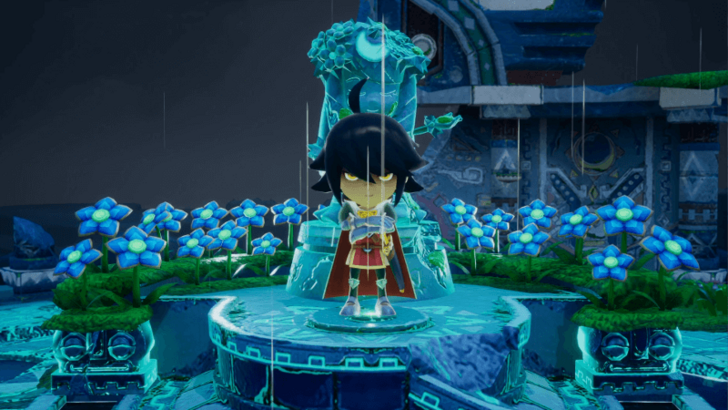 Teleport back to your Base Camp and go to the Goddess Statue to revert Glenn. Again, try to rank up your island before doing this to minimize the flower cost. |
Go to Swolean Island
| Step-by-Step Guide | |
|---|---|
| 1 | 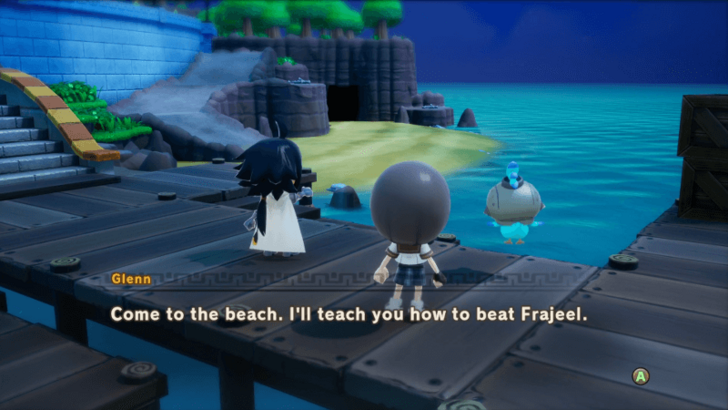 Now that Glenn is back to normal, teleport back to Swolean Island. When you arrive, he'll tell you to meet him at the nearby beach. |
Talk to Glenn on the Beach
| Step-by-Step Guide | |
|---|---|
| 1 | 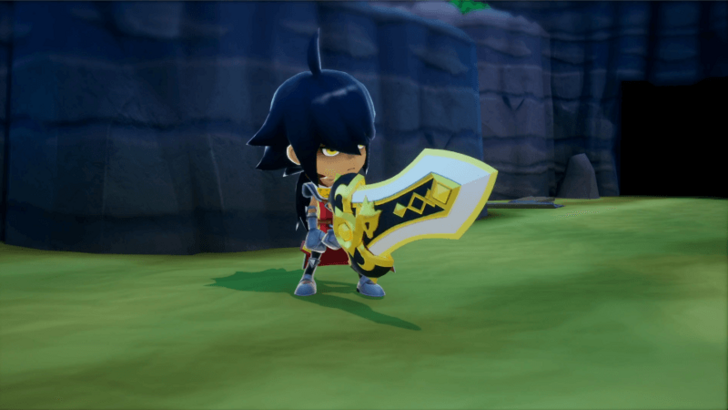 Talk to Glenn and he will challenge you first to test your strength before he teaches you. This fight is relatively easy as he only uses the same 4-hit combo. As long as you look out for the start of his attack animation, you can easily dodge away and beat him without getting hit. ▶ How to Beat Glenn |
| 2 | 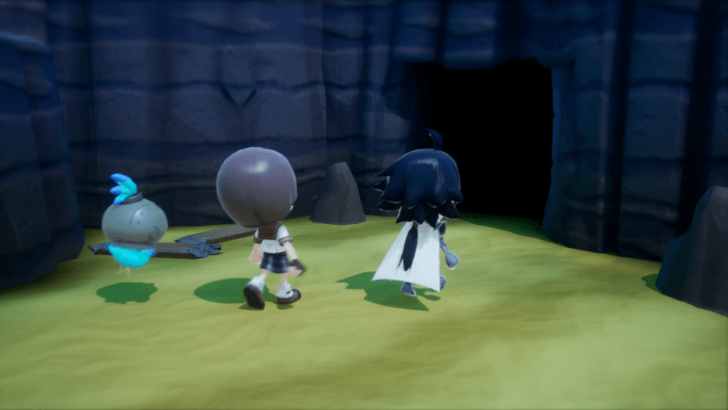 After you defeat him, a cutscene will play and you'll need to enter the Cave of Trials next. Make sure that you're prepared before going in since you'll get trapped once you're inside. |
Go to the Cave of Trials
| Step-by-Step Guide | |
|---|---|
| 1 | When you're ready, go inside the Cave of Trials. Before fully exploring the cave, it's recommended to progress the main quest first so that the cave entrance is unblocked. |
Find Rem
| Step-by-Step Guide | |
|---|---|
| 1 | 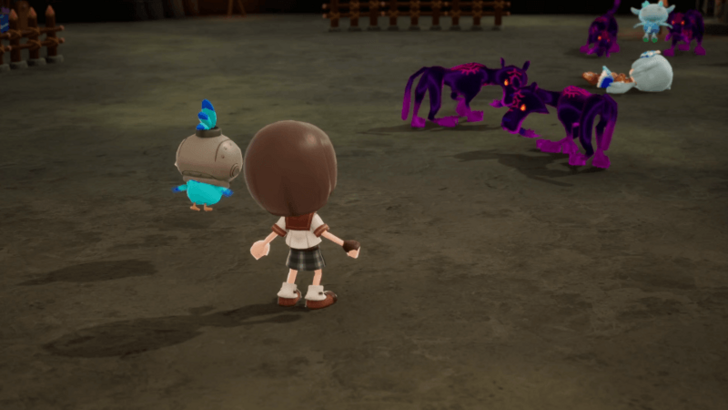 Follow the quest marker until you reach B2 and find Rem. This will trigger a cutscene, and you can now leave the cave. |
Leave the Cave
| Step-by-Step Guide | |
|---|---|
| 1 | 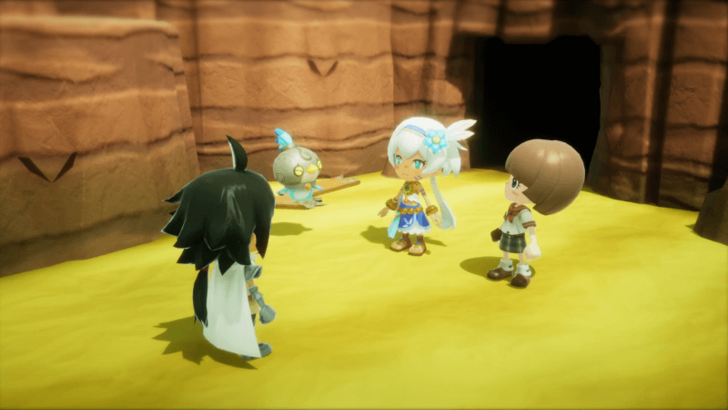 Once you've exited the cave, another cutscene will play, and Rem will tell you to check out the Colosseum next. |
| 2 | Before progressing the story, head back into the Cave of Trials and fully explore it. It's recommended to do this before entering the colosseum so that you can level up and grind for new equipment from drops. |
Go to the Colosseum
| Step-by-Step Guide | |
|---|---|
| 1 | Once you're ready and have finalized any changes to your characters, interact with the door to enter the Colosseum. |
| 2 | 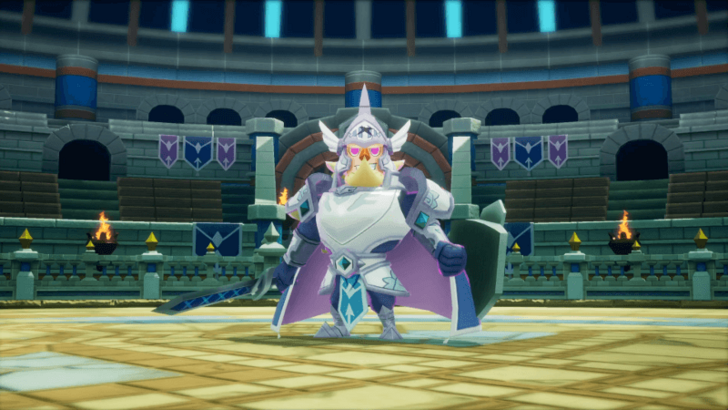 When you go in, a short cutscene will play and you'll be faced against a corrupted Frajeel. He's considerably harder than Glenn with his expansive move pool, so try to paralyze him with a Hunter or a Buddy who can do so. ▶ How to Beat Frajeel |
Talk to Frajeel
| Step-by-Step Guide | |
|---|---|
| 1 | 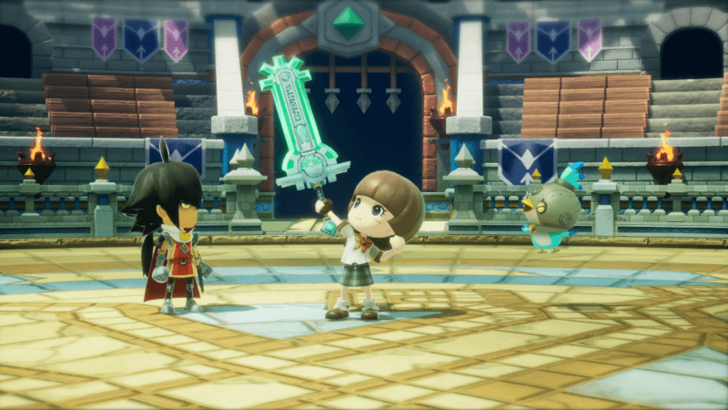 Once he's been defeated and the corruption has been removed, talk to Frajeel to receive the Greatsword of Time. |
| 2 | 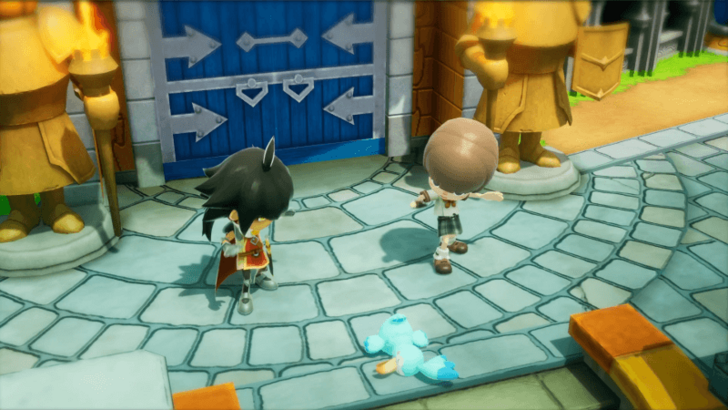 Upon exiting the Colosseum, Trip's helmet will malfunction and you'll head back to Eternia Village to have it fixed. |
| * |  As a note, Colosseum Quests have now been unlocked, and you can return here at anytime if you wish to do them. |
Go to Eternia's Northwest Cave
| Step-by-Step Guide | |
|---|---|
| 1 | 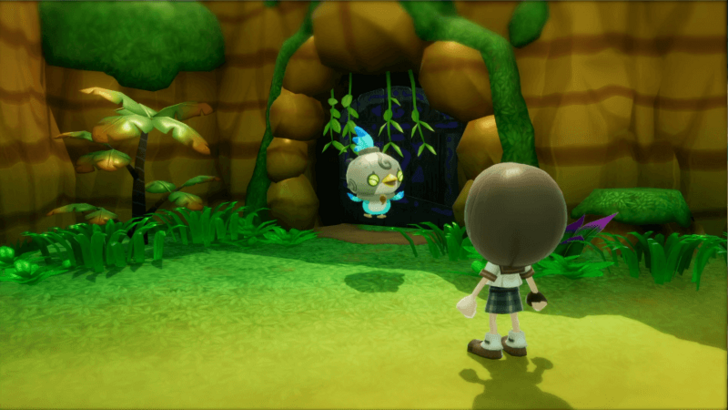 Follow the quest marker to the northwestern beach, and the voice will tell you to leave Trip at the door. Once the cutscene's over, the helmet will be fixed, and you'll be asked to enter the cave. |
Enter the Cave
| Step-by-Step Guide | |
|---|---|
| 1 | 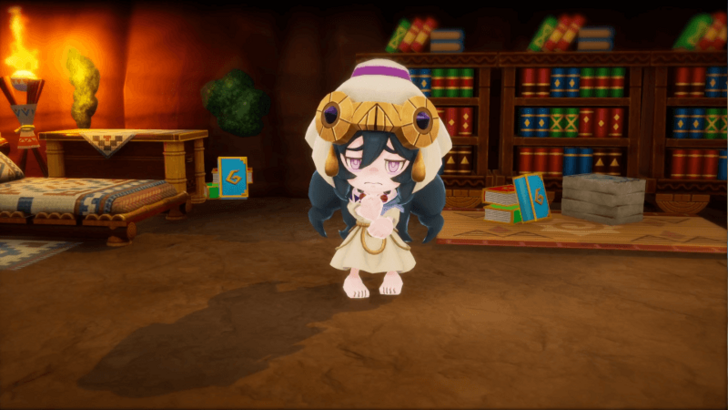 When you enter the cave, you'll meet Mira who'll tell you more about how the Cog of Time works. |
Return to the Present
| Step-by-Step Guide | |
|---|---|
| 1 | After the cutscene's over, head back to the present and go back down to the Depths B3. |
Defeat Guardian Hagram
| Step-by-Step Guide | |
|---|---|
| * | Before going in, make sure you're prepared to face the Guardian Hagram in combat. |
| 2 |  When you're ready, head inside the room to trigger a cutscene where Glenn will defeat the Hagram with the Greatsword of Time. As a note, even if the sword breaks during the cutscene, you can get another one by finding the recipe for it in Ginormosia and crafting one for yourself. |
| 3 | 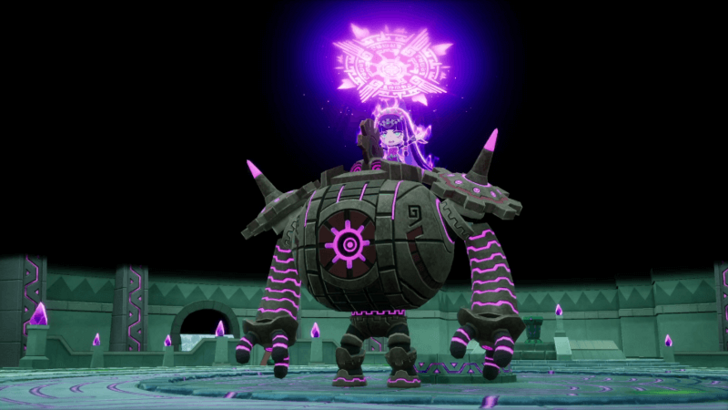 With the Hagram now defeated, Carla will show up to revive it, and you'll now have to defeat it yourself. This fight isn't that hard since you can avoid its attacks by standing behind it. Just make sure that it's aggro'd on your Buddies first so that you can slip behind it and attack. ▶ How to Beat Guardian Hagram |
| 4 | Once the boss has been defeated, you'll have officially completed Chapter 6 and you'll be free to explore the Depths B3. |
Delve Deeper into the Depths
| Step-by-Step Guide | |
|---|---|
| 1 | 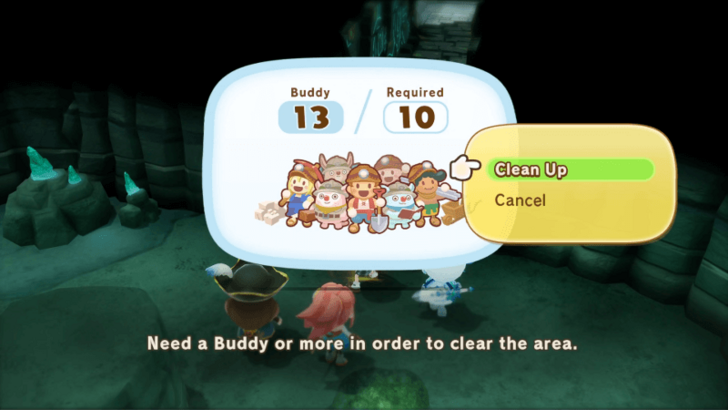 To progress the main story, you'll need to go through the dungeon and head down to B4. However, the path forward is blocked by some debris, and you'll need to have at least 10 Buddies recruited to clear it. ▶ List of All Buddies |
| * | If you don't have enough Buddies recruited, then consider going to Ginormosia first to look for Strangelings to recruit. ▶ List of All Strangelings |
| 2 | 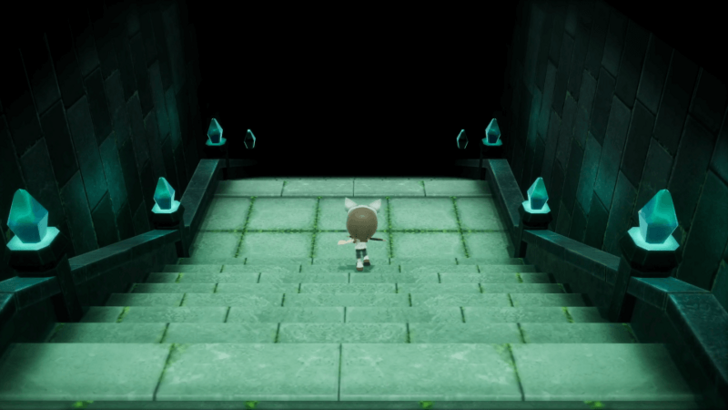 Once the debris has been cleared, you'll be free to head down the stairs to B4. |
Chapter 7 Walkthrough Guide
Visit Rem in the Capital
| Step-by-Step Guide | |
|---|---|
| 1 | 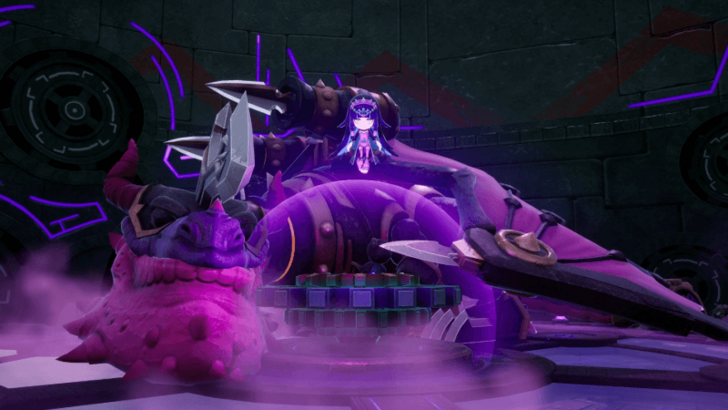 As soon as you enter B4, a cutscene will play revealing the Cog of Time, as well as the Dark Dragon and Carla. |
| 2 | Once the cutscene's over, you'll be back at the Depths Entrance and you'll now need to visit Rem back at Mysteria Castle. |
| 3 | 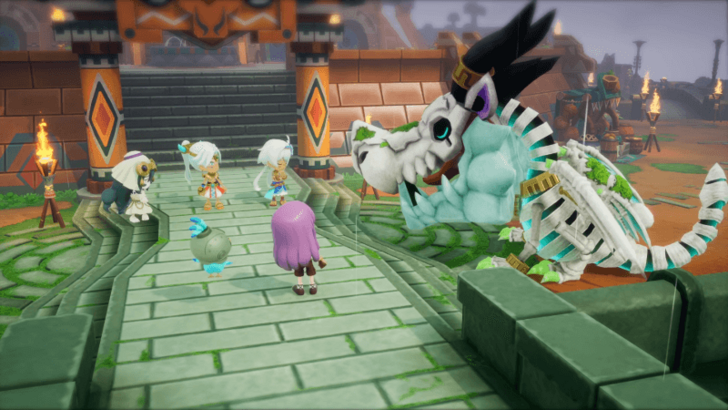 When you're ready, teleport to the capital and walk to the castle's entrance to start a cutscene with Rem, Ranoah, and Mira. |
Rest at the Inn in the Capital
| Step-by-Step Guide | |
|---|---|
| 1 | 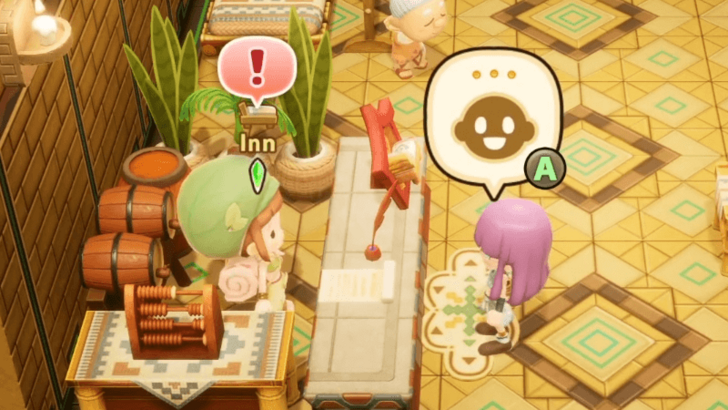 To pass the time while waiting for Mira, go to the inn in the capital and rest. |
Stroll Around the Capital
| Step-by-Step Guide | |
|---|---|
| 1 | 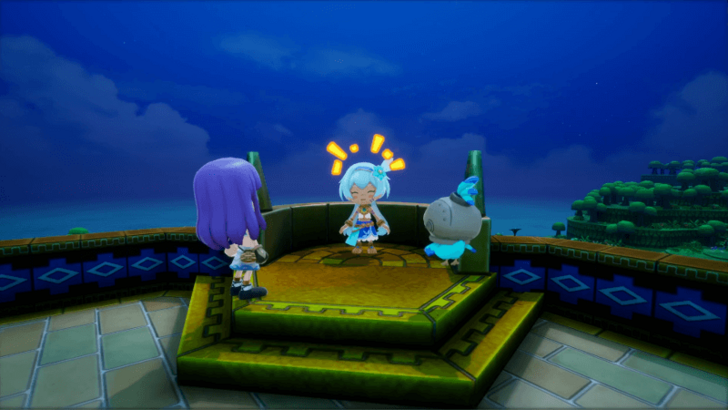 After a short cutscene, go up to the middle layer of the castle and talk to Rem for another cutscene. Once that's done, it'll be the next day. |
Go to Mysteria Castle
| Step-by-Step Guide | |
|---|---|
| 1 | 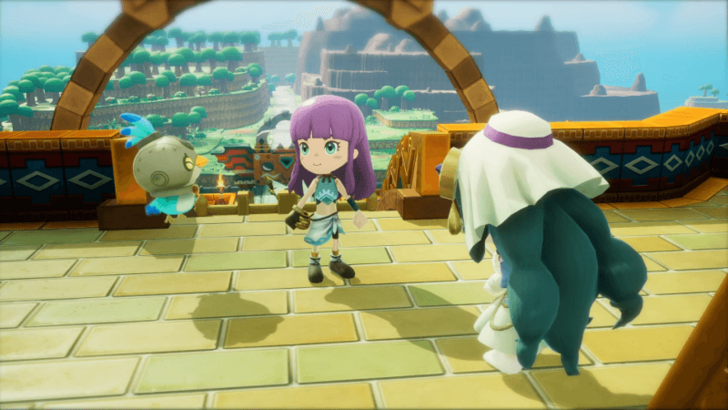 Exit the inn and head up the stairs to talk to Mira. She's devised a way to destroy the Cog, and she'll give you the recipe so that you can show it to Edward. |
Report to Edward
| Step-by-Step Guide | |
|---|---|
| 1 | 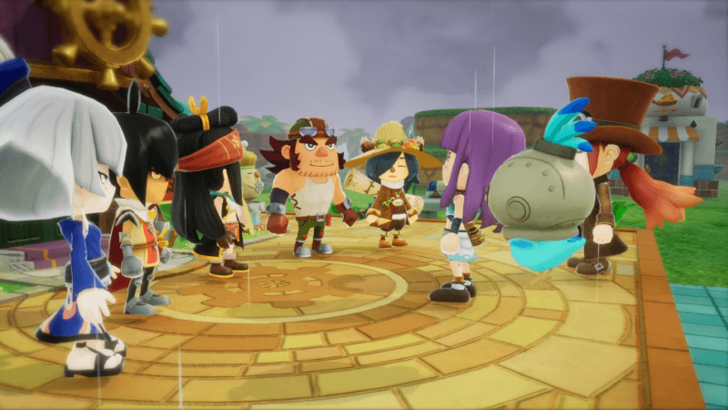 When you're ready, head back to your Base Camp and talk to Edward. He will gather your allies so that you can discuss how to complete the recipe. |
Visit Rem
| Step-by-Step Guide | |
|---|---|
| 1 | 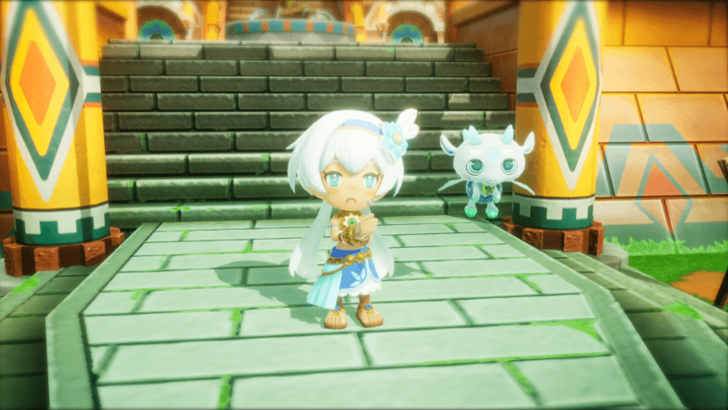 To find the materials that you'll need, you'll have to go back to the past and talk to Rem. |
| 2 | 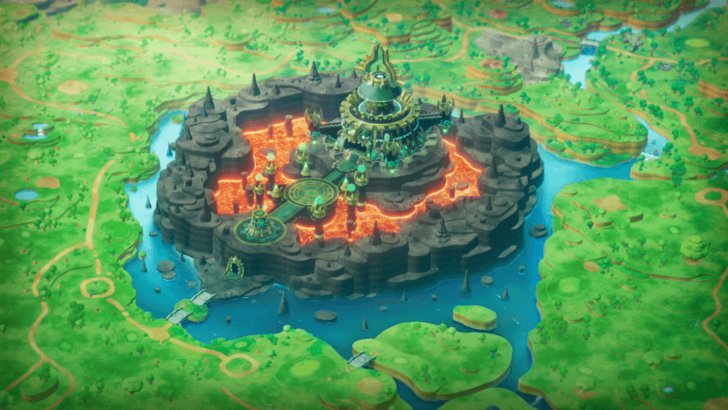 Aside from telling you where to get the materials that you need, she'll also mentioned that the Crow Feather that you got might be the key to accessing the castle in Ginormosia. |
| * | The castle is an optional dungeon that can be cleared to weaken the Dark Dragon. If you want to make the fight versus it easier later, then it's highly recommended to clear Fort Gardhart. |
Collect the Eternian Materials
| Step-by-Step Guide | |
|---|---|
| 1 | 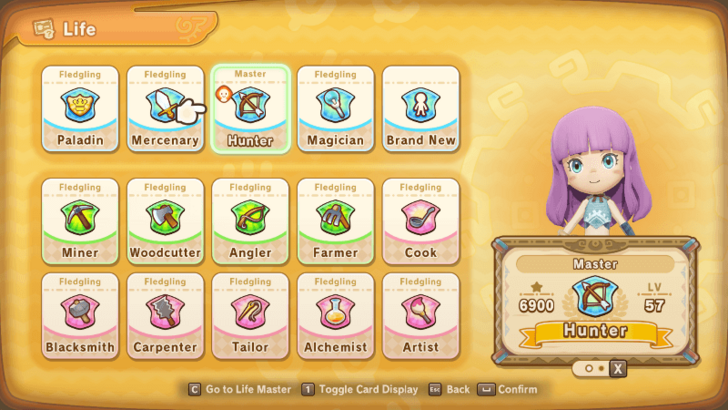 For the next part of the main quest, you will need to have 1 of each Life levelled and equipped, whether it be yourself or a Buddy. If you still need to level up a Life or Buddy, try to aim for around 350 for the Life's Skill to be safe. The only exception to this are the Combat Lives, since you're just hunting a boss, and you don't need a specific Life to do that. ▶︎ List of All 14 Lives and Jobs |
| 2 | Now that Rem has given you the locations of the materials you need, you can go off and collect them in any order that you wish. List of Materials: ・Eternia Gem ・Eternian Log ・Eternia Fern ・Eternian Flying Fish ・Eternian Fleece ▶︎ Jump to Next Section |
Gather an Eternia Gem
| Step-by-Step Guide | |
|---|---|
| 1 |  To get the Eternia Gem, you will need to head inside Warren Willow Hollow. |
| 2 | 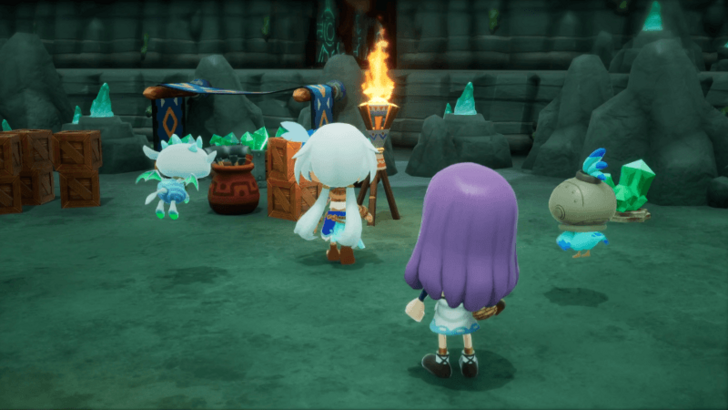 Go inside and head to the end of the dungeon, and a cutscene revealing a new area will play. The newly unlocked part of the dungeon has some pretty tough enemies, so make sure you're prepared before going down. |
| 3 | 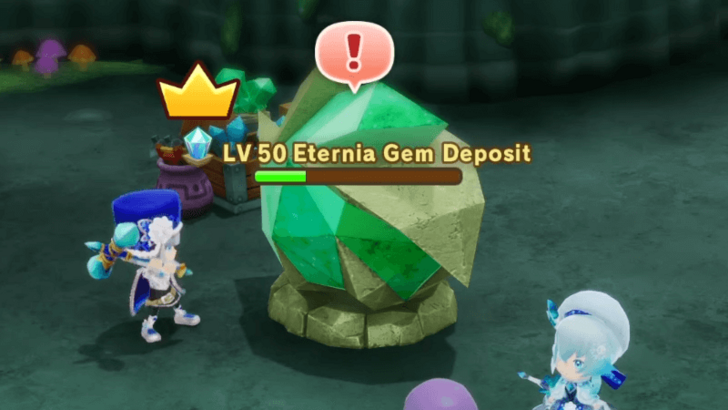 Explore the new area, and, once you're done, head to the northernmost room to mine the Eternia Gem Deposit. |
| 4 | Once you've got the gem, you're free to leave the cave and hunt for any other materials that you may need. |
Gather an Eternian Log
| Step-by-Step Guide | |
|---|---|
| 1 | 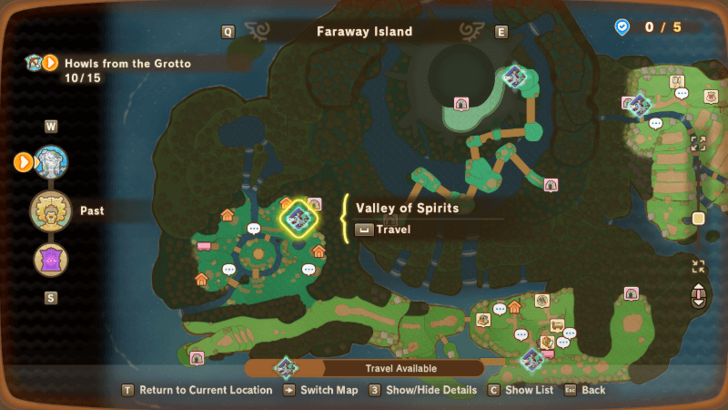 To get the Eternian Log, you'll need to go to Lulab Forest. Just make sure that you teleport to the Valley of Spirits since the tree is on that side of the forest. |
| 2 | 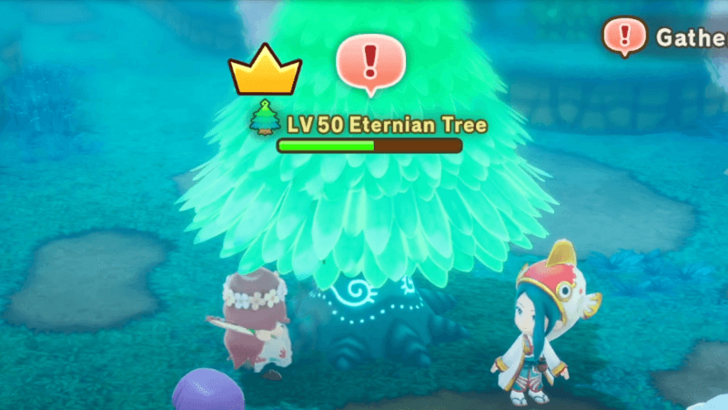 Go inside and head to the area with a seal to chop down the Eternian Tree. |
| 3 | Once you've got the log, you're free to leave the forest and hunt for any other materials that you may need. |
Gather an Eternia Fern
| Step-by-Step Guide | |
|---|---|
| 1 | 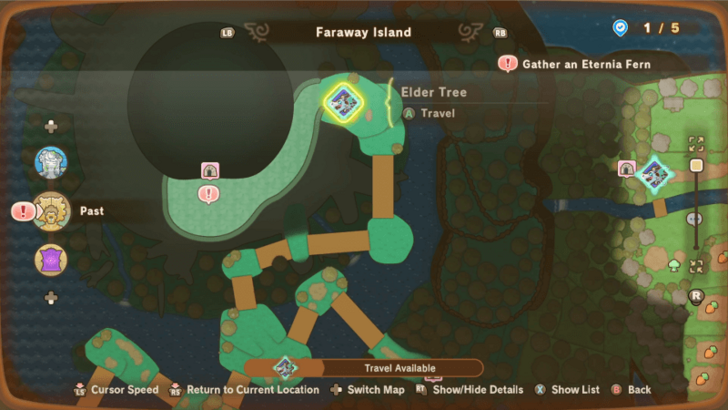 To get the Eternian Fern, you will need to go inside the Elder Tree. |
| 2 |  When you reach the entrance, you will encounter a short cutscene with Leafah and Johannes. |
| 3 | 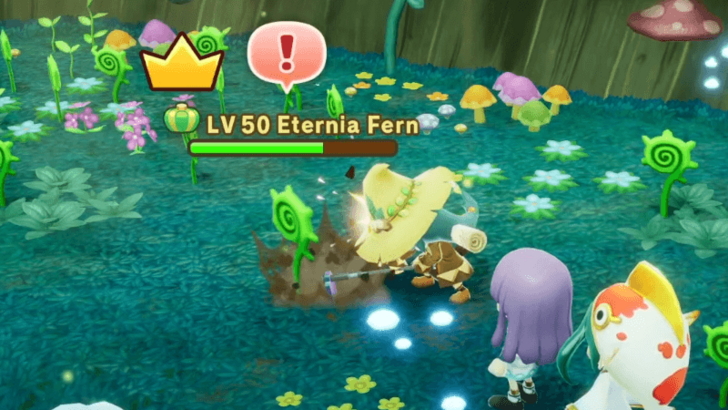 From there, go inside and head to the back to farm the Eternia Fern. |
| 4 | Once you've got the fern, you're free to leave the tree and hunt for any other materials that you may need. |
Catch an Eternian Flying Fish
| Step-by-Step Guide | |
|---|---|
| 1 | 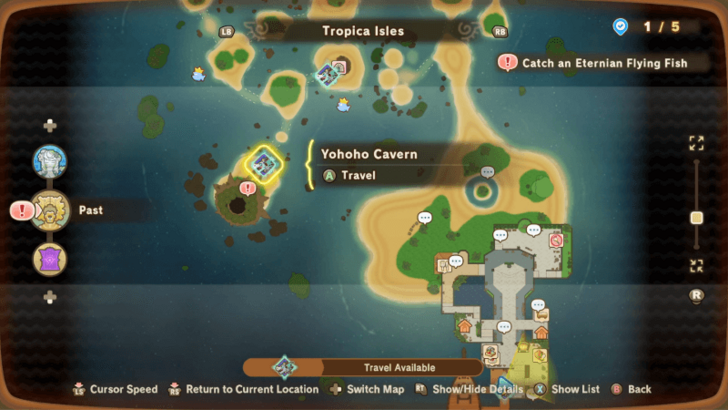 To get the Eternian Flying Fish, you will need to head to the cove inside Yohoho Cavern. |
| 2 | 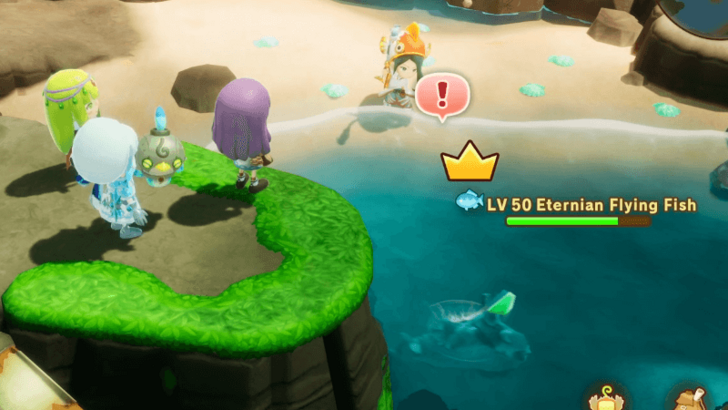 Go in the cave and head to where you met Kikyo so that you can fish up the Eternian Flying Fish. Just make sure that you're on the beach with all the shells, or the fishing prompt might not pop up. |
| 3 | Once you've got the fish, you're free to leave the cove and hunt for any other materials that you may need. |
Gather an Eternian Fleece
| Step-by-Step Guide | |
|---|---|
| 1 | 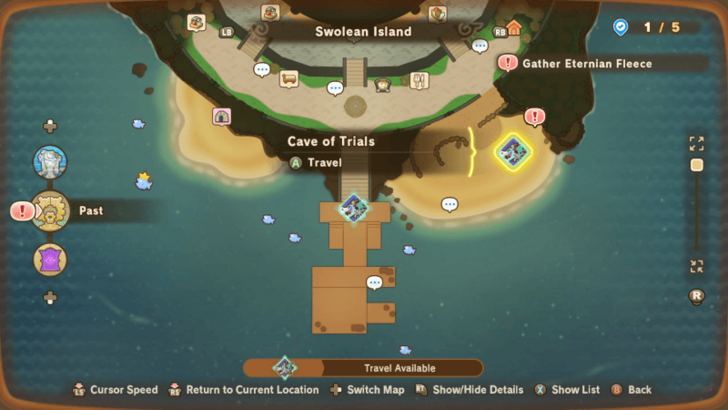 To get the Eternian Fleece, you will need to defeat an Eternia Woolie located inside the Cave of Trials. When you're ready, teleport to Swolean Island and enter the cave. |
| 2 | 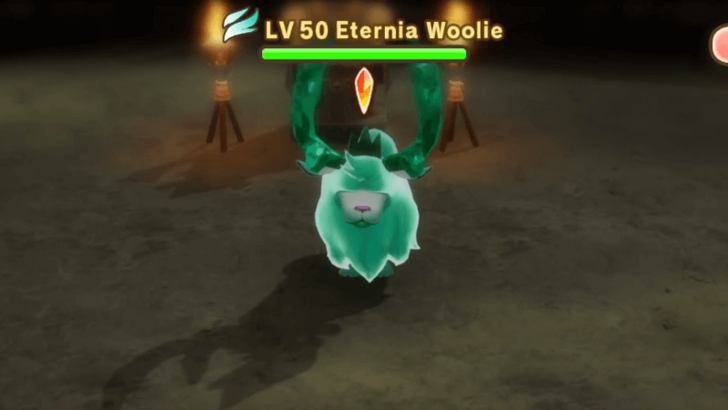 Head down to B2, where you found Rem before, and defeat the Eternia Woolie. This fight shouldn't be hard as long as you're not standing in front of it. ▶︎ How to Beat Eternia Woolie |
| 3 | Once you've got the fleece, you're free to leave the cave and hunt for any other materials that you may need. |
Report to Edward
| Step-by-Step Guide | |
|---|---|
| 1 | Now that you've gathered all the materials, head back to your base camp and talk to Edward. |
| 2 | 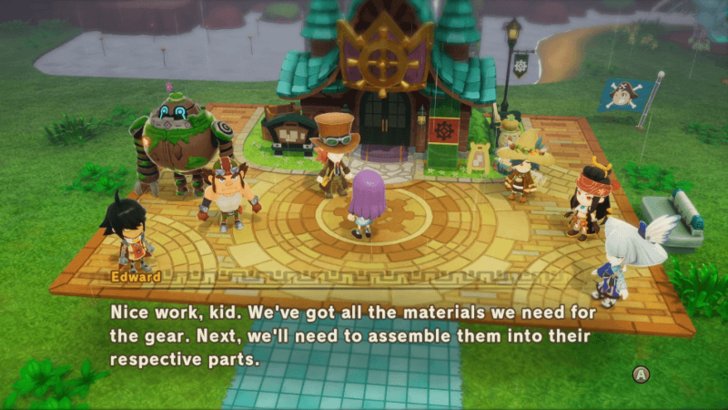 The next step now will be to transform all the materials into parts for the gear. Thankfully, there's a workbench inside the Guild Office, so you won't need to go far to complete the task. |
Craft the Four Gear Parts
| Step-by-Step Guide | |
|---|---|
| 1 | 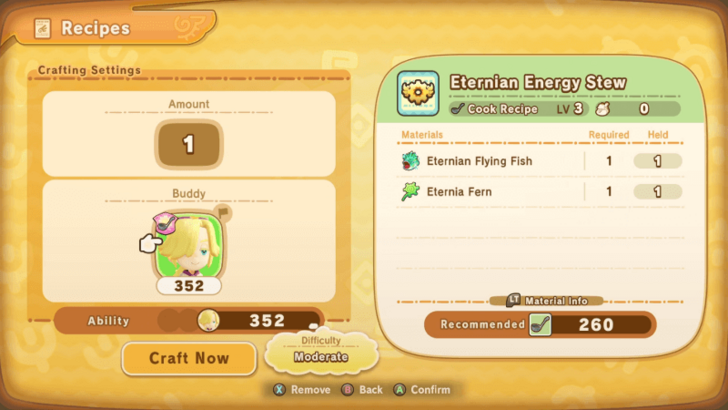 The first piece that you need to make is the Eternian Energy Stew, which requires at least 260 Cooking. |
| 2 | 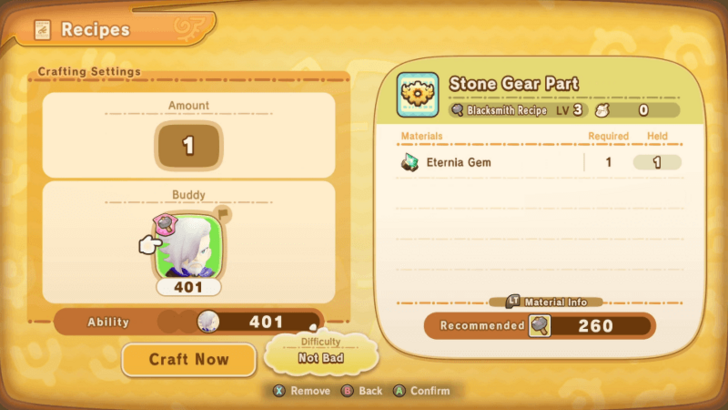 Next, you'll need to make the Stone Gear Part, which requires at least 260 Blacksmithing. |
| 3 | 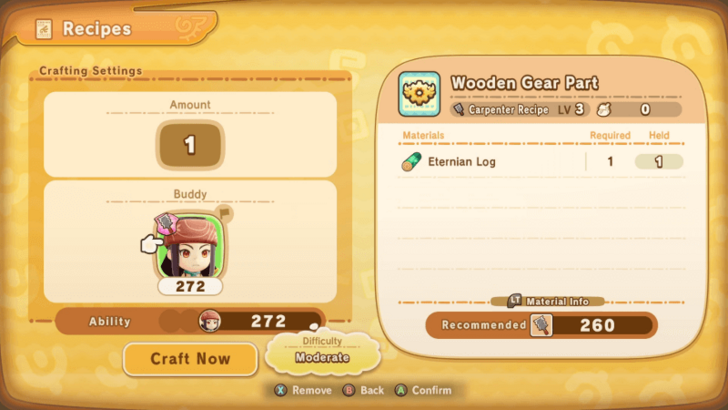 After that, you'll need to make the Wooden Gear Part, which requires at least 260 Carpentry. |
| 4 | 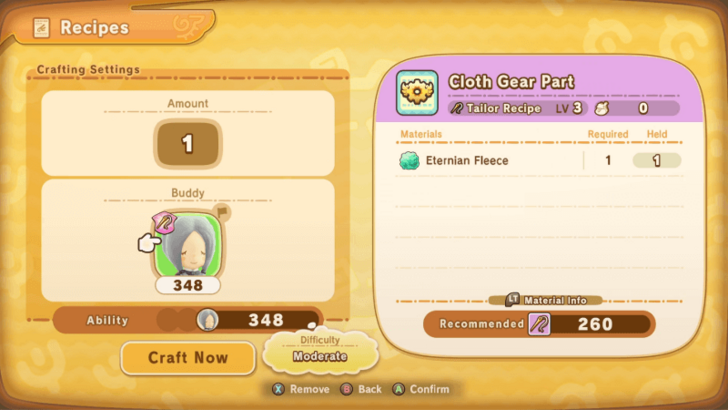 Finally, the last piece you need to make is the Cloth Gear Part, which requires at least 260 Tailoring. |
Craft the Interfere Gear
| Step-by-Step Guide | |
|---|---|
| 1 | 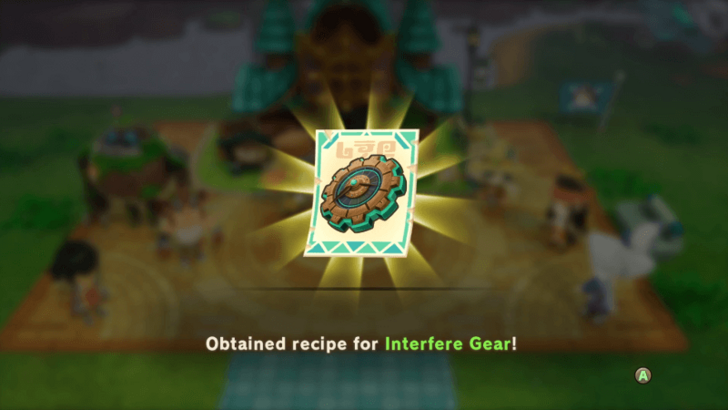 Now that you have all the parts, report back to Edward to get the recipe to make the Interfere Gear. |
| 2 | 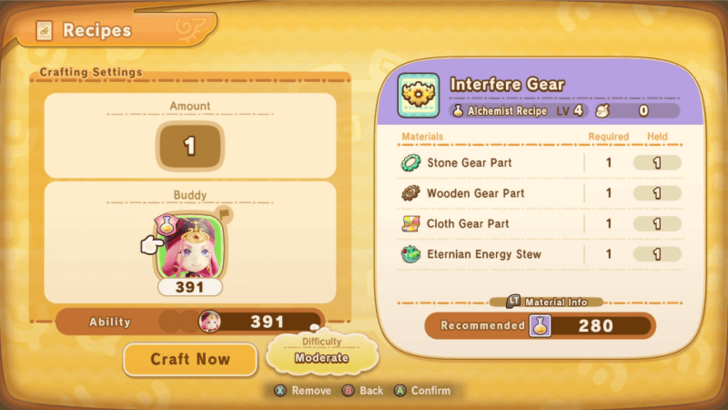 Go back to the workbench and craft the Interfere Gear, which requires at least 280 Alchemy. |
Complete the Interfere Gear
| Step-by-Step Guide | |
|---|---|
| 1 | 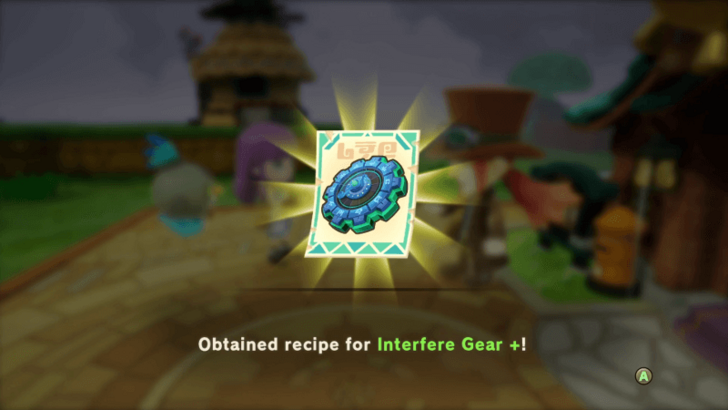 Head back to Edward, but he's not pleased with the appearance of the gear. He will then give you a new recipe to make it look cooler. |
| 2 | 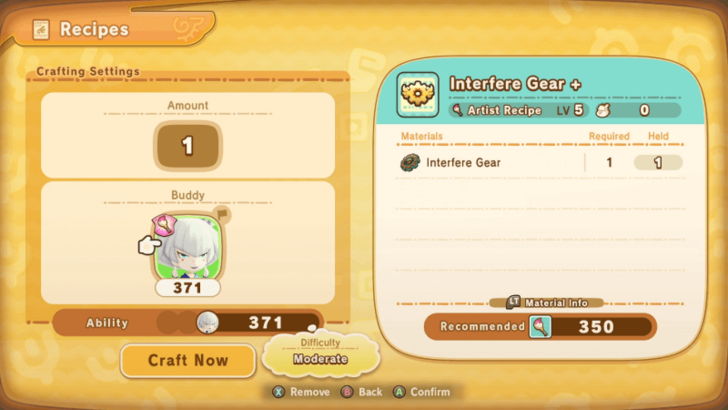 For the last time, head to the workbench and craft the Interfere Gear +, which requires at least 350 Artistry. |
Talk to Edward
| Step-by-Step Guide | |
|---|---|
| 1 | 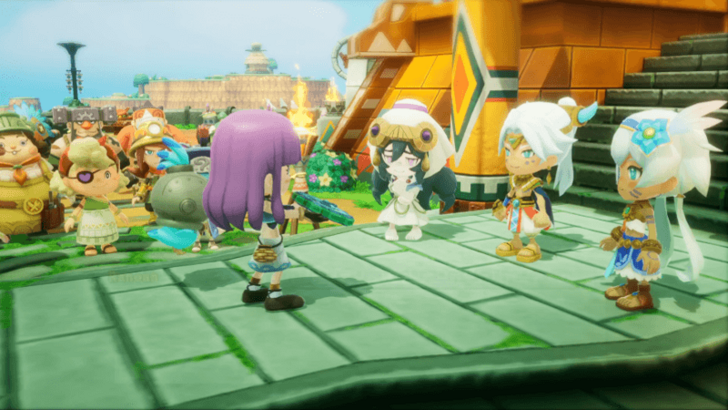 Now that the Interfere Gear has finally been completed, a cutscene will play with all the important characters you've met throughout the game. |
| 2 |  From there, head back to your Base Camp for a quick cutscene, and, once that's done, go meet Edward at the Depths Entrance. |
| 3 | After the cutscene's over, make any final preparations before talking to Edward again to face the final boss. As a note, this is the last chance for you to clear the optional dungeon in Ginormosia, so make sure to do it now if you haven't done so yet. |
Defeat the Dark Dragon
| Step-by-Step Guide | |
|---|---|
| 1 | 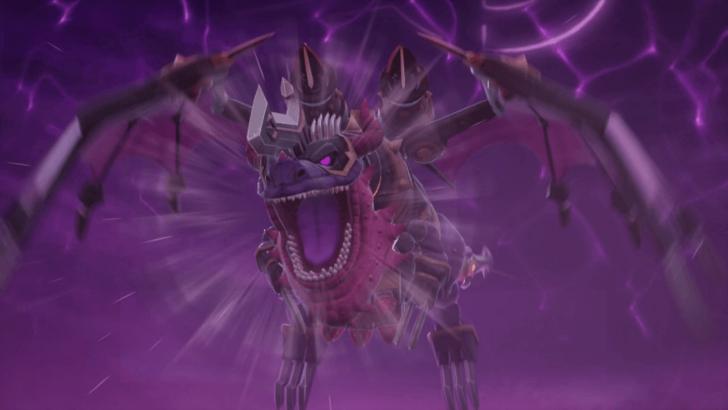 When you're ready, talk to Edward so that you can fly up to the cog and face the Dark Dragon. This boss is quite difficult since it has a lot of AoE attacks, so try to stand to its sides so that you can dodge its attacks. ▶︎ How to Beat Dark Dragon |
Destroy the Cog
| Step-by-Step Guide | |
|---|---|
| 1 | 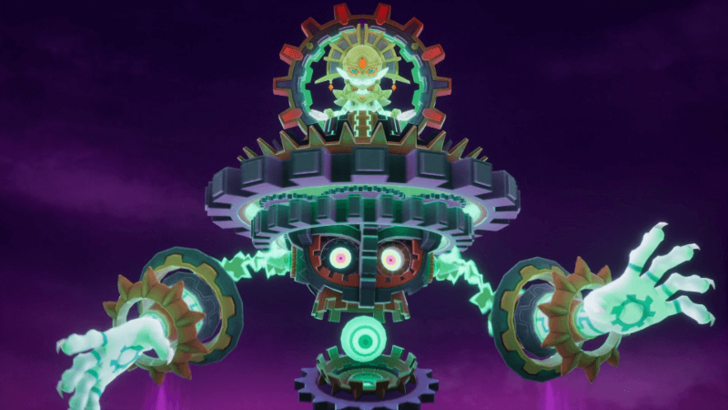 After the dragon has been defeated, Xernes will appear and he'll merge with the Cog of Time. This is the final boss of the game, so make sure to give it all you got! ▶︎ How to Beat Gear-Xernes |
| 2 |  Once Gear-Xernes has been defeated, the final cutscene will play and you'll have successfully beaten FANTASY LIFE i's main story! |
Post-Game Guide
Look for New Unlocks and Finish Goals
Now that you've complete the main story, a bunch of new features have now been unlocked. There's also a lot tasks that still need to be accomplished, meaning there's still a lot for you to do in the post-game.
FANTASY LIFE i: The Girl Who Steals Time Related Guides

FANTASY LIFE i: The Girl Who Steals Time Wiki
Guides by Category
Recommended Guides
Comment
Author
FANTASY LIFE i: The Girl Who Steals Time Walkthrough & Guides Wiki
100% Main Quest Walkthrough
Please participate in our site
improvement survey
03/2026
improvement survey
03/2026
Would you assist in
improving Game8's site?
improving Game8's site?

×
We are listening to our users' valuable opinions and discussing how to act on them.
The information collected through this survey will be used for the purpose of improving our services. In addition, the information will only be disclosed a part of a statistic in a format that will not allow identification of personal information.
Begin Survey
Not Now
×
Please rate each item regarding Game8.co's Advertisements.
Amount of Ads
Very Dissatisfied
Somewhat Dissatisfied
Fine
Somewhat Satisfied
Highly Satisfied
Placement of Ads
Timing of Ad Display
Ad Loading Speed
Safeness of Ads
Content of Ads
×
Please rate each item regarding Game8.co's Quality of Articles.
Amount of information
Very Dissatisfied
Somewhat Dissatisfied
Fine
Somewhat Satisfied
Highly Satisfied
Frequency of updates
Speed of new information
Accuracy of articles
Understandibility of articles
Readability of sentences
×
Please rate each item regarding Game8.co's Usability of the Site.
Ease of finding information
Very Dissatisfied
Somewhat Dissatisfied
Fine
Somewhat Satisfied
Highly Satisfied
Loading Speed
Use of Color
Font Size
Visibility of Images
Easy to Understand Layout
×
Please rate each item regarding Game8.co's Message Boards, Comments.
Ease of Writing
Very Dissatisfied
Somewhat Dissatisfied
Fine
Somewhat Satisfied
Highly Satisfied
Readability
Ease in Finding Information
Comment Quality
Comment Quantity
Admin Response
×
Please rate each item regarding Game8.co's Site's new design.
Please rate our site's new design
Very Dissatisfied
Somewhat Dissatisfied
Fine
Somewhat Satisfied
Highly Satisfied
Do you think that the website's design change makes the site easier to use?
Has the new design made it easier for you to find information on the site?
Has the new design improved the overall visual appeal of the site?
How would you rate your overall satisfaction with the new design of the site?
×
How likely are you to recommend Game8 to someone you know?
Very Unlikely
0
1
2
3
4
5
6
7
8
9
10
Very Likely
If you have other opinions regarding potential improvement to the website, please share them with us. We would appreciate your honest opinion.
Note: This is a free response section, so you can proceed without entering anything.
Note: Please be sure not to enter any kind of personal information into your response.
Note: Please be sure not to enter any kind of personal information into your response.
×
Thank You
×
Thank you for participating in our survey! Your answers will help us to improve the quality of our website and services.
We hope you continue to make use of Game8.
We hope you continue to make use of Game8.
Close
Rankings
- We could not find the message board you were looking for.
Gaming News


![Everwind Review [Early Access] | The Shaky First Step to A Very Long Journey](https://img.game8.co/4440226/ab079b1153298a042633dd1ef51e878e.png/thumb)

![Monster Hunter Stories 3 Review [First Impressions] | Simply Rejuvenating](https://img.game8.co/4438641/2a31b7702bd70e78ec8efd24661dacda.jpeg/thumb)
Popular Games

Genshin Impact Walkthrough & Guides Wiki
Honkai: Star Rail Walkthrough & Guides Wiki
Umamusume: Pretty Derby Walkthrough & Guides Wiki
Pokemon Pokopia Walkthrough & Guides Wiki
Resident Evil Requiem (RE9) Walkthrough & Guides Wiki
Monster Hunter Wilds Walkthrough & Guides Wiki
Wuthering Waves Walkthrough & Guides Wiki
Arknights: Endfield Walkthrough & Guides Wiki
Pokemon FireRed and LeafGreen (FRLG) Walkthrough & Guides Wiki
Pokemon TCG Pocket (PTCGP) Strategies & Guides Wiki


Recommended Games
Diablo 4: Vessel of Hatred Walkthrough & Guides Wiki
Fire Emblem Heroes (FEH) Walkthrough & Guides Wiki
Yu-Gi-Oh! Master Duel Walkthrough & Guides Wiki
Super Smash Bros. Ultimate Walkthrough & Guides Wiki
Pokemon Brilliant Diamond and Shining Pearl (BDSP) Walkthrough & Guides Wiki
Elden Ring Shadow of the Erdtree Walkthrough & Guides Wiki
Monster Hunter World Walkthrough & Guides Wiki
The Legend of Zelda: Tears of the Kingdom Walkthrough & Guides Wiki
Persona 3 Reload Walkthrough & Guides Wiki
Cyberpunk 2077: Ultimate Edition Walkthrough & Guides Wiki


All rights reserved
©LEVEL5 Inc.
The copyrights of videos of games used in our content and other intellectual property rights belong to the provider of the game.
The contents we provide on this site were created personally by members of the Game8 editorial department.
We refuse the right to reuse or repost content taken without our permission such as data or images to other sites.