
This survey will take about 1 minute.
Your answers will help us to improve our website.
FANTASY LIFE i: The Girl Who Steals Time (FLi)
Chapter 5: The Artist's Treasure Hunt Walkthrough Guide
This is a walkthrough guide for Chapter 5, The Artist's Treasure Hunt, in FANTASY LIFE i: The Girl Who Steals Time (FLi). Check out a step-by-step guide to beat Chapter 5 here.
| ◀ Previous Guide | Next Guide ▶ |
|---|---|
| Chapter 4 | Chapter 6 |
List of Contents
The Artist's Treasure Hunt Walkthrough Guide
Proceed Into the Depths - B2
| Step-by-Step Guide | |
|---|---|
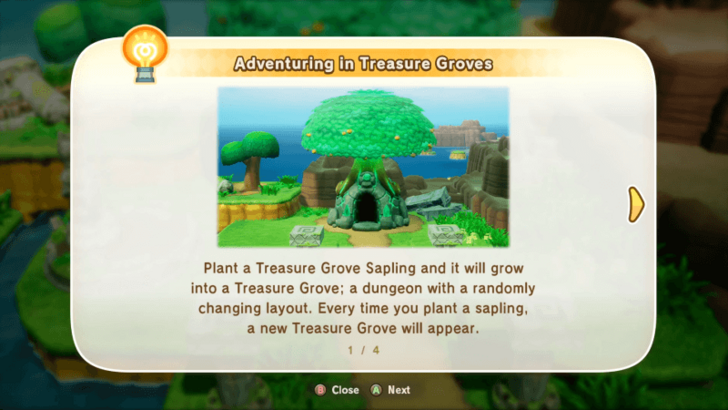
| 1 | 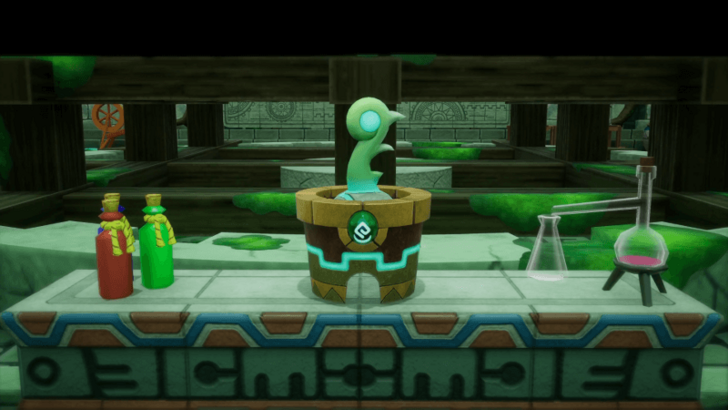 Now that you've reached B2, follow the quest marker until you enter a room that looks like it's used for research. You'll also find a Treasure Grove Sapling in here, which can then be planted at your base camp to create a randomized dungeon. |
| 2 | 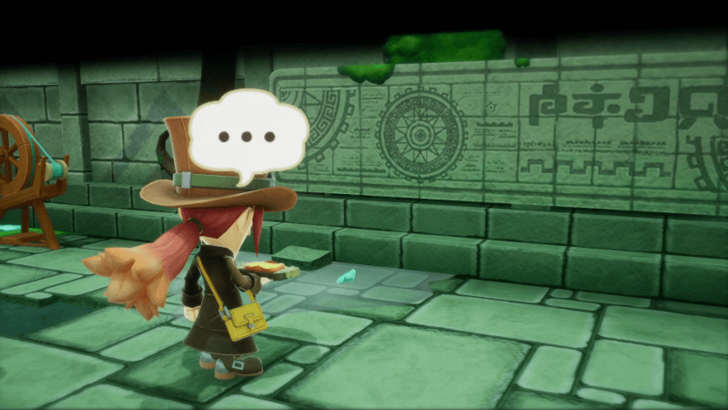 Once that's done, head to the back of the room to check out the mural on the wall. Afterwards, continue following the quest marker further into the dungeon. |
| 3 | 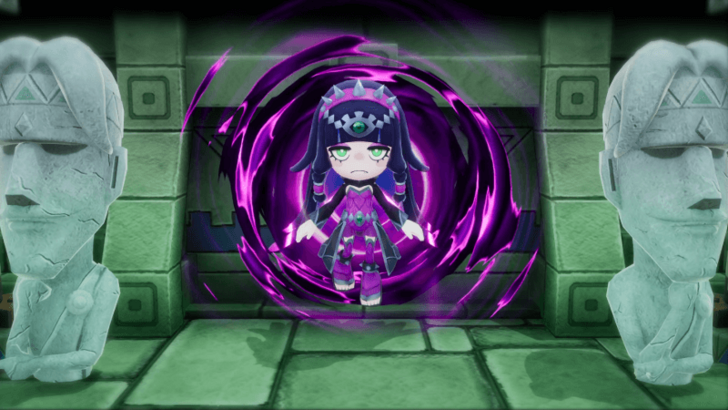 Keep going until you reach a door guarded by two statues. Carla will come out to ambush you again, and, as usual, you'll need to find a way to rescue Edward. |
| 4 | 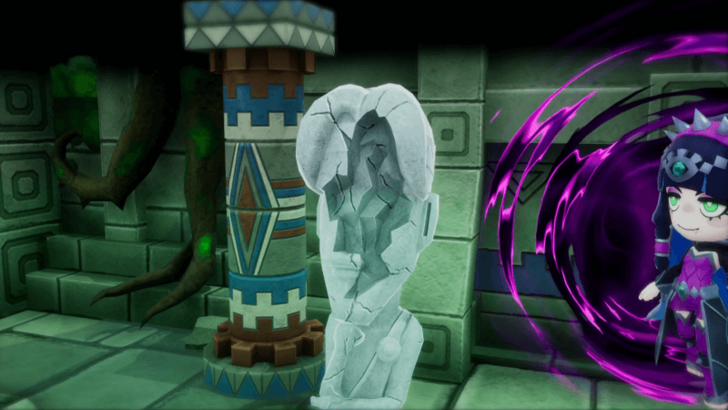 To save Edward, you will need to head back to the past to look for an Artist who can repair the statue's face. |
Go to the Past Eternia Village
| Step-by-Step Guide | |
|---|---|
| * |  Before leaving to travel to the past, make sure to pass by your Base Camp first so that you can upgrade the Guild Office and plant the Treasure Grove Sampling. |
| 1 | When you're ready, teleport to Eternia Village, and once the cutscene with Auntie Anne is over, teleport to Mysteria Castle. |
Talk to Rem in the Capital
| Step-by-Step Guide | |
|---|---|
| 1 | 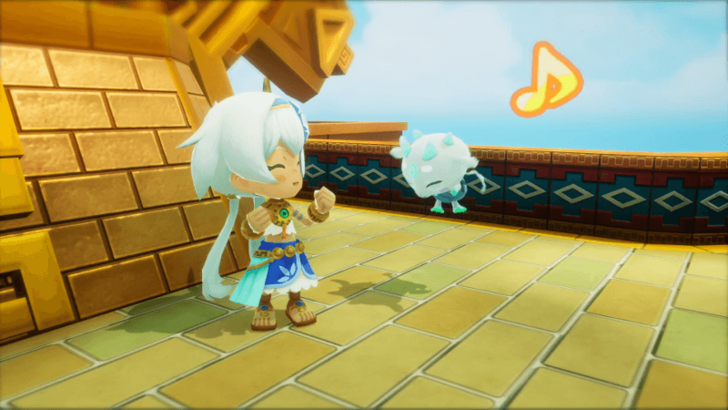 Once you've arrived at the castle, head up the stairs to talk to Rem. |
Return to Skelegon
| Step-by-Step Guide | |
|---|---|
| 1 | 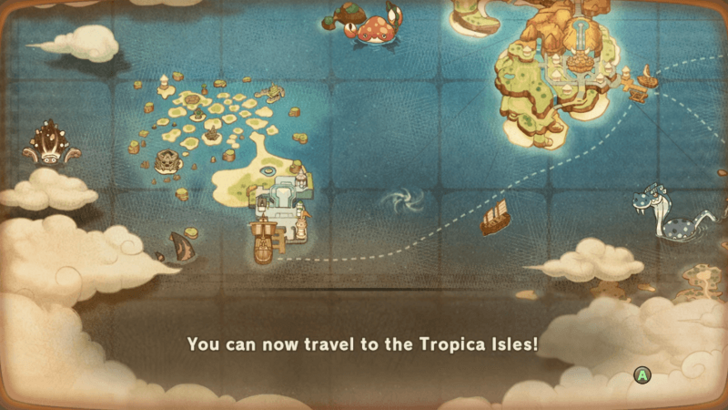 After the cutscene with Rem is over, teleport back to Eternia Village to trigger the cutscene with Skelegon and unlock Tropica Isles. |
| * | Similar to last time, it's recommended to level up and upgrade your equipment since you're heading into a new area with stronger enemies. |
Ride Skelegon to Tropica Isles
| Step-by-Step Guide | |
|---|---|
| 1 | 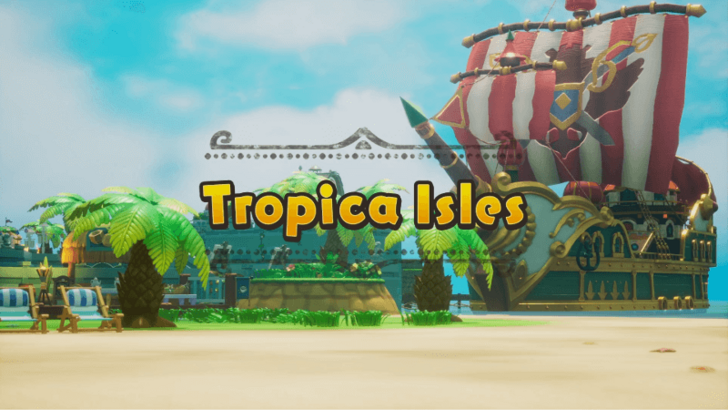 When you're ready, talk to Skelegon and teleport to Tropica Isles. |
| 2 | 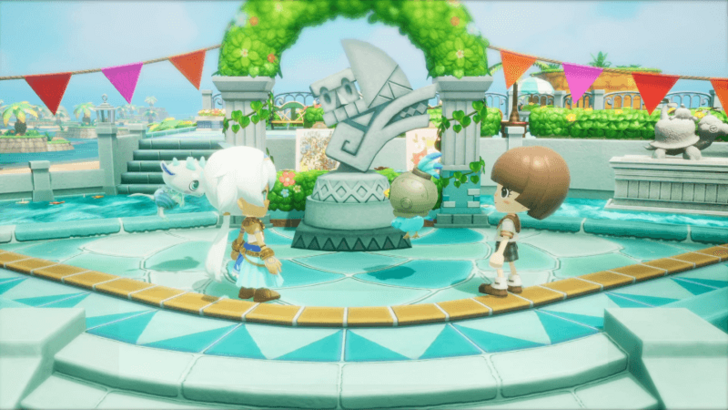 Once you've arrived, head to the center to trigger a short cutscene. |
Go to Paulette's Atelier
| Step-by-Step Guide | |
|---|---|
| 1 | 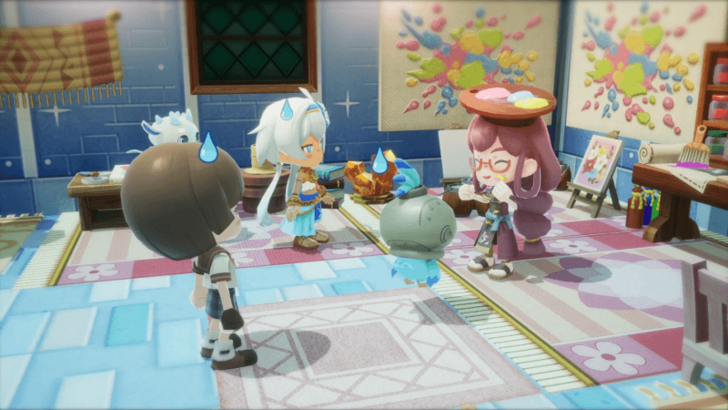 After that's done, follow the quest marker and enter Paulette's house to meet her. Unfortunately, she can't help you. However, she does know someone who can, but you'll need to find them first. |
| 2 | When you're ready, head down the beach for one more cutscene before you go off searching for Kikyo. |
Search for Kikyo at the X Spots
| Step-by-Step Guide | |
|---|---|
| * | Before you continue the story, it's recommended to fully explore the island first. Just avoid going to the southwestern cave for now, since the main quest will take you there anyway. |
| 1 | 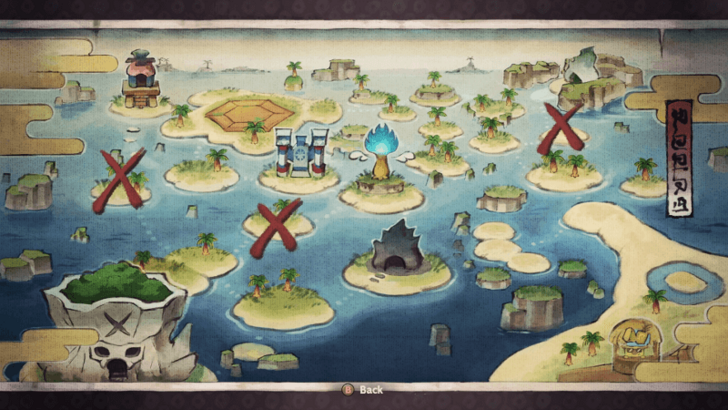 To find Kikyo's location, you'll need to search for the Xs that were marked on her map. Since the X's aren't marked on the in-game map, you'll need to pull up Kikyo's hand drawn map instead using the indicated button at the bottom right of the Map Menu. |
| 2 | Once you've investigated all the Xs, a cutscene will play, and Growler will fly off chasing the Crow that's carrying some corn. |
Follow Growler
| Step-by-Step Guide | |
|---|---|
| 1 | 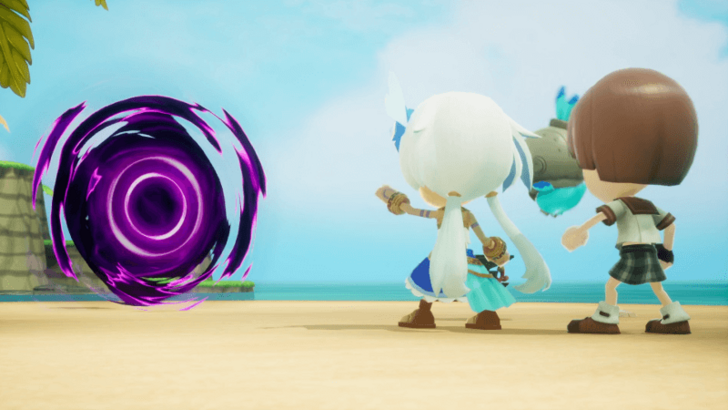 Follow the quest marker north and you'll chase after Growler into a dark portal. Thankfully, nothing bad happens, and you all escape from the portal unharmed. |
Talk to Rem
| Step-by-Step Guide | |
|---|---|
| 1 | 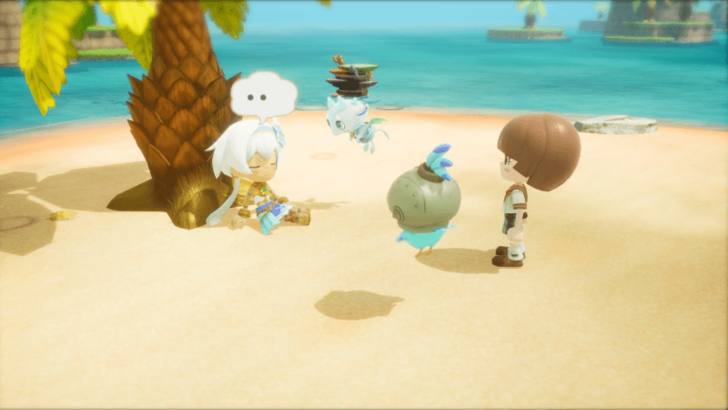 Once you have control over your character again, talk to Rem who's resting nearby. |
Talk to Paulette
| Step-by-Step Guide | |
|---|---|
| 1 | 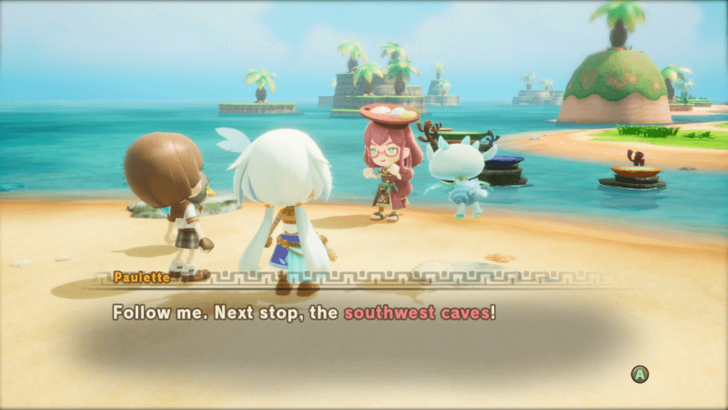 After that's done, talk to Paulette next and she will tell you to go look for Kikyo in the southwestern cave. |
Go to the Southwest Caves
| Step-by-Step Guide | |
|---|---|
| 1 | 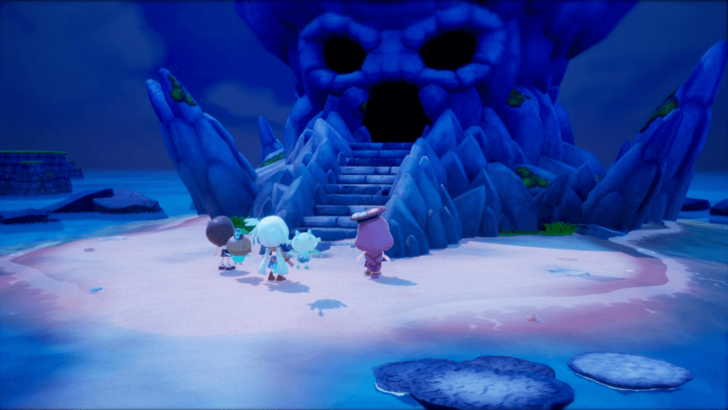 When you're ready, head southwest and enter Yohoho Cavern. |
| * | This should be the last area you haven't visited yet, so make sure to explore the cave before heading out to the quest marker. |
Reach the Cave's Center
| Step-by-Step Guide | |
|---|---|
| 1 | Once you're done exploring, follow the quest marker out to a cove in the center of the cave. |
| 2 | 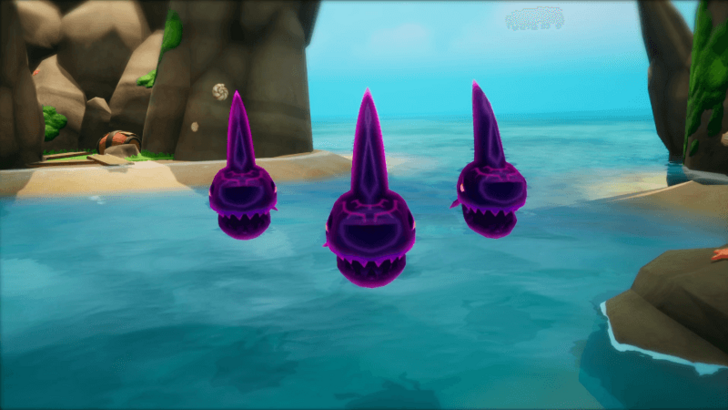 During the cutscene, you will be ambushed by some Shadow Sharks. Defeat them so that you can progress to the next part of the story. |
Find the Treasure
| Step-by-Step Guide | |
|---|---|
| 1 | 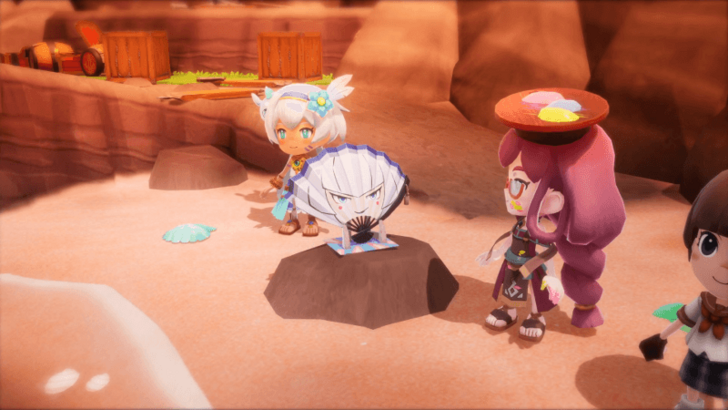 After the sharks have been defeated, head to the west side of the cove to find the treasure and Kikyo, who's turned into a Graceful Fan. |
| 2 | Once the cutscene ends, you're free to head back to the Goddess Statue to turn Kikyo back into a human. Just remember to pass by the Tropical Isles' Bulletin Board first so that you can clear any completed tasks. |
Help Kikyo Return to Normal
| Step-by-Step Guide | |
|---|---|
| * | Before you go to the Goddess Statue, try to increase your Island Ranking first so that you can reduce the transformation cost. |
| 1 | 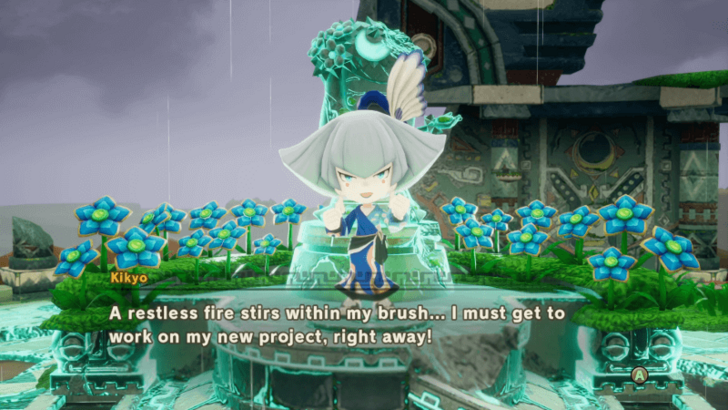 When you're ready, interact with the Goddess Statue to transform Kikyo back into a human. Now that she has regained her motor skills, she's itching to return to her home to complete the painting for the art competition. |
Go to Kikyo's House
| Step-by-Step Guide | |
|---|---|
| 1 | 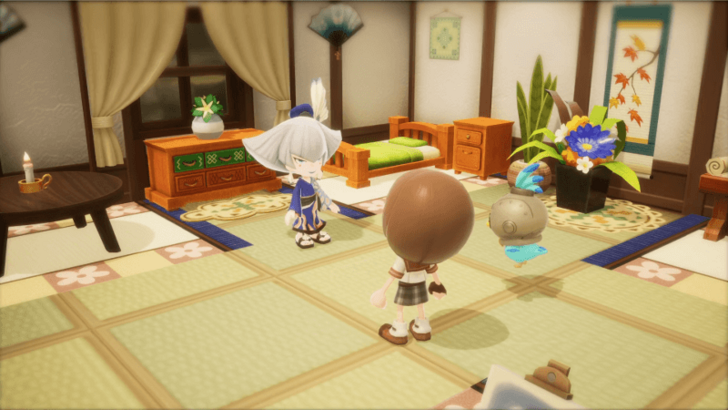 Head to Kikyo's house back in Tropical Isles to start a quick cutscene. |
| 2 | 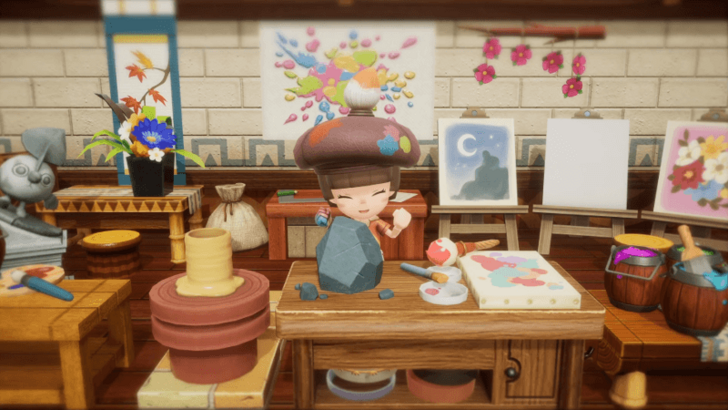 To pass the time, you'll make your own painting while Kikyo is finishing her piece. This also serves as the Artist tutorial, but it's pretty much the same as every other Crafting Life if you've done the mini-game already. |
| 3 | 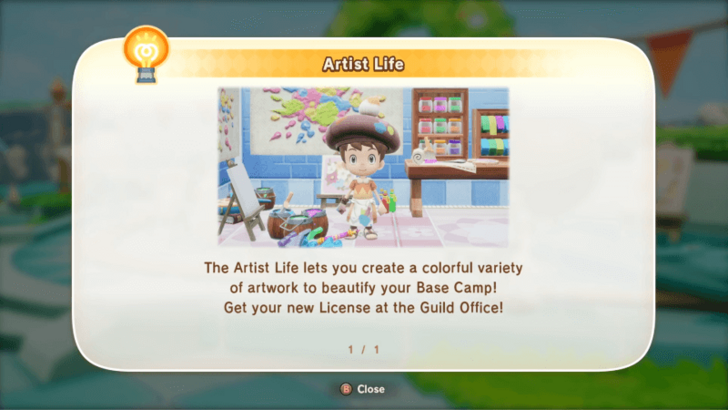 Once that's done, the art competition will begin and you'll unlock the Artist Life in the Guild Office. ▶︎ How to Unlock the Artist Life |
Return to the Present
| Step-by-Step Guide | |
|---|---|
| 1 | Now that Kikyo's free, she can help you fix the statue's face. When you're ready, head back down to the Depths B2. |
| 2 | 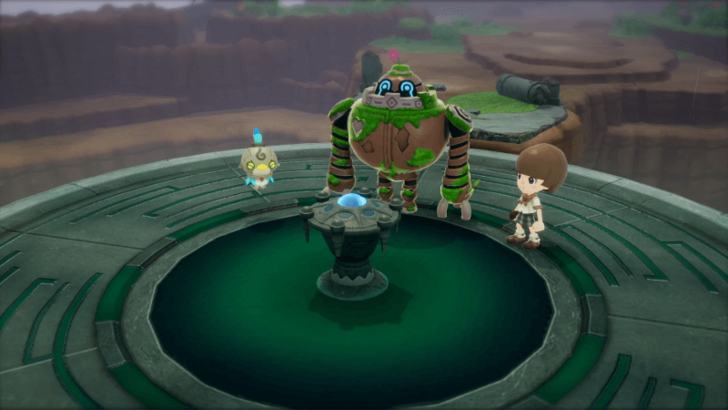 When you arrive at the Depths Entrance, you'll get a cutscene where there'll now be a platform that you can use to quickly travel between the different floors. |
Restore Clefton
| Step-by-Step Guide | |
|---|---|
| 1 | 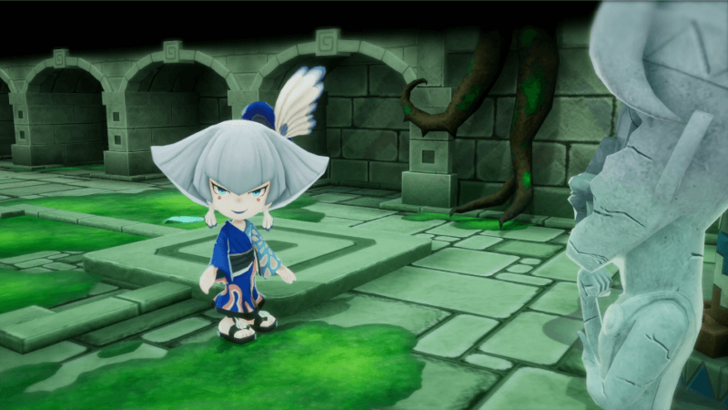 Approach the statues and Kikyo will repair Clefton. Once that's done, the doors will open up and you'll reunite with Edward, again. |
| 2 | This also officially ends Chapter 5, and you're free to explore the rest of the floor. |
Delve Deeper into the Depths
| Step-by-Step Guide | |
|---|---|
| 1 |  To start the next chapter, follow the quest marker and head down into B3. ▶ Chapter 6 Walkthrough Guide |
FANTASY LIFE i: The Girl Who Steals Time Related Guides
List of All Main Quests
| List of All Main Quest Walkthroughs | |
|---|---|
| 1 | Chapter 1: Life on a Mysterious Island |
| 2 | Chapter 2: Leap of a Thousand Years |
| 3 | Chapter 3: Digging Up Secrets of the Past |
| 4 | Chapter 4: The Polturnip and the Leafe |
| 5 | Chapter 5: The Artist's Treasure Hunt |
| 6 | Chapter 6: The Island of Trials |
| 7 | Chapter 7: Crack the Cog, Free our Future |
| 8 | Post-Game Content |
Comment
Author
FANTASY LIFE i: The Girl Who Steals Time Walkthrough & Guides Wiki
Chapter 5: The Artist's Treasure Hunt Walkthrough Guide
Please participate in our site
improvement survey
03/2026
improvement survey
03/2026
Would you assist in
improving Game8's site?
improving Game8's site?

×
We are listening to our users' valuable opinions and discussing how to act on them.
The information collected through this survey will be used for the purpose of improving our services. In addition, the information will only be disclosed a part of a statistic in a format that will not allow identification of personal information.
Begin Survey
Not Now
×
Please rate each item regarding Game8.co's Advertisements.
Amount of Ads
Very Dissatisfied
Somewhat Dissatisfied
Fine
Somewhat Satisfied
Highly Satisfied
Placement of Ads
Timing of Ad Display
Ad Loading Speed
Safeness of Ads
Content of Ads
×
Please rate each item regarding Game8.co's Quality of Articles.
Amount of information
Very Dissatisfied
Somewhat Dissatisfied
Fine
Somewhat Satisfied
Highly Satisfied
Frequency of updates
Speed of new information
Accuracy of articles
Understandibility of articles
Readability of sentences
×
Please rate each item regarding Game8.co's Usability of the Site.
Ease of finding information
Very Dissatisfied
Somewhat Dissatisfied
Fine
Somewhat Satisfied
Highly Satisfied
Loading Speed
Use of Color
Font Size
Visibility of Images
Easy to Understand Layout
×
Please rate each item regarding Game8.co's Message Boards, Comments.
Ease of Writing
Very Dissatisfied
Somewhat Dissatisfied
Fine
Somewhat Satisfied
Highly Satisfied
Readability
Ease in Finding Information
Comment Quality
Comment Quantity
Admin Response
×
Please rate each item regarding Game8.co's Site's new design.
Please rate our site's new design
Very Dissatisfied
Somewhat Dissatisfied
Fine
Somewhat Satisfied
Highly Satisfied
Do you think that the website's design change makes the site easier to use?
Has the new design made it easier for you to find information on the site?
Has the new design improved the overall visual appeal of the site?
How would you rate your overall satisfaction with the new design of the site?
×
How likely are you to recommend Game8 to someone you know?
Very Unlikely
0
1
2
3
4
5
6
7
8
9
10
Very Likely
If you have other opinions regarding potential improvement to the website, please share them with us. We would appreciate your honest opinion.
Note: This is a free response section, so you can proceed without entering anything.
Note: Please be sure not to enter any kind of personal information into your response.
Note: Please be sure not to enter any kind of personal information into your response.
×
Thank You
×
Thank you for participating in our survey! Your answers will help us to improve the quality of our website and services.
We hope you continue to make use of Game8.
We hope you continue to make use of Game8.
Close
Rankings
- We could not find the message board you were looking for.
Gaming News


![Everwind Review [Early Access] | The Shaky First Step to A Very Long Journey](https://img.game8.co/4440226/ab079b1153298a042633dd1ef51e878e.png/thumb)

![Monster Hunter Stories 3 Review [First Impressions] | Simply Rejuvenating](https://img.game8.co/4438641/2a31b7702bd70e78ec8efd24661dacda.jpeg/thumb)
Popular Games

Genshin Impact Walkthrough & Guides Wiki
Honkai: Star Rail Walkthrough & Guides Wiki
Umamusume: Pretty Derby Walkthrough & Guides Wiki
Pokemon Pokopia Walkthrough & Guides Wiki
Resident Evil Requiem (RE9) Walkthrough & Guides Wiki
Monster Hunter Wilds Walkthrough & Guides Wiki
Wuthering Waves Walkthrough & Guides Wiki
Arknights: Endfield Walkthrough & Guides Wiki
Pokemon FireRed and LeafGreen (FRLG) Walkthrough & Guides Wiki
Pokemon TCG Pocket (PTCGP) Strategies & Guides Wiki


Recommended Games
Diablo 4: Vessel of Hatred Walkthrough & Guides Wiki
Fire Emblem Heroes (FEH) Walkthrough & Guides Wiki
Yu-Gi-Oh! Master Duel Walkthrough & Guides Wiki
Super Smash Bros. Ultimate Walkthrough & Guides Wiki
Pokemon Brilliant Diamond and Shining Pearl (BDSP) Walkthrough & Guides Wiki
Elden Ring Shadow of the Erdtree Walkthrough & Guides Wiki
Monster Hunter World Walkthrough & Guides Wiki
The Legend of Zelda: Tears of the Kingdom Walkthrough & Guides Wiki
Persona 3 Reload Walkthrough & Guides Wiki
Cyberpunk 2077: Ultimate Edition Walkthrough & Guides Wiki


All rights reserved
©LEVEL5 Inc.
The copyrights of videos of games used in our content and other intellectual property rights belong to the provider of the game.
The contents we provide on this site were created personally by members of the Game8 editorial department.
We refuse the right to reuse or repost content taken without our permission such as data or images to other sites.