
This survey will take about 1 minute.
Your answers will help us to improve our website.
Doom: The Dark Ages
Ahzrak and Witch Boss Guide and How to Beat
☆ Doom: The Dark Ages is live now!
★ Collectibles | Secrets | Walkthrough
┗ Resources | Codex | Toy
★ Trophies | Beginner's Guide | Enemies
☆ Skins: Twitch Drops | Prince St. Pizza
★ FAQs: Co-op | DLC | Specs | Glory Kills
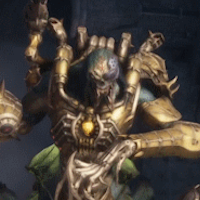
Ahzrak and Witch is a boss enemy in Doom: The Dark Ages. Learn how to beat Ahzrak and Witch, where to get the Ahrak and Witch Toy Collectibles, their moves, and the rewards for defeating them!
| More Ahzrak and Witch Guides | |
|---|---|
| Prince Ahzrak Voice Actors and Codex Location | The Witch Voice Actors and Codex Location |
Ahzrak and Witch Weakness
Ahzrak and Witch Overview
|
|
| Parryable | ✔️ Ahzrak's Melee Hits |
|---|---|
| Breakable Parts | None |
| Weakness | None |
| Best Weapons | Combat Shotgun, Impaler |
| Chapter | Chapter 22: Reckoning |
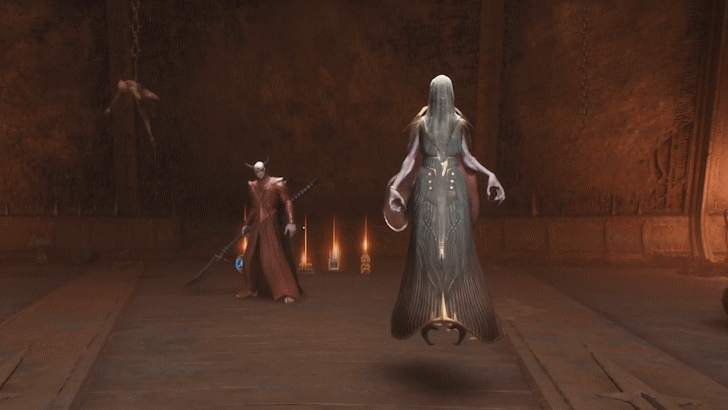
Ahzrak and the Witch serve as the final bosses of the game, and you'll face them together in a simultaneous encounter. While Ahzrak retains many of his mechanics from your previous battle, the Witch introduces a new challenge by periodically casting a barrier that makes either herself or Ahzrak immune to damage.
Focus your attacks on the unshielded target to gradually wear down their health. It’s recommended to use the BFC during the first phase of the fight, as it’s significantly more challenging than the latter half.
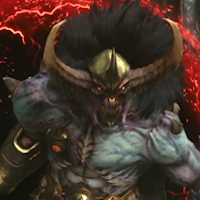
Ahzrak Codex Entry
|
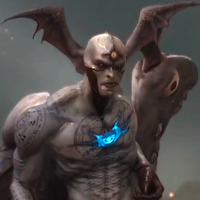
Born in the shadowed pits of Hell's blackest citadel, Ahzrak grew not in sinew but in dread knowledge gleaned from dark priests. While demon-kind cowered before the one known as the Doom Slayer the young prince stood before the Elder Council, his voice ringing with ambition.
By ancient blood-oath, the hordes became his to command. Now Ahzrak consorts with the Witch, a pale sorceress from realms beyond starlight, forging an unholy alliance between their realms. |
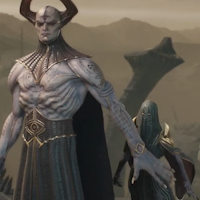
Witch Codex Entry
|
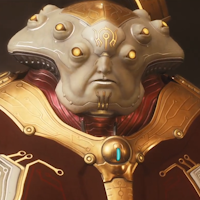
Born from the congealed madness of the Cosmic Realm, Ulsamir (known only as the Witch to the denizens of Hell) is a living conduit for the dark magic coursing through her alien dimension. Her current body is but a temporary vessel, fragile and fleeting, used to manifest her malicious spirit in the physical world. Though she and her cult of chaos worshippers have allied with Prince Ahzrak, Ulsamir's allegiance is tenuous.
Her ultimate loyalty remains with her own god, whose return she tirelessly seeks to ensure. She trades with the demon prince in ancient currencies of power - safe passage between realms for her dormant god in exchange for forbidden secrets buried in Argent D'Nur's hallowed depths. For her, this alliance is but a means to an end—a step toward fulfilling her higher, inscrutable purpose. |
How to Beat Ahzrak and Witch
| Ahzrak and Witch Combat Tips |
|---|
|
|
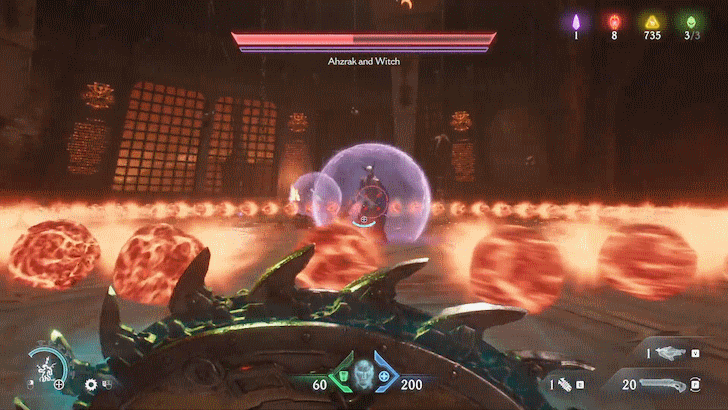
Use Shield Charge to Chase Down the Witch
The Witch alternates between shielding herself and Ahzrak with a protective barrier. When the barrier is placed on Ahzrak, shift your focus to the Witch. However, she is extremely agile and difficult to pin down. Use your Shield Charge to close the distance quickly and capitalize on the opportunity with close-range weapons.
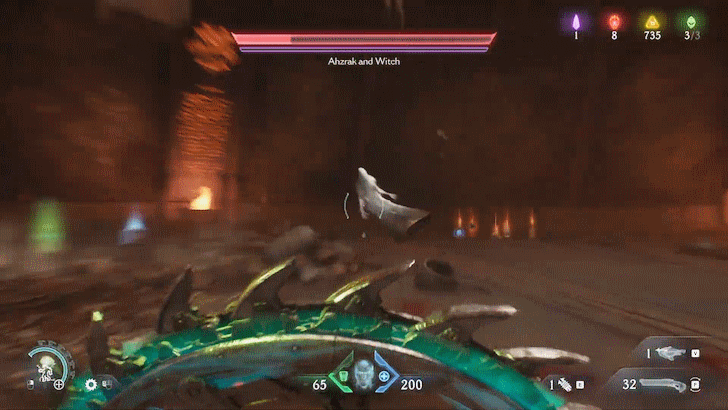
You Can Block or Even Jump Over Most Projectiles
Throughout the fight, you'll be bombarded with waves of projectiles. Most of them can be blocked to completely negate damage, though it will slightly deplete your shield’s durability.
Alternatively, many projectiles, especially in the bullet-hell phases, can be jumped over. Sprinting before jumping gives you more height and airtime, making it easier to clear incoming volleys.
Use Weapons That Can Dish Out Damage Between Parries
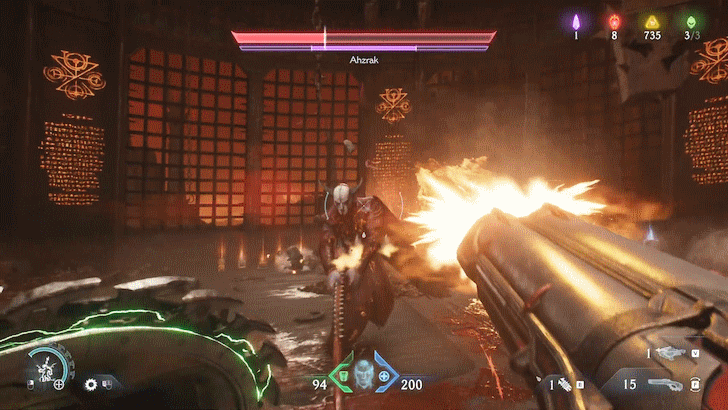
Like in your previous battle with Ahzrak, he will unleash rapid melee combos that are meant to be parried. Equip weapons that deal strong damage in short bursts, such as the Impaler or triple-shot Combat Shotgun, to punish him between successful parries.
Ahzrak and Witch Attack Patterns
| Attack Patterns by Enemy | |
|---|---|
| Ahzrak | Witch |
Ahzrak Attacks
| Moves | Details |
|---|---|
| Vertical Slash Combo 1 | hzrak performs two slow vertical slashes followed by a delayed third hit. Each strike is predictable and can be parried with proper timing, making this one of the safest combos to counter. |
| Quick Thrust Combo | A quick thrust opens the combo, followed by a slow slash and another quick thrust. The first and third attacks are hard to parry so play it safe by blocking and attempt to parry the second hit to be safe. |
| Energy Waves | Fires red energy waves that cannot be parried. Sprint to the side or away from the wave’s direction to avoid damage. |
| Fireball Phase | Moves to the center of the arena and unleashes a barrage of fireballs. Back away to give yourself more time to dodge, or block them if evasion proves difficult. |
| Plunging Attack | Leaps into the air and plunges his spear down, followed by a horizontal slash. This combo is fairly slow and ideal for parrying. |
| Vertical Slash Combo 2 | During the second phase, Ahzrak can follow up the slow vertical slash with a quick spear thrust. This quick follow-up can disrupt your parry rhythm, so be extra cautious during this move. |
| Spear Slam | Jumps and slams his spear into the ground, triggering a parryable shockwave. Two more aftershocks follow, which you parry or jump over. |
| Quick Slash Combo | A rapid one-two slash followed by a delayed third swing. This combo appears in Phase 2 and demands precise timing to parry effectively. |
Witch Attacks
| Moves | Details |
|---|---|
| Scattered Orbs | Releases several slow-moving projectiles in a spread pattern. They're easy to dodge at mid-to-long range, but if you're up close, it’s safer to block them. |
| Channeled Lightning Orbs | Channels lightning to spawn multiple orbs that spread across the arena. Stay near the arena’s edge to give yourself time and space to find safe openings. |
| Energy Blast | Teleports behind you then releases a powerful blast. As soon as you notice the Witch teleport behind you, run away to avoid getting caught in the explosion. |
| Tracking Projectile | Fires fast-moving projectiles that track your movement. These can be parried, so stay alert and be ready to counter. |
Enhanced Ahzrak Toy Location
Find the Ahzrak Toy in Chapter 22: Reckoning
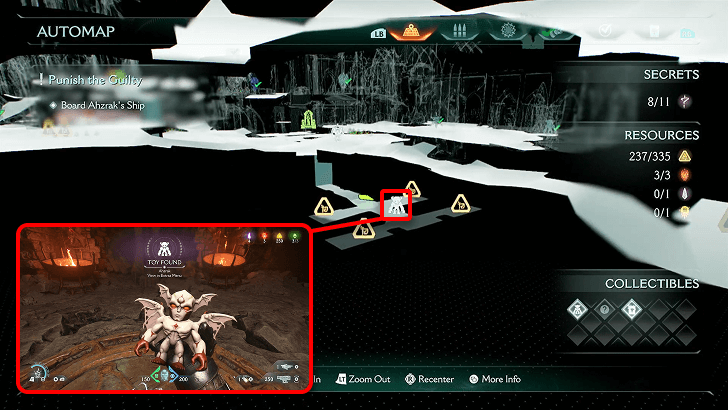
A locked room near the first Sentinel Shrine in Chapter 22: Reckoning hides another hidden room below where you can get the Ahzrak Toy Collectible. The Secret Key required to open this door can be obtained near the second Sentinel Shrine after exiting the Lower Keep area.
Find the Witch Toy in Chapter 8: Abyssal Forest
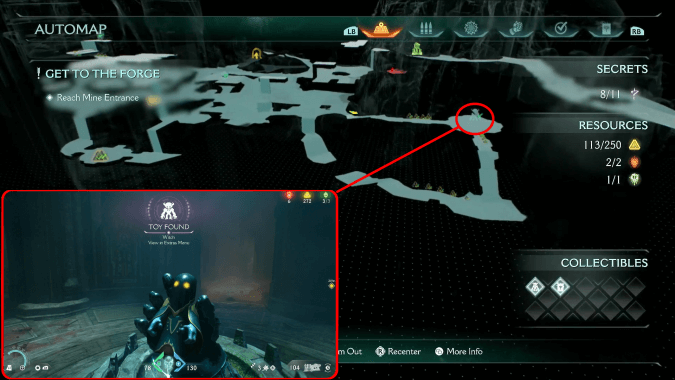
In the Chapter 8: Abyssal Forest section where you use the turret to clear out the debris and open up the path to the mines, there's a hidden cliff path that leads to a Secret Area filled flame traps. There's a short puzzle here where you need to use your Shield Throw to open the cage in the middle that contains the Witch Toy Collectible.
Ahzrak and Witch Rewards
No Rewards
There are no rewards for defeating the Ahzrak and Witch boss fight other than marking the end of the chapter and the game.
Ahzrak and Witch Location
Encountered at the End of Chapter 22: Reckoning
Enhanced Ahzrak is a boss encountered at the end of Chapter 22: Reckoning.
Chapter 22: Reckoning Secrets and Walkthrough
Doom: The Dark Ages Related Guides
Other Enemy Guides
| All Boss Enemies |
Boss Guides
 Agaddon Champion Agaddon Champion
|
 Ahzrak and Witch Ahzrak and Witch
|
 Enhanced Ahzrak Enhanced Ahzrak
|
 Komodo Champion Komodo Champion
|
 Kreed Maykr Kreed Maykr
|
 The Old One The Old One
|
 Vagary Champion Vagary Champion
|
Comment
Author
Ahzrak and Witch Boss Guide and How to Beat
Please participate in our site
improvement survey
03/2026
improvement survey
03/2026
Would you assist in
improving Game8's site?
improving Game8's site?

×
We are listening to our users' valuable opinions and discussing how to act on them.
The information collected through this survey will be used for the purpose of improving our services. In addition, the information will only be disclosed a part of a statistic in a format that will not allow identification of personal information.
Begin Survey
Not Now
×
Please rate each item regarding Game8.co's Advertisements.
Amount of Ads
Very Dissatisfied
Somewhat Dissatisfied
Fine
Somewhat Satisfied
Highly Satisfied
Placement of Ads
Timing of Ad Display
Ad Loading Speed
Safeness of Ads
Content of Ads
×
Please rate each item regarding Game8.co's Quality of Articles.
Amount of information
Very Dissatisfied
Somewhat Dissatisfied
Fine
Somewhat Satisfied
Highly Satisfied
Frequency of updates
Speed of new information
Accuracy of articles
Understandibility of articles
Readability of sentences
×
Please rate each item regarding Game8.co's Usability of the Site.
Ease of finding information
Very Dissatisfied
Somewhat Dissatisfied
Fine
Somewhat Satisfied
Highly Satisfied
Loading Speed
Use of Color
Font Size
Visibility of Images
Easy to Understand Layout
×
Please rate each item regarding Game8.co's Message Boards, Comments.
Ease of Writing
Very Dissatisfied
Somewhat Dissatisfied
Fine
Somewhat Satisfied
Highly Satisfied
Readability
Ease in Finding Information
Comment Quality
Comment Quantity
Admin Response
×
Please rate each item regarding Game8.co's Site's new design.
Please rate our site's new design
Very Dissatisfied
Somewhat Dissatisfied
Fine
Somewhat Satisfied
Highly Satisfied
Do you think that the website's design change makes the site easier to use?
Has the new design made it easier for you to find information on the site?
Has the new design improved the overall visual appeal of the site?
How would you rate your overall satisfaction with the new design of the site?
×
How likely are you to recommend Game8 to someone you know?
Very Unlikely
0
1
2
3
4
5
6
7
8
9
10
Very Likely
If you have other opinions regarding potential improvement to the website, please share them with us. We would appreciate your honest opinion.
Note: This is a free response section, so you can proceed without entering anything.
Note: Please be sure not to enter any kind of personal information into your response.
Note: Please be sure not to enter any kind of personal information into your response.
×
Thank You
×
Thank you for participating in our survey! Your answers will help us to improve the quality of our website and services.
We hope you continue to make use of Game8.
We hope you continue to make use of Game8.
Close
Rankings
- We could not find the message board you were looking for.
Gaming News


Popular Games

Genshin Impact Walkthrough & Guides Wiki
Honkai: Star Rail Walkthrough & Guides Wiki
Umamusume: Pretty Derby Walkthrough & Guides Wiki
Pokemon Pokopia Walkthrough & Guides Wiki
Resident Evil Requiem (RE9) Walkthrough & Guides Wiki
Monster Hunter Wilds Walkthrough & Guides Wiki
Wuthering Waves Walkthrough & Guides Wiki
Arknights: Endfield Walkthrough & Guides Wiki
Pokemon FireRed and LeafGreen (FRLG) Walkthrough & Guides Wiki
Pokemon TCG Pocket (PTCGP) Strategies & Guides Wiki


Recommended Games
Diablo 4: Vessel of Hatred Walkthrough & Guides Wiki
Fire Emblem Heroes (FEH) Walkthrough & Guides Wiki
Yu-Gi-Oh! Master Duel Walkthrough & Guides Wiki
Super Smash Bros. Ultimate Walkthrough & Guides Wiki
Pokemon Brilliant Diamond and Shining Pearl (BDSP) Walkthrough & Guides Wiki
Elden Ring Shadow of the Erdtree Walkthrough & Guides Wiki
Monster Hunter World Walkthrough & Guides Wiki
The Legend of Zelda: Tears of the Kingdom Walkthrough & Guides Wiki
Persona 3 Reload Walkthrough & Guides Wiki
Cyberpunk 2077: Ultimate Edition Walkthrough & Guides Wiki


All rights reserved
© 2025 ZeniMax Media Inc. All Rights Reserved.
The copyrights of videos of games used in our content and other intellectual property rights belong to the provider of the game.
The contents we provide on this site were created personally by members of the Game8 editorial department.
We refuse the right to reuse or repost content taken without our permission such as data or images to other sites.