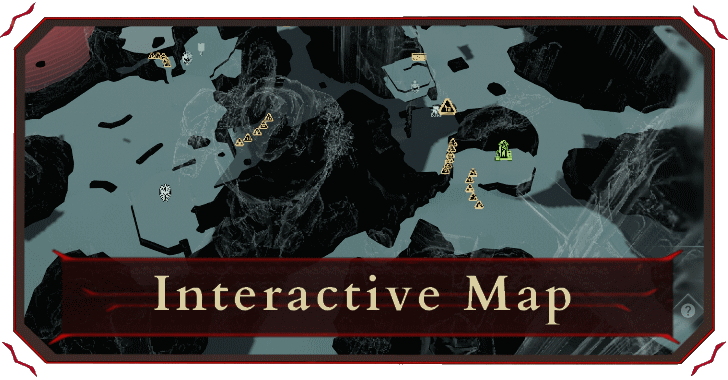
 Interactive Map
 List of Trophies
 List of Milestones
 Best Weapons Tier List
 How Long To Beat
 Best Upgrades to Get First
 List of All Mastery Challenges
 List of All Secrets
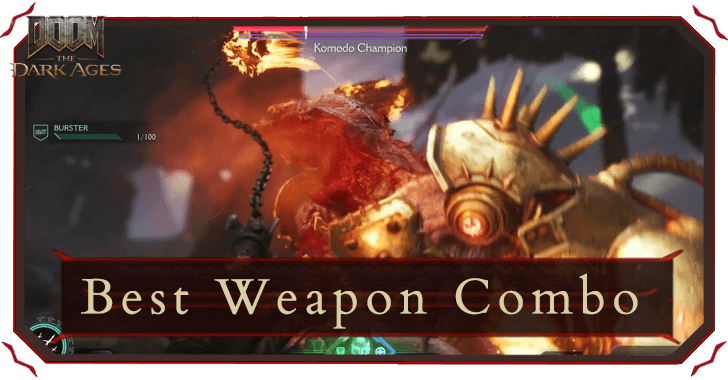 Best Weapon Combos
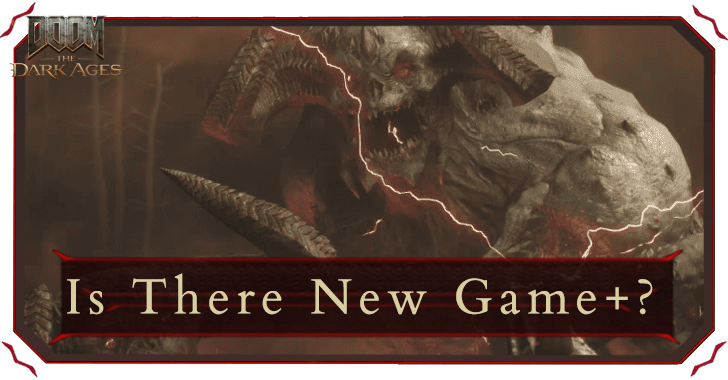 Is There New Game Plus?
 General Crashing Fixes
This survey will take about 1 minute.
Your answers will help us to improve our website.
Doom: The Dark Ages
Beginner's Guide: The Only 7 Combat Tips You'll Need for Doom: The Dark Ages
☆ Doom: The Dark Ages is live now!
★ Collectibles | Secrets | Walkthrough
┗ Resources | Codex | Toy
★ Trophies | Beginner's Guide | Enemies
☆ Skins: Twitch Drops | Prince St. Pizza
★ FAQs: Co-op | DLC | Specs | Glory Kills
Here's everything you need to know before you jump into the fray and lay waste to demonkind in Doom: The Dark Ages.
List of Contents
Combat Tips
1. Parrying is as Important as Shooting
2. The Shield is a Weapon Too
3. Right Gun for the Right Job
4. Invest in the Right Upgrades
5. Ease Up on the Killings
6. Melee Attacks Give You Health and Ammo
7. Always Check The Map
Parrying is Just as Important as Shooting
| Block/Parry | |
|---|---|
At first you'll get introduced to Parrying simple for gaining Melee Charges, but parrying is much more than that. When you get your first Shield upgrade, Retaliation, every time you parry successfully, you create shockwaves that damage nearby enemies.
| Parry > Melee Charge >Melee Strike > More Ammo |
You won't always find the ammo for the gun you're currently using. Parrying charges your Melee Strike, giving you a chance to get ammo for all your guns.
The Shield is a Weapon Too
| Shield Charge | Hold then |
|---|---|
Use your shield charge on enemies that are farther away. If they can be targeted, you can hit them with a shield charge no matter how far they are. This is also a good way covering a larger area for crowd-control.
| Shield Throw | |
|---|---|
If there's one thing we've all forgotten about shields, it's that shields are weapons too. More than just for blocking or parrying attacks, your Shield is a literal chainsaw-shield hybrid.
You'll need a few upgrades for this next one, but over the course of your campaign, your shield throw can cover a lot of ground as well. As an added bonus tip, if you Block right after throwing your shield, you can recover your shield much quicker!
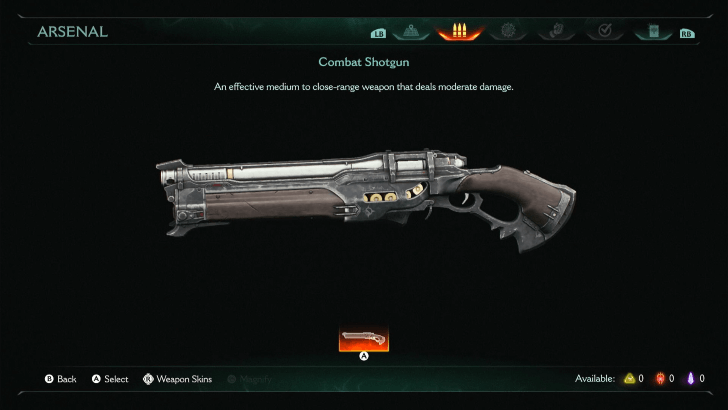
Use the Right Gun for the Right Job
| Swap Weapons | Press or Hold |
|---|---|
Most players will probably stick to one gun for their entire run and not bother with another weapon. especially if the first weapon still gets the job done albeit less efficiently.
We encourage you to swap guns against the right enemy. Energy-based rounds are better against Energy Shields. Guns with a high rate of fire like the Shredder, Pulverizer, and Ravager best for mopping down fodder demons with less ammo wasted. Bigger enemies might need the extra kick of a Super Shotgun, or even a Rocket Launcher. Bottomline is, swapping guns makes killings more efficient.
Invest in the Right Upgrades
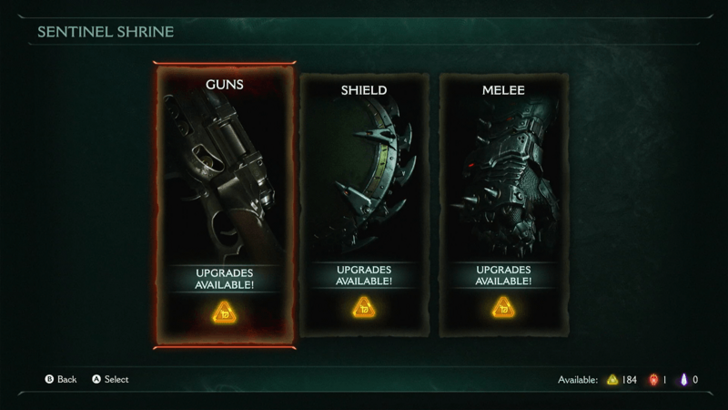
You'll get 16 weapons throughout the entire campaign, but let's be honest you probably won't use 80% of them. Invest in the right upgrades that cater to your playstyle.
Some upgrades inflict Burn making it easier to break shields and armor. Some upgrades inflict Shock, temporarily stunning enemies for crowd-control. Some upgrades even grant more health and shield pickups upon killing your enemy. Find what you like and invest in the right upgrades for you.
| How to Upgrade Weapons | Best Upgrades to Get First |
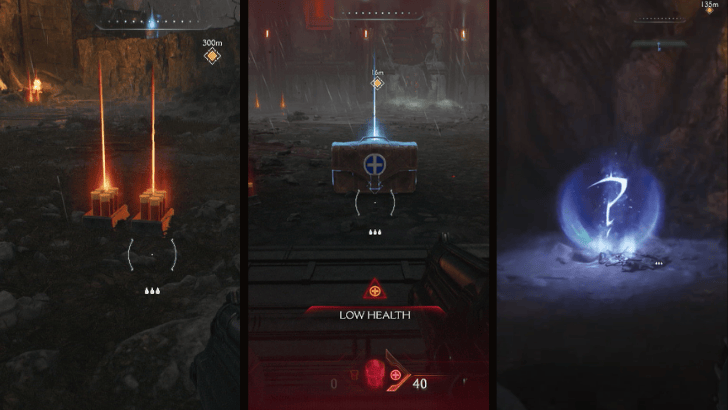
Ease Up on the Killing
| Melee Attacks | Press |
|---|---|
While it sounds easier to just kill every fodder demon before focusing on the larger tougher enemy, having weaker demons around can play to your advantage. When you're low on shield, health, or ammo, turn to a fodder demon and then Melee kill them to gain back the ammo you need, and even health or shield pickups provided you have the right upgrades equipped.
Melee Gives You Health and Ammo
Going for Melee strikes will always reward you with ammo, but going for Glory Strikes and Executions not only give off ammo, they also drop Health Pickups.
Glory Strikes have replaced Glory Kills from the older games, and these are also different from Executions that kill enemies in one strike. Dealing enough damage to enemies puts them into a Faltered state, where you can execute either depending on the type of enemy you're facing.
Regularly Open the Automap
| Open Automap |  / / |
|---|---|
There's no minimap in-game. You have a compass at the top of your screen that doesn't tell you which way is North, so you'll have to rely on your map to navigate your way through each area.
Secrets like collectible Demon Toys and Codex Lore pages, or even Resources like Rubies don't appear on your compass so its easy to miss them unless you check your map regularly.
Miscellaneous Tips
| Miscellaneous Tips |
|---|
|
|
Understand the HUD and Controls
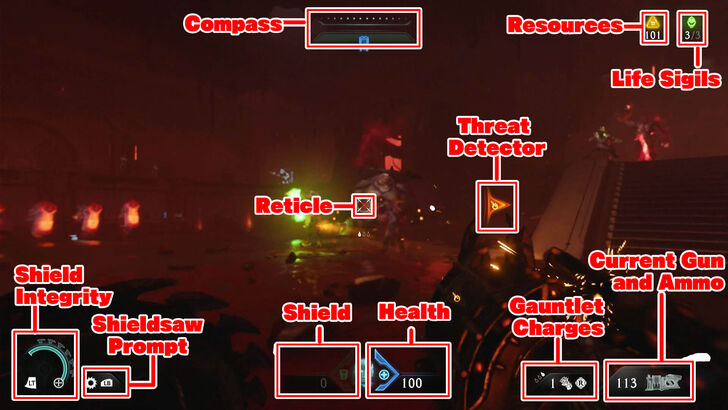
The Doom franchise has been around for the better half of the last 30 years, and has probably influenced the first-person shooter genre as we know it. But, just in case you needed a refresher on the HUD details, click below!
| HUD Element | Details |
|---|---|
| Compass | Shows the general direction of certain landmarks and objectives. |
| Life Sigil Counter | Shows how many Life Sigils you have available. |
| Threat Detector | Shows the general direction of attacks and enemies. This can be toggled off or set to show only parryable attacks. |
| Reticle | Main tool used when aiming weapons and attacks. |
| Shield Integrity | Represents how much damage your shield can withstand. Can be seen as your sheild's own HP bar. |
| Player Shield | Additional meter to show how much damage can be taken without affecting your health. |
| Player Health | Main meter showing your health. Once depleted, your character dies and will respawn depending on the set difficulty. |
| Power Gauntlet Charge | Shows how many times you can use melee attacks using the Power Gauntlet. |
| Current Gun and Ammo | Shows your currently equipped gun and how many shots are left. |
| Action | Button |
| Move | |
| Aim | |
| Attack/Shield Charge | |
| Block/Parry | |
| Melee/Strike | |
| Sprint | |
| Shield Throw | |
| Weapon Wheel Swap | |
| Jump | |
| Objective Ping | |
| Pause Menu | |
| Dossier | / |
Best Settings to Tweak
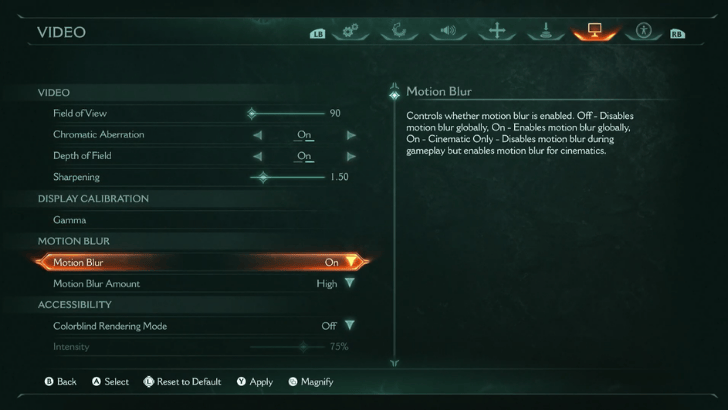
When starting the game for the first time, it would be best to adjust settings according to your preference. Some settings worth checking out include:
| Settings | Description |
|---|---|
| Motion Blur | Very useful for players prone to motion sickness. |
| Aim Sensitivity | Vital in any first person shooter, make sure to adjust this according to your preference. |
| Enhanced Targeting | Enable this to make hitting enemies easier. |
| Empowered Attacks | Makes it easier for your attacks to stagger enemies. |
| Colorblind Rendering Mode | Provides Colorblind Assistance. Available options include Protanopia, Deuteranopia, and Tritanopia. |
| Aim Assist | Want to test your skills? Turn this off to make aiming more challenging! |
| Depth of Field Motion Blur Environmental Screen Shake Camera Shake Amount |
Turn these off to enhance the clarity of your gameplay visuals, especially in hectic fights. |
Change Skins on the Dossier
 |
|
| Change Skins | |
|---|---|
Every gun will have at least 3 skins, some you pickup in the world, some you get as rewards for completing challenges. You can change Skins by opening the Dossier and switching to the Arsenal tab. You can also set your skins in the Extras tab before entering the Campaign in the main menu.
How to Unlock All Weapon Skins
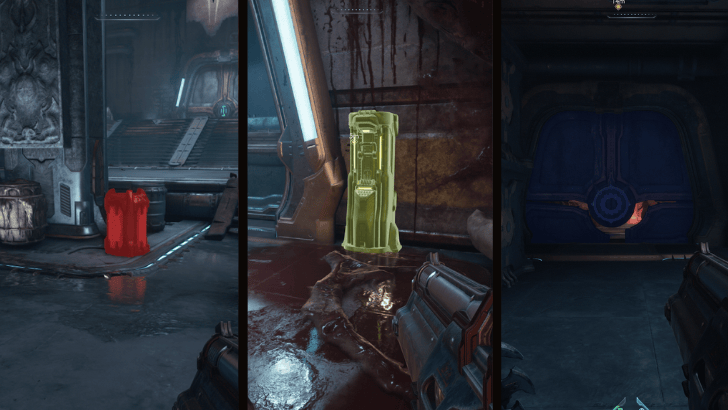
Know Your Pickups
For a more comfortable playing experience, it is important to know what the various pickups throughout levels do. You can pick up weapon-specific ammunition, health packs, shields, resources, and collectibles!
All Pickups Explained
Set Threat Detector to Parryable Only
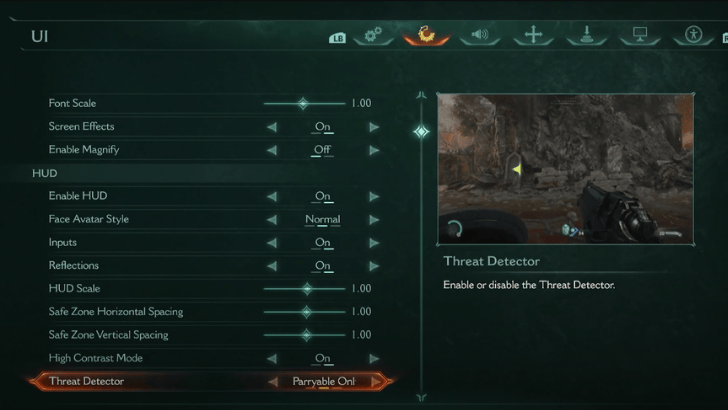
Turn your Threat Detector to Parryable Only to have a directional marker for any parryable attacks outside your field-of-view.
Use the World Desaturation Settings
Use the World Desaturation settings to highlight certain gameplay elements. This helps highlight objects that can lead to secrets like breakable walls and interactable valves/levers. This can also make explosive barrels easier to spot during fights.
It is recommended to have Hazard, Interactable, and Shield Breakable on with an A color setting from 10% - 50% and the rest disabled.
Utilize the Difficulty Sliders
If you're having trouble staying alive or beating enemies on your current difficulty level, there is no shame in sliding that “Damage to Enemies” slider all the way up to 1000%. The game offers customization of all difficulties to cater to players of all levels.
Skip Cutscenes to Save Time
| Melee | |
|---|---|
Some cutscenes get annoyingly repetitive especially if you're redoing chapters to get 100% on collectibles. Skip cutscenes by holding the designated button while the cutscene is playing.
How to Skip Cutscenes
Doom: The Dark Ages Related Guides
All Wiki Guides
| Doom: The Dark Ages Wiki Guides | |
|---|---|
 Latest News Latest News |
 Walkthrough Walkthrough |
 Enemies Enemies |
 Weapons Weapons |
 Skins Skins |
 Tips and Tricks Tips and Tricks |
 Characters Characters |
 Runes Runes |
 Resources Resources |
 Collectibles Collectibles |
 Locations Locations |
- |
All Recommended Guides
Mission-Related Puzzle Guides
 Secret Landing Spots Secret Landing Spots |
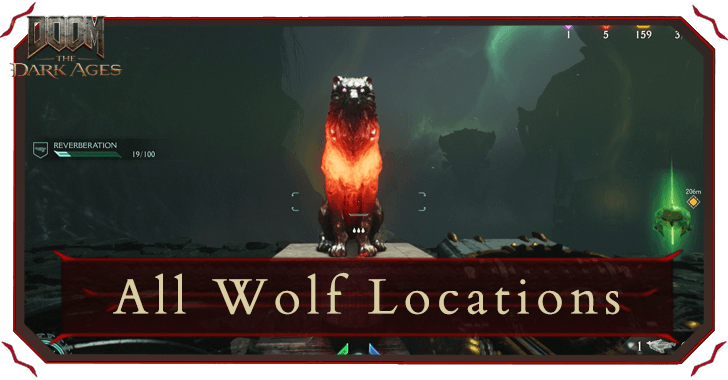 Wolf Statue Puzzles Wolf Statue Puzzles |
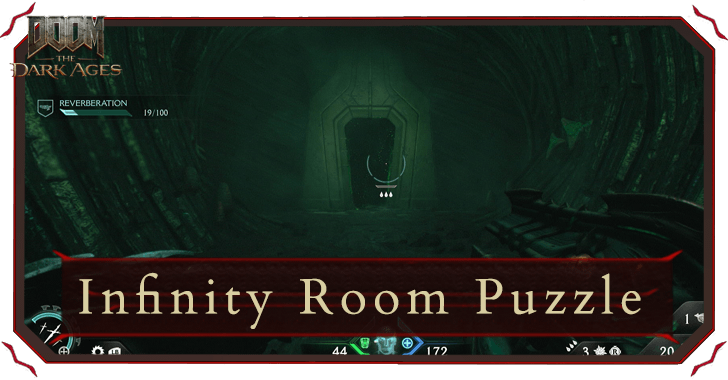 Infinite Room Puzzle Infinite Room Puzzle |
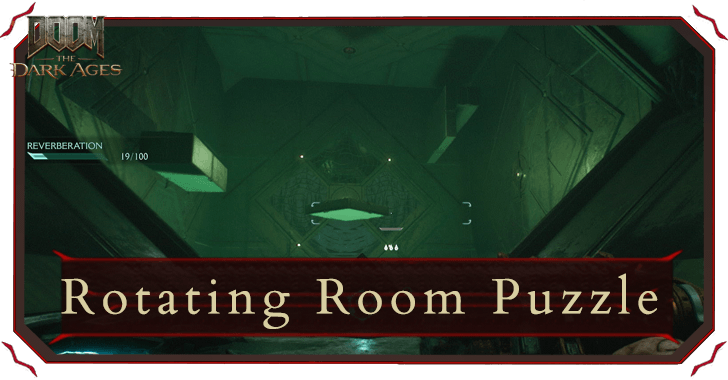 Rotating Room Puzzle Rotating Room Puzzle |
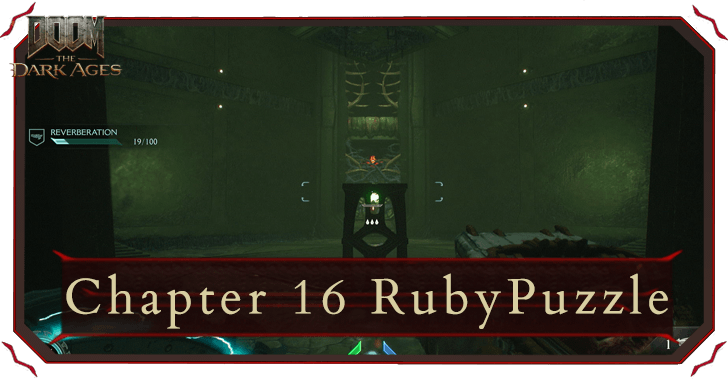 Chapter 16 Ruby Puzzle Chapter 16 Ruby Puzzle |
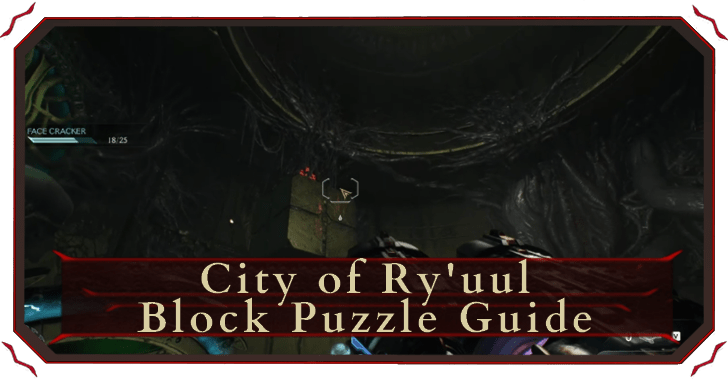 City of Ry'uul Block Puzzle City of Ry'uul Block Puzzle |
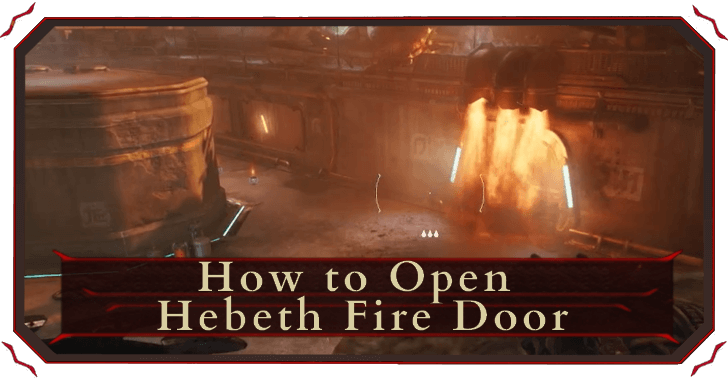 Hebeth Fire Door Hebeth Fire Door |
- |
Comment
Author
Beginner's Guide: The Only 7 Combat Tips You'll Need for Doom: The Dark Ages
Please participate in our site
improvement survey
03/2026
improvement survey
03/2026
Would you assist in
improving Game8's site?
improving Game8's site?

×
We are listening to our users' valuable opinions and discussing how to act on them.
The information collected through this survey will be used for the purpose of improving our services. In addition, the information will only be disclosed a part of a statistic in a format that will not allow identification of personal information.
Begin Survey
Not Now
×
Please rate each item regarding Game8.co's Advertisements.
Amount of Ads
Very Dissatisfied
Somewhat Dissatisfied
Fine
Somewhat Satisfied
Highly Satisfied
Placement of Ads
Timing of Ad Display
Ad Loading Speed
Safeness of Ads
Content of Ads
×
Please rate each item regarding Game8.co's Quality of Articles.
Amount of information
Very Dissatisfied
Somewhat Dissatisfied
Fine
Somewhat Satisfied
Highly Satisfied
Frequency of updates
Speed of new information
Accuracy of articles
Understandibility of articles
Readability of sentences
×
Please rate each item regarding Game8.co's Usability of the Site.
Ease of finding information
Very Dissatisfied
Somewhat Dissatisfied
Fine
Somewhat Satisfied
Highly Satisfied
Loading Speed
Use of Color
Font Size
Visibility of Images
Easy to Understand Layout
×
Please rate each item regarding Game8.co's Message Boards, Comments.
Ease of Writing
Very Dissatisfied
Somewhat Dissatisfied
Fine
Somewhat Satisfied
Highly Satisfied
Readability
Ease in Finding Information
Comment Quality
Comment Quantity
Admin Response
×
Please rate each item regarding Game8.co's Site's new design.
Please rate our site's new design
Very Dissatisfied
Somewhat Dissatisfied
Fine
Somewhat Satisfied
Highly Satisfied
Do you think that the website's design change makes the site easier to use?
Has the new design made it easier for you to find information on the site?
Has the new design improved the overall visual appeal of the site?
How would you rate your overall satisfaction with the new design of the site?
×
How likely are you to recommend Game8 to someone you know?
Very Unlikely
0
1
2
3
4
5
6
7
8
9
10
Very Likely
If you have other opinions regarding potential improvement to the website, please share them with us. We would appreciate your honest opinion.
Note: This is a free response section, so you can proceed without entering anything.
Note: Please be sure not to enter any kind of personal information into your response.
Note: Please be sure not to enter any kind of personal information into your response.
×
Thank You
×
Thank you for participating in our survey! Your answers will help us to improve the quality of our website and services.
We hope you continue to make use of Game8.
We hope you continue to make use of Game8.
Close
Rankings
- We could not find the message board you were looking for.
Gaming News


![Everwind Review [Early Access] | The Shaky First Step to A Very Long Journey](https://img.game8.co/4440226/ab079b1153298a042633dd1ef51e878e.png/thumb)

![Monster Hunter Stories 3 Review [First Impressions] | Simply Rejuvenating](https://img.game8.co/4438641/2a31b7702bd70e78ec8efd24661dacda.jpeg/thumb)
Popular Games

Genshin Impact Walkthrough & Guides Wiki
Honkai: Star Rail Walkthrough & Guides Wiki
Umamusume: Pretty Derby Walkthrough & Guides Wiki
Pokemon Pokopia Walkthrough & Guides Wiki
Resident Evil Requiem (RE9) Walkthrough & Guides Wiki
Monster Hunter Wilds Walkthrough & Guides Wiki
Wuthering Waves Walkthrough & Guides Wiki
Arknights: Endfield Walkthrough & Guides Wiki
Pokemon FireRed and LeafGreen (FRLG) Walkthrough & Guides Wiki
Pokemon TCG Pocket (PTCGP) Strategies & Guides Wiki


Recommended Games
Diablo 4: Vessel of Hatred Walkthrough & Guides Wiki
Fire Emblem Heroes (FEH) Walkthrough & Guides Wiki
Yu-Gi-Oh! Master Duel Walkthrough & Guides Wiki
Super Smash Bros. Ultimate Walkthrough & Guides Wiki
Pokemon Brilliant Diamond and Shining Pearl (BDSP) Walkthrough & Guides Wiki
Elden Ring Shadow of the Erdtree Walkthrough & Guides Wiki
Monster Hunter World Walkthrough & Guides Wiki
The Legend of Zelda: Tears of the Kingdom Walkthrough & Guides Wiki
Persona 3 Reload Walkthrough & Guides Wiki
Cyberpunk 2077: Ultimate Edition Walkthrough & Guides Wiki


All rights reserved
© 2025 ZeniMax Media Inc. All Rights Reserved.
The copyrights of videos of games used in our content and other intellectual property rights belong to the provider of the game.
The contents we provide on this site were created personally by members of the Game8 editorial department.
We refuse the right to reuse or repost content taken without our permission such as data or images to other sites.