 Interactive Map
 List of Trophies
 List of Milestones
 Best Weapons Tier List
 How Long To Beat
 Best Upgrades to Get First
 List of All Mastery Challenges
 List of All Secrets
 Is There New Game Plus?
 General Crashing Fixes
This survey will take about 1 minute.
Your answers will help us to improve our website.
Doom: The Dark Ages
Best Weapon Combos
☆ Doom: The Dark Ages is live now!
★ Collectibles | Secrets | Walkthrough
┗ Resources | Codex | Toy
★ Trophies | Beginner's Guide | Enemies
☆ Skins: Twitch Drops | Prince St. Pizza
★ FAQs: Co-op | DLC | Specs | Glory Kills
Weapon combinations in Doom: The Dark Ages allows you to customize combat to your advantage. See the best weapon combinations for different gameplay scenarios here!
Best Weapon Combos
Overall Best Combo
| Shredder > Shotgun > Shield Throw > Flail |
This combo, along with the upgrades mentioned, also allows you the best chances of survivability by collecting as many Shield pickups as you unload your ammo, then ending with the Flail to regain ammo for another cycle.
Recommended Upgrades
| Weapon | Recommended Upgrade |
|---|---|
| Combat Shotgun |
Smelt Smelt Demons affected by Burn applied by the Combat Shotgun drop more armor pickups.
Flare-Up Flare-Up The Combat Shotgun instantly applies Burn to fodder demons.
|
| Shredder |
Ricochet Ricochet Shredder projectiles that hit a demon affected by the Shield Saw strike one additional demon.
No Frills No Frills The Shredder's rate of fire is increased.
|
| Flail |
Ignite Ignite Demons hit by the Flail are scorched and drop armor.
Resonant Resonant Flail strikes deal additional damage to metal shields and armor. These strikes will also generate armor shards.
Engulf Engulf Every Flail strike also scorches nearby demons and causes them to drop armor.
|
| Sawshield (Ground Fissure) |
Aftershock Aftershock The distance Ground Fissure travels is increased.
Wavefront Wavefront Demons hit by the Ground Fissure are scorched and drop armor.
|
All you need is a good close- and long-range weapon to cover for pretty much the majority of all the levels you'll face in Doom: The Dark Ages. The Combat Shotgun will take care of enemies upfront, and the Shredder will take care of fodder enemies from a distance.
Shield Breaker Combo
| Shotgun / Cycler > Flail > Shield Throw |
The Combat Shotgun with the Smelt, Blast, and Tune-Up upgrades will make it easier to heat up metal shields. This also goes well with the Flail upgrades like Ignite and Resonant, that does more damage to metals and shields.
The Cycler is better suited for overloading energy shields. With the Fulmination upgrade, you have better chances of overloading multiple energy shields at once when focusing on a singular shield.
Recommended Upgrades
| Weapon | Recommended Upgrade |
|---|---|
| Combat Shotgun |
Smelt Smelt Demons affected by Burn applied by the Combat Shotgun drop more armor pickups.
Blast Blast Burn applied by the Combat Shotgun causes demons to explode on death.
- |
| Cycler |
Shock Shock Dealing enough damage to a demon with Cycler applies Shock. Shocked demons take increased damage from your attacks. Killing a Shocked demon with the Cycler arcs lightning to nearby demons.
Amplify Amplify The Cycler deals increased damage to Shocked Demons.
Fulmination Fulmination The durating of Shock applied by the Cycler is increased. Additionally, killing a Shocked demon with the Cycler generates more lightning arcs.
|
| Flail |
Ignite Ignite Demons hit by the Flail are scorched and drop armor.
Resonant Resonant Flail strikes deal additional damage to metal shields and armor. These strikes will also generate armor shards.
|
In some levels you will be faced with lots of enemies that will have either metal or energy shields. Cycle between the two weapons when up against shielded enemies. You can also use your Shield Throw to save up on ammo once you've damaged enemy shield's down to a certain threshold.
Crowd Control
| Shredder / Pulverizer > Shield Parry > Dreadmace |
The Shredder's Ricochet upgrade lets you meal damage to enemies near your primary target while No Frills increases the rate of fire. The Pulverizer's upgrades primarily focuses on increasing and prolonging Charges based on the damage dealt and enemy size.
The Dreadmace's singular attack and long recharge time is a last ditch effort only when enemies start to close in. The Reaper and Obliterator upgrades are meant to turn the tide in those situations.
Lastly, the Health Extractor upgrade for the Auto Turret Rune, is meant to give support fire so you can manage your ammunition more efficiently.
Recommended Upgrades
| Weapon | Recommended Upgrade |
|---|---|
| Shredder |
Ricochet Ricochet Shredder projectiles that hit a demon affected by the Shield Saw strike one additional demon.
No Frills No Frills The Shredder's rate of fire is increased.
|
| Pulverizer |
Runic Skull Runic Skull Killing a demon with the Pulverizer or Melee builds Charge based on the size of the demon. Your movement speed and the Pulverizer's rate of fire is increased at maximum Charge.
Runic Strike Runic Strike Melee strikes now build and maintain Charge.
Flay Flay The Pulverizer fires an increased number of projectiles per shot over a wider area.
|
| Dreadmace |
Reaper Reaper Demons killed with the Dreadmace drop additional health.
Obliterator Obliterator Dreadmace strikes deal increased damage to nearby demons.
|
| Sawshield (Auto Turret) |
Extended Magazine Extended Magazine The duration of the Auto Turret is increased
Health Extractor Health Extractor Demons damaged by the Auto Turret drop health.
|
Some mission will have large open areas where multiple hordes will try to overpower you by coming from all directions with both melee and ranged attacks. You best chances of survival is to not let enemie get close to you, and instead start picking them off while they're at a reasonable distance.
Doom: The Dark Ages Related Guides
All Wiki Guides
| Doom: The Dark Ages Wiki Guides | |
|---|---|
 Latest News Latest News |
 Walkthrough Walkthrough |
 Enemies Enemies |
 Weapons Weapons |
 Skins Skins |
 Tips and Tricks Tips and Tricks |
 Characters Characters |
 Runes Runes |
 Resources Resources |
 Collectibles Collectibles |
 Locations Locations |
- |
All Recommended Guides
Mission-Related Puzzle Guides
 Secret Landing Spots Secret Landing Spots |
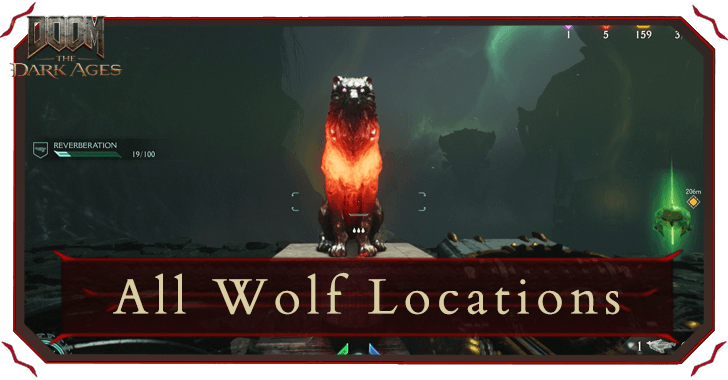 Wolf Statue Puzzles Wolf Statue Puzzles |
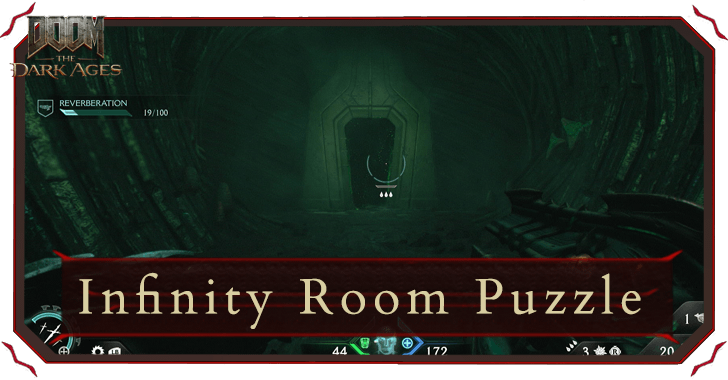 Infinite Room Puzzle Infinite Room Puzzle |
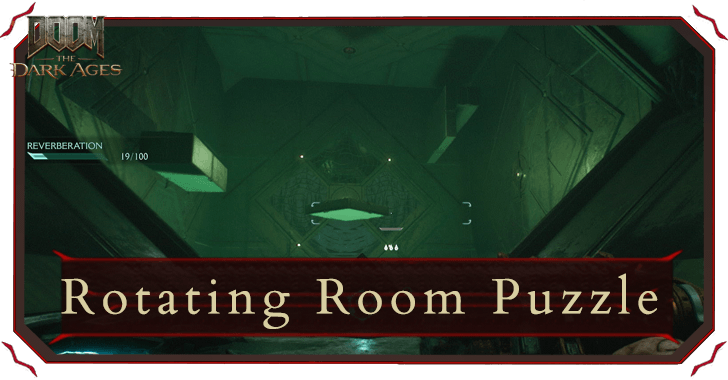 Rotating Room Puzzle Rotating Room Puzzle |
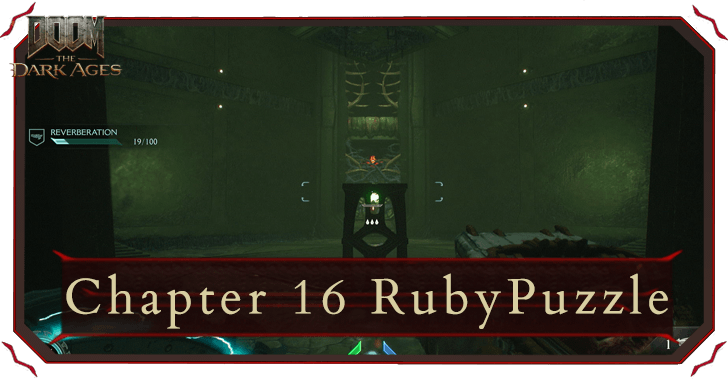 Chapter 16 Ruby Puzzle Chapter 16 Ruby Puzzle |
 City of Ry'uul Block Puzzle City of Ry'uul Block Puzzle |
 Hebeth Fire Door Hebeth Fire Door |
- |
Comment
Author
Best Weapon Combos
Please participate in our site
improvement survey
03/2026
improvement survey
03/2026
Would you assist in
improving Game8's site?
improving Game8's site?

×
We are listening to our users' valuable opinions and discussing how to act on them.
The information collected through this survey will be used for the purpose of improving our services. In addition, the information will only be disclosed a part of a statistic in a format that will not allow identification of personal information.
Begin Survey
Not Now
×
Please rate each item regarding Game8.co's Advertisements.
Amount of Ads
Very Dissatisfied
Somewhat Dissatisfied
Fine
Somewhat Satisfied
Highly Satisfied
Placement of Ads
Timing of Ad Display
Ad Loading Speed
Safeness of Ads
Content of Ads
×
Please rate each item regarding Game8.co's Quality of Articles.
Amount of information
Very Dissatisfied
Somewhat Dissatisfied
Fine
Somewhat Satisfied
Highly Satisfied
Frequency of updates
Speed of new information
Accuracy of articles
Understandibility of articles
Readability of sentences
×
Please rate each item regarding Game8.co's Usability of the Site.
Ease of finding information
Very Dissatisfied
Somewhat Dissatisfied
Fine
Somewhat Satisfied
Highly Satisfied
Loading Speed
Use of Color
Font Size
Visibility of Images
Easy to Understand Layout
×
Please rate each item regarding Game8.co's Message Boards, Comments.
Ease of Writing
Very Dissatisfied
Somewhat Dissatisfied
Fine
Somewhat Satisfied
Highly Satisfied
Readability
Ease in Finding Information
Comment Quality
Comment Quantity
Admin Response
×
Please rate each item regarding Game8.co's Site's new design.
Please rate our site's new design
Very Dissatisfied
Somewhat Dissatisfied
Fine
Somewhat Satisfied
Highly Satisfied
Do you think that the website's design change makes the site easier to use?
Has the new design made it easier for you to find information on the site?
Has the new design improved the overall visual appeal of the site?
How would you rate your overall satisfaction with the new design of the site?
×
How likely are you to recommend Game8 to someone you know?
Very Unlikely
0
1
2
3
4
5
6
7
8
9
10
Very Likely
If you have other opinions regarding potential improvement to the website, please share them with us. We would appreciate your honest opinion.
Note: This is a free response section, so you can proceed without entering anything.
Note: Please be sure not to enter any kind of personal information into your response.
Note: Please be sure not to enter any kind of personal information into your response.
×
Thank You
×
Thank you for participating in our survey! Your answers will help us to improve the quality of our website and services.
We hope you continue to make use of Game8.
We hope you continue to make use of Game8.
Close
Rankings
- We could not find the message board you were looking for.
Gaming News


![Monster Hunter Stories 3 Review [First Impressions] | Simply Rejuvenating](https://img.game8.co/4438641/2a31b7702bd70e78ec8efd24661dacda.jpeg/thumb)
Popular Games

Genshin Impact Walkthrough & Guides Wiki
Honkai: Star Rail Walkthrough & Guides Wiki
Umamusume: Pretty Derby Walkthrough & Guides Wiki
Pokemon Pokopia Walkthrough & Guides Wiki
Resident Evil Requiem (RE9) Walkthrough & Guides Wiki
Monster Hunter Wilds Walkthrough & Guides Wiki
Wuthering Waves Walkthrough & Guides Wiki
Arknights: Endfield Walkthrough & Guides Wiki
Pokemon FireRed and LeafGreen (FRLG) Walkthrough & Guides Wiki
Pokemon TCG Pocket (PTCGP) Strategies & Guides Wiki


Recommended Games
Diablo 4: Vessel of Hatred Walkthrough & Guides Wiki
Fire Emblem Heroes (FEH) Walkthrough & Guides Wiki
Yu-Gi-Oh! Master Duel Walkthrough & Guides Wiki
Super Smash Bros. Ultimate Walkthrough & Guides Wiki
Pokemon Brilliant Diamond and Shining Pearl (BDSP) Walkthrough & Guides Wiki
Elden Ring Shadow of the Erdtree Walkthrough & Guides Wiki
Monster Hunter World Walkthrough & Guides Wiki
The Legend of Zelda: Tears of the Kingdom Walkthrough & Guides Wiki
Persona 3 Reload Walkthrough & Guides Wiki
Cyberpunk 2077: Ultimate Edition Walkthrough & Guides Wiki


All rights reserved
© 2025 ZeniMax Media Inc. All Rights Reserved.
The copyrights of videos of games used in our content and other intellectual property rights belong to the provider of the game.
The contents we provide on this site were created personally by members of the Game8 editorial department.
We refuse the right to reuse or repost content taken without our permission such as data or images to other sites.