This survey will take about 1 minute.
Your answers will help us to improve our website.
Doom: The Dark Ages
Chapter 5: Holy City of Aratum Secrets and Walkthrough
☆ Doom: The Dark Ages is live now!
★ Collectibles | Secrets | Walkthrough
┗ Resources | Codex | Toy
★ Trophies | Beginner's Guide | Enemies
☆ Skins: Twitch Drops | Prince St. Pizza
★ FAQs: Co-op | DLC | Specs | Glory Kills
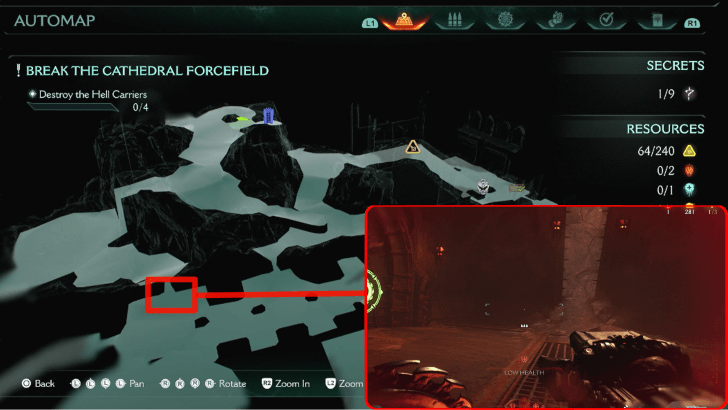
Chapter 5: Holy City of Aratum in Doom: the Dark Ages contains 9 secrets and 4 collectibles. Learn how to get all the secrets, gold, and collectibles, as well as how to complete the Mission Challenges in this Chapter 5 walkthrough guide.
| ◄ Previous Chapter | Next Chapter ▶ |
|---|---|
| Sentinel Barracks | Siege - Part 1 |
Holy City of Aratum Walkthrough
| Main Objectives | |
|---|---|
| 1 | Fly Through the Dragon’s Den |
| 2 | Destroy the Hell Carriers
Secrets: Gold Cache 1 - Secret #1 Gold Cache 2 - Secret #2 The Holy City of Aratum Codex - Secret #3 Ruby 1 - Secret #4 Gold Trail 3 - Secret #5 Gold Chest 2 - Secret #6 Gold Chest 3 - Secret #7 Gold Trail 5 - Secret #8 Ruby 2 - Secret #9 |
| 3 | Clear the Heart Chamber |
1. Fly Through the Dragon’s Den
| 1 |  This objective serves as a tutorial for flying your dragon, Serrat. Follow the objective marker and follow the prompts for movement and attacks. |
|---|---|
| 2 |  Once you land, enter the room ahead and break the lock on your left. Once the gate is open, get back on Serrat. |
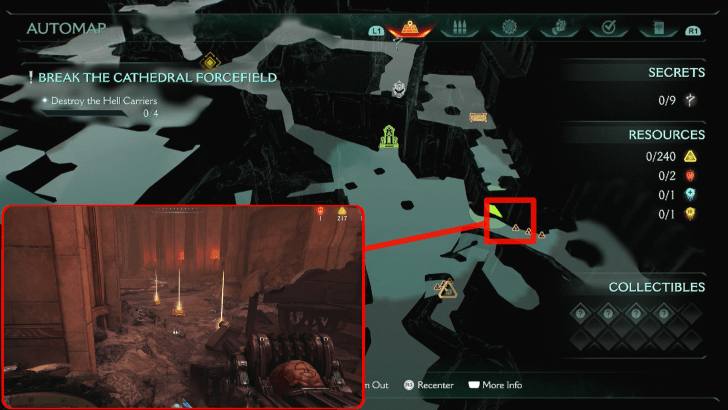
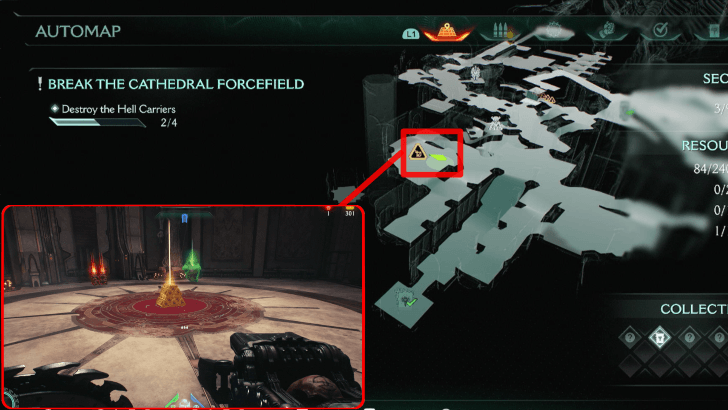
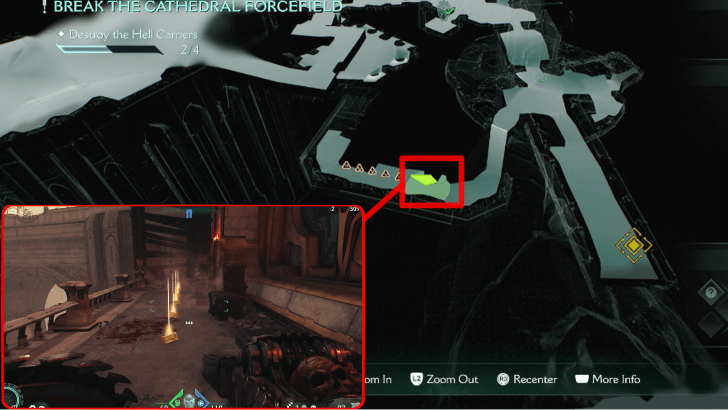
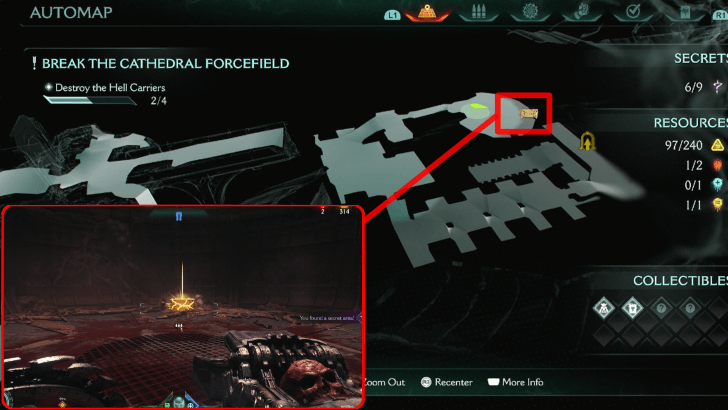
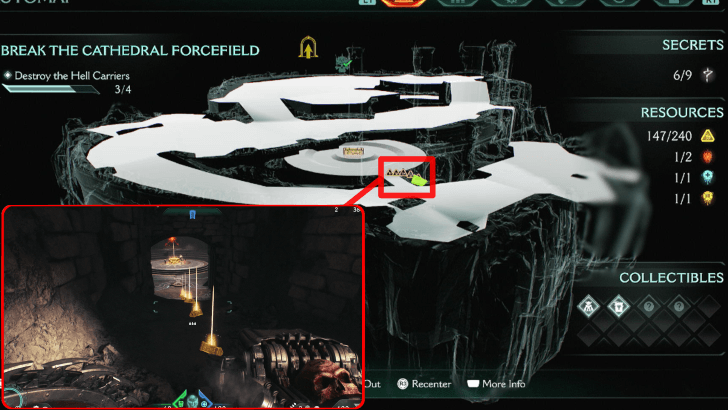
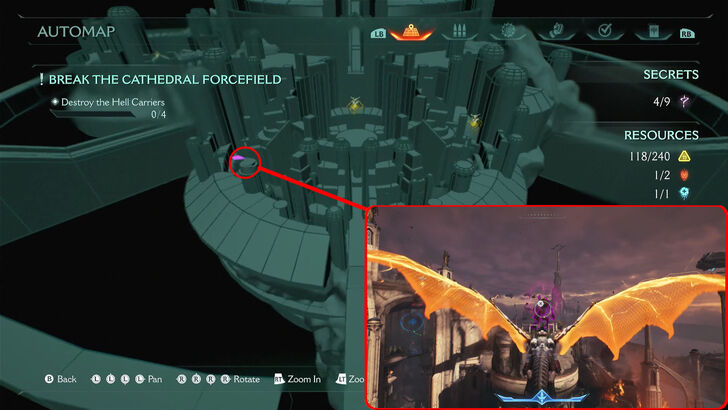
2. Destroy 4 Hell Carriers
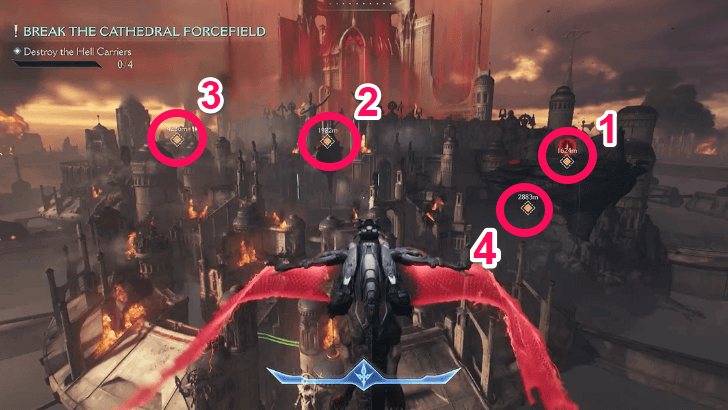
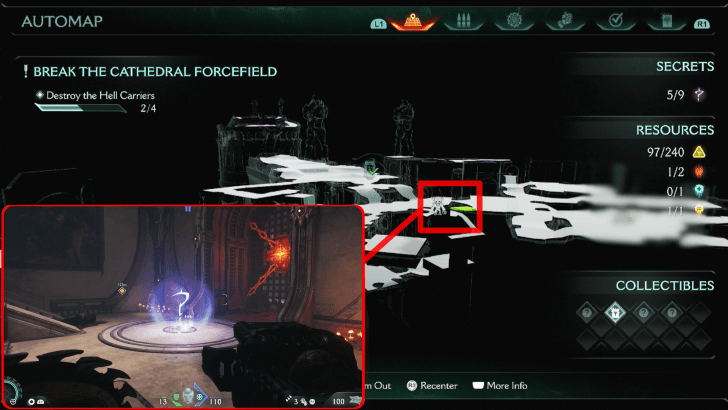
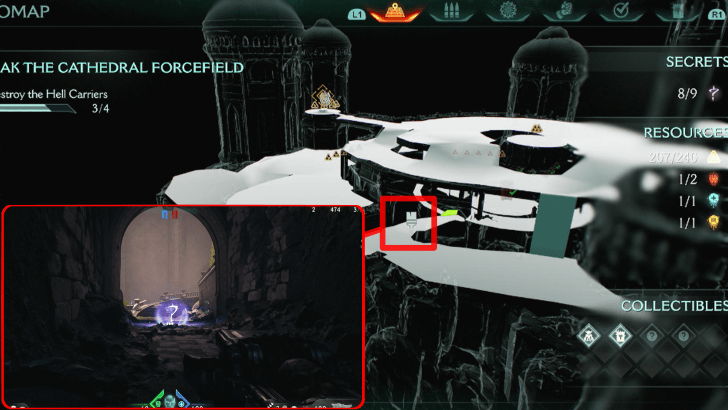
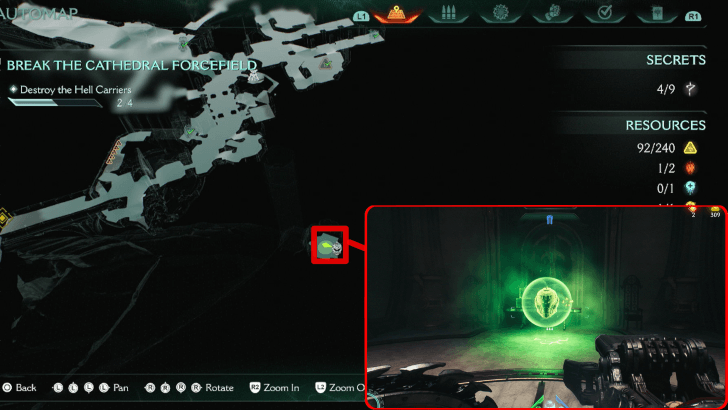
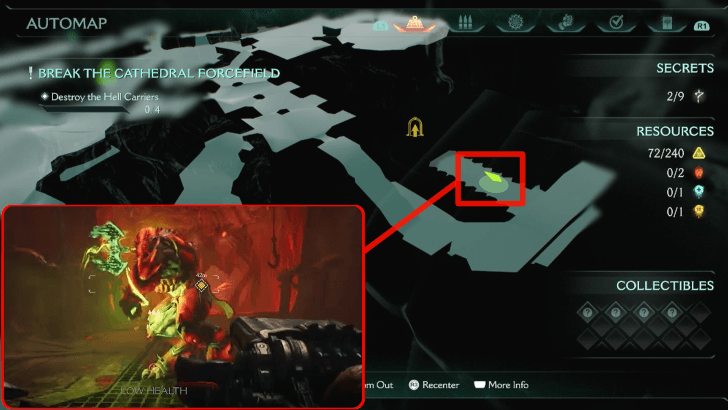
In the second objective, there are 4 Hell Carriers you must destroy. Each Hell Carrier has their own set of collectibles and secrets to unlock. Refer to the image above to check if you are missing anything from a specific area!
Hell Carrier 1
| 1 | 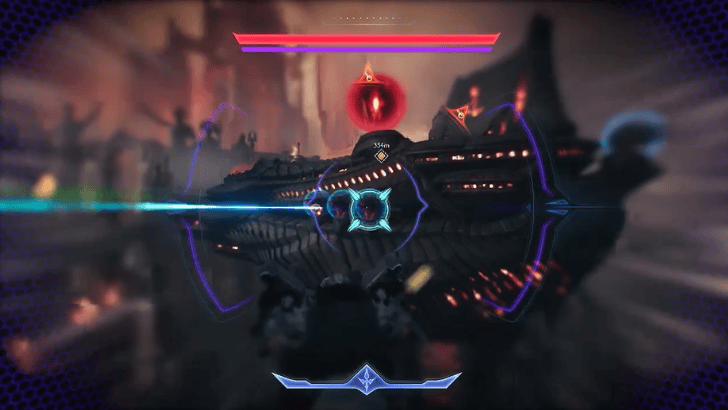 Break all of the Hell Carrier's turrets and core by dodging projectiles. After the core is gone, land on the Hell Carrier. |
|---|---|
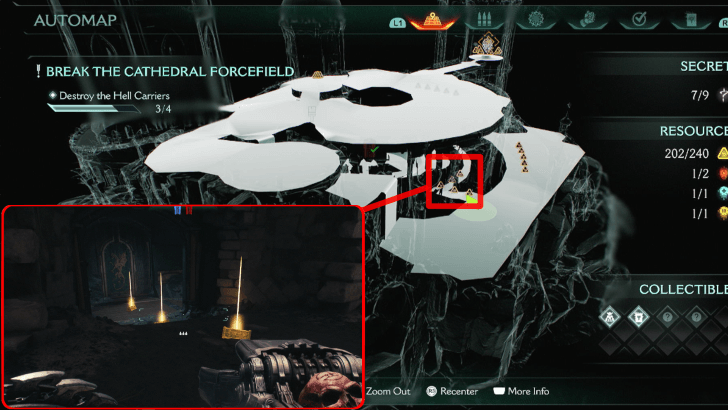
| 2 | 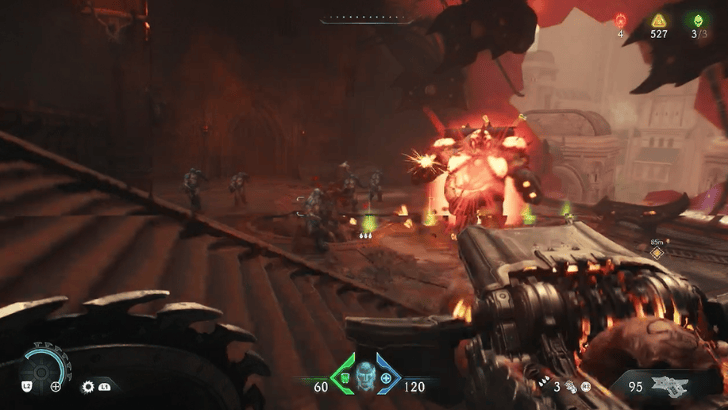 After landing, proceed down the stairs and defeat all nearby demons. Jump out the big red window and land into the courtyard. Collectibles: Gold Trail 1, Gold Trail 2, Gold Cache 1, Gold Chest 1 |
| 3 | 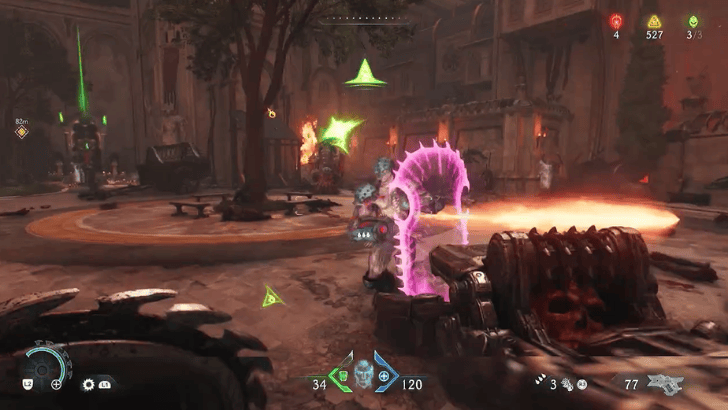 Follow the Objective Marker and jump into the area with the Sentinel Shrine. Defeat all enemies within the area. |
| 4 | 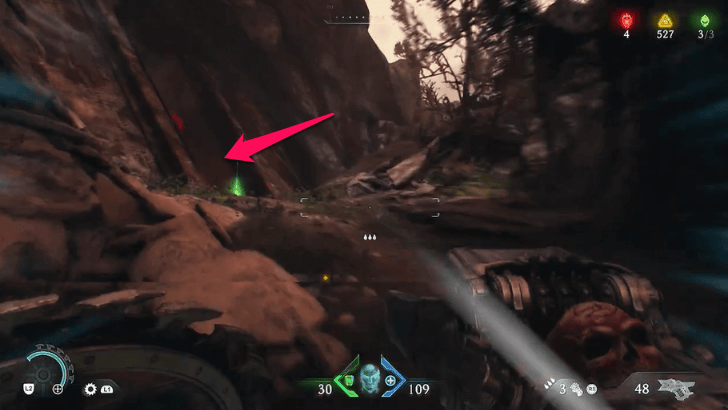 Follow the Objective Marker and enter this structure. Shield Charge through the door once all enemies have been defeated. Collectibles: Blue Keycard, Gold Cache 2, Life Sigil 1, Demonic Essence |
| 5 | 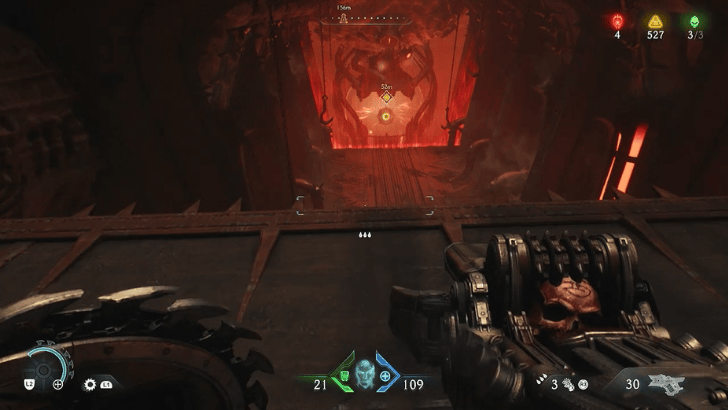 Keep following the Objective Marker down the area. Once you defeat the boss at the bottom, Shield Charge the core to destroy this Hell Carrier. |
Hell Carrier 2
| 1 |  Break all of the Hell Carrier's turrets and core by dodging projectiles. After the core is gone, land on the Hell Carrier. |
|---|---|
| 2 | 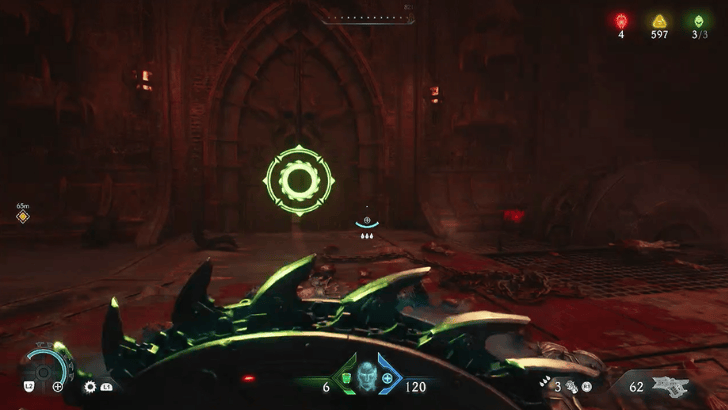 After landing, proceed down the stairs and defeat all nearby demons. Shield Charge through the breakable door after. |
| 3 | 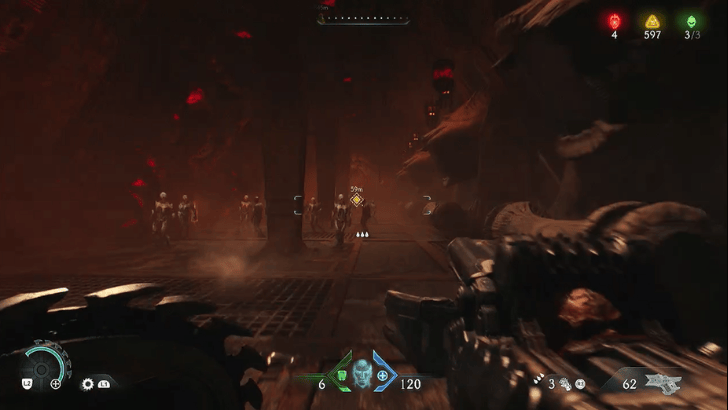 Defeat all enemies in this hall and Shield Charge through the breakable door at the end. |
| 4 |  Proceed downwards and defeat the boss at the bottom. Shield Charge through the core to destroy this Hell Carrier. Collectibles: Gold Cache 3 |
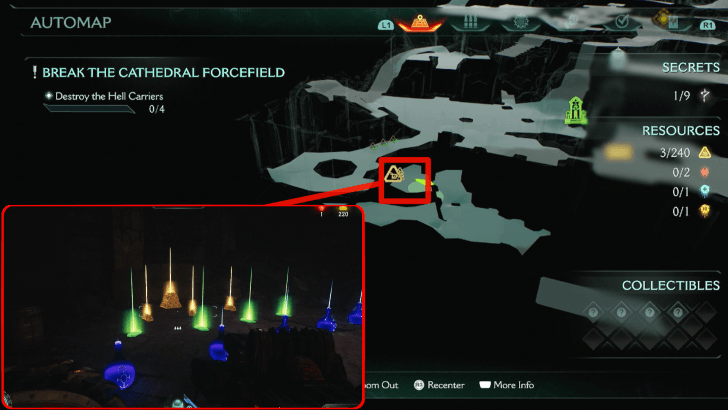
Hell Carrier 3
| 1 | 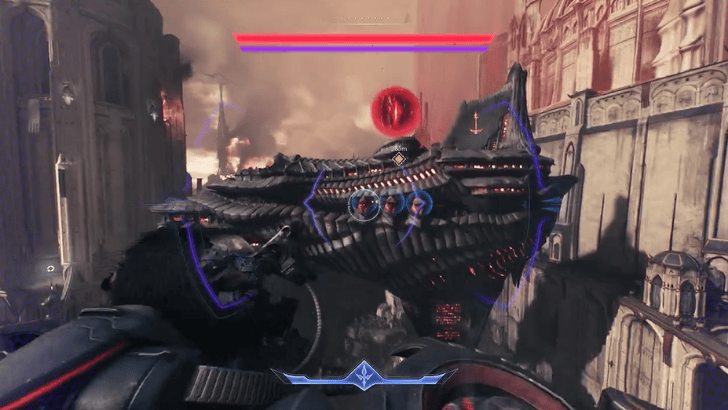 Break all of the Hell Carrier's turrets and core by dodging projectiles. After the core is gone, land on the area near the fallen Hell Carrier. |
|---|---|
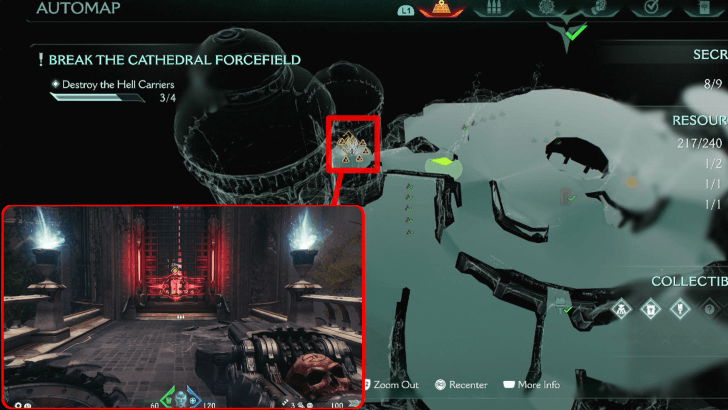
| 2 | 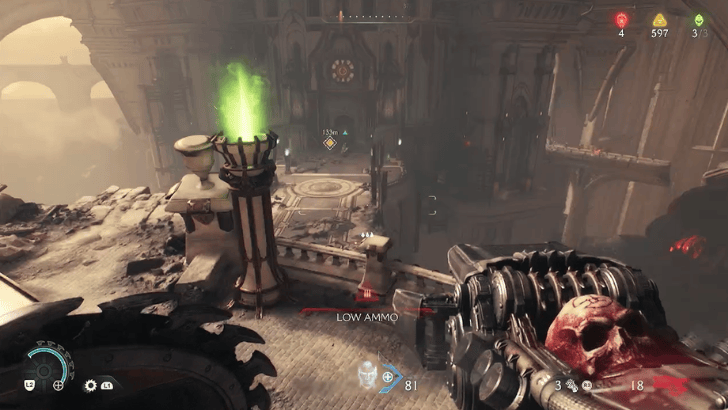 After landing, jump down onto the bridge and defeat all enemies. Pick up the Super Shotgun before you enter the building. |
| 3 |  Enter the building and turn right. Defeat all enemies in this hall continue onwards to the Objective Marker. Collectibles: The Holy City of Aratum Codex, Ruby 1, Serrat Toy, Life Sigil 2, Gold Cache 4, Gold Trail 3 , Gold Chest 2 |
| 4 | 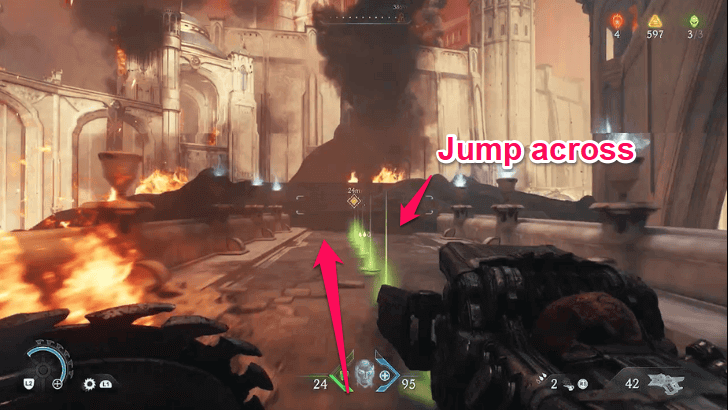 Proceed onwards and jump to the other side of the area. Defeat all enemies waiting for you. |
| 5 |  Enter the hall on the right, defeat all enemies in your way and Shield Charge the breakable door at the end. |
| 6 | 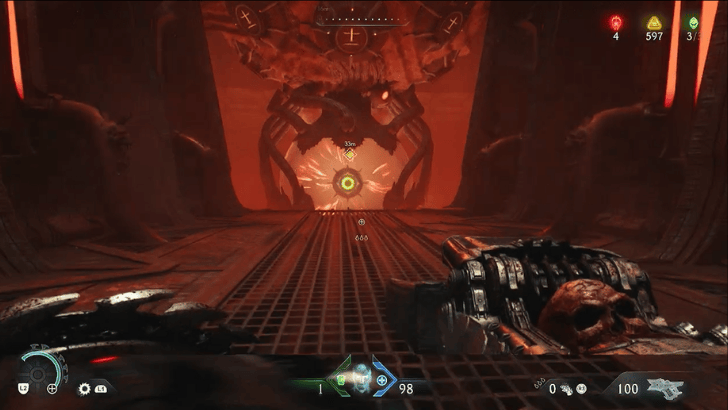 Proceed downwards, defeating all enemies along the way. Shield Charge the core to destroy this Hell Carrier. |
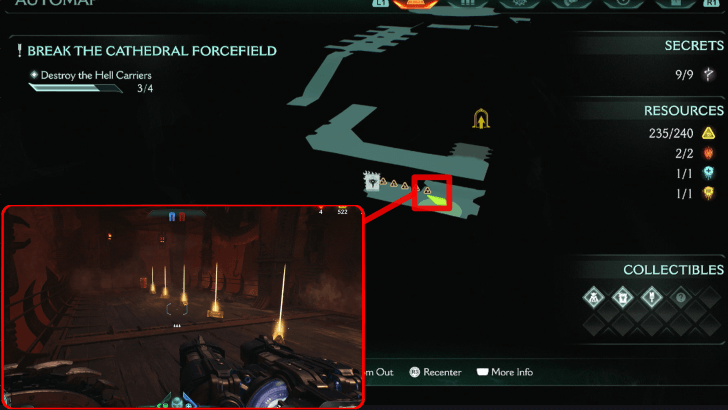
Hell Carrier 4
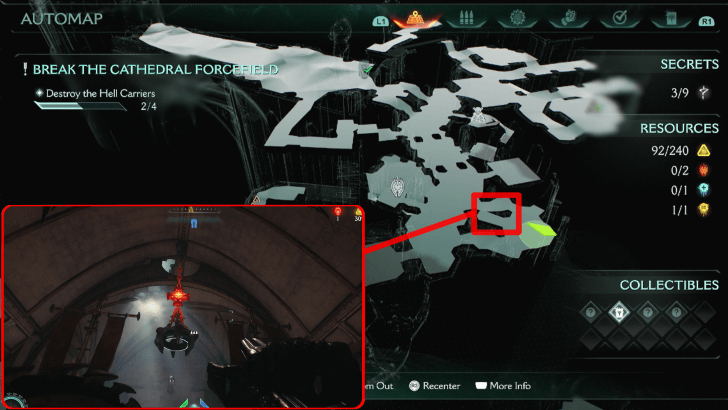
| 1 | 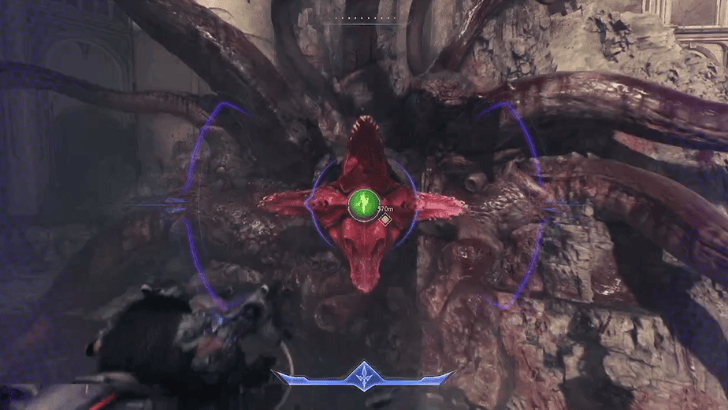 To reach this Hell Carrier, follow the Objective marker and defeat the giant enemy on the wall. Upon defeat, a path will be unlocked. |
|---|---|
| 2 | 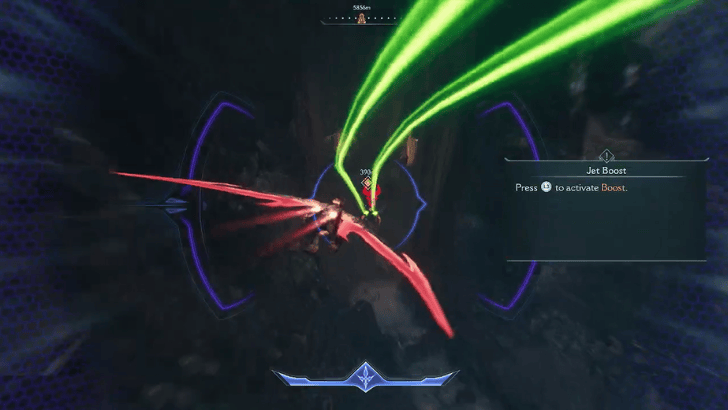 Enter the opened path and chase down the Hell Ship. Make sure to defeat it for the Cat and Mouse Mission. Follow the Objective Marker down the area. |
| 3 | 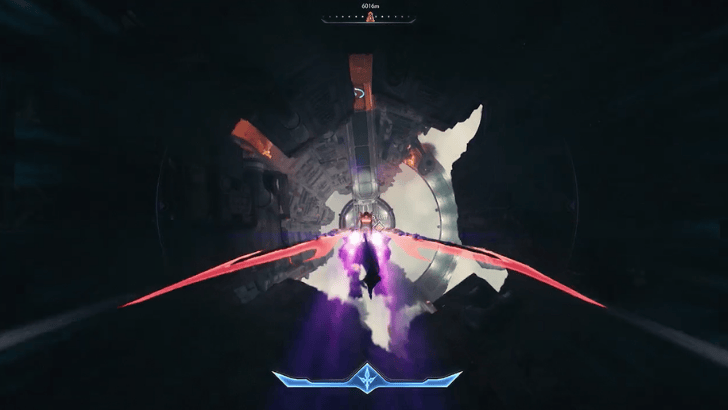 At the end of the tunnel, descend and follow the Objective Marker. |
| 4 | 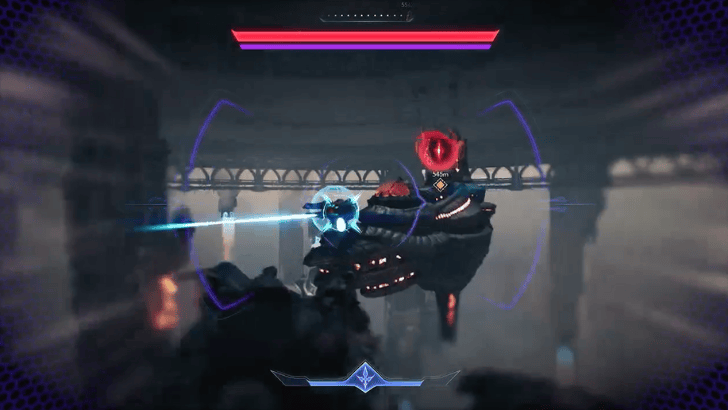 Defeat the Hell Carrier near the bottom, similar to the first three Hell Carriers. |
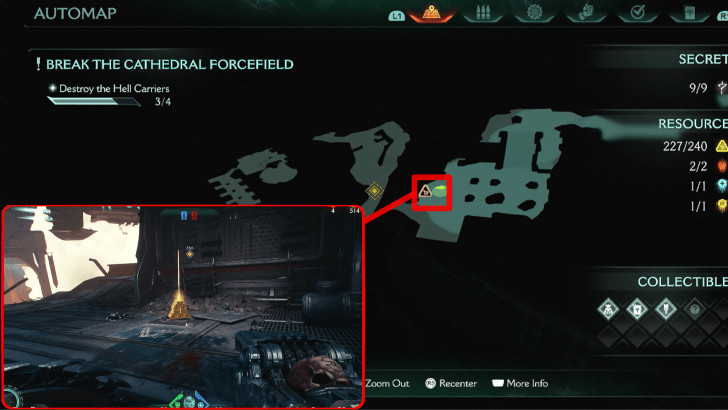
| 5 | 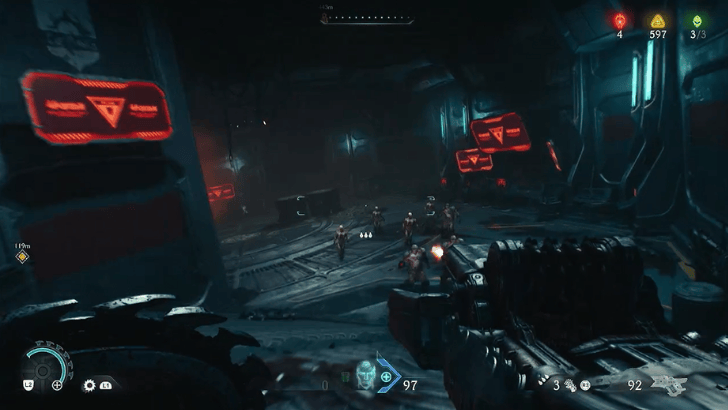 Upon landing, follow the Objective Marker down, defeating all enemies along the way. Shield Charge through the breakable door at the end Collectibles: Gold Cache 5 |
| 6 | 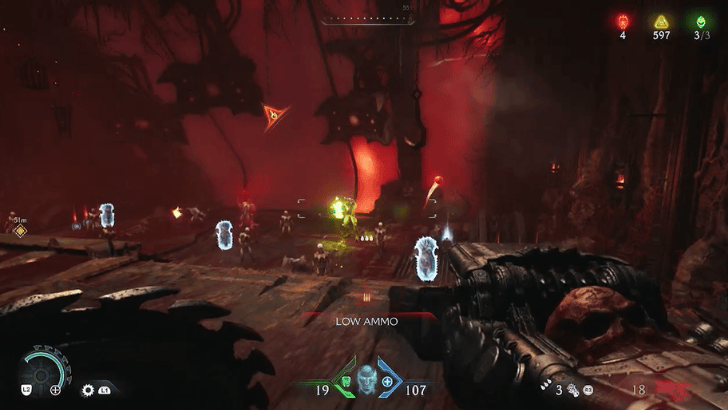 Upon landing on the second main area of the map, proceed to go downwards, following the Objective Marker and defeating all enemies along the way. Shield Charge through the breakable door at the end. |
| 7 | 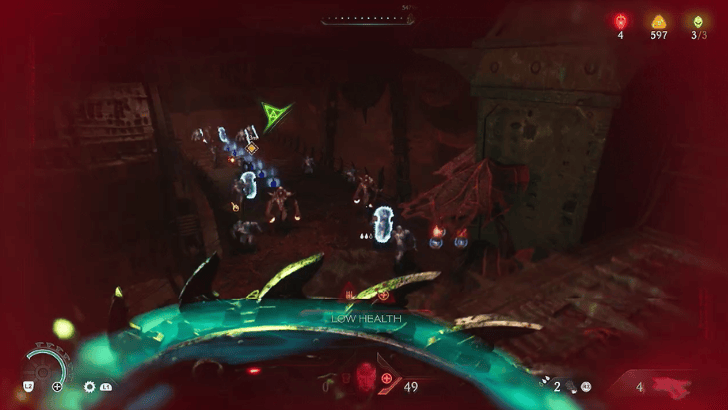 While on your way downwards, using a Plasma-type weapon such as the Cycler is highly recommended since there are many enemies who use energy shields. |
| 8 | 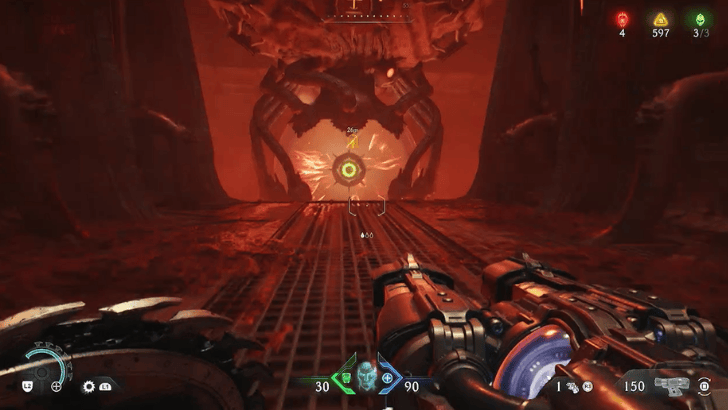 Shield Charge the core at the bottom to destroy this Hell Carrier Collectibles: Deag Loric Codex, Gold Trail 9 |
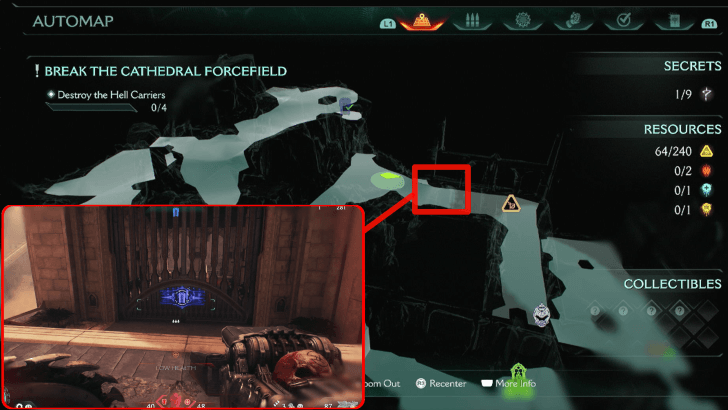
Blue Keycard Location
From the courtyard in Gold Trail 1, follow the objective ping and turn right when you see the green breakable wall. Follow that path until you reach the Blue Keycard at the edge of a cliff. This can be found in Hell Carrier 1 during the second objective.
3. Clear the Heart Chamber
| 1 | 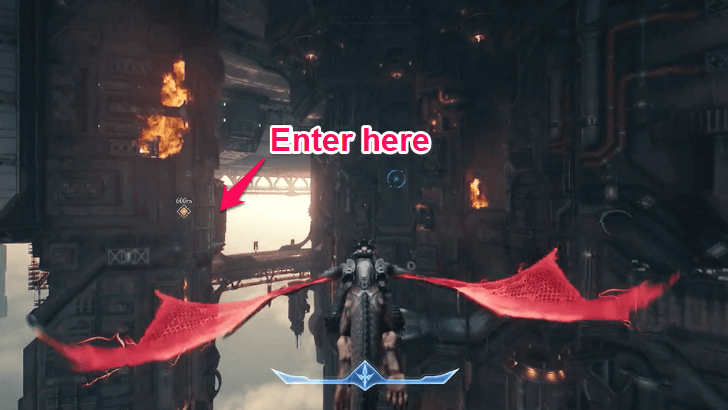 Once Hell Carrier 4 has been destroyed, fly through the small entrance on the left. Follow the tunnels. |
|---|---|
| 2 | 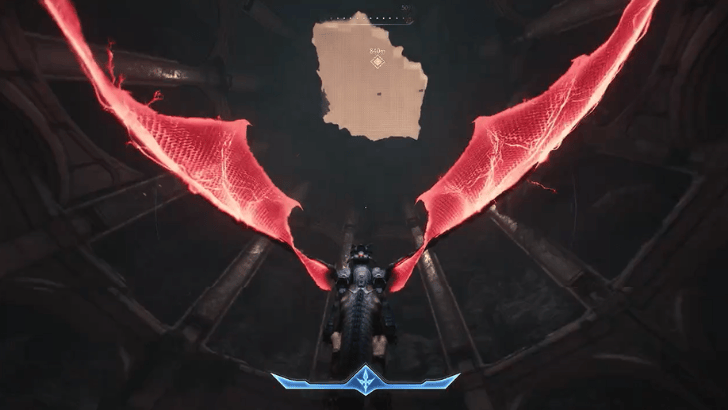 At the end of the tunnels, ascend until you are outside again. |
| 3 | 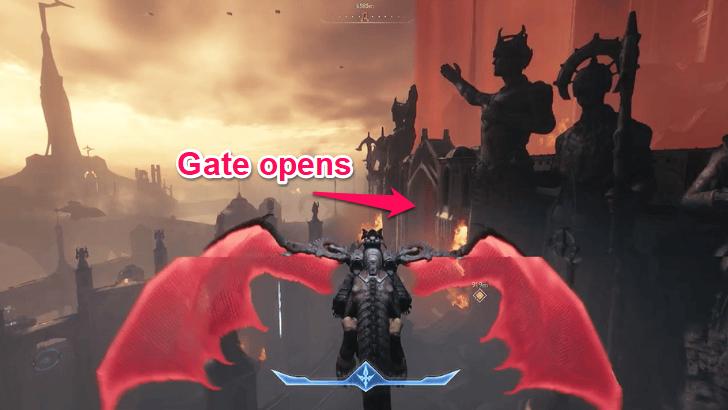 Once out, follow the objective marker and enter through the now opened gate. Fly up the long flight of stairs and land on the Heart Chamber. |
| 4 | 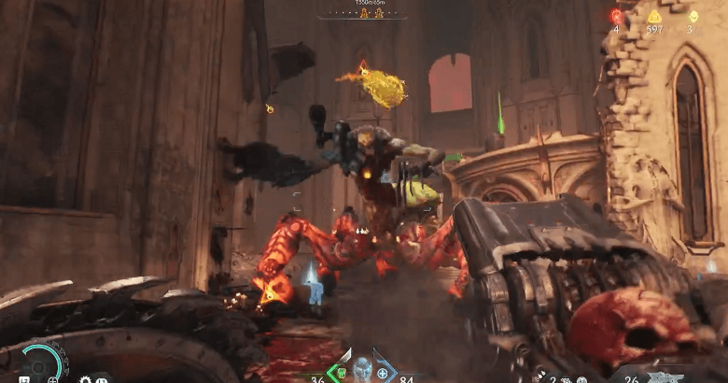 Defeat all enemies within the area, including the Vagary Toy Location and Weakness. |
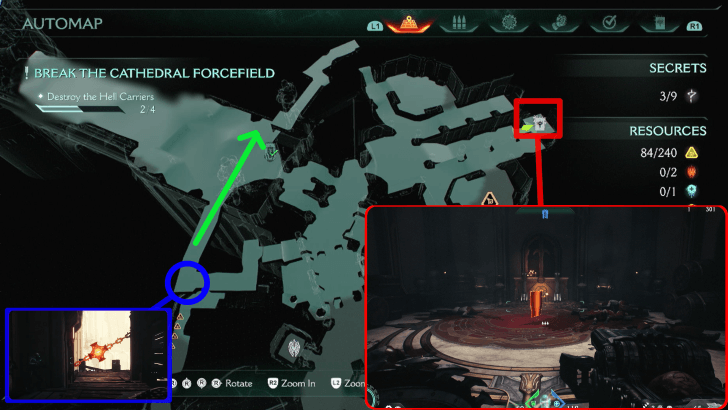
Red Keycard Location
| Step | Objective |
|---|---|
| 1 | 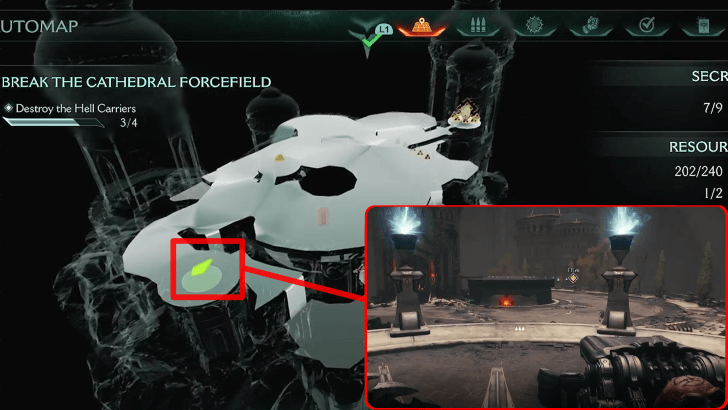 Look for a green pressure plate within the area and stand on it. Throw your Shield to break the lock in front of you. |
| 2 | 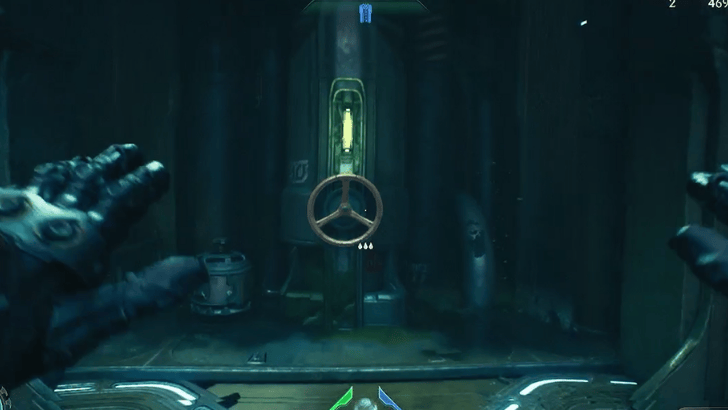 After unlocking an underwater area, dive down and look for a valve. Activating it will open the vessel containing the Red Keycard. |
This can be found in a Secret Landing Spot during the second objective.
Holy City of Aratum Secrets and Collectibles
Holy City of Aratum Interactive Map
| Jump to a Collectible! | |
|---|---|
| Toys | 1 |
| Skins | 1 |
| Codex | 2 |
| Life Sigils | 2 |
| Gold | 210 |
| Rubies | 2 |
| Demonic Essence | 2 |
| Secrets | 9 |
Holy City of Aratum Toys
| Item | How to Get |
|---|---|
 |
Follow the Gold Trail 3 in the Hell Carrier 3 secret area. The path leads you directly to this Toy. This can be found in Hell Carrier 3 during the second objective. |
Holy City of Aratum Skins
| Item | How to Get |
|---|---|
 |
Follow Gold Trail 5 in the Secret Landing Spot. The path leads you directly to this Weapon Skin. This can be found during the second objective. |
Holy City of Aratum Codex Entries
| Item | How to Get |
|---|---|
 (Secret 3/9) |
In Hell Carrier 3 after getting the Super Shotgun go right and use your Shield to break a lock. This will unlock a box you can use Shield Charge on to push it across the area. Climbing this box leads to the secret area containing this Codex. This can be obtained during the second objective. |
 |
After getting the Cycler, continue through the objective markers until you get to the end of Hell Carrier 4. After jumping down the last ledge and before destroying the Hell Carrier's core, look directly behind you. This can be obtained during the second objective. |
Holy City of Aratum Life Sigils
| Item | How to Get |
|---|---|
 |
Upon obtaining the Blue Keycard and getting Gold Cache 2, turn right within the same area. The Life sigil is placed near the ledge. This can be found in Hell Carrier 1 during the second objective. |
 |
Right behind the button for Ruby 1 is an elevator leading down to this Life Sigil. This can be found in Hell Carrier 3 during the second objective. |
Holy City of Aratum Gold
| Item | How to Get |
|---|---|
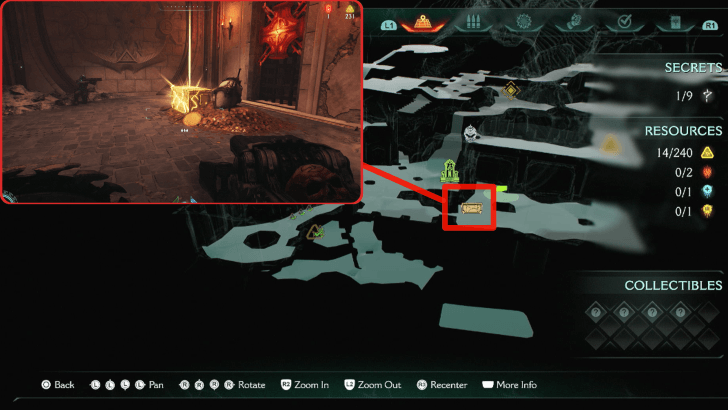
 |
Can be found in the courtyard of Hell Carrier 1. Follow the path further and jump down to enter a secret area. This can be obtained during the second objective. |
 (Secret 1/9) |
Can be found after jumping down the secret area after following Gold Trail 1. This can be found in Hell Carrier 1 during the second objective. |
 |
In the same secret area as Gold Trail 1, go past the Hell Cultists and enter the pool. Swim to the other side, go up. The area you come up in has this Gold Chet nearby. This can be found in Hell Carrier 1 during the second objective. |
(Secret 2/9) |
Upon obtaining the Blue Keycard, jump down from the cliff to immediately reach a blue gate. Proceed inside to get this Gold Cache. This can be found in Hell Carrier 1 during the second objective. |
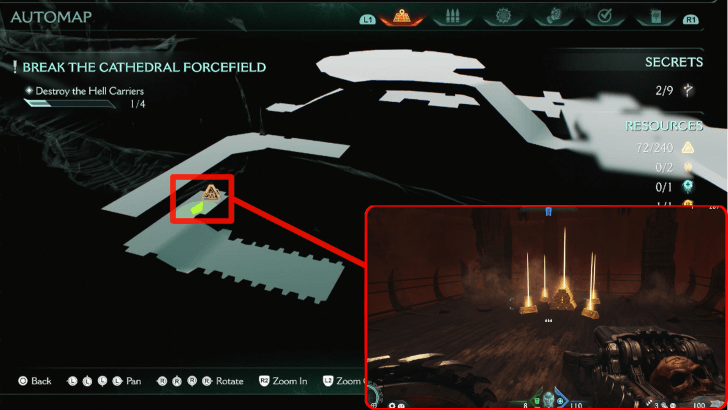 |
This can be found at the bottom of Hell Carrier 2 during the second objective. |
 |
It is in the same area as The Holy City of Aratum Codex, to the left. This can be found in Hell Carrier 3 during the second objective. |
 (Secret 5/9) |
From the room with Ruby 1, drop off to the right of the bridge ahead. Following this trail will lead you to a secret area. This can be found in Hell Carrier 3 during the second objective. |
 (Secret 6/9) |
After leaping into the second area of Hell Carrier 3, Shield Charge through the breakable wall on the left. This can be obtained during the second objective. |
 (Secret 7/9) |
In the same area as Demonic Essence - Health, go below the area. Make sure to pass through the Gold Trail first because the other end is locked. This Gold Trail leads to a Gold Chest in the middle. This can be obtained during the second objective. |
 (Secret 8/9) |
In this Secret Landing Spot, you can drop off the edges of the main circular area. This can be obtained during the second objective. |
 |
Follow the path for the Weapon Skin in the same Secret Landing Spot. This leads you to two Gold Trails adjacent to each other. This can be obtained during the second objective. |
 |
Use the Red Keycard in the locked area right above Gold Trail 6. It can be found in the same Secret Landing Spot during the second objective. |
 |
In the area where you got theRed Keycard, use the blue boost pad to jump straight into this locked room. It can be found in the same Secret Landing Spot during the second objective. |
 |
Follow the path down Hell Carrier 4. Defeat all enemies along the way to unlock this Gold Cache. This can be obtained during the second objective. |
|
This can be found at the end of Hell Carrier 4. It also leads to the [Deag Loric Codex]. This can be obtained during the second objective. |
Holy City of Aratum Rubies
| Item | How to Get |
|---|---|
 (Secret 4/9) |
In the first room you enter shortly after getting the Super Shotgun, there is a green button on the floor which opens a gate leading to the Ruby. To keep the button pressed, throw your Shield at the chandelier directly above the green button to knock it down. This can be found in Hell Carrier 3 during the second objective. |
(Secret 9/9) |
Use the Red Keycard in the locked area right above Gold Trail 6. It can be found in the same Secret Landing Spot during the second objective. |
Holy City of Aratum Demonic Essence
| Item | How to Get |
|---|---|
 |
Obtained by defeating the boss near the end of Hell Carrier 1. This can be obtained during the second objective. |
 |
You must defeat the Demon Titan standing guard over a tower, and then you can land on this secret landing spot to collect Demonic Essence - Health from one of the Leaders. |
Holy City of Aratum Mission Challenges
| Challenge | Details and Reward |
|---|---|
| Countercult | Dispatch all of the Cultist Circles. Reward: 50 Gold |
| Layover | Dismount the Dragon at two secret Landing Zones Reward: 50 Gold |
| Cat and Mouse | Chase and Destroy 3 Hell Fighter Ships Reward: 50 Gold |
Countercult
Make sure to visit and sweep through all areas, including the Secret Landing Spots.
Layover
| No. | Landing Spot |
|---|---|
| 1 | The first landing spot is not part of the four landing spots required to finish the story. You must defeat the Demon Titan standing guard over the tower, and then you can land on this spot to collect Demonic Essence from one of the Leaders. |
| 2 | 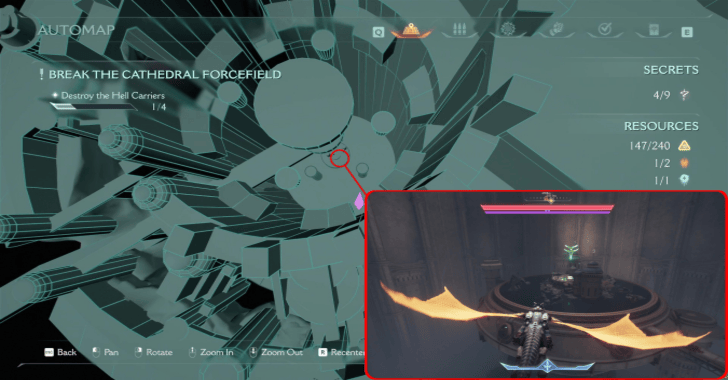 The second landing spot is located in the middle of the city. Dive down the big hole in the middle and you should see two Titans guarding the landing zone. Eliminate both Titans to be able to land. |
Layover Challenge Guide: All Secret Landing Spots
Cat and Mouse
Make sure to destroy all Hell Fighter Ships in the first and second objectives. There is 1 during the first objective, which is shown for the tutorial. The 2 remaining Hell Fighter Ships can be found during the second objective, one flying throughout the city and one flying on your way to Hell Carrier 4.
Doom: The Dark Ages Related Guides
Full Walkthrough and List of Chapters
Comment
Author
Chapter 5: Holy City of Aratum Secrets and Walkthrough
Please participate in our site
improvement survey
03/2026
improvement survey
03/2026
Would you assist in
improving Game8's site?
improving Game8's site?

×
We are listening to our users' valuable opinions and discussing how to act on them.
The information collected through this survey will be used for the purpose of improving our services. In addition, the information will only be disclosed a part of a statistic in a format that will not allow identification of personal information.
Begin Survey
Not Now
×
Please rate each item regarding Game8.co's Advertisements.
Amount of Ads
Very Dissatisfied
Somewhat Dissatisfied
Fine
Somewhat Satisfied
Highly Satisfied
Placement of Ads
Timing of Ad Display
Ad Loading Speed
Safeness of Ads
Content of Ads
×
Please rate each item regarding Game8.co's Quality of Articles.
Amount of information
Very Dissatisfied
Somewhat Dissatisfied
Fine
Somewhat Satisfied
Highly Satisfied
Frequency of updates
Speed of new information
Accuracy of articles
Understandibility of articles
Readability of sentences
×
Please rate each item regarding Game8.co's Usability of the Site.
Ease of finding information
Very Dissatisfied
Somewhat Dissatisfied
Fine
Somewhat Satisfied
Highly Satisfied
Loading Speed
Use of Color
Font Size
Visibility of Images
Easy to Understand Layout
×
Please rate each item regarding Game8.co's Message Boards, Comments.
Ease of Writing
Very Dissatisfied
Somewhat Dissatisfied
Fine
Somewhat Satisfied
Highly Satisfied
Readability
Ease in Finding Information
Comment Quality
Comment Quantity
Admin Response
×
Please rate each item regarding Game8.co's Site's new design.
Please rate our site's new design
Very Dissatisfied
Somewhat Dissatisfied
Fine
Somewhat Satisfied
Highly Satisfied
Do you think that the website's design change makes the site easier to use?
Has the new design made it easier for you to find information on the site?
Has the new design improved the overall visual appeal of the site?
How would you rate your overall satisfaction with the new design of the site?
×
How likely are you to recommend Game8 to someone you know?
Very Unlikely
0
1
2
3
4
5
6
7
8
9
10
Very Likely
If you have other opinions regarding potential improvement to the website, please share them with us. We would appreciate your honest opinion.
Note: This is a free response section, so you can proceed without entering anything.
Note: Please be sure not to enter any kind of personal information into your response.
Note: Please be sure not to enter any kind of personal information into your response.
×
Thank You
×
Thank you for participating in our survey! Your answers will help us to improve the quality of our website and services.
We hope you continue to make use of Game8.
We hope you continue to make use of Game8.
Close
Rankings
- We could not find the message board you were looking for.
Gaming News


![Monster Hunter Stories 3 Review [First Impressions] | Simply Rejuvenating](https://img.game8.co/4438641/2a31b7702bd70e78ec8efd24661dacda.jpeg/thumb)
Popular Games

Genshin Impact Walkthrough & Guides Wiki
Honkai: Star Rail Walkthrough & Guides Wiki
Umamusume: Pretty Derby Walkthrough & Guides Wiki
Pokemon Pokopia Walkthrough & Guides Wiki
Resident Evil Requiem (RE9) Walkthrough & Guides Wiki
Monster Hunter Wilds Walkthrough & Guides Wiki
Wuthering Waves Walkthrough & Guides Wiki
Arknights: Endfield Walkthrough & Guides Wiki
Pokemon FireRed and LeafGreen (FRLG) Walkthrough & Guides Wiki
Pokemon TCG Pocket (PTCGP) Strategies & Guides Wiki


Recommended Games
Diablo 4: Vessel of Hatred Walkthrough & Guides Wiki
Fire Emblem Heroes (FEH) Walkthrough & Guides Wiki
Yu-Gi-Oh! Master Duel Walkthrough & Guides Wiki
Super Smash Bros. Ultimate Walkthrough & Guides Wiki
Pokemon Brilliant Diamond and Shining Pearl (BDSP) Walkthrough & Guides Wiki
Elden Ring Shadow of the Erdtree Walkthrough & Guides Wiki
Monster Hunter World Walkthrough & Guides Wiki
The Legend of Zelda: Tears of the Kingdom Walkthrough & Guides Wiki
Persona 3 Reload Walkthrough & Guides Wiki
Cyberpunk 2077: Ultimate Edition Walkthrough & Guides Wiki


All rights reserved
© 2025 ZeniMax Media Inc. All Rights Reserved.
The copyrights of videos of games used in our content and other intellectual property rights belong to the provider of the game.
The contents we provide on this site were created personally by members of the Game8 editorial department.
We refuse the right to reuse or repost content taken without our permission such as data or images to other sites.