Waltaquin's Story DLC Walkthrough and Tips
★ Story Walkthrough
┗ Waltaquin's Story DLC Guide
☆ Beginner's Guide to DioField Chronicle
★ List of All Characters
┗ Best Characters | Best Team Comps
☆ Best Skills for Each Class

Waltaquin's Story is a new set of missions added to The DioField Chronicle by the version 1.20 Update. Read on to learn how to access Waltaquin's Story, what it adds, and see tips for completing it!
List of Contents
Waltaquin's Story Overview
Special Campaign Starring Waltaquin
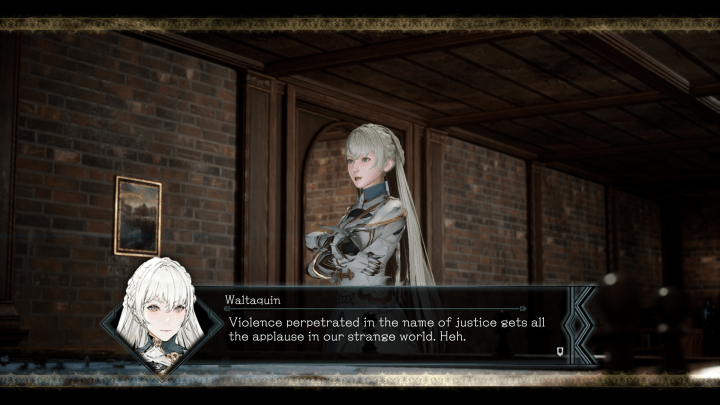
Waltaquin's Story is a special set of missions added during the version 1.20 update. The update was released by developer Lancarse for free for all platforms on March 6, 2023.
Waltaquin's Story is a full mini-campaign consisting of 15 quests in total, with 5 story-related combat missions and 5 optional combat missions. It stars Blue Fox commander Waltaquin Redditch, following her actions and perspective late in the main story.
Story Walkthrough: List of All Chapters
How to Unlock Waltaquin's Story
Complete Chapter 5 to Unlock
After updating The DioField Chronicle to version 1.20, accessing Waltaquin's Story requires completing Chapter 5 of the main story, by succeeding in the mission Secure the Hall.
This may be done on your first playthrough, or in New Game Plus.
Chapter 5: Plummeting Star Full Walkthrough
Visit the Basement in Chapter 6
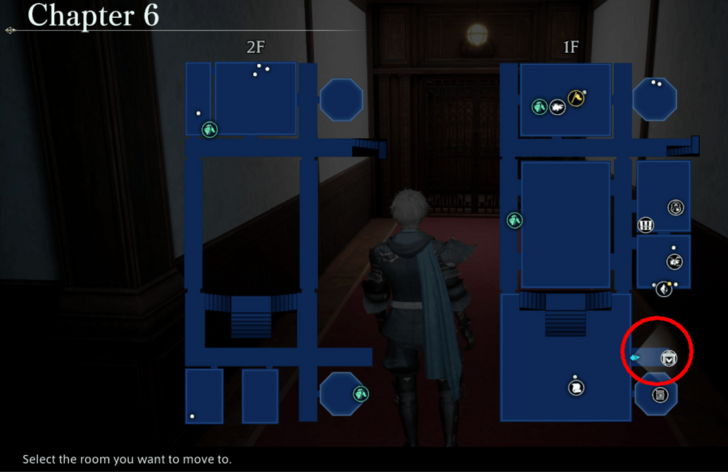
After entering Chapter 6, a new location will appear in the Blue Fox headquarters, accessible via an elevator on the east side of the building. Using it will take you to the Blue Fox HQ basement, and put you in control of Waltaquin.
You will also find access points for the Store, Institute, and War Table for accessing Waltaquin's Story missions.
List of Waltaquin's Story Missions
Five Story Missions and Five Combat Missions
| Waltaquin's Story Main Missions | |||||||||||
|---|---|---|---|---|---|---|---|---|---|---|---|
| An Ominous Beginning | Sparkling Prize | Bountiful Harvest | |||||||||
| Amassing Knowledge | The Beastly, the Grotesque | ||||||||||
Waltaquin's sotry consists of 15 Missions, with five main story missions and five optional combat missions to tackle.
An Ominous Beginning Strategies and Tips
Basic Info
| Sub Quest | Rewards & Unlock Conditions |
|---|---|
 An Ominous Beginning An Ominous Beginning |
Related Character: Rewards: 22800 G Unlock Condition: Finish the quest, Tome of Fallen Souls to unlock this sub quest. |
| Objectives
1. Purge the South Field catacombs of "bandits." |
|
| ▲ Return to Top ▲ | |
Strategies and Tips
Waltaquin Not Required

Though this campaign stars Waltaquin Redditch, she is not required to lead a unit for the missions. You can use any team setup you prefer to accomplish your goals.
This freedom can be helpful as initially Waltaquin might be underleveled if you're trying the campaign on your first playthrough.
Best Team Comp and Party Setup
Take Advantage of Waltaquin's Necromancy
Waltaquin will begin the stage equipped with a new weapon, the Tome, which unlocks her Necromancy ability.
This ability summons an undead to fight as a 5th unit for your team. It will walk beside Waltaquin and engage her targets. Take advantage of it and use it as an expendable tank.
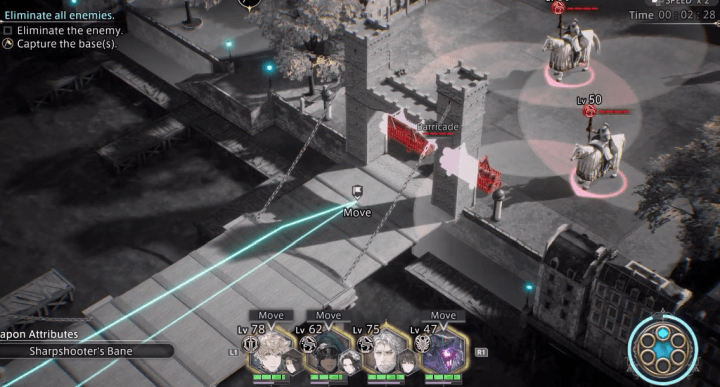
Your Group Members Begin Separated
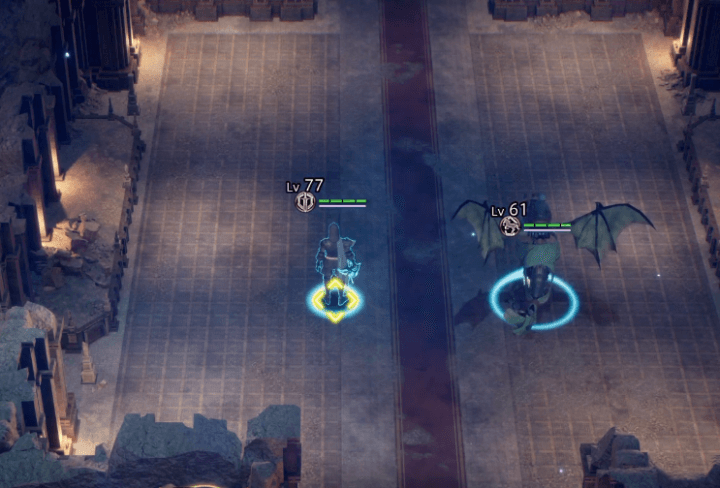
At the start of the mission your party will be separated on opposite sides of a large room patrolled by undead.
Move stronger or faster units first and join weaker ones while drawing aggro from the patrolling enemies.
Sparkling Prize Strategies and Tips
Basic Info
| Sub Quest | Rewards & Unlock Conditions |
|---|---|
| Sparkling Prize |
Related Character: Rewards: 24960 G Unlock Condition: Finish the quest, An Ominous Beginning to unlock this sub quest. |
| Objectives
1. Assault the "bandit" hideout and secure the high-purity Jade. |
|
| ▲ Return to Top ▲ | |
Strategies and Tips
Stay Away From Cannons
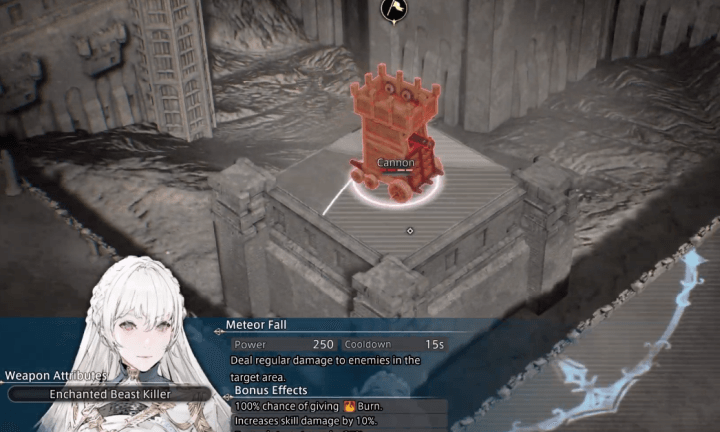
This stage will have you take down groups of tough demi-human enemies while bombarded by cannons. The cannons don't do much damage, but they're placed so melee units can't reach them.
Avoid unnecessary damage by drawing enemy groups out of the cannons' range as you fight, or task a ranged unit to destroy them.
Waltaquin's Zombies Can Distract Enemies
If you're bringing Waltaquin along for the mission and you're using her new Tome weapon, use her undead minion as a tank to distract enemy attention or soak up damage from the cannons.
Bountiful Harvest Strategies and Tips
Basic Info
| Sub Quest | Rewards & Unlock Conditions |
|---|---|
| Bountiful Harvest |
Related Character: Rewards: 28800 G Unlock Condition: Finish the quest, Sparkling Prize to unlock this sub quest. |
| Objectives
1. Attack the nobles and defeat their reinforcements, as well as any marauding beasts that approach. |
|
| ▲ Return to Top ▲ | |
Strategies and Tips
Intercept Hordes of Tough Enemies
This mission involves defending your party against large and aggressive waves of enemies.
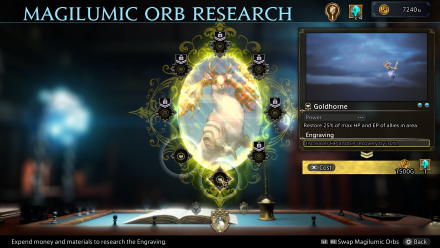
It's an endurance match, so bring healing spells and equip summons like Goldhorne to improve your recovery ability.
Goldhorne Effects and How to Use
Use Area Buffs and AOE Skills
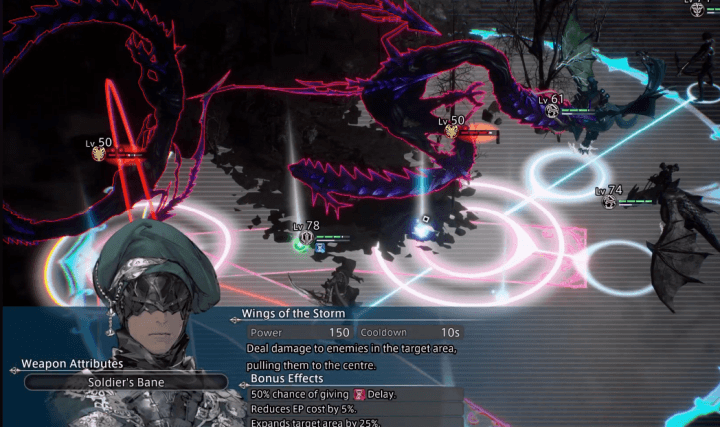
Consider equipping skills like Sanctuary and Ignition and formation abilities like Convalescent Circle to heal and buff your whole party at the same time.
Meanwhile, use skills like Lightning Rod, Shell Shot, Wings of the Storm, and Mounted Charge to group enemies up and damage them.
Amassing Knowledge Strategies and Tips
Basic Info
| Sub Quest | Rewards & Unlock Conditions |
|---|---|
| Amassing Knowledge |
Related Character: Rewards: 30600 G Unlock Condition: Finish the quest, Bountiful Harvest to unlock this sub quest. |
| Objectives
1. Assault the human traffickers and take the church's Necromancy research in the chaos. |
|
| ▲ Return to Top ▲ | |
Strategies and Tips
Use Bridgeways as Chokepoints
You'll be facing small groups of enemies but will have to trek a long way through occupied territory.
Take advantage of the bridges in the area to funnel enemies down into one path, opening them up to area attacks and skills like Fantail Formation.
Fantail Formation Effects, Upgrades, and Users
The Beastly, the Grotesque Strategies and Tips
Basic Info
| Sub Quest | Rewards & Unlock Conditions |
|---|---|
| The Beastly, the Grotesque |
Related Character: Rewards: 34200 G Unlock Condition: Finish the quest, Amassing Knowledge to unlock this sub quest. |
| Objectives
1. Defeat the rogue church faction and their new beast, the Behemoth. |
|
| ▲ Return to Top ▲ | |
Strategies and Tips
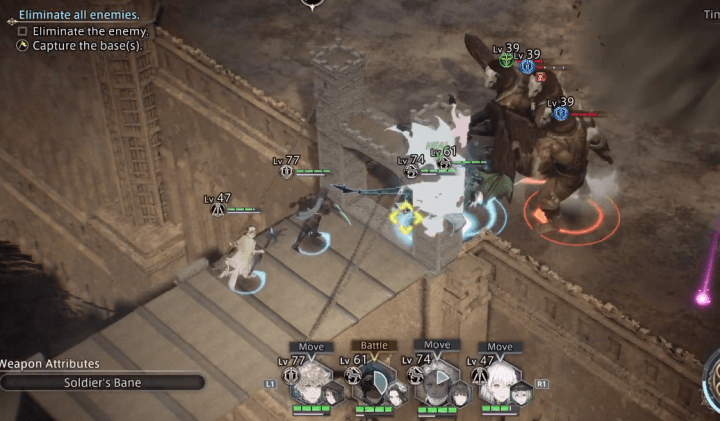
Beware the Behemoth

This stage involves a tough boss fight against the iconic enemy from the Final Fantasy series: The Behemoth.
The Behemoth has a number of powerful abilities and a huge amount of HP. Eliminate its weaker allies first so you can focus your efforts on the main boss.
Take Down the Stakes
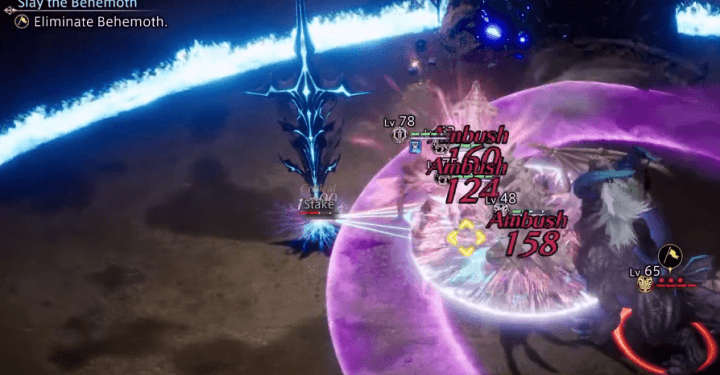
During the fight the priests will summon Stakes that can buff the Behemoth's damage. Destroy it quickly to keep it from making the boss even tougher.
Bring Plenty of Healing and EP Restoration
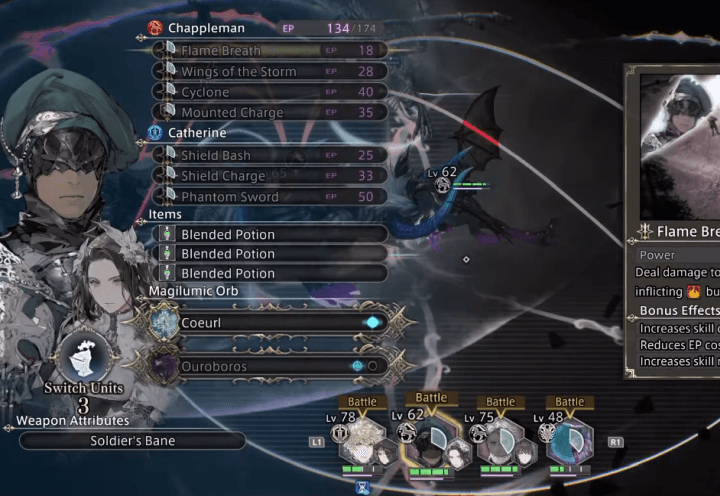
You'll need a lot of skills to bring down the Behemoth and interrupt its attacks, so take many potions and beneficial summons in your party to top off mid-fight.
Waltaquin's Story Optional Combat Missions
Optional Combat Missions for Money and Materials
| Sub Quest | Rewards & Unlock Condition |
|---|---|
 City Defence City Defence |
Rewards: ・39360 G Stage: Waltaquin's Story Combat Unlock Condition: Finish the quest, An Ominous Beginning to unlock this mission. Recommended Level: 43 |
| Beast Slaying |
Rewards: ・32400 G Stage: Waltaquin's Story Combat Unlock Condition: Finish the quest, Bountiful Harvest to unlock this mission. Recommended Level: 53 |
| Raging Horns |
Rewards: ・30000 G Stage: Waltaquin's Story Combat Unlock Condition: Finish the quest, The Beastly, the Grotesque to unlock this mission. Recommended Level: |
| Follow Up: Behemoth |
Rewards: ・38160 G Stage: Waltaquin's Story Combat Unlock Condition: Finish the quest, The Beastly, the Grotesque to unlock this mission. Recommended Level: 58 |
| Follow Up: Rigyare Strand |
Rewards: ・36000 G Stage: Waltaquin's Story Combat Unlock Condition: Finish the quest, The Beastly, the Grotesque to unlock this mission. Recommended Level: 60 |
Waltaquin's Story contains five optional combat missions that are unlocked as you clear story missions. These can be undertaken to earn various rewards.
Waltaquin's Story Rewards and Unlocks
Waltaquin's Story Permanently Unlocks Her
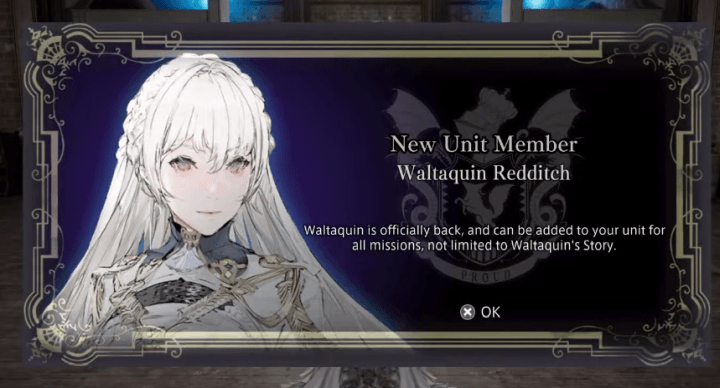
Despite the fact that Waltaquin is normally unplayable during Chapter 6 and 7, completing Waltaquin's Story will permanently unlock her for any mission, including missions where she otherwise be unavailable.
Tome Weapons and Necromancy
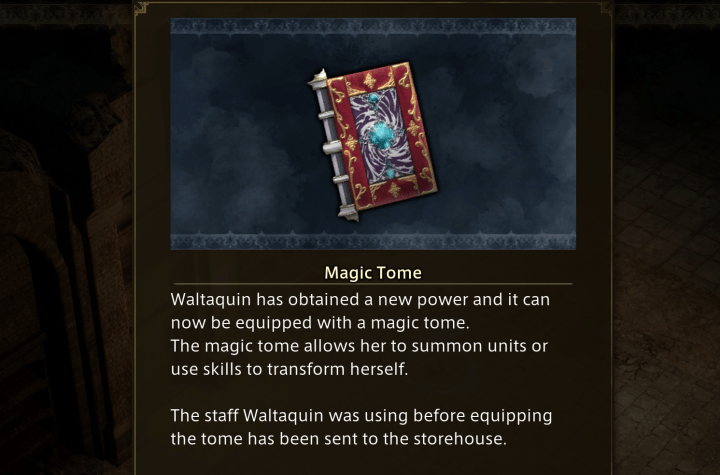
Waltaquin will gain access to the unique Tome weapon type during Waltaquin's story. Tomes unlock new attacks based on the Necromancy skill line.
The Necrotiem skill branch of the Magicker Skill Tree also improves these attacks, and new nodes are unlocked as you progress through Waltaquin's Story.
Skill Tree Guide: How to Unlock and Upgrade Skills
DioField Chronicle Related Guides

| Main Links | |
|---|---|
 News News |
 Characters Characters |
 Equipment Equipment |
 Tips and Tricks Tips and Tricks |
 Story Walkthrough Story Walkthrough |
 Skills Skills |
 Classes Classes |
 Sub Quests Sub Quests |
 Abilities Abilities
|
 Waltaquin's Story DLC Waltaquin's Story DLC |
Comment
Author
Waltaquin's Story DLC Walkthrough and Tips
Rankings
- We could not find the message board you were looking for.
Gaming News


![Monster Hunter Stories 3 Review [First Impressions] | Simply Rejuvenating](https://img.game8.co/4438641/2a31b7702bd70e78ec8efd24661dacda.jpeg/thumb)
Popular Games

Genshin Impact Walkthrough & Guides Wiki
Honkai: Star Rail Walkthrough & Guides Wiki
Umamusume: Pretty Derby Walkthrough & Guides Wiki
Pokemon Pokopia Walkthrough & Guides Wiki
Resident Evil Requiem (RE9) Walkthrough & Guides Wiki
Monster Hunter Wilds Walkthrough & Guides Wiki
Wuthering Waves Walkthrough & Guides Wiki
Arknights: Endfield Walkthrough & Guides Wiki
Pokemon FireRed and LeafGreen (FRLG) Walkthrough & Guides Wiki
Pokemon TCG Pocket (PTCGP) Strategies & Guides Wiki


Recommended Games
Diablo 4: Vessel of Hatred Walkthrough & Guides Wiki
Cyberpunk 2077: Ultimate Edition Walkthrough & Guides Wiki
Fire Emblem Heroes (FEH) Walkthrough & Guides Wiki
Yu-Gi-Oh! Master Duel Walkthrough & Guides Wiki
Super Smash Bros. Ultimate Walkthrough & Guides Wiki
Pokemon Brilliant Diamond and Shining Pearl (BDSP) Walkthrough & Guides Wiki
Elden Ring Shadow of the Erdtree Walkthrough & Guides Wiki
Monster Hunter World Walkthrough & Guides Wiki
The Legend of Zelda: Tears of the Kingdom Walkthrough & Guides Wiki
Persona 3 Reload Walkthrough & Guides Wiki


All rights reserved
© 2022 SQUARE ENIX CO., LTD. All Rights Reserved.
The copyrights of videos of games used in our content and other intellectual property rights belong to the provider of the game.
The contents we provide on this site were created personally by members of the Game8 editorial department.
We refuse the right to reuse or repost content taken without our permission such as data or images to other sites.