Earth Temple Walkthrough
▲ 100% Completion Checklist
▲ All Heart Pieces & Empty Bottle Locations
▲ Treasure Charts | Triforce Charts
▲ GameCube and Wii U Version Differences
▲ Upgrades ▶︎ Wallet | Magic Meter | Picto Box

The Earth Temple is a dungeon in The Legend of Zelda: The Wind Waker. Read on for a complete walkthrough of the Earth Temple, as well as a list of the important items that you can get in this section of the game!
| ◀︎ Previous Area | Next Area ▶︎︎ |
|---|---|
| Return to the Forsaken Fortress | Wind Temple |
List of Contents
What to Do Before the Earth Temple
| Jump to a section! |
|---|
|
|
Get Power Bracelets and Upgrade Your Arrows and Quiver
| 1 | 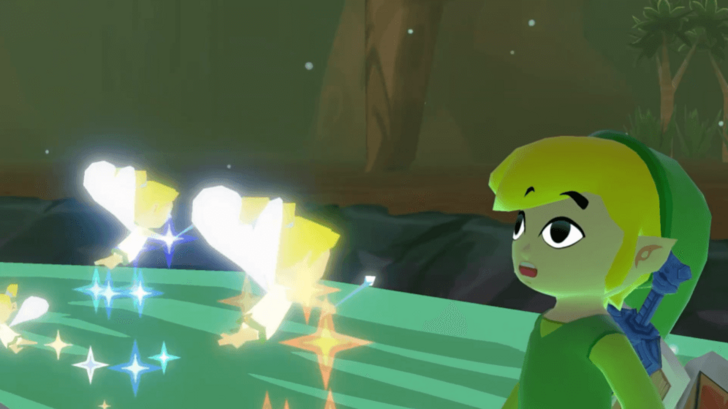 Conduct the Ballad of Gales to warp to Mother & Child Isles. There, the Queen of Fairies will give you the ability to shoot Fire and Ice arrows. |
|---|---|
| 2 |  Warp to Dragon Roost Island and head south to reach Fire Mountain. Use an Ice Arrow to freeze the lava plume on top of the mountain. You will be given 5 minutes to enter the mountain and retrieve the Power Bracelets. |
| 3 | 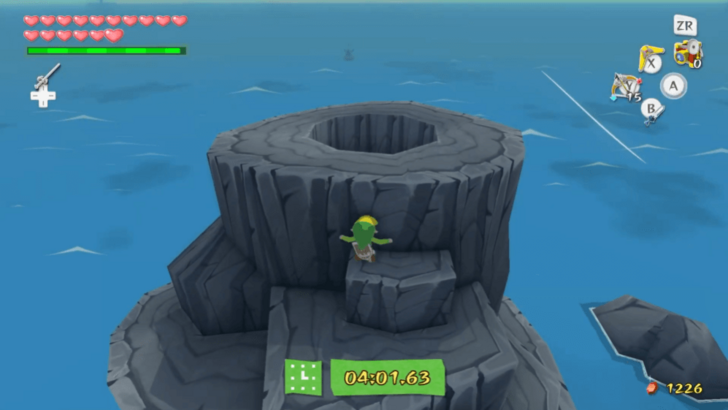 Sail to the northeast side of the island, and then drop off and start climbing. Drop into the hole at the top to enter the mountain. It is best to try to have at least 3 minutes left on the timer before going inside. |
| 4 | 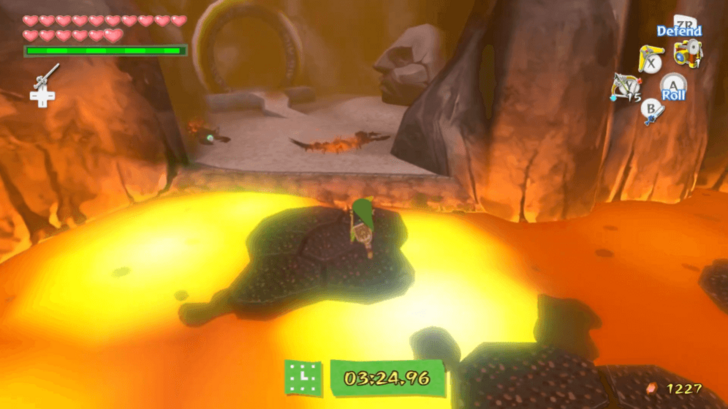 Defeat the Fire Keese inside with the Boomerang before jumping through the platforms on the lava. After reaching the ledge on the opposite side, defeat the Magtails to spawn a chest. |
| 5 |  Open the chest to receive the Power Bracelets and stop the timer. You can then lift the stone head next to the chest to reveal a passageway. Enter to use the warp exit and return outside. |
| * | You can also go to Western Fairy Island and Thorned Fairy Island to increase the amount of arrows you can hold.
▶︎ All Upgrades and How to Obtain Them |
| 6 | 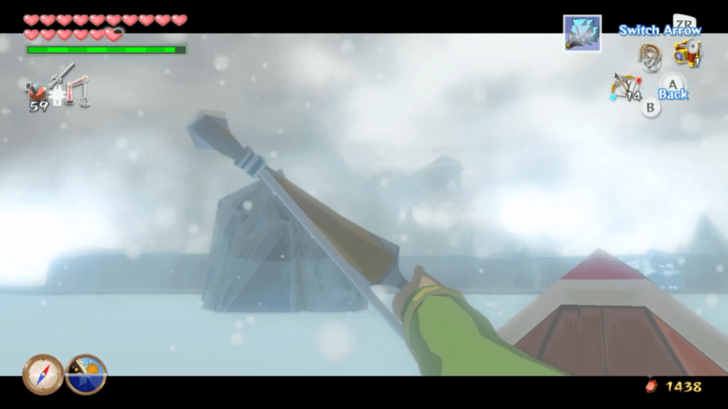 Warp to Forest Haven and sail east to get to Ice Ring Isle. Once you have arrived, shoot a Fire Arrow into the mouth of the dragon-shaped cave. This will stop the snowstorm for 5 minutes. |
| 7 | 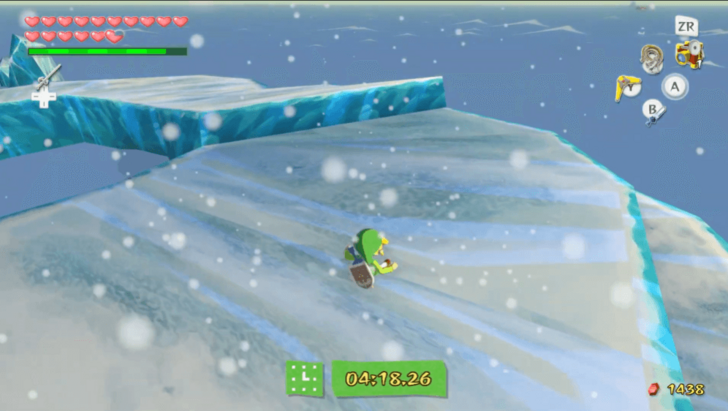 Shoot a Fire Arrow at the ice encasing a chest. Opening it will give you Treasure Chart #36. Afterwards, head to the left of the dragon's head to start climbing the ledges. Since the ground is slippery, it is ideal to not run at full speed. |
| 8 | 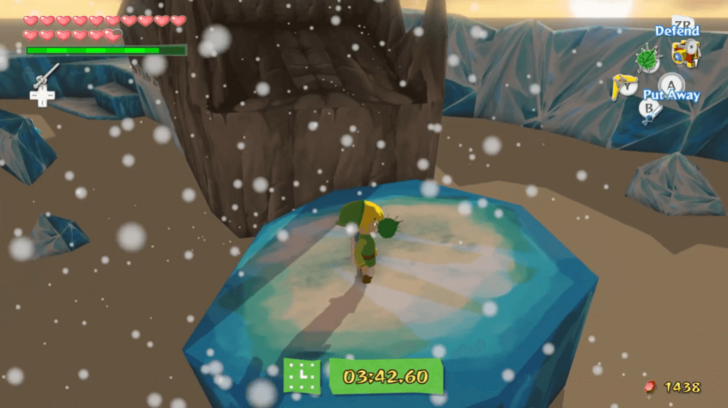 Follow the path until you reach the floating platforms. Hop through them until you reach the mouth of the dragon. Go inside and drop into the hole to enter the cave. It is best to try to have at least 3 minutes left on the timer before going inside. |
| 9 | 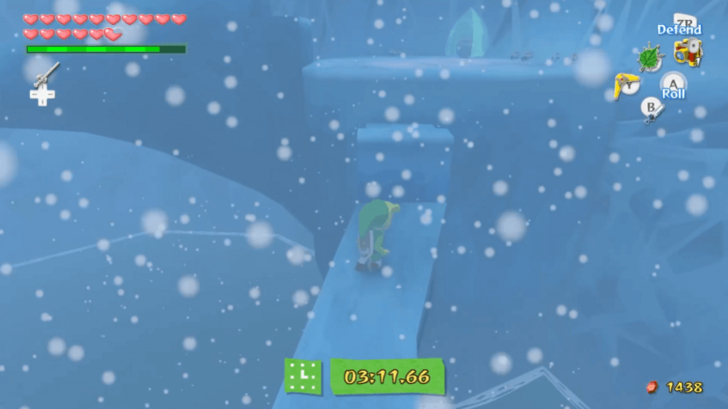 You may defeat the Keese in the cave with the Boomerang before you proceed. Carefully move through the narrow path to the right. Climb up the steps along the path until you reach the highest point. |
| 10 | 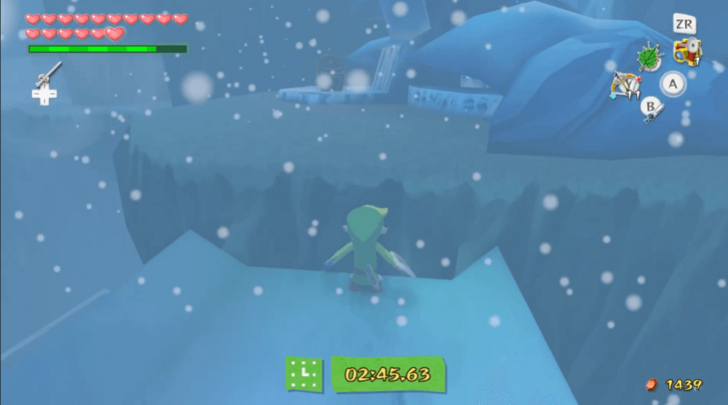 Slowly move forward until you are sliding down the slope. Be sure to control your movement according to the direction of the slope as you slide down. Once you are done sliding, open the chest nearby to claim the Iron Boots and stop the timer. You will not use this item for the Earth Temple, but it will be required later on. |
| * | If you fall into the water, swim to your starting position. You may grapple the posts above the platforms below the cave's mouth. You may aim for the highest post to get back up quickly. |
| * |  You may drop into a nearby hole with the Iron Boots equipped. Inside, you can melt the ice with Fire Arrows, then fight the enemies you have released. One of the enemies is a Darknut with a shield. You may take a picture of it with your Pictograph for the Nintendo Gallery. |
| 11 | 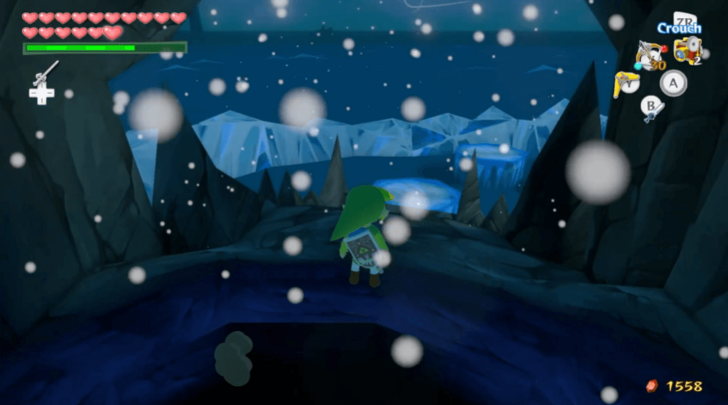 If you entered the optional tunnel, you may step into the beam of light to warp back outside. If you did not do this, you may equip the Iron Boots to walk back to the entrance without slipping. |
Get the Fourth Bottle
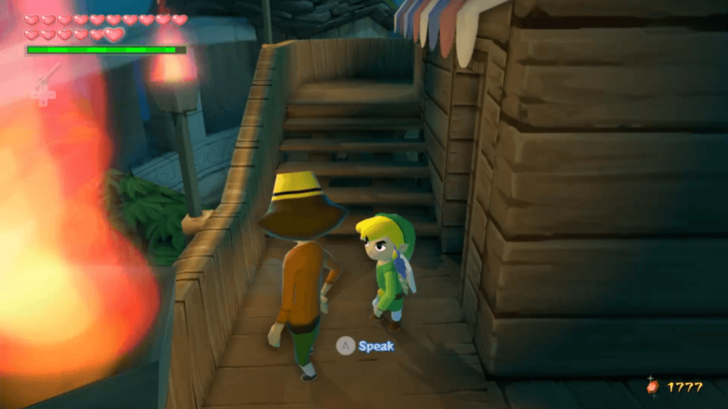
Another side trip worth taking is to get the fourth and final Empty Bottle at Windfall Island. At night, stealthily follow Mila until she leads you to a safe. Confront her to get the Empty Bottle.
All Obtainable Treasure Charts
| Chart | Location |
|---|---|
| Treasure Chart 2 | Windfall Island (D2) |
| Treasure Chart 13 | Two-Eye Reef (D7) |
| Treasure Chart 19 | Four-Eye Reef (A2) |
| Treasure Chart 21 | Cyclops Reef (C4) |
| Treasure Chart 26 | Six-Eye Reef (D4) |
| Treasure Chart 32 | Three-Eye Reef (A4) |
| Treasure Chart 34 | Salvage Corp. (near E2 and F4) |
| Treasure Chart 36 | Ice Ring Isle (E6) |
| Treasure Chart 41 | Five-Eye Reef (B6) |
| Treasure Chart 42 | Windfall Island (D2) |
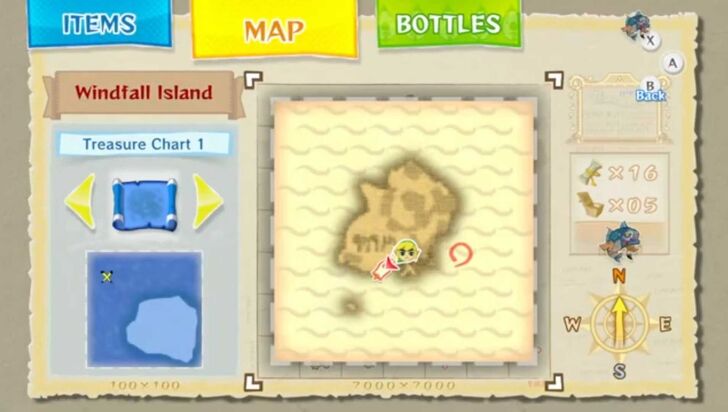
Listed above are the Treasure Charts you can get after defeating Phantom Ganon at the Forsaken Fortress. You can also get the Sunken Treasure they have if you wish to do so.
Treasure Chart 2 in particular is recommended to follow, since it rewards a Piece of Heart.
All Treasure Chart Locations and Rewards
All Obtainable Heart Pieces
| Map Location | Overworld View | |
|---|---|---|
 |
 |
|
|
Windfall Island Kreeb Heart Piece
Location: Windfall Island - D2 Climb the ladder behind the lighthouse on top of the Squid Hunt minigame. Stand on the switch at the top of the ladder and play the Wind's Requiem. Set the wind to blow north to reactivate the windmill. Afterwards, head to the platform in front of the windmill carriages. At night, shoot a Fire Arrow into the spinning object to light the lighthouse torch to your right. After the lighthouse is lit up again, talk to Kreeb at daytime to receive the Piece of Heart. |
||
|
 |
|
|
Windfall Island Chest Heart Piece
Location: Windfall Island - D2 After reactivating the windmill and lighthouse in Windfall Island, head to the bomb shop. Set the wind to blow southeast and glide to the island southwest of the bomb shop. Open the chest there to receive the Piece of Heart. |
||
 |
 |
|
|
Outset Island Dark Soil Heart Piece
Location: Outset Island - B7 Go to Rose and Abe's house and head to their pigpen. Use the Power Bracelets to carry the large pig to the lower area of the island and cross the planks to reach the east side. Put the pig down on the dark patch of soil near the rocky wall and spread some All-Purpose Bait. The pig will dig into the soil, revealing the Piece of Heart. |
||
Listed above are the Heart Pieces you can get after obtaining the Fire Arrows and Power Bracelets.
Heart Piece Locations: All 44 Pieces of Heart
Earth Temple Walkthrough
Reveal the Earth Temple Entrance
| 1 |  Warp to Outset Island and head east to go to Headstone Island. |
|---|---|
| 2 | 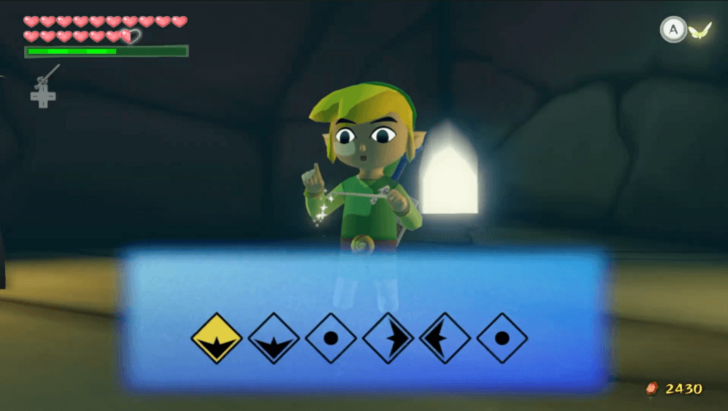 Lift and destroy the stone head in the middle of the island to reveal a cavern entrance. Head inside and use the Wind Waker to learn the Earth God's Lyric. |
| 3 |  Warp to Dragon Roost island. Enter the Rito Aerie and go up to the second floor. Exit through the second door to the left. |
| 4 |  Once outside, go right and use the Grappling Hook to cross the gap. Afterwards, climb up and talk to Medli. |
| 5 | 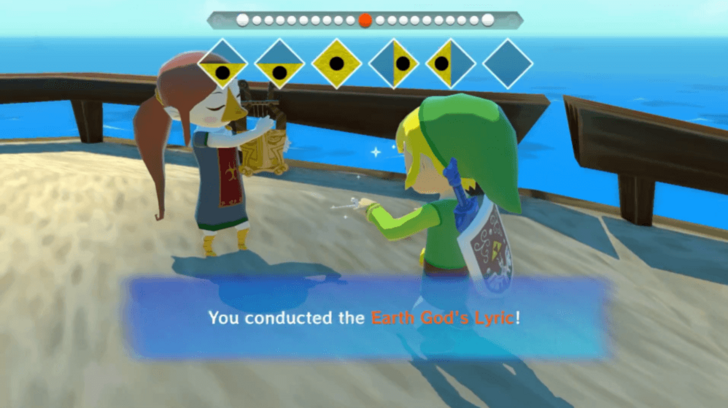 Conduct the Earth God's Lyric in front of Medli. She will join you in your journey to the Earth Temple afterwards. |
| 6 |  Return to Headstone Island. After landing, Red will mention the controls needed to lead, control, and save Medli. |
| 7 | 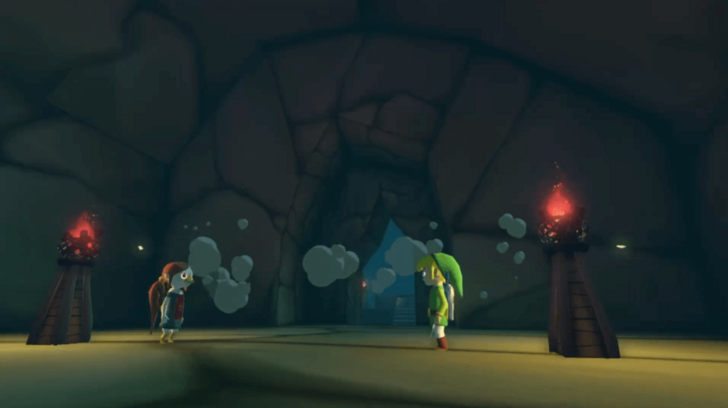 Enter the cave once more to conduct the Earth God's Lyric. The entrance to the Earth Temple will be revealed afterwards. |
First Floor
| 1 | 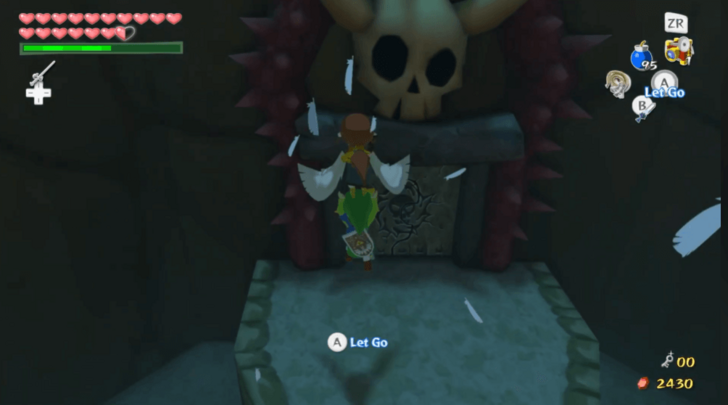 Move towards the end of the platform you are on while carrying Medli. Make her fly you towards the ledge across from you, then enter the door. |
|---|---|
| 2 | 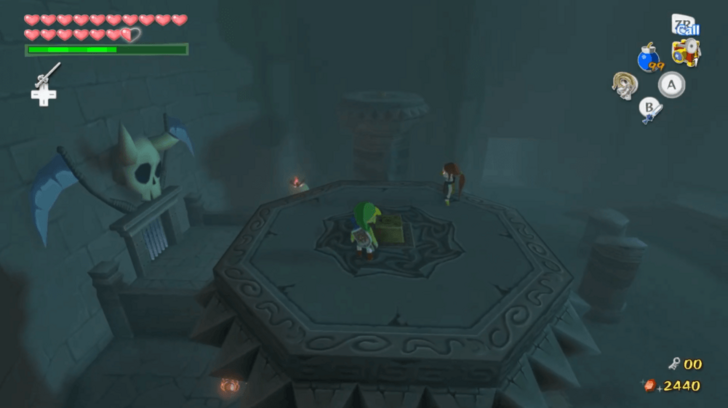 Put Medli down and defeat the Mobgoblins. Afterwards, pick Medli up again and climb to the top of the stairs in the southwest. Run off the ledge and have Medli fly you towards the top of the pillar across it. Put Medli down again before standing on the switch. |
| 3 | 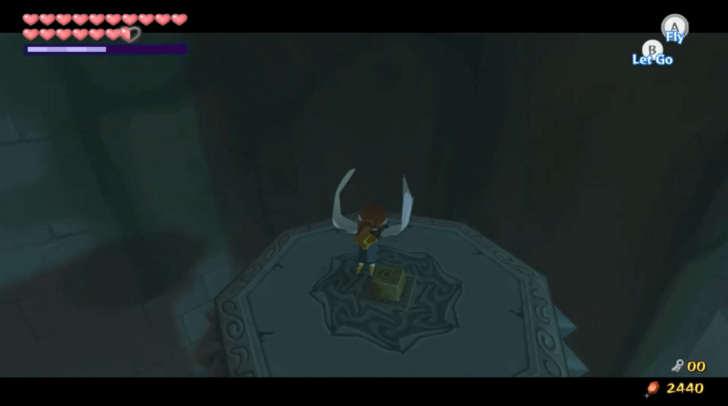 Conduct the Command Melody to take control of Medli. Use the 4/4 tempo then move your right stick ◀, ◆, ▶︎, ◆. Fly her to the southeast pillar and make her stand on the switch. The door on the east of the room will open. Have Medli land on the ground before releasing control with the R shoulder button (Original Version) or ZR (HD Version). Head towards Medli and carry her into the newly opened door. |
| 4 |  Defeat the ChuChus in the room. You can take control of Medli to help defeat the Dark ChuChus. Have her walk to the beam of light in the middle of the room and reflect the light at the enemies with her harp. They will turn into stone, which you can shatter. |
| 5 | 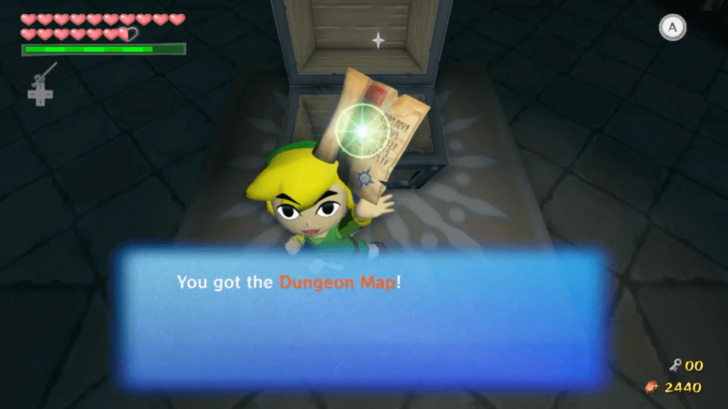 After defeating the ChuChus, two doors to the next room will open. Before leaving, reflect the light onto the north side of the room to reveal a chest. Release control of Medli, and then open the chest to receive a Dungeon Map for the Earth Temple. |
| * | 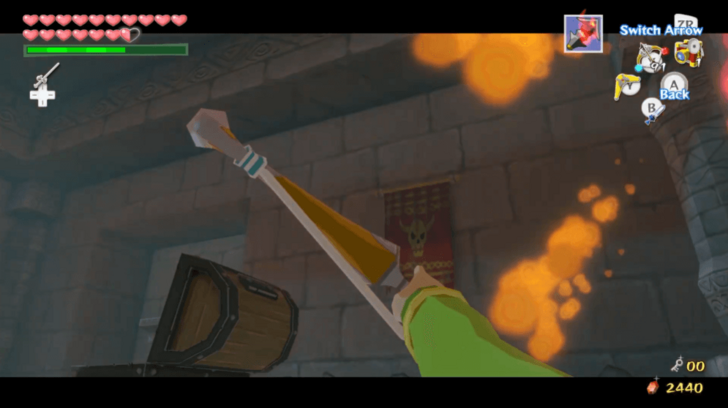 You may destroy the red tapestries in the room with Fire Arrows. This will reveal items that you can collect with your Boomerang. |
| 6 | 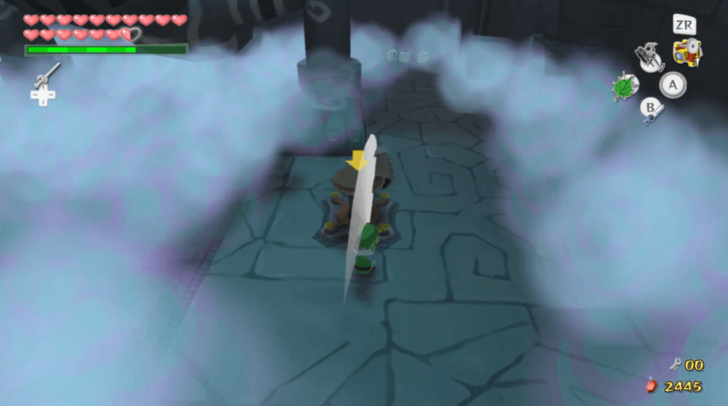 Pick Medli up and go into the east door. Drop Medli and use the Deku Leaf to temporarily blow away some patches of fog. You may also have Medli reflect light onto the fog to part it. Once you see a peg revealed, hammer the peg down to open the door to the next room. If the fog touches you, it will paralyze you and make you unable to use weapons and items. To clear yourself of the fog's effects, you may step under the light in the room. |
| 7 | 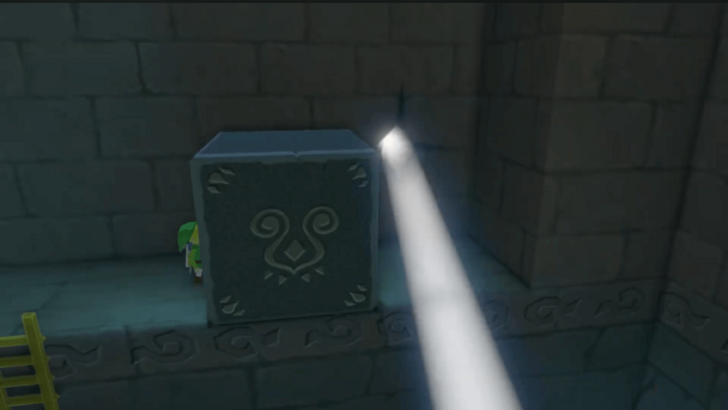 Enter the next room while carrying Medli. Put her down near the entrance before defeating the Red Bubbles in the room. Head to the other end of the room and climb up the ladder. Pull the block at the top to reveal a beam of light. |
| 8 | 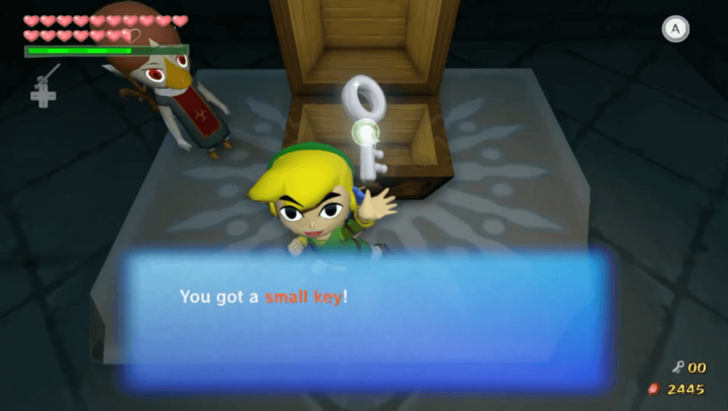 Take control of Medli and reflect the light onto the transparent chest to make it visible. Release your control, and then open the chest to get the Small Key. Defeat or escape the Floor Masters that spawn. |
| * |  If Medli is captured by a Floor Master, she will be taken to a cage in the room with the giant face statue on the first floor. In order to save her, you must use the Command Melody to have her fly out of the cage. |
| 9 |  Head back to the room with the giant face statue and use the Small Key to open the locked door. Defeat the ChuChus inside the room, and then shoot Fire Arrows at the tapestries. One of them will reveal a beam of light from behind it. |
| 10 |  Lure the Dark ChuChus into the light and have them turn into stone. Place the stone ChuChus onto the switches to reveal a set of stairs in the other side of the room. |
| 11 | 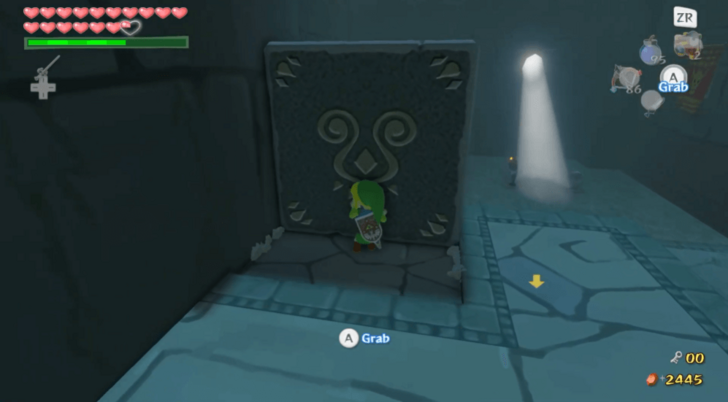 Push the large block at the top of the stairs down. This will open the nearby door. Pick Medli up and go to the next room. |
| 12 | 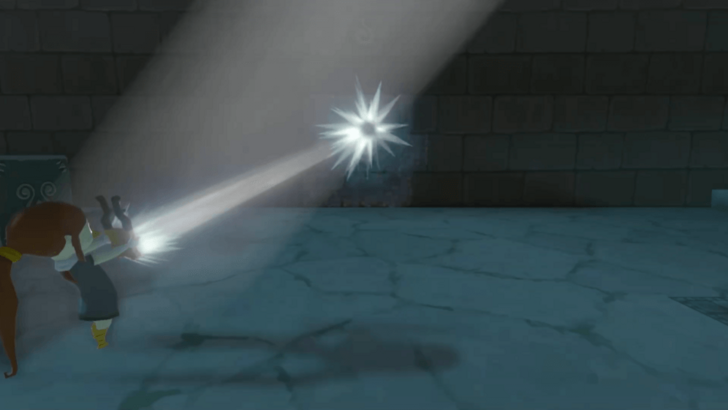 Defeat the Floor Master and push the nearby block onto the wall. After the beam of light is revealed, take control of Medli and place her under it. Reflect light onto the nearby statue and onto the symbols on the walls. The statue and some sections of the wall will break. |
| 13 | 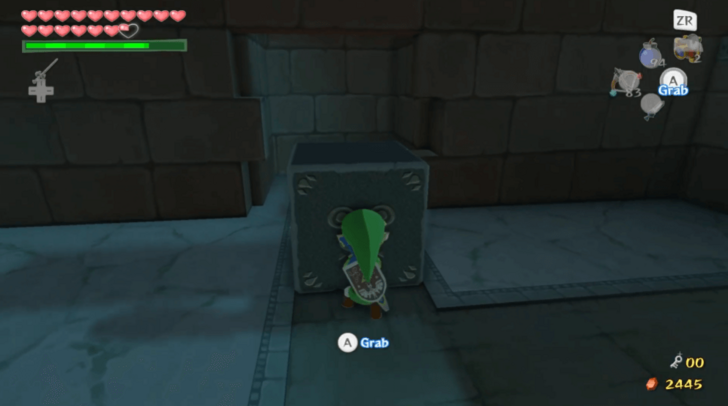 There is a block found behind one of the broken walls. Push it towards the other end of its path to open the next door. Before climbing up, push the third block nearby towards the wall. This will spawn a chest. |
| 14 | 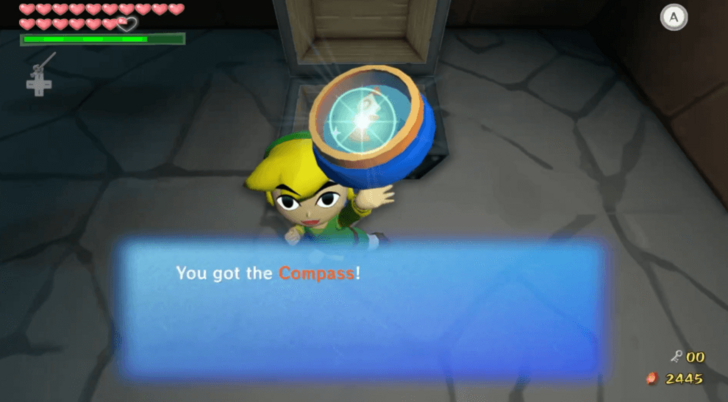 Climb up the room's upper section after having Medli fly there. Open the chest to get the Compass before going through the next door with Medli. |
| 15 | 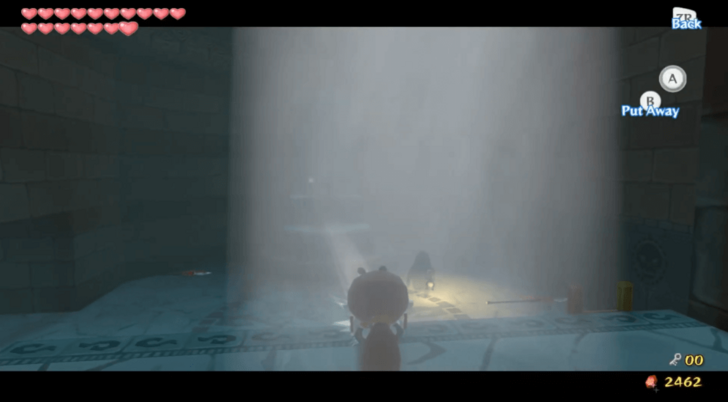 Defeat the Moblins in the room. Take control of Medli afterwards and shine a light on the statues and the Poes. Stairs will appear upon defeating the Poes. You can open the chest revealed behind the broken statues before carrying Medli up the stairs. |
| 16 |  Enter the unlocked door with Medli and leave her on the elevated area of the room. Jump down the lower area and open all the coffins. Grab the Small Key and defeat the ReDead. Afterwards, a ladder will lower, allowing you to climb back up. |
| 17 | 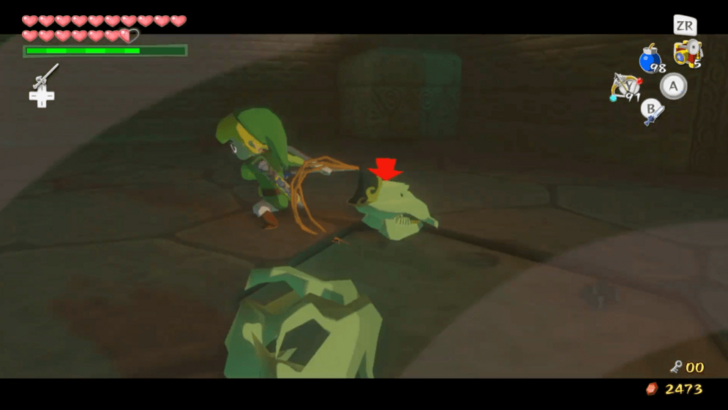 Go back to the previous room and use the Small Key to enter the locked room. Medli does not enter the room with you. You will be locked in until you defeat the three Stalfos in the room. Use bombs on them to break them apart. Afterwards, repeatedly hit their heads until they are defeated. |
| 18 | 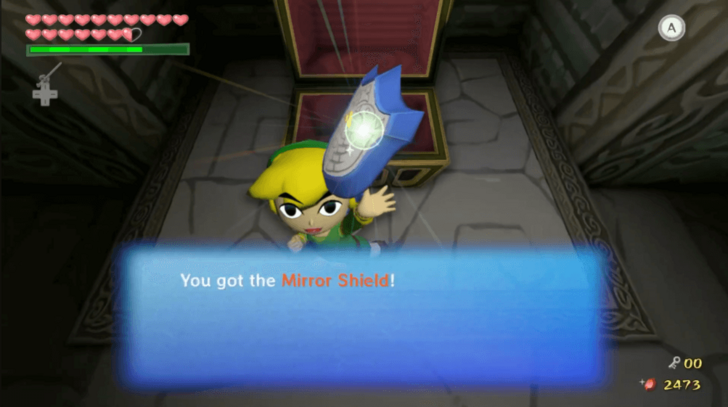 A staircase will appear after defeating the Stalfos. Climb up and open the chest at the top to receive the Mirror Shield. This will allow you to reflect light like Medli. |
| 19 | 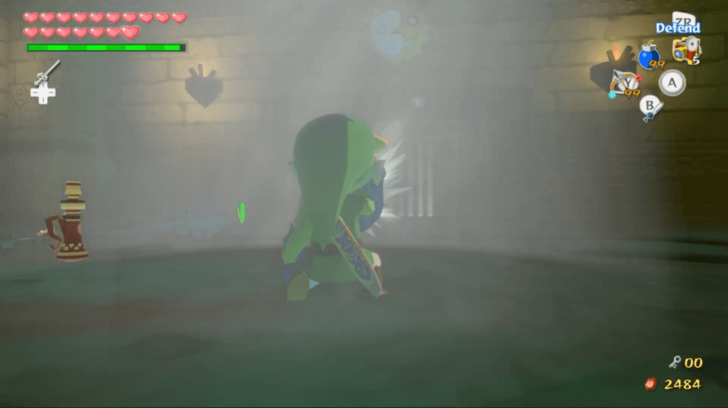 A beam of light will shine down from the middle of the room after you open the chest. Reflect light onto the moon emblem above one of the locked doors to open it. |
| 20 | 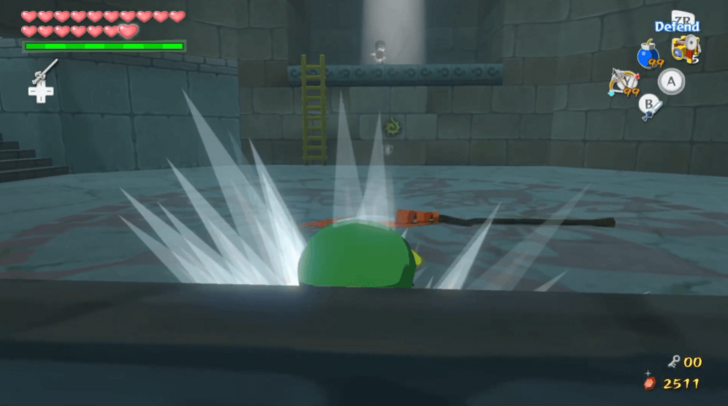 Defeat the opponents in the room before taking control of Medli. Position her underneath the light and have her reflect it onto the first step of the platform across from her. Reflect the light from Medli onto the emblem on the wall to reveal an entrance to a passage. |
| * |  Before going into the door in the passageway, you may collect some Rupees. There is a statue and a part of the wall which you can destroy with light. Keep in mind that the marked area of the wall can only be broken with the help of Medli. |
| 21 |  Go through the door in the passageway to return to the room with the giant face statue. Have Medli reflect light into one of its eyes while you reflect light onto its other eye. This will reveal a set of stairs that leads to the first basement floor. |
| * |  Before going down the stairs, you can return to the room on the right side of the face statue. Defeat the enemies in the room before placing Medli on the switch. Enter the newly opened door and reflect the light onto the sigils on the wall inside. Behind the wall is a chest with a Joy Pendant. |
Basement 1
| 1 | 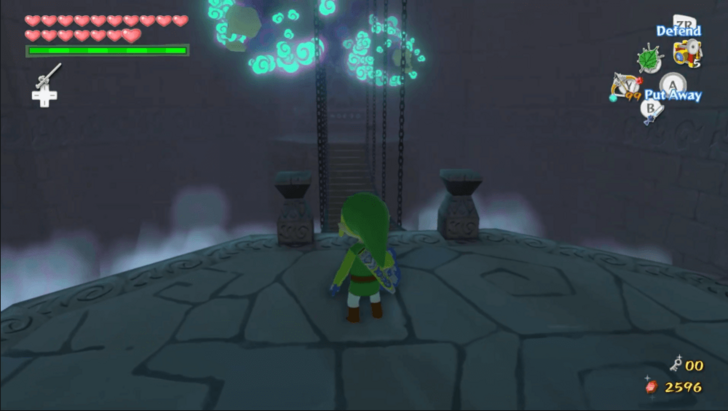 Go down the stairs with Medli and defeat the Blue Bubbles waiting for you near the suspension bridge. Blow their blue fumes away with the Deku Leaf, then use your sword. If you fall from the suspension bridge, there will be a paralyzing fog that temporarily prevents you from using weapons and items. There are also enemies you have to pass before climbing a ladder back up. |
|---|---|
| * | 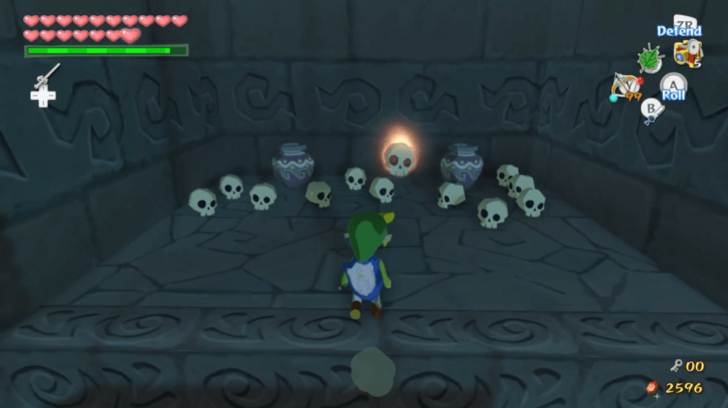 You may opt to glide to the suspended platforms near the bridge. You will eventually be led to a ledge with a Red Bubble. Defeat it, and you can smash the skulls and pots to get some items afterwards. |
| 2 | 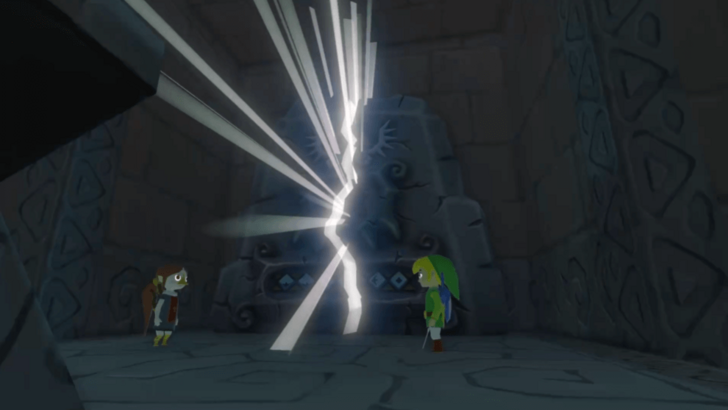 Cross the bridge with Medli and conduct the Earth God's Lyric in front of the stone tablet. Medli will play the melody, which breaks the stone. Go through the newly revealed door while carrying Medli. |
| 3 | 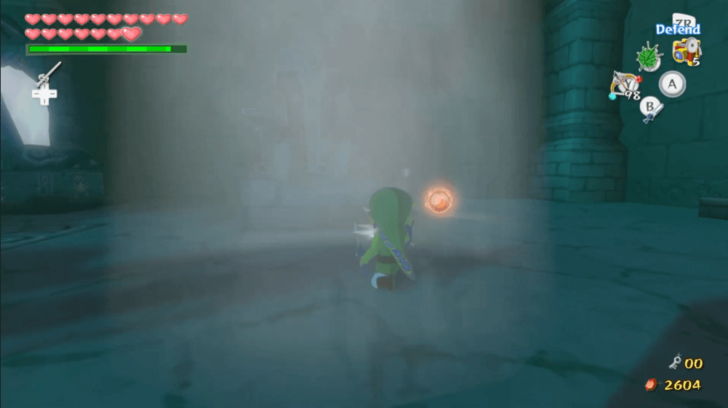 Defeat the ReDead in the room before standing under the light. Reflect the light onto the nearby statue. This will reveal a door behind it, which you can enter alone. |
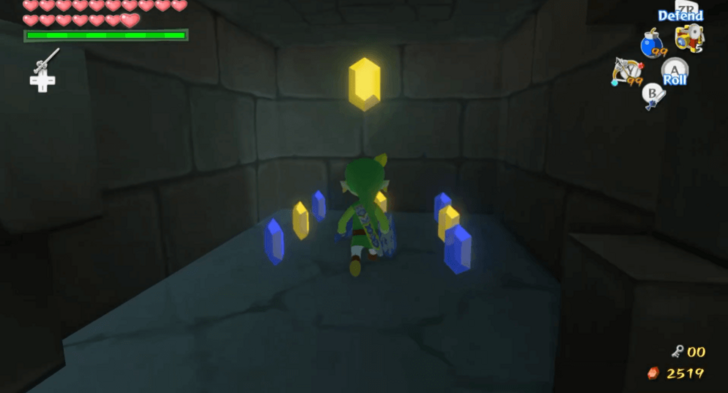
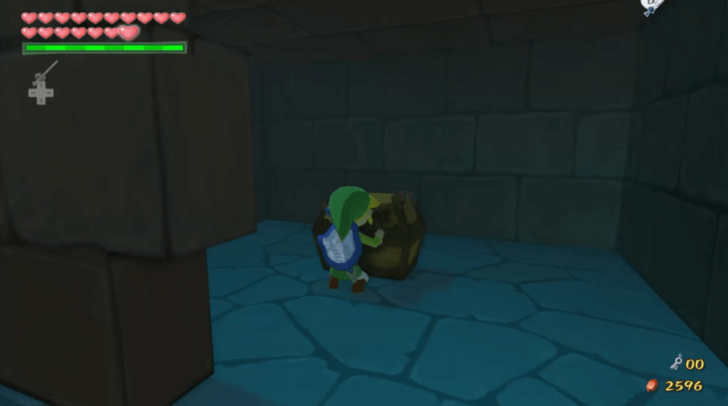
| 4 | 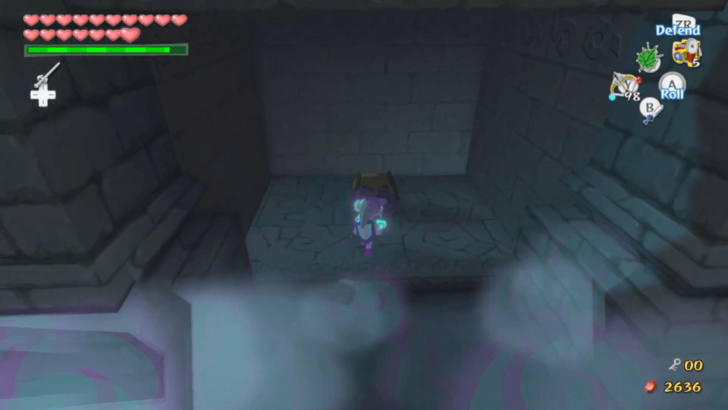 Run through the paralyzing fog while avoiding the Floor Masters to get to the other end of the room. Open the chest to retrieve a Small Key and to clear up the fog. Afterwards, you can defeat the Floor Masters to spawn a chest containing Treasure Chart #12. |
| 5 | 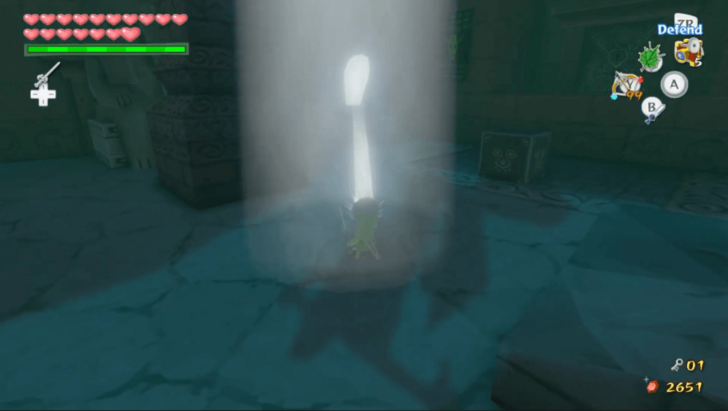 Return to the previous room and reflect light onto the mirror. The light will bounce, breaking the statue behind the pillar. Walk into the newly revealed door with Medli. |
| 6 | 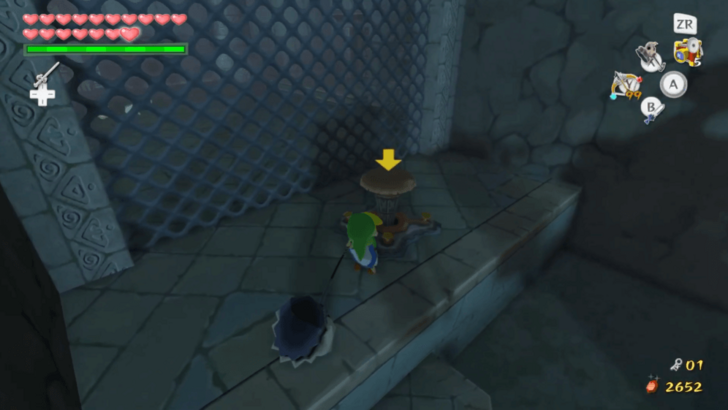 Defeat or avoid the Floor Masters within the fog to get to the other end of the room. Push the statue onto the end of its path before hammering down the peg behind it. A beam of light will be revealed from above, and the statue will reflect it onto the fence behind the peg. |
| 7 |  Return to the previous room and throw Medli up the raised platform. Reflect light onto the statue on the top of the block to break it. You can then push the block onto the platform and climb up. Unlock the door with the Small Key and enter the next room. |
| 8 | 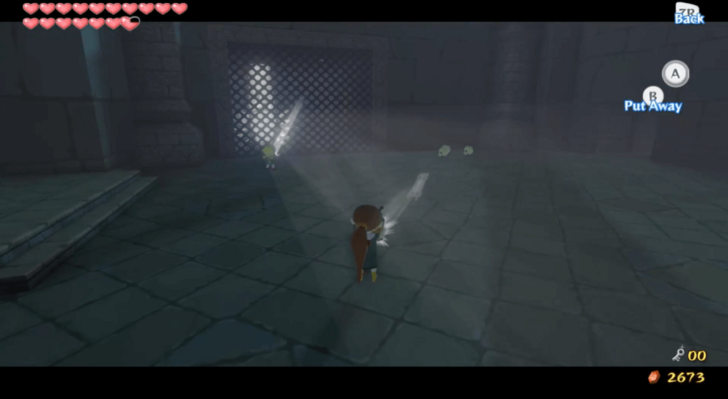 After defeating the opponents in the room, take control of Medli. Have her stand in the light, then reflect it onto the wall next to the fence. Afterwards, you can reflect her light onto the large statue, revealing a door behind it. |
| 9 | 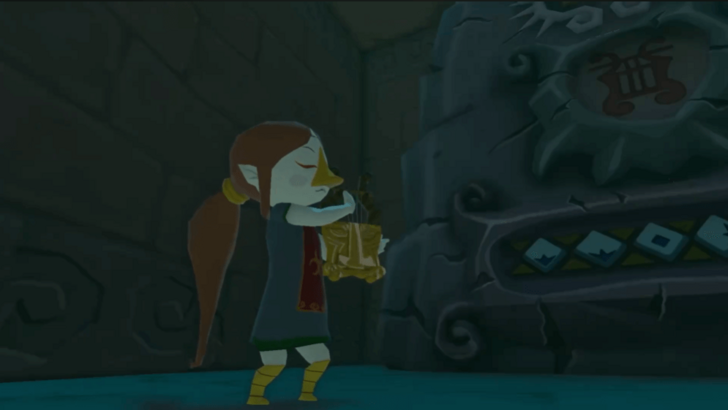 Enter the room and defeat the opponents that can come out of the coffins. You may pick up a Red Rupee in a chest along the way. Bring Medli to the stone tablet and conduct the Earth God's Lyric. She will play the melody, which will break the stone and reveal the door behind it. |
| 10 |  Run down the staircase until you reach the end of the tunnel. You may destroy the nearby rock with a bomb and activate the Warp Pot below it. Run and fly down the stairs and platforms with Medli until you reach the door. |
Basement 2
| 1 |  Take control of Medli and have her fly to the platform in the center of the room. Have her step of the switch to activate the light from above. Have her land on the ground below before releasing control. You can have her reflect light onto a transparent chest. Open it to receive the Purple Rupee. |
|---|---|
| 2 | 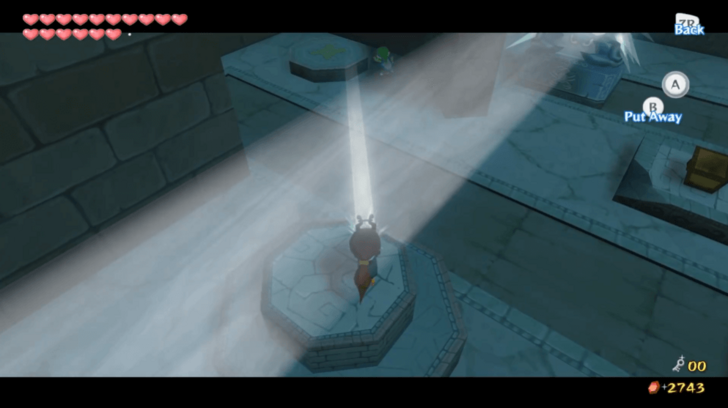 Push the mirror statues along the path until they are on the tiles with the scorpions. Then, have Medli stand on the two-stepped platform near the transparent chest and make her reflect light onto the nearby alcove. |
| 3 | 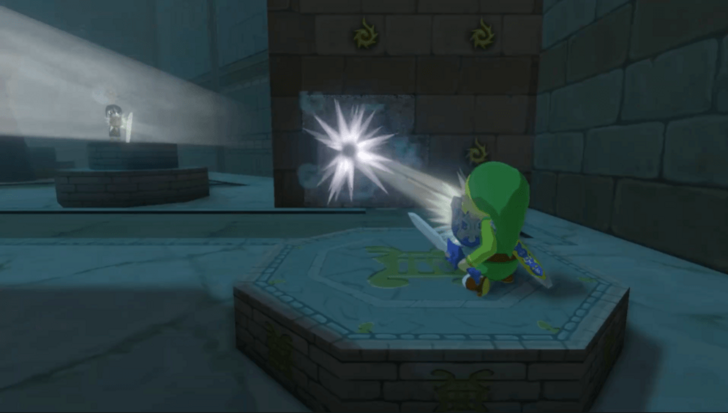 Reflect Medli's light onto the sygils on the wall. There are pots and a mirror statue behind the broken wall. Break the pots to get Rupees, then push the mirror statue to the end of its path. |
| 4 | 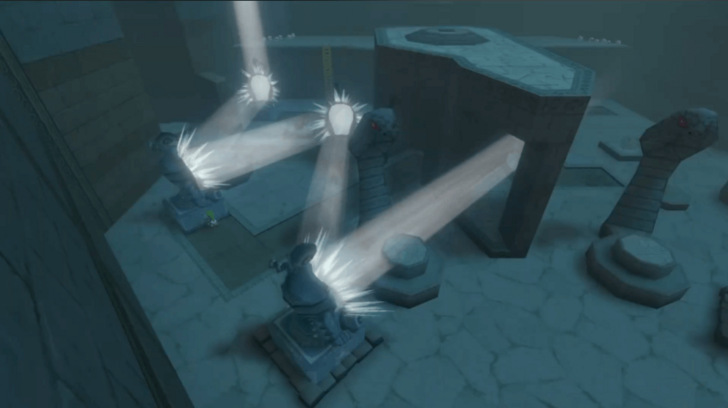 Stand on the platform near the transparent chest and direct light onto the nearby elephant statue. The statue will break, revealing a mirror statue behind it. Push it until it is on the scorpion tile. The lights will bounce to the other side of the room, following a W shape. |
| 5 | 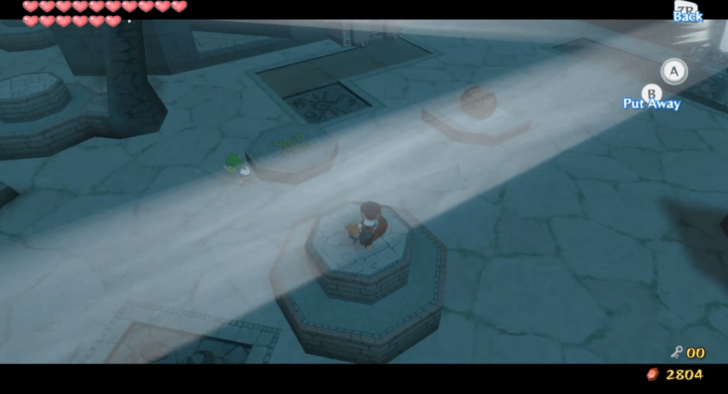 Follow the path of light until you find another mirror statue. Push it onto the other side of its path and then have Medli on the two-stepped platform nearby. Make her reflect light onto the transparent chest and elephant statue. |
| 6 | 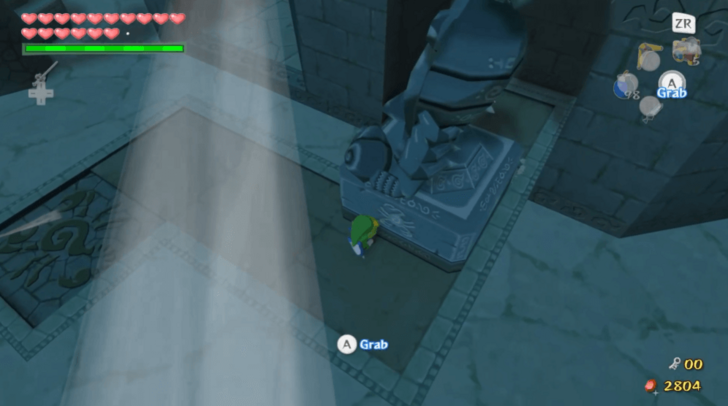 Behind the broken elephant statue is a mirror statue. Push it along its path until it reaches the scorpion tile. |
| 7 | 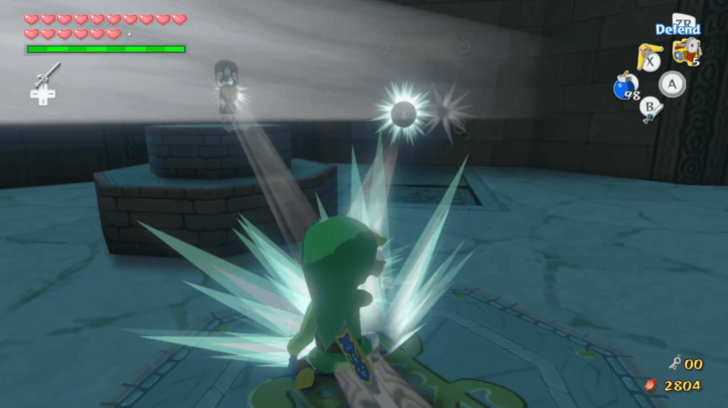 Have Medli reflect light onto the marked pedestal near the mirror statue you just moved. Stand on that pedestal and reflect Medli's light onto the sigils on the nearby walls. After the wall breaks, push the newly revealed mirror statue to the other end of its path. |
| 8 | 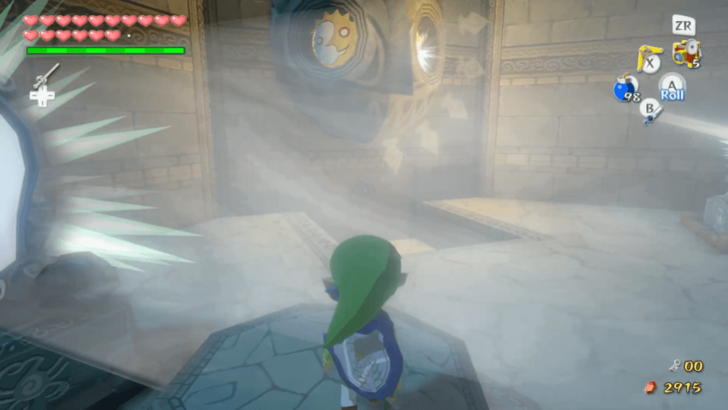 Take control of Medli and make her stand on one of the platforms near the face statue at the corner of the room. Have her reflect light onto one of its eyes. Stand on the platform next to Medli's and reflect light onto the statue's other eye. A door to another room will be revealed. |
| 9 |  Go back to the chest and collect the Joy Pendant. Nearby, there is a part of the wall that shattered upon shining a light onto the face statue's eyes. Go inside and find the door at the end of the tunnel. |
| 10 | 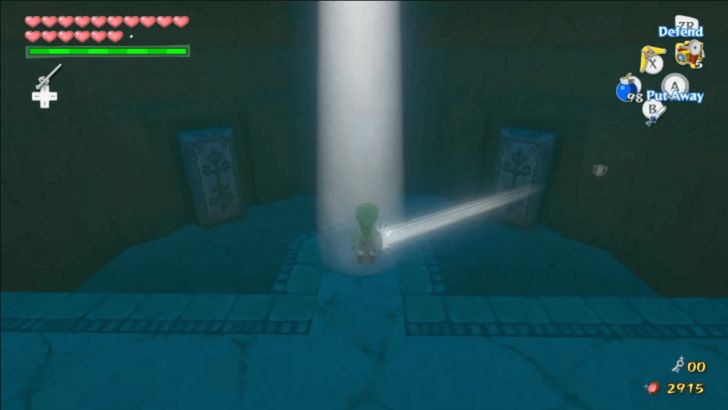 Enter the room and reflect light onto one of the coffins below. Come down to defeat the Stalfos that comes out, then pull out the block in the wall to climb back to the light. Repeat this process for the remaining two coffins. A chest containing Treasure Chart #20 will spawn afterwards. |
| 11 | 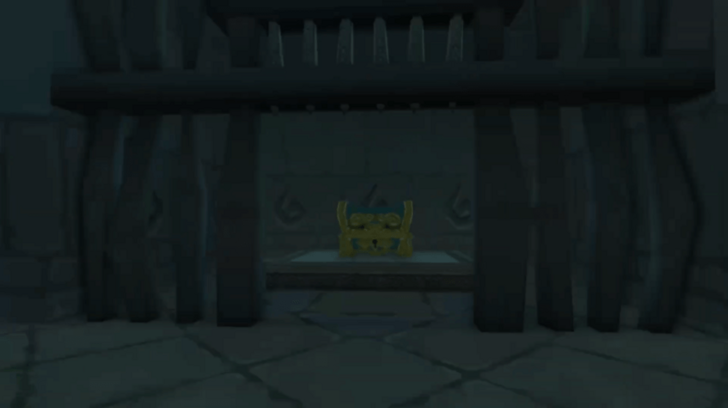 Go through the door below the face statue. Defeat the enemies inside the room to open a gate. Open the chest behind the gate to obtain the Big Key. |
| 12 | 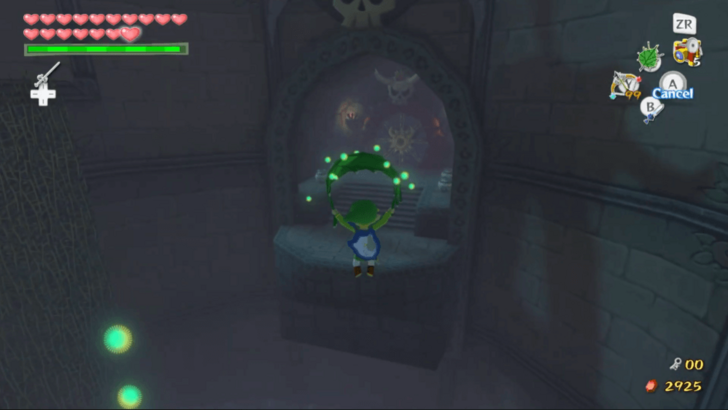 Return to the room with the spiraling staircase. Climb up the vines and stairs to the upper part of the room. After arriving at top, jump off the upper platform where the Warp Jar is and glide to the platform with the large door. You may destroy the pots to get some items before enterring and fighting Jalhalla. ▶︎ Jalhalla Boss Guide |
| 13 | 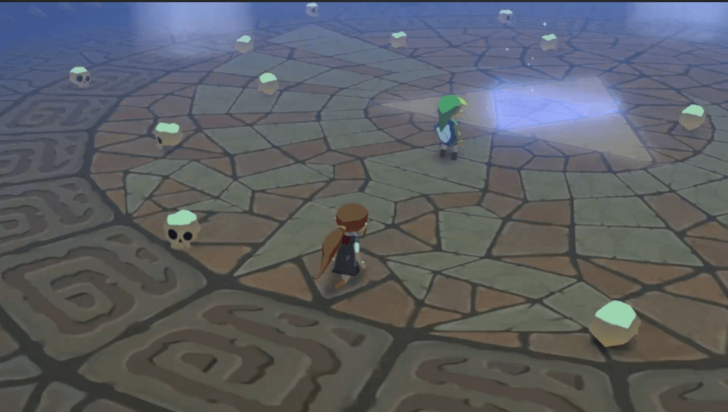 After defeating Jalhalla, you may claim the Heart Container it leaves behind. Stand on the glowing Triforce in the middle of the room. This will partially awaken the Master Sword and make you exit the dungeon afterwards. ▶︎ Wind Temple Walkthrough |
Earth Temple Boss
Jalhalla
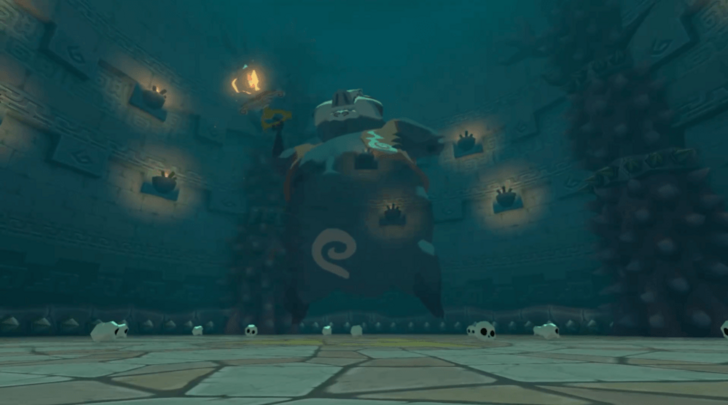
Jalhalla is the boss you'll face at the end of the Earth Temple. It can be stunned by light and will split into 15 Poes once thrown into spikes.
It can attack by blowing fire from its lantern and blasting wind. It can also reverse the player's controls upon contact.
How to Beat Jalhalla
| How to Beat Jalhalla |
|---|
|
|
Reflect Light at Jalhalla
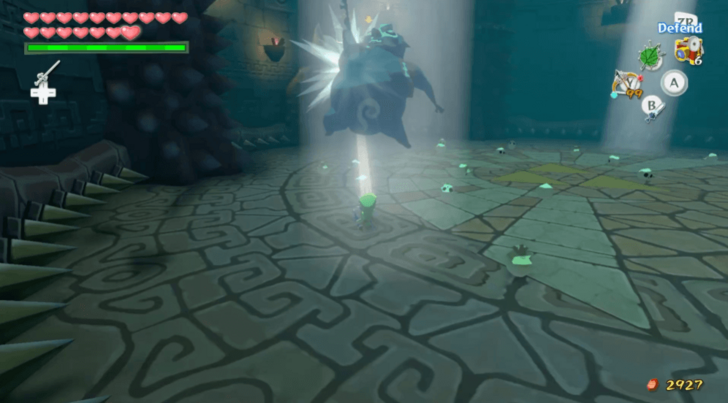
There are three beams of light shining down from above in the boss room. While they disappear and reappear, they will always be in the same places.
You must reflect the light onto Jalhalla in order to stun it temporarily.
Throw Jalhalla Onto Spiked Pillars
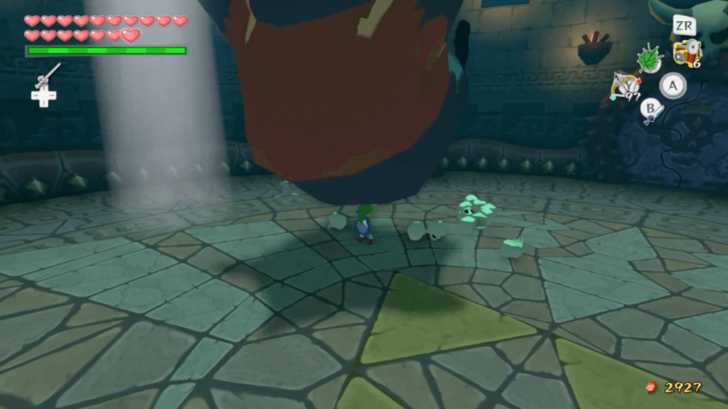
After Jalhalla is stunned, you must pick it up and throw it onto one of the spiked pillars in the room. This will cause Jalhalla to split into 15 Poes.
Defeat as many Poes as you can before the remaining Poes reform into Jalhalla. Repeat the process of reflecting light and throwing it onto the pillars. You must do this until there are no Poes left.
Do Not Let Jalhalla Touch You
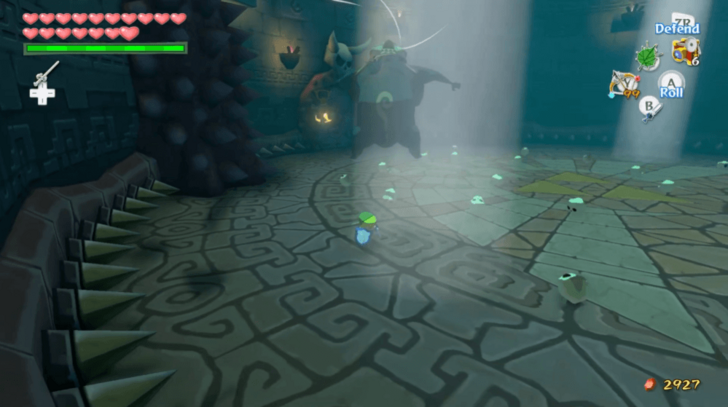
If Jalhalla makes contact with you, your directional controls will be reversed. This can be tricky to navigate, so be sure to avoid this attack!
Earth Temple Items to Get
First Floor Items
| Item | How to Get |
|---|---|
| Mirror Shield | Obtained in the room where you get locked into with the three Stalfos. The chest will appear after defeating them all. |
| Joy Pendant | Obtained the optional room you can access after lighting up the face statue. It is behind a wall that you have to break by reflecting light. |
Basement 1 Items
| Item | How to Get |
|---|---|
| Treasure Chart #12 | Obtained in the room with the paralyzing fog and Small Key. The chest will appear after defeating the Floor Masters in the room. |
Basement 2 Items
| Item | How to Get |
|---|---|
| Joy Pendant | Inside a transparent chest. You must reflect light onto it to be able to open it. |
| Treasure Chart #20 | Inside the secret room behind a breakable wall. You must defeat all the Stalfos inside for the chest to appear. |
The Legend of Zelda: The Wind Waker Related Guides

Walkthrough Guides
| 1 | Outset Island | 2 | Forsaken Fortress |
|---|---|---|---|
| 3 | Windfall Island | 4 | Dragon Roost Island |
| 5 | Dragon Roost Cavern | 6 | Forest Haven |
| 7 | Forbidden Woods | 8 | The Third Pearl |
| 9 | Tower of the Gods | 10 | Hyrule Castle |
| 11 | Return to the Forsaken Fortress | 12 | Earth Temple |
| 13 | Wind Temple | 14 | Triforce |
| 15 | Ganon's Tower | ||
Comment
Author

The Legend of Zelda: The Wind Waker Walkthrough & Guides Wiki
Earth Temple Walkthrough
Rankings
- We could not find the message board you were looking for.
Gaming News

![Death Stranding 2: On The Beach [PC] Review | A Port That Delivers](https://img.game8.co/4447392/15310a0c9aa1b6843bb713b2ea216930.jpeg/show)


Popular Games

Genshin Impact Walkthrough & Guides Wiki
Umamusume: Pretty Derby Walkthrough & Guides Wiki
Crimson Desert Walkthrough & Guides Wiki
Monster Hunter Stories 3: Twisted Reflection Walkthrough & Guides Wiki
Honkai: Star Rail Walkthrough & Guides Wiki
Pokemon Pokopia Walkthrough & Guides Wiki
The Seven Deadly Sins: Origin Walkthrough & Guides Wiki
Wuthering Waves Walkthrough & Guides Wiki
Zenless Zone Zero Walkthrough & Guides Wiki
Arknights: Endfield Walkthrough & Guides Wiki


Recommended Games
Fire Emblem Heroes (FEH) Walkthrough & Guides Wiki
Diablo 4: Vessel of Hatred Walkthrough & Guides Wiki
Cyberpunk 2077: Ultimate Edition Walkthrough & Guides Wiki
Yu-Gi-Oh! Master Duel Walkthrough & Guides Wiki
Super Smash Bros. Ultimate Walkthrough & Guides Wiki
Pokemon Brilliant Diamond and Shining Pearl (BDSP) Walkthrough & Guides Wiki
Elden Ring Shadow of the Erdtree Walkthrough & Guides Wiki
Monster Hunter World Walkthrough & Guides Wiki
The Legend of Zelda: Tears of the Kingdom Walkthrough & Guides Wiki
Persona 3 Reload Walkthrough & Guides Wiki


All rights reserved
© Nintendo. The Legend of Zelda and Nintendo Switch are trademarks of Nintendo.
The copyrights of videos of games used in our content and other intellectual property rights belong to the provider of the game.
The contents we provide on this site were created personally by members of the Game8 editorial department.
We refuse the right to reuse or repost content taken without our permission such as data or images to other sites.