Dragon Roost Cavern Walkthrough
▲ 100% Completion Checklist
▲ All Heart Pieces & Empty Bottle Locations
▲ Treasure Charts | Triforce Charts
▲ GameCube and Wii U Version Differences
▲ Upgrades ▶︎ Wallet | Magic Meter | Picto Box
Dragon Roost Cavern is a dungeon in The Legend of Zelda: The Wind Waker located on Dragon Roost Island. Read on for a complete walkthrough of Dragon Roost Cavern, as well as a list of the important items that you can get in this section of the game!
| ◀︎ Previous Area | Next Area ▶︎︎ |
|---|---|
| Dragon Roost Island | Forest Haven |
List of Contents
Dragon Roost Cavern Walkthrough
First Floor
| 1 | 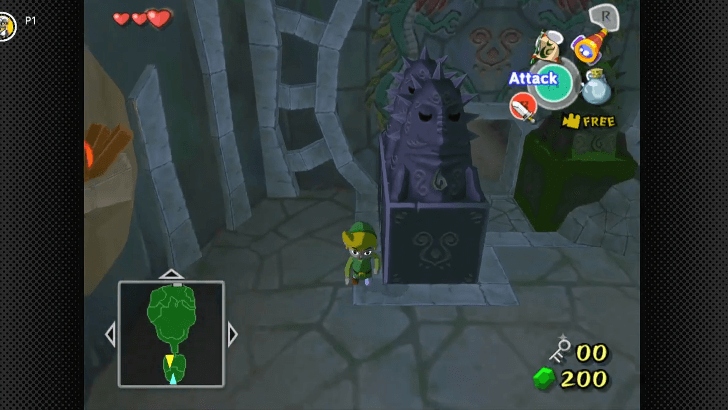 Approach the statues in the first room and pull the left one backwards. Circle around it and pull the middle statue to the left to reveal an opening on the wall that leads to the next room. |
|---|---|
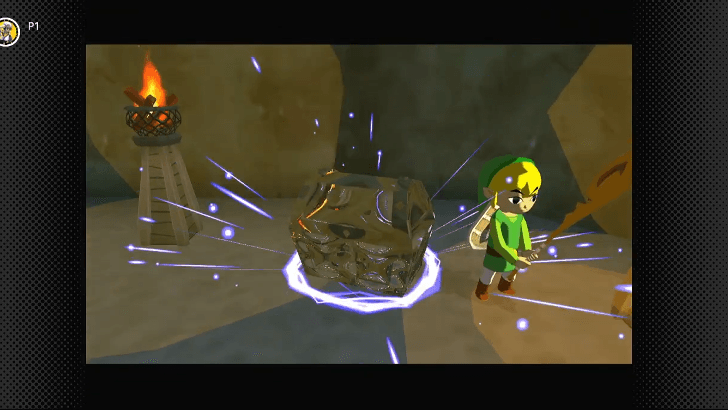
| 2 | 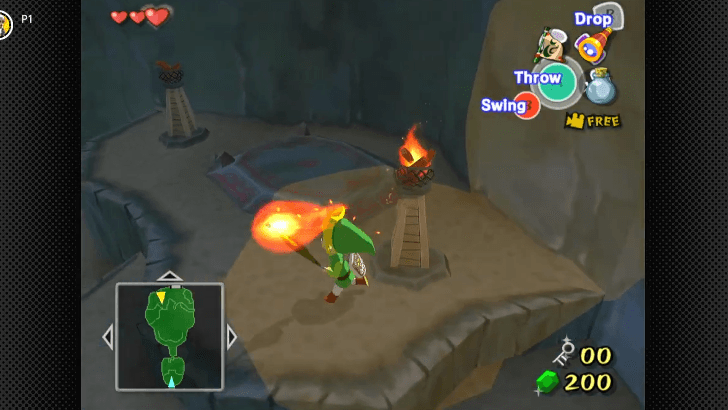 Defeat the Bokoblins inside and take one of the burning sticks they were holding. Use its fire to light up the two torches on the left side. This will reveal a chest containing a Small Key, which you can use to unlock the door to the next room. |
| 3 | 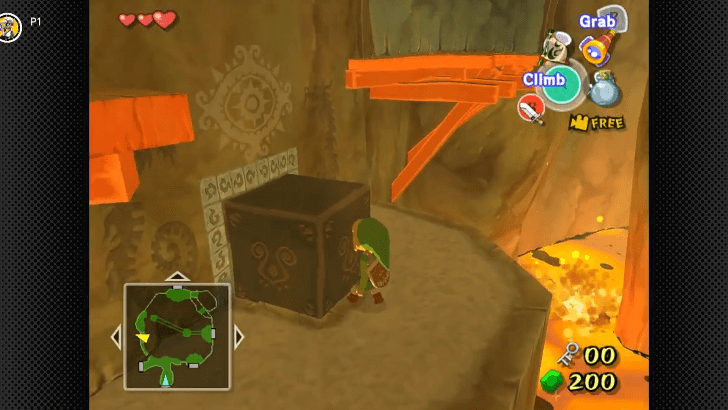 Break the planks blocking your way and turn left. Follow the wooden path and jump down the second, wider gap. You can pull the block out from the wall and use it to reach the other side of the wooden path. |
| 4 | 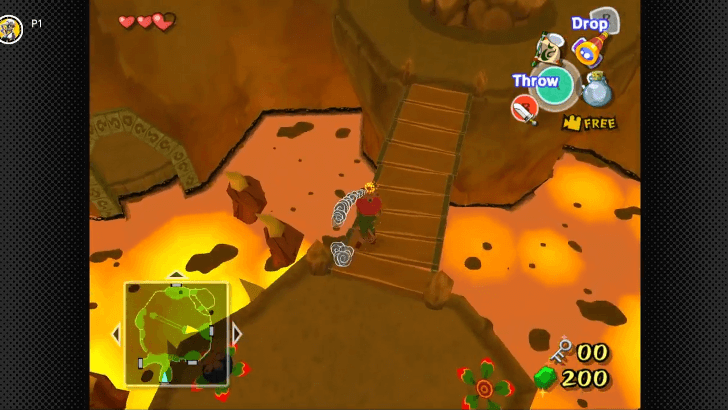 The path will now curve to the right, towards the large boulder on the other side of the lava room. Wait for the flame pillar to stop then jump over to the bridge. Near the end are Bomb Flowers that you can use to blow up the boulder that blocks the door to the next room. |
| 5 | 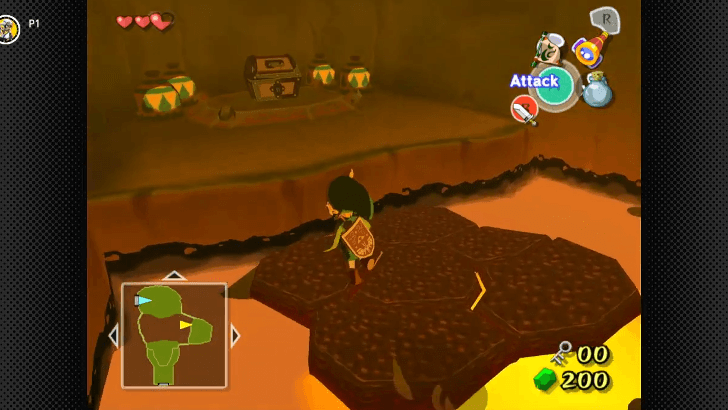 In the next room, pick up a water pot on your right and throw it at the lava pool. This will create a square platform that you can use to cross the lava safely. First, create a platform that will allow you to reach the chest on the left side containing the Dungeon Map. The platform you just used would've been destroyed by now, so just create another platform using one of the jars behind the chest to get to the ladder that leads to the other door. |
| 6 | 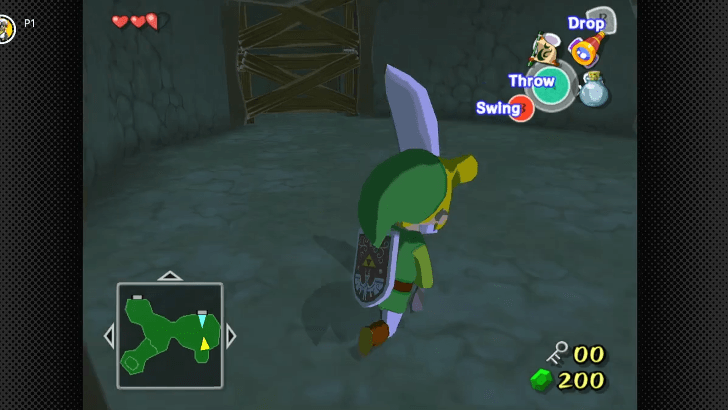 Approach the alcove ahead of you carefully and wait for the Bokoblin inside to burst out of it. Defeat it and take the blade it was using as your own sword isn't strong enough to break the planks in this room. |
| 7 | 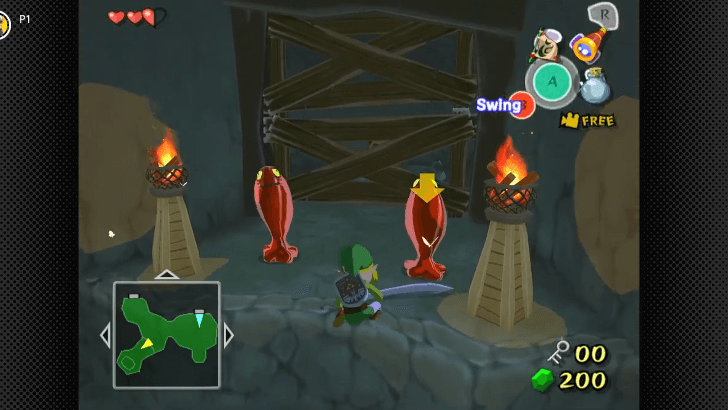 Use the blade to clear the path ahead, as well as the planks behind the two torches to access another chest containing a Small Key. Turn around and take the door on your left to return to the large lava room from earlier. |
| 8 | 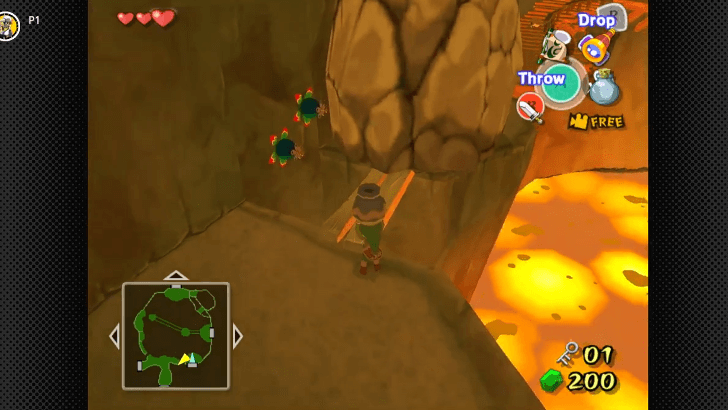 Pick up a pot or rock, and throw it at one of the Bomb Flowers on the wall next to the boulder. If you run out of things to throw, simply enter then exit the previous room to make the objects respawn. This will clear the path back to the locked door that you passed by earlier. Use the Small Key here to proceed. |
| 9 | 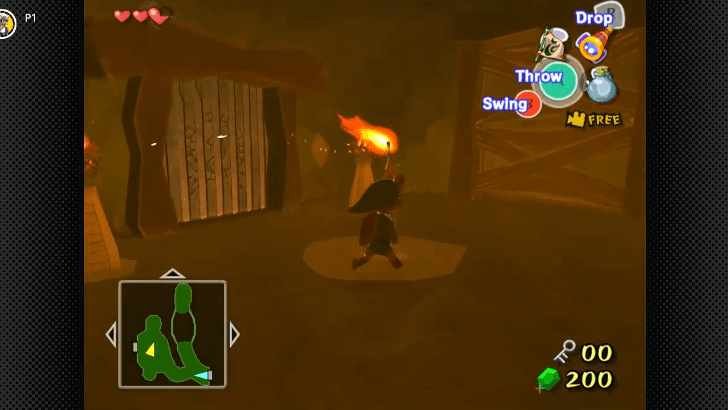 Head to the part of the room with the torches and bait the Bokoblin out of the alcove on your left. Defeat it, pick up its stick, light it on fire using one of the torches, and burn the planks on your right. Step on the switch here that will open the door ahead. |
| 10 | 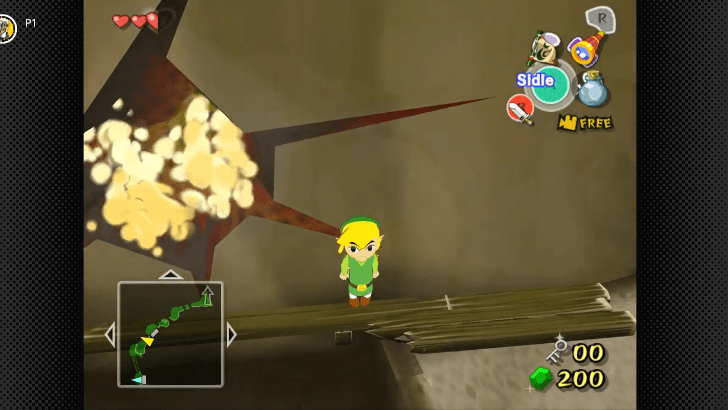 Cross the bridge and climb the ladder past the Bokoblin. Watch out for the lava sprays! At the top is a new enemy called Kargoroc that will swoop down and interrupt your ascent. Be sure to take it out first before you sidle over to the other side. |
| 11 | 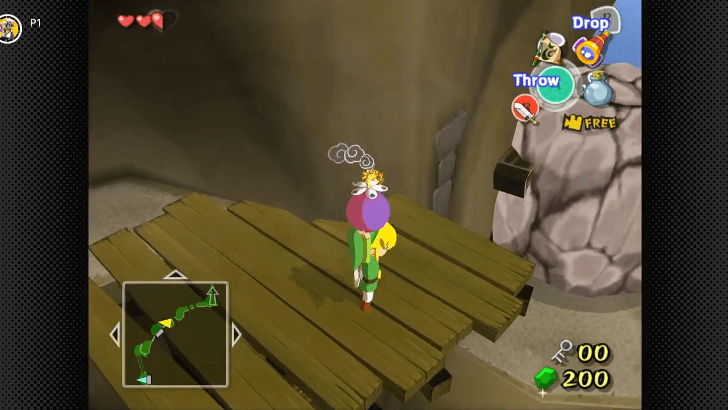 Go around the boulder and grab onto the wooden ledge. Move sideways to cross the gap, then climb up. Pick up the Bomb Flower at the top, and throw it at the boulder below to unblock the door that leads back inside the cavern. Jump down to it, and enter. |
| 12 | 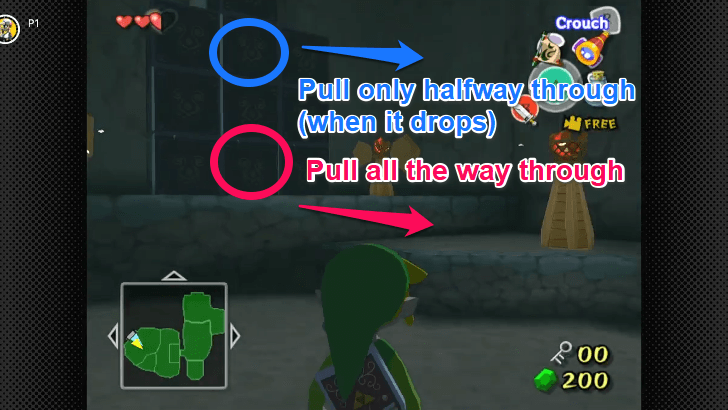 There are multiple ways to solve the block puzzle ahead and climb to the passage above the stack. The fastest method is to pull the middle block at the base so the topmost block drops and reveals the opening. Then, climb onto it, and pull the center block only once, so it can be used as a step to reach the passage above without dropping the block above. |
Second Floor
| 1 |  To your left is another box you can pull and use as a platform. Turn right and open the chest containing the dungeon's Compass. |
|---|---|
| * | 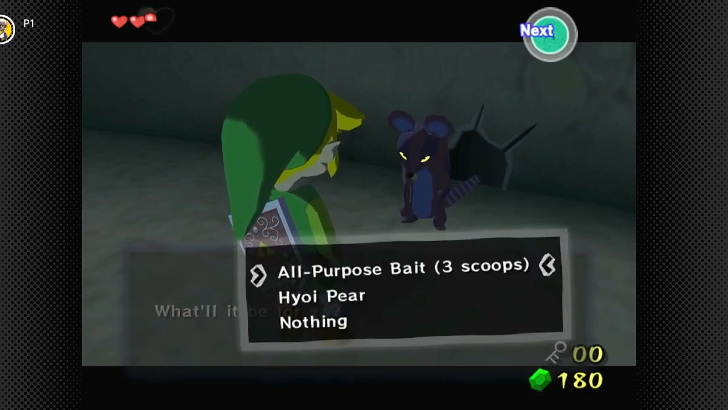 If you purchased a Bait Bag and some All-Purpose Bait from Beedle earlier, you can throw some of the bait in front of the hole below to lure out a Rat. It won't attack you this time. Instead, it will sell you some items they have in stock such as bait or potions! |
| 2 | 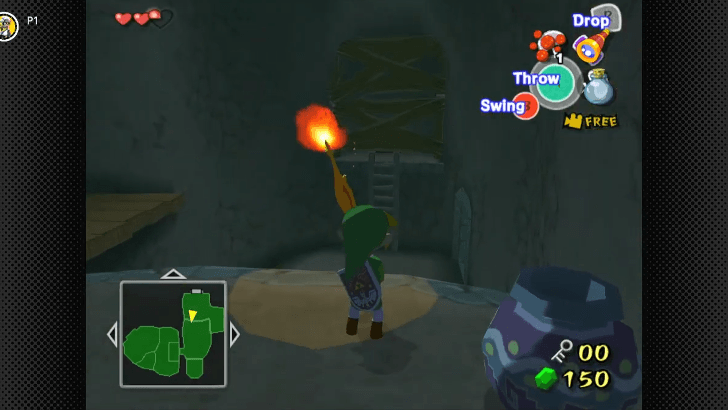 Near the locked door is a pot containing some sticks. Grab one of the sticks and ignite it on the torch next to the chest. With the burning stick in hand, face the opposite end of the room and throw it at the planks to reveal a chest containing a Small Key. Take the key and use it on the locked door. |
| 3 | 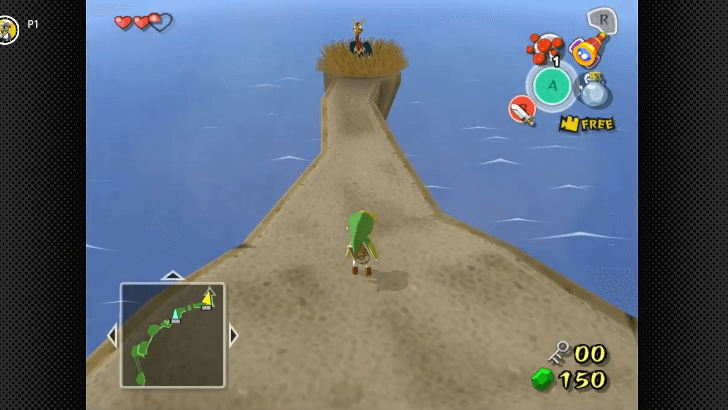 Turn right and go up the stairs while jumping over the gaps. Lock on the Kargoroc on your left and quickly attack it before it lifts off so you can get the Small Key right away. Use the key on the next locked door. |
| 4 | 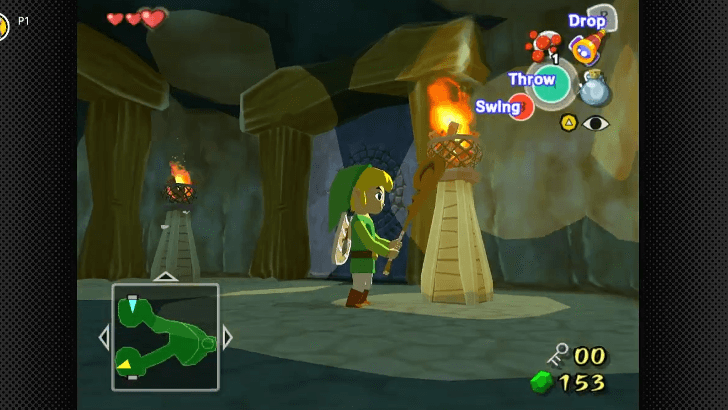 Upon entering this dark room, take one of the sticks from the pot and ignite it with the torch. Move to the next room with the group of Keese and torch the planks blocking the way to the last room. You need to light the two torches here to open the door to the next area. |
| 5 | 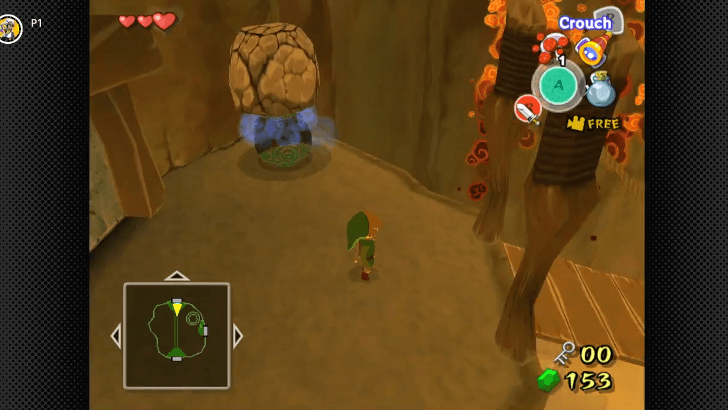 Pick up a Bomb Flower and throw it at the boulder to unlock a new Warp Pot. This pot will take you back near the beginning of the dungeon in case you need to do some backtracking. Once you're set, cross the bridge and enter the next room. |
| 6 | 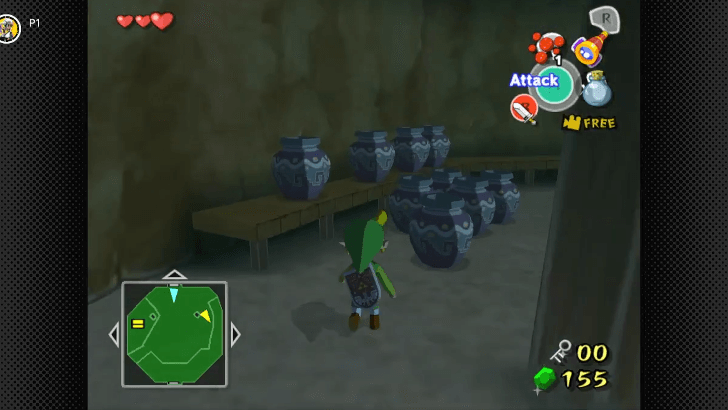 You need to take out the Bokoblins inside this room before you can get out. There are three Bokoblins here, with one of them taking you head on as soon as you enter. After defeating the first Bokoblin, destroy the pots on the east side until you find the second Bokbolin. |
| 7 | 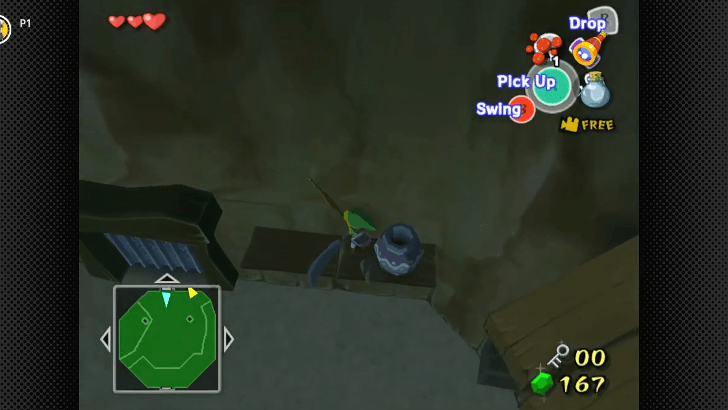 The third Bokoblin is actually just on the shelf by the door you entered from. You can break the pot by either throwing another pot or a stick or jumping from the ledge above it. |
| * |  There's a hidden chest on the west side of the room that contains Treasure Chart #39. You need to light the other torch using one of the sticks in the room to reveal it. |
| 8 | 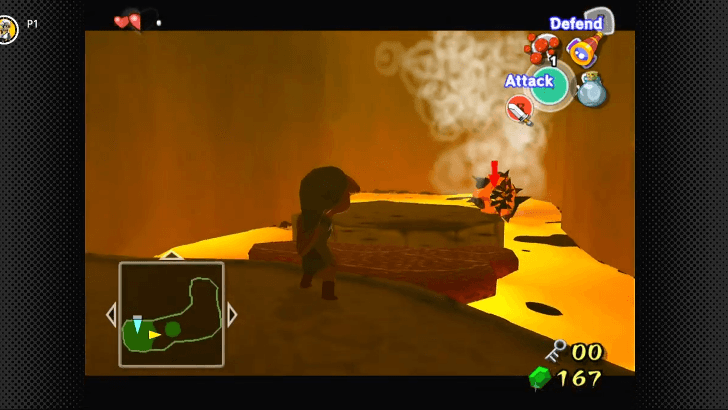 With the Bokoblin trio defeated, climb up the ladder and through the door at the top. Throw a pot of water at the Magtail crawling on the center island. The water inside the pot will make it curl into a ball, making it vulnerable to your attacks. |
| 9 | 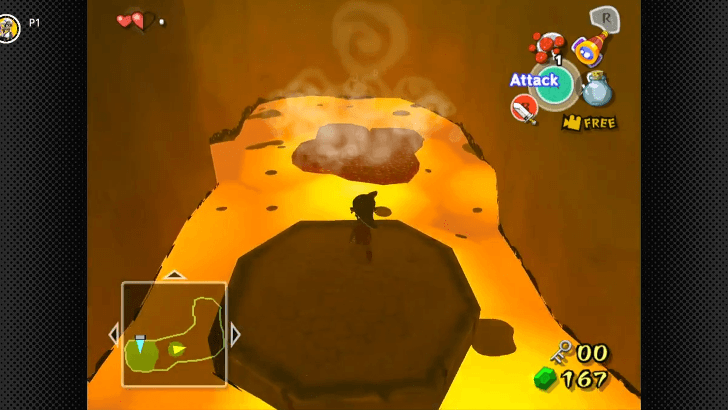 Defeat this enemy, then jump to the previous platform to grab another pot. Throw it at the spot where the lava pillar is coming out from. Jump on the created platform to reach the door at the top. |
Third Floor
| 1 | 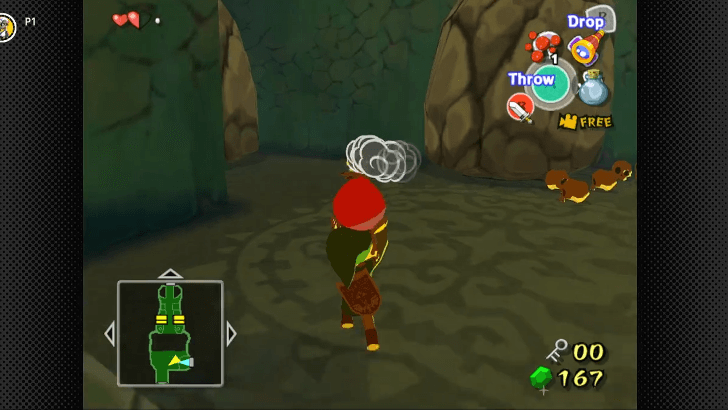 Pick up a Bomb Flower and bomb both boulders near you. The nearest boulder hides a yellow Warp Pot, while the further one blocks the door that leads to the fourth floor. |
|---|
Fourth Floor
| 1 | 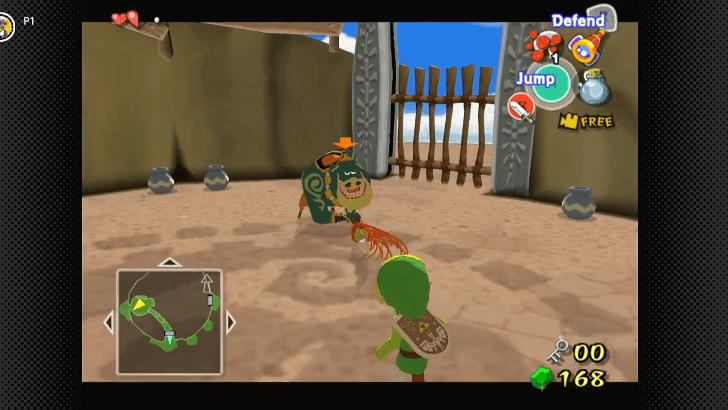 Climb the crumbling stairs on your right until you reach the room at the top where you'll see Medli. Looks like she made it! Kinda. Defeat the Bokoblins and the Moblin backup to free Medli. She will give you another key item as thanks—the Grappling Hook! How nice of her. Equip this item onto one of your button slots. |
|---|---|
| 2 | 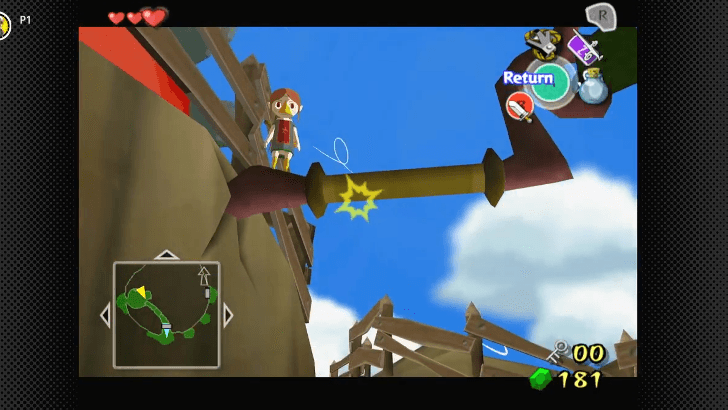 Go up the slope on the north wall and Medli will give you a crash couse of the new tool she just gave you. With the Grappling Hook, swing across the gap below Medli. Do the same on the next gap and you will end up in front of the door with the Warp Pot. Do not enter here. Instead, keep going down the path. |
| 3 | 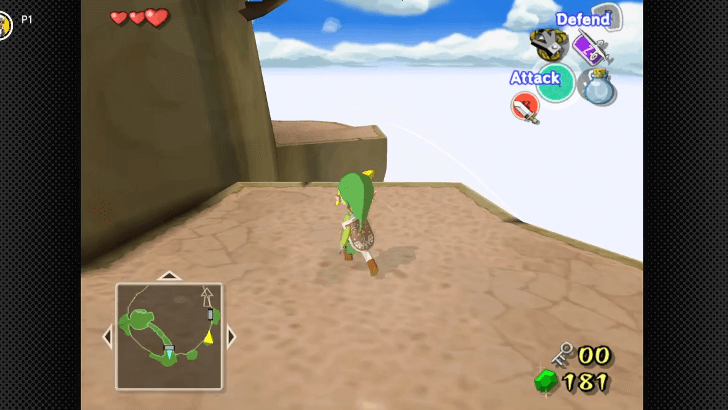 Get comfortable in using the Grappling Hook by swinging by the poles to your left. This path will take you to the east door that leads back inside the cavern. |
Finding the Big Key
| 1 | 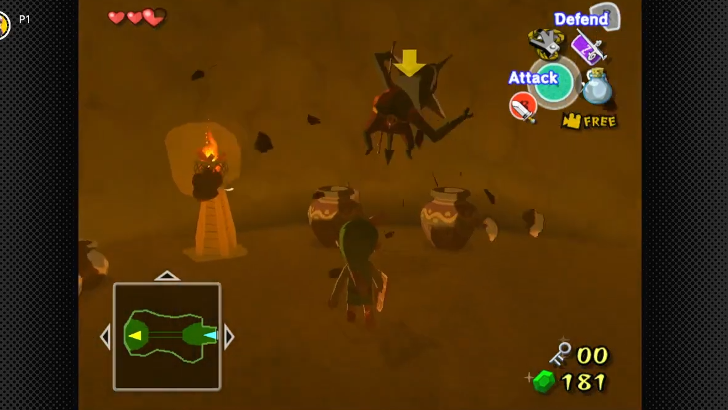 As you cross the bridge, ignore the Bokoblin, and wait until you get to the other end of the bridge before fighting it. There's also another Bokoblin hiding in one of the pots that will pounce on you as soon as you get close. Once the pot Bokoblins have been dealt with, a chest will appear below. |
|---|---|
| 2 | 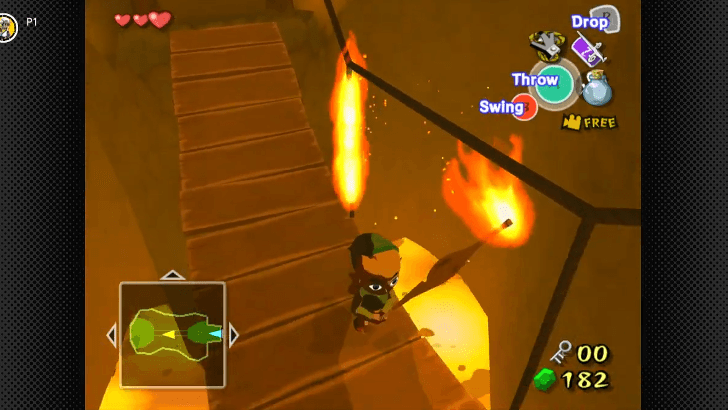 Pick up a stick and ignite it on the torch. Use its fire to burn all the ropes holding the bridge to make it fall down with you on it. If you lose the stick, you can also cut the ropes with your sword, but you risk falling down into the lava from the movement. There's a Joy Pendant inside the chest. Grab it and exit through the door. |
| 3 | 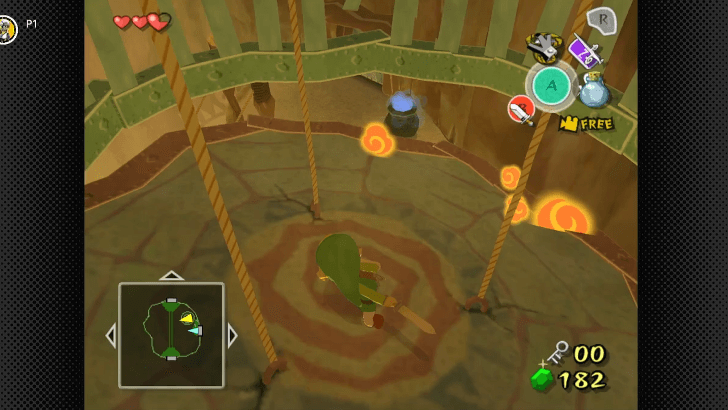 Turn right, hop into the cage, and stand in the middle of the three hanging ropes. Use a Spin Attack to cut all ropes at once and drop the platform down the lava. |
| 4 | 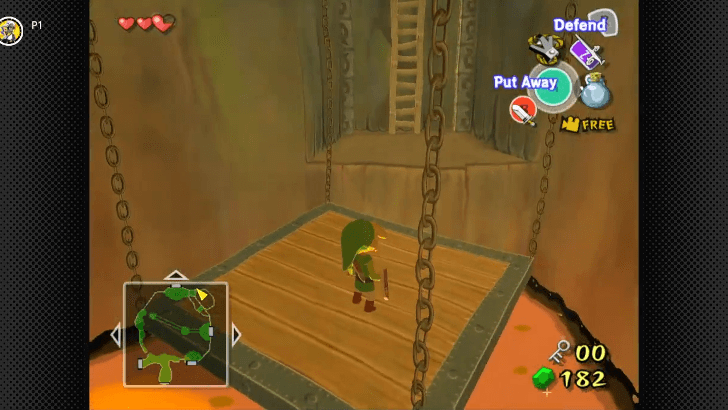 Hop onto the next room and the two platforms until you reach a ladder. Climb up the ladder and you're back on the first floor! |
| 5 | 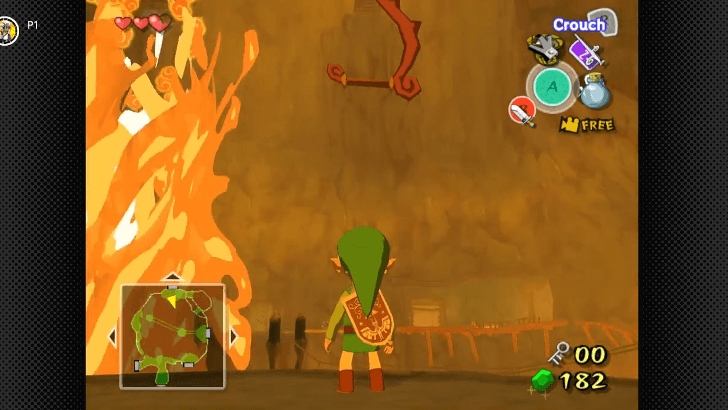 Turn left and then look up. You should see a large wooden hook that you can use the Grappling Hook on. Swinging on its pole will unlock the door behind you. Swing back to the platform you came from, and enter this door. |
| 6 | 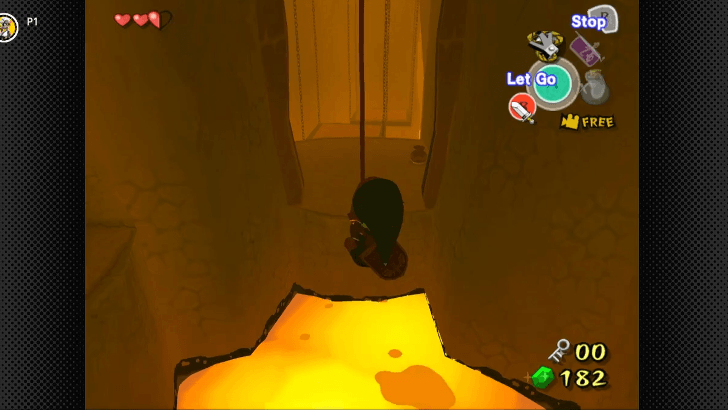 The newly opened door leads to more swinging fun! After grappling the pole above, stop swinging and let Link face the platform on the east. Start swinging again after positioning and jump on the platform after building momentum. Hop along the hanging platforms and swing again on the pole at the end to reach a door. |
| 7 | 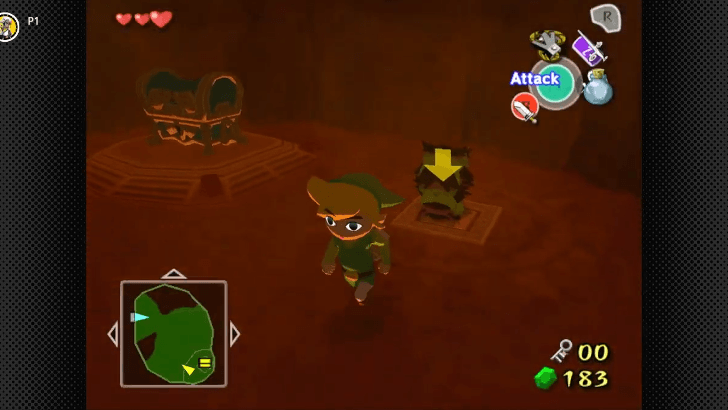 You'll be fighting another Magtail in this room, but be careful not to slay it! Wait for the Magtail to raise its head then perform a jump attack on its eye to stun it and make it curl. Before it wakes up, quickly carry it and place its body on the pressure plate to shut down the fires around the huge chest. Open the chest to obtain the Big Key. |
To the Boss Room
| 1 | 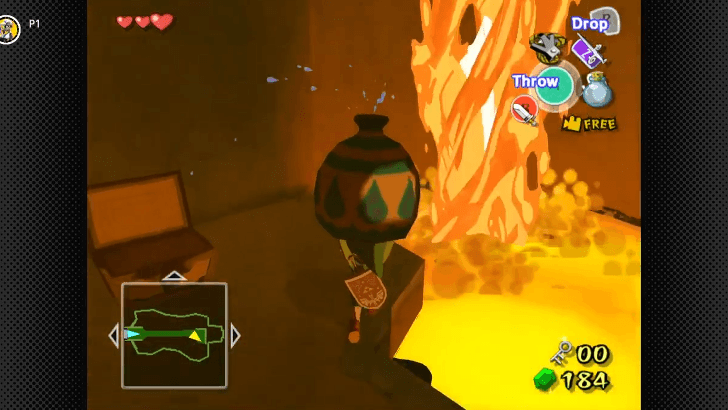 Backtrack all the way to the birdcage platform that you dropped. Ride the platform up and enter the room on your left where you brought a bridge down. Deal with the two Fire Keese and carry a water pot with you to the flame pillar next to the chest. Throw the pot at the lava before the lava bursts up again and use the platform to return to the floor above. |
|---|---|
| 2 |  Go back outside through the door on the right and start swinging to the south door. You should end up in the room with the yellow Warp Pot and a huge door. |
| * | Before taking on the boss, you can use the Warp Pot to return to the entrance of the dungeon. From here, follow the path to the lava area, and enter the first door on the left, the room with the Red ChuChus. There is an area on the right side of this room that you can use the Grappling Hook to get to. Open the chest here containing Treasure Chart #11. Go back to the Warp Pot, and warp twice to return to the boss door. |
| 3 | 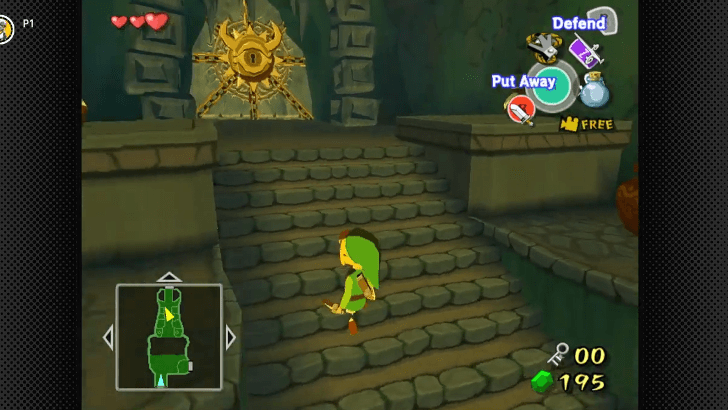 Swing across the room and open the two chests on either side. The one on the left contains a Yellow Rupee, while the other contains a Knight's Crest. The pots beside the boss door have fairies that you can catch in an Empty Bottle or approach to heal. Once you're ready, use the Big Key to unlock the big door to face Gohma. ▶︎︎ How to Beat Gohma |
| 4 | 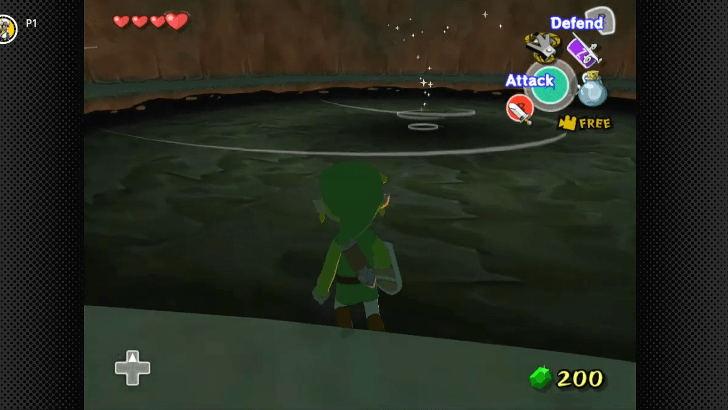 After successfully beating Gohma, claim the Heart Container it just droppped, and exit the dungeon through the wind portal at the center. |
Dragon Roost Island
| 1 | 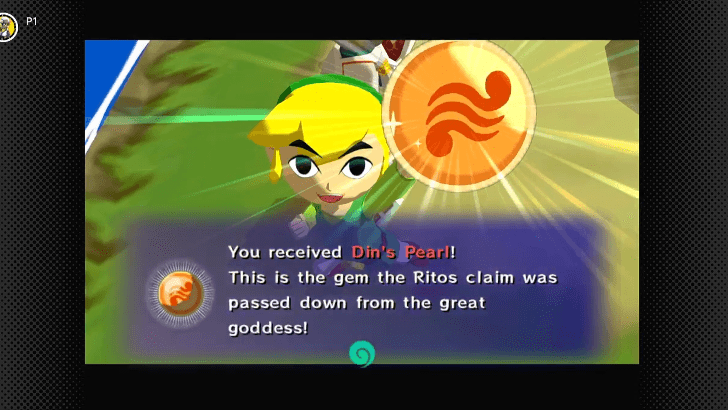 Medli and Komali will be waiting precisely where the portal sent you to, and the prince will be ready to hand over Din's Pearl after solving the Valoo problem! Receiving this key item completes your quest in Dragon Roost Island. |
|---|---|
| * | 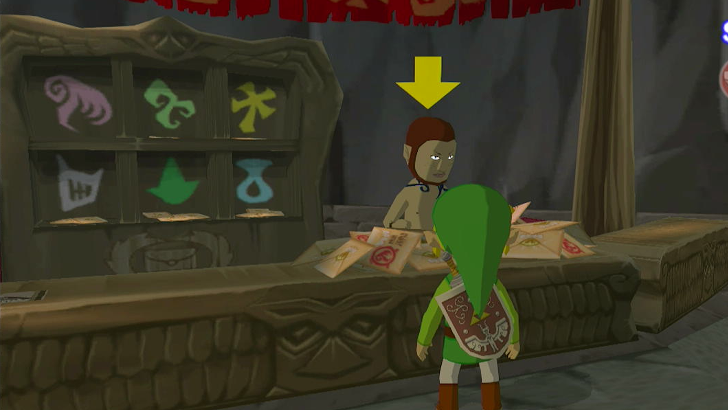 If you've previously completed the 25-letter goal in the Mail-Sorting minigame, you can meet the new part-timer, Baito. Sort 25 letters within 30 seconds, and he will swiftly write a letter to his mom about it and give you the Note to Mom quest item. Exit the aerie, and drop the letter into any postbox. You'll get a hearty reward in the mail after a day, so continue on with your adventure. ▶︎︎ Forest Haven Walkthrough |
Dragon Roost Cavern Boss
Gohma
You will encounter Gohma near the end of Dragon Roost Cavern. The whole boss fight requires you to pull Valoo's tail and attack Gohma when it is vulnerable.
How to Beat Gohma
| How to Beat Gohma |
|---|
|
|
Grapple Valoo's Tail Thrice
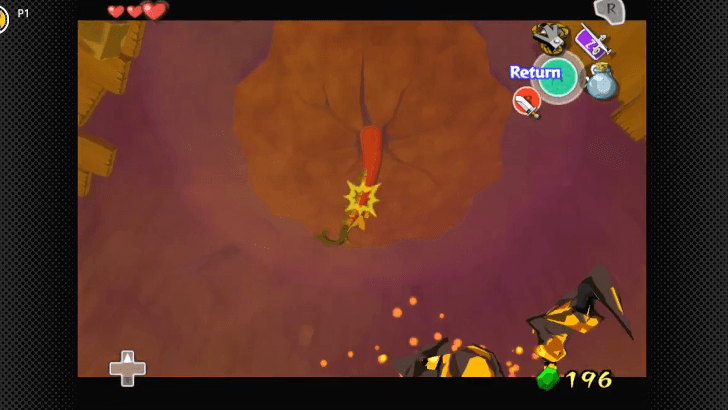
Before you can actually hurt Gohma, you must break his protective shell first. To do this, you must use the Grappling Hook on Valoo's tail hanging from the ceiling and safely swing back down. This will cause the rock around the tail to drop on Gohma and crack its shell.
Dropping the rock three times will completely remove Gohma's shell and make it vulnerable.
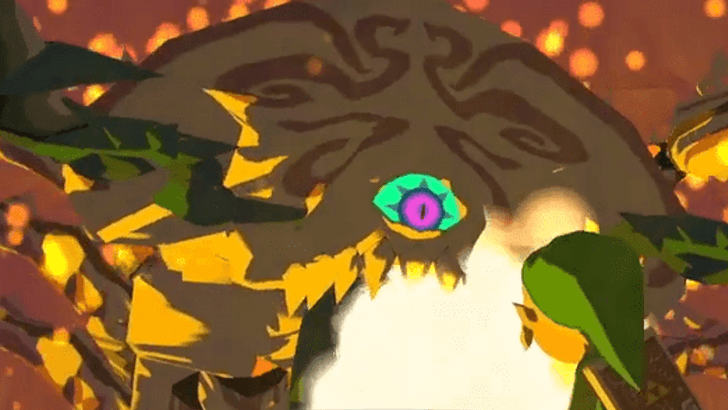
Pull Gohma's Eye Once the Shell is Broken
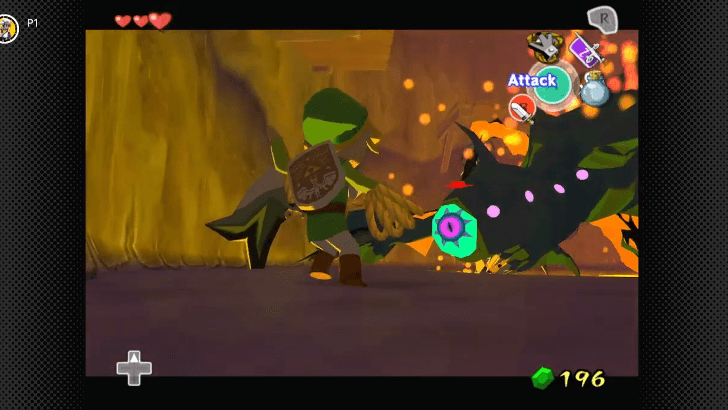
You will now be able to pull Gohma's eye directly once its shell is gone. Lock on to Gohma's eye while holding the Grappling Hook and throw it to slam Gohma's head into the platform. Attack its eye while it's down and repeat until the boss is defeated.
Dragon Roost Cavern Items to Get
First Floor Items
| Item | How to Get |
|---|---|
| Treasure Chart #11 | Obtainable after getting the Grappling Hook. This is found in a chest in the room with the Red ChuChus. |
Second Floor Items
| Item | How to Get |
|---|---|
| Treasure Chart #39 | Obtained in the room where you get locked into with the three Bokoblins. The chest will only appear after lighting both torches on the west side. |
| Joy Pendant | Obtained from a chest after destroying the bridge. |
Third Floor Items
| Item | How to Get |
|---|---|
| Heart Container | Obtained after defeating the dungeon's boss, Gohma. |
Fourth Floor Items
| Item | How to Get |
|---|---|
| Grappling Hook | Given by Medli after rescuing her at the summit of Dragon Roost Island. |
Dragon Roost Island Items
| Item | How to Get |
|---|---|
| Din's Pearl | Automatically given by Komali after warping out of the boss room. |
The Legend of Zelda: The Wind Waker Related Guides

Walkthrough Guides
| 1 | Outset Island | 2 | Forsaken Fortress |
|---|---|---|---|
| 3 | Windfall Island | 4 | Dragon Roost Island |
| 5 | Dragon Roost Cavern | 6 | Forest Haven |
| 7 | Forbidden Woods | 8 | The Third Pearl |
| 9 | Tower of the Gods | 10 | Hyrule Castle |
| 11 | Return to the Forsaken Fortress | 12 | Earth Temple |
| 13 | Wind Temple | 14 | Triforce |
| 15 | Ganon's Tower | ||
Comment
Author
The Legend of Zelda: The Wind Waker Walkthrough & Guides Wiki
Dragon Roost Cavern Walkthrough
Rankings
- We could not find the message board you were looking for.
Gaming News

![The Liar Princess and the Blind Prince Review [PC] | Lovely to Look at but Tedious to Play](https://img.game8.co/4442586/8d95f5faf05780f1765ce7e0938bd825.jpeg/show)
![The Liar Princess and the Blind Prince Review [PC] | Lovely to Look at but Tedious to Play](https://img.game8.co/4442586/8d95f5faf05780f1765ce7e0938bd825.jpeg/thumb)
![Marathon Cryo Archive Map Teased as [REDACTED] on Selection Screen](https://img.game8.co/4442236/6357203e58172f6de57f1991e7c39b22.png/thumb)

Popular Games

Genshin Impact Walkthrough & Guides Wiki
Umamusume: Pretty Derby Walkthrough & Guides Wiki
Pokemon Pokopia Walkthrough & Guides Wiki
Honkai: Star Rail Walkthrough & Guides Wiki
Monster Hunter Stories 3: Twisted Reflection Walkthrough & Guides Wiki
Arknights: Endfield Walkthrough & Guides Wiki
Wuthering Waves Walkthrough & Guides Wiki
Zenless Zone Zero Walkthrough & Guides Wiki
Pokemon TCG Pocket (PTCGP) Strategies & Guides Wiki
Monster Hunter Wilds Walkthrough & Guides Wiki


Recommended Games
Diablo 4: Vessel of Hatred Walkthrough & Guides Wiki
Cyberpunk 2077: Ultimate Edition Walkthrough & Guides Wiki
Fire Emblem Heroes (FEH) Walkthrough & Guides Wiki
Yu-Gi-Oh! Master Duel Walkthrough & Guides Wiki
Super Smash Bros. Ultimate Walkthrough & Guides Wiki
Pokemon Brilliant Diamond and Shining Pearl (BDSP) Walkthrough & Guides Wiki
Elden Ring Shadow of the Erdtree Walkthrough & Guides Wiki
Monster Hunter World Walkthrough & Guides Wiki
The Legend of Zelda: Tears of the Kingdom Walkthrough & Guides Wiki
Persona 3 Reload Walkthrough & Guides Wiki


All rights reserved
© Nintendo. The Legend of Zelda and Nintendo Switch are trademarks of Nintendo.
The copyrights of videos of games used in our content and other intellectual property rights belong to the provider of the game.
The contents we provide on this site were created personally by members of the Game8 editorial department.
We refuse the right to reuse or repost content taken without our permission such as data or images to other sites.