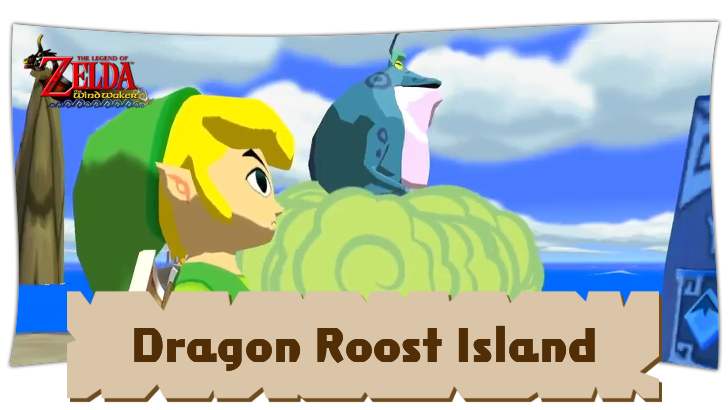
Dragon Roost Island Walkthrough
▲ 100% Completion Checklist
▲ All Heart Pieces & Empty Bottle Locations
▲ Treasure Charts | Triforce Charts
▲ GameCube and Wii U Version Differences
▲ Upgrades ▶︎ Wallet | Magic Meter | Picto Box
This is a walkthrough for the Dragon Roost Island section of The Legend of Zelda: The Wind Waker. Read on for a complete story guide through the Dragon Roost Island, as well as a list of the important items that you can get as you progress!
| ◀︎ Previous Area | Next Area ▶︎︎ |
|---|---|
| Windfall Island | Dragon Roost Cavern |
List of Contents
Dragon Roost Island Walkthrough
Dragon Roost Island
| 1 | 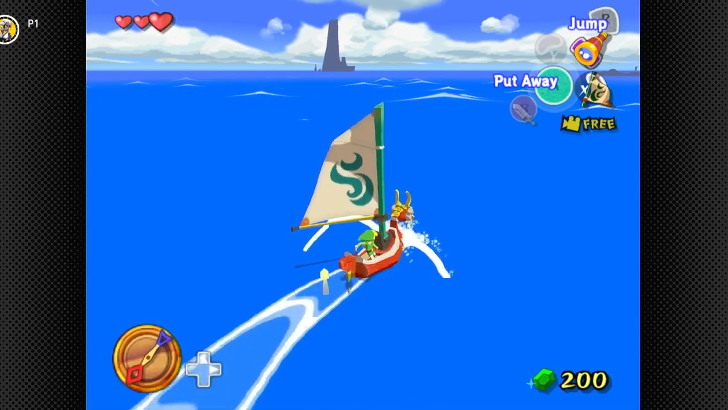 When you're ready to go, open the sail and head to the island with a towering mountain that you see on the east horizon, which is located exactly in quadrant F2 of your Sea Chart. |
|---|---|
| 2 | 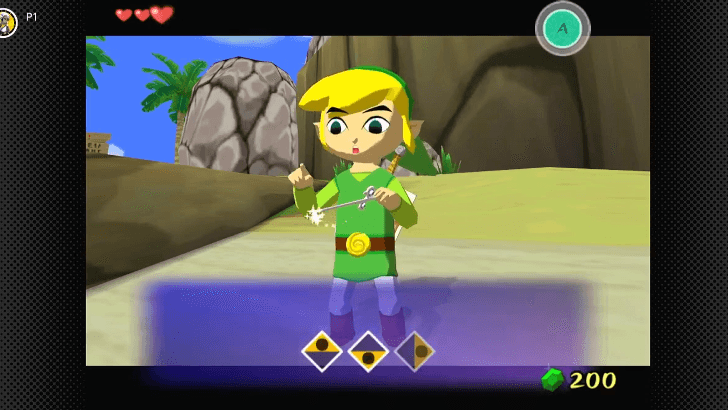 Upon arriving at Dragon Roost Island, the King of Red Lions will tell you that you need to seek Valoo atop the island and ask for Din's Pearl. He will also give you the Wind Waker and teach you how to use it before you go. |
| 3 | 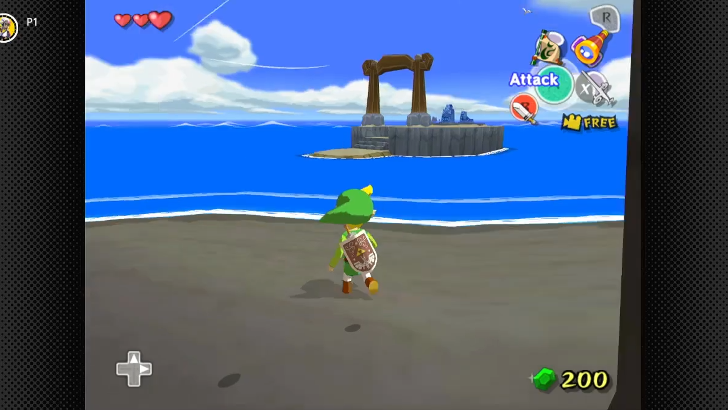 Follow the tunnel right in front of you and look for an isle with two blue tombstones after reaching the other side. Swim over to the isle and inspect the left tombstone. These markings look familiar! Pull out the Wind Waker and conduct in 3/4 time while following the markings. Apparently, these are the notes to the Wind's Requiem and the breeze that you just summoned calls the attention of the god of winds, Zephos, as well! ▶ All Wind Waker Songs |
| 4 | 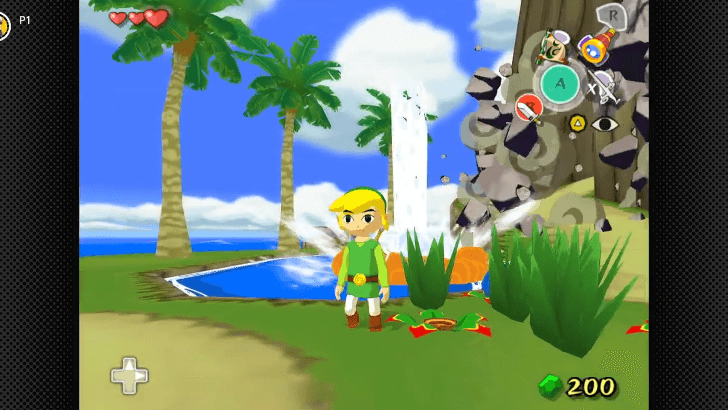 Swim back to the main island and go through the tunnel again. Turn right and look for boulder blocking the path ahead. You'll also spot a conveniently placed Bomb Fruit nearby. Neat! Pick up a Bomb Fruit and throw it at the boulder to destroy it and clear the path. |
| 5 | 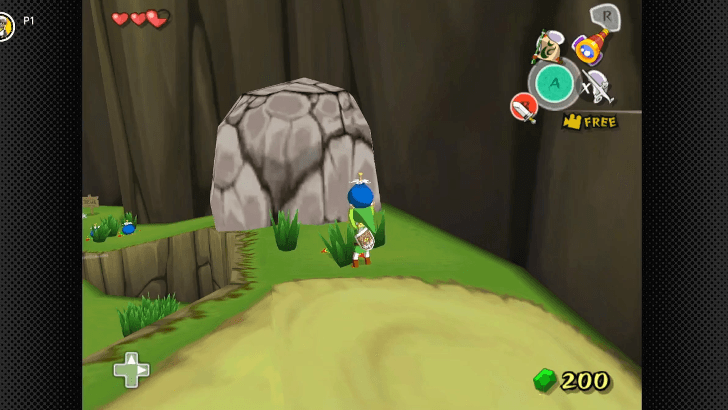 Go up the newly cleared path to find two more boulders. There's another Bomb Flower patch right next to one of the boulders that you can use to clear both of them. |
| 6 |  Take the path to the right to find another patch of Bomb Flower right at the edge of the broken bridge. Pick up a bomb and quickly take it up the ramp on your left so you can use it to blow up the boulder above. |
| 7 | 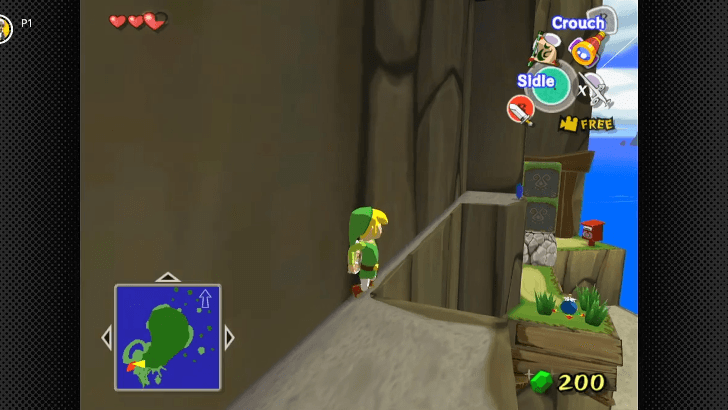 Jump onto the platform where the boulder was to find a ledge you can sidle along to reach the other side of the broken bridge. Jump down to another patch of Bomb Flower. |
| 8 | 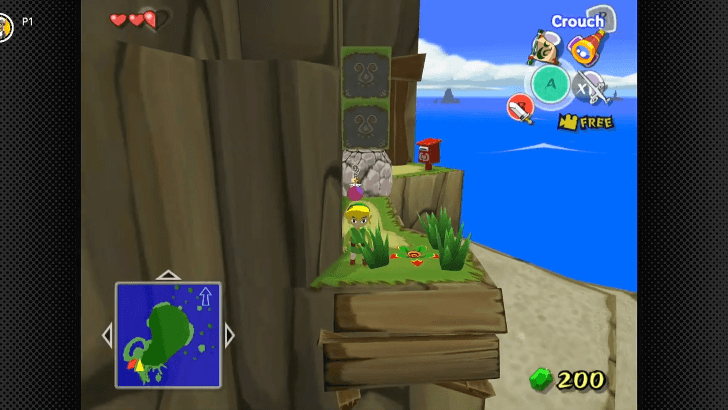 Pick up the Bomb Flower and drop it next to the boulder (the bomb might bounce off if you throw it) to drop the stacked blocks down and create a path forward. Before you proceed, drop down the ledge and pull the bottom block to create a shortcut back up. |
| 9 | 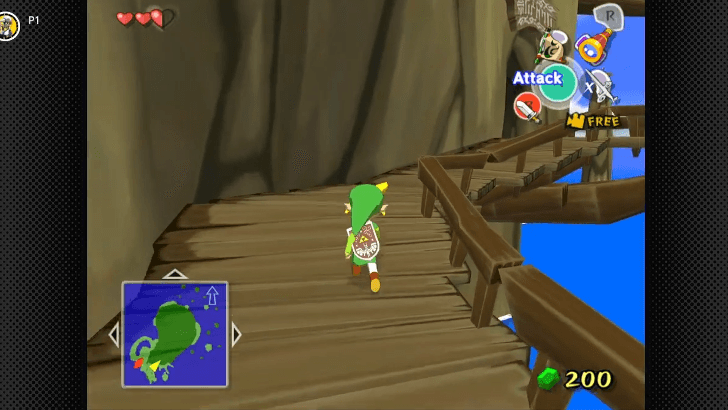 Just past the tunnel is Quill, the wise Rito from earlier who helped convince Tetra to take you to the fortress! Continue to the bridge after the conversation and through the opening at the end to enter the Rito Aerie. |
Rito Aerie
| 1 | 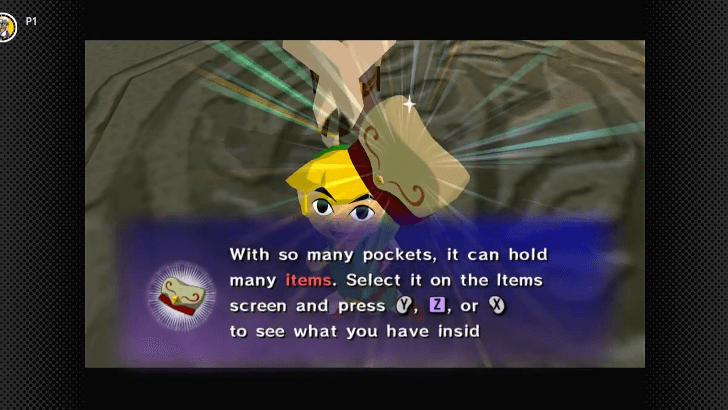 Upon entering the Rito Aerie, the Rito chief will immediately fill you in on their latest predicament and asks you to help them solve it. But first, you must find a girl named Medli to get something that is to be given to the chief's son, Komali. Before you leave to find Medli, Quill will give you a Delivery Bag to put your items in. Handy! |
|---|---|
| 2 | 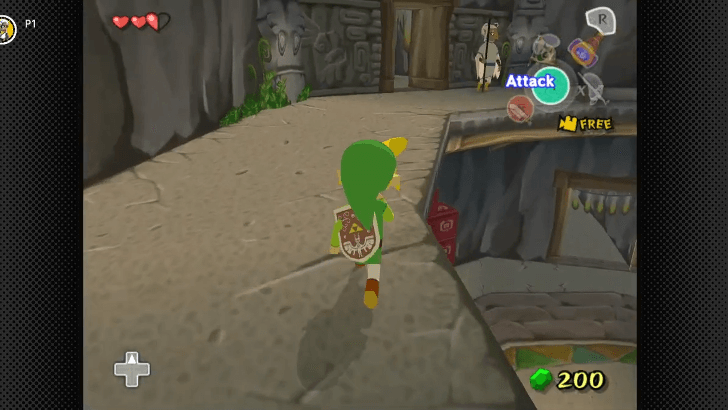 Now, head to the second floor through the slope along the wall to find Medli inside the room in the middle. Talk to her and she will hand over Father's Letter. Medli will also ask you to meet her in front of the Dragon Roost Cavern entrance later. Noted! But for now, just stuff the letter in your Delivery Bag and deliver the letter to Prince Komali like a flightless Rito. |
| * |  The Mail Sorting minigame is just across the room! Talk to the mail sorter to start the minigame and try to meet the minimum number of sorted mails in each attempt. You must successfully clear 3 levels of this challenge by meeting the passing scores 10, 20, and 25, respectively. The rewards are always Rupees based on the number of sorted mails. However, a hidden side quest will progress after clearing the 3rd challenge! We'll get back to it later. |
| 3 | 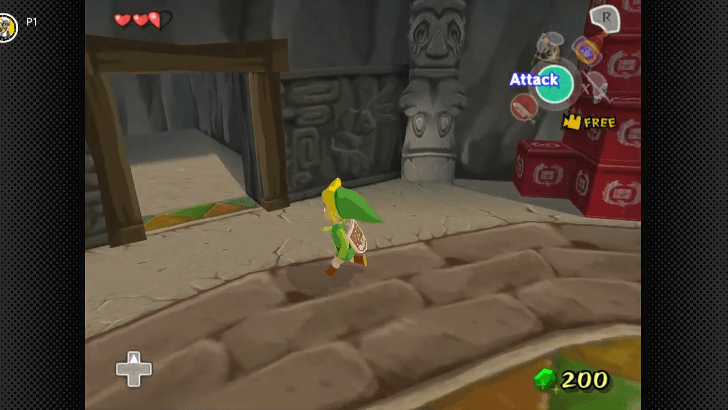 Go back to the first floor and through the tunnel to the left of the red crates. Enter the room at the end to find Komali on his bed. The letter won't be automatically given to Komali just by speaking to him. You must open your inventory first and equip Father's Letter from the Delivery Bag. "Use" it in front of Komali to trigger a cutscene. |
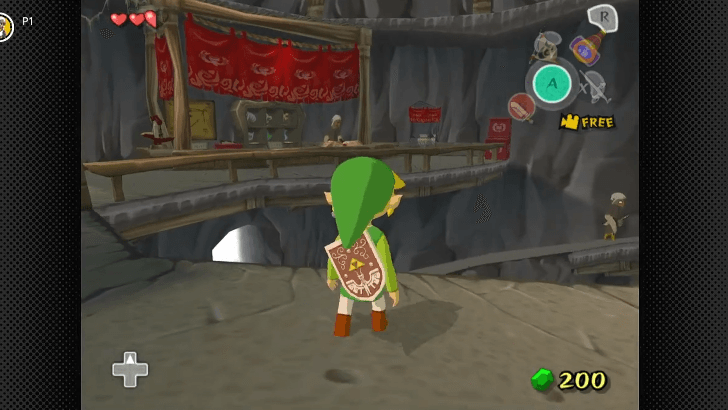
| 4 | 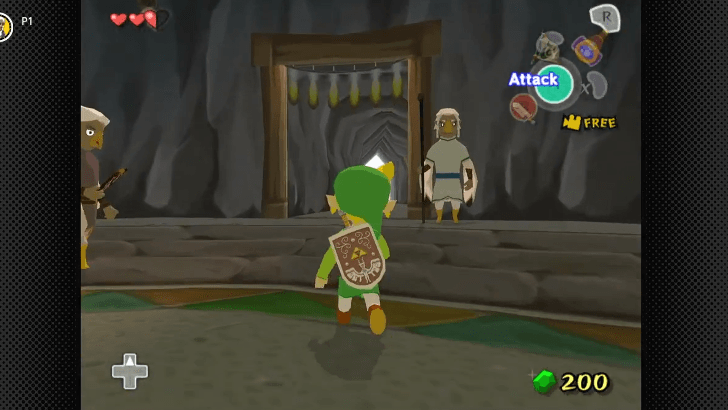 Exit the room and go back to the hub area. Turn left this time, past the stack of red crates, and head outside through this path. |
| 5 | 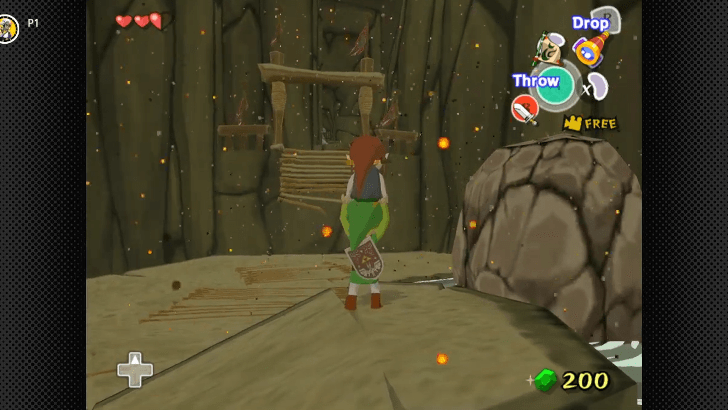 Jump down the broken bridge on the left to find Medli. It seems like she's trying to get into the cavern and brave the challenges to help Komali! Help Medli by carrying her to the ramp and throwing her to the other side of the bridge once the wind starts blowing to the entrance's direction. She'll thank you with the Empty Bottle, which you can use to store all kinds of consumables. ▶ All Bottle Locations |
| 6 | 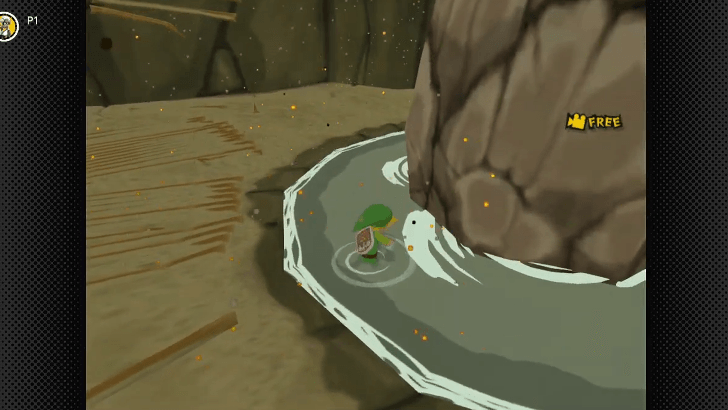 Equip the Empty Bottle and fill it with water from the nearby pond. Climb back up to where you jumped from and use the bottled water on one of the dried up patches of Bomb Flowers. |
| 7 | 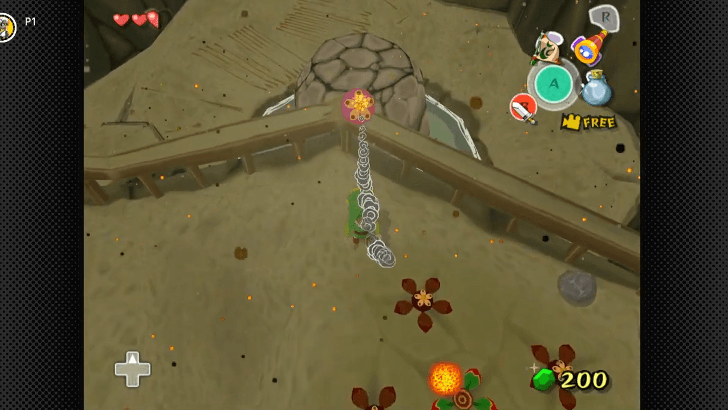 Pick up a fresh Bomb Flower and throw it at the boulder below to unplug the water. Now that the pond is back, you can now swim to the other side. |
| 8 | 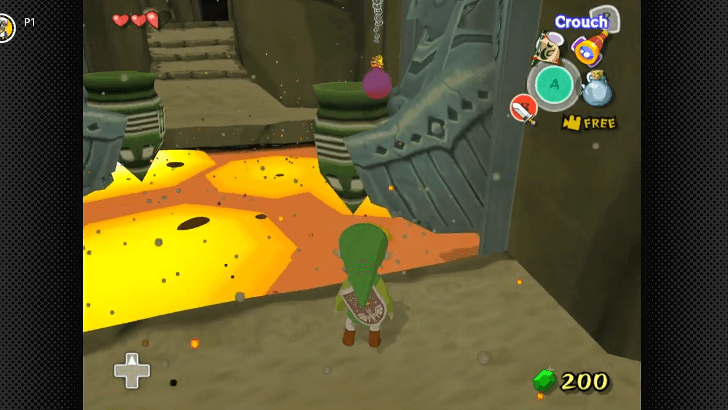 More Bomb Flowers! Pluck another one and throw it at the pot held by the Rito statue on the right. Get another bomb and jump onto the first fallen statue, then throw it at the left statue to create a path across the lava. When you're ready proceed to the entrance to reach Dragon Roost Cavern. ▶︎ Dragon Roost Cavern Walkthrough |
Dragon Roost Island Items to Get
Dragon Roost Island Items
| Item | How to Get |
|---|---|
| Wind Waker | Given by the King of Red Lions upon arriving at the Dragon Roost Island |
Rito Aerie Items
| Item | How to Get |
|---|---|
| Delivery Bag | Given by Quill after speaking with the Rito chief |
| Father's Letter | A quest item received from Medli at the second floor of the aerie |
| Empty Bottle | Given by Medli after helping her reach the Dragon Roost Cavern entrance |
The Legend of Zelda: The Wind Waker Related Guides

Walkthrough Guides
| 1 | Outset Island | 2 | Forsaken Fortress |
|---|---|---|---|
| 3 | Windfall Island | 4 | Dragon Roost Island |
| 5 | Dragon Roost Cavern | 6 | Forest Haven |
| 7 | Forbidden Woods | 8 | The Third Pearl |
| 9 | Tower of the Gods | 10 | Hyrule Castle |
| 11 | Return to the Forsaken Fortress | 12 | Earth Temple |
| 13 | Wind Temple | 14 | Triforce |
| 15 | Ganon's Tower | ||
Comment
Author
The Legend of Zelda: The Wind Waker Walkthrough & Guides Wiki
Dragon Roost Island Walkthrough
Rankings
- We could not find the message board you were looking for.
Gaming News


![The Liar Princess and the Blind Prince Review [PC] | Lovely to Look at but Tedious to Play](https://img.game8.co/4442586/8d95f5faf05780f1765ce7e0938bd825.jpeg/thumb)
![Marathon Cryo Archive Map Teased as [REDACTED] on Selection Screen](https://img.game8.co/4442236/6357203e58172f6de57f1991e7c39b22.png/thumb)

Popular Games

Genshin Impact Walkthrough & Guides Wiki
Umamusume: Pretty Derby Walkthrough & Guides Wiki
Pokemon Pokopia Walkthrough & Guides Wiki
Honkai: Star Rail Walkthrough & Guides Wiki
Monster Hunter Stories 3: Twisted Reflection Walkthrough & Guides Wiki
Arknights: Endfield Walkthrough & Guides Wiki
Wuthering Waves Walkthrough & Guides Wiki
Zenless Zone Zero Walkthrough & Guides Wiki
Pokemon TCG Pocket (PTCGP) Strategies & Guides Wiki
Monster Hunter Wilds Walkthrough & Guides Wiki


Recommended Games
Diablo 4: Vessel of Hatred Walkthrough & Guides Wiki
Cyberpunk 2077: Ultimate Edition Walkthrough & Guides Wiki
Fire Emblem Heroes (FEH) Walkthrough & Guides Wiki
Yu-Gi-Oh! Master Duel Walkthrough & Guides Wiki
Super Smash Bros. Ultimate Walkthrough & Guides Wiki
Pokemon Brilliant Diamond and Shining Pearl (BDSP) Walkthrough & Guides Wiki
Elden Ring Shadow of the Erdtree Walkthrough & Guides Wiki
Monster Hunter World Walkthrough & Guides Wiki
The Legend of Zelda: Tears of the Kingdom Walkthrough & Guides Wiki
Persona 3 Reload Walkthrough & Guides Wiki


All rights reserved
© Nintendo. The Legend of Zelda and Nintendo Switch are trademarks of Nintendo.
The copyrights of videos of games used in our content and other intellectual property rights belong to the provider of the game.
The contents we provide on this site were created personally by members of the Game8 editorial department.
We refuse the right to reuse or repost content taken without our permission such as data or images to other sites.