Forsaken Fortress Walkthrough
▲ 100% Completion Checklist
▲ All Heart Pieces & Empty Bottle Locations
▲ Treasure Charts | Triforce Charts
▲ GameCube and Wii U Version Differences
▲ Upgrades ▶︎ Wallet | Magic Meter | Picto Box
The Forsaken Fortress is the first dungeon in The Legend of Zelda: The Wind Waker. Read on for a complete walkthrough of your first visit to the Forsaken Fortress, as well as a list of the important items that you can get in this section!
| ◀︎ Previous Area | Next Area ▶︎︎ |
|---|---|
| Outset Island | Windfall Island |
List of Contents
Forsaken Fortress Walkthrough
Pirate Ship
| 1 | 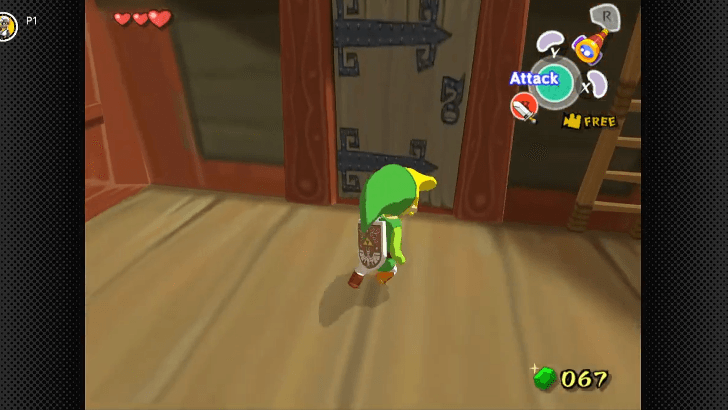 Once you can move around the Pirate Ship, enter through the door at the back and go down the stairs in the middle of the room. |
|---|---|
| 2 | 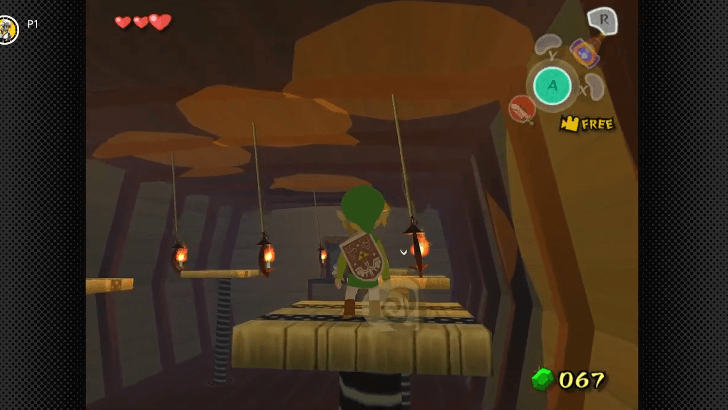 You will meet Niko in the room below, who will step on a pressure plate nearby and demonstrate how to jump and swing from one platform to another. Follow his lead until you reach the room on the other side. Open the chest inside to obtain the Spoils Bag. |
| 3 | 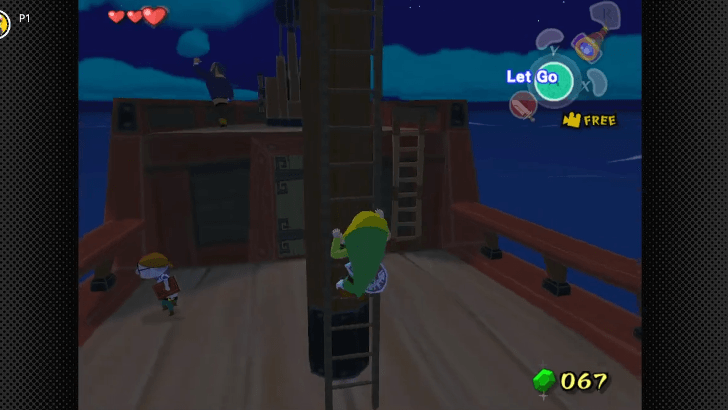 Go back to the deck and talk to Tetra atop the mast. She'll tell you about the Forsaken Fortress and how she plans to "sneak" you into the place. No matter how reckless the plan sounds, Tetra will still have you launched through a catapult, hitting a wall in the fortress, and dropping the Hero's Sword elsewhere. |
Forsaken Fortress
| 1 | 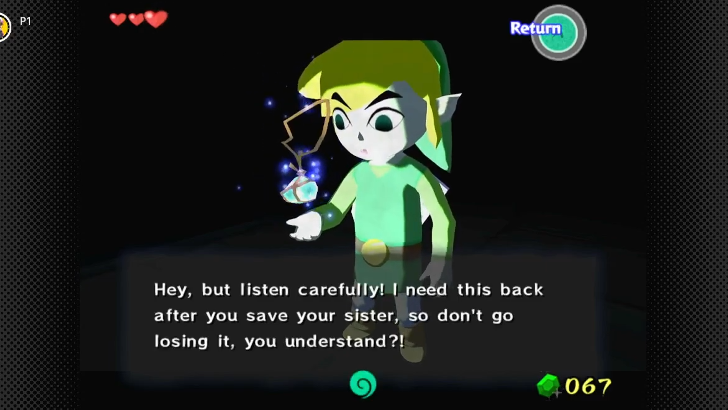 Upon landing, you'll hear Tetra's voice from somewhere nearby. You check where the voice was coming from and see the Pirate's Charm she slipped into your pocket before you were launched. |
|---|---|
| 2 | 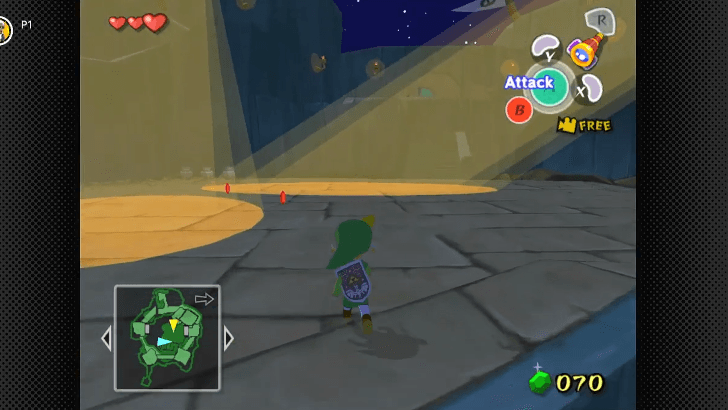 Climb the first set of stairs and you will notice two searchlights scanning the floor. The guards will get you and lock you up if you're caught by the searchlights or any of the patrolling guards. These searchlights can be disabled by dealing with the Bokoblins operating them. In the meantime, avoid these lights while inside the fortress. |
| * | Link can use a barrel as cover from guards and searchlights. Take note that you need to stay still when under the searchlights and when inside an enemy's field of vision for the cover to work. The guards will still be alerted if they see a moving barrel wandering around the fortress! |
| 3 | 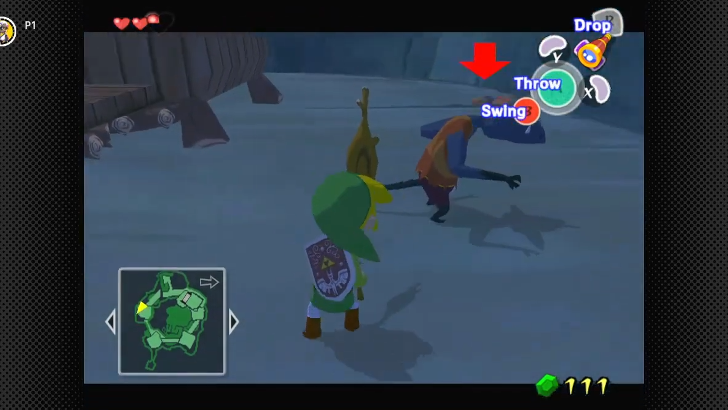 Continue going up the stairs until you reach a slope that circles around the southwest tower. Go up the slope and reach for the ladder on the west tower to find the first set of searchlights. Since you still don't have the Hero's Sword back, you can block the Bokoblin's attacks until it drops its stick. When it does, quickly pick up the stick and use it to defeat the Bokoblin. This should stop it from manning one of the sets of searchlights again! |
| 4 | 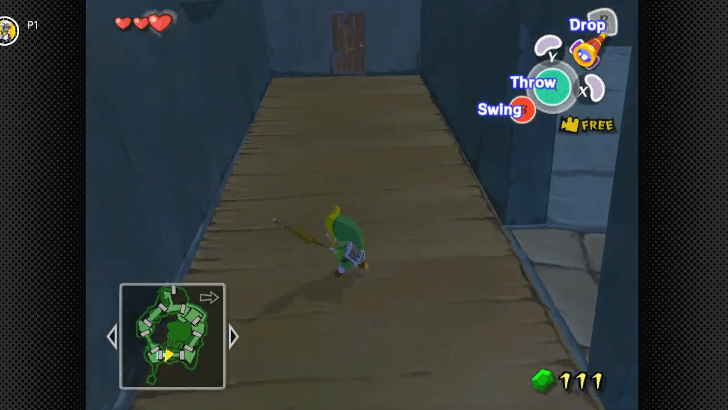 Jump down the tower and down the slope. On your right should be a hallway with doors on both ends leading to either towers. Enter through the west door, which leads to the southwest tower where the second set of searchlights is. |
| 5 | 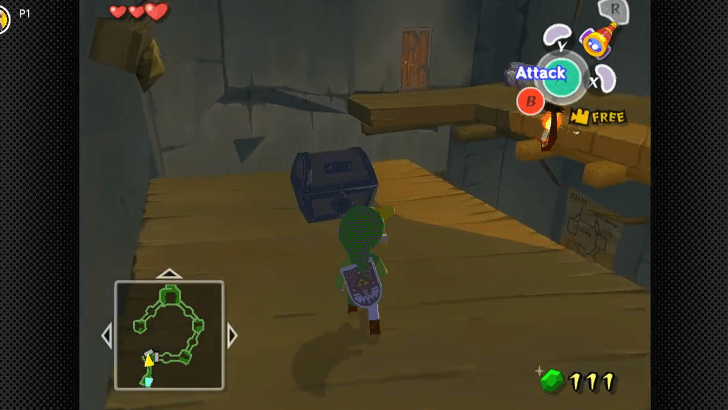 Immediately upon entering, you will see a chest on the opposite side. Jump on the lantern in the middle and swing across to reach the chest containing the Dungeon Map. |
| 6 | 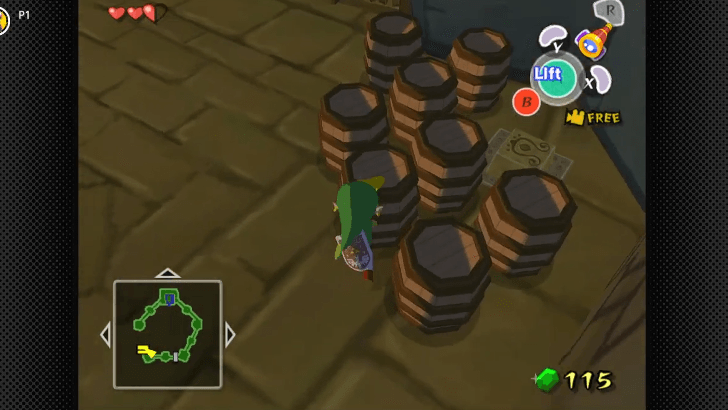 Instead of swinging back to where you jumped from, drop down the floor below and look for a group of barrels near the jail cell. Behind them is a switch that will open the cell where the Piece of Heart can be found. |
| * |  If you purchased the Bait Bag from Beedle earlier and place All-Purpose Bait in front of a rat hole, you can lure out a rat shopkeeper who can sell you All-Purpose Bait and Hyoi Pears. |
| 7 | 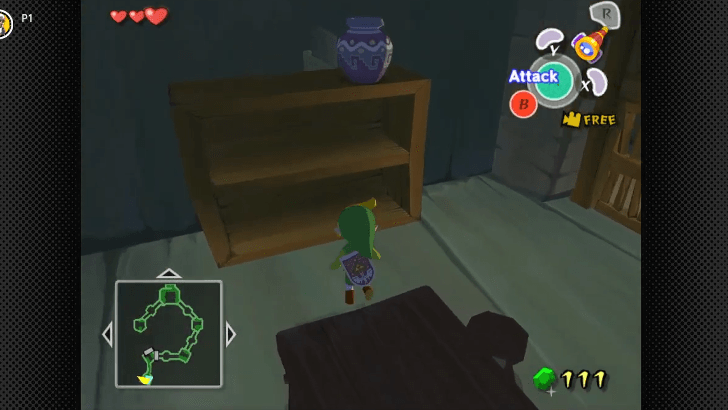 Follow the corridor and let one of the Moblins spot you. This will have you locked up in one of the cells at the southwest corner of the fortress. To break out of the jail, move the pot on top of the shelf to reveal a hidden passage. Crawl through it and you'll find a path that leads back to the Dungeon Map chest. Swing back to the other side and exit to the door on the left. |
| 8 | 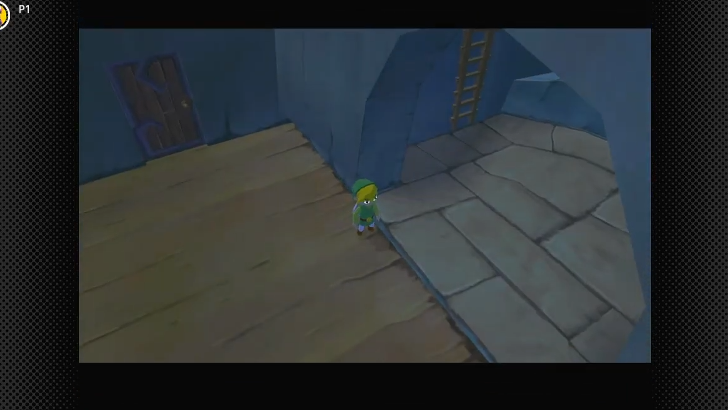 Immediately turn left and climb the ladder to reach the searchlights. Defeat the Bokoblin at the top to shut down the second set of searchlights. |
| 9 | 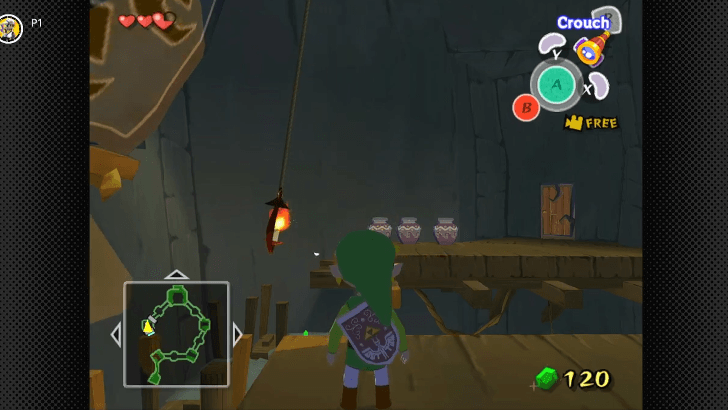 Climb back down the ladder and enter the north door this time, the one that leads to the west tower. Once inside, jump to the lantern and swing to the other side, then exit through the door ahead. |
| 10 | 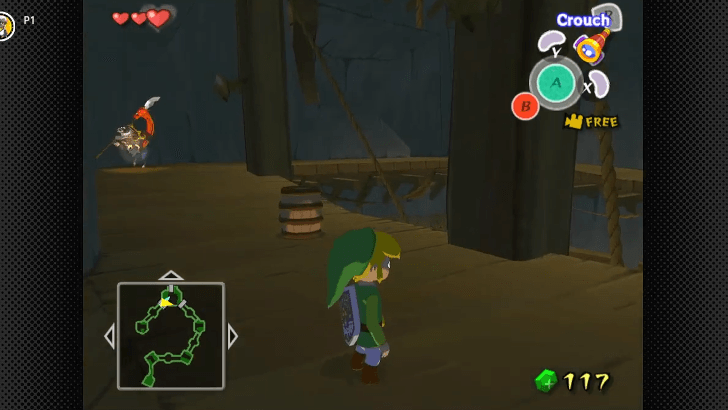 Head over to the other side and enter the north tower. In the next room, you must get past the Moblins and reach for the large door at the top of the stairs. You can use the barrel in front of you to sneak past them. |
| 11 | 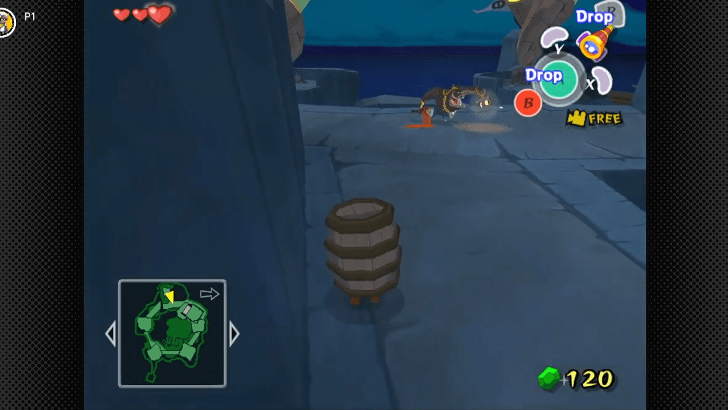 After getting through the Moblins and the large door, the path to where the Hero's Sword fell should be within reach! Climb up the stairs and pick up the barrel at the top. You'll need it to sneak past the Moblin just ahead. |
| 12 | 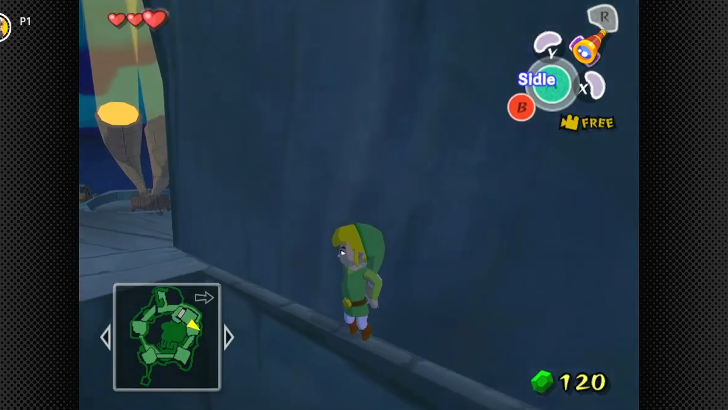 Turn left and follow the slope up until you reach a gap. Sidle on the ledge on your right by hugging the wall and holding the A button to cross over the gap, then do the same on the next ledge. Once you reach the top, you will find the Hero's Sword as well as a Shield Bokoblin guarding the prisoners. Defeat the Bokoblin using both sword and shield and enter through the door to trigger a cutscene. ▶︎ Windfall Island Walkthrough |
Forsaken Fortress Items to Get
Pirate Ship Items
| Item | How to Get |
|---|---|
| Spoils Bag | Obtained from a chest after passing Niko's test. |
Forsaken Fortress Items
| Item | How to Get |
|---|---|
| Pirate's Charm | Found as soon as you reach the Forsaken Fortress |
| Piece of Heart | Found inside a cell on the southwest tower. You need to press the switch behind the barrels to unlock the cell. |
| Hero's Sword | Retrieved at the top of the northern tower, guarded by a Shield Bokoblin. |
The Legend of Zelda: The Wind Waker Related Guides

Walkthrough Guides
| 1 | Outset Island | 2 | Forsaken Fortress |
|---|---|---|---|
| 3 | Windfall Island | 4 | Dragon Roost Island |
| 5 | Dragon Roost Cavern | 6 | Forest Haven |
| 7 | Forbidden Woods | 8 | The Third Pearl |
| 9 | Tower of the Gods | 10 | Hyrule Castle |
| 11 | Return to the Forsaken Fortress | 12 | Earth Temple |
| 13 | Wind Temple | 14 | Triforce |
| 15 | Ganon's Tower | ||
Comment
Author
The Legend of Zelda: The Wind Waker Walkthrough & Guides Wiki
Forsaken Fortress Walkthrough
Rankings
- We could not find the message board you were looking for.
Gaming News

![Star Savior Review [First Impressions] | Engaging, Entertaining, and Expensive](https://img.game8.co/4447603/8f500e9bf666bdb8adb1af478e9dfdbd.png/show)


Popular Games

Genshin Impact Walkthrough & Guides Wiki
Umamusume: Pretty Derby Walkthrough & Guides Wiki
Crimson Desert Walkthrough & Guides Wiki
Monster Hunter Stories 3: Twisted Reflection Walkthrough & Guides Wiki
Honkai: Star Rail Walkthrough & Guides Wiki
Pokemon Pokopia Walkthrough & Guides Wiki
The Seven Deadly Sins: Origin Walkthrough & Guides Wiki
Wuthering Waves Walkthrough & Guides Wiki
Zenless Zone Zero Walkthrough & Guides Wiki
Arknights: Endfield Walkthrough & Guides Wiki


Recommended Games
Fire Emblem Heroes (FEH) Walkthrough & Guides Wiki
Diablo 4: Vessel of Hatred Walkthrough & Guides Wiki
Cyberpunk 2077: Ultimate Edition Walkthrough & Guides Wiki
Yu-Gi-Oh! Master Duel Walkthrough & Guides Wiki
Super Smash Bros. Ultimate Walkthrough & Guides Wiki
Pokemon Brilliant Diamond and Shining Pearl (BDSP) Walkthrough & Guides Wiki
Elden Ring Shadow of the Erdtree Walkthrough & Guides Wiki
Monster Hunter World Walkthrough & Guides Wiki
The Legend of Zelda: Tears of the Kingdom Walkthrough & Guides Wiki
Persona 3 Reload Walkthrough & Guides Wiki


All rights reserved
© Nintendo. The Legend of Zelda and Nintendo Switch are trademarks of Nintendo.
The copyrights of videos of games used in our content and other intellectual property rights belong to the provider of the game.
The contents we provide on this site were created personally by members of the Game8 editorial department.
We refuse the right to reuse or repost content taken without our permission such as data or images to other sites.