Ganon's Tower Walkthrough
▲ 100% Completion Checklist
▲ All Heart Pieces & Empty Bottle Locations
▲ Treasure Charts | Triforce Charts
▲ GameCube and Wii U Version Differences
▲ Upgrades ▶︎ Wallet | Magic Meter | Picto Box
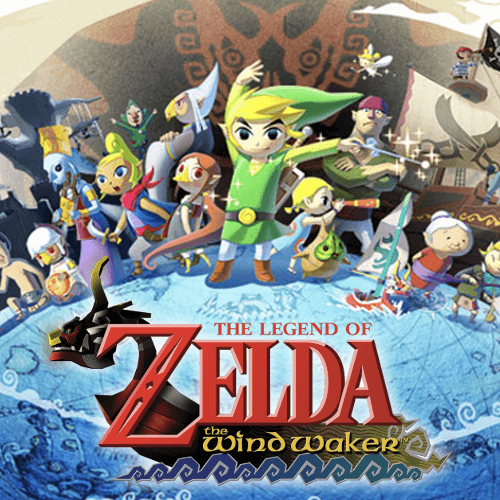
Ganon's Tower is the final dungeon of The Legend of Zelda: The Wind Waker located in Hyrule Castle. Read on for a complete walkthrough of Ganon's Tower, as well as a list of the important items that you can get in this section of the game!
| ◀︎ Previous Area | Next Area ▶︎︎ |
|---|---|
| Triforce | - |
List of Contents
Ganon's Tower Walkthrough
Hyrule Castle
| 1 | 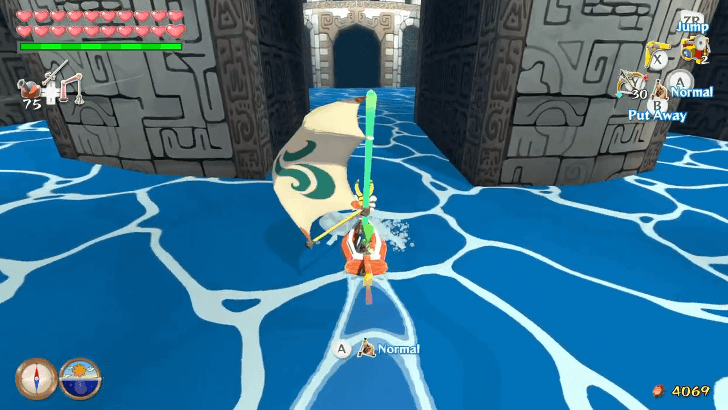 After getting the Triforce of Courage, use the Ballad of Gales to travel to the Tower of the Gods. A portal will appear and Link and the King of Red Lions will head inside Hyrule Castle. |
|---|---|
| 2 | 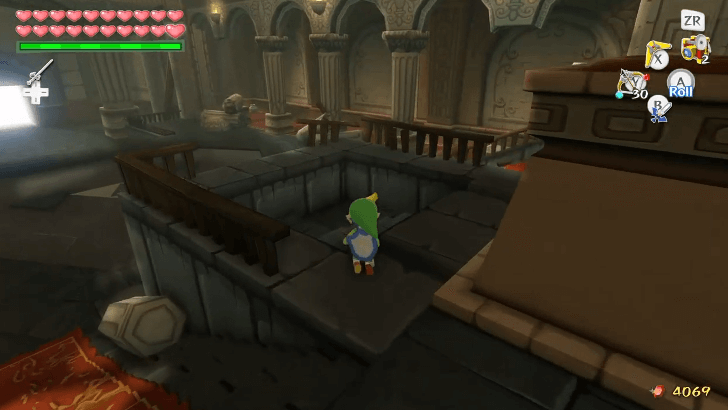 Enter the castle and head towards the fallen statue. Behind it, follow the stairs leading to the basement. |
| 3 | 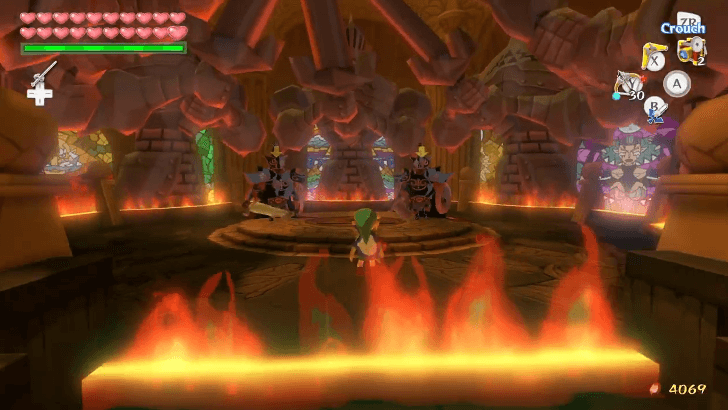 Run towards Zelda who is standing on the altar. She will disappear and two Mighty Darknuts will appear. Parry their attacks or keep attacking them to defeat the knights. |
| 4 | 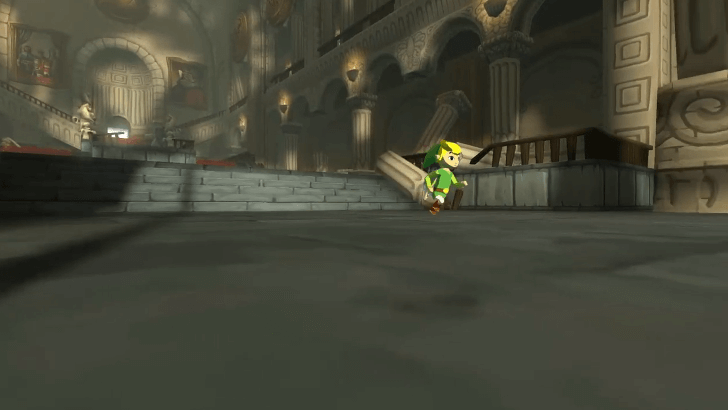 Head back upstairs. Link will then go out of the castle. |
| 5 | 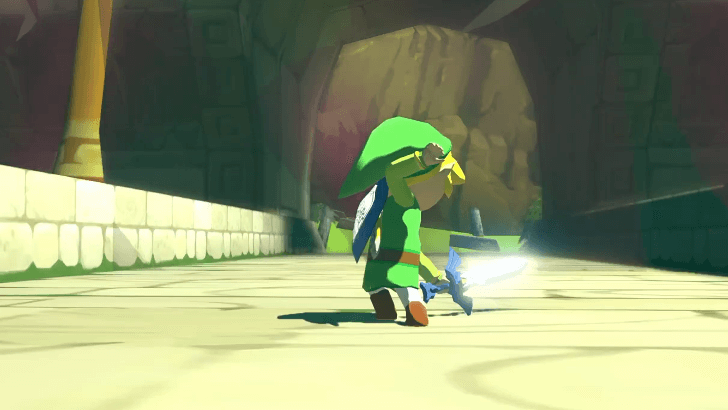 Once outside, run towards the bridge and use the Master Sword to destroy the barrier surrounding the castle. |
| 6 |  Follow the dirt path until it leads you to a broken bridge. You can choose to defeat all the enemies along the way or ignore them and keep going. |
| 7 |  Once you reach the broken bridge, use the Hookshot to cross the gaps. |
| 8 | 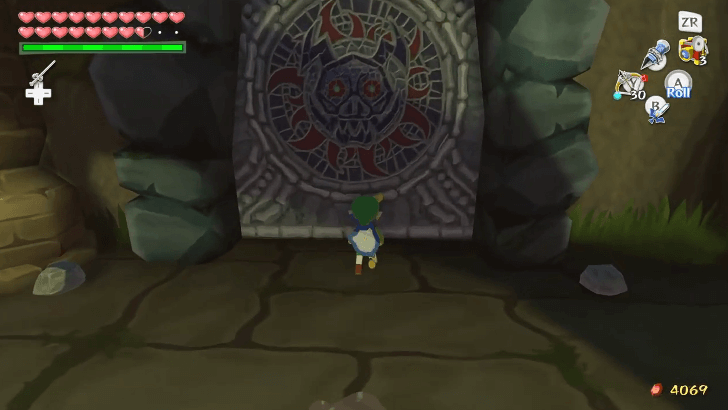 Once you make it to the other side, follow the path further until you reach a cave entrance. Interact with the door to enter Ganon's Tower. |
Ganon's Tower
| 1 | 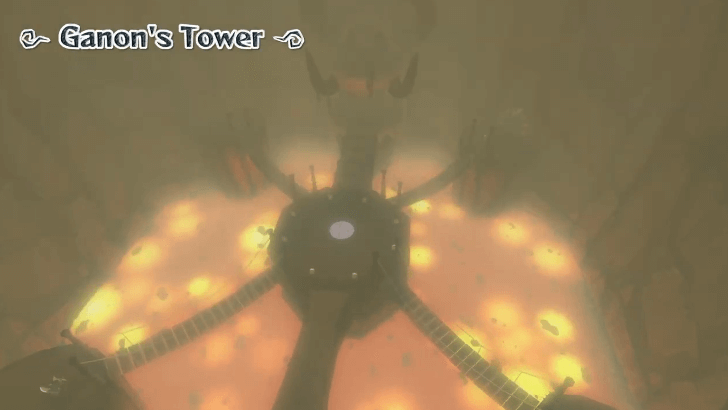 After entering Ganon's Tower, you will see four rooms that you can reach with bridges. These will lead into boss battles and you must complete all of them to continue. |
|---|---|
| 2 | 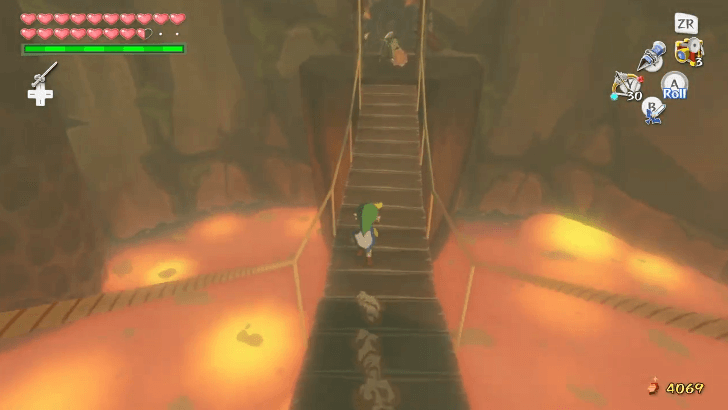 Head to the first bridge from the left and open the door. |
| 3 | 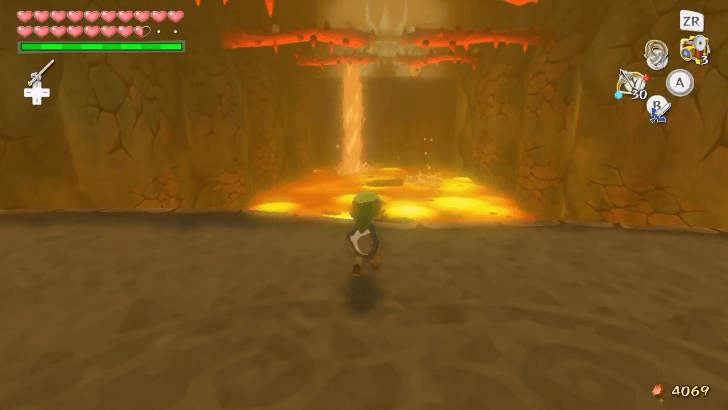 Equip the Grappling Hook and use it to swing across the thorny vines. You can land on top of the rocks floating on the lava pool. |
| 4 | 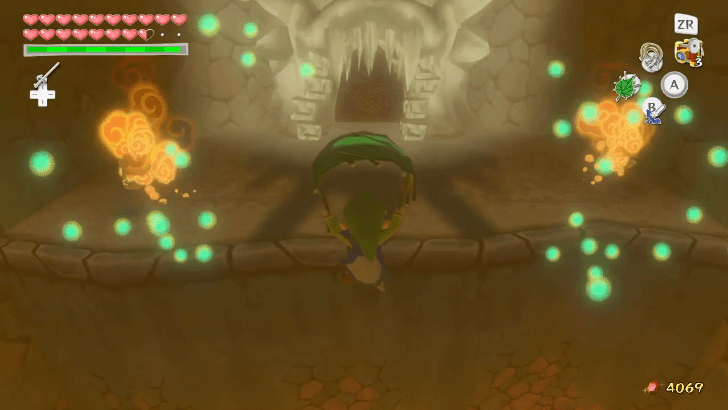 Once you reach the third vine, climb up the rope and stand on top of the vine. Equip the Deku Leaf and glide towards the ledge. |
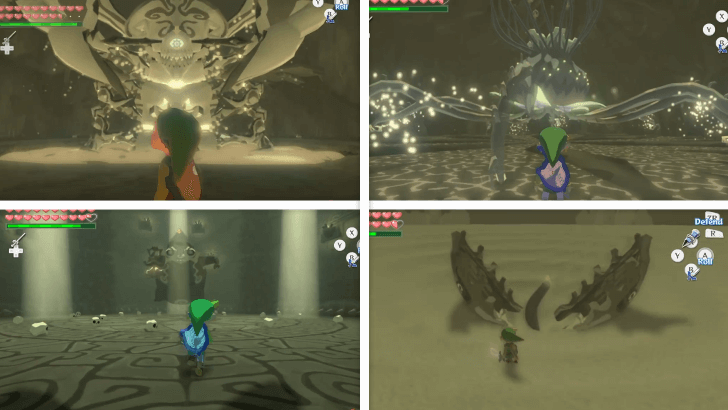
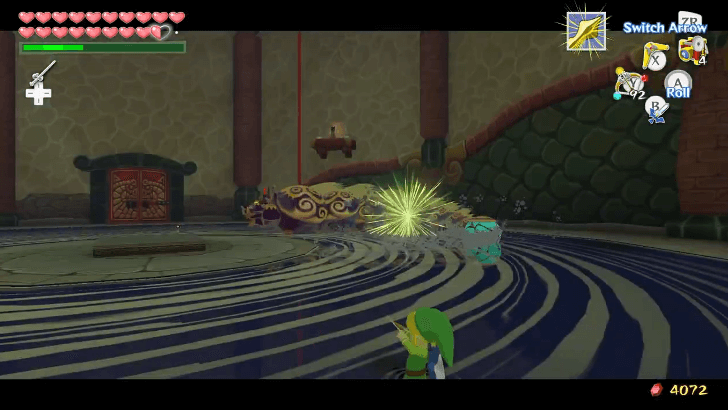
| 5 |  Enter the room and fight the Gohma. This will be similar to how you fought the boss in Dragon Roost Cavern, where you need to use the Grappling Hook to grab Valoo's tail to make rocks fall and break Gohma's shell then attack its eyes. ▶︎ How to Beat Gohma |
| 6 | 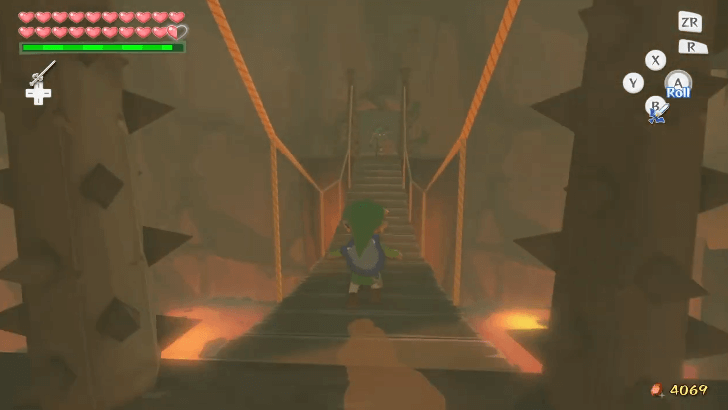 Once you defeat Gohma, you will be teleported back to the main room. Head towards the second bridge from the left to continue. |
| 7 |  Equip your Deku Leaf and use the item to blow gusts of air towards the fan on the left, which will bring a platform towards Link. |
| 8 |  Hop on the platform and use the Deku Leaf to propel it forwards. Repeat the same method for the other fan and platforms. |
| 9 | 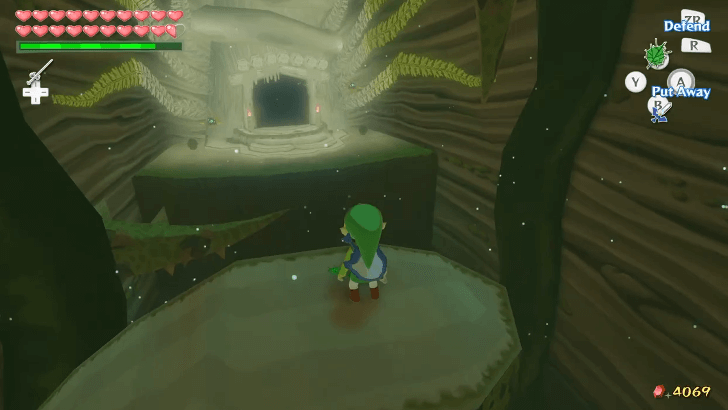 Once you reach the last platform, glide with your Deku Leaf to reach the ledge. |
| 10 | 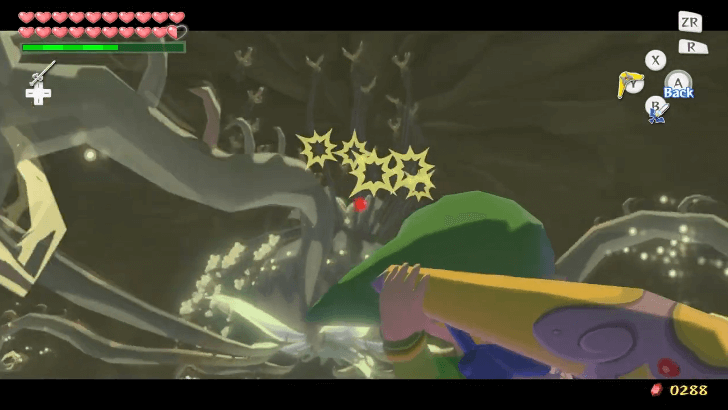 Enter the room to fight the Kalle Demos. You can defeat the boss with the same method as last time in the Forbidden Woods, where you need to use your Boomerang to cut its vines and hit its weak point. ▶︎ How to Beat Kalle Demos |
| 11 |  After defeating Kalle Demos and being brought back to the main room, head towards the second bridge from the right. |
| 12 | 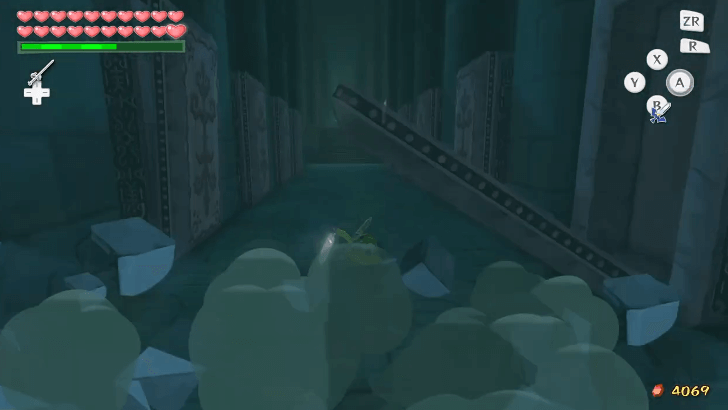 Run across the hallway and roll to avoid the falling slabs. Do the same on the next set of pillars after climbing the stairs so you don't have to worry about rolling around anymore. |
| 13 | 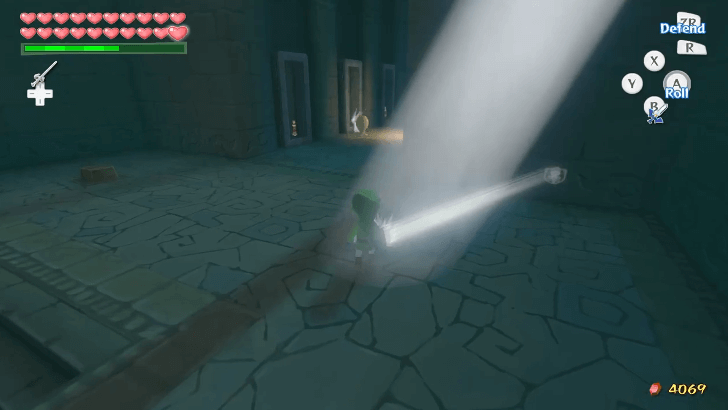 Head back to the middle of the hallway and use your Mirror Shield with the spotlight to petrify the nearby ChuChu. Place the ChuChu on top of the panel to reveal a staircase leading further into the hallway. |
| 14 | 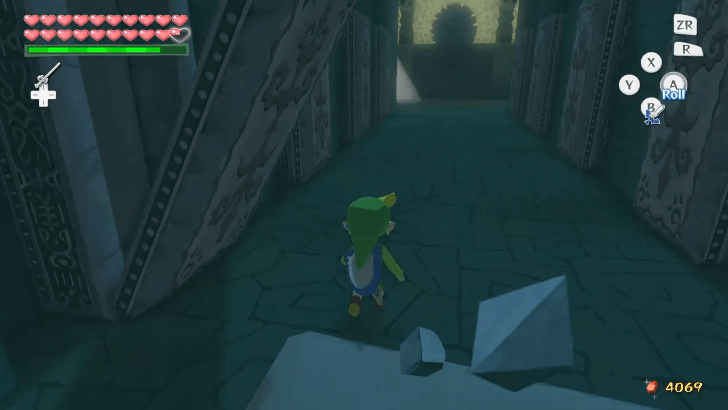 Run towards the end of the room to trigger the falling slabs, then use the spotlight again to petrify another ChuChu. Grab it and place it on top of the panel found before the hallway to get access to the end of the room. |
| 15 | 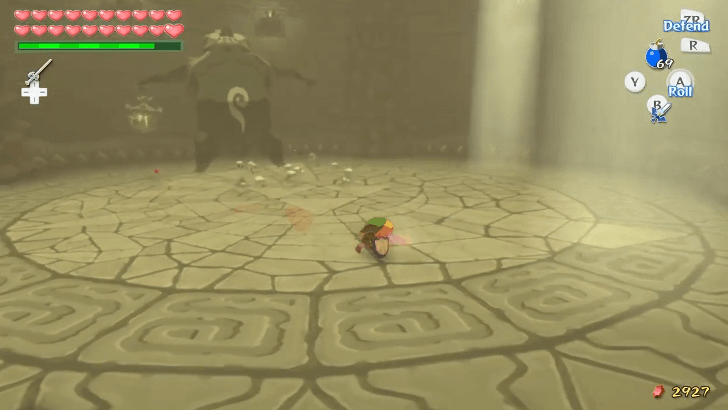 Enter the room and complete your rematch against Jalhalla. You can beat the boss the same way you fought it in the Earth Temple, which is by reflecting light towards it and hurling it towards the spiked pillars. ▶︎ How to Beat Jalhalla |
| 16 | 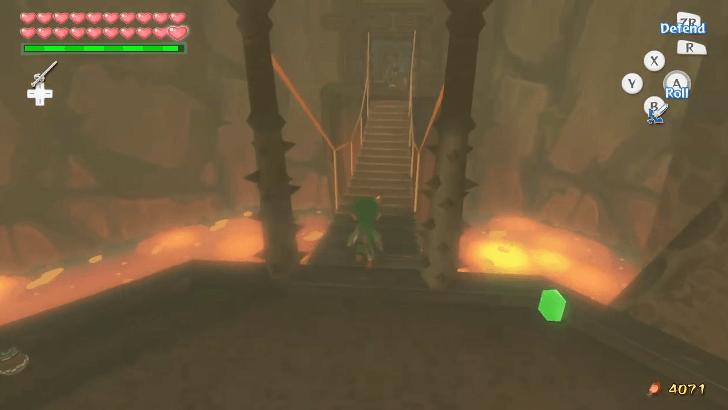 After beating Jalhalla and going back to the main room, head towards the first bridge from the right. |
| 17 | 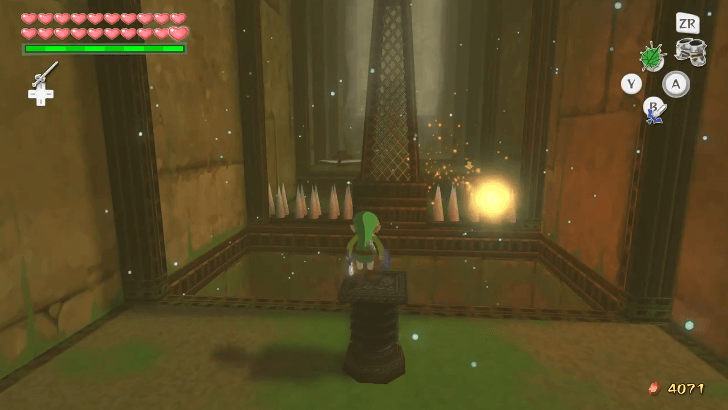 Equip your Iron Boots and climb on top of the spring. Use the item to jump up to the air and use your Deku Leaf to glide across the room. |
| 18 | 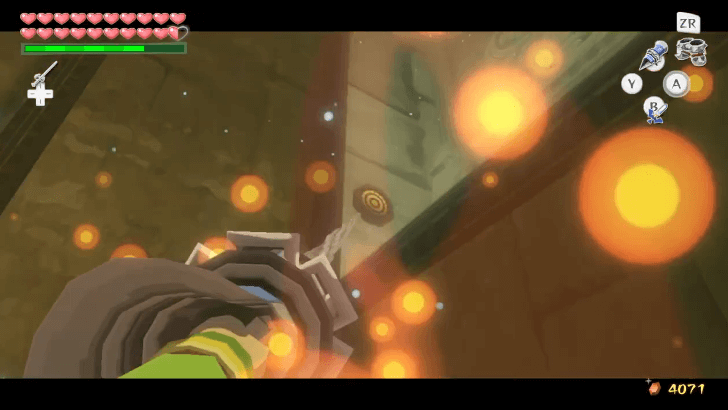 Once you're below the ledge at the end of the room, use your Hookshot at the target on the left or right wall. |
| 19 | 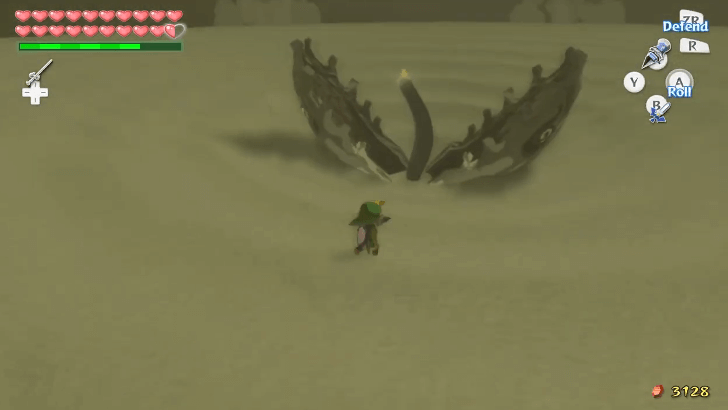 Enter the room and fight Molgera the same way you fought it in the Wind Temple, which is by pulling its tongue with the Hookshot and attacking it. |
| 20 | 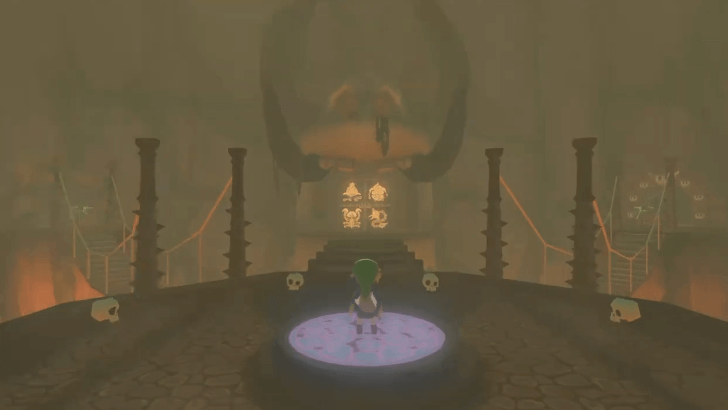 Once you deefat Molgera and go back to the main room, the seal on the door will be broken. Head inside to proceed. |
Phantom Ganon Maze and Finale
| 1 | 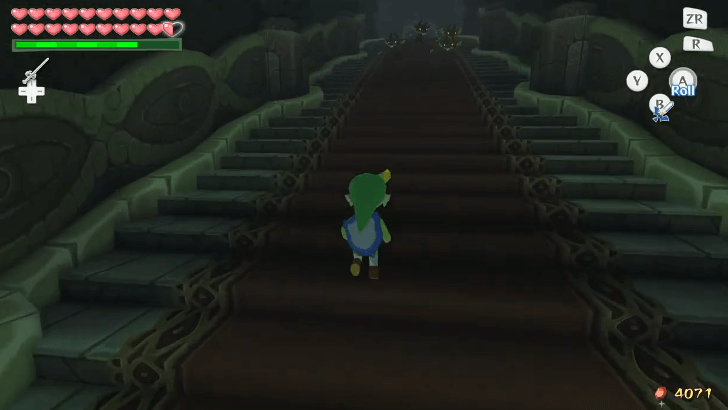 After going through the door, head up to the flight of stairs and enter the stone door. |
|---|---|
| 2 | 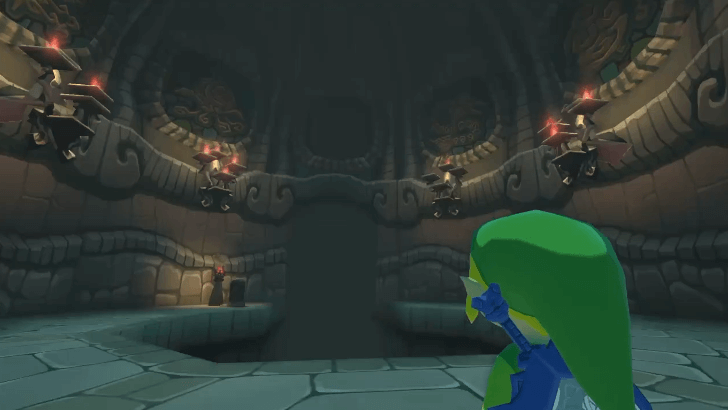 Enter the room on the right and remember the order of the lanterns shown and the number of candles. |
| 3 | 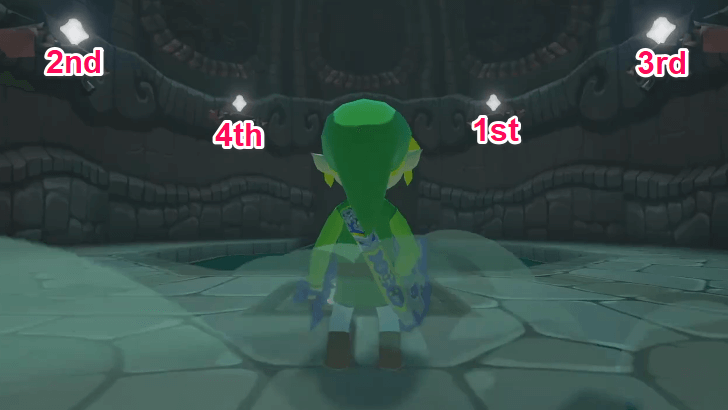 Get out of the room and head towards the room on the left. Use your Boomerang and target the lanterns in order based on what was shown in the previous room. |
| 4 | 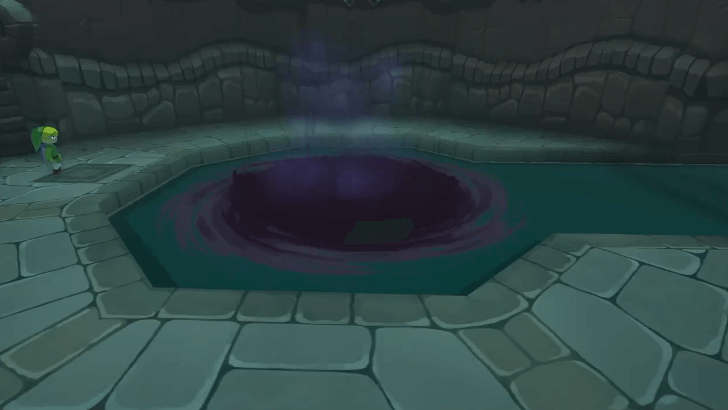 After solving the puzzle, a portal will show up which allows you to go out of this dungeon if you wish. |
| 5 | 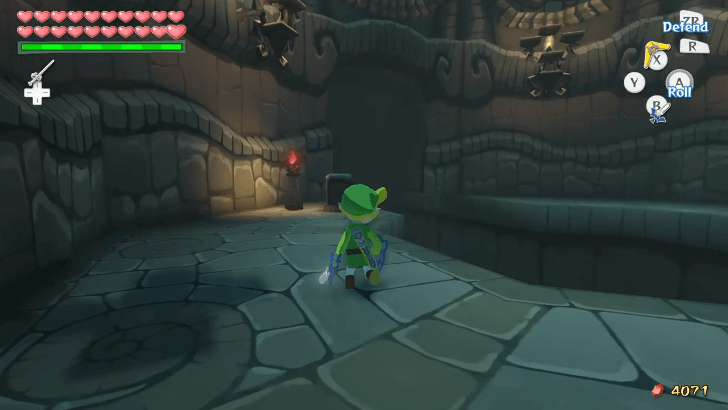 Go back to the room with the lanterns and read the stone tablet on the left. Jump down towards the darkness below to proceed. |
| 6 | 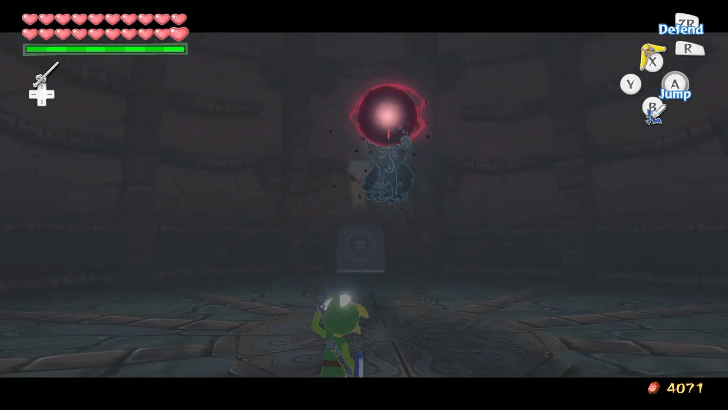 You will arrive at a dome-like arena and face Phantom Ganon. The ghost will throw projectiles which you can deflect with your sword attack. ▶︎ How to Beat Phantom Ganon |
| 7 | 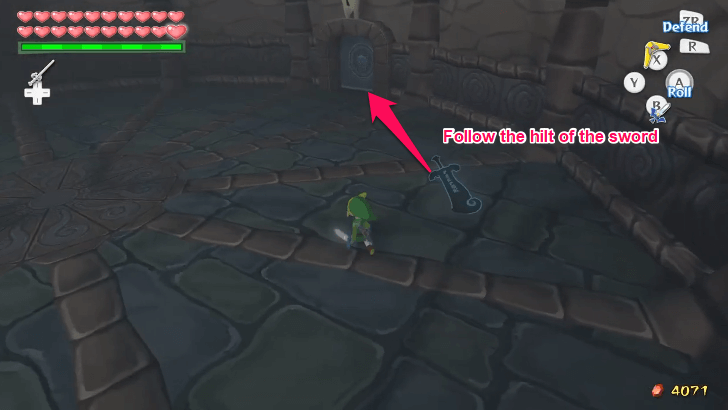 Once Phantom Ganon falls to the ground, hit it again and it will leave its sword. You need to enter the door where the hilt of the sword is pointing at, which is the whole mechanic behind this maze. You need to do this six times before you can reach the final room. |
| 8 | 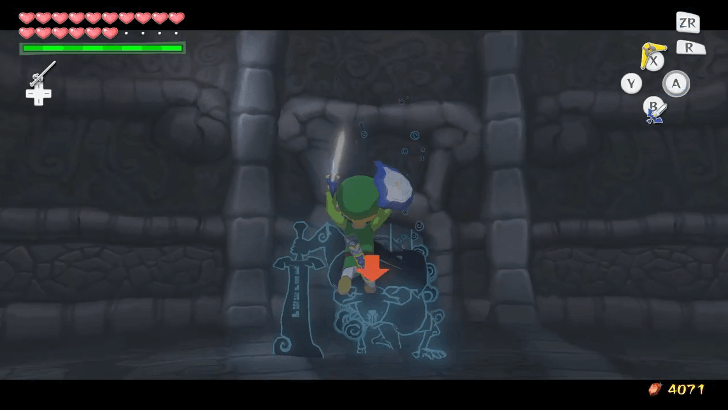 After following the hilt of the sword six times, you will face Phantom Ganon again. After defeating the ghost here, a chest will appear which contains the Light Arrow. |
| 9 | 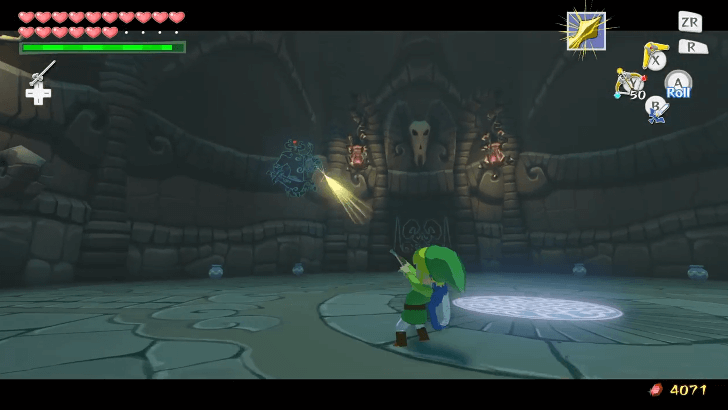 Head to the door and you will be transported back to the main room of the maze. Use your Bow and hit Phantom Ganon with the Light Arrow to defeat it. |
| 10 | 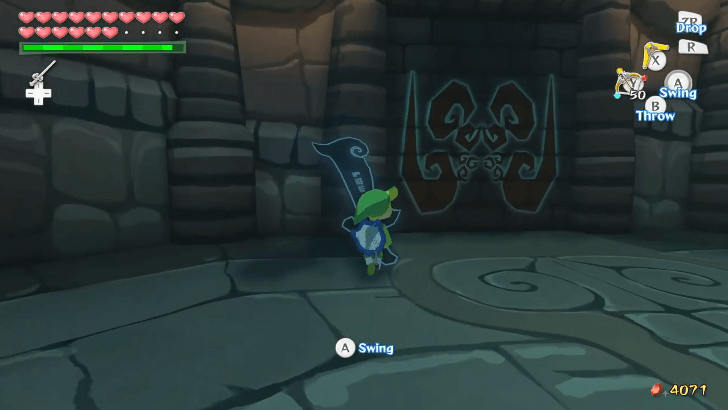 Grab the sword and use it to smash the brick wall with the red painting. |
| 11 | 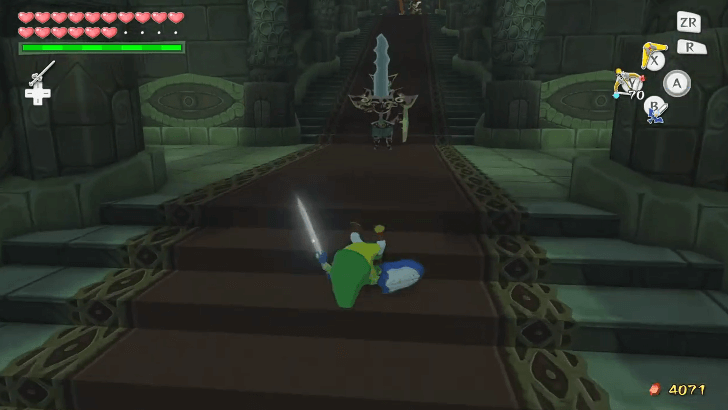 Head up the stairs to reach the final room. Break the jars along the hallway or defeat the enemies to restore your health, magic, arrows, and bombs. Once you are ready, enter the big red door. |
| 12 |  You will find Zelda and Ganon who will summon Puppet Ganon. This fight has three phases where you need to attack the puppet's weak point with Light Arrows. ▶︎ How to Beat Puppet Ganon |
| 13 |  After defeating the puppet boss, Ganon will retreat and ascend the tower. Climb up the red rope and use the Hookshot to traverse along the beams. You can also break the pots found along the way to heal up. |
| 14 | 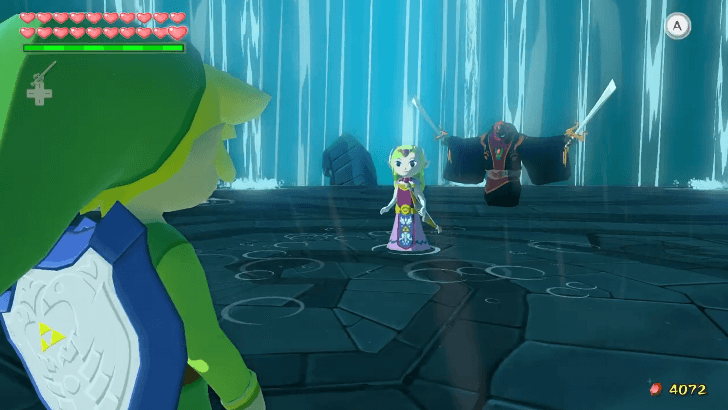 After some story cutscenes, the final fight with Ganon will begin. Zelda will lend a helping hand during the boss battle. ▶︎ How to Beat Ganondorf |
| 15 |  Once you defeat Ganondorf, you have beaten Wind Waker! You can access Second Quest, which allows you to play through the game a second time with some minor changes. |
Ganon's Tower Bosses
Previous Dungeon Bosses
Inside Ganon's Tower, you will encounter all four dungeon bosses that you have faced before, but this time they will be black-and-white. You need to defeat all of them before you can continue deeper in this dungeon.
Fortunately, they can be defeated the same way they are fought in their original appearances in their respective boss fights.
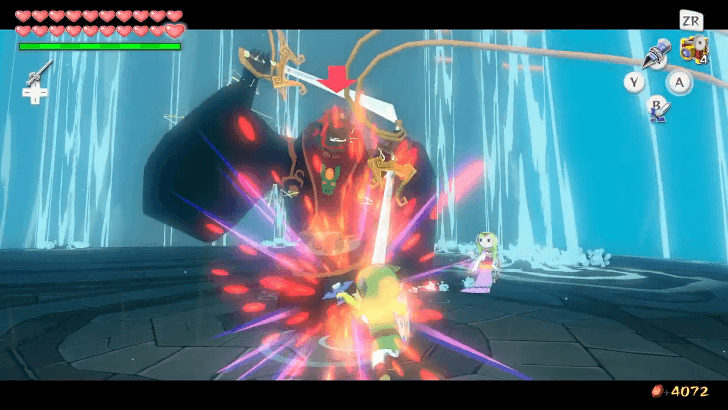
Puppet Ganon
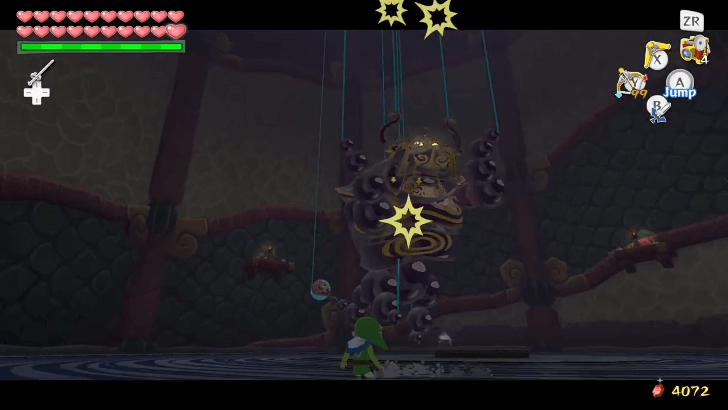
In the middle of the dungeon and before the final fight, you will face Puppet Ganon. He will have three phases as he will transform into a beast, spider, and worm.
Generally, you need to hit Puppet Ganon's blue weak point to damage and defeat it.
How to Beat Puppet Ganon
| How to Beat Puppet Ganon |
|---|
|
|
Cut Beast Puppet's Tail String
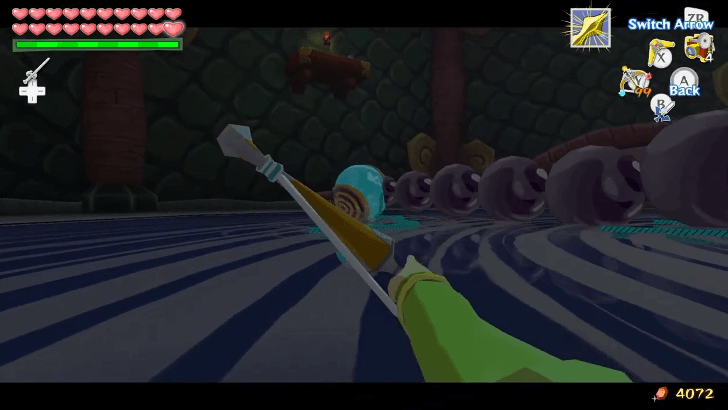
The weak point of Puppet Ganon's first phase, the beast form, is at its tail, which is tied up with a string along with the rest of its body parts. Use your Boomerang and aim at the strings to cut them down. Do note that you should not cut all the strings or Puppet Ganon will bring back all of them.
You can focus on cutting the string that is holding up its tail. Once cut, it will fall down to the ground and you can use your Light Arrows to damage it. You need to do this three times to move on to the next phase.
Use the Ground to Avoid Spider Puppet
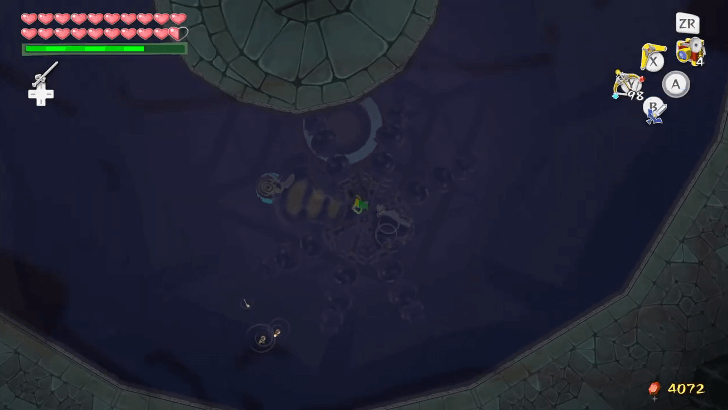
Puppet Ganon will transform into a spider for his second phase. He will climb up the area and slam his body to the ground to damage Link.
You can use the reflections on the ground to telegraph where Puppet Ganon will land once he slams his body. You have a few seconds to run away from the area.
Like the last phase, use your Light Arrows to damage its blue weak point. Do this three times to reach the final phase.
Fire Arrows to Damage Worm Puppet
Puppet Ganon will then turn into a worm-like monster and slither around the area. He will relentlessly charge and slide around which will damage Link when you are hit.
You need to also hit its tail with Light Arrows to damage Puppet Ganon, but this time, it may be harder to do as it is moving around. You can try firing off at a distance so you won't get hit and reposition if he slides near you.
You need to hit its tail three times to defeat Puppet Ganon in full.
Ganondorf
Once you ascend the tower, you will have your final showdown against Ganondorf himself. He will be using two swords against Link, but Zelda will help you out during the fight.
How to Beat Ganondorf
| How to Beat Ganondorf |
|---|
|
|
Wait for Zelda to Shoot Ganondorf
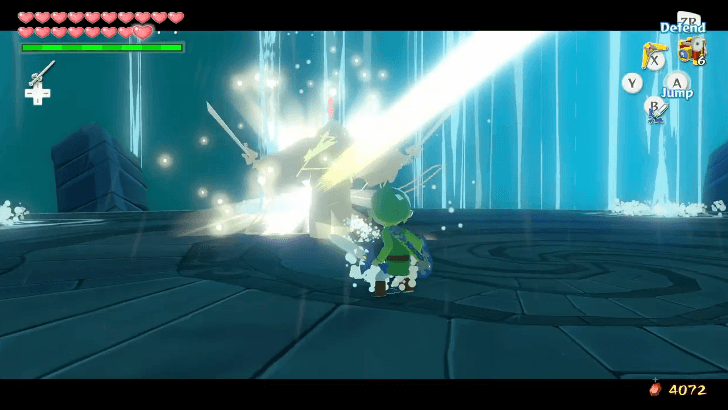
Zelda will try to shoot Light Arrows to stun Ganondorf during the fight. When hit, you can use this window to launch a flurry of sword attacks on the boss.
After a few hits, Ganondorf will knock Zelda down, and you will face him one-on-one.
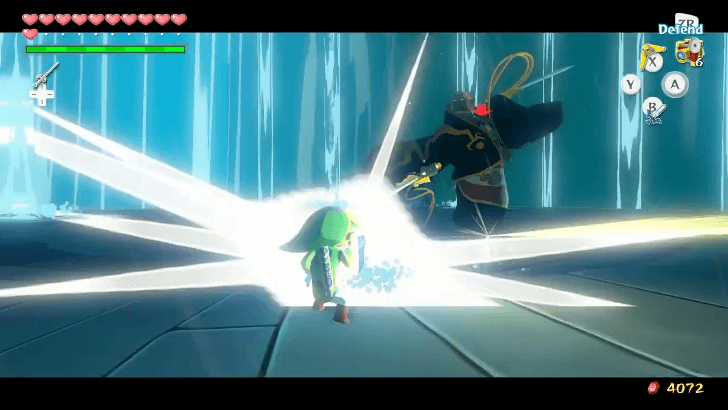
Dodge or Parry Attacks

Ganondorf will also launch his own sword attacks. Try to dodge away or parry his attacks to avoid getting damaged.
Parrying his own attacks will give you a chance to counterattack and deal some damage.
Hold Up Shield During Last Phase
Later on, Zelda will recover and will tell Link that she will fire an arrow towards him. You need to deflect this shot with your shield to stun Ganondorf and deal the final blow.
During this phase, you can simply hold up your shield and wait for Zelda to fire a Light Arrow.
Once the boss is stunned, run up to him and parry his attack one last time. Link will then stab his sword on Ganondorf's head.
Ganon's Tower Items to Get
Phantom Ganon Maze
| Item | How to Get |
|---|---|
| Light Arrow | Obtained after solving Phantom Ganon's maze where you need to follow the hilt of the sword. The chest will appear after defeating Phantom Ganon in the sixth room. |
The Legend of Zelda: The Wind Waker Related Guides

Walkthrough Guides
| 1 | Outset Island | 2 | Forsaken Fortress |
|---|---|---|---|
| 3 | Windfall Island | 4 | Dragon Roost Island |
| 5 | Dragon Roost Cavern | 6 | Forest Haven |
| 7 | Forbidden Woods | 8 | The Third Pearl |
| 9 | Tower of the Gods | 10 | Hyrule Castle |
| 11 | Return to the Forsaken Fortress | 12 | Earth Temple |
| 13 | Wind Temple | 14 | Triforce |
| 15 | Ganon's Tower | ||
Comment
Author
The Legend of Zelda: The Wind Waker Walkthrough & Guides Wiki
Ganon's Tower Walkthrough
Rankings
- We could not find the message board you were looking for.
Gaming News

![Monster Hunter Stories 3 Review [First Impressions] | Simply Rejuvenating](https://img.game8.co/4438641/2a31b7702bd70e78ec8efd24661dacda.jpeg/show)
![The Liar Princess and the Blind Prince Review [PC] | Lovely to Look at but Tedious to Play](https://img.game8.co/4442586/8d95f5faf05780f1765ce7e0938bd825.jpeg/thumb)
![Marathon Cryo Archive Map Teased as [REDACTED] on Selection Screen](https://img.game8.co/4442236/6357203e58172f6de57f1991e7c39b22.png/thumb)

Popular Games

Genshin Impact Walkthrough & Guides Wiki
Umamusume: Pretty Derby Walkthrough & Guides Wiki
Pokemon Pokopia Walkthrough & Guides Wiki
Honkai: Star Rail Walkthrough & Guides Wiki
Monster Hunter Stories 3: Twisted Reflection Walkthrough & Guides Wiki
Arknights: Endfield Walkthrough & Guides Wiki
Wuthering Waves Walkthrough & Guides Wiki
Zenless Zone Zero Walkthrough & Guides Wiki
Pokemon TCG Pocket (PTCGP) Strategies & Guides Wiki
Monster Hunter Wilds Walkthrough & Guides Wiki


Recommended Games
Diablo 4: Vessel of Hatred Walkthrough & Guides Wiki
Cyberpunk 2077: Ultimate Edition Walkthrough & Guides Wiki
Fire Emblem Heroes (FEH) Walkthrough & Guides Wiki
Yu-Gi-Oh! Master Duel Walkthrough & Guides Wiki
Super Smash Bros. Ultimate Walkthrough & Guides Wiki
Pokemon Brilliant Diamond and Shining Pearl (BDSP) Walkthrough & Guides Wiki
Elden Ring Shadow of the Erdtree Walkthrough & Guides Wiki
Monster Hunter World Walkthrough & Guides Wiki
The Legend of Zelda: Tears of the Kingdom Walkthrough & Guides Wiki
Persona 3 Reload Walkthrough & Guides Wiki


All rights reserved
© Nintendo. The Legend of Zelda and Nintendo Switch are trademarks of Nintendo.
The copyrights of videos of games used in our content and other intellectual property rights belong to the provider of the game.
The contents we provide on this site were created personally by members of the Game8 editorial department.
We refuse the right to reuse or repost content taken without our permission such as data or images to other sites.