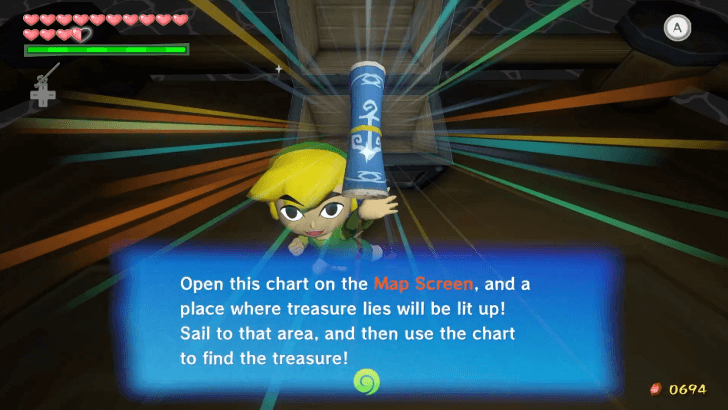
100% Walkthrough Guide
▲ 100% Completion Checklist
▲ All Heart Pieces & Empty Bottle Locations
▲ Treasure Charts | Triforce Charts
▲ GameCube and Wii U Version Differences
▲ Upgrades ▶︎ Wallet | Magic Meter | Picto Box

This is a 100% Walkthrough Guide for The Legend of Zelda: The Wind Waker. Read on for a complete story walkthrough showing the main quests and the detours you can take to achieve 100% in the game!
List of Contents
100% Completion Route
All Walkthrough Guides
This is the recommended route to take when progressing the main story while also getting every item needed for 100% completion along the way. Some guides may cover directions for multiple areas, which are either related to the main story, side content, or a mix of both.
100% Walkthrough Guide
| Note: This walkthrough works with the GameCube version, the Wii U version (Wind Waker HD), and the Nintendo Switch 2 (GameCube NSO) version! |
Outset Island
Prologue
| 1 | 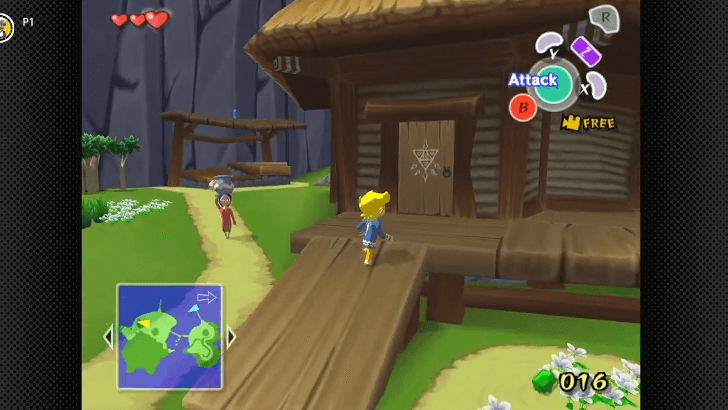 After the starting cutscenes and talking to Aryll, jump down the watchtower and head to the westmost house in the island. |
|---|---|
| * | Instead of just running, try rolling while moving towards a direction by pressing the A button to move faster! ▶︎ All Controls for Every Version |
| * | 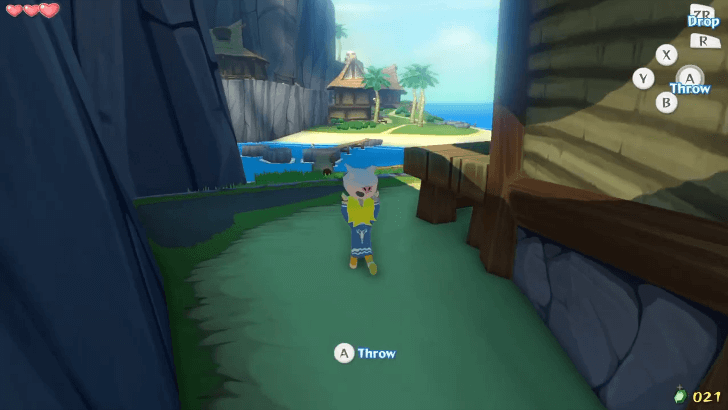 Before getting your adventure started, it's recommended to pick up the pigs on the island, and carry them to the pigpen where Rose can be found. You'll be given Rupees for your effort, and you'll get another important reward when you come back much later in the game. ▶︎ How to Pick Up Pigs |
| 2 | 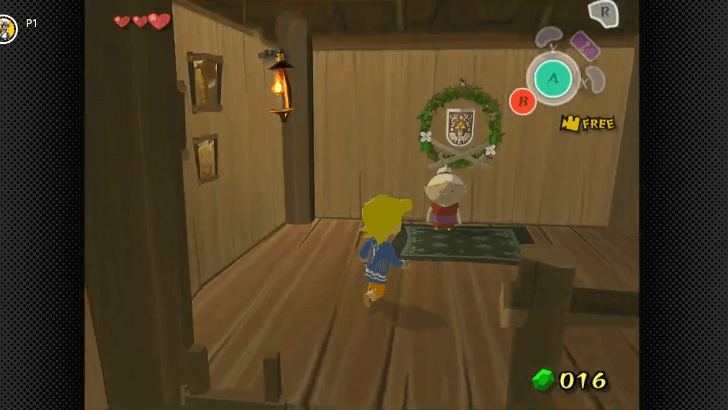 Climb up the ladder and talk to Link's grandmother to receive the Hero's Clothes. Head back outside and return to Aryll. |
| 3 | 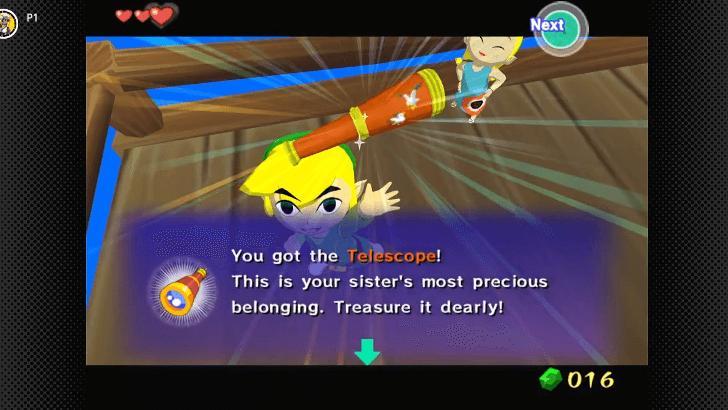 At the top of the watchtower, Aryll will give you her Telescope as a birthday gift and asks you to try it out. Open your inventory and assign it to either X, Y, or Z button to use it. Scope around the island and look for a Rito postman, who will shortly be startled by a giant bird soaring above. |
| 4 | 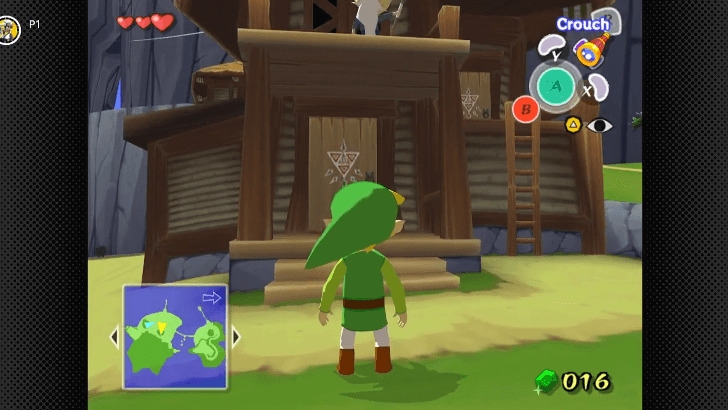 The giant bird will drop the girl it's holding after getting hit, and Aryll suggests that you check if she is safe. Climb down the watchtower again and visit Swordmaster Orca's house for a weapon that can cut through the trees blocking the path to the forest. His house is just across grandma's house. |
| 5 | 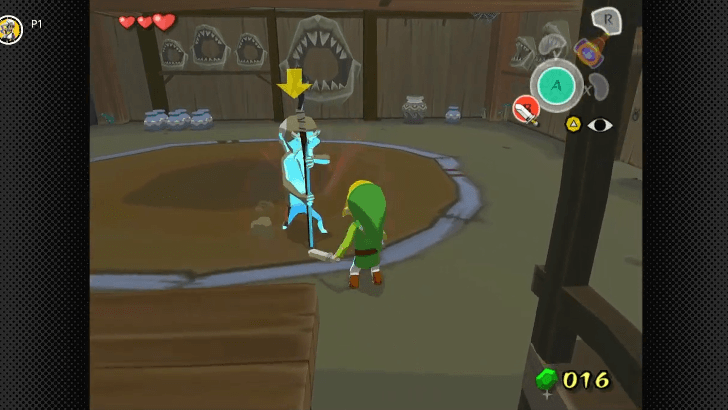 Complete the combat training with Swordmaster Orca to receive the Hero's Sword. ▶︎ Orca's Combat Training Mini Game Guide |
| * |  Before heading to the next objective, you can check out Beedle's Shop Ship docked at shore of the west isle. One of his wares is the Bait Bag where you can store baits to be used to lure different kind of animals! ▶︎ List of All Baits |
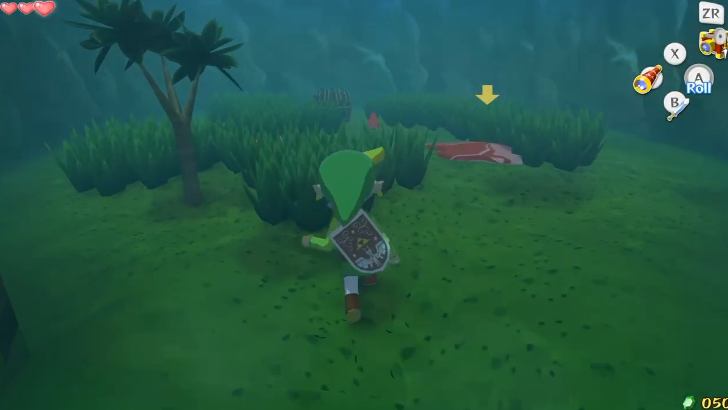
| 6 |  Now that you can cut trees and other stuff, head to the northeast corner of the island and go up the slope. Use your sword to remove the trees blocking the path to reach the summit. |
| 7 | 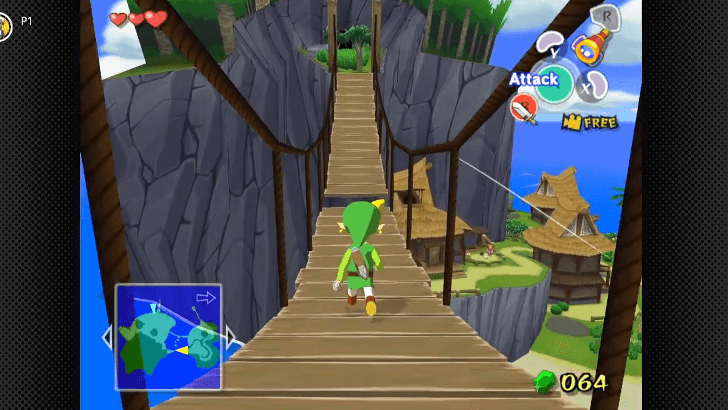 Cross the bridge at the top (mind the gap) and enter through the opening on the rock wall to reach the Forest of Fairies. |
Forest of Fairies
| 1 | 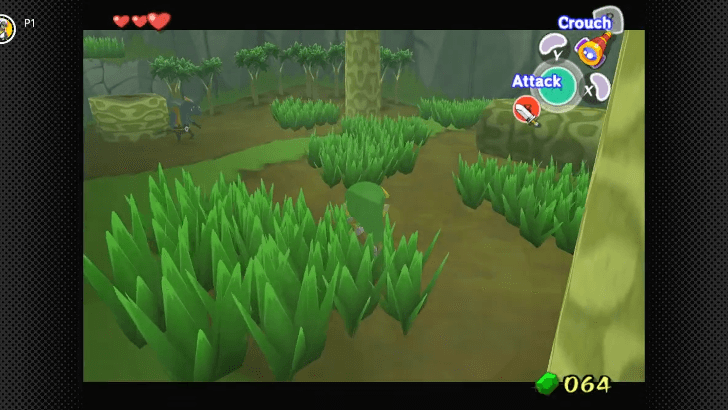 Link will immediately spot the girl upon entering the forest. To get there, first, take the path to the right and drop down the ledge. You can ignore the Blue Bokoblin that's trying to pick a fight here. |
|---|---|
| 2 |  Hop on the stump where the Blue Bokoblin was sitting and jump onto the ledge behind it. Go up the log and hop into the next area. Before you can reach the girl, two more Blue Bokoblins will be air-dropped. Defeat them to rescue Tetra. |
| 3 | 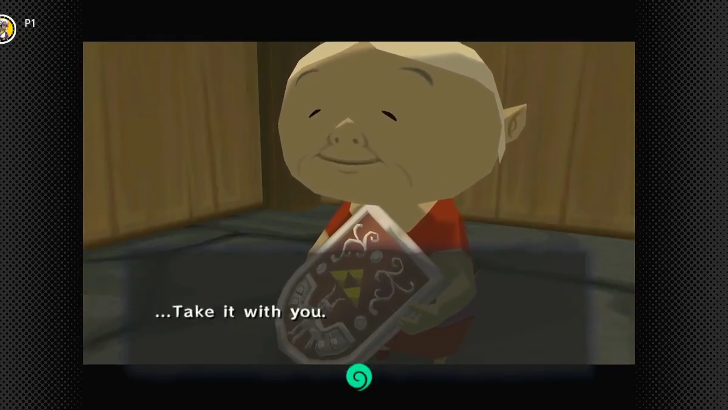 Tetra wants you to bring a shield before she agrees to let you on board their ship. Return home and check the second floor for the shield. Link will immediately notice that the shield is missing from the wall. Climb back down and try to ask grandma where it went. Hearing that Aryll was really kidnapped, she already prepared the Hero's Shield for Link. |
| 4 | 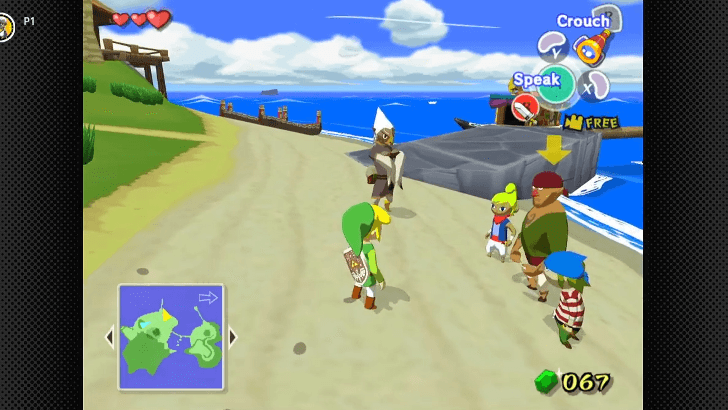 Exit the house and talk to Tetra's crew again to set off and begin the rescue operation! ▶︎ Forsaken Fortress Walkthrough |
Forsaken Fortress
Pirate Ship
| 1 |  Once you can move around the Pirate Ship, enter through the door at the back and go down the stairs in the middle of the room. |
|---|---|
| 2 | 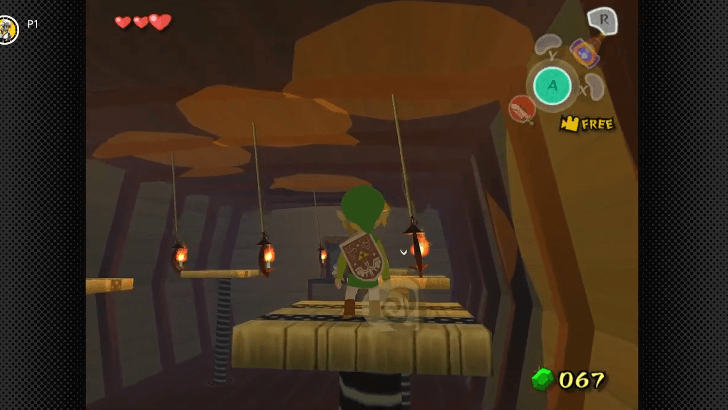 You will meet Niko in the room below, who will step on a pressure plate nearby and demonstrate how to jump and swing from one platform to another. Follow his lead until you reach the room on the other side. Open the chest inside to obtain the Spoils Bag. |
| 3 | 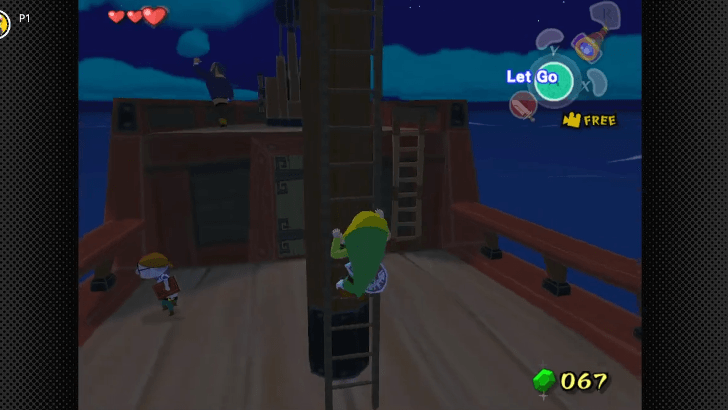 Go back to the deck and talk to Tetra atop the mast. She'll tell you about the Forsaken Fortress and how she plans to "sneak" you into the place. No matter how reckless the plan sounds, Tetra will still have you launched through a catapult, hitting a wall in the fortress, and dropping the Hero's Sword elsewhere. |
Forsaken Fortress
| 1 | 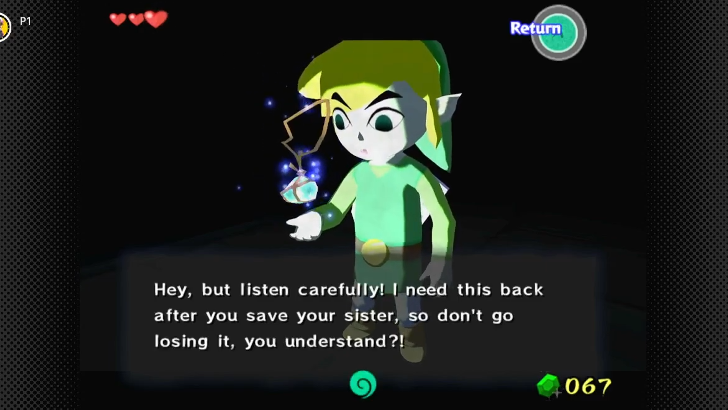 Upon landing, you'll hear Tetra's voice from somewhere nearby. You check where the voice was coming from and see the Pirate's Charm she slipped into your pocket before you were launched. |
|---|---|
| 2 | 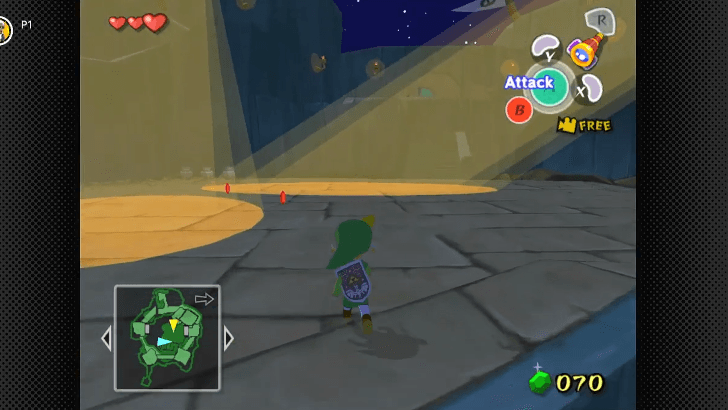 Climb the first set of stairs and you will notice two searchlights scanning the floor. The guards will get you and lock you up if you're caught by the searchlights or any of the patrolling guards. These searchlights can be disabled by dealing with the Bokoblins operating them. In the meantime, avoid these lights while inside the fortress. |
| * | Link can use a barrel as cover from guards and searchlights. Take note that you need to stay still when under the searchlights and when inside an enemy's field of vision for the cover to work. The guards will still be alerted if they see a moving barrel wandering around the fortress! |
| 3 | 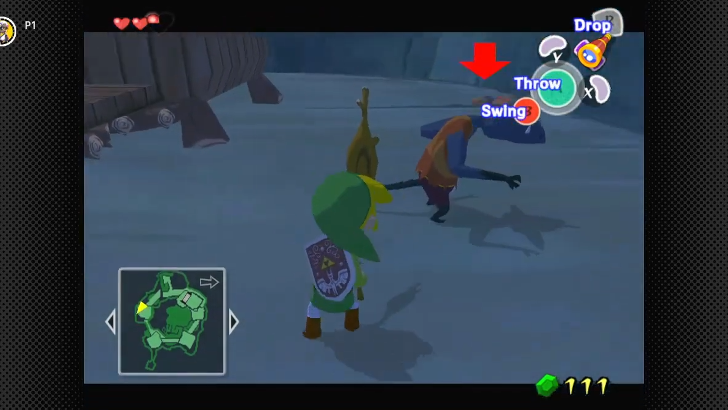 Continue going up the stairs until you reach a slope that circles around the southwest tower. Go up the slope and reach for the ladder on the west tower to find the first set of searchlights. Since you still don't have the Hero's Sword back, you can block the Bokoblin's attacks until it drops its stick. When it does, quickly pick up the stick and use it to defeat the Bokoblin. This should stop it from manning one of the sets of searchlights again! |
| 4 | 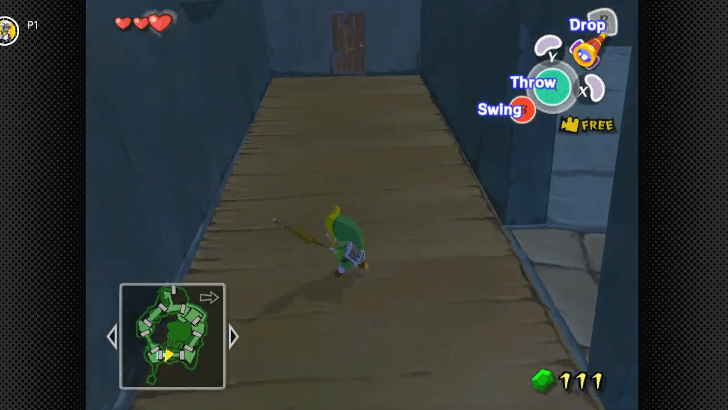 Jump down the tower and down the slope. On your right should be a hallway with doors on both ends leading to either towers. Enter through the west door, which leads to the southwest tower where the second set of searchlights is. |
| 5 | 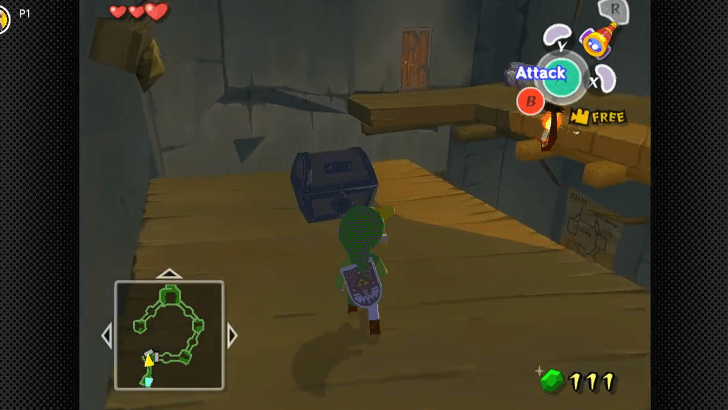 Immediately upon entering, you will see a chest on the opposite side. Jump on the lantern in the middle and swing across to reach the chest containing the Dungeon Map. |
| 6 | 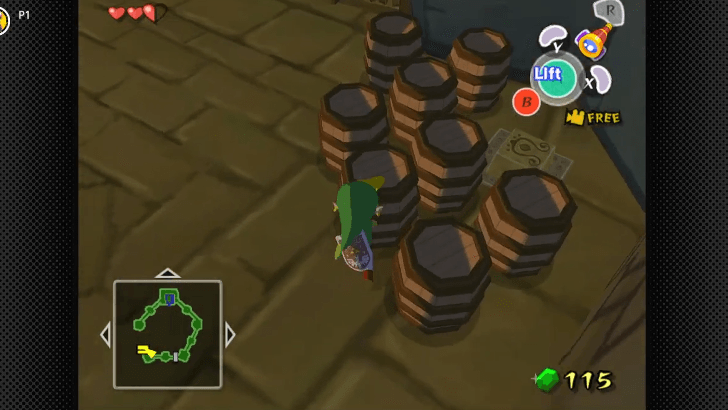 Instead of swinging back to where you jumped from, drop down the floor below and look for a group of barrels near the jail cell. Behind them is a switch that will open the cell where the Piece of Heart can be found. |
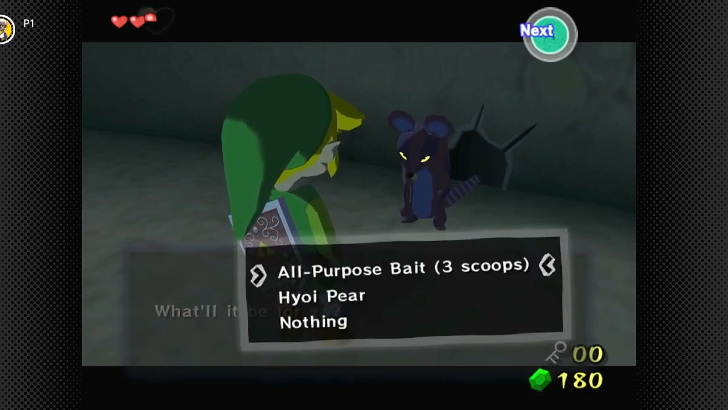
| * |  If you purchased the Bait Bag from Beedle earlier and place All-Purpose Bait in front of a rat hole, you can lure out a rat shopkeeper who can sell you All-Purpose Bait and Hyoi Pears. |
| 7 | 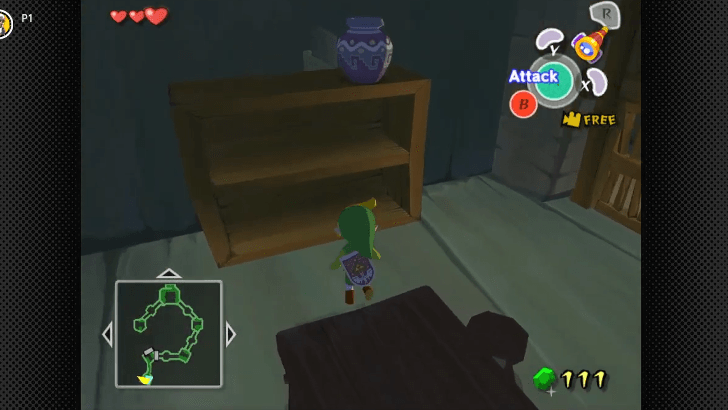 Follow the corridor and let one of the Moblins spot you. This will have you locked up in one of the cells at the southwest corner of the fortress. To break out of the jail, move the pot on top of the shelf to reveal a hidden passage. Crawl through it and you'll find a path that leads back to the Dungeon Map chest. Swing back to the other side and exit to the door on the left. |
| 8 |  Immediately turn left and climb the ladder to reach the searchlights. Defeat the Bokoblin at the top to shut down the second set of searchlights. |
| 9 | 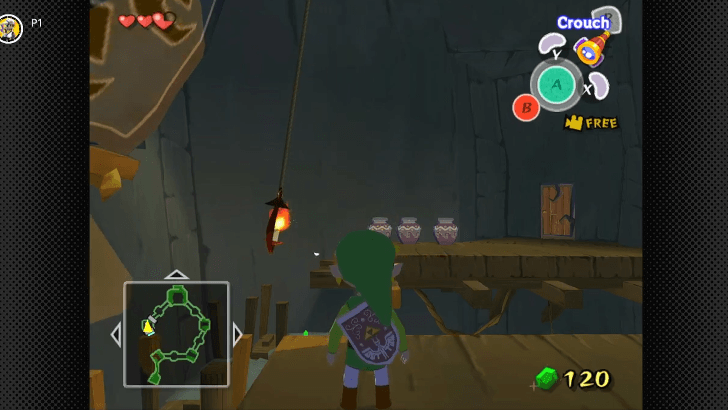 Climb back down the ladder and enter the north door this time, the one that leads to the west tower. Once inside, jump to the lantern and swing to the other side, then exit through the door ahead. |
| 10 | 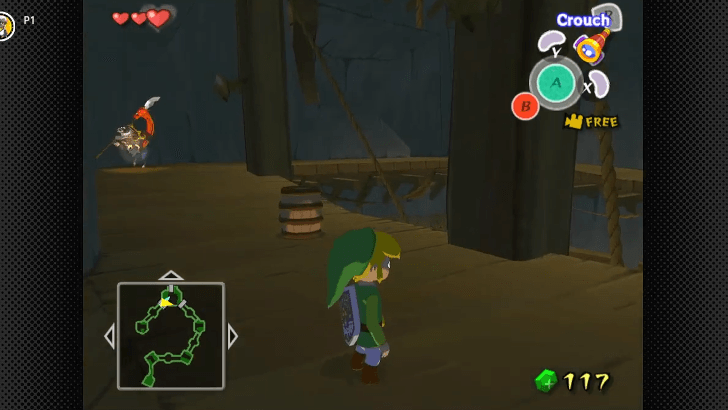 Head over to the other side and enter the north tower. In the next room, you must get past the Moblins and reach for the large door at the top of the stairs. You can use the barrel in front of you to sneak past them. |
| 11 | 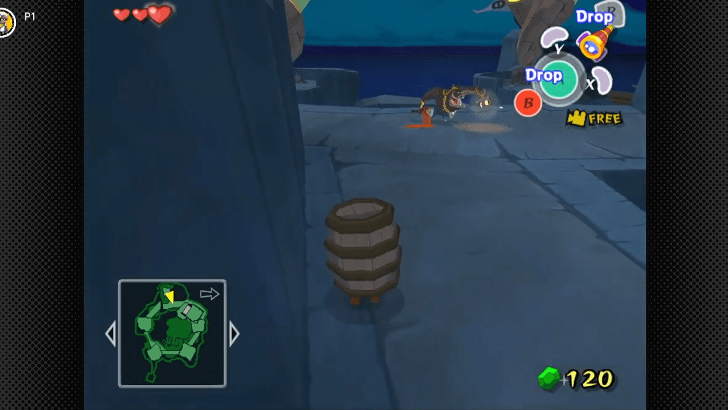 After getting through the Moblins and the large door, the path to where the Hero's Sword fell should be within reach! Climb up the stairs and pick up the barrel at the top. You'll need it to sneak past the Moblin just ahead. |
| 12 | 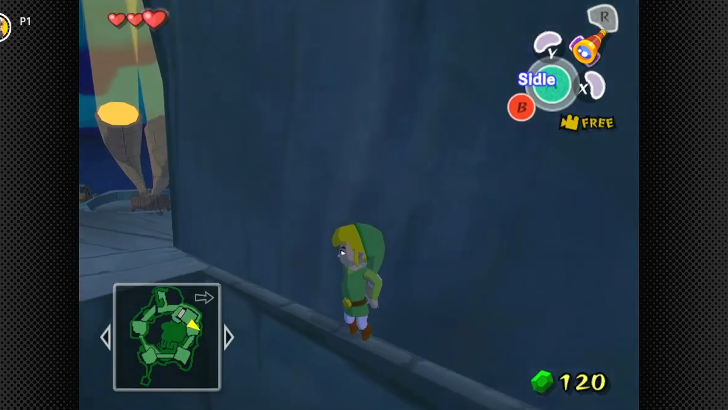 Turn left and follow the slope up until you reach a gap. Sidle on the ledge on your right by hugging the wall and holding the A button to cross over the gap, then do the same on the next ledge. Once you reach the top, you will find the Hero's Sword as well as a Shield Bokoblin guarding the prisoners. Defeat the Bokoblin using both sword and shield and enter through the door to trigger a cutscene. |
Windfall Island
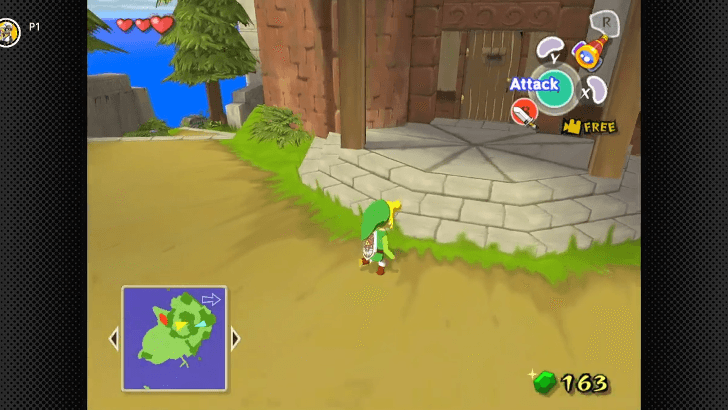
| 1 |  You'll wake up in an alcove beneath Windfall Island, aboard a talking boat named King of the Red Lions. Hop off the boat and go up the slope on your left. Just past the ramp is a door that leads to a small prison. |
|---|---|
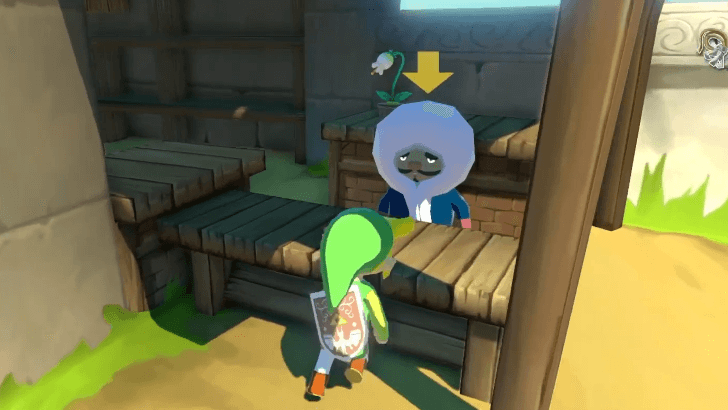
| 2 | 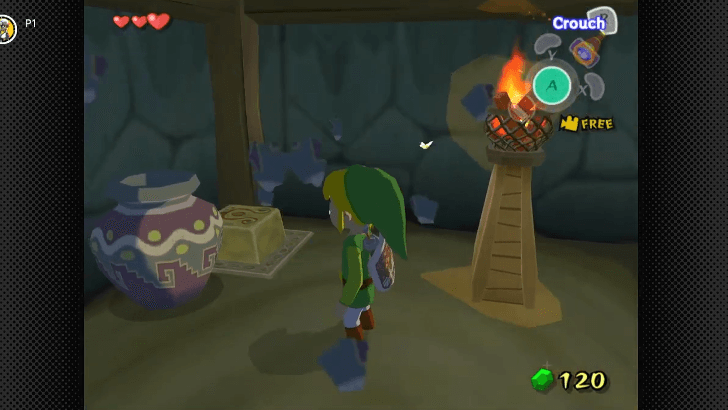 Destroy the pots in the corner to find a switch. Step on it to free Tingle, who will give you the Tingle Tuner (GameCube version) or Tingle Bottle (HD version) as thanks. He will also give you Tingle's Chart so you can come visit him later on! |
| * | 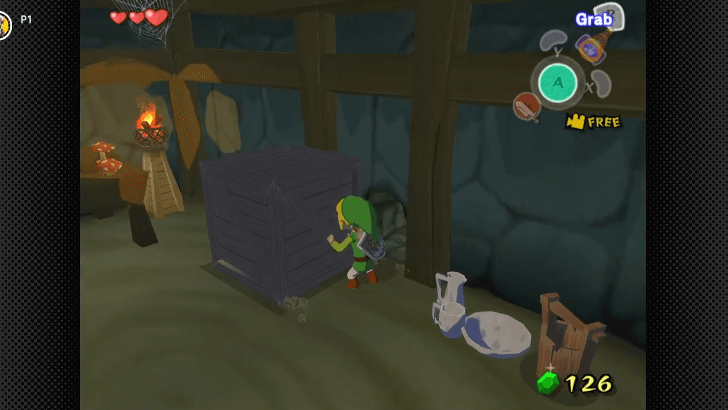 There's one more thing to do in this room. Go inside Tingle's cell and destroy (or push) the crate at the back wall to reveal a secret passage. Crawl into the passage and follow this path while navigating the maze: ▶, ◀, ▲, ▶, ◀, ▲, ◀, ▶, ▶, ▲, ▶. You'll end up in a small space with a chest in the middle containing a Picto Box! You can go back to the cell by following the path in reverse order, or just drop into one of the trapdoors that leads to where the King of the Red Lions is. |
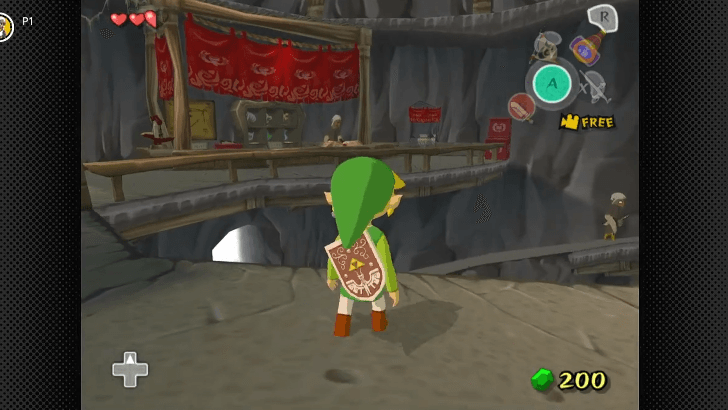
| * |  Once you're outside the prison again, go up the ramp and through the archway. There are several side content you can check out in this side of the island. Let's visit the Squid Hunt minigame first! Enter the building right across the archway and talk to "Admiral Dolvalski" to play the minigame. |
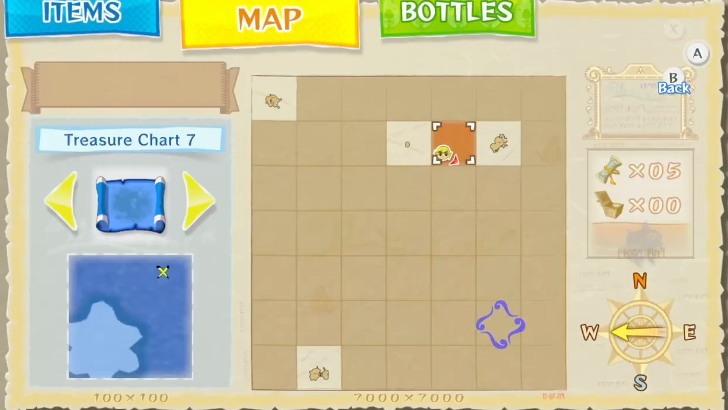
| * | 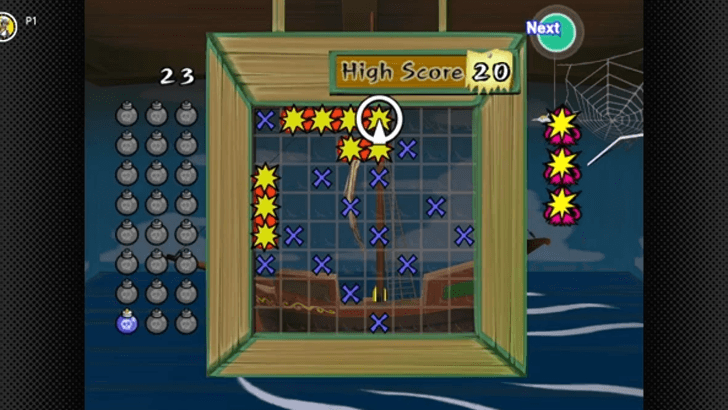 In this game, you need to guess the tiles where the three squids are hiding and use the cannonballs to hit all the parts of their bodies. You'll get rare items for your first and second win, as well as a bonus for defeating the squids with 5 or more shots remaining. 1st win: Piece of Heart 2nd win: Treasure Chart #7 >20 cannonballs used: Treasure Chart #23 ▶ Squid-Hunt Mini Game Guide |
| * |  Next, go back outside and enter the schoolhouse just across the Squid Hunt minigame. Talk to Mrs. Marie twice and she'll tell you about the mischievous group of kids outside and ask you to talk some sense to them. |
| * | 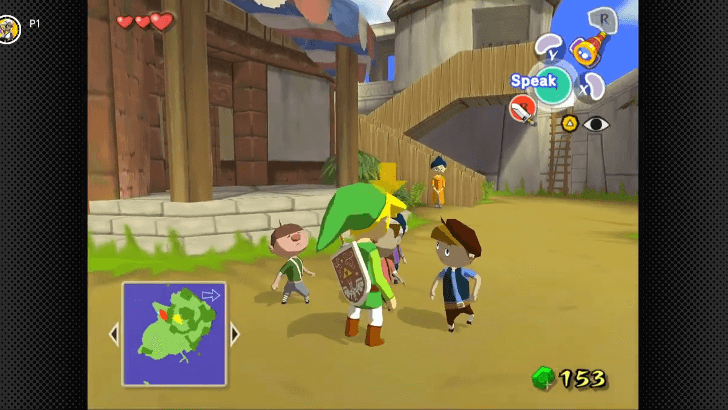 Remember those kids circling around you? Talk to their leader, Ivan, and accept the Killer Bees' Hide-and-Seek challenge. You need to find and catch all four members within Windfall Island to win and earn their respect. You'll also get the Piece of Heart from Ivan! You can then get a Joy Pendant by rolling into the tree near the Bomb Shop. ▶ Killer Bees Hide-and-Seek Guide |
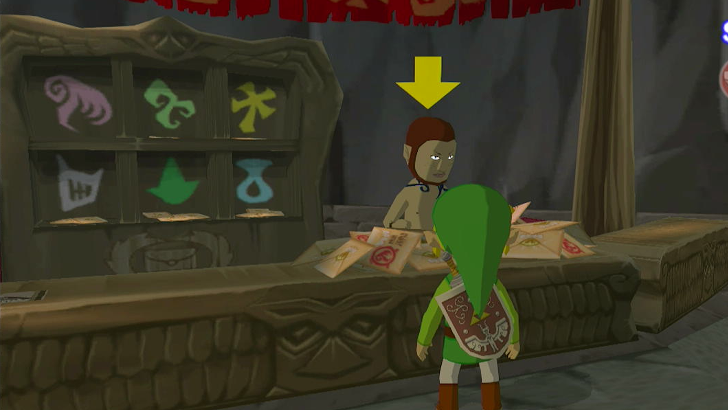
| * |  For our next stop, visit Lenzo in the building west of the Squid Hunt minigame. A dialogue will automatically start if you entered with the Picto Box on your person. He will let you look around his collection of pictographs in the second floor. |
| * |  Head upstairs and check each of Lenzo's pictographs to proceed. After seeing all of the pictographs and letting Lenzo tell a story about each of them, go back downstairs and wait for Lenzo. At this point, you can talk to Lenzo and agree to work for him by taking specific pictographs in Windfall Island. Take all three pictographs for Lenzo and he will reward you with a Joy Pendant (GameCube) or Deluxe Picto Box (HD)! You'll have to come back later for the Deluxe Picto Box in the GameCube version. ▶ Pictograph Quest Guide |
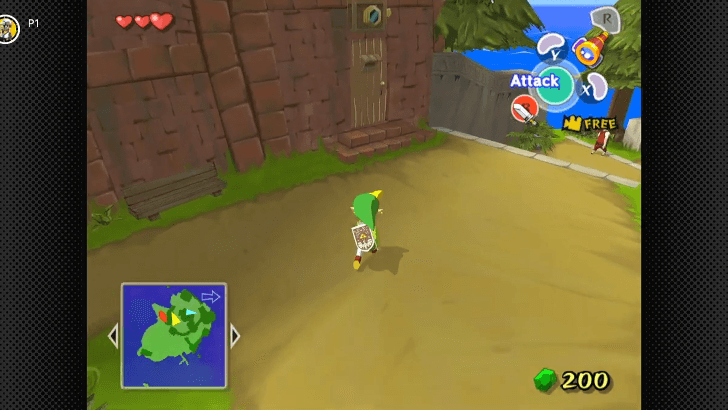
| 3 |  That should be all in Windfall Island for now! You can continue the main story by heading north from Lenzo's and speaking with the man named Zunari at the stall. He'll talk about an item he refers to as "that". Purchase "that" for 80 Rupees to obtain the Boat Sail. |
| 4 |  Return to the King of Red Lions with the sail and head out to the Great Sea! ▶︎ Dragon Roost Island Walkthrough |
Dragon Roost Island
Dragon Roost Island
| 1 |  When you're ready to go, open the sail and head to the island with a towering mountain that you see on the east horizon, which is located exactly in quadrant F2 of your Sea Chart. |
|---|---|
| 2 | 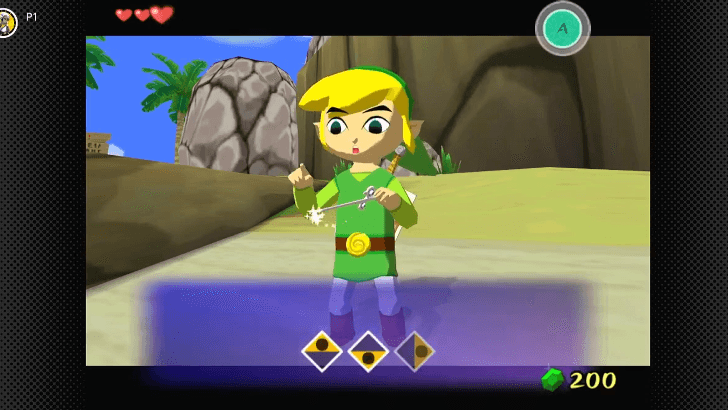 Upon arriving at Dragon Roost Island, the King of Red Lions will tell you that you need to seek Valoo atop the island and ask for Din's Pearl. He will also give you the Wind Waker and teach you how to use it before you go. |
| 3 |  Follow the tunnel right in front of you and look for an isle with two blue tombstones after reaching the other side. Swim over to the isle and inspect the left tombstone. These markings look familiar! Pull out the Wind Waker and conduct in 3/4 time while following the markings. Apparently, these are the notes to the Wind's Requiem and the breeze that you just summoned calls the attention of the god of winds, Zephos, as well! ▶ All Wind Waker Songs |
| 4 |  Swim back to the main island and go through the tunnel again. Turn right and look for boulder blocking the path ahead. You'll also spot a conveniently placed Bomb Fruit nearby. Neat! Pick up a Bomb Fruit and throw it at the boulder to destroy it and clear the path. |
| 5 |  Go up the newly cleared path to find two more boulders. There's another Bomb Flower patch right next to one of the boulders that you can use to clear both of them. |
| 6 |  Take the path to the right to find another patch of Bomb Flower right at the edge of the broken bridge. Pick up a bomb and quickly take it up the ramp on your left so you can use it to blow up the boulder above. |
| 7 | 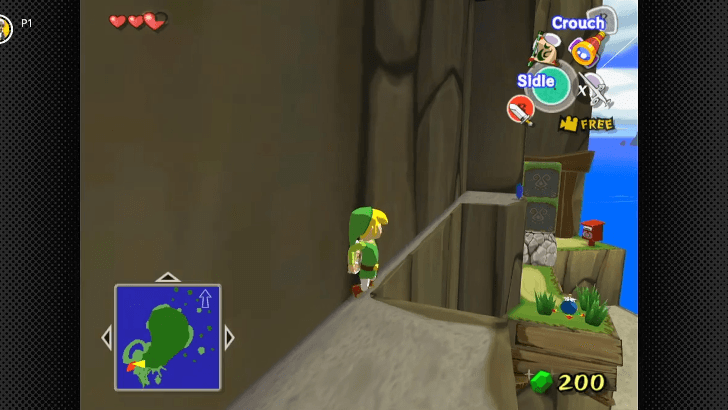 Jump onto the platform where the boulder was to find a ledge you can sidle along to reach the other side of the broken bridge. Jump down to another patch of Bomb Flower. |
| 8 | 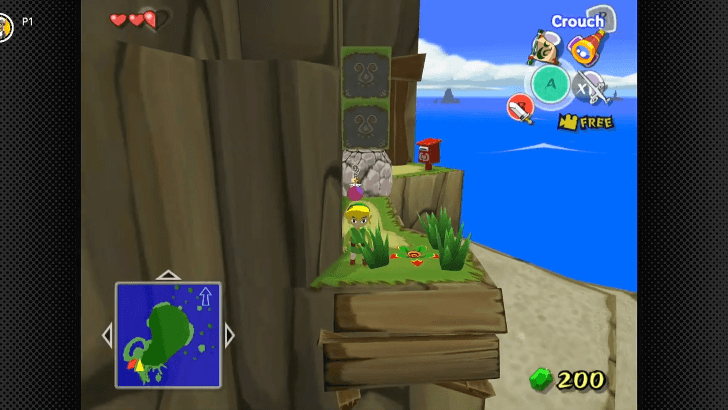 Pick up the Bomb Flower and drop it next to the boulder (the bomb might bounce off if you throw it) to drop the stacked blocks down and create a path forward. Before you proceed, drop down the ledge and pull the bottom block to create a shortcut back up. |
| 9 | 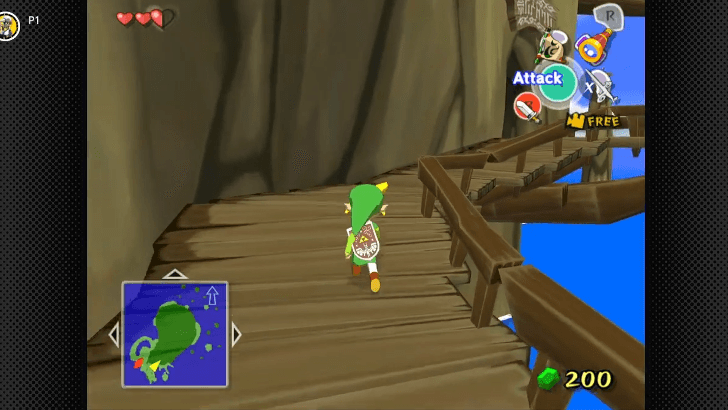 Just past the tunnel is Quill, the wise Rito from earlier who helped convince Tetra to take you to the fortress! Continue to the bridge after the conversation and through the opening at the end to enter the Rito Aerie. |
Rito Aerie
| 1 | 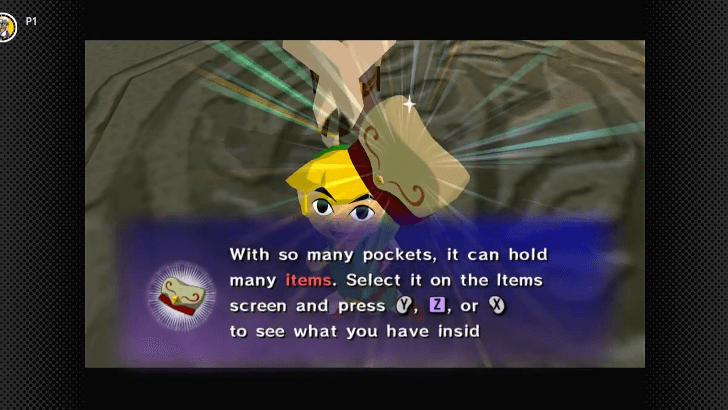 Upon entering the Rito Aerie, the Rito chief will immediately fill you in on their latest predicament and asks you to help them solve it. But first, you must find a girl named Medli to get something that is to be given to the chief's son, Komali. Before you leave to find Medli, Quill will give you a Delivery Bag to put your items in. Handy! |
|---|---|
| 2 | 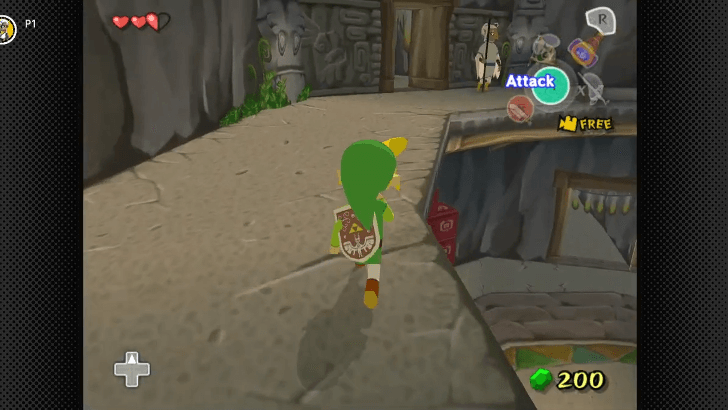 Now, head to the second floor through the slope along the wall to find Medli inside the room in the middle. Talk to her and she will hand over Father's Letter. Medli will also ask you to meet her in front of the Dragon Roost Cavern entrance later. Noted! But for now, just stuff the letter in your Delivery Bag and deliver the letter to Prince Komali like a flightless Rito. |
| * |  The Mail Sorting minigame is just across the room! Talk to the mail sorter to start the minigame and try to meet the minimum number of sorted mails in each attempt. You must successfully clear 3 levels of this challenge by meeting the passing scores 10, 20, and 25, respectively. The rewards are always Rupees based on the number of sorted mails. However, a hidden side quest will progress after clearing the 3rd challenge! We'll get back to it later. |
| 3 |  Go back to the first floor and through the tunnel to the left of the red crates. Enter the room at the end to find Komali on his bed. The letter won't be automatically given to Komali just by speaking to him. You must open your inventory first and equip Father's Letter from the Delivery Bag. "Use" it in front of Komali to trigger a cutscene. |
| 4 |  Exit the room and go back to the hub area. Turn left this time, past the stack of red crates, and head outside through this path. |
| 5 | 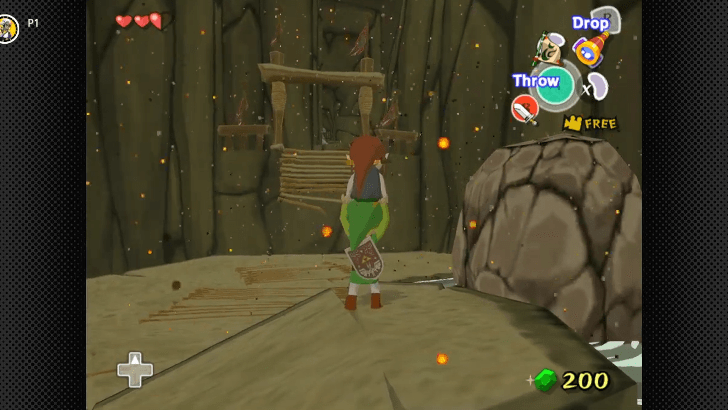 Jump down the broken bridge on the left to find Medli. It seems like she's trying to get into the cavern and brave the challenges to help Komali! Help Medli by carrying her to the ramp and throwing her to the other side of the bridge once the wind starts blowing to the entrance's direction. She'll thank you with the Empty Bottle, which you can use to store all kinds of consumables. ▶ All Bottle Locations |
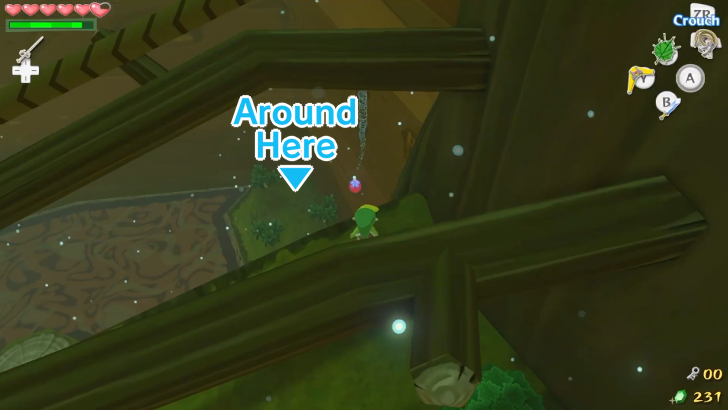
| 6 | 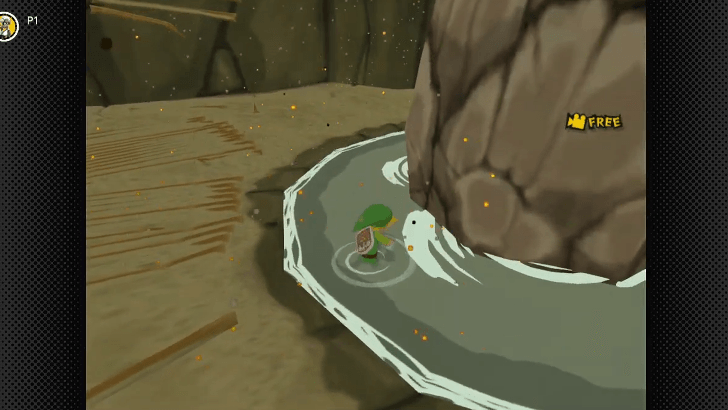 Equip the Empty Bottle and fill it with water from the nearby pond. Climb back up to where you jumped from and use the bottled water on one of the dried up patches of Bomb Flowers. |
| 7 | 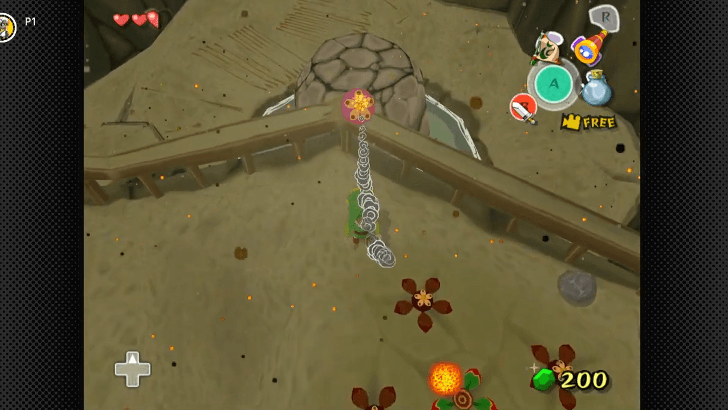 Pick up a fresh Bomb Flower and throw it at the boulder below to unplug the water. Now that the pond is back, you can now swim to the other side. |
| 8 | 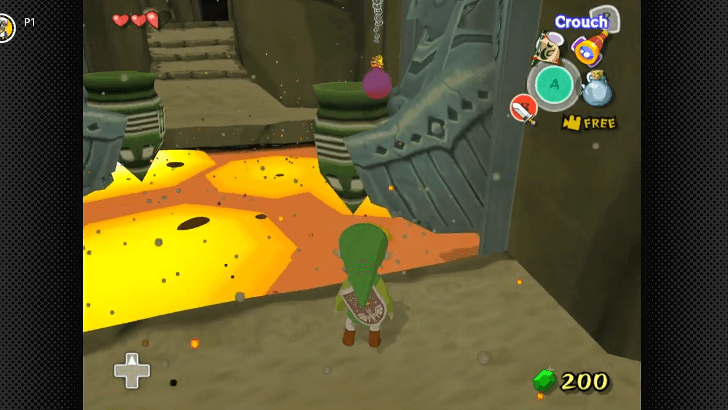 More Bomb Flowers! Pluck another one and throw it at the pot held by the Rito statue on the right. Get another bomb and jump onto the first fallen statue, then throw it at the left statue to create a path across the lava. When you're ready proceed to the entrance to reach Dragon Roost Cavern. ▶︎ Dragon Roost Cavern Walkthrough |
Dragon Roost Island Walkthrough
Dragon Roost Cavern
First Floor
| 1 | 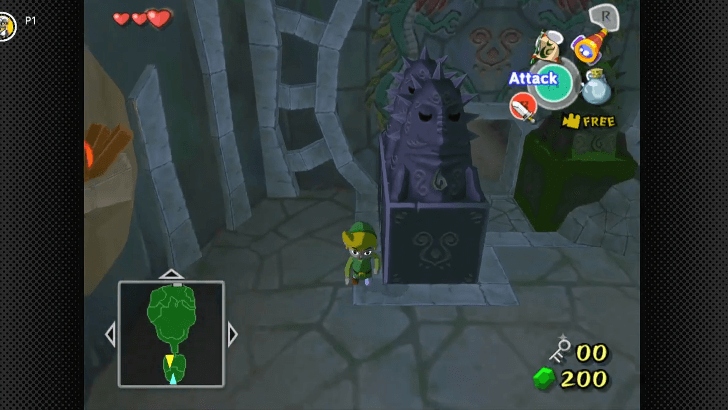 Approach the statues in the first room and pull the left one backwards. Circle around it and pull the middle statue to the left to reveal an opening on the wall that leads to the next room. |
|---|---|
| 2 | 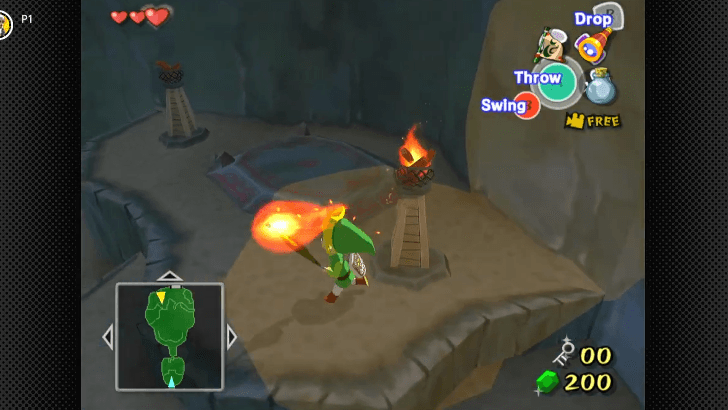 Defeat the Bokoblins inside and take one of the burning sticks they were holding. Use its fire to light up the two torches on the left side. This will reveal a chest containing a Small Key, which you can use to unlock the door to the next room. |
| 3 | 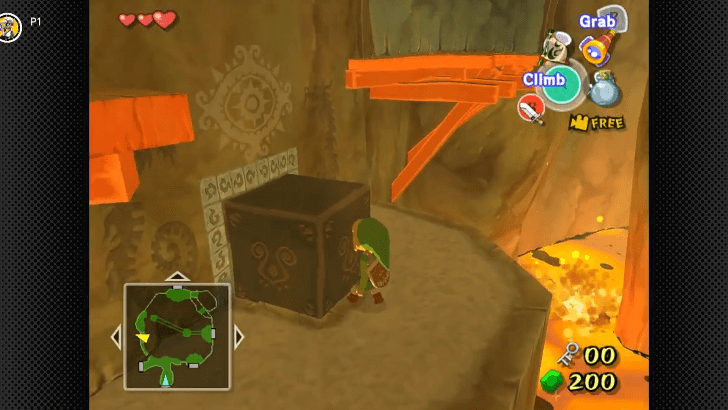 Break the planks blocking your way and turn left. Follow the wooden path and jump down the second, wider gap. You can pull the block out from the wall and use it to reach the other side of the wooden path. |
| 4 | 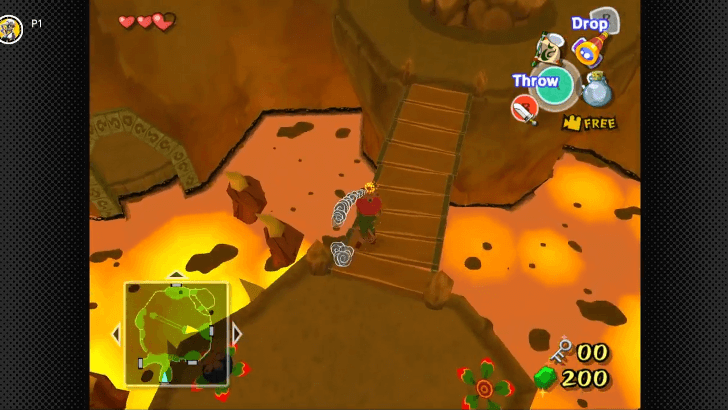 The path will now curve to the right, towards the large boulder on the other side of the lava room. Wait for the flame pillar to stop then jump over to the bridge. Near the end are Bomb Flowers that you can use to blow up the boulder that blocks the door to the next room. |
| 5 |  In the next room, pick up a water pot on your right and throw it at the lava pool. This will create a square platform that you can use to cross the lava safely. First, create a platform that will allow you to reach the chest on the left side containing the Dungeon Map. The platform you just used would've been destroyed by now, so just create another platform using one of the jars behind the chest to get to the ladder that leads to the other door. |
| 6 |  Approach the alcove ahead of you carefully and wait for the Bokoblin inside to burst out of it. Defeat it and take the blade it was using as your own sword isn't strong enough to break the planks in this room. |
| 7 |  Use the blade to clear the path ahead, as well as the planks behind the two torches to access another chest containing a Small Key. Turn around and take the door on your left to return to the large lava room from earlier. |
| 8 |  Pick up a pot or rock, and throw it at one of the Bomb Flowers on the wall next to the boulder. If you run out of things to throw, simply enter then exit the previous room to make the objects respawn. This will clear the path back to the locked door that you passed by earlier. Use the Small Key here to proceed. |
| 9 | 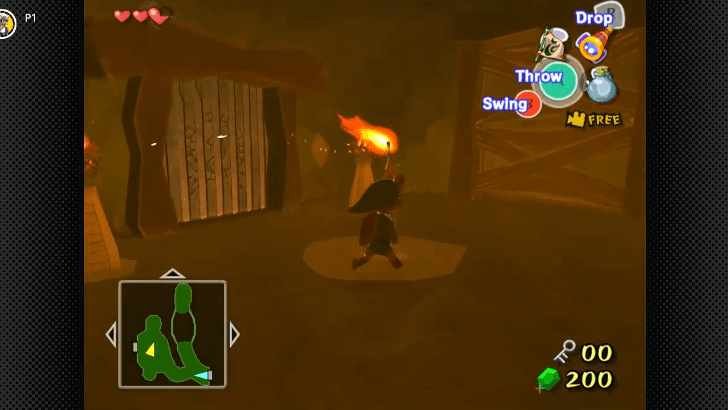 Head to the part of the room with the torches and bait the Bokoblin out of the alcove on your left. Defeat it, pick up its stick, light it on fire using one of the torches, and burn the planks on your right. Step on the switch here that will open the door ahead. |
| 10 | 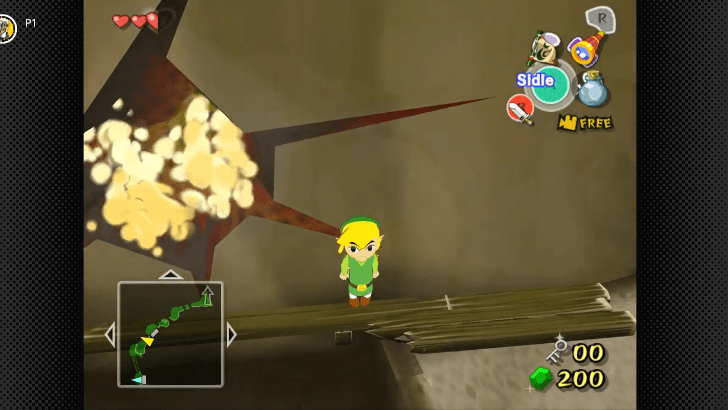 Cross the bridge and climb the ladder past the Bokoblin. Watch out for the lava sprays! At the top is a new enemy called Kargoroc that will swoop down and interrupt your ascent. Be sure to take it out first before you sidle over to the other side. |
| 11 |  Go around the boulder and grab onto the wooden ledge. Move sideways to cross the gap, then climb up. Pick up the Bomb Flower at the top, and throw it at the boulder below to unblock the door that leads back inside the cavern. Jump down to it, and enter. |
| 12 | 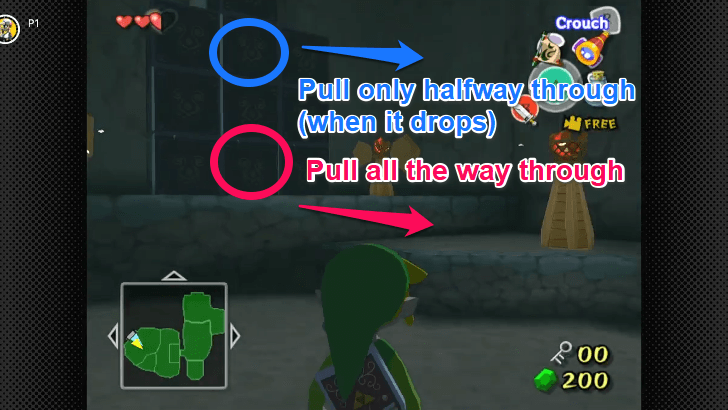 There are multiple ways to solve the block puzzle ahead and climb to the passage above the stack. The fastest method is to pull the middle block at the base so the topmost block drops and reveals the opening. Then, climb onto it, and pull the center block only once, so it can be used as a step to reach the passage above without dropping the block above. |
Second Floor
| 1 |  To your left is another box you can pull and use as a platform. Turn right and open the chest containing the dungeon's Compass. |
|---|---|
| * |  If you purchased a Bait Bag and some All-Purpose Bait from Beedle earlier, you can throw some of the bait in front of the hole below to lure out a Rat. It won't attack you this time. Instead, it will sell you some items they have in stock such as bait or potions! |
| 2 |  Near the locked door is a pot containing some sticks. Grab one of the sticks and ignite it on the torch next to the chest. With the burning stick in hand, face the opposite end of the room and throw it at the planks to reveal a chest containing a Small Key. Take the key and use it on the locked door. |
| 3 |  Turn right and go up the stairs while jumping over the gaps. Lock on the Kargoroc on your left and quickly attack it before it lifts off so you can get the Small Key right away. Use the key on the next locked door. |
| 4 |  Upon entering this dark room, take one of the sticks from the pot and ignite it with the torch. Move to the next room with the group of Keese and torch the planks blocking the way to the last room. You need to light the two torches here to open the door to the next area. |
| 5 | 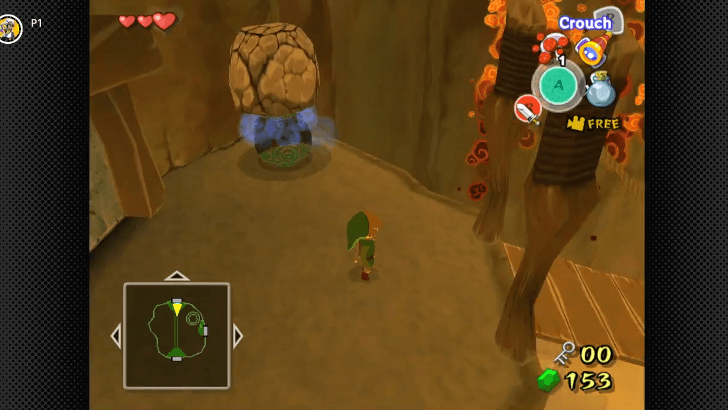 Pick up a Bomb Flower and throw it at the boulder to unlock a new Warp Pot. This pot will take you back near the beginning of the dungeon in case you need to do some backtracking. Once you're set, cross the bridge and enter the next room. |
| 6 | 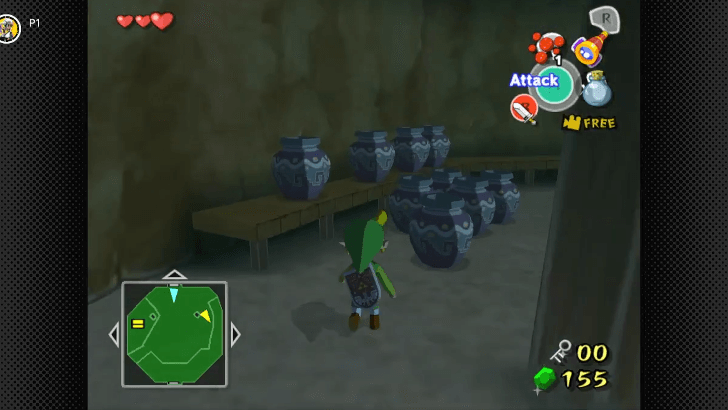 You need to take out the Bokoblins inside this room before you can get out. There are three Bokoblins here, with one of them taking you head on as soon as you enter. After defeating the first Bokoblin, destroy the pots on the east side until you find the second Bokbolin. |
| 7 | 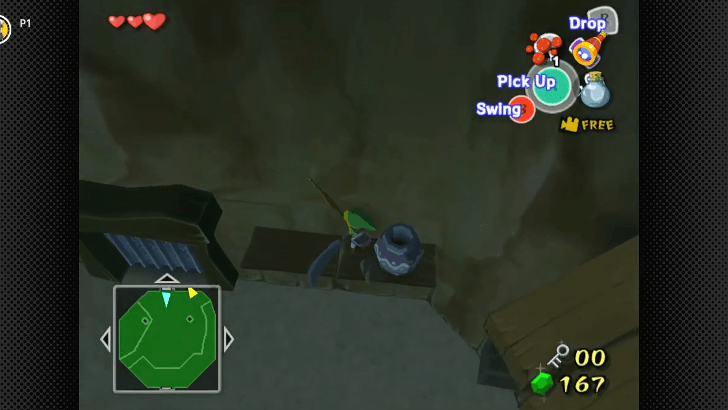 The third Bokoblin is actually just on the shelf by the door you entered from. You can break the pot by either throwing another pot or a stick or jumping from the ledge above it. |
| * |  There's a hidden chest on the west side of the room that contains Treasure Chart #39. You need to light the other torch using one of the sticks in the room to reveal it. |
| 8 |  With the Bokoblin trio defeated, climb up the ladder and through the door at the top. Throw a pot of water at the Magtail crawling on the center island. The water inside the pot will make it curl into a ball, making it vulnerable to your attacks. |
| 9 |  Defeat this enemy, then jump to the previous platform to grab another pot. Throw it at the spot where the lava pillar is coming out from. Jump on the created platform to reach the door at the top. |
Third Floor
| 1 |  Pick up a Bomb Flower and bomb both boulders near you. The nearest boulder hides a yellow Warp Pot, while the further one blocks the door that leads to the fourth floor. |
|---|
Fourth Floor
| 1 |  Climb the crumbling stairs on your right until you reach the room at the top where you'll see Medli. Looks like she made it! Kinda. Defeat the Bokoblins and the Moblin backup to free Medli. She will give you another key item as thanks—the Grappling Hook! How nice of her. Equip this item onto one of your button slots. |
|---|---|
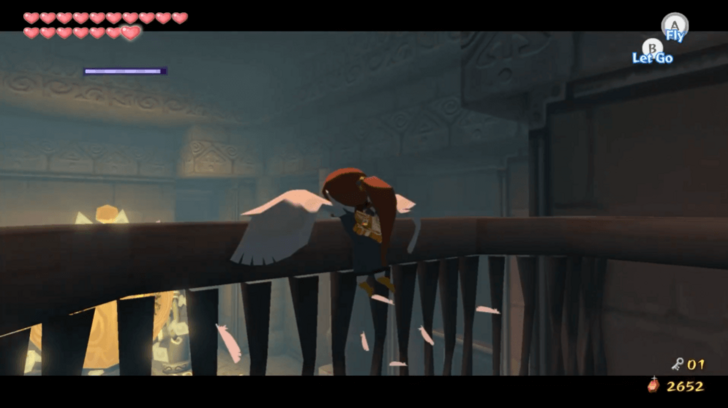
| 2 | 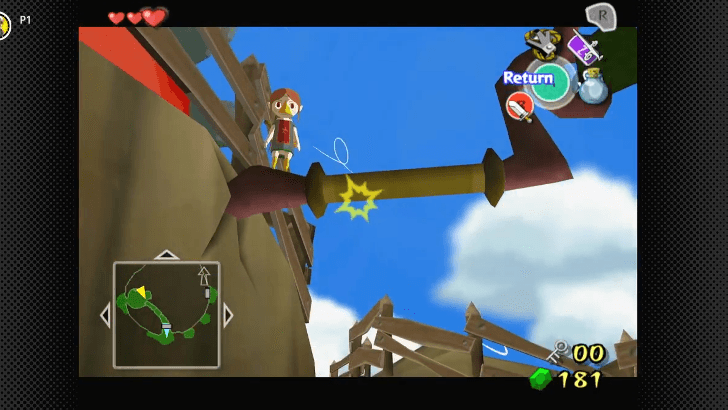 Go up the slope on the north wall and Medli will give you a crash couse of the new tool she just gave you. With the Grappling Hook, swing across the gap below Medli. Do the same on the next gap and you will end up in front of the door with the Warp Pot. Do not enter here. Instead, keep going down the path. |
| 3 | 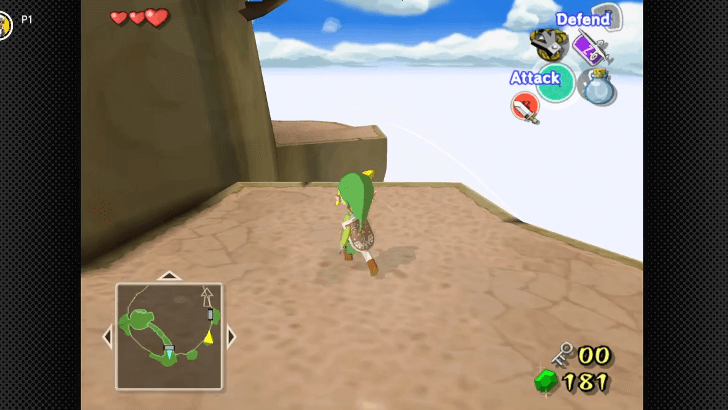 Get comfortable in using the Grappling Hook by swinging by the poles to your left. This path will take you to the east door that leads back inside the cavern. |
Finding the Big Key
| 1 | 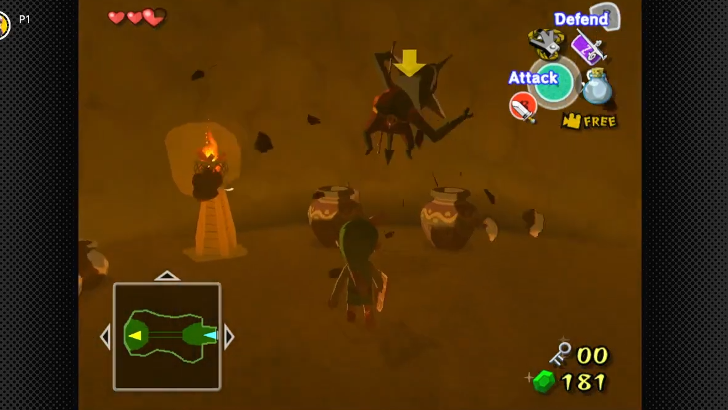 As you cross the bridge, ignore the Bokoblin, and wait until you get to the other end of the bridge before fighting it. There's also another Bokoblin hiding in one of the pots that will pounce on you as soon as you get close. Once the pot Bokoblins have been dealt with, a chest will appear below. |
|---|---|
| 2 | 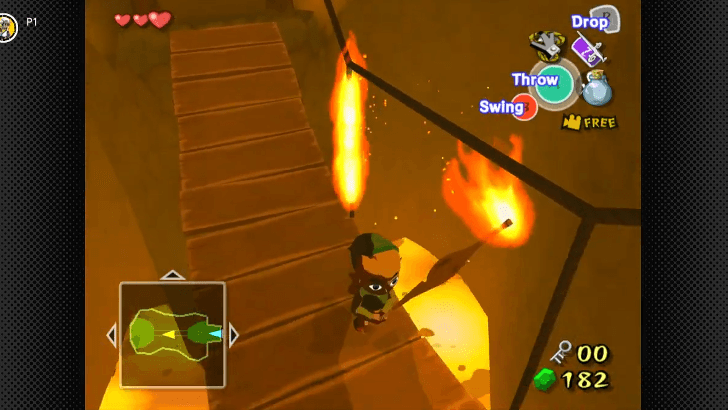 Pick up a stick and ignite it on the torch. Use its fire to burn all the ropes holding the bridge to make it fall down with you on it. If you lose the stick, you can also cut the ropes with your sword, but you risk falling down into the lava from the movement. There's a Joy Pendant inside the chest. Grab it and exit through the door. |
| 3 | 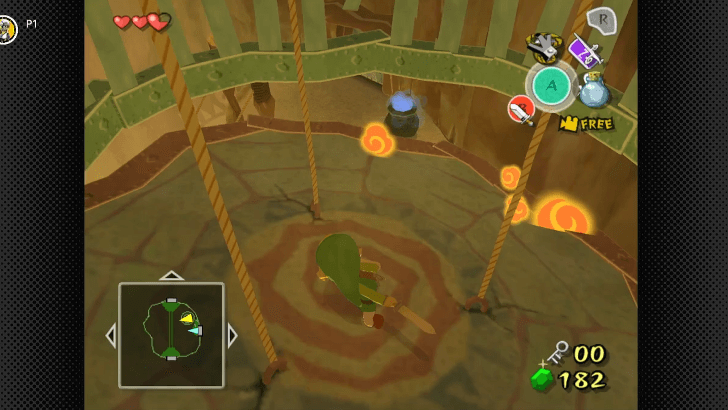 Turn right, hop into the cage, and stand in the middle of the three hanging ropes. Use a Spin Attack to cut all ropes at once and drop the platform down the lava. |
| 4 | 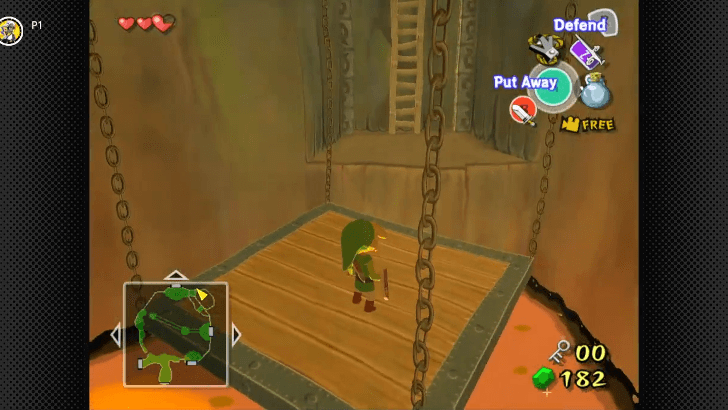 Hop onto the next room and the two platforms until you reach a ladder. Climb up the ladder and you're back on the first floor! |
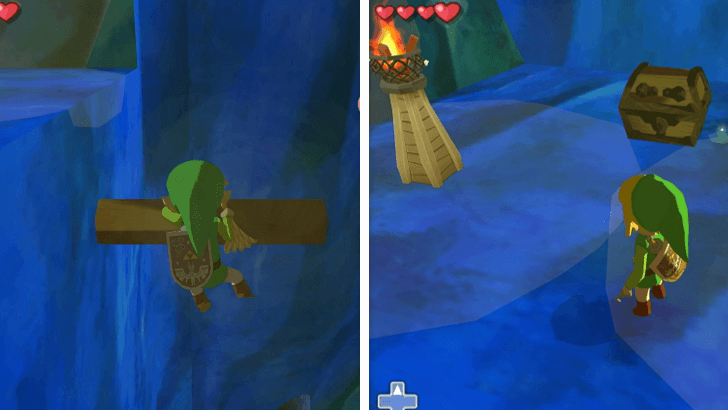
| 5 | 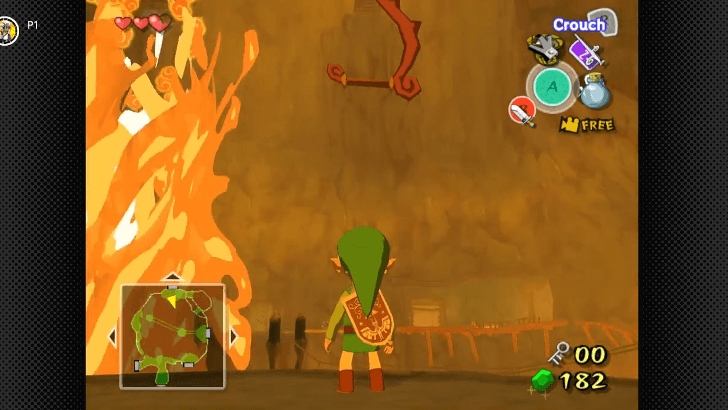 Turn left and then look up. You should see a large wooden hook that you can use the Grappling Hook on. Swinging on its pole will unlock the door behind you. Swing back to the platform you came from, and enter this door. |
| 6 | 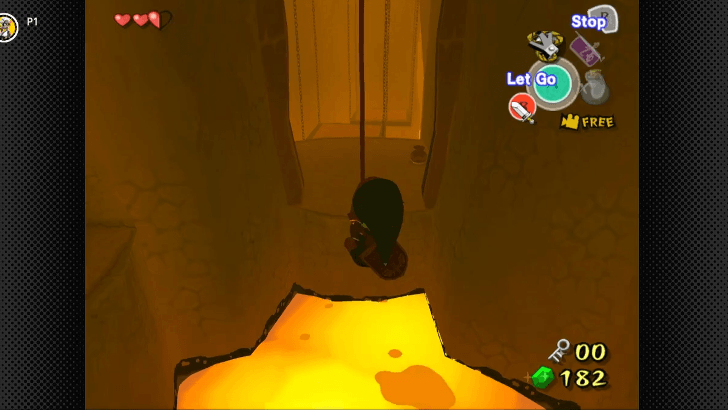 The newly opened door leads to more swinging fun! After grappling the pole above, stop swinging and let Link face the platform on the east. Start swinging again after positioning and jump on the platform after building momentum. Hop along the hanging platforms and swing again on the pole at the end to reach a door. |
| 7 |  You'll be fighting another Magtail in this room, but be careful not to slay it! Wait for the Magtail to raise its head then perform a jump attack on its eye to stun it and make it curl. Before it wakes up, quickly carry it and place its body on the pressure plate to shut down the fires around the huge chest. Open the chest to obtain the Big Key. |
To the Boss Room
| 1 |  Backtrack all the way to the birdcage platform that you dropped. Ride the platform up and enter the room on your left where you brought a bridge down. Deal with the two Fire Keese and carry a water pot with you to the flame pillar next to the chest. Throw the pot at the lava before the lava bursts up again and use the platform to return to the floor above. |
|---|---|
| 2 |  Go back outside through the door on the right and start swinging to the south door. You should end up in the room with the yellow Warp Pot and a huge door. |
| * | Before taking on the boss, you can use the Warp Pot to return to the entrance of the dungeon. From here, follow the path to the lava area, and enter the first door on the left, the room with the Red ChuChus. There is an area on the right side of this room that you can use the Grappling Hook to get to. Open the chest here containing Treasure Chart #11. Go back to the Warp Pot, and warp twice to return to the boss door. |
| 3 |  Swing across the room and open the two chests on either side. The one on the left contains a Yellow Rupee, while the other contains a Knight's Crest. The pots beside the boss door have fairies that you can catch in an Empty Bottle or approach to heal. Once you're ready, use the Big Key to unlock the big door to face Gohma. ▶︎︎ Gohma Boss Guide |
| 4 |  After successfully beating Gohma, claim the Heart Container it just droppped, and exit the dungeon through the wind portal at the center. |
Dragon Roost Island
| 1 | 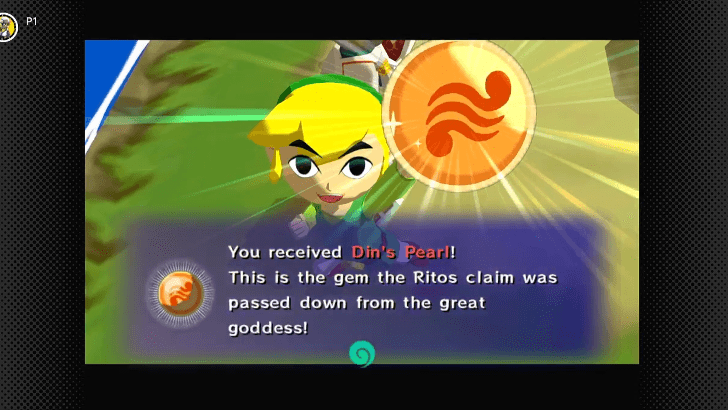 Medli and Komali will be waiting precisely where the portal sent you to, and the prince will be ready to hand over Din's Pearl after solving the Valoo problem! Receiving this key item completes your quest in Dragon Roost Island. |
|---|---|
| * |  If you've previously completed the 25-letter goal in the Mail-Sorting minigame, you can meet the new part-timer, Baito. Sort 25 letters within 30 seconds, and he will swiftly write a letter to his mom about it and give you the Note to Mom quest item. Exit the aerie, and drop the letter into any postbox. You'll get a hearty reward in the mail after a day, so continue on with your adventure. ▶︎︎ Forest Haven Walkthrough |
Dragon Roost Cavern Walkthrough
Forest Haven
Great Sea
| 1 | 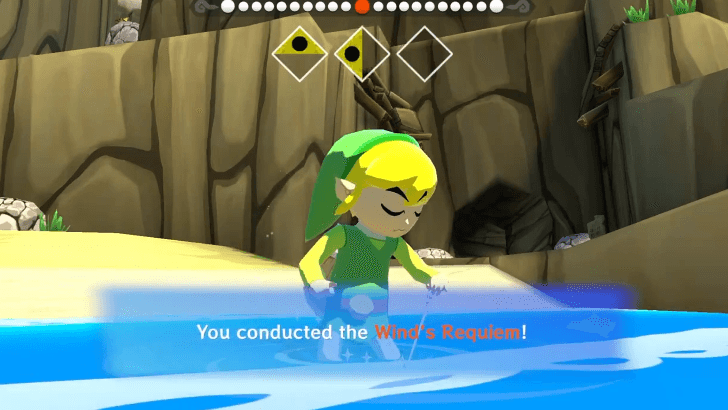 Return to the King of Red Lions and play the Wind's Requiem and control the wind's direction so that it would blow south. |
|---|---|
| 2 | As you exit the island's square on the map, a talking fish will appear and add the Dragon Roost Island to your Sea Chart. It will also advise you to throw some All-Purpose Bait for its brethren that you come across while sailing, as they will also help you fill the Sea Chart. |
| * |  Before you cross the sea to the next island, play the Wind's Requiem again and make the winds blow west to prepare for a short detour. Sail to the E2 square and look for a group of islands shaped like a paw, called Pawprint Isle. Dock on the island and cut the grass at the base of the blue "bean" to find an opening. Crawl through it and drop down the hole inside. |
| * |  The room ahead has some Red Chuchus you can get Red Chu Jellies from, which you can use to concoct potions later. Turn right and follow the tunnel to find a chest containing the Piece of Heart! |
| * |  Back in the large central room of this underground cavern, you can use your Grappling Hook to climb up the wooden pegs on the wall until you reach a chest containing 20 Rupees. If your wallet is full, there's no need to get this chest. Simply return to the area you fell from, then step into the light to return to the surface. |
| * | 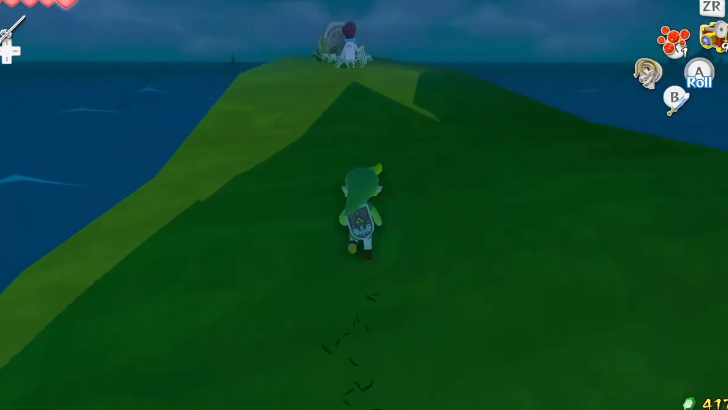 While the wind's still blowing west, why not revisit Windfall Island to check how things are going there! Return to Red and set sail to the next square west of Pawprint Isle to reach Windfall Island. Go to the the hilltop in front of the prison and talk to the dancing guy named Tott. Follow his lead with the Wind Waker and input ▶, ◀, ▼, to learn the Song of Passing. ▶ All Wind Waker Songs |
| * | 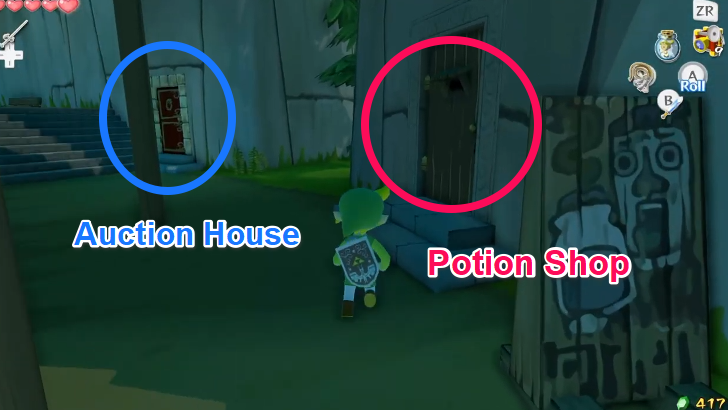 Go to the other side of the island and enter the Potion Shop. You can purchase a Red Potion here with the Red Chu Jelly you picked up earlier plus some Rupees. Next door is the Auction House. It's recommended to only participate in the auction later on once you've expanded your wallet, but if you're playing the HD version of the game, you can try to get at least the Swift Sail to boost Red's speed. ▶ How to Get a Bigger Wallet |
| * |  You can talk to Zunari on the left side of his stall to obtain the Town Flower item, which marks the start of the Trading Sequence quest. No need to worry about this for now, though. If you don't mind decorating the island with only Town Flowers, you can do the Joy Pedestal side quest. Purchase more Town Flowers from Zunari by talking to him on the right side of his stall, then place these Town Flowers on all 14 outdoor pedestals on Windfall island. Talk to the man on the bench surrounded by 3 pedestals to receive a Piece of Heart as a reward. |
| * | 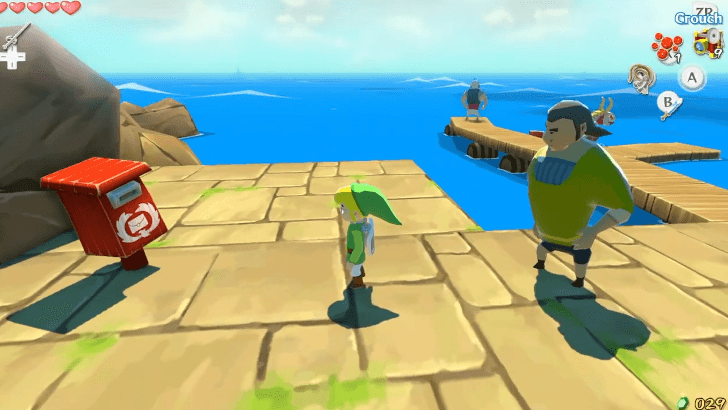 Before you set sail again, check the postbox near the docks. It should be wobbling now, indicating that you got a mail inside. Check to see a letter from Baito's mom with another Piece of Heart attached! This reward is from sending Baito's letter through the postbox. So if you've done this and the postbox here isn't moving, you might need to wait for a few more days, or you can simply play the Song of Passing to speed up the cycle! |
| 3 | 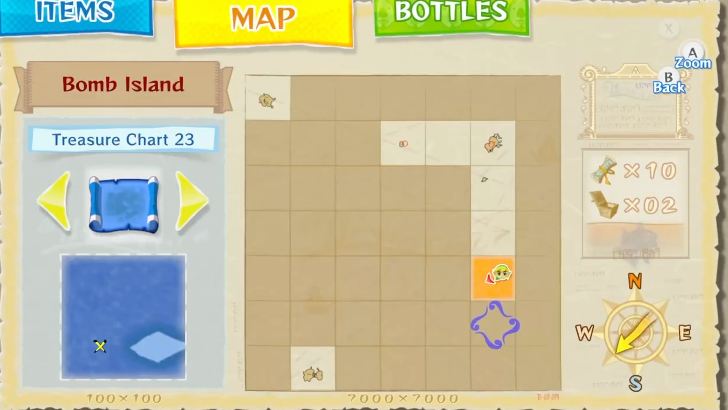 When you're ready to go, sail back to F2 (where Dragon Roost Island is) and start sailing south to F6. You won't be allowed to stray from this path. You will also come across a submarine and a raft along the way (around F5). You can board this submarine to find monsters inside. Take out all the Bokoblins to reveal a chest containing an Empty Bottle. ▶ Sea Chart: All Islands in the Great Sea |
Forest Haven
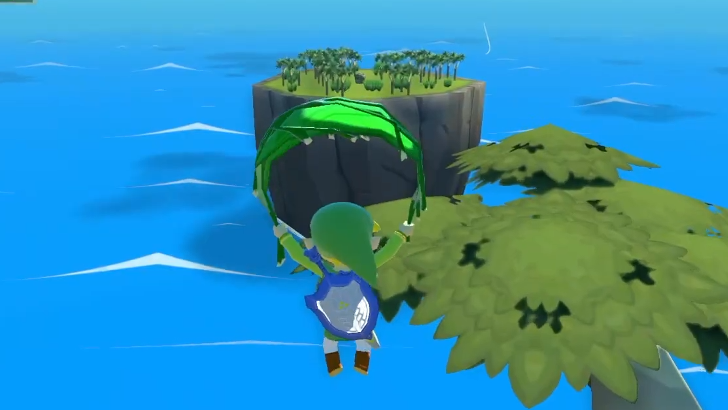
| 1 |  Once you get to Forest Haven, the King of Red Lions will ask you to talk to the Great Deku Tree and get Farore's Pearl. Go up the slope to meet the welcoming committee: a group of Boko Baba! You can pull Boko Baba Seeds from them by using your Grappling Hook or defeat them. To fight them, use a jump attack by targeting them and pressing A, which will expose their stem. Then, use a horizontal slice with B to defeat them. ▶ All Controls for Every Version |
|---|---|
| 2 | 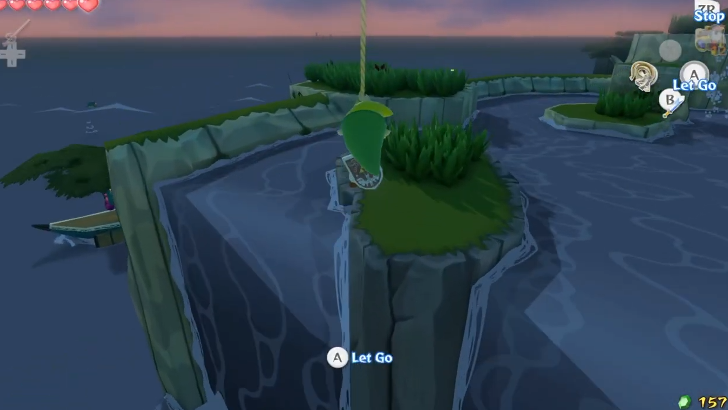 At the top, in front of the two waterfalls, look above you to find a pole and use it to swing across with the Grappling Hook. Make sure to land on the grassy area, otherwise you'll be swept away down the waterfall. |
| 3 |  Look to your right as you land and prepare to put your shield up using R or ZR. The River Octorok here will shoot a rock at you which you can easily deflect and knock the Octorok out. Hop on the platform on your left with the Boko Baba then to the right next to where the Octorok was. |
| 4 | 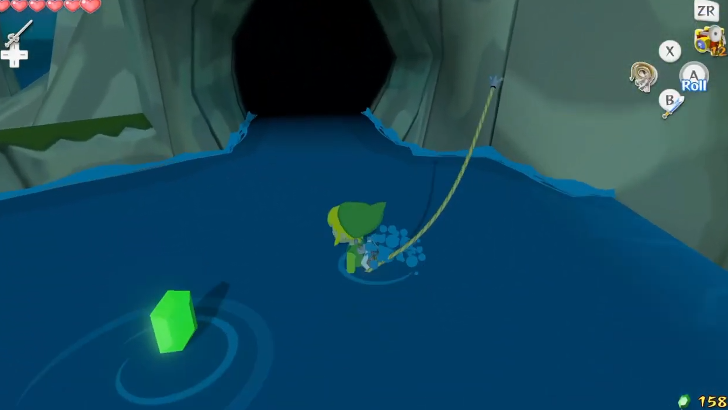 Before you swing ahead, wait for the other River Octorok to shoot a rock and deflect it so you can cross safely. Go through the passage to your right to enter Forest Haven. |
| 5 |  Follow the stream to the right until you are standing before the giant tree in the middle. It's the Deku Tree! Help it shake off the Chu Chu on its face by rolling into the tree then defeat the Chu Chu before they climb back up again. |
| 6 |  Korok Ceremony time! Gotta grab that Farore's Pearl fast before anything that requires our attention suddenly happens! Ok, making a short trip to the Forbidden Woods works too. Look for a bulb plant called Baba Bud beside the Deku Tree and hop inside it. |
| 7 |  The Baba Bud will launch you upwards after a few seconds. Before the launch, you can tilt the joystick to the direction where you want to land on. To start, use the Baba Buds to reach the top of the small tree with a Korok, behind the Deku Tree. From there, look up to find a pole then use the Grappling Hook to reach the next set of Baba Buds. The next platform you'll land on will be where the Deku Leaf is. |
| 8 | 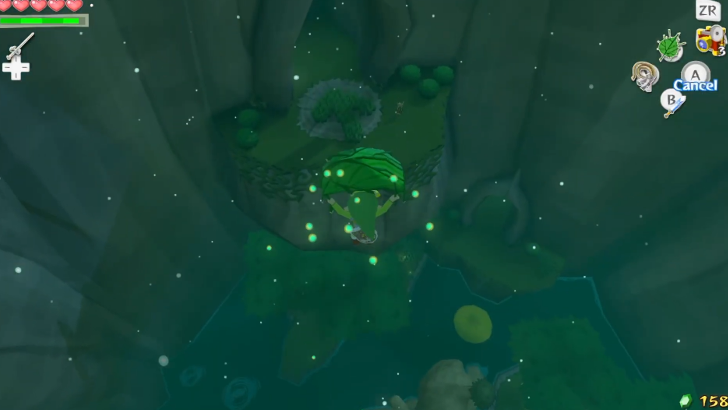 You now have the ability to glide and blow gusts of wind with the Deku Leaf! Look below and test your gliding ability by equipping the Deku Leaf and gliding towards ledge where the Korok is. Follow the passage ahead to go back outside. |
| 9 | 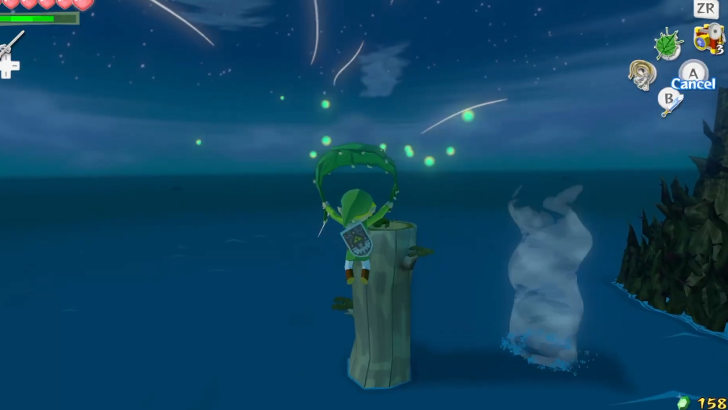 Walk to the end of the ledge and play the Wind's Requiem to make the wind blow southwest. With the Deku Leaf, glide over to the small island with a cyclone circling around it. You can replenish your Magic Meter here by getting Magic Jars from cutting the grass. |
| 10 | 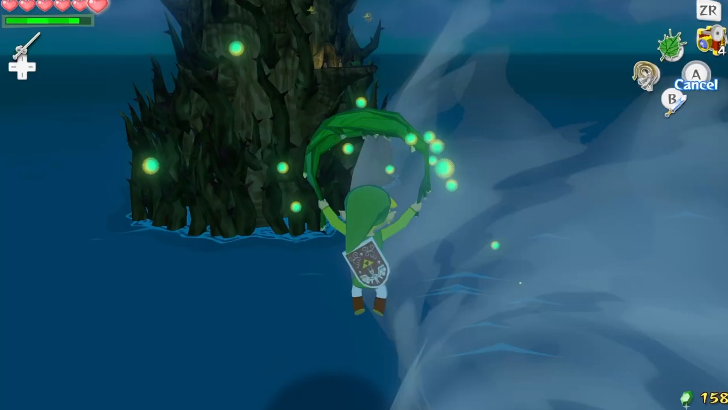 On the platform, play the Wind's Requiem again and change the wind direction to northwest. You'll have to time your next jump so that you fly directly into the cyclone, which will boost you high enough so you can glide towards the entrance of the Forbidden Woods. ▶ Forbidden Woods Walkthrough |
Forbidden Woods
First Floor
| 1 | 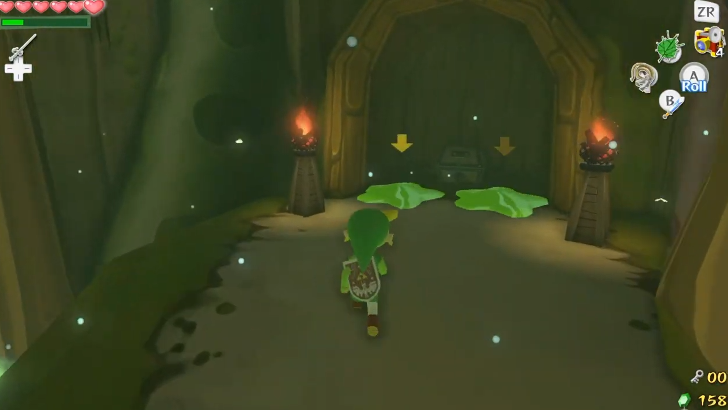 Walk up the slope on your right and open the chest containing the Dungeon Map. |
|---|---|
| 2 | 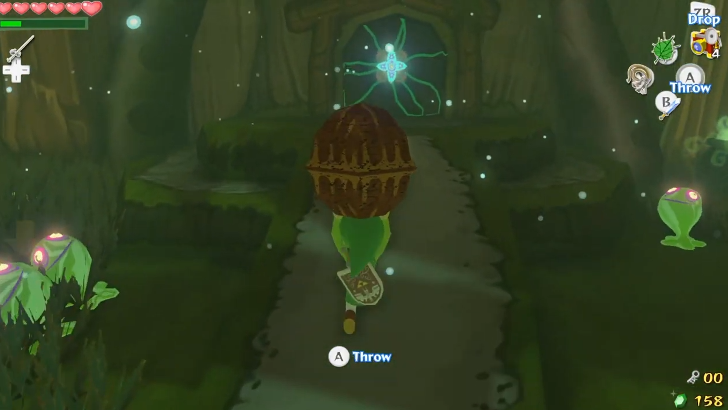 Check the left side of the room and pick up a Deku Nut. This is the only way to unlock the door to the next room, so carry it over to the door in the middle and throw it at the door to proceed. |
| 3 | 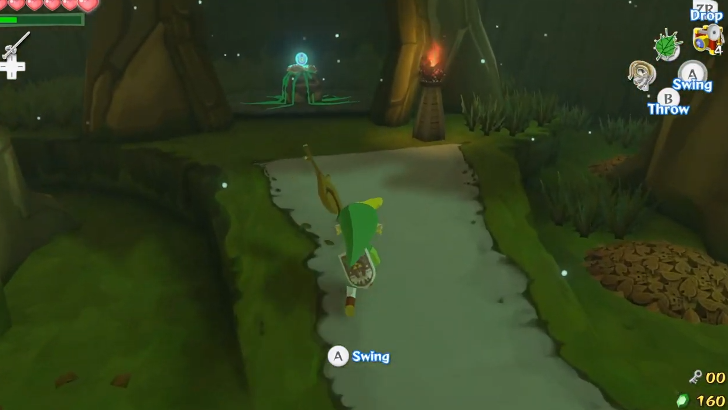 Jump below and defeat one of the Boko Baba to get a stick. Ignite the stick with the torch in front of the hollow tree and burn the bud inside. Open the chest for a Knight's Crest. |
| * | There are piles of leaves in this area hiding items such as Rupees, hearts, and even a fairy. Use your Deku Leaf to blow the leaves and uncover the hidden items. |
| 4 | 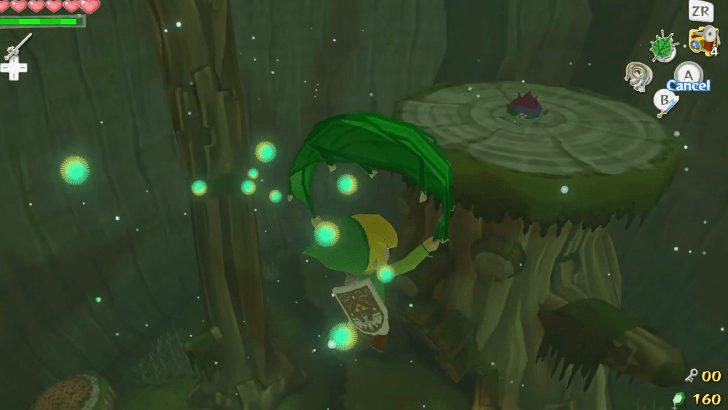 Go to the other side of the room and hop into the Baba Bud. Aim the launch to the east side where the next Baba Bud is. As you enter the second bud, face north and prepare to glide to the top of the stump where the Knight's Crest was. |
| 5 | 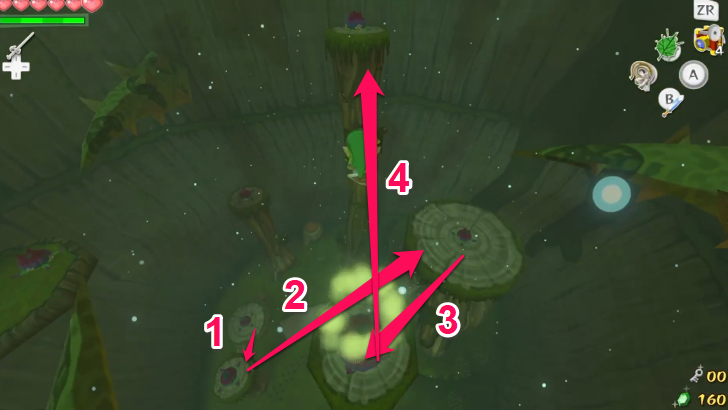 The next Baba Bud is southeast of your current position, on the tall, narrow platform. Launch yourself up and glide to this bud. From there, glide to the Baba Bud on the other tall, narrow platform on the west side. Finally, launch and glide to the north platform with a plant-covered door. |
| 6 | 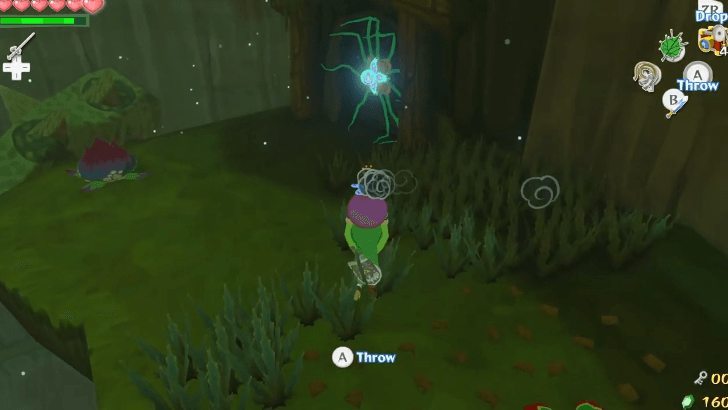 Pick up a Bomb Flower and throw it at the door. Make sure that the flower bud on the door is within the explosion range to remove it. Proceed to the next room once the door is unlocked. |
Second Floor
| 1 | 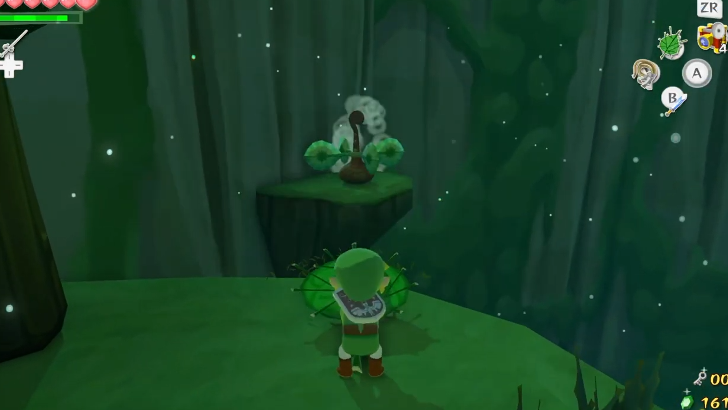 Look to your left and use the Deku Leaf to blow a gust into the wind mechanism to move the platform towards you. |
|---|---|
| 2 | 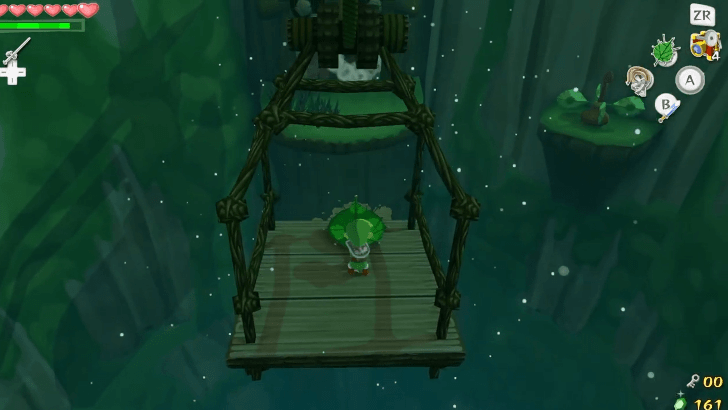 Hop on the platform and turn around. Using the Deku Leaf while on the platform will cause it to move to the opposite direction. Do this until you reach the other side then enter the next room. |
| 3 | 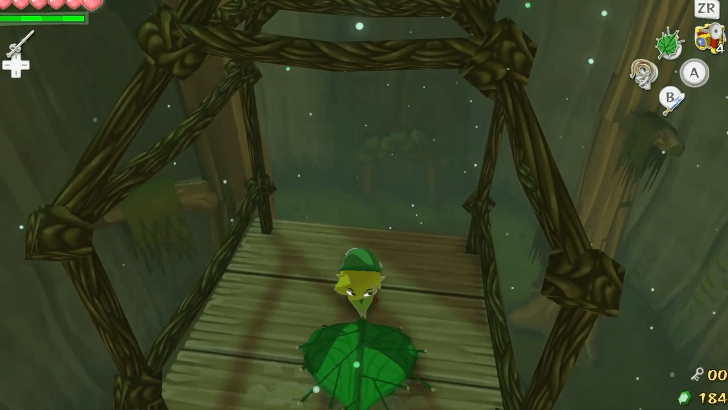 This next room is full of enemies, but your main target is the Boko Baba on the northeast corner. Defeating this particular Boko Baba will turn it into a non-hostile Baba Bud. Use it to reach the top of the stump then hop on the moving platform. Use the Deku Leaf to propel it to the other side. |
| 4 | 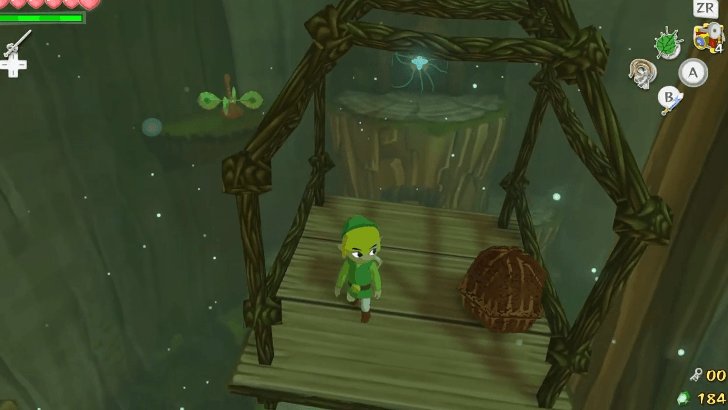 Break down the wooden planks and take the Deku Nut inside back to the platform. Transport the Deku Nut back to the stump (don't let it roll off the platform!), then throw it at the flower bud on the door to access the next room. Try to be quick, since the Deku Nut may burst after a period of time. |
Third Floor
| 1 | 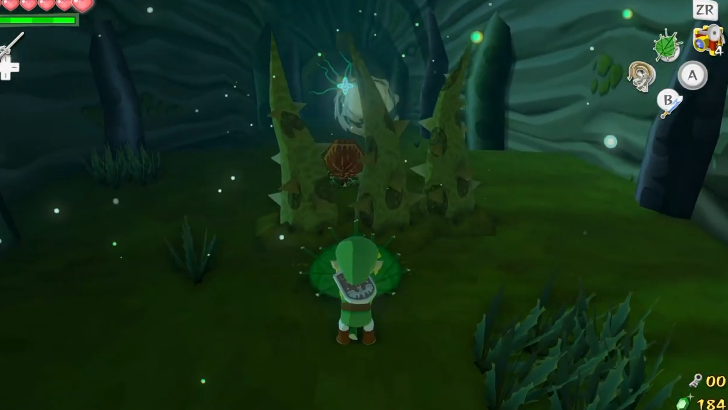 Slowly walk towards the Deku Nut in the middle until the hidden vines sprout from the ground. From behind the vines, blow the Deku Nut towards the other side of the room so you can safely pick it up and throw it at the door. |
|---|---|
| 2 | 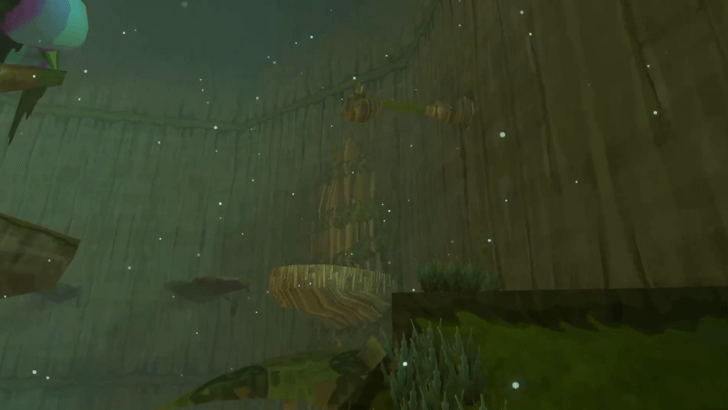 Turn right and grapple to the next section. Keep moving along using the moving branches until you reach the Deku Nut. Grab the nut, and hop over to the hanging tree in the center of the room. |
| 3 | 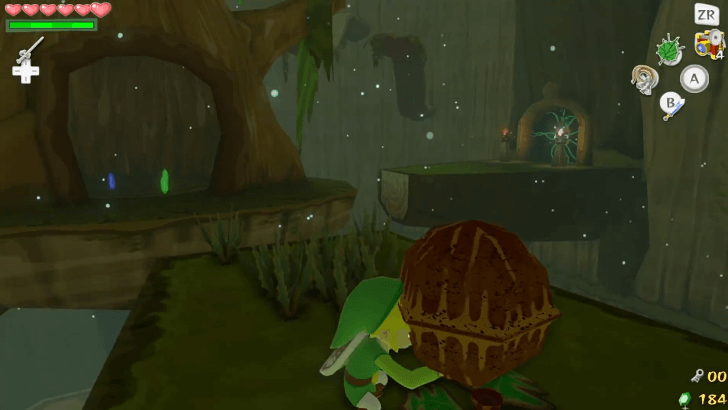 Go to the platform on the west side by going around the hollowed tree. Throw the nut at the the door with the flower to open it. You can also collect the Rupees inside the tree hollow if you need them. Before heading through, use the moving branches to the left to climb to the top of the room. Blow the leaves off of the Warp Pot hidden in the ground, and then head back down the branches and through the door. |
| 4 | 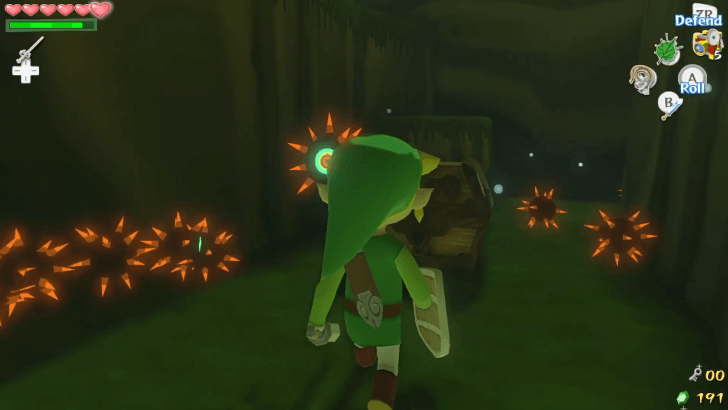 There are Morths at the center of this room. Use your spin attack when they attach to you to defeat them. You can then open the chest in the middle for a yellow rupee. Make your way through the door on the western side of the room. |
| 5 | 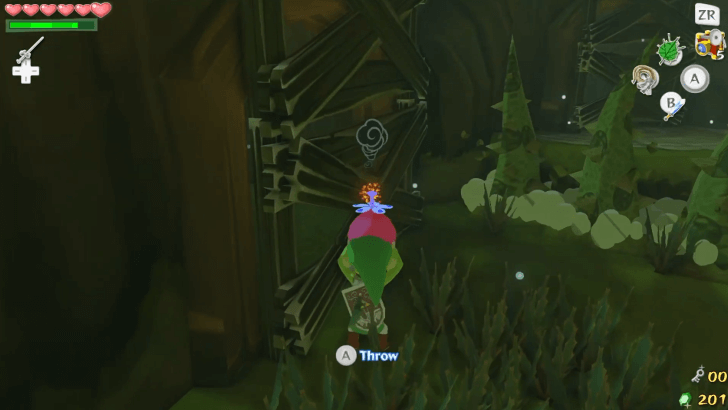 Inside the room, there are spiked vines that form a maze. There are two hidden paths here—one to your left, which leads to a Bomb Flower, and another to your right, which leads to a Baba Bud. Take the left path first. Walk slowly to avoid hitting the vines that pop out of the ground. Once you reach the Bomb Flower, use it to blow up the wooden boards nearby. Open the chest for the Compass. |
| * | If you end up on the Baba Bud path first, you can launch yourself up using the Baba Buds, then land beside the Bomb Flower. |
| 6 | 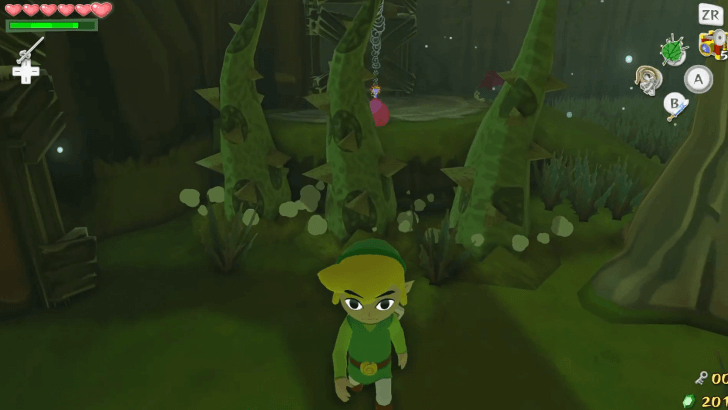 After getting the the Compass, grab another bomb and run towards the ledge to the north, and throw it at the next set of planks past the vines. Head back through the maze and return from where we entered from. |
| 7 | 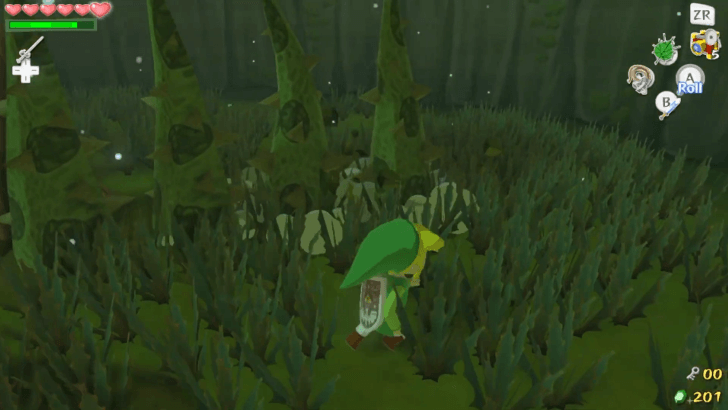 This time, we'll take the path to the right. Again, walk slowly. Face east, then turn left and continue straight. Go to the left side of tree and once you pass it, turn right and keep walking until you reach a wall. Turn left and then left again so you’re opposite the vines. Turn right at the tree, and go straight until the wall. Turn left at the wall, and then left again on the side of the vines. Finally, turn right at the tree. |
| 8 | 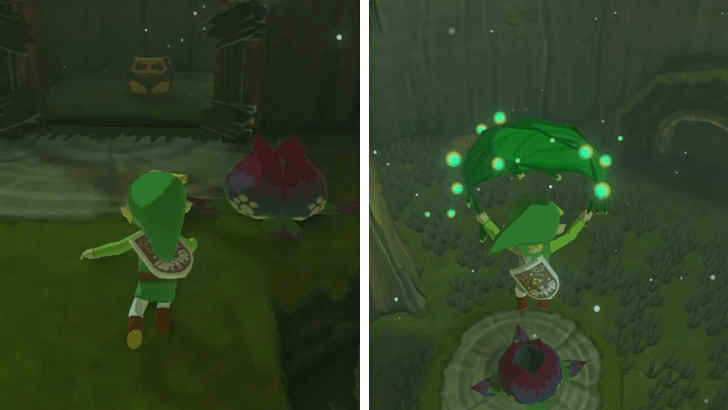 Head up to the platform, and grab the small key in the chest. Use the Baba Bud to fly over to the door we came from. Optionally, you can glide to the platforms in this room to nab some Rupees, health, and a Joy Pendant. |
| 9 | 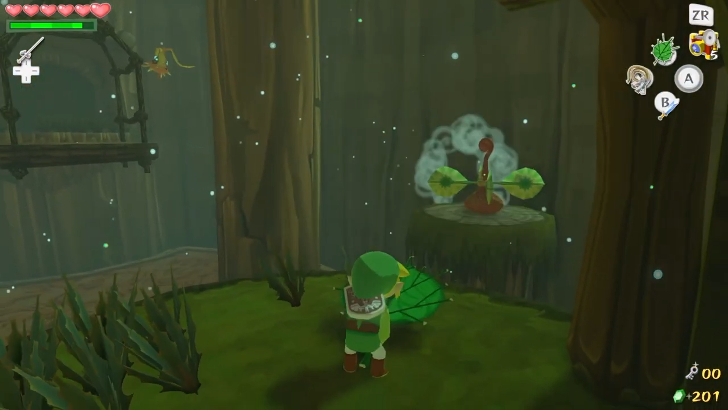 Back in the central room, hop onto the tree platform and head over to the locked door at the north. Heading through the room, defeat the Peahat then blow the switch with the Deku Leaf and make your way across the room, then head to the next door. |
| 10 | 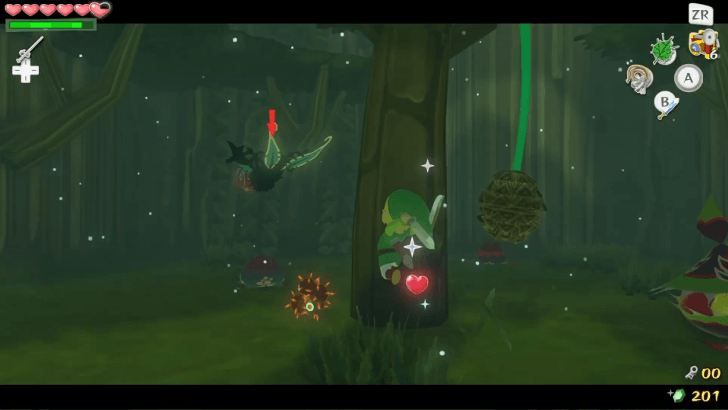 The next room will have a couple of Boko Babas, a Peahat, and a Mothula without wings. Defeat them and then use a Boko Bulb to get yourself onto the top of the trees. Jump into the Boko Bulb on this level to get up to the next floor. |
Fourth Floor
| 1 | 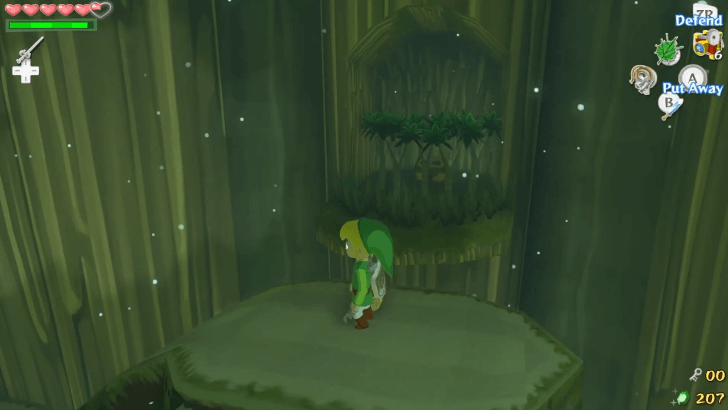 Heading up, you will find a door to the Winged Mothula. You can find a pole up the door so use your Grappling Hook on it to climb up so that you’re standing on it. Grapple to the next hook and drop down on to the platform below. Use the moving branches to move through the room. Cut down the trees for a chest that has another Joy Pendant. |
|---|---|
| 2 | 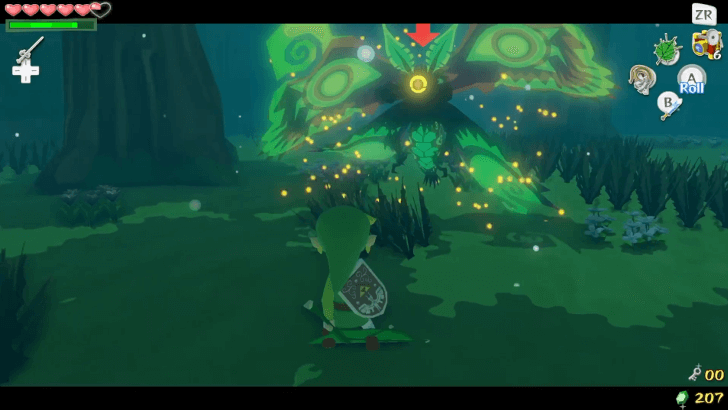 Make your way back through the door at the north side of the room to face the dungeon miniboss, the Winged Mothula. The best method to defeat it is to use the Deku Leaf to blow air to it. This will stun it, allowing you to attack it with your sword while it falls down. After you hit it four times it will turn to a regular Mothula. You can now attack it like any other Mothula. |
| 3 | 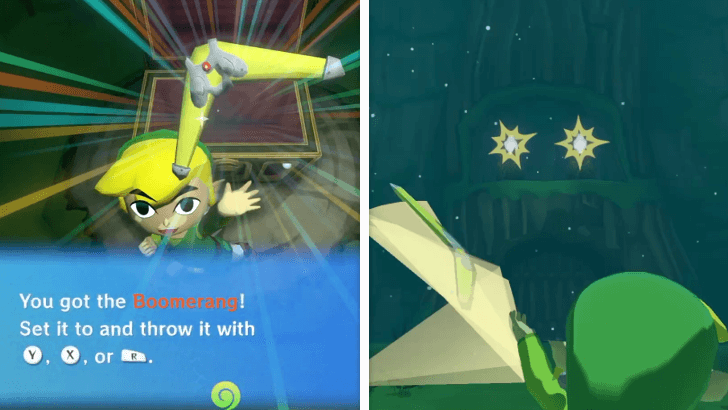 After you’ve defeated it, you will unlock the chest containing the Boomerang. Look back above the door and there are two switches. Use the Boomerang to target and hit them consecutively to open the door back out. |
| 4 | 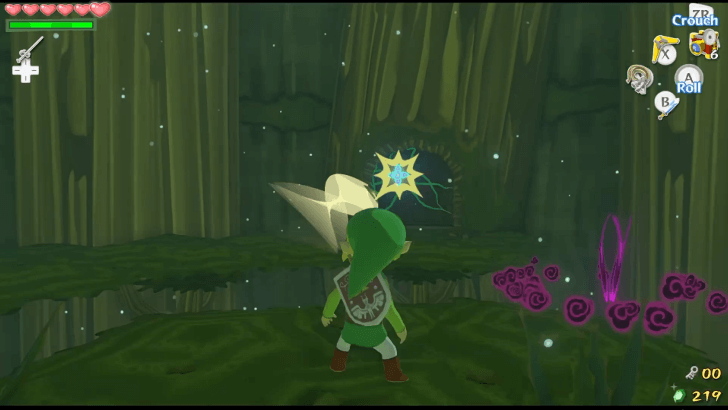 After you exit, walk over to the opposite side of the room and beat the Peahats while grappling their Feathers, then finish them off with the Boomerang. Use the Boomerang again to target and defeat the two flowers on this door, and then head through it. |
| 5 | 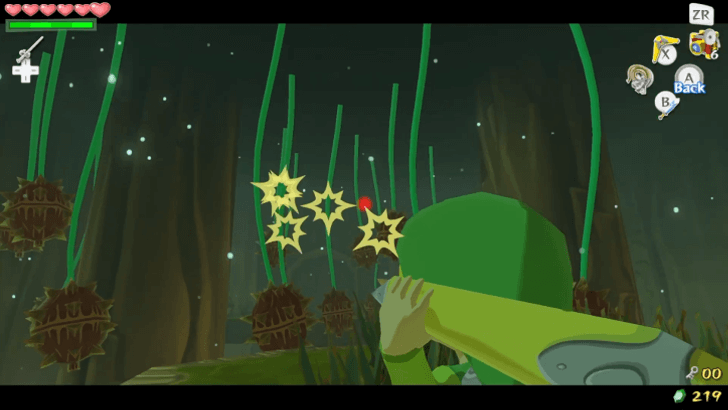 Inside the next room you will find various spiked plants hanging from the ceiling. Use your Boomerang to target them and knock them out of your way. Then, use the Deku Leaf to fly across to the other side and the chest opposite will have a Joy Pendant. |
| 6 | 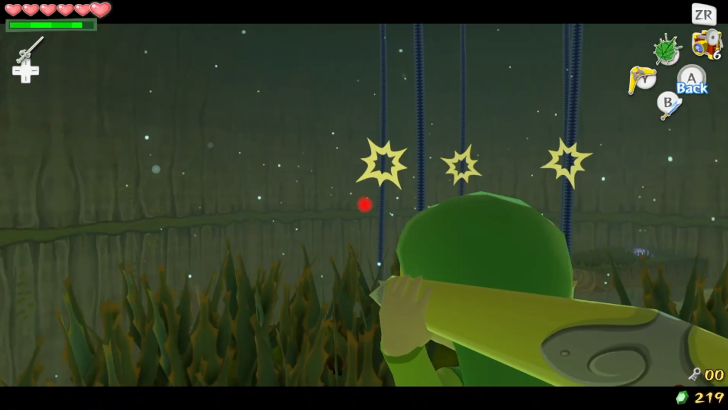 Head out the door and use the Boomerang to target the five blue vines to cut them down. This will cause the tree to break the floor barrier below to open up a new area. Jump down through the hole where it fell and enter the door here. |
Basement 1 Floor
| 1 | 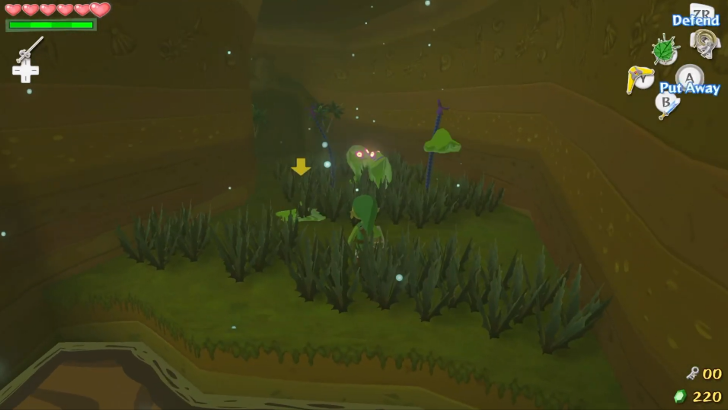 Use the Boomerang to take out all the enemies you see. Jump from the platform to platform and you will encounter two Dexivines. These enemies will not hurt you, but they will drain your magic once they grab onto you. Defeat them and the Chuchus, then through the next door. |
|---|---|
| 2 | 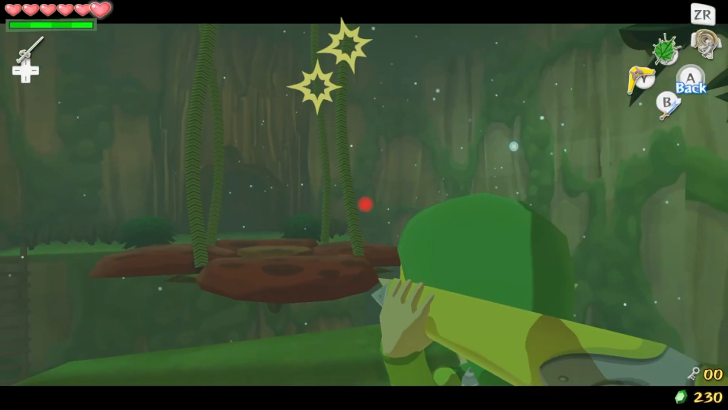 Jump onto the flower in the middle and then jump across to get to chest with a yellow rupee. Use the Boomerang to cut down the vines holding up the flower so it falls down. Head down and use the bomb to get to the next room. |
| 3 | 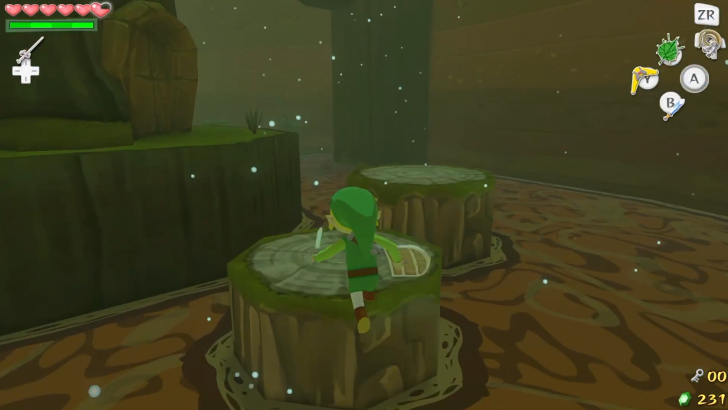 From the room's entrance, use the Deku Leaf to blow the leaves from the platform. Defeat the enemies, then jump over to the central platform and walk around the tree. Kill the Morths on the platform above and then jump onto it. Head up the next platform and jump into the Boko Bulb that appears after beating the Boko Baba to float over to the platform nearby. |
| 4 | 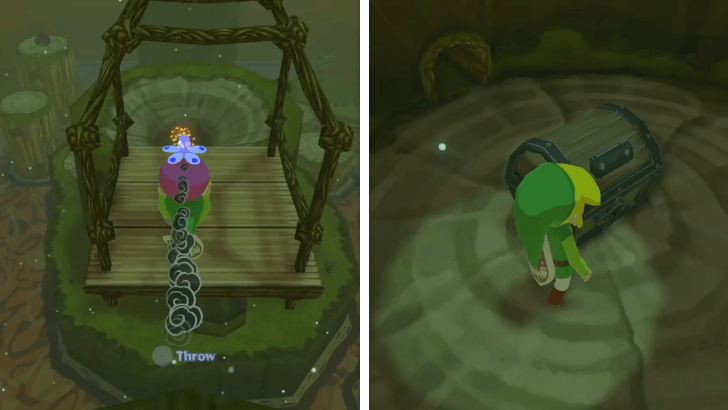 Use your Deku Leaf to spin the Switch and use the platform to get to the area with the Bomb and then hop onto the cart and throw the bomb into the hole on top of tree stump below. The bomb will fall and kill the plant inside. Jump down into the hole and open the chest for Treasure Chart #15. |
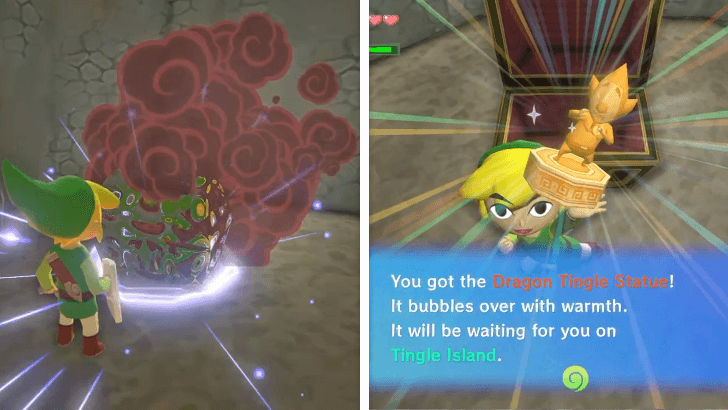
| * |  Head back to the platform with the bomb and look for an islet with the the three trees and throw the nearby bomb in the middle. This will spawn a chest with the Forbidden Tingle Statue in the HD version. |
| 5 | 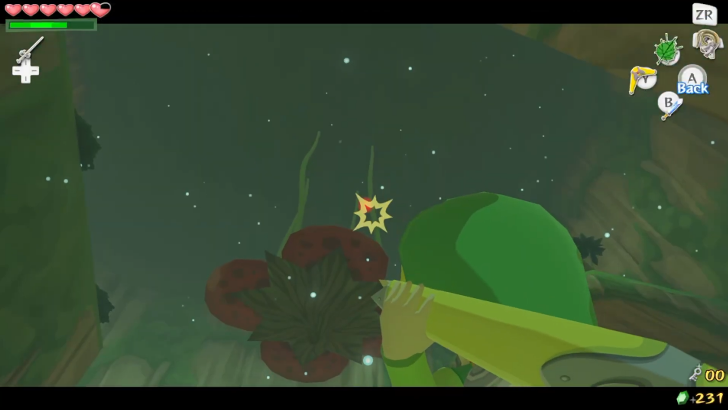 After leaving this room, cut down the platform once again using the boomerang. Jump onto the large flower platform and use the Deku Leaf and blow air at the eastern wall to move the flower along the top of the murky water. |
| 6 | 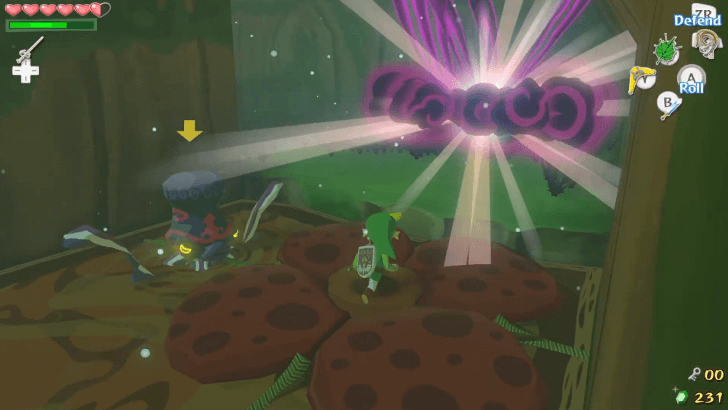 Continue doing this until you reach a wall and two more Octoroks. Defeat them and then use the Deku Leaf to reach the platform at the end of the path. Take care of the enemies here and head through the door. |
| 7 | 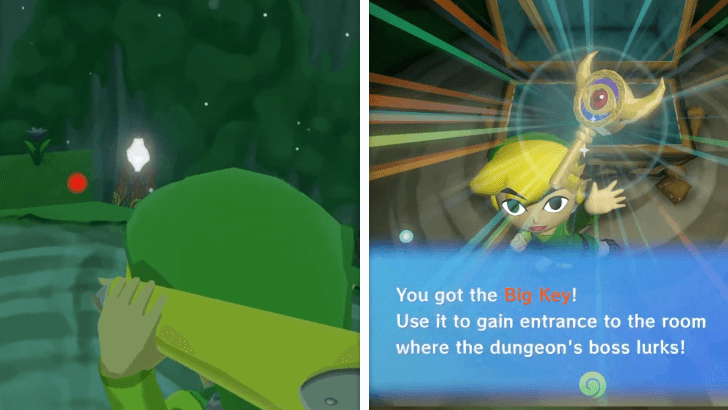 Vines will appear, blocking the door. Climb up the slope along the tree in the center and there will be five switches. Use your Boomerang to hit all of them and the switches will open the door below revealing a chest with the Big Key. |
| 8 |  Grab the key and beat the enemies that drop then head back up the slope and use the Grappling Hook on the branch on the tree. Swing across to another platform and enter the door here. Slash the shrubs and use the Deku Leaf to float to the door on the other side of the room. |
| 9 |  After getting to the room with the giant flower use the Deku Leaf to spin the switch and activate a whirlwind. Jump into the Boko Bulb and use the whirlwind to shoot yourself upwards. Feel free to drop down when you see a platform and head through the door to the east. |
To the Boss Room
| 1 |  Defeat the Mothulas and a chest will appear containing a Joy Pendant. The next door will have various nuts with supplies like fairies, health, rupees and Morths inside. |
|---|---|
| 2 | 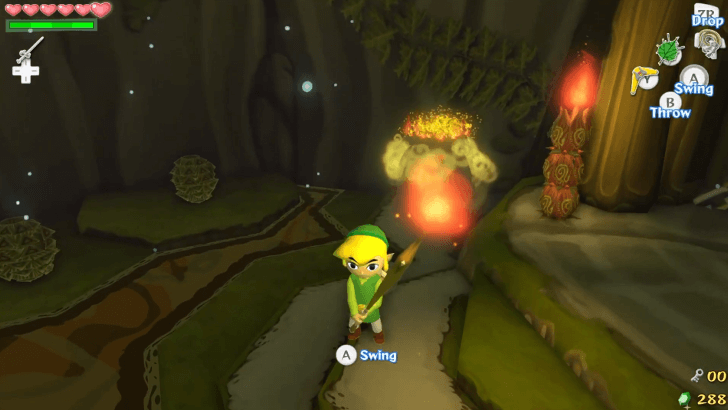 Grab a stick and burn the wood above the yellow pot, creating a warp portal. You can go to the boss now, but we recommend going back to the Dungeon Entrance to grab a treasure chart. |
| 3 | 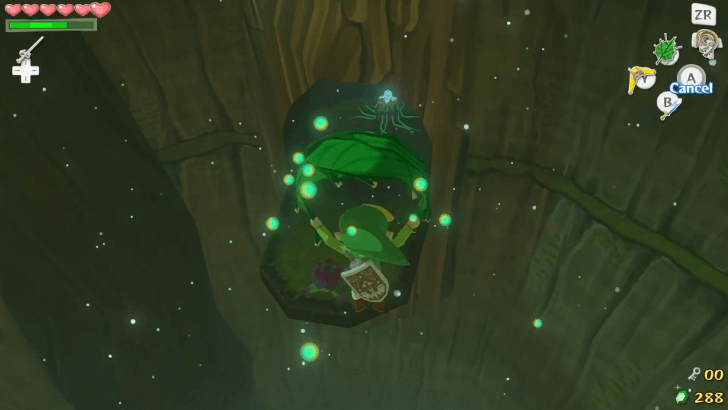 Jump into the Warp Pot and head through the door nearby. Make use of the Boko Bulbs to climb to the very top of the room. Find the the Boko Baba and use its Bulb to float across the room to the treasure chest containing Treasure Chart #1. |
| 4 |  Head back to the Warp Pots, which you can use to go back to the room before the Boss. But before you face the boss, it's recommended to go back to the Forest Haven and grab some Forest Water to make the boss fight easier. |
| 5 |  Head through the Boos Door once you're ready. When you walk forward you will see Makar standing on a flower. Approach Makar. After he gets eaten, the boss fight will start. ▶ Kalle Demos Boss Guide |
| 6 | 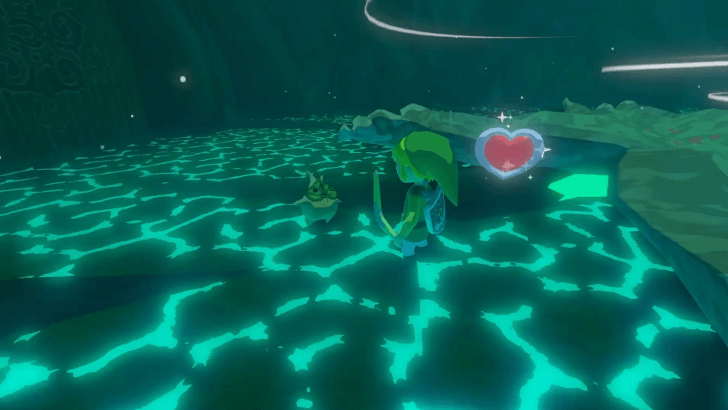 Once defeated, the boss with spit out Makar and a heart container will be left in the room. Makar will thank you, and you can then grab the Heart Container. Step into the whirlwind to be teleport back to the Great Deku Tree. |
Back to Forest Haven
| 1 | 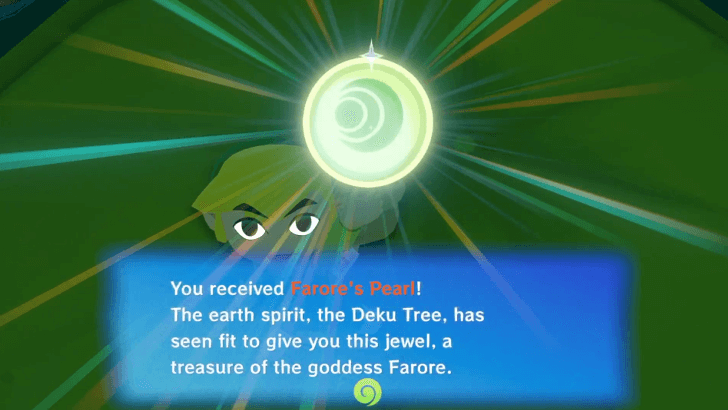 The Great Deku Tree will also thank you and chastise Makar. You are given Farore’s Pearl as a reward for saving Makar. |
|---|---|
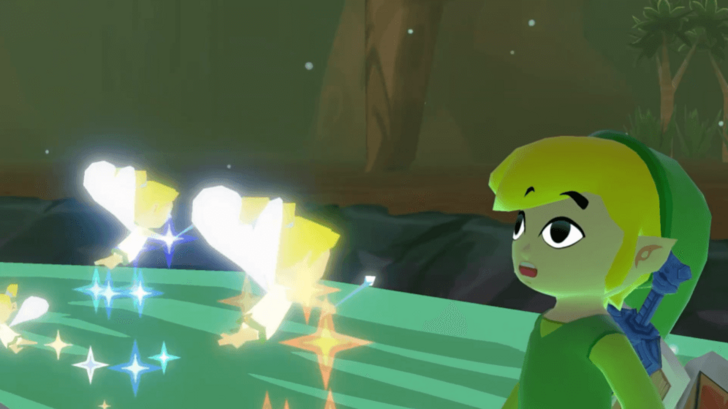
| * | 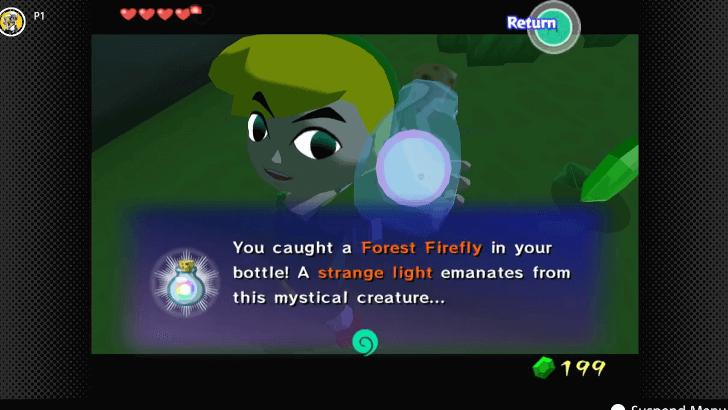 There are a few more things you can do before leaving Forest Haven. First, pick up a Forest Firefly with an Empty Bottle. If you're playing the GameCube version, you'll need it to get the Deluxe Picto Box. If you're playing the HD version, you can get a Joy Pendant from Lenzo instead. |
| * |  With the Deku Leaf equipped, you can now visit the Nintendo Gallery! Use the Baba Buds around the Deku Tree to reach the highest platform. Exit the tree hollow from there, direct the winds north, and glide down to the platform with a metal hatch. Use a Hyoi Pear to control a seagull and activate the switch on the opposite side. |
| * |  You can also get Treasure Chart #3 here in Forest Haven. From the entrance, glide south to the island platform with a lone chest. Open the chest for the Treasure Chart. |
| 2 | 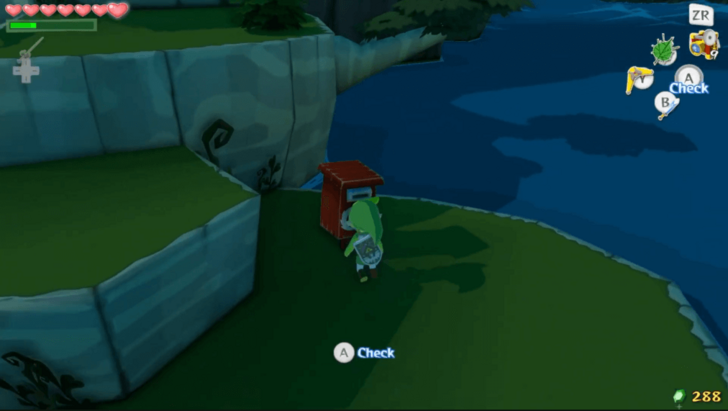 On your way out, check the postbox. You will notice that you have mail. You will get a letter from Prince Komali’s father thanking Link. He explains how the postbox works and will reward link with a Heart Piece. |
| 3 | 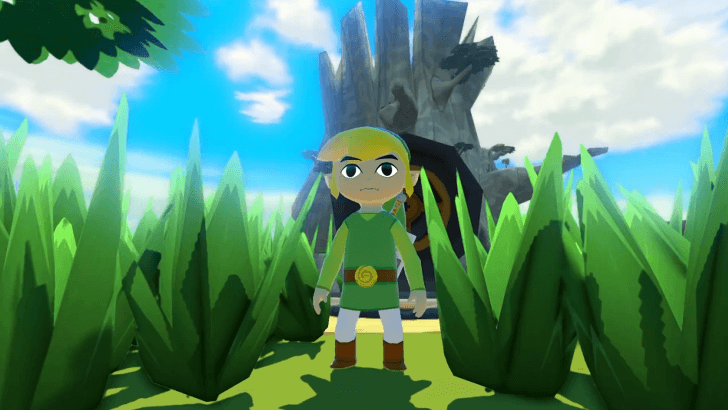 After that, you can now head back out to sea to pick up a few new unlocked items, or head straight to Greatfish Isle for Nayru’s Pearl. ▶︎ Third Goddess Pearl Walkthrough |
The Third Pearl
Greatfish Isle
| * |  You're free to explore the Great Sea or collect Treasure Charts and Heart Pieces, so make sure to do any side stuff first before proceeding! |
|---|---|
| 1 | 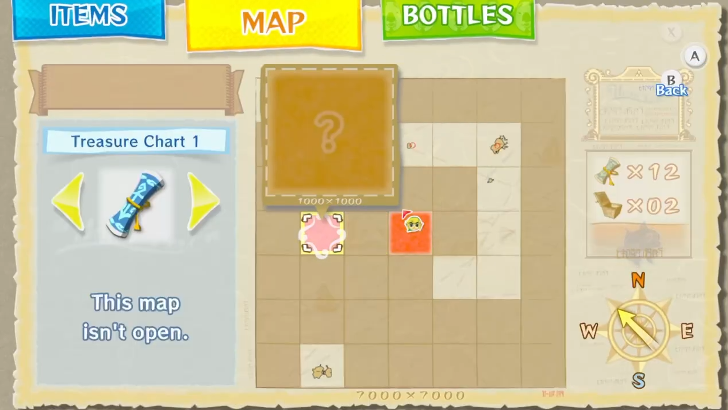 After completing Forbidden Woods and Forest Haven, the next destination is at Greatfish Isle, found at the western area of the Great Sea. From the Forest Haven, it is located four squares to the west, and two squares north. |
| 2 | 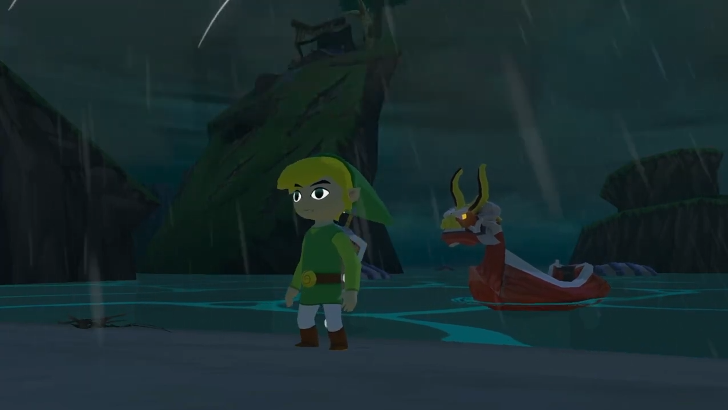 Once you get close, it will become dark and you’ll see a big cloud over over Greatfish Isle. Quill meet you, and after a bit of talking will direct you to Windfall Island, followed by Outset Island. Do note that this will set your world to perpetrual darkness and rain, so we recommend doing anything you need to do first before starting this quest. Once you are ready, set sail for Windfall Island. |
Windfall Island
| 1 | 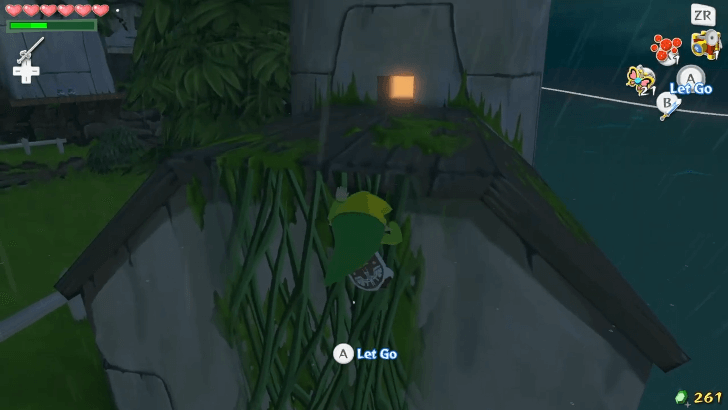 Once you arrive, head to the Bomb Shop, located southwest of the island. The front door is locked, so you need to sidle against the wall to get to the back of the shop. Once there, climb the vines on the wall and you will see a small passageway you can crawl into. |
|---|---|
| 2 | 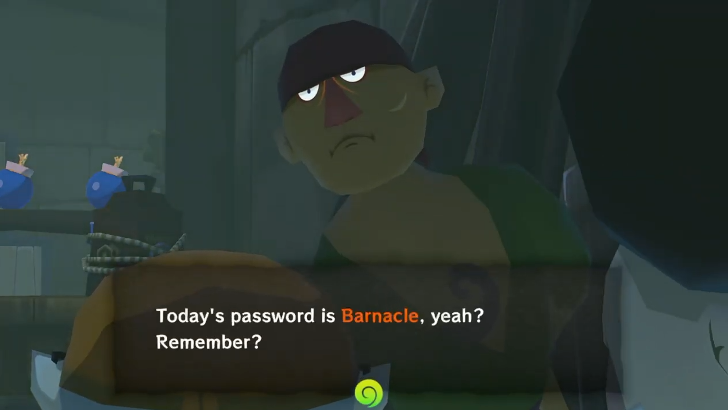 Once you are in, a cut-scene will play showing Pirates tying up the shop owner and stealing his bombs. Pay attention to what they say near the end, the Pirates will reveal their secret password. If you do forget, you can just ask the King of the Red Lions for a hint. Note, that the password will change from each playthrough. These are: ・Treasure ・Schooner ・Plankton ・Chummily ・Swabbies ・Barnacle |
| 3 | 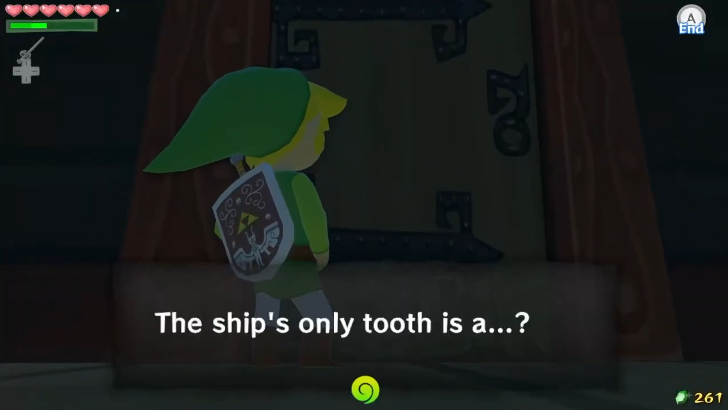 After they leave, you can also go out the shop. Make your way to the north, near the gravestone where you can find a large Pirate Ship. Jump on and try to get in the door. You need to input the password that was you just overheard. Afterwards, you can enter the ship. |
| 4 | 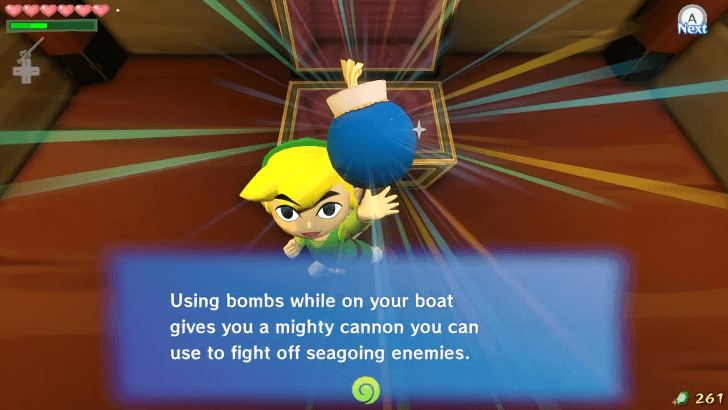 Head downstairs and you will find Niko. You have to play another game where you have to swing from rope to rope, without landing on a platform. Some of the ropes will also move after a while and you will be timed! Just swing from rope to the rope, starting on the right, then to the left, and back to the right, and you'll make it across easily. Open the treasure chest to get some Bombs. |
| 5 | 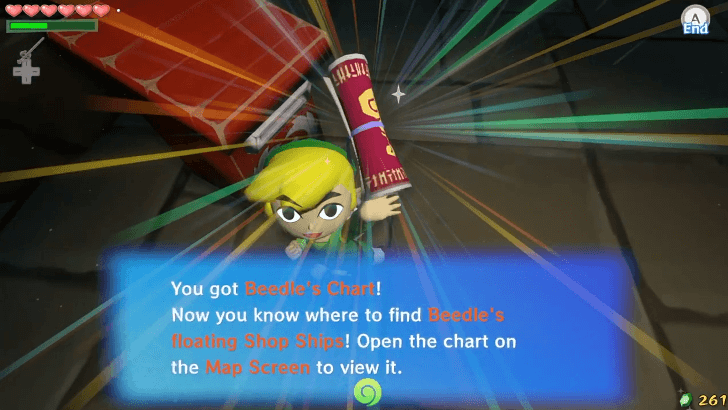 Head back to the mailbox and you will get a letter from Beedle that he now carries bombs! He will also give you Beedle's Chart, so you can find him easier. Once you're done around here, head to the King of Red Lions, and sail towards Outset Island! |
| * | 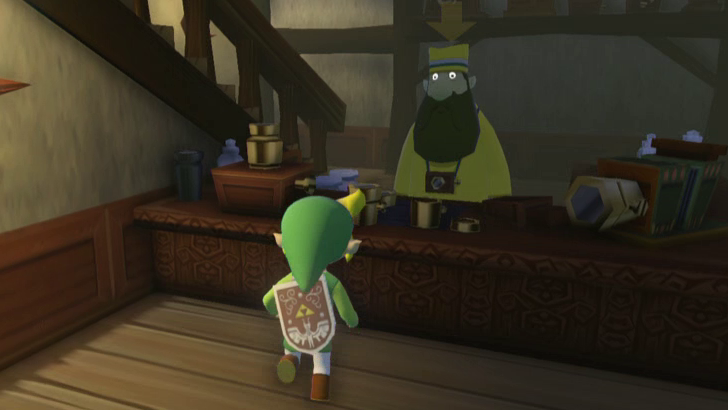 If you nabbed a Firefly at Forest Haven, you can go back to Lenzo’s Shop. Lenzo will upgrade Link’s Picto Box to the Deluxe Picto Box in the Game Cube version or a Joy Pendant in the HD Version. |
Outset Island
| 1 | 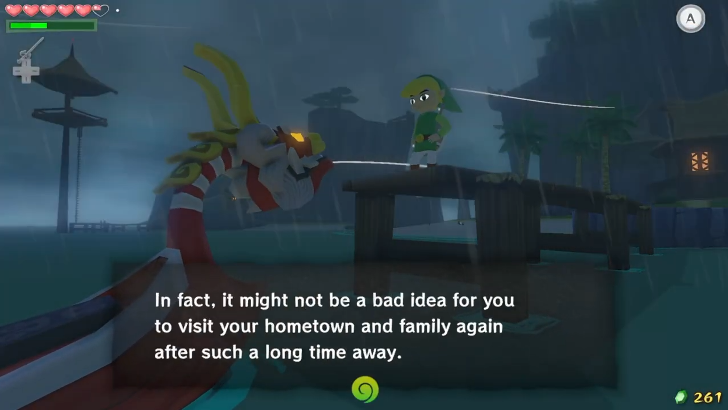 Getting to Outset Island, the King of Red Lions says you should check up with your Grandma. You can do that later as it is not required, hop back on to the boat. |
|---|---|
| 2 | 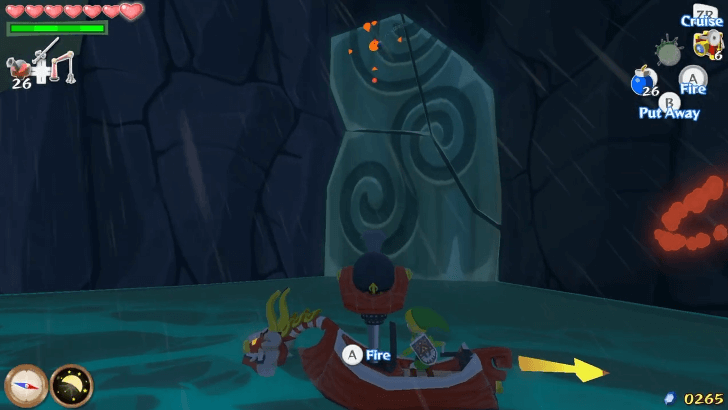 Head to the southwest part of Outset Island and there will be a massive whirlpool. Use your cannon to shoot the rock on the wall. To blow up this rock, you need to start at the top and work your way down. Eventually, you will break it and will be able to enter the cave formed. Note that you have a time limit to do this as your boat will slowly get sucked into the water. |
| 3 | 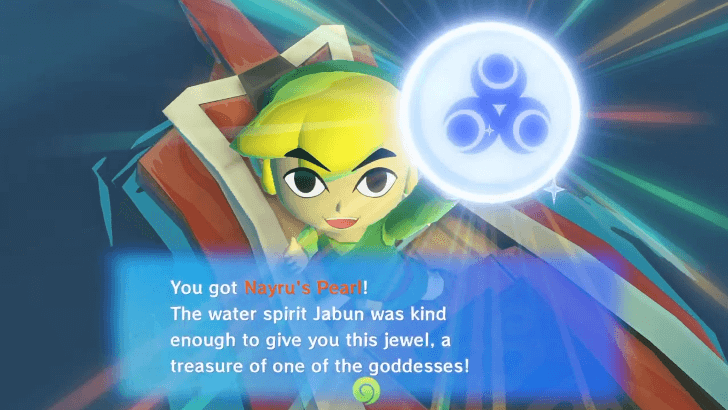 After breaking the wall, the whirlpool will disappear and you can sail right into the cave. Inside, you can meet up with Jabun where you can obtain Nayru’s Pearl! |
| 4 | 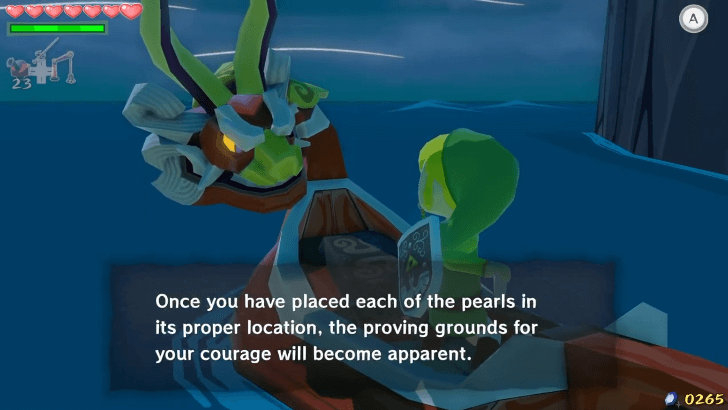 With all three Pearls, you can choose to either head to the Triangle Islands to unlock the Tower of the Gods, or go around island hopping to prepare for the next dungeon. |
Triangle Islands
| 1 | 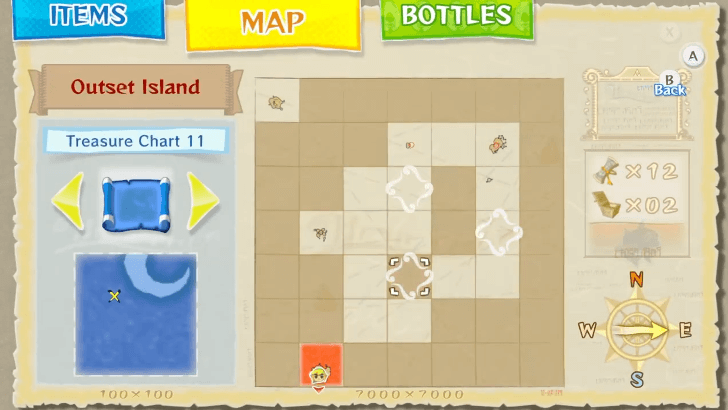 After collecting all the Pearls and tying up any loose ends you can around the map, you can now head out and unlock the next dungeon. Check your map and the Northern, Southern, and Eastern Triangle Islands will be marked. You need to sail to these Islands and find the statue where you need to insert the pearl. |
|---|---|
| 2 | 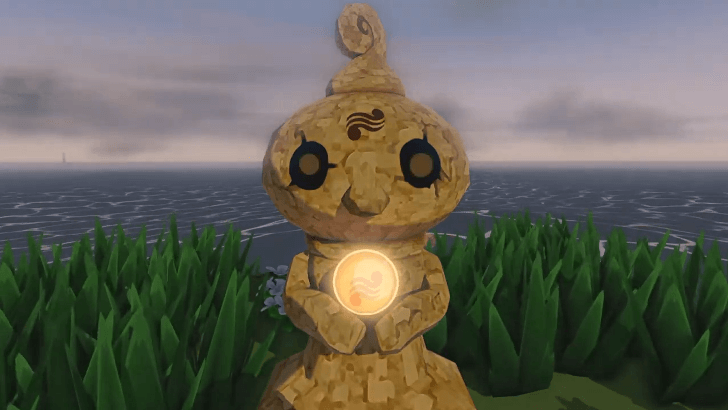 At Northern Triangle Island, you need to place Din’s Pearl. |
| 3 | 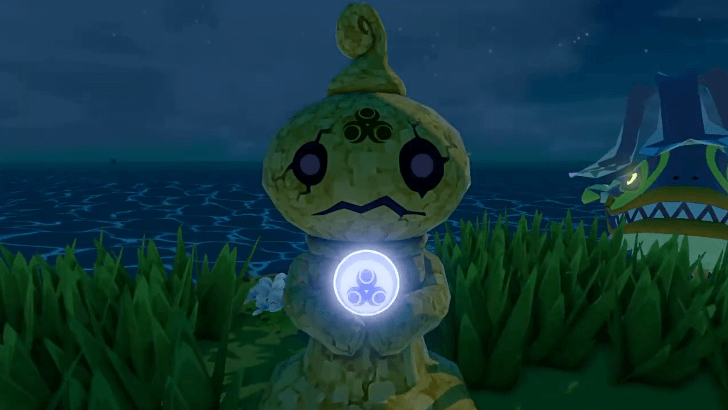 At Southern Triangle Island, you need to place Nayru’s Pearl. |
| 4 |  At Eastern Triangle Island, you need to place Farore’s Pearl. |
| 5 | 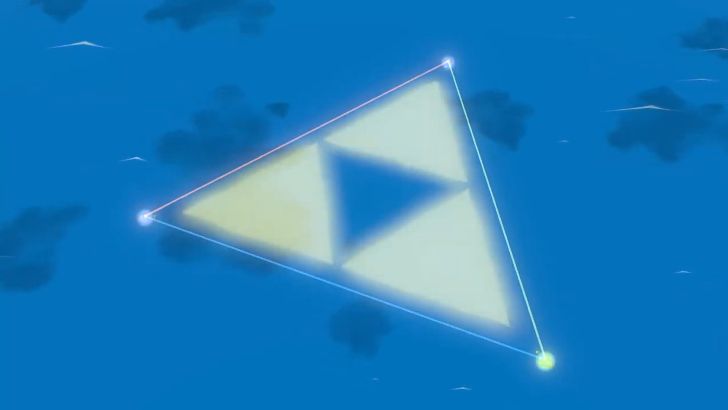 Once all three pearls are in, they will shoot beams at each other, which will raise the Tower of the Gods. Once picked up by the King of Red Lions outside of the Tower, you can sail onward and enter the Tower of the Gods. ▶︎ Tower of the Gods Walkthrough |
Third Goddess Pearl Walkthrough
Tower of the Gods
Floor 1
| * |  Before entering you can freely to backtrack to previous locations, explore the Great Sea, or collect Treasure Charts and Heart Pieces, so make sure to do any side stuff first before proceeding! |
|---|---|
| 1 | Once you're ready, set sail into the Tower of the God's entrance. |
| 2 | 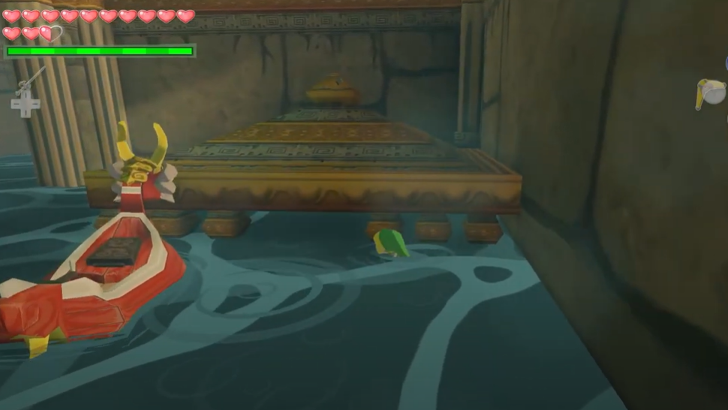 Head to the the right and wait for the water to recede to enter the doorway in the lower right corner of the room. |
| 3 | Defeat the Yellow ChuChu in the room then wait for the water to rise. |
| 4 | 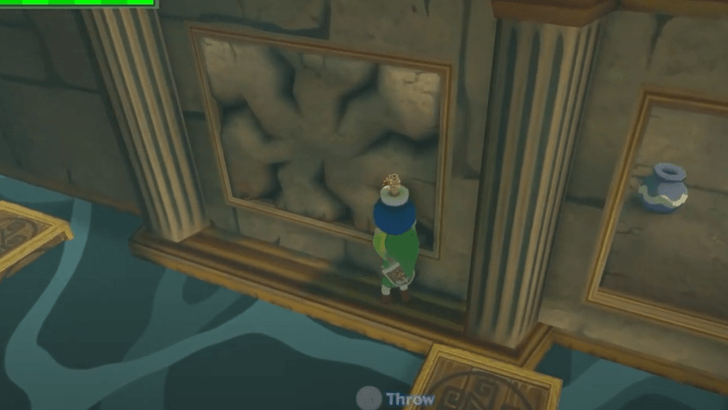 Use one of the boxes as a platform to stand then Bomb the cracking walls. Behind one of the walls is a treasure chest with a Dungeon Map that you can use to navigate. |
| 5 | 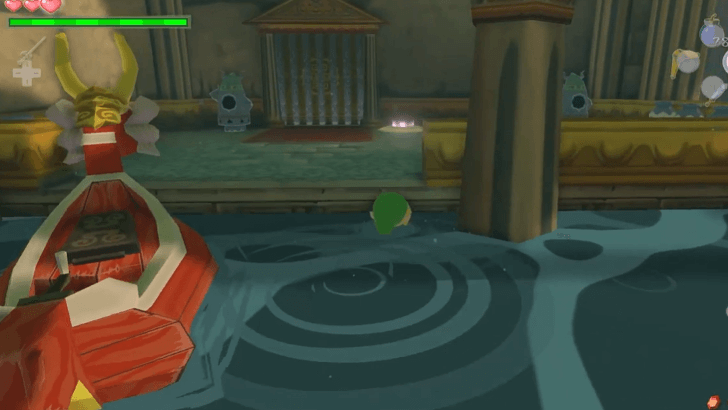 Sail to the upper right and wait for the water to rise so you can land on the platform with the doorway. |
| 6 | Lift the Armos statue and place it down on the button on the floor to open the door. |
| 7 | Enter and defeat the Yellow ChuChu inside. |
| 8 |  Head down the pit and place a box on top of the button at the bottom. This will create a bridge that you can cross to the other side. |
| * | Be quick! When the water rises, the box will float up and the bridge will disappear. |
| 9 | 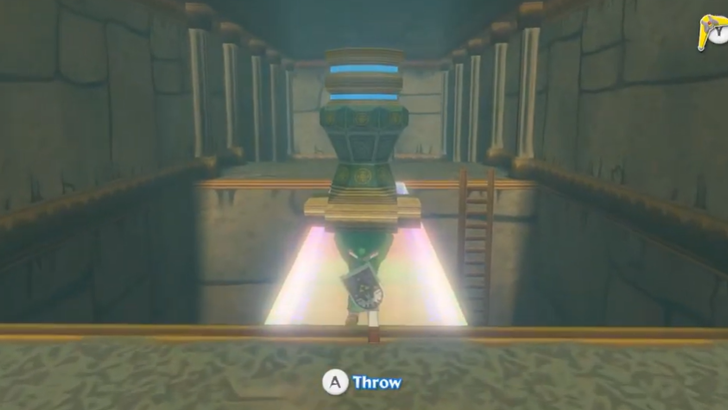 Pick up the glowing statue then exit the room. |
| 10 | 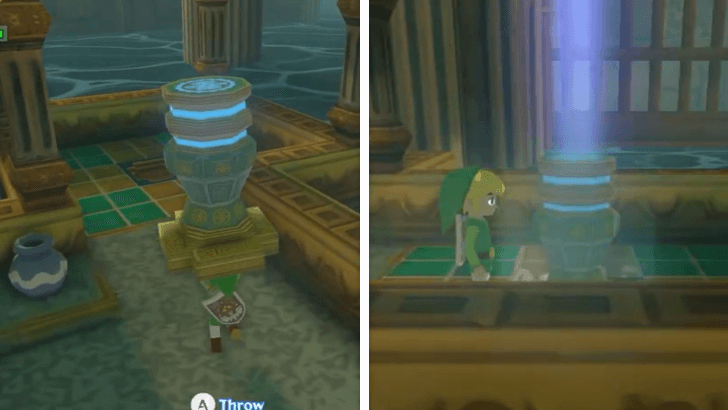 Go to the left then place the statue in the slot. This will open the gate to the East. |
| 11 | 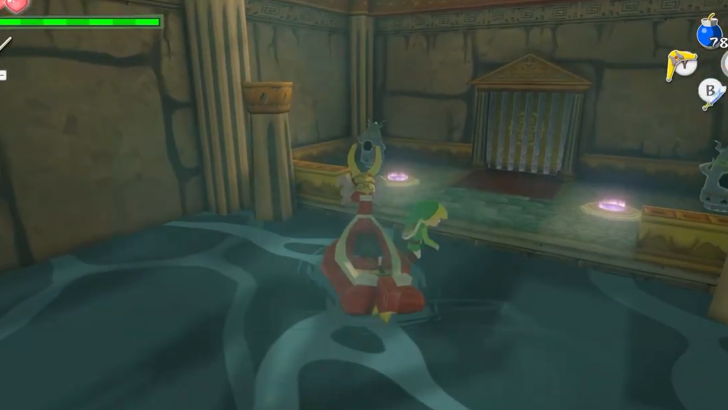 Head to the East where the gate was previously, then hop off at the platform at the end when the water level is high. |
| 12 | Place the two statues on the two buttons on the floor to open the door. |
| 13 | 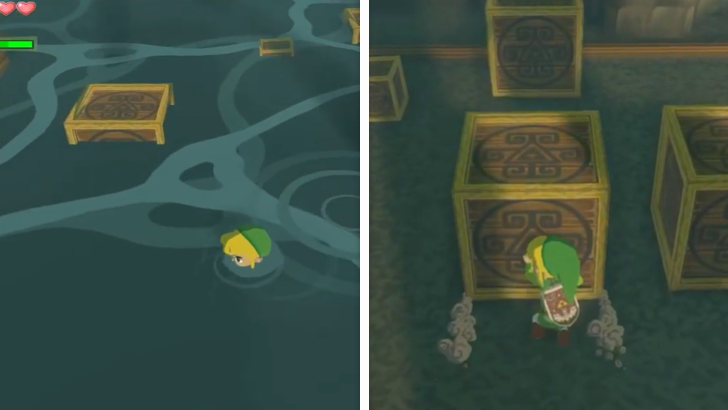 After entering, wait for the water to recede. When there is no water, arrange the boxes to create a path way to the other side. |
| 14 | 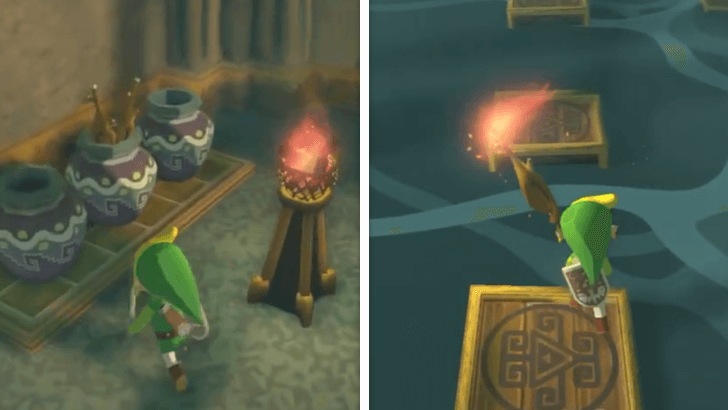 Destroy the vase on the right side to obtain a Deku Stick. Light it up using the nearby torch, then carry it across the water. |
| 15 | Light up the two torches on the platform to reveal a chest containing a Small Key. |
| 16 | Exit the room. Beware of the Yellow ChuChus that will fall from the ceiling when you try to leave. If you fall into the water, you will be electrocuted. |
| 17 | 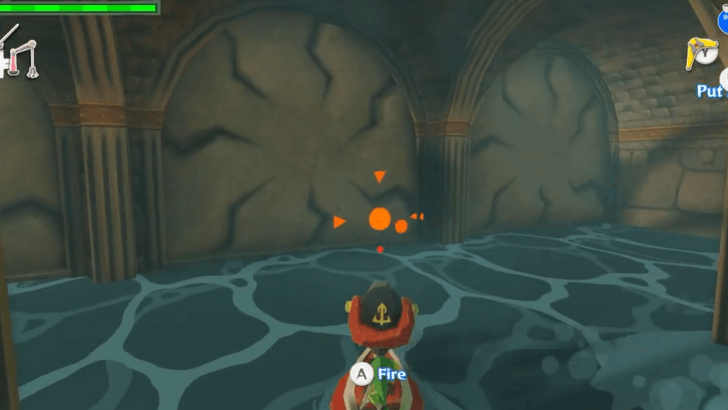 Sail to the West side of the floor. Use your cannons to destroy the cracking walls and reveal the hidden doorway. |
| 18 | 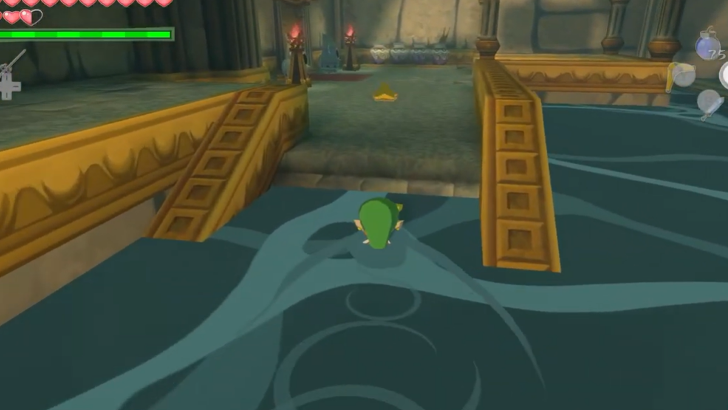 Get on the platform when the water rises and enter through the door. |
| 19 | Defeat the Fire Bubble inside by using the Deku Leaf to blow away the bubbles. Afterwards, strike the skull when it is on the floor. |
| 20 | 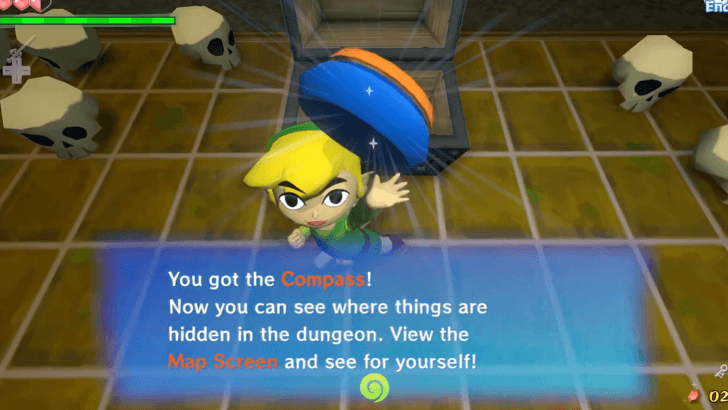 Open the treasure chest in the room to receive a Compass. You may exit the room after. |
| 21 | 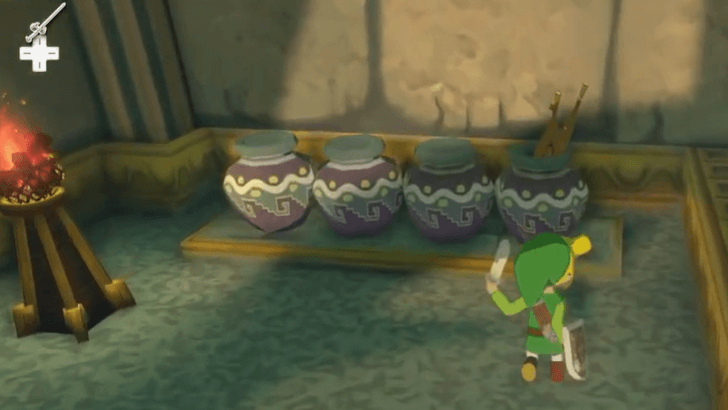 Destroy the vase to the right of the entrance to get a Deku Stick. Light it using the nearby torch. |
| 22 | 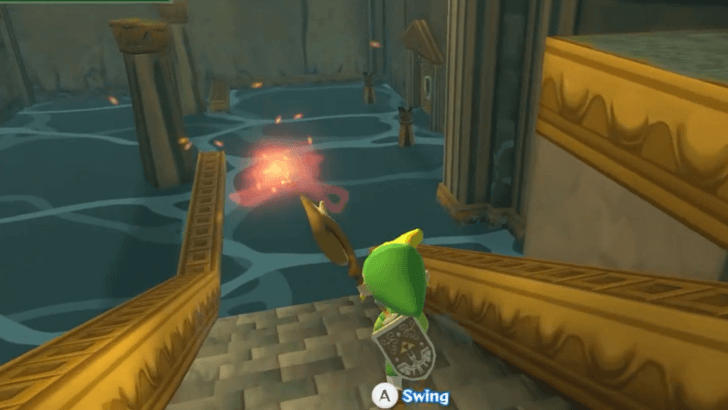 Once the water recedes, head down the stairs and light the torches in front of the entrance at the bottom. This will reveal a treasure chest at the top of the stairs containing a Joy Pendant. |
| 23 | Use the small key on the locked door at the bottom of the staircase. |
| 24 | 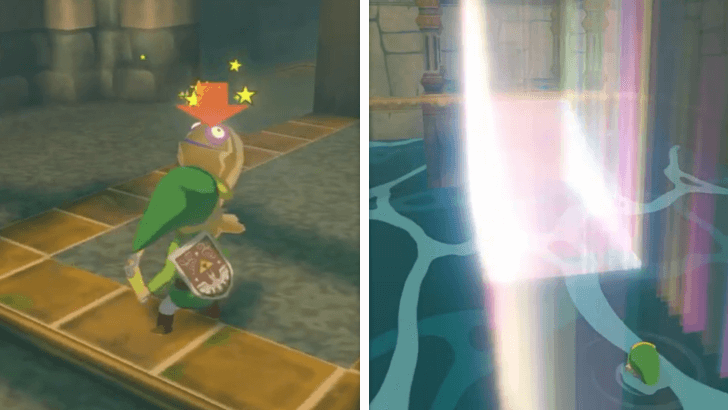 Defeat all the Yellow ChuChus in the room. This will reveal a set of stairs that you can use to reach the platform. |
| 25 | Take the glowing statue then exit the room when the water has receded. |
| 26 | 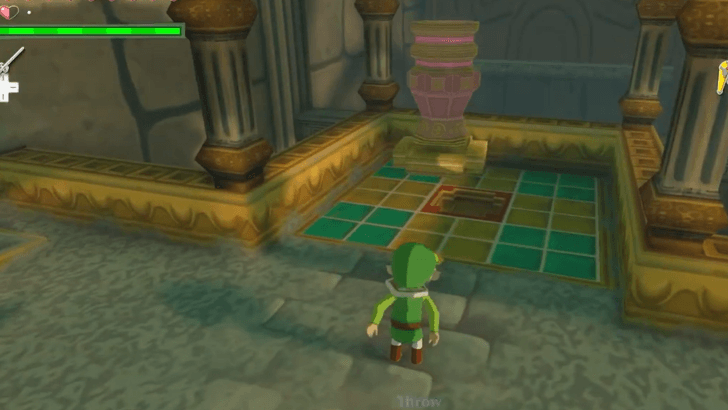 Take it to the top of the stairs then place it down on the slot to the right. This will shut down one of the water spouts. |
| 27 | 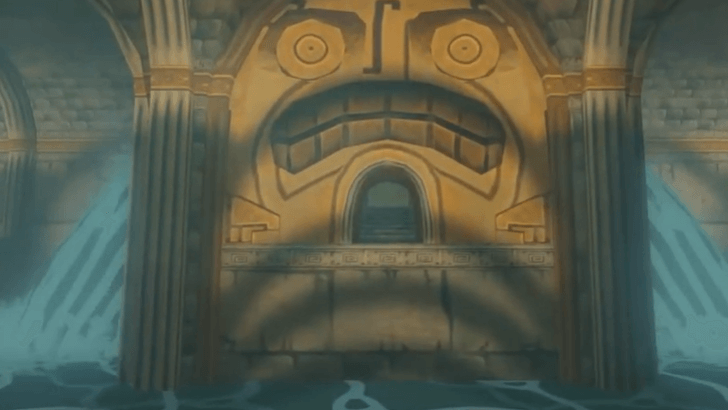 Swim back to the main area then enter the entrance that was previously hidden behind the running water. |
| 28 |  Get the two Armos statues to the other side of the room. There is a laser in the middle that will target you if you are within sight. Before it shoots, drop the statue and hide behind it as a shield. |
| 29 |  Place the statues on two of the buttons on the ground, then stand on the last one. This will active the platforms in front of you. |
| 30 | Jump between the platforms to get to the top. |
| * |  Place a bomb on the edge of the topmost platform. This will reveal a treasure chest containing a Goddess Tingle Statue. |
| 31 | 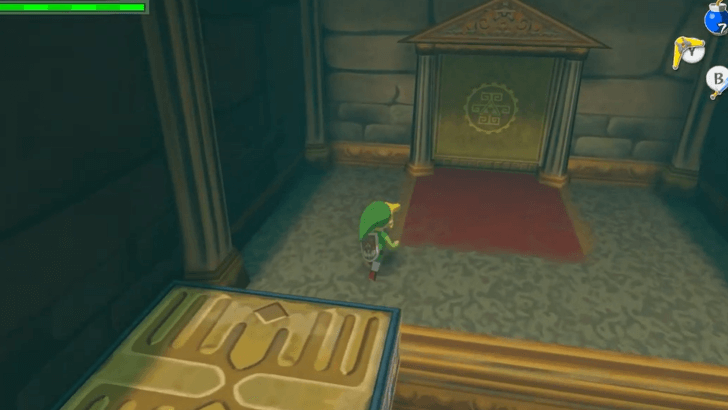 Enter the door and proceed to the next floor. |
Floor 2
| 1 |  Head to the first room to the right. |
|---|---|
| 2 | Defeat the Yellow ChuChu then open the door across the gap. |
| 3 | 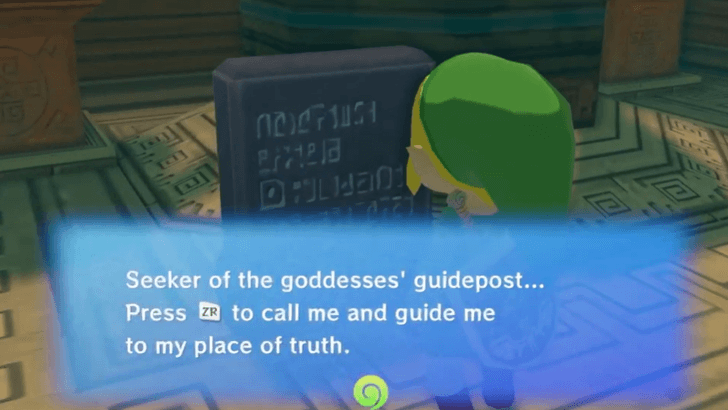 Get to the end of the path and use the Action Button (R/ZR) to lower the platform. |
| 4 | Carry the statue out of the room. Be careful of the 2 Yellow ChuChus outside the door. |
| 5 | After you exit, the statue will place itself on the platform. |
| 6 | 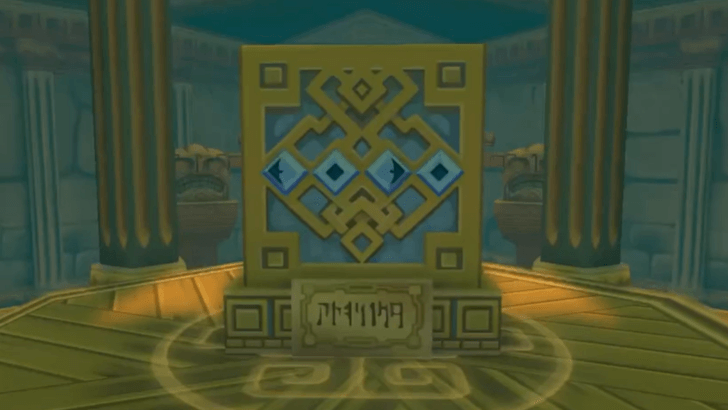 Approach the sign that appeared in the middle. |
| 7 |  Play the tune written on the sign to learn the Command Melody. |
| 8 |  Enter the room to the left. |
| 9 | Defeat the Fire Bubbles by using the Deku Leaf while they are floating above the pit. |
| 10 | 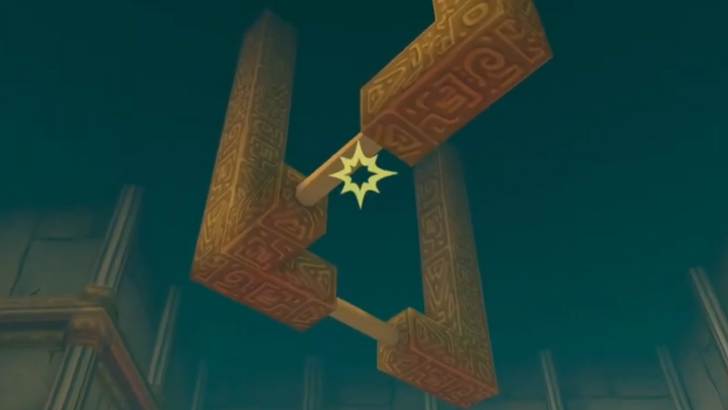 Use the Grappling Hook on the structure above the pit to get to the other side. |
| 11 | 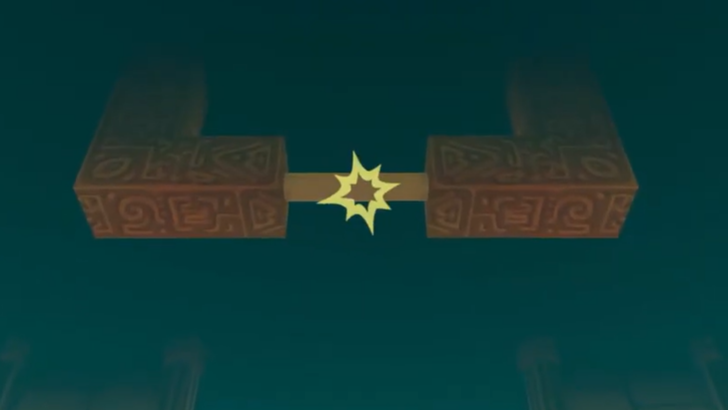 Enter the next room then use the Grappling Hook again to get to the statue. |
| 12 | Use the Action Button (R/ZR) to activate the statue. |
| 13 | 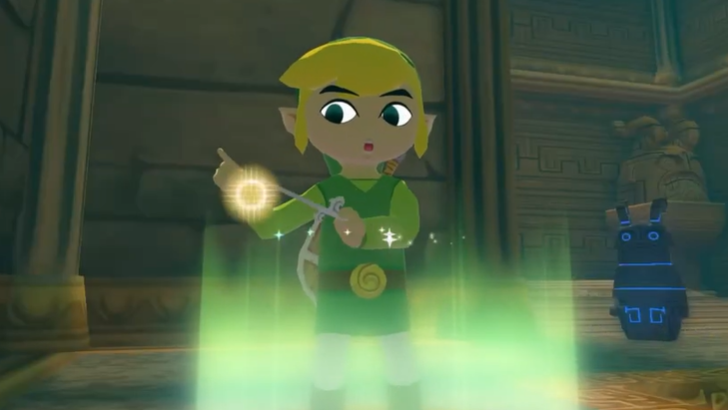 Step on the button to the right, then use the Command Melody to control the statue and lead it over the bridge. Afterwards, use the Grappling Hook or Deku Leaf to get across. |
| 14 | 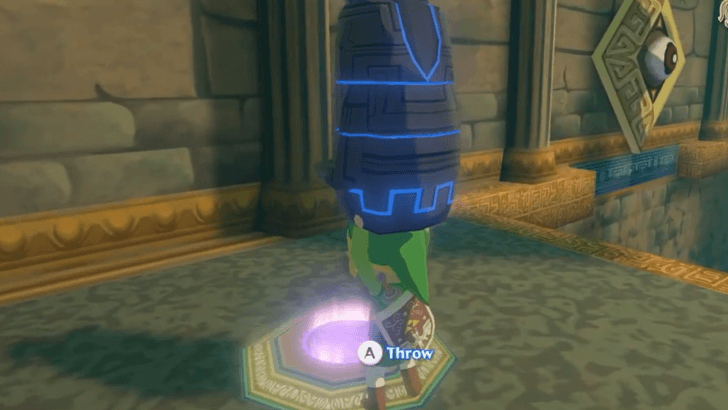 In the next room, place the statue on the button to the left. You will not be able to bring it across just yet. |
| 15 | Get to the room to the right by using the Grappling Hook or a Deku Leaf. Beware that entering the room will lead to a Darknut encounter. |
| 16 |  Defeat the Darknut. You can defeat a Darknut by removing their helmets or breastplate, making them vulnerable to attacks. This can be done by parrying or just attacking them repeatedly. You can also sneak behind a Darknut to remove the straps of their breastplate. |
| 17 | After defeating Darknut, a treasure chest containing the Hero's Bow will appear in the center. |
| 18 | 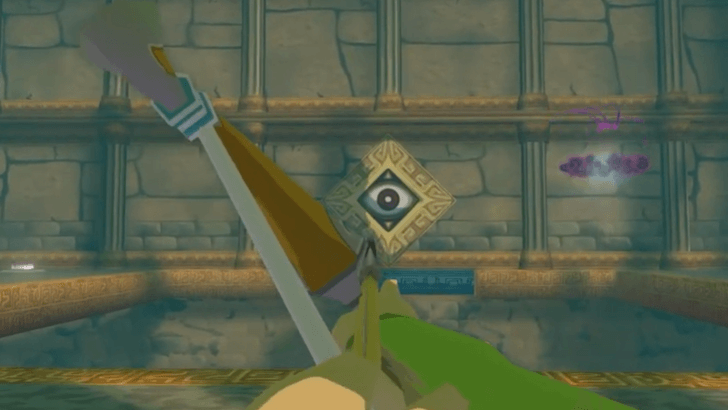 Exit the room then use the Hero's Bow to aim an arrow at the eye on the wall across. This will activate moving platforms. |
| 19 | Go back and pick up the statue that you left behind. Ride the platforms to the other side. |
| 20 | Exit the room. The statue will automatically place itself on the platform. |
| 21 | Before going north, head back down south to the room where you got the Goddess Tingle Statue. Head down and back to the first room. |
| 22 | 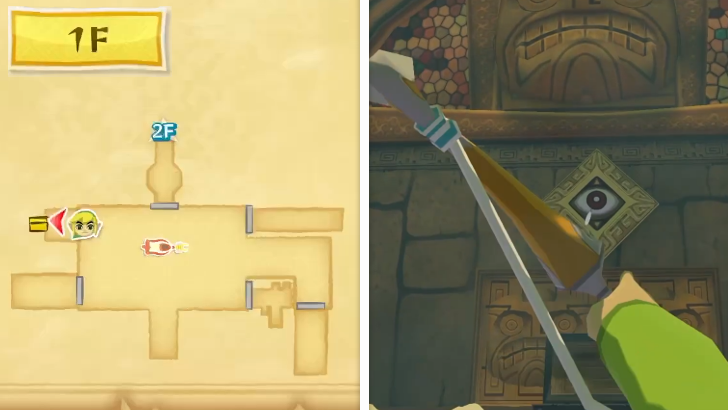 |
| 23 | 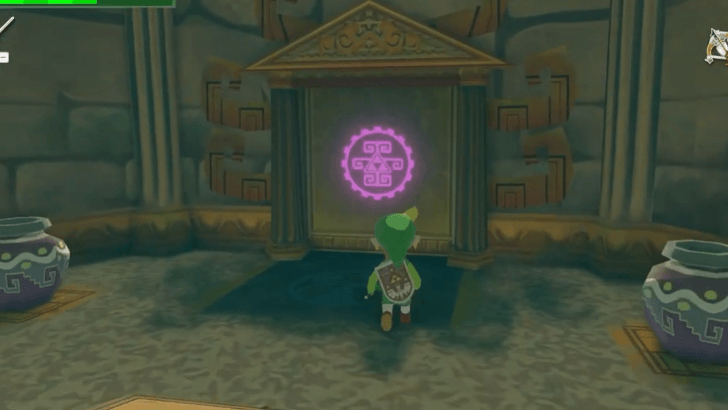 Head back up to the Second Floor Central room and now go through the room to the North instead. |
| 24 | 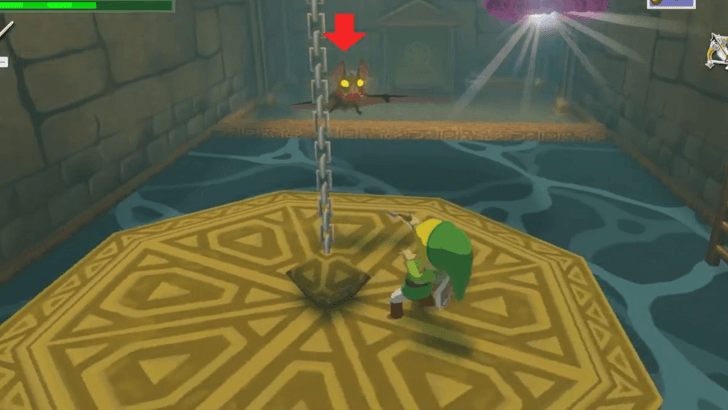 Jump down onto the circular plate at the bottom. Defeat the Keese that appear using the Hero's Bow. |
| 25 |  Bomb the wall to the left to reveal a door. |
| 26 | 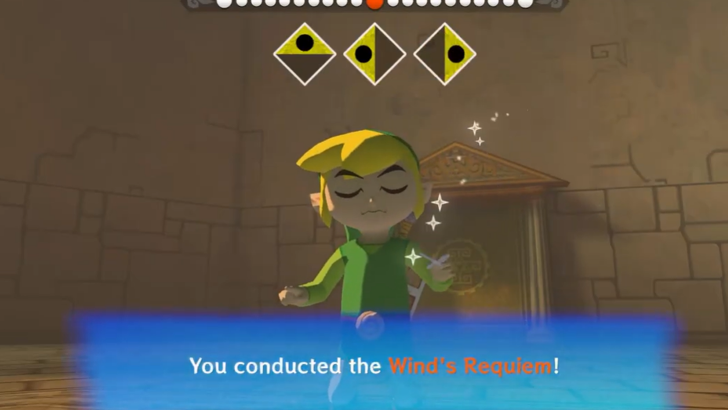 Play the Wind's Requiem to reveal a treasure chest containing a Treasure Chart #30. Beware that playing Wind's Requiem will activate the nearby Armos Knights. |
| 27 | 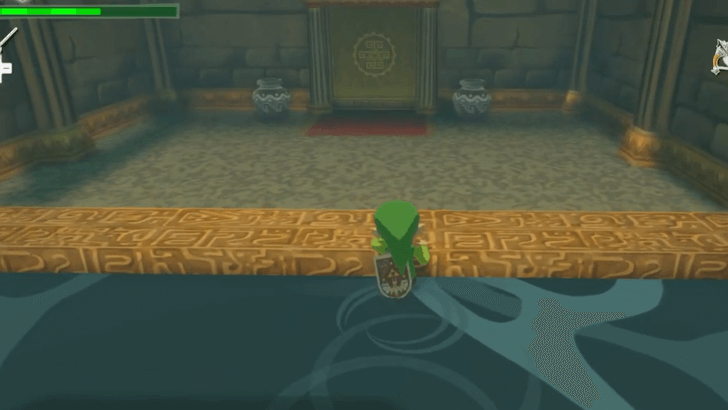 Exit the room then swim to the door on the other side. |
| 28 |  Jump onto the platform rising and falling ahead of you. |
| 29 | 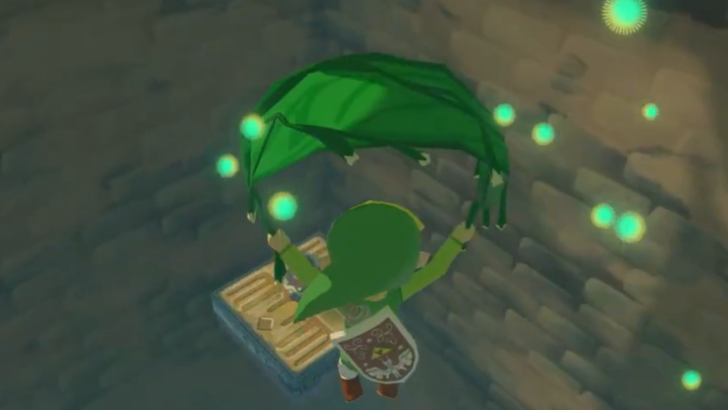 Use the Deku Leaf to float down towards the platform with the vase in the corner. |
| 30 | 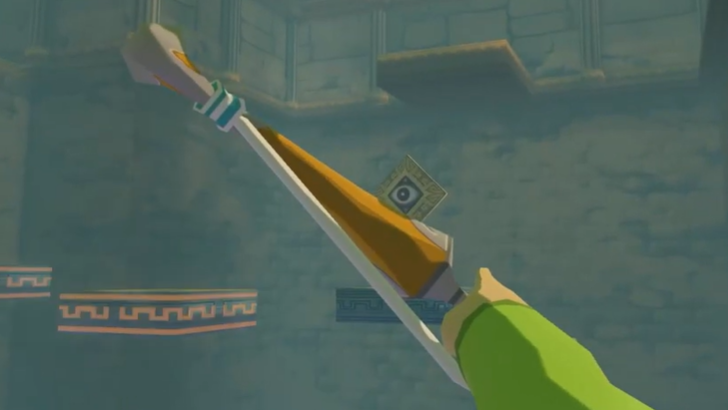 Shoot an arrow into the eyeball to the left. This will cause the platform to start moving |
| 31 | 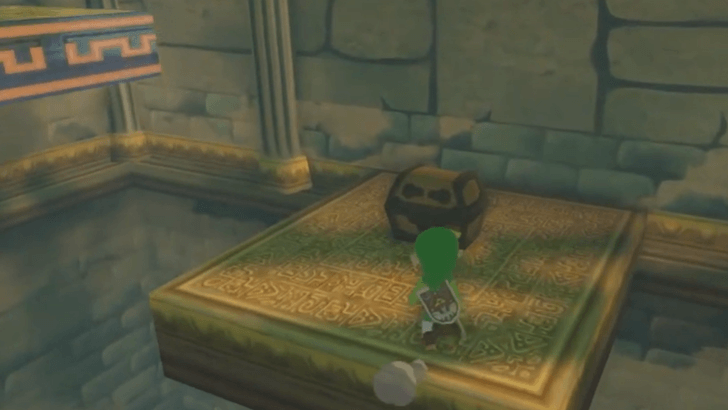 Ride the platform with the eyeball, then jump onto the landing with the treasure chest. You will get a Small Key. |
| 32 | 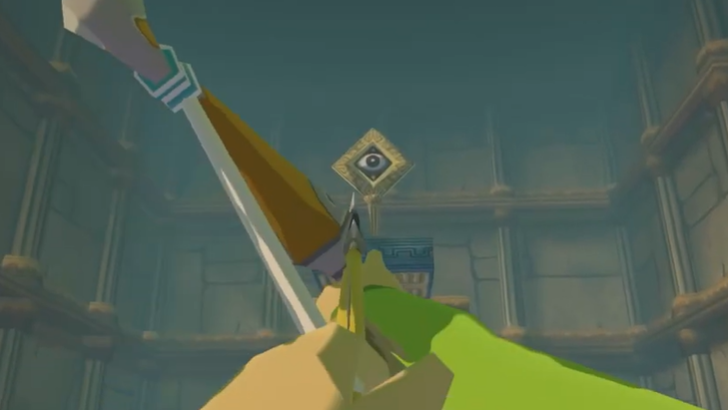 From the treasure chest, face towards the East and aim for the eyeball above. |
| 33 |  Use the platform to the right to get to the next platform with the eyeball. |
| 34 | 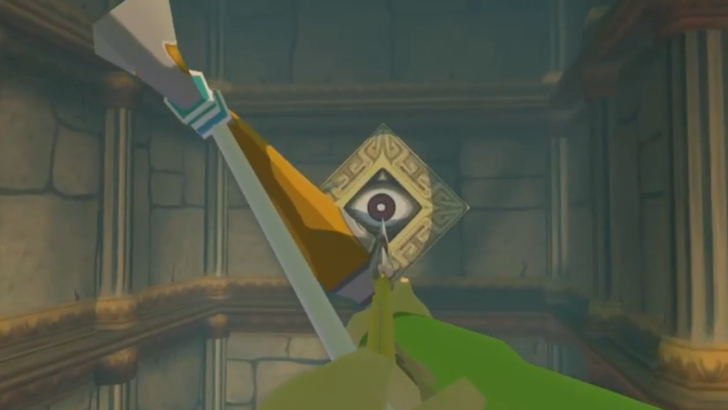 While riding the platform, face towards the South and aim for the eyeball above the entrance where you came from. This will reveal a treasure chest at the end with a Joy Pendant. |
| 35 | 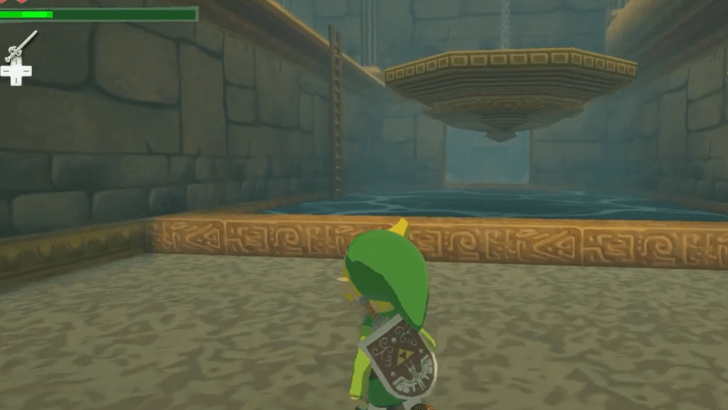 Exit the room then climb up the ladder. |
| 36 | 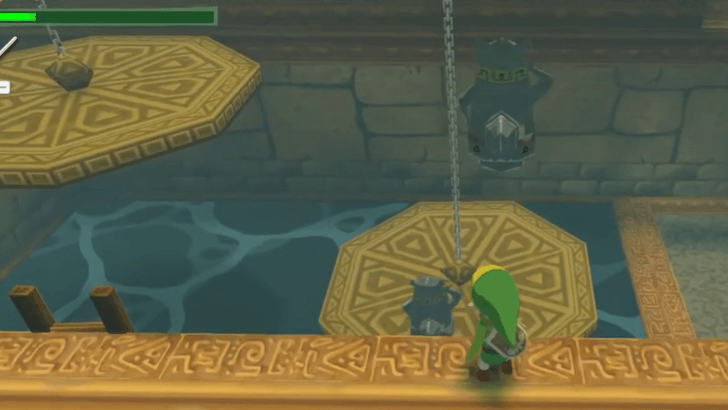 Throw the Armos Statues onto one of the circular plates to act as a weight, causing the other plate to rise. |
| 37 | 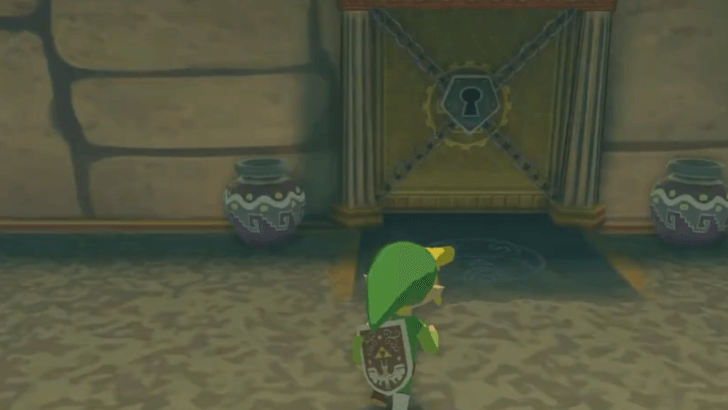 Cross the platform to the other side and use the Small Key to open the door and proceed. |
| 38 | Upon entering the room, climb onto the box and use the Deku Leaf to float over the lasers. |
| 39 | Activate the statue with the Action Button (R/ZR) then use the Command Melody to control it. |
| 40 | 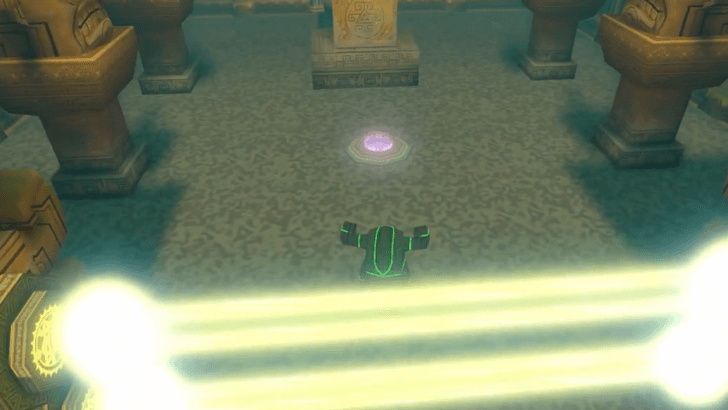 Walk the statue through the lasers and make it sit on the button on the ground. |
| 41 | Walk forward then carry the statue out of the room. |
| 42 | 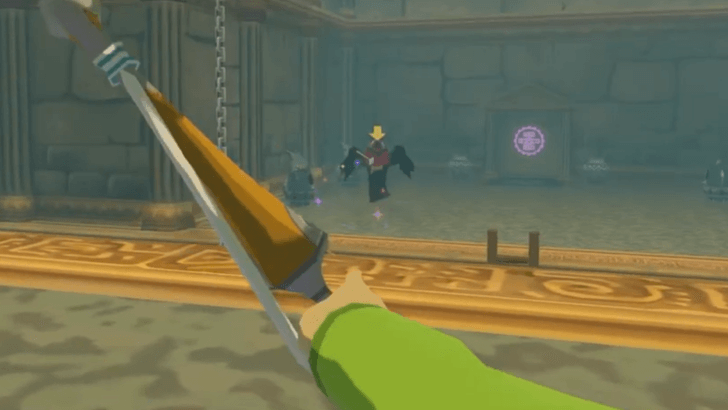 Use the Hero's Bow to defeat the Wizzrobe that appears across the room. |
| 43 | Use the Deku Leaf to get to the other side. |
| 44 |  Drop the Armos statues onto the circular plate just like before to get the other plate to rise. |
| 45 | Go back and carry the statue to the other side. |
| 46 | Exit the room. The statue will automatically place itself on the platform. |
| 47 |  Go to the center and proceed to the next floor. |
Floor 3
| 1 |  Place the Armos statues on the three buttons on the floor. This will deactivate the lasers, allowing you to get the Big Key from the treasure chest. |
|---|---|
| 2 |  After getting the Big Key, the Armos statues will activate and become hostile. Defeat all the Armos statues to open the door across the room. |
| 3 |  Go through the door and make your way up to the fourth floor. Destroy the lasers and defeat Kargarocs along the way. Beware that going to the fourth floor will trigger a boss fight. |
Gohdan Boss Fight
| 1 |  Defeat Gohdan. Gohdan's main attack is a bomb blast that will follow the player for a short amount of time, so try not to get caught. ▶︎ Gohdan Boss Guide |
|---|---|
| 2 | After defeating Gohdan, head to the center to complete the dungeon. ▶︎ Hyrule Castle Walkthrough |
Hyrule Castle
Obtain the Master Sword at Hyrule Castle
| 1 | 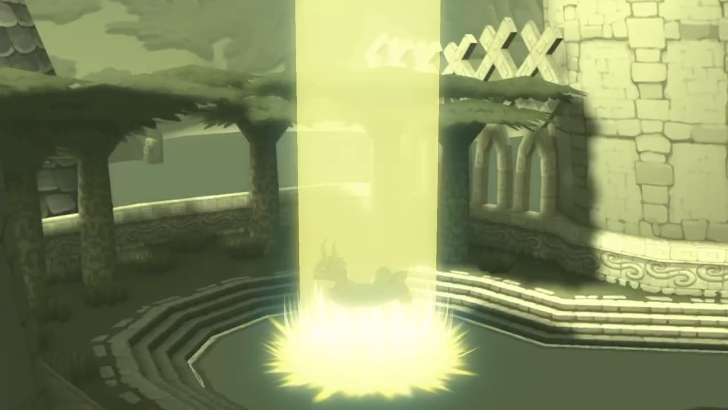 After ringing the bell at the very top of the Tower of the Gods. A cutscene will play and you will now be below the sea, at Hyrule Castle. Once you regain control, head inside. |
|---|---|
| 2 | 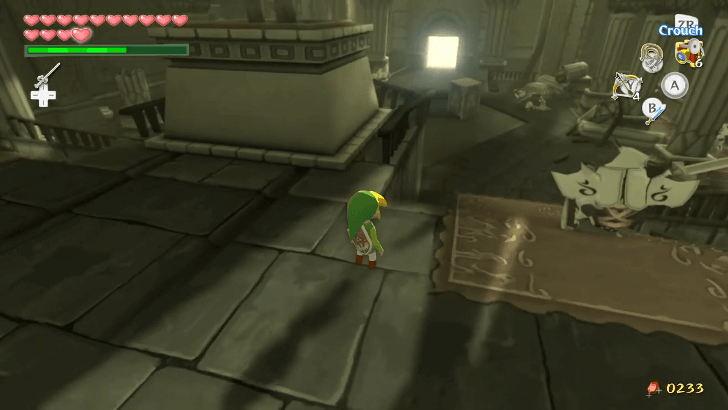 There will be a ton of enemies around, but they are frozen in time, so ignore them for now. Head to the center of the castle where you see a Triforce emblem and a few triangular pillars. |
| 3 | 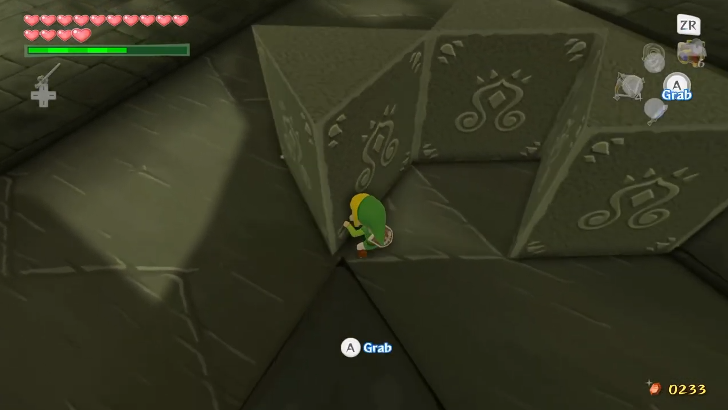 Pull the pillars around to match the Triforce. The pillars will recede down to the floor and a new staircase will open under the statue. |
| 4 | 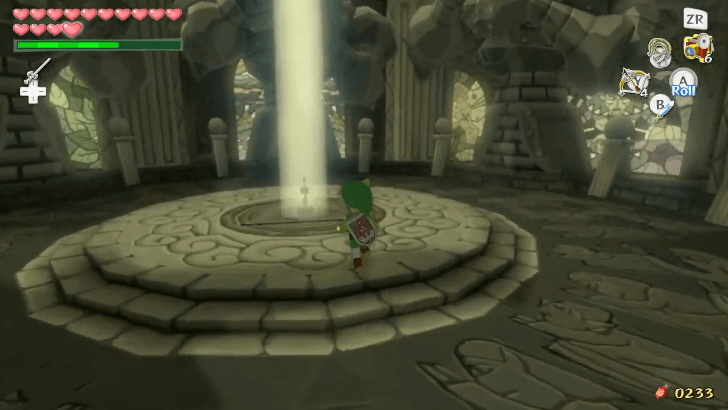 Ignoring the other exit at the other side, proceed down the revealed staircase and here you will see the Master Sword. Head towards the pedestal and after the cutscene, you will receive the sword of legend! |
| 5 | 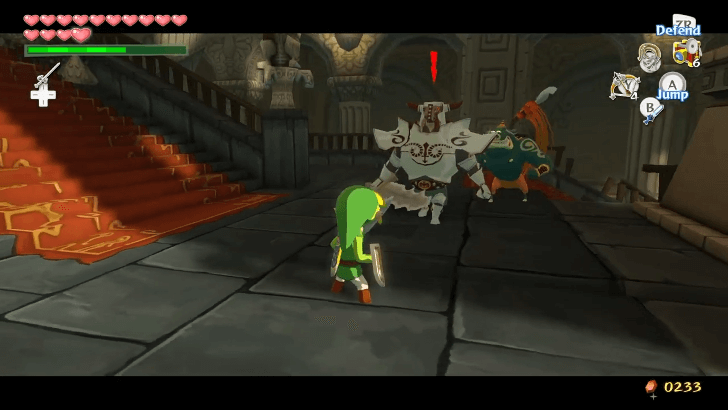 Head back up and time once again flows in the castle, meaning the Moblins and Darknuts are back and moving. You need to defeat all of them to progress, and we recommend taking down the Moblins first then the Darknuts. |
| 6 | 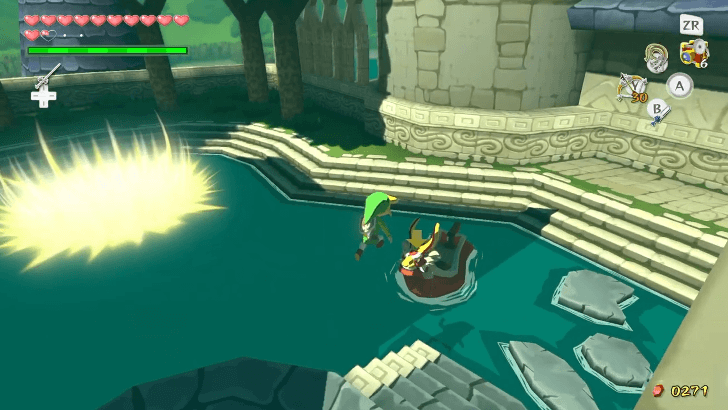 After beating all the enemies, the doors to the outside will open. Head out and talk to the King of Red Lions to head out the shining light and power up the Master Sword! |
Unlock the Ballad of Gales
| 1 | 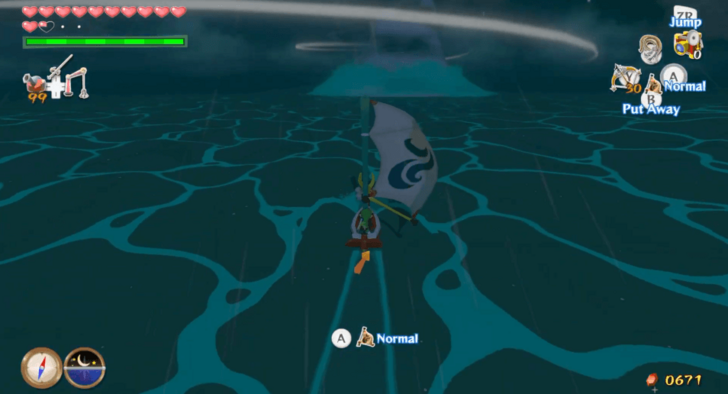 Sail into one of the cyclones found in Northern Triangle Island, Mother & Child Isles, or Shark Island. |
|---|---|
| 2 | 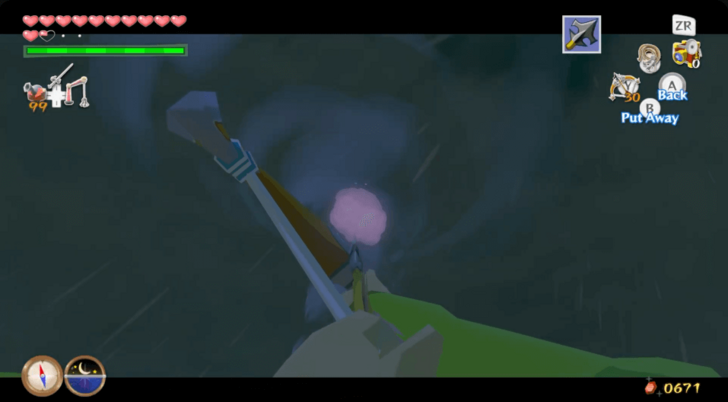 Cyclos will appear hovering above you. Shoot him with arrows three times before you get sucked into the middle of the cyclone. If you are successful, he will teach you how to conduct the Ballad of Gales. |
| * | Now that you have the ability to both freely explore and warp, you may search around for optional Treasure Charts and Heart Pieces. You may do side quests such as the Korok Tree Watering Quest and the Trading Sequence Quests. Both of these are more doable with the ability to warp. |
| * | You can pick up the treasure from Treasure Chart #30 that you obtained in the Tower of the Gods. This can be fished out from Pawprint Isle and contains a Piece of Heart. |
| * |  Head south from Seven-Star Isles and you will find platforms with Wizzrobes. Defeat them with your Bow and you can obtain a Red Rupee, a Golden Feather, and Treasure Chart #16! ▶︎ Return to the Forsaken Fortress Walkthrough |
Return to the Forsaken Fortress
First Floor
| 1 |  Sail to the Forsaken Fortress. Be sure to destroy the cannons or avoid their fire. To enter the fortress, you must use your own cannons to destroy the wooden door. |
|---|---|
| * |  You may pull up the treasure from Treasure Chart #25 before entering. The chest will contain a Silver Rupee. |
| 2 |  Avoid the searchlights as you run up the stairs. Head towards the wooden door by the courtyard. Phantom Ganon will appear before you. You will have to defeat him before you can advance. ▶︎ Phantom Ganon Boss Guide |
| 3 | 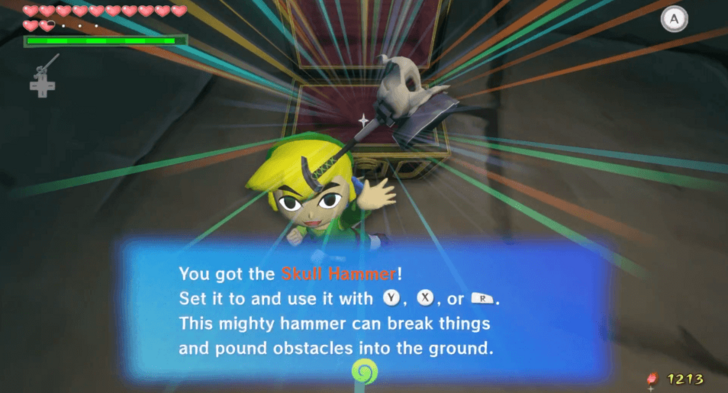 After defeating Phatom Ganon, a chest will spawn. Open it to obtain the Skull Hammer. |
| 4 | 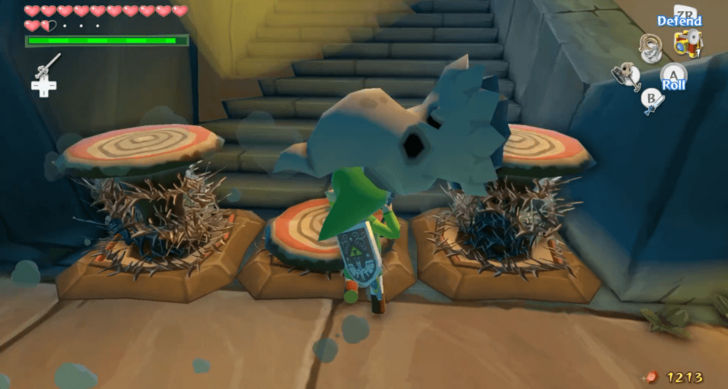 Head to the stairs leading up to the second floor. Hammer down the pegs that block your path before climbing up. |
Second Floor
| 1 | 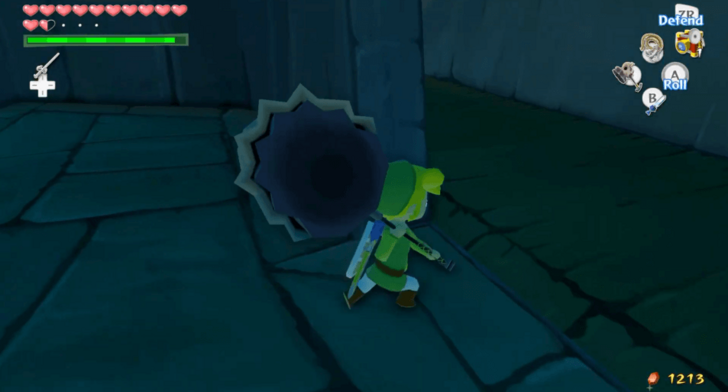 Enter the first archway you see to your right. Afterwards, turn left and open the door at the end of the path. |
|---|---|
| 2 | 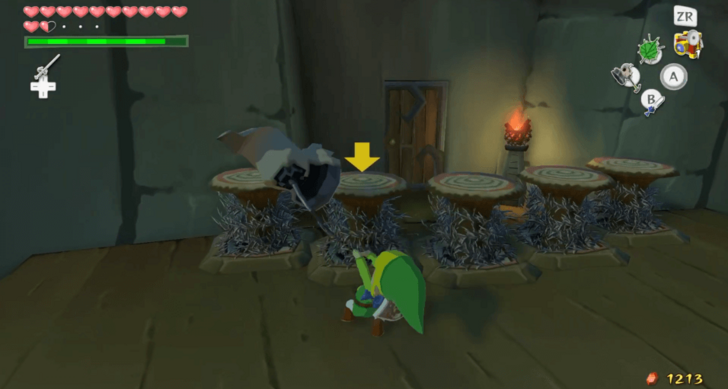 After entering the room, use your Deku Leaf to glide to the platform on the left. Hammer down the pegs to enter the door behind them. |
| 3 | 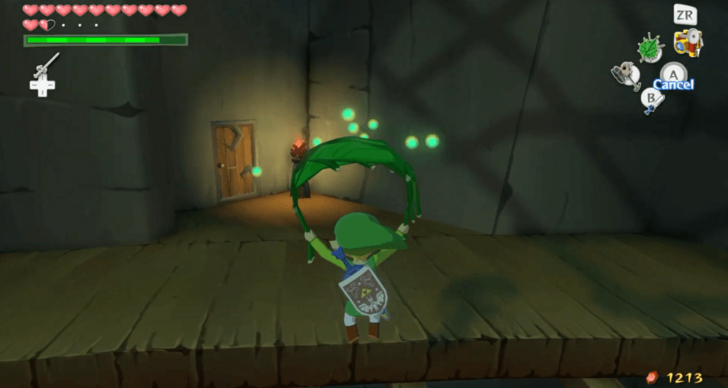 Walk straight ahead and open the door at the end of the hall. Once you enter the room, glide to the other side and enter the door there. |
| 4 | 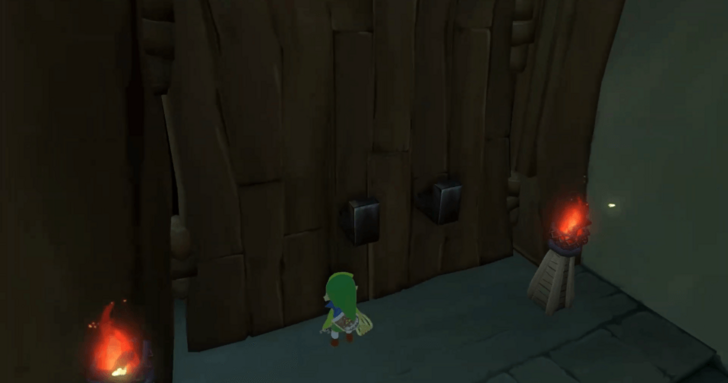 Run straight again to enter the door at the other side. Walk to the right along the ledge until you see a small set of stairs. Climb it and enter the double doors. |
| 5 | 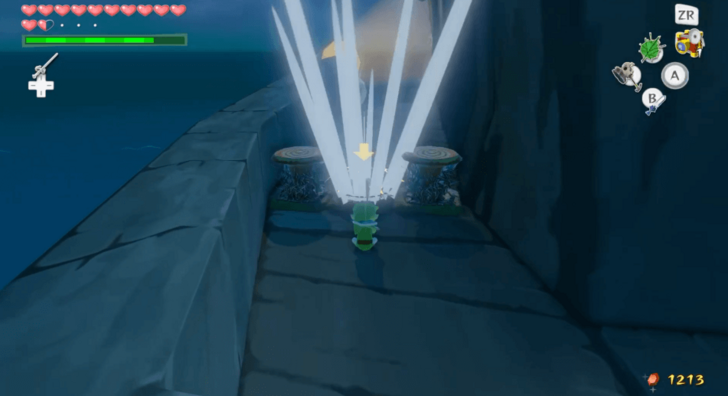 Avoid the Miniblins and searchlights as you climb up. Hammer the pegs covering the path. |
| 6 | 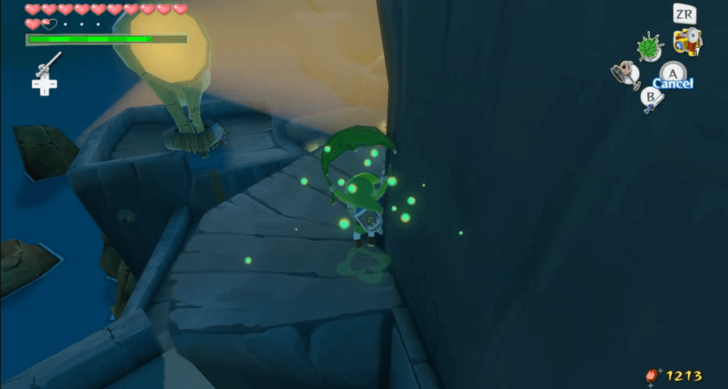 Conduct the Wind's Requiem and set the wind to blow south. Glide past the gaps with the Deku Leaf until you reach the top. |
| 7 | 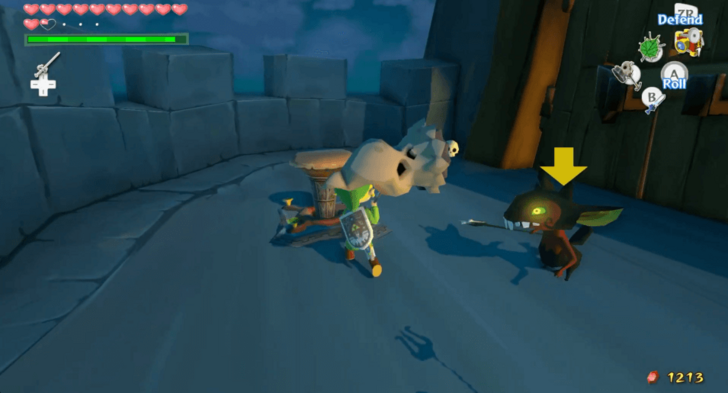 Hammer the peg at the top to open the door. Enter the door to free Aryll and company before fighting the Helmaroc King. ▶︎ Helmaroc King Boss Guide |
| 8 | 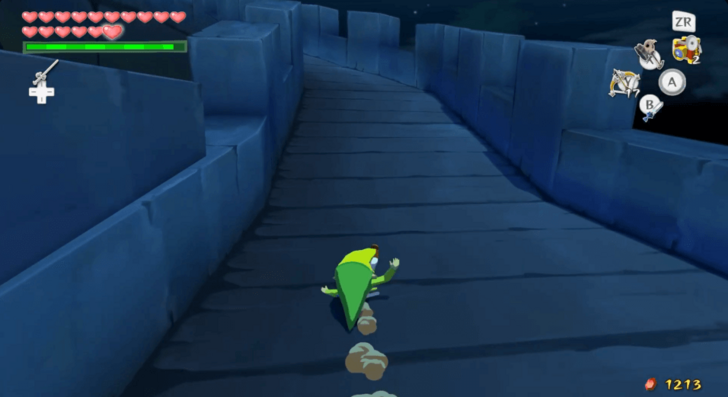 After defeating the Helmaroc King, the spikes blocking the nearby ramp will be removed. After getting the Heart Container that the boss leaves behind, go up the ramp to confront Ganon. |
Revisiting Hyrule Castle
| 1 |  You will automatically be transported to Hyrule Castle after your confrontation with Ganon. Head to the room underneath the statue to seek answers. |
|---|---|
| * | 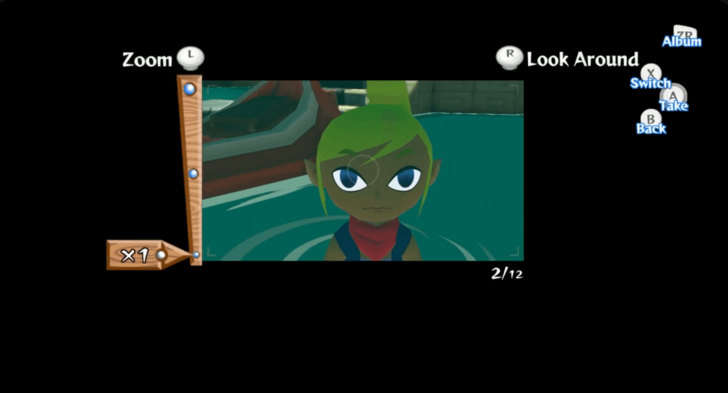 Once you are able to move around again, you may take a picture of Tetra. This will unlock her figurine in the Nintendo Gallery. |
| 2 | 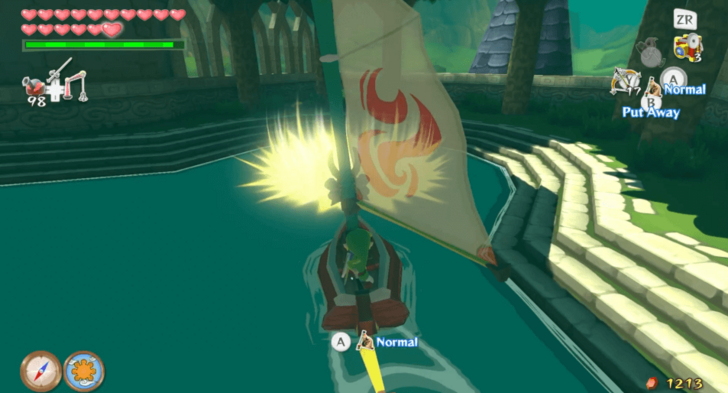 After the cutscene, head outside and sail into the warp. You will be transported back to the exterior of the Tower of the Gods. You may continue your journey from there. ▶︎ Earth Temple Walkthrough |
Return to the Forsaken Fortress Walkthrough
Earth Temple
Reveal the Earth Temple Entrance
| * |  You're free to backtrack to previous locations, explore the Great Sea, or collect Treasure Charts and Heart Pieces, so make sure to do any side stuff first before proceeding! |
|---|---|
| 1 |  Warp to Outset Island and head east to go to Headstone Island. |
| 2 | 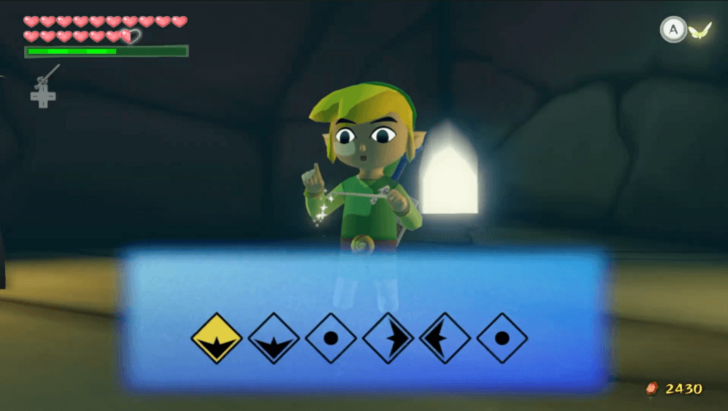 Lift and destroy the stone head in the middle of the island to reveal a cavern entrance. Head inside and use the Wind Waker to learn the Earth God's Lyric. |
| 3 | 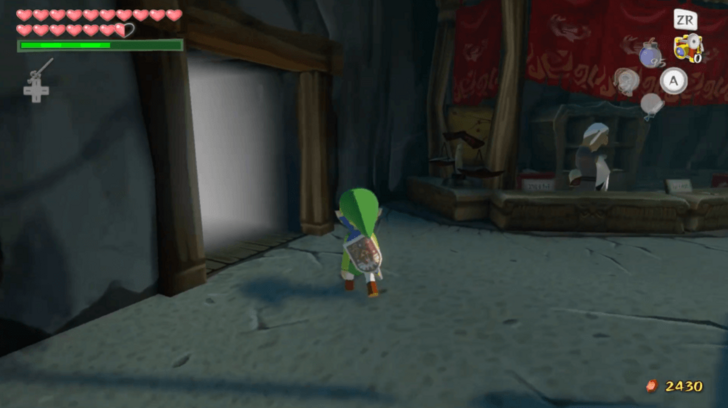 Warp to Dragon Roost island. Enter the Rito Aerie and go up to the second floor. Exit through the second door to the left. |
| 4 |  Once outside, go right and use the Grappling Hook to cross the gap. Afterwards, climb up and talk to Medli. |
| 5 | 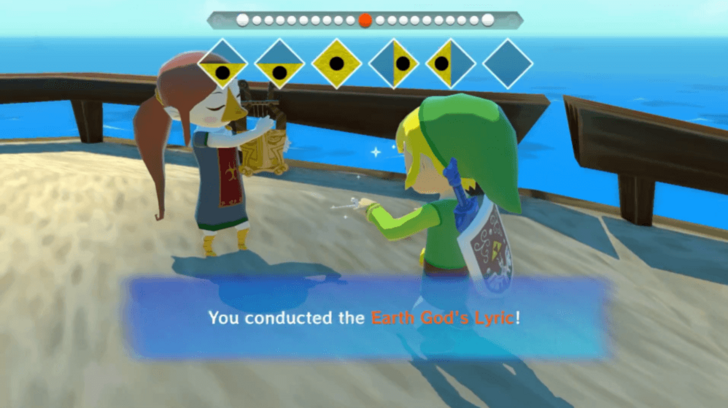 Conduct the Earth God's Lyric in front of Medli. She will join you in your journey to the Earth Temple afterwards. |
| 6 | 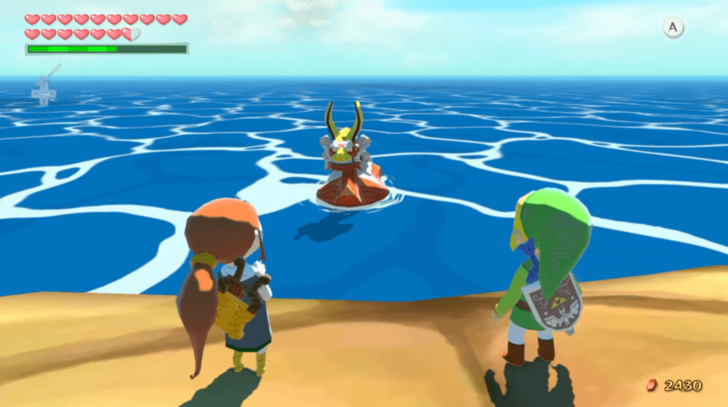 Return to Headstone Island. After landing, Red will mention the controls needed to lead, control, and save Medli. |
| 7 | 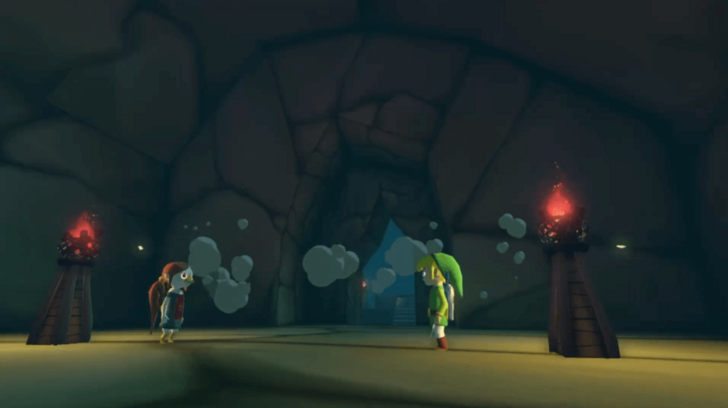 Enter the cave once more to conduct the Earth God's Lyric. The entrance to the Earth Temple will be revealed afterwards. |
First Floor
| 1 | 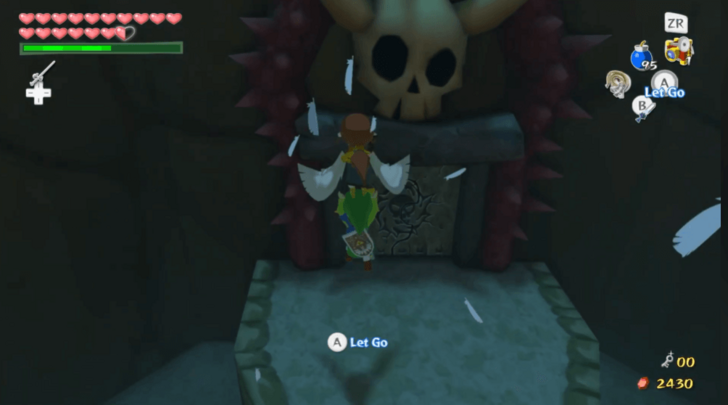 Move towards the end of the platform you are on while carrying Medli. Make her fly you towards the ledge across from you, then enter the door. |
|---|---|
| 2 | 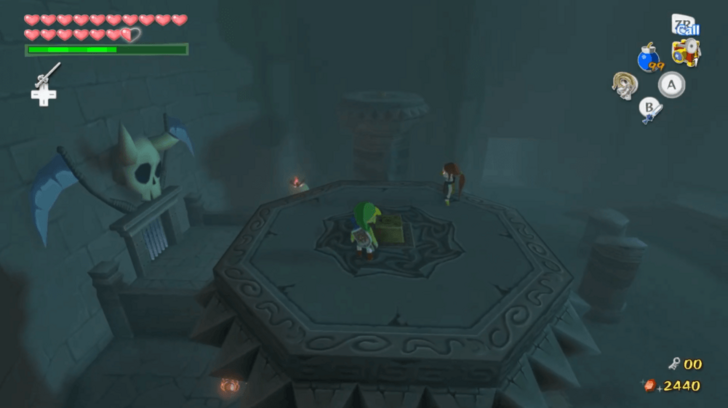 Put Medli down and defeat the Mobgoblins. Afterwards, pick Medli up again and climb to the top of the stairs in the southwest. Run off the ledge and have Medli fly you towards the top of the pillar across it. Put Medli down again before standing on the switch. |
| 3 | 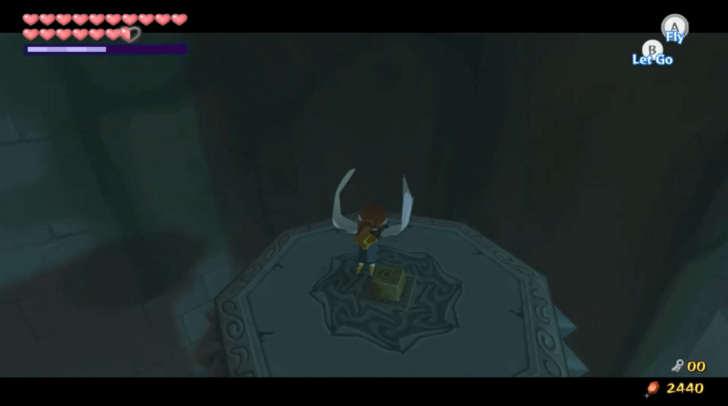 Conduct the Command Melody to take control of Medli. Use the 4/4 tempo then move your right stick ◀, ◆, ▶︎, ◆. Fly her to the southeast pillar and make her stand on the switch. The door on the east of the room will open. Have Medli land on the ground before releasing control with the R shoulder button (Original Version) or ZR (HD Version). Head towards Medli and carry her into the newly opened door. |
| 4 | 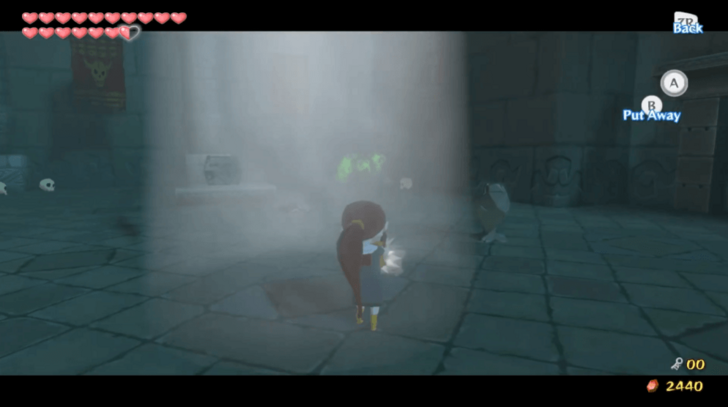 Defeat the ChuChus in the room. You can take control of Medli to help defeat the Dark ChuChus. Have her walk to the beam of light in the middle of the room and reflect the light at the enemies with her harp. They will turn into stone, which you can shatter. |
| 5 | 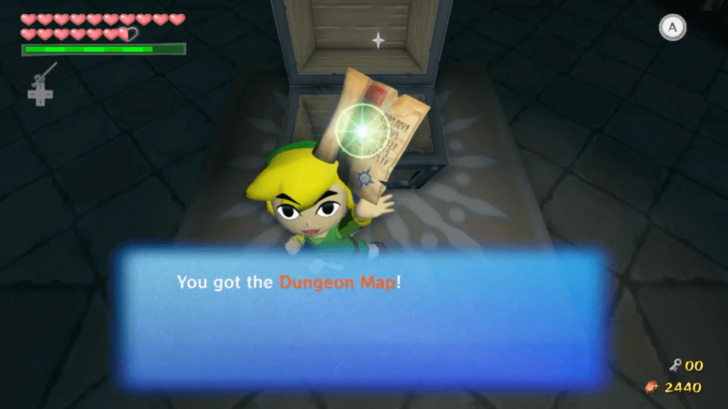 After defeating the ChuChus, two doors to the next room will open. Before leaving, reflect the light onto the north side of the room to reveal a chest. Release control of Medli, and then open the chest to receive a Dungeon Map for the Earth Temple. |
| * |  You may destroy the red tapestries in the room with Fire Arrows. This will reveal items that you can collect with your Boomerang. |
| 6 | 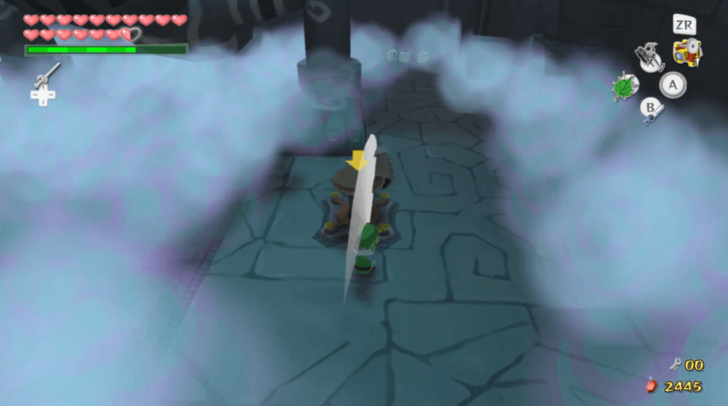 Pick Medli up and go into the east door. Drop Medli and use the Deku Leaf to temporarily blow away some patches of fog. You may also have Medli reflect light onto the fog to part it. Once you see a peg revealed, hammer the peg down to open the door to the next room. If the fog touches you, it will paralyze you and make you unable to use weapons and items. To clear yourself of the fog's effects, you may step under the light in the room. |
| 7 | 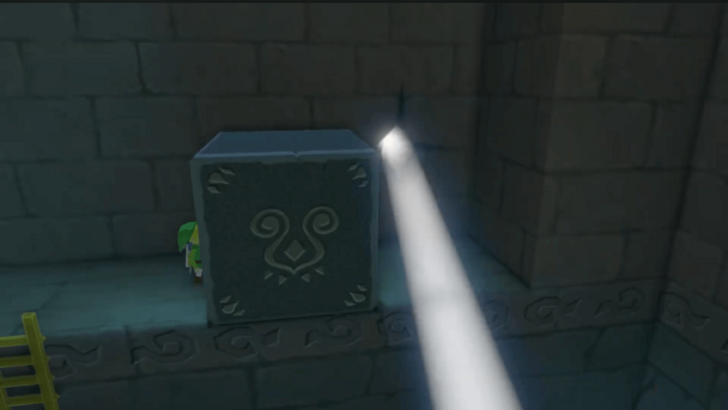 Enter the next room while carrying Medli. Put her down near the entrance before defeating the Red Bubbles in the room. Head to the other end of the room and climb up the ladder. Pull the block at the top to reveal a beam of light. |
| 8 | 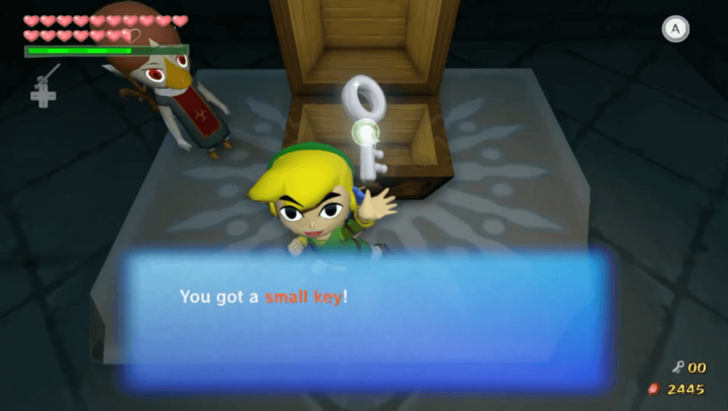 Take control of Medli and reflect the light onto the transparent chest to make it visible. Release your control, and then open the chest to get the Small Key. Defeat or escape the Floor Masters that spawn. |
| * |  If Medli is captured by a Floor Master, she will be taken to a cage in the room with the giant face statue on the first floor. In order to save her, you must use the Command Melody to have her fly out of the cage. |
| 9 | 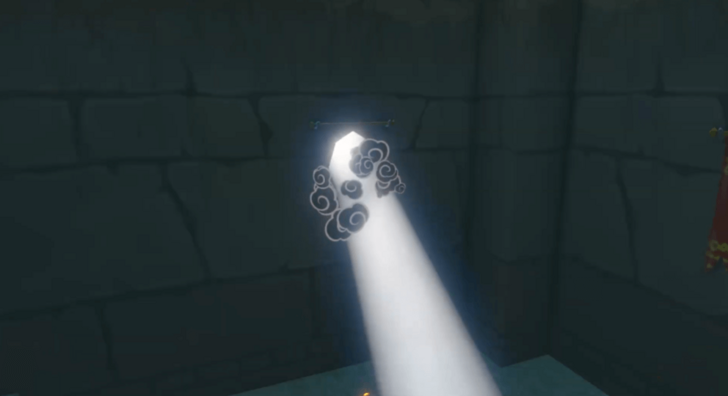 Head back to the room with the giant face statue and use the Small Key to open the locked door. Defeat the ChuChus inside the room, and then shoot Fire Arrows at the tapestries. One of them will reveal a beam of light from behind it. |
| 10 |  Lure the Dark ChuChus into the light and have them turn into stone. Place the stone ChuChus onto the switches to reveal a set of stairs in the other side of the room. |
| 11 | 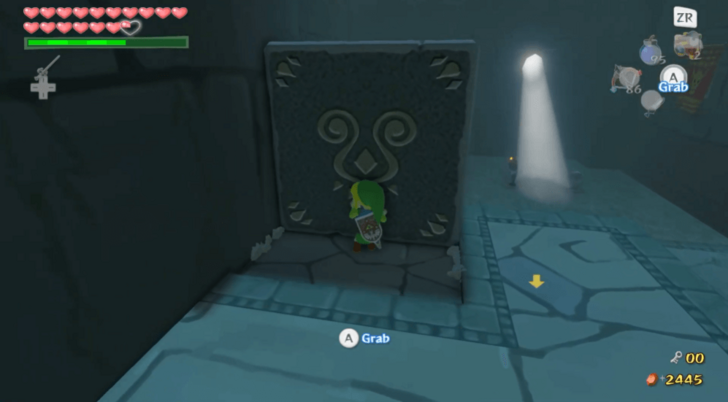 Push the large block at the top of the stairs down. This will open the nearby door. Pick Medli up and go to the next room. |
| 12 | 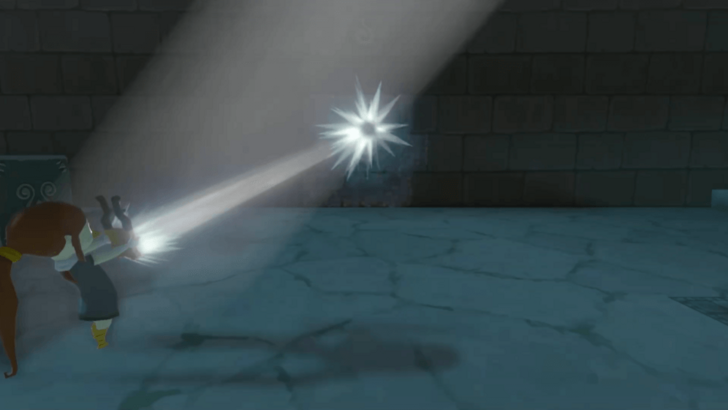 Defeat the Floor Master and push the nearby block onto the wall. After the beam of light is revealed, take control of Medli and place her under it. Reflect light onto the nearby statue and onto the symbols on the walls. The statue and some sections of the wall will break. |
| 13 | 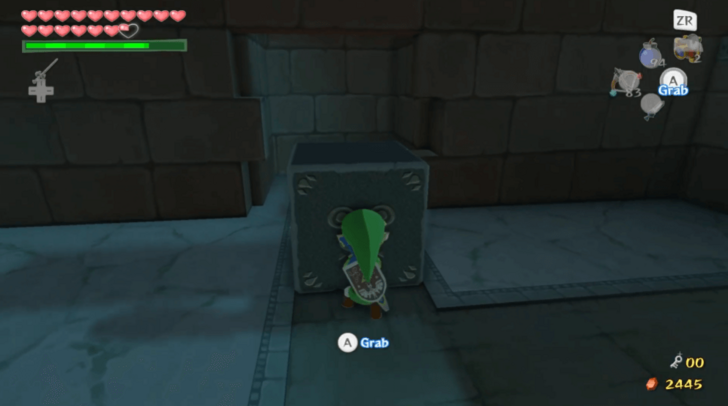 There is a block found behind one of the broken walls. Push it towards the other end of its path to open the next door. Before climbing up, push the third block nearby towards the wall. This will spawn a chest. |
| 14 | 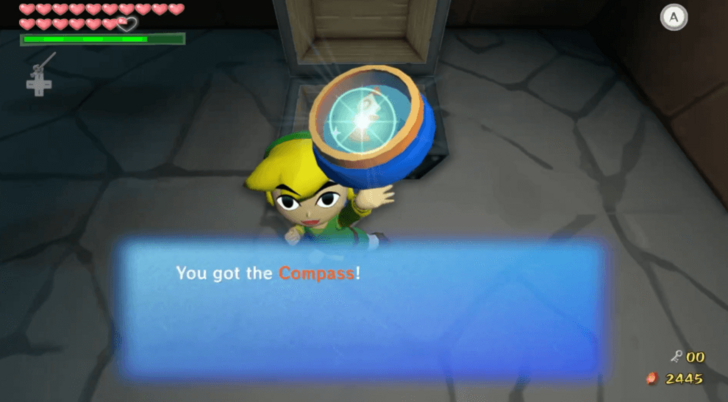 Climb up the room's upper section after having Medli fly there. Open the chest to get the Compass before going through the next door with Medli. |
| 15 | 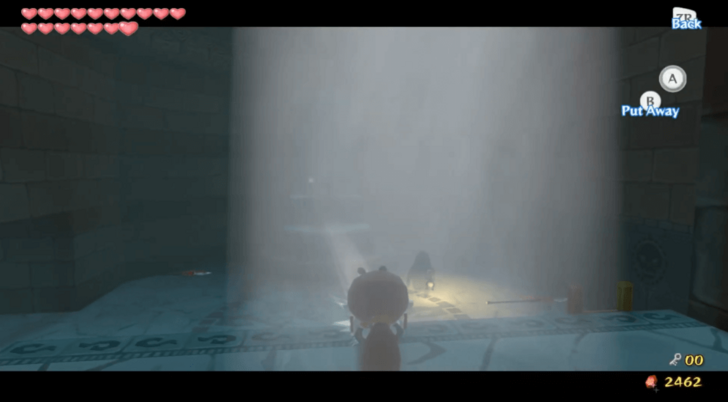 Defeat the Moblins in the room. Take control of Medli afterwards and shine a light on the statues and the Poes. Stairs will appear upon defeating the Poes. You can open the chest revealed behind the broken statues before carrying Medli up the stairs. |
| 16 |  Enter the unlocked door with Medli and leave her on the elevated area of the room. Jump down the lower area and open all the coffins. Grab the Small Key and defeat the ReDead. Afterwards, a ladder will lower, allowing you to climb back up. |
| 17 |  Go back to the previous room and use the Small Key to enter the locked room. Medli does not enter the room with you. You will be locked in until you defeat the three Stalfos in the room. Use bombs on them to break them apart. Afterwards, repeatedly hit their heads until they are defeated. |
| 18 | 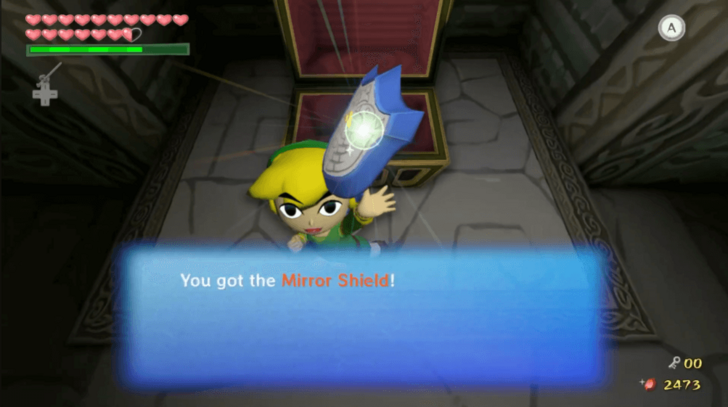 A staircase will appear after defeating the Stalfos. Climb up and open the chest at the top to receive the Mirror Shield. This will allow you to reflect light like Medli. |
| 19 |  A beam of light will shine down from the middle of the room after you open the chest. Reflect light onto the moon emblem above one of the locked doors to open it. |
| 20 |  Defeat the opponents in the room before taking control of Medli. Position her underneath the light and have her reflect it onto the first step of the platform across from her. Reflect the light from Medli onto the emblem on the wall to reveal an entrance to a passage. |
| * |  Before going into the door in the passageway, you may collect some Rupees. There is a statue and a part of the wall which you can destroy with light. Keep in mind that the marked area of the wall can only be broken with the help of Medli. |
| 21 |  Go through the door in the passageway to return to the room with the giant face statue. Have Medli reflect light into one of its eyes while you reflect light onto its other eye. This will reveal a set of stairs that leads to the first basement floor. |
| * |  Before going down the stairs, you can return to the room on the right side of the face statue. Defeat the enemies in the room before placing Medli on the switch. Enter the newly opened door and reflect the light onto the sigils on the wall inside. Behind the wall is a chest with a Joy Pendant. |
Basement 1
| 1 |  Go down the stairs with Medli and defeat the Blue Bubbles waiting for you near the suspension bridge. Blow their blue fumes away with the Deku Leaf, then use your sword. If you fall from the suspension bridge, there will be a paralyzing fog that temporarily prevents you from using weapons and items. There are also enemies you have to pass before climbing a ladder back up. |
|---|---|
| * |  You may opt to glide to the suspended platforms near the bridge. You will eventually be led to a ledge with a Red Bubble. Defeat it, and you can smash the skulls and pots to get some items afterwards. |
| 2 | 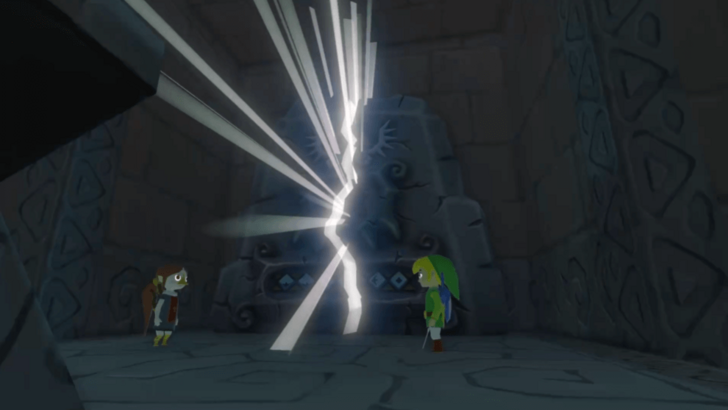 Cross the bridge with Medli and conduct the Earth God's Lyric in front of the stone tablet. Medli will play the melody, which breaks the stone. Go through the newly revealed door while carrying Medli. |
| 3 | 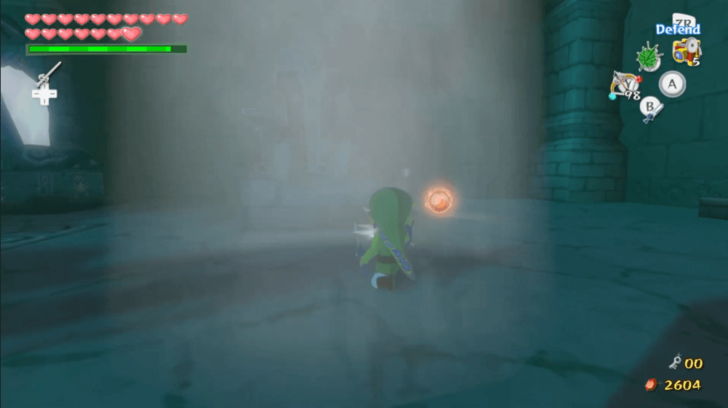 Defeat the ReDead in the room before standing under the light. Reflect the light onto the nearby statue. This will reveal a door behind it, which you can enter alone. |
| 4 |  Run through the paralyzing fog while avoiding the Floor Masters to get to the other end of the room. Open the chest to retrieve a Small Key and to clear up the fog. Afterwards, you can defeat the Floor Masters to spawn a chest containing Treasure Chart #12. |
| 5 | 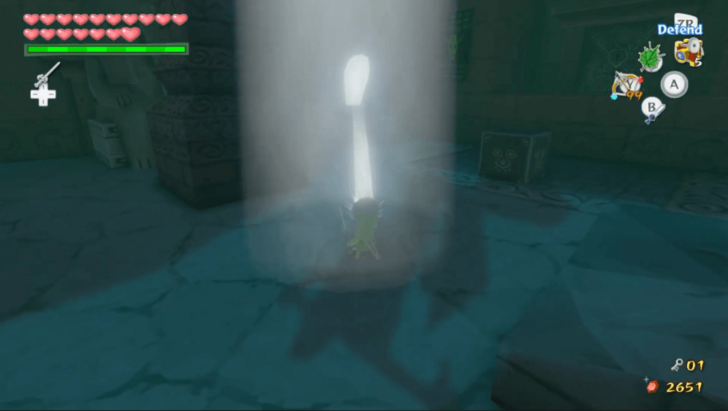 Return to the previous room and reflect light onto the mirror. The light will bounce, breaking the statue behind the pillar. Walk into the newly revealed door with Medli. |
| 6 | 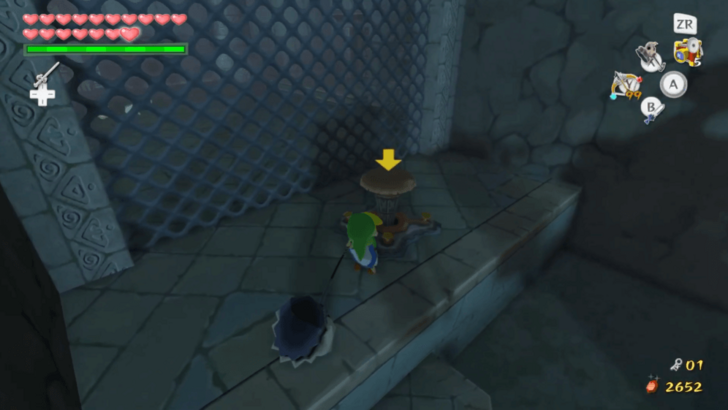 Defeat or avoid the Floor Masters within the fog to get to the other end of the room. Push the statue onto the end of its path before hammering down the peg behind it. A beam of light will be revealed from above, and the statue will reflect it onto the fence behind the peg. |
| 7 |  Return to the previous room and throw Medli up the raised platform. Reflect light onto the statue on the top of the block to break it. You can then push the block onto the platform and climb up. Unlock the door with the Small Key and enter the next room. |
| 8 |  After defeating the opponents in the room, take control of Medli. Have her stand in the light, then reflect it onto the wall next to the fence. Afterwards, you can reflect her light onto the large statue, revealing a door behind it. |
| 9 | 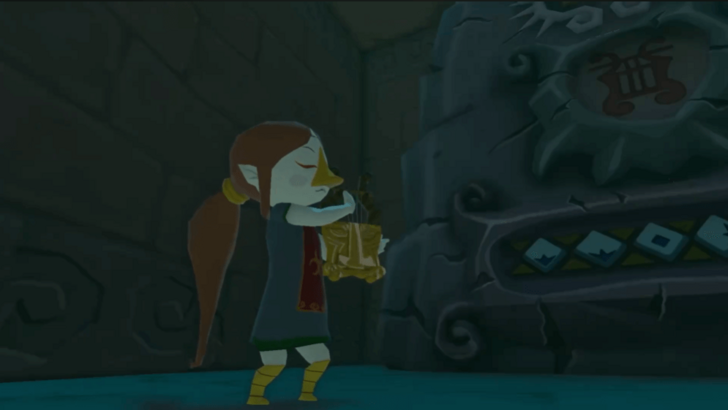 Enter the room and defeat the opponents that can come out of the coffins. You may pick up a Red Rupee in a chest along the way. Bring Medli to the stone tablet and conduct the Earth God's Lyric. She will play the melody, which will break the stone and reveal the door behind it. |
| 10 | 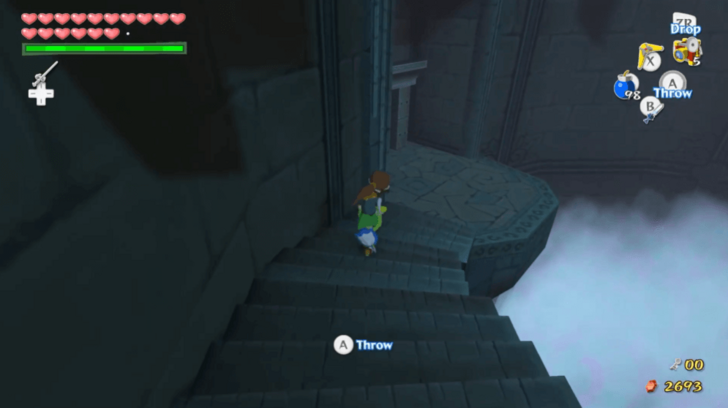 Run down the staircase until you reach the end of the tunnel. You may destroy the nearby rock with a bomb and activate the Warp Pot below it. Run and fly down the stairs and platforms with Medli until you reach the door. |
Basement 2
| 1 | 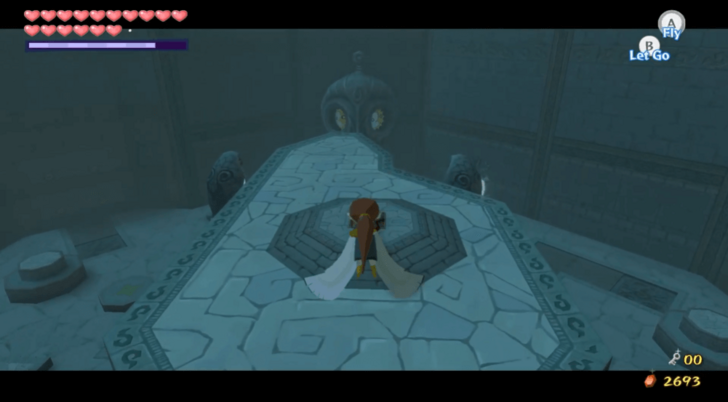 Take control of Medli and have her fly to the platform in the center of the room. Have her step of the switch to activate the light from above. Have her land on the ground below before releasing control. You can have her reflect light onto a transparent chest. Open it to receive the Purple Rupee. |
|---|---|
| 2 | 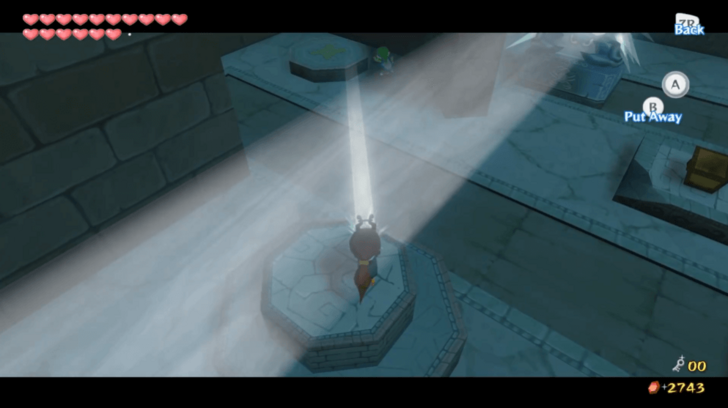 Push the mirror statues along the path until they are on the tiles with the scorpions. Then, have Medli stand on the two-stepped platform near the transparent chest and make her reflect light onto the nearby alcove. |
| 3 | 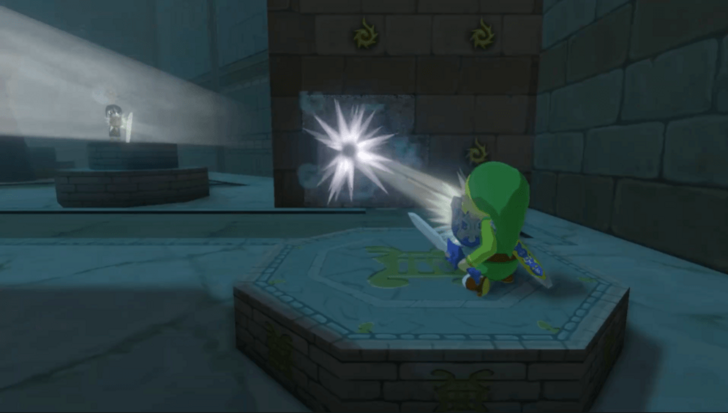 Reflect Medli's light onto the sygils on the wall. There are pots and a mirror statue behind the broken wall. Break the pots to get Rupees, then push the mirror statue to the end of its path. |
| 4 | 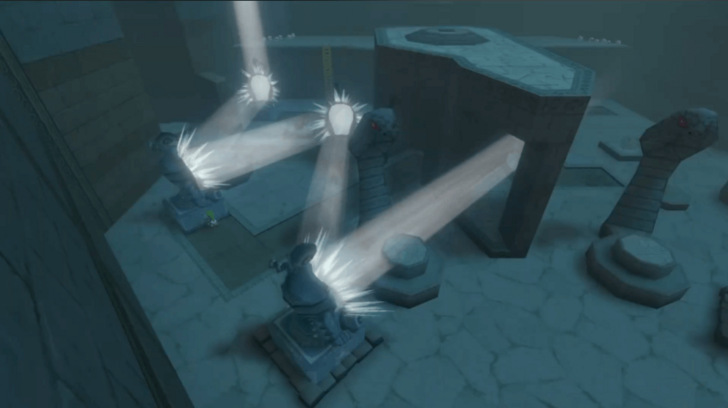 Stand on the platform near the transparent chest and direct light onto the nearby elephant statue. The statue will break, revealing a mirror statue behind it. Push it until it is on the scorpion tile. The lights will bounce to the other side of the room, following a W shape. |
| 5 |  Follow the path of light until you find another mirror statue. Push it onto the other side of its path and then have Medli on the two-stepped platform nearby. Make her reflect light onto the transparent chest and elephant statue. |
| 6 | 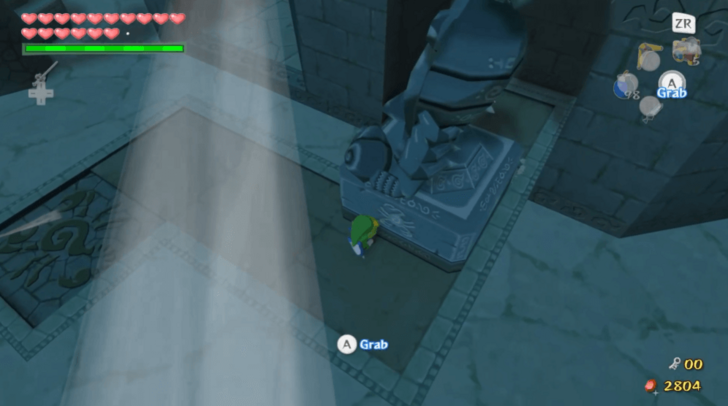 Behind the broken elephant statue is a mirror statue. Push it along its path until it reaches the scorpion tile. |
| 7 | 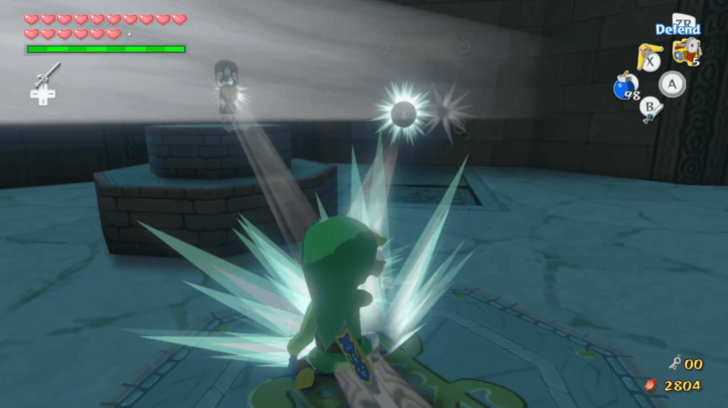 Have Medli reflect light onto the marked pedestal near the mirror statue you just moved. Stand on that pedestal and reflect Medli's light onto the sigils on the nearby walls. After the wall breaks, push the newly revealed mirror statue to the other end of its path. |
| 8 |  Take control of Medli and make her stand on one of the platforms near the face statue at the corner of the room. Have her reflect light onto one of its eyes. Stand on the platform next to Medli's and reflect light onto the statue's other eye. A door to another room will be revealed. |
| 9 | 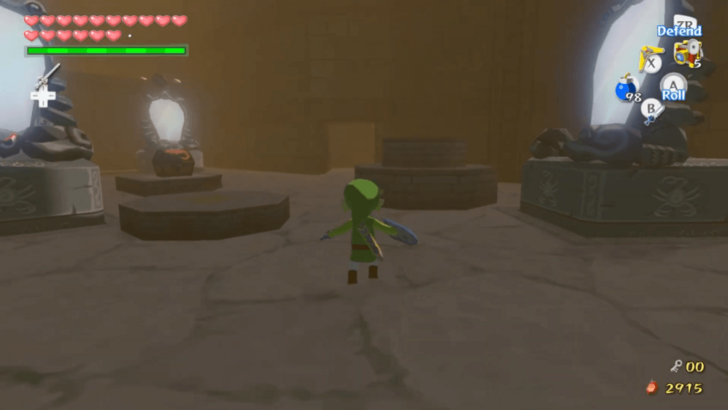 Go back to the chest and collect the Joy Pendant. Nearby, there is a part of the wall that shattered upon shining a light onto the face statue's eyes. Go inside and find the door at the end of the tunnel. |
| 10 | 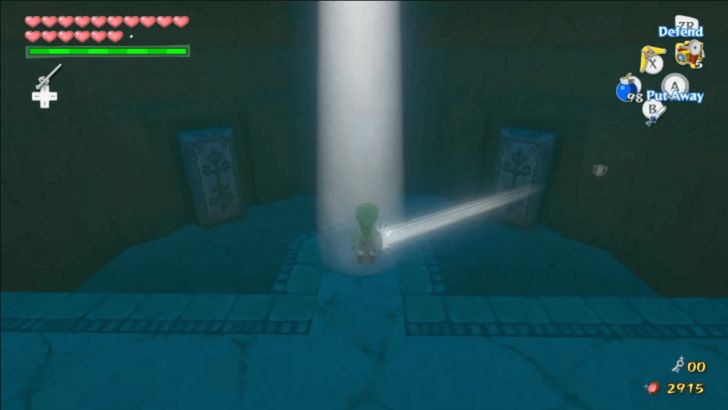 Enter the room and reflect light onto one of the coffins below. Come down to defeat the Stalfos that comes out, then pull out the block in the wall to climb back to the light. Repeat this process for the remaining two coffins. A chest containing Treasure Chart #20 will spawn afterwards. |
| 11 | 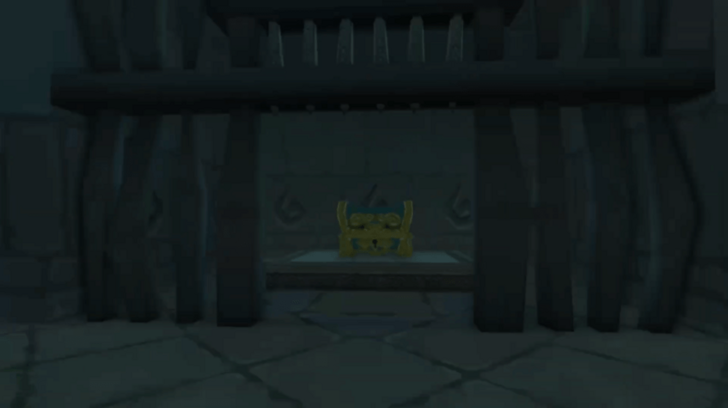 Go through the door below the face statue. Defeat the enemies inside the room to open a gate. Open the chest behind the gate to obtain the Big Key. |
| 12 |  Return to the room with the spiraling staircase. Climb up the vines and stairs to the upper part of the room. After arriving at top, jump off the upper platform where the Warp Jar is and glide to the platform with the large door. You may destroy the pots to get some items before enterring and fighting Jalhalla. ▶︎ Jalhalla Boss Guide |
| 13 |  After defeating Jalhalla, you may claim the Heart Container it leaves behind. Stand on the glowing Triforce in the middle of the room. This will partially awaken the Master Sword and make you exit the dungeon afterwards. ▶︎ Wind Temple Walkthrough |
Wind Temple
Reveal the Wind Temple Entrance
| * | Before starting the Wind Temple quest, you may want to pick up the treasure from Treasure Chart #20. This contains a Piece of Heart. |
|---|---|
| 1 |  Warp to Windfall Island and sail north to Gale Isle. |
| 2 |  Once you land on the isle, equip the Iron Boots and walk towards the statue. Use the Skull Hammer to break the statue and reveal the entrance. |
| 3 | 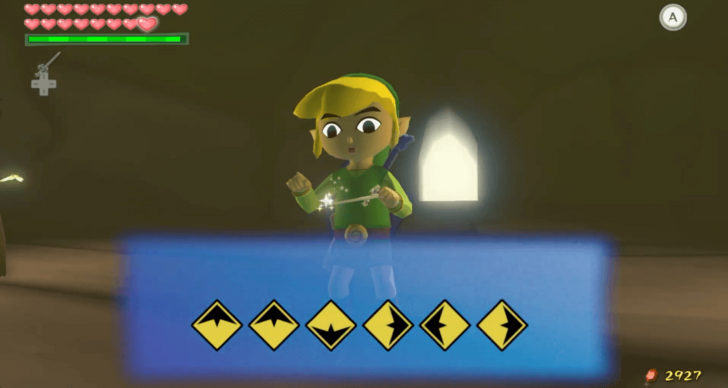 Head inside and walk up to the tablet. Use the Wind Waker to learn the Wind God's Aria. ▶ All Wind Waker Songs |
| 4 | 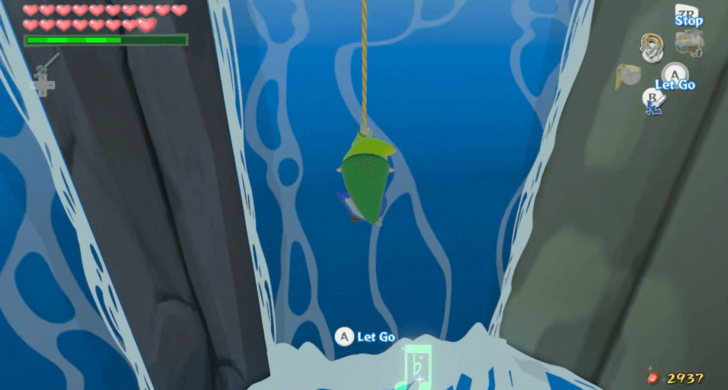 Warp to Forest Haven and climb up the steps to the top of the island. You will hear music once you reach the top of the steps. Use your Grappling Hook on the branch above to swing into the waterfall on the right. |
| 5 | 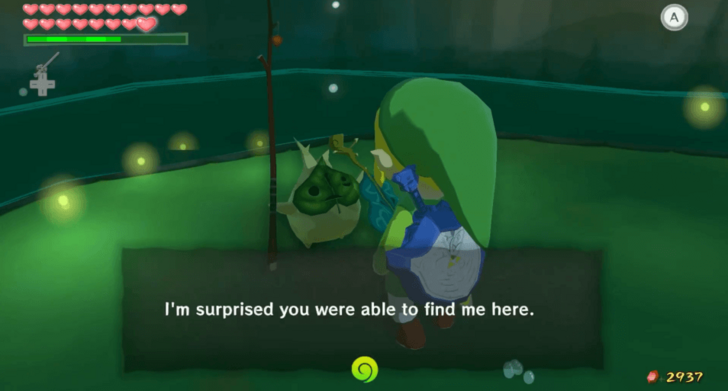 Once you are behind the waterfall, talk to Makar. Afterwards, play the Wind God's Aria, and Makar will join you in your journey to the Wind Temple. |
| 6 | 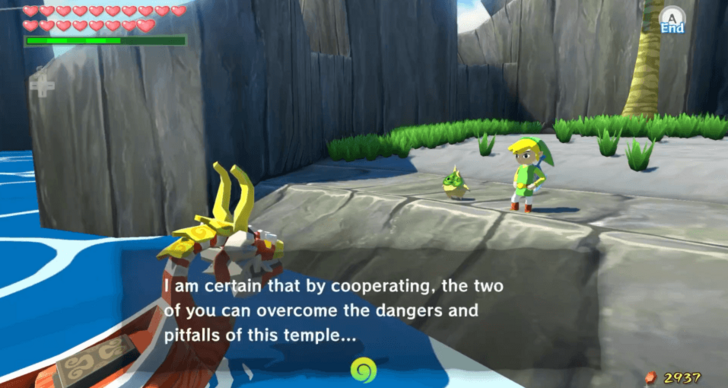 Return to Gale Isle. After landing, Red will mention that Makar can assist you like Medli did in the Earth Temple. |
| 7 | 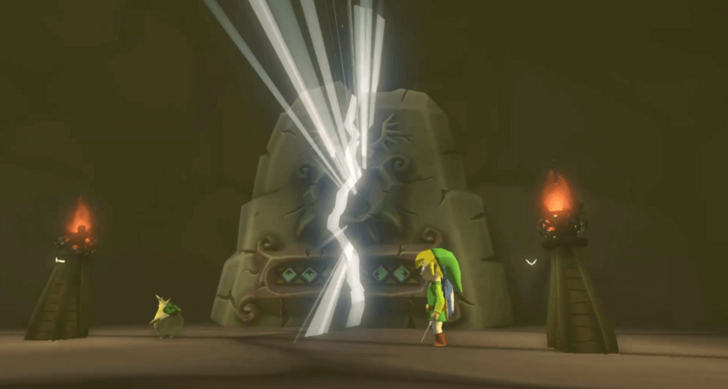 Enter the cave once more to conduct the Wind God's Aria. The entrance to the Wind Temple will be revealed afterwards. |
First Floor
| 1 | 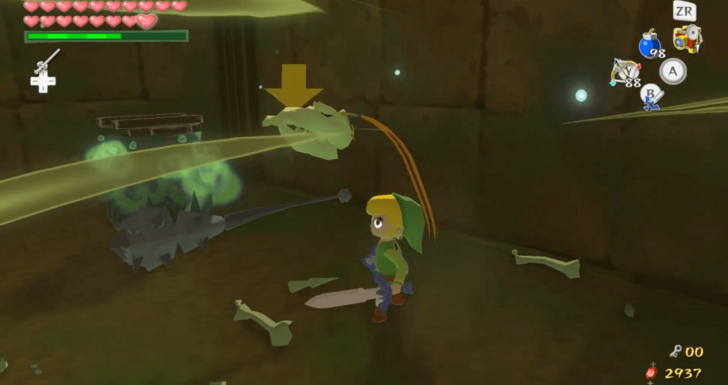 Bring Makar as you walk through the temple's entrance. Drop him off before jumping off the ledge. Defeat the enemies that are on the lower part of the room and activate the Warp Pot. |
|---|---|
| 2 | 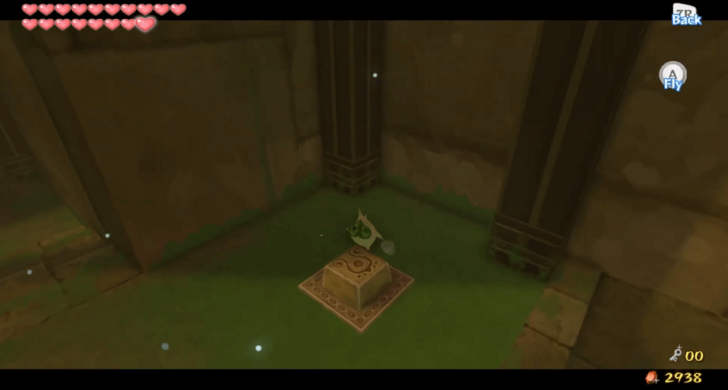 Conduct the Command Melody to take control of Makar. Use the 4/4 tempo then move your right stick ◀, ◆, ▶︎, ◆. Fly him to the upper ledge on the other side of the room and have him step on the switch. This will remove the wind vortices that were blocking the path ahead. |
| * | 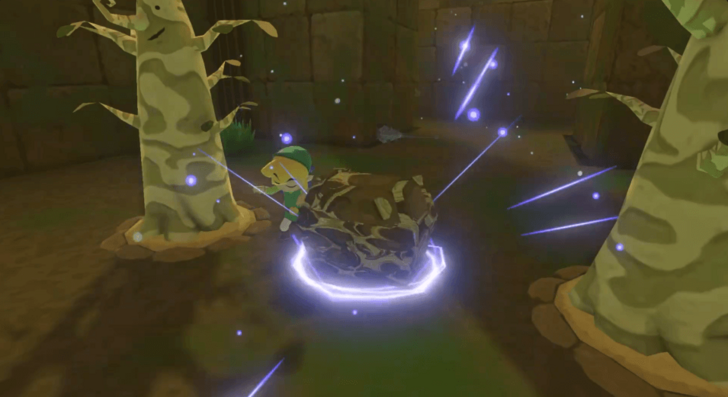 Before making Makar step on the switch, you may have him drop to the lower part of the room. He can plant seeds on the two plots of dirt. This will spawn a chest containing an Orange Rupee. |
| 3 | 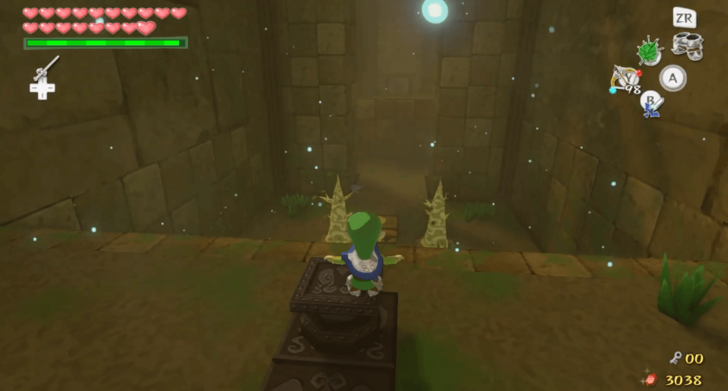 Once you release control of Makar, equip the Iron Boots. Step on the spring on the lower level, then unequip them to launch yourself to the upper ledge near the entrance. Repeat this process with the spring on that ledge while having the Deku Leaf equipped. This will launch you into the air, allowing you to glide to the ledge on the other end of the room. |
| 4 | 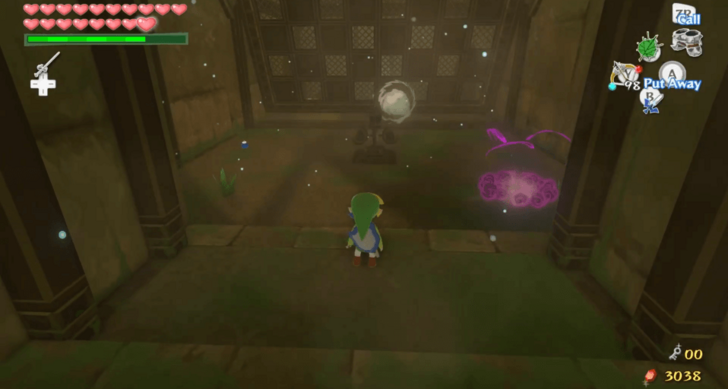 Pick Makar up before going through the door. Set him down before defeating the Amos. Afterwards, use your Deku Leaf to blow wind at the pinwheel. This will flip the fence that was blocking the way, allowing you to proceed. |
| 5 | 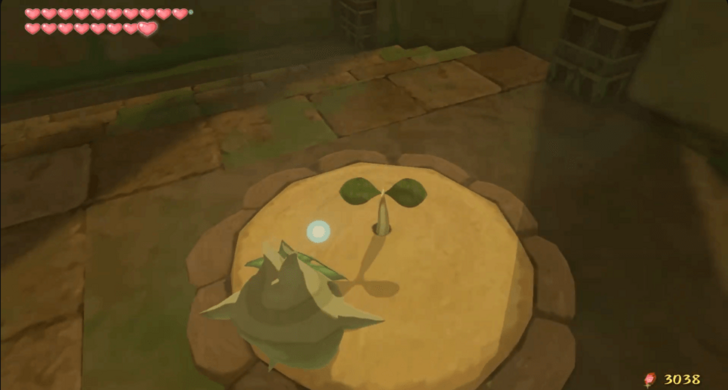 Walk ahead with Makar in tow. Take control of him and have him plant seeds on the two plots of dirt at the end of the room. This will unlock the door. |
| 6 | 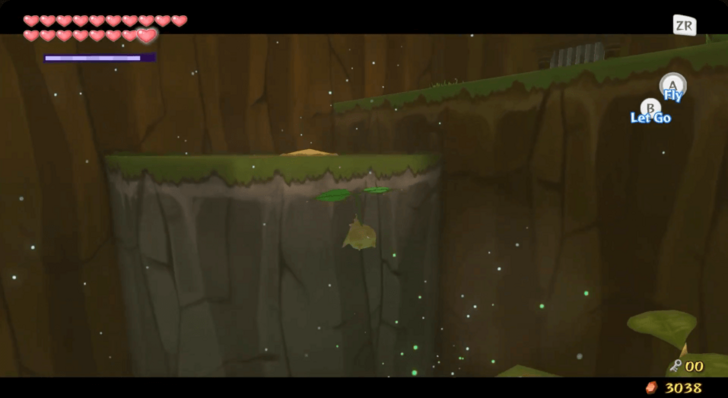 Walk through the door with Makar. Set him down and use the Command Melody to take control of him. Have him fly to the platforms to plant seeds on each plot of dirt. Once he has planted on all three, he will be captured by Floor Masters. |
| * | 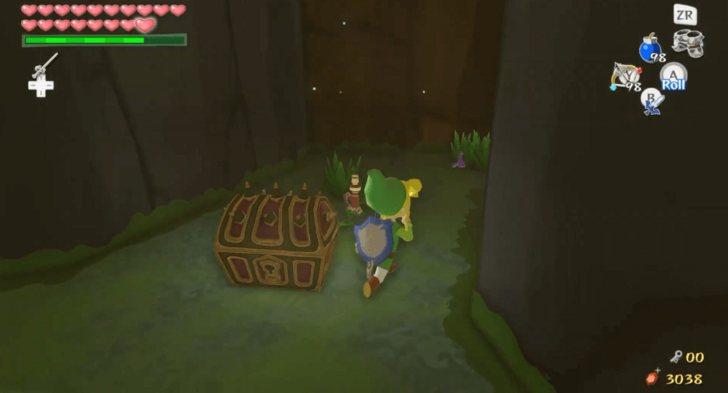 Jump off your platform to the lower part of the room. Use the Tingle Tuner (original version) or a bomb (HD version) on the area in between two of the smaller platforms. This will reveal a chest containing the Wind Tingle Statue. You may climb back to the ledge near the entrance using the thick vines on its edge. |
| 7 | 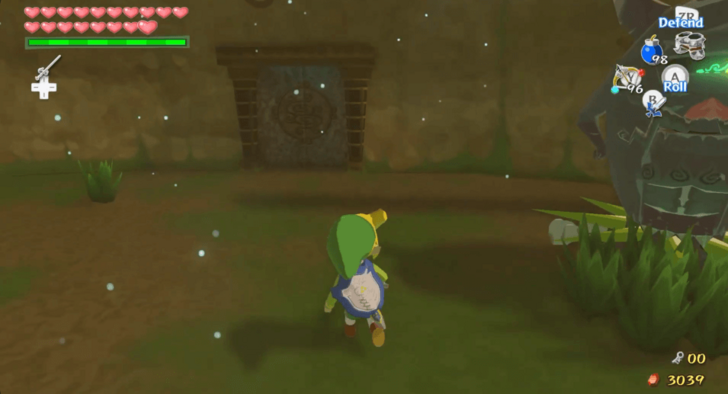 Enter the door on the right side of the platform you are on. You will then enter the room Makar is imprisoned in. Leave him there in the meantime and head to the door on the other end of the room. |
| 8 | 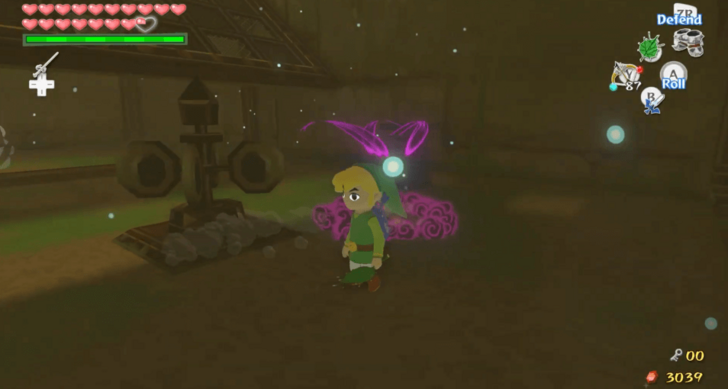 Enter the door and defeat the Peahats. Then, jump down to the lower part of the room to defeat the Floor Master. Afterwards, use the Deku Leaf to blow a gust of wind at the pinwheel to flip the fence. |
| 9 | 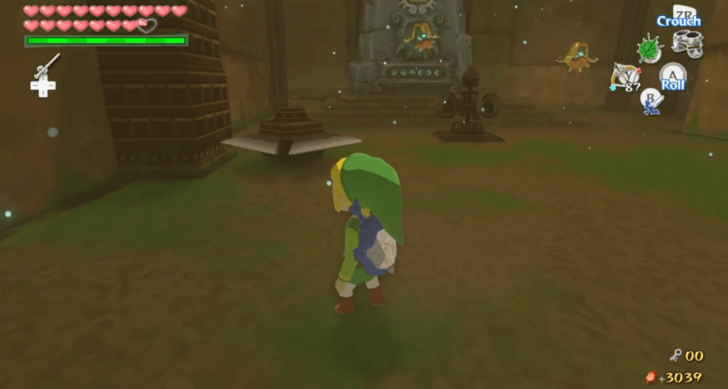 Use the spring near the pinwheel to jump to the upper level. You can grab the Joy Pendant from the nearby chest before entering the door to the right of the stone tablet. |
| 10 | 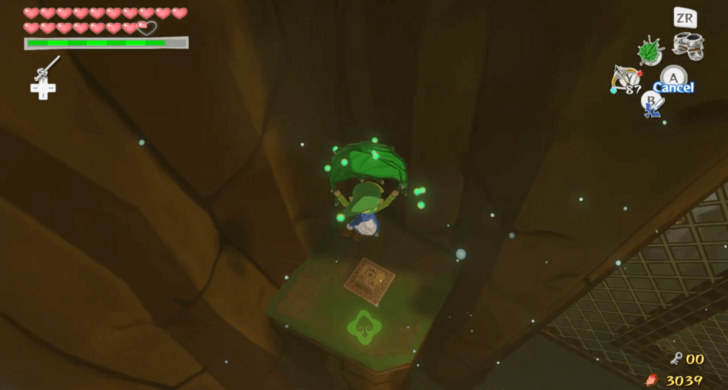 Glide to the small platform on the other side of the room and press on the switch. This will flip open a part of the fence, giving you another platform to stand on. Jump onto that platform and defeat the nearby Wizzrobe. |
| 11 | 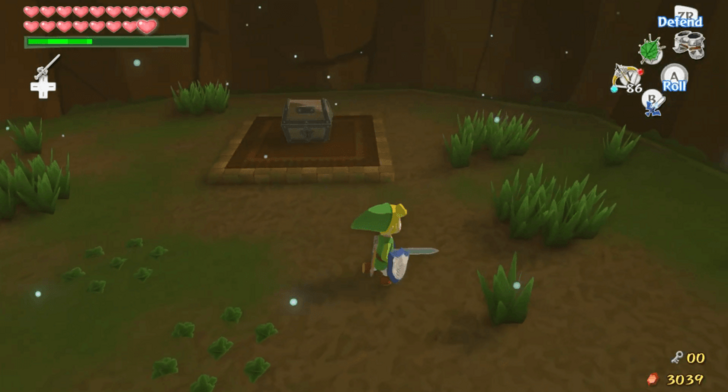 Glide through the hole on the fence ahead and land on the platform beyond it. Cut the grass to refill your Magic Bar. Afterwards, open the chest to obtain the Dungeon Map. |
| 12 | 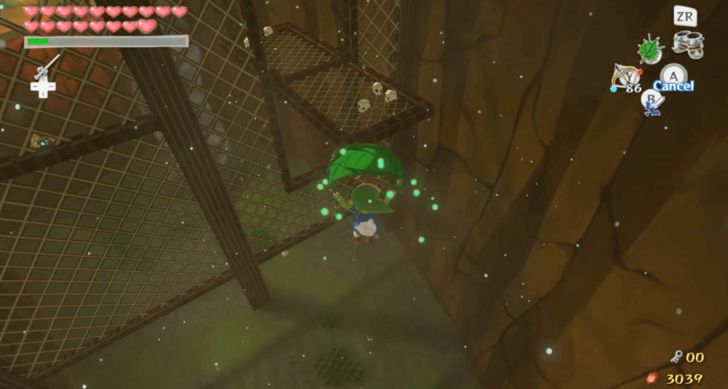 Glide back through the opening you came from. Use the nearby wind vortex to lift yourself up before turning left. Glide through the fence on that side, and use the wind vortex ahead to lift you to the platform with skulls. |
| 13 | 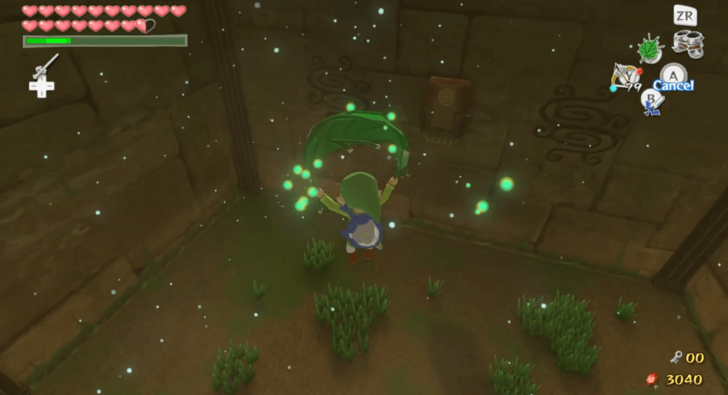 Break the skulls to refill your Magic Bar and defeat the enemies around the area with your bow. Glide to the grassy platform ahead and cut the grass to further refill your Magic Bar. Afterwards, enter the nearby door. |
| 14 | 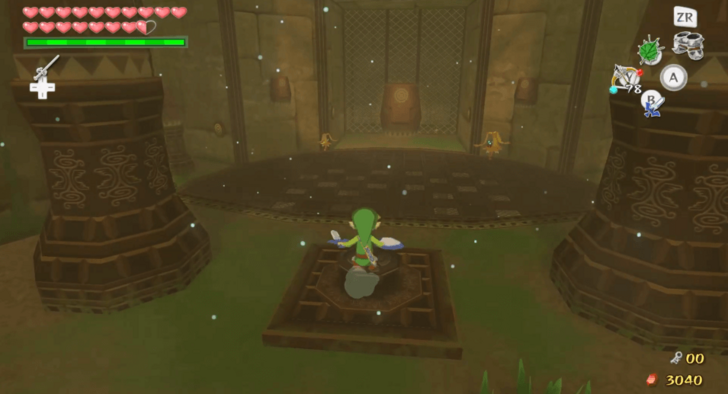 You have now returned to the room where Makar is being held. Activate the Warp Pot nearby before stepping on the switch in front of the door with the Iron Boots equipped. This will reveal an opening to the basement floor. |
| 15 | 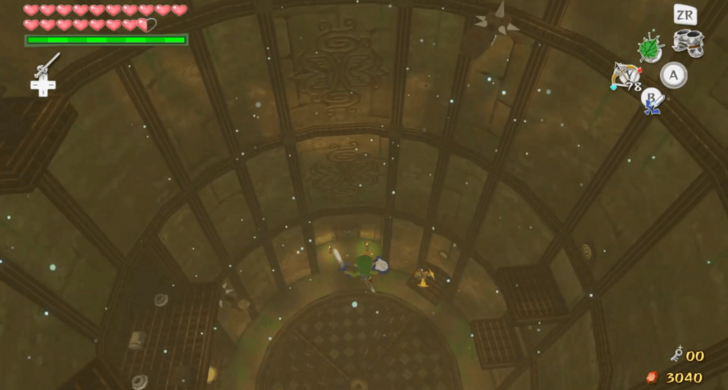 Jump down the opening. Make sure to use your Deku Leaf before you hit the ground to prevent taking damage. Afterwards, head to the door on the south. |
Basement 1
| 1 | 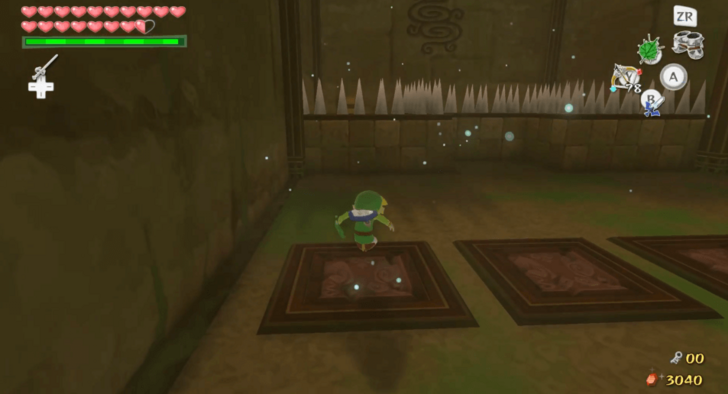 Once you enter the room to the south, you will see five stone panels. Equip the Iron Boots to break through one of the panels. You will drop through the floor, revealing enemies that you have to defeat. You will not have to face any enemies if you choose the second panel to the left. |
|---|---|
| 2 | 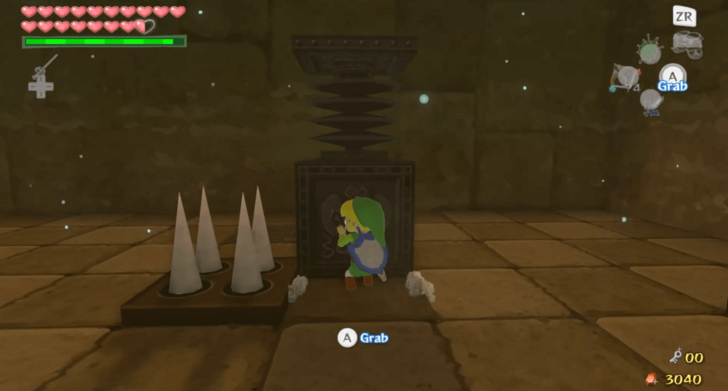 If there are enemies below the panel you chose, defeat them first. Then, push the block with the springboard on the marked tile on the other side of the room. Push another block near it to use as a stepping stone, then use the spring to jump back to the room's upper area. |
| 3 | 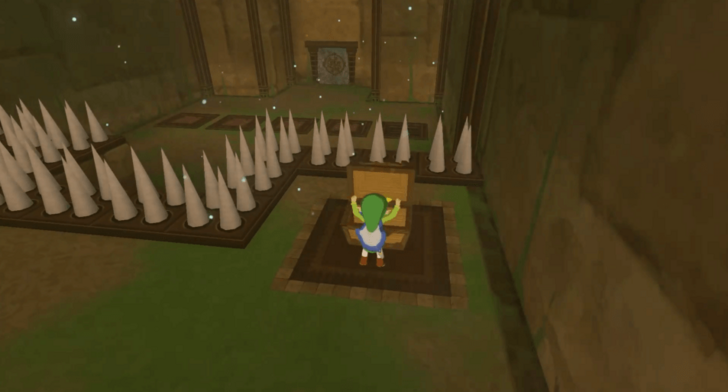 You will land on the other side of the room's spikes. Open the nearby chest to get a Small Key and remove the spikes. |
| * | 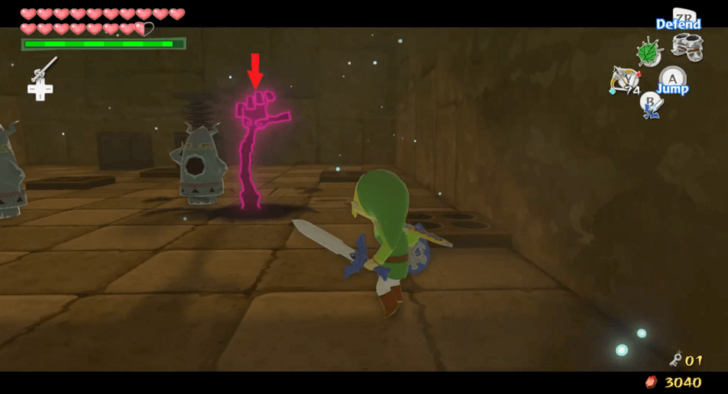 You may smash through all of the stone panels and defeat all the enemies underneath. Once you have done that, a chest will spawn. Open it to obtain Treasure Chart #35. |
| 4 | 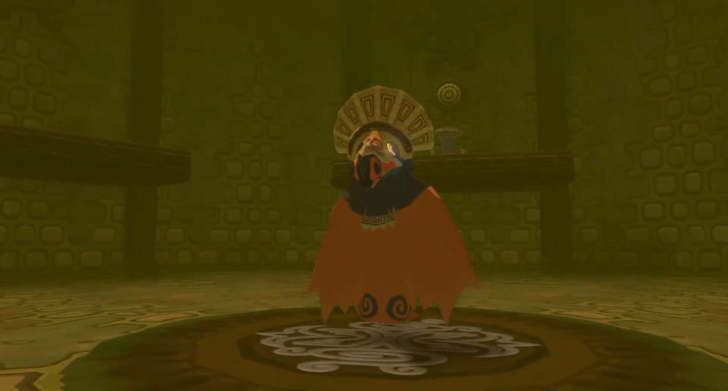 Leave the south room and head to the door at the north of the basement floor. Unlock it with the Small Key. Once inside, you will have to defeat the Wizzrobe Mini Boss. ▶︎ Wizzrobe Boss Guide |
| 5 | 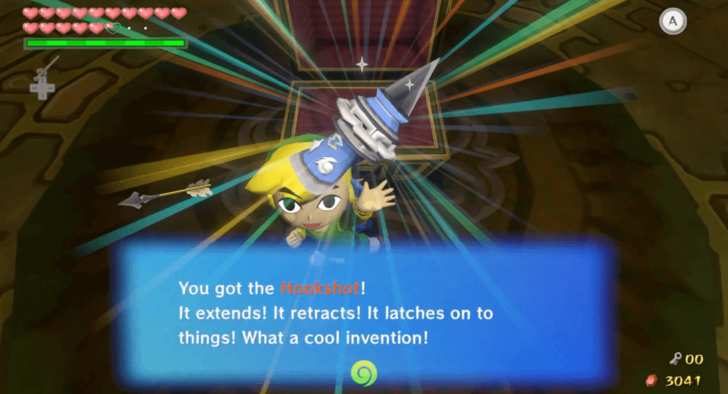 Defeat the Wizzrobe Mini Boss and its summons. Once the room is clear of any enemies, a chest will spawn. Open it to obtain the Hookshot. |
| 6 | 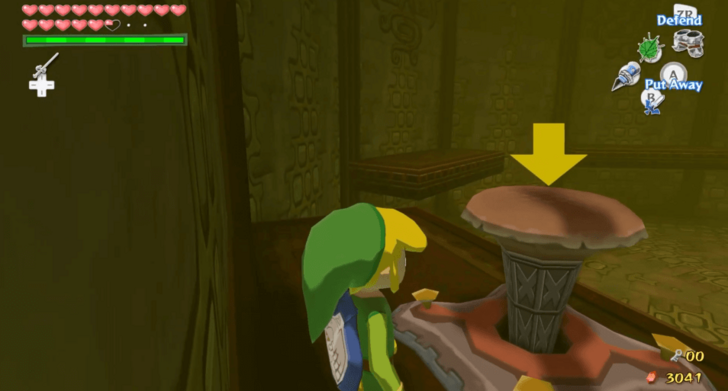 Use the Hookshot on the target above the ledge with a peg on it. Once you are on the ledge, use the Skull Hammer on the peg to unlock the door. |
| 7 | 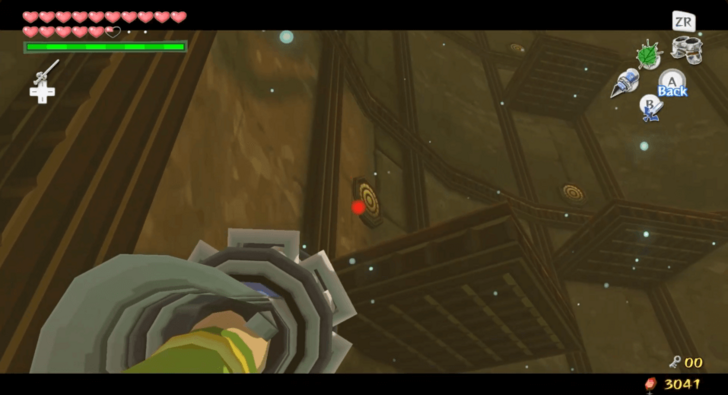 Once you have exited the room, use the Hookshot to climb up to the first floor. Aim for the targets lining the walls so that you can land on the platforms leading up. |
| 8 | 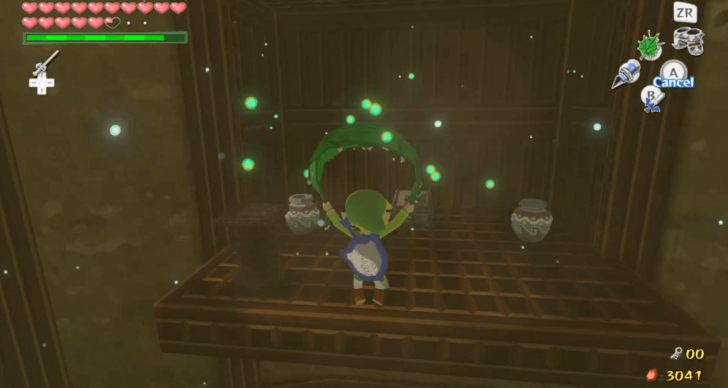 Beyond one of the platforms is an alcove with a chest. Glide to that area and open the chest to receive the Compass for the Wind Temple. |
| 9 | 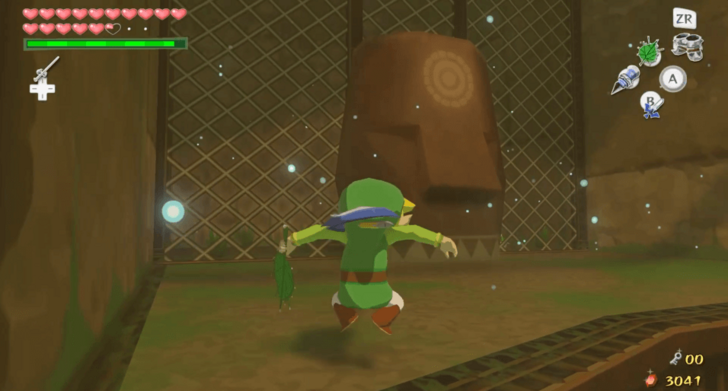 Use the nearby spring to launch yourself to the nearby ledge. Continue climbing up with the Hookshot until you see a fence with a stone face. Use the Hookshot on it while having the Iron Boots equipped to pull it down. |
| 10 | 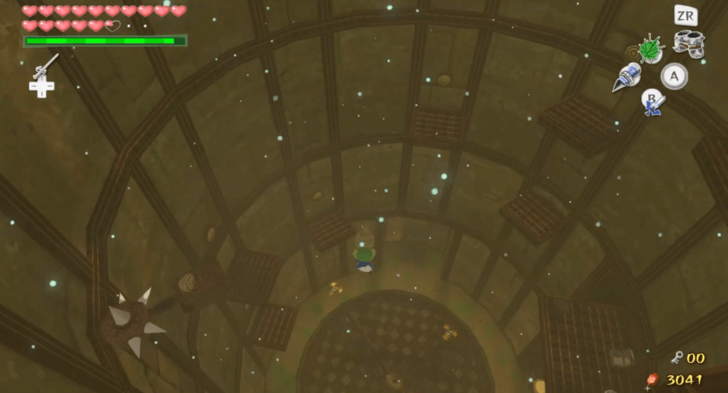 You may open the nearby chest to obtain a Joy Pendant. Afterwards, pick Makar up and drop back down to the basement floor. |
| 11 | 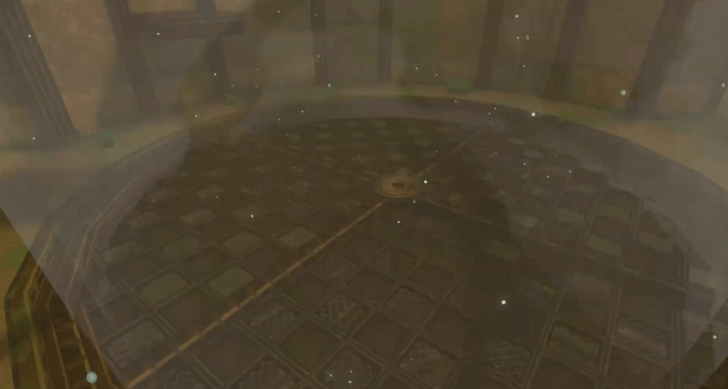 Use the Command Melody to take control of Makar. Have him plant seeds on the two plots of soil nearby in order to activate a wind vortex from below. |
| 12 | 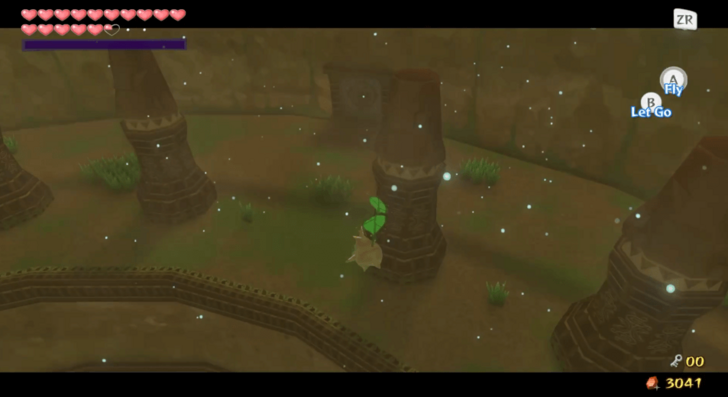 Use the wind vortex to Makar fly until he reaches the ledge on the second floor. It is one of the highest ledges that contains several pillars. Then, release control and use the Deku Leaf while on the wind vortex. This will allow you to follow Makar to the second floor. |
| * | 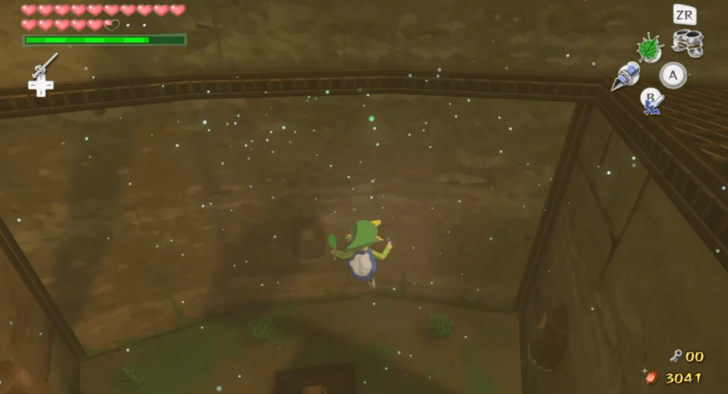 You may find a ledge with three stone faces nearby. You may open the chest that is on that ledge it to obtain a Joy Pendant. |
Second Floor
| 1 | 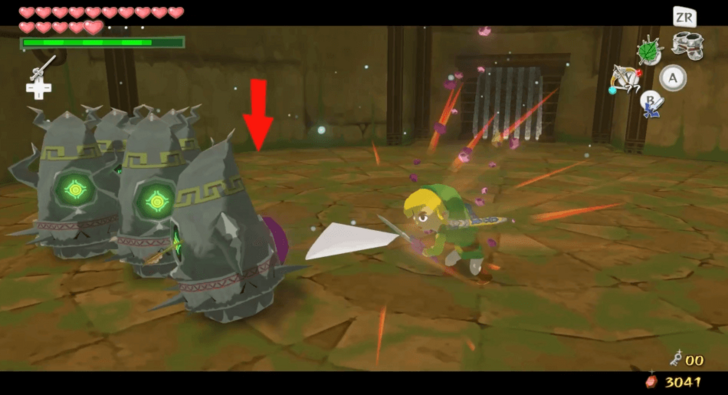 Enter the nearby door. Defeat the Armos inside the room. Once the room is clear, a fence will open up, revealing a chest. |
|---|---|
| 2 | 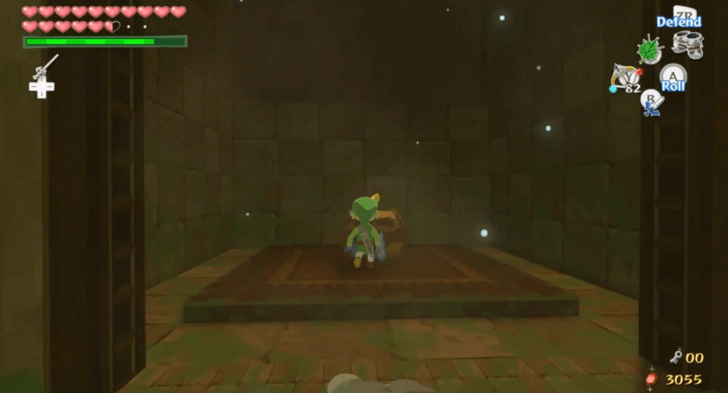 Open the chest to obtain a Small Key. Leave the room afterwards. |
| 3 | 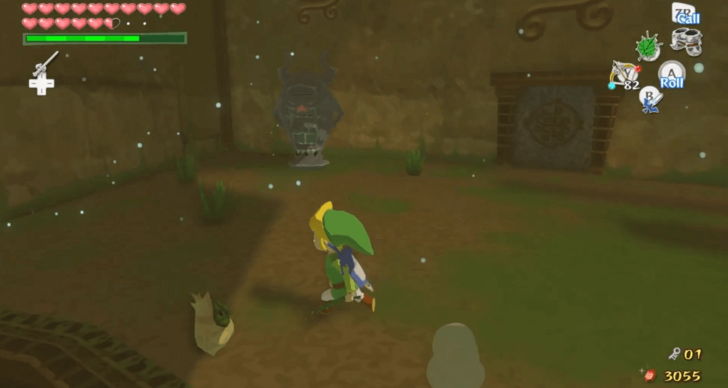 Take control of Makar and have him fly down to the east side. You will need to land on a ledge on the first floor that has Armos Knights. Follow him and defeat the Armos Knights. |
Return to the First and Basement Floors
| 1 | 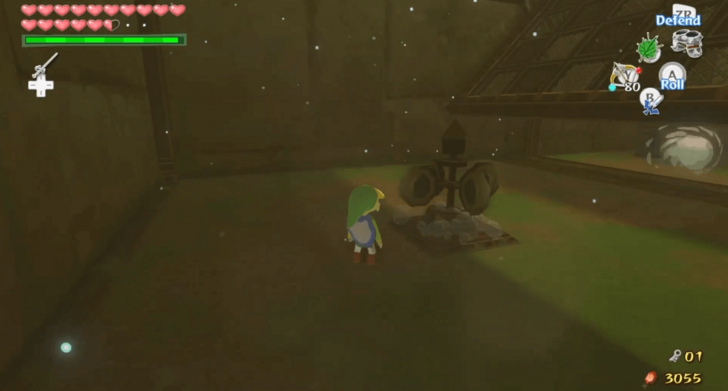 Enter the door and clear the room of enemies. Blow a gust of wind on the pinwheel on the lower part of the room to flip the fence up. |
|---|---|
| 2 |  Use the spring to jump back to the upper part of the room. Pick Makar up and bring him to the stone tablet on the other end of the room. Conduct the Wind God's Aria to make Makar play the melody. This will break the stone tablet, revealing a door behind it. |
| 3 | 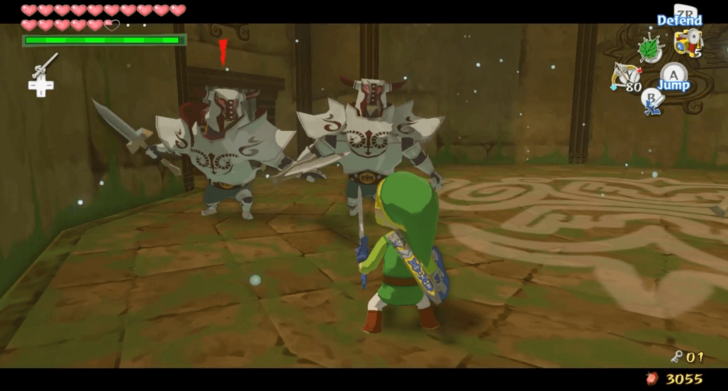 Enter the newly revealed door. Once inside, you will have to defeat the three Darknuts. You will have access to a chest that contains a Big Key afterwards. |
| 4 | 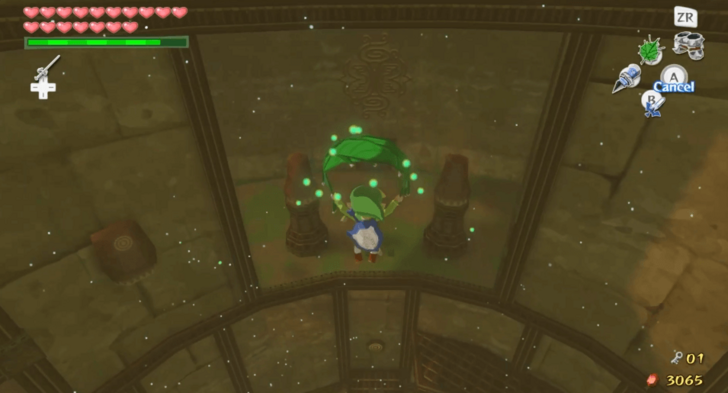 Grab Makar and go back to the ledge where you came from. You will have to blow a gust of wind towards the pinwheel again to walk on the fence. Once you have left the rooms, fly Makar to the ledge on the opposite end. Glide to where he is afterwards and enter the door. |
| 5 | 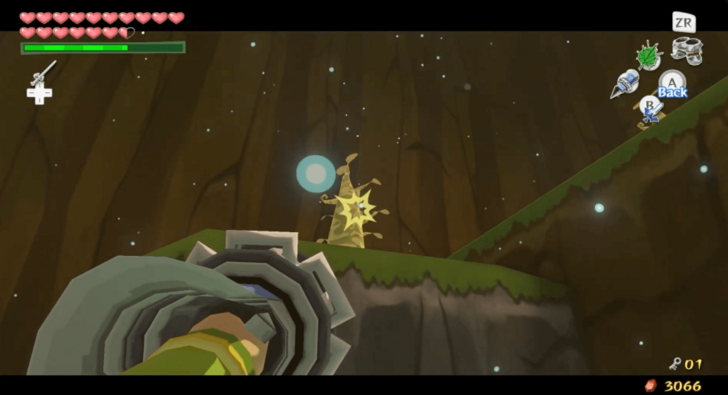 Defeat the enemies in the room. Afterwards, have Makar fly up to the topmost ledge. Use the Hookshot to climb up to where he is. Enter the nearby door. |
| 6 | 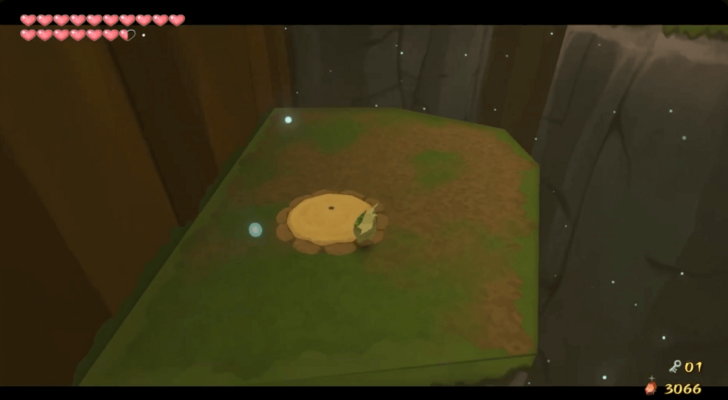 Put Makar down and defeat the Blue Bubbles in the room. You may pull them towards you with the Hookshot. Once the room is clear, have Makar fly up to the platforms to plant seeds on each plot of soil. |
| 7 | 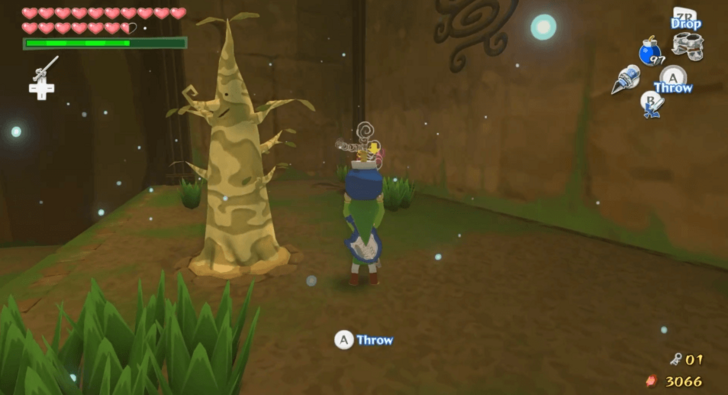 Use the Hookshot on the trees that Makar planted to climb up the topmost ledge. Defeat the Floor Master on the ledge before entering the nearby door with Makar. |
| 8 |  Place Makar on one switch and step on the other one. This will open up the fence ahead and an area below the basement floor. |
| 9 | 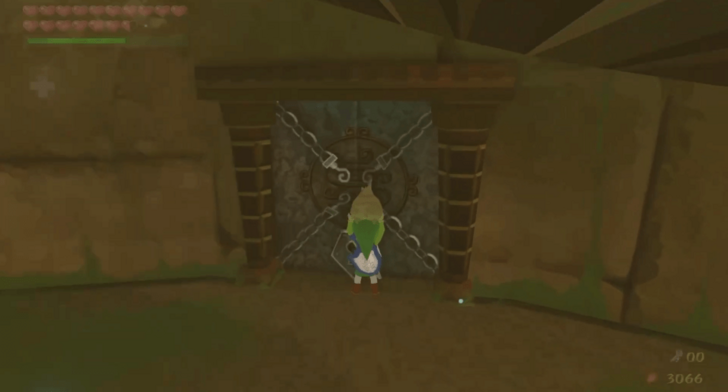 Drop down to the newly opened area underneath the Basement Floor with Makar. Unlock the nearby door and enter it. |
| 10 |  Defeat the enemies in the room, and make sure to focus on the Wizzrobe first. Afterwards, climb up the room by using the Hookshot on the targets on the walls. |
| 11 | 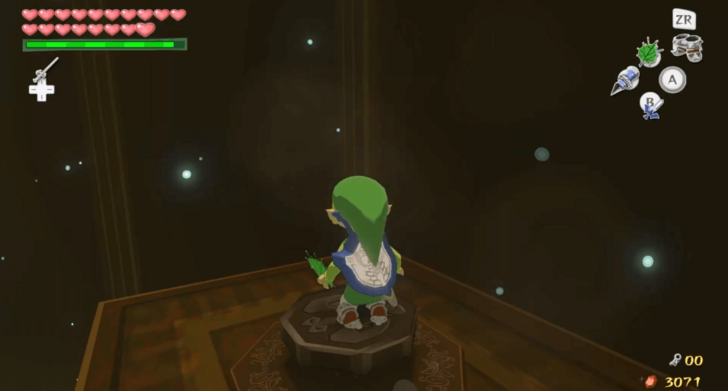 Land on the platform with a switch on it. Equip the Iron Boots then step on it to unlock the door on the opposite side of where you entered. |
| * | 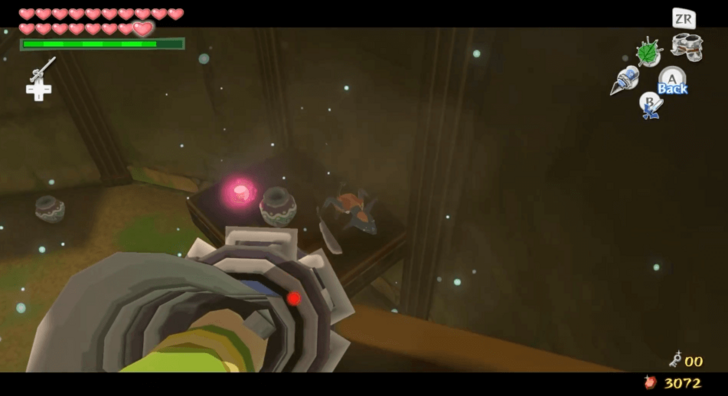 You may pull down the stone faces in the room to reveal Bokoblins. Defeat them to spawn a chest containing Treasure Chart #5. |
| 12 | 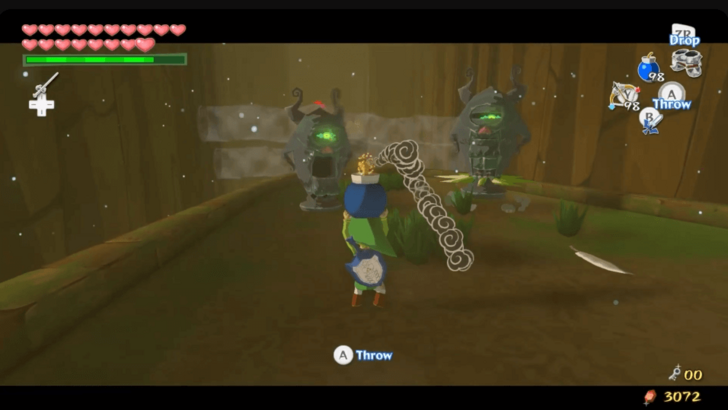 Enter the newly unlocked door with Makar. Defeat the enemies outside, then step on the end of the platform ahead |
| 13 | 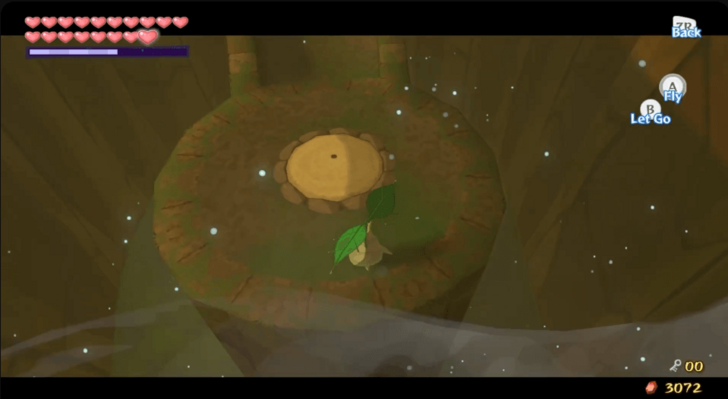 Take control of Makar, then have him fly through the gap. Once he lands on the adjacent platform, have him plant a tree on the plot of soil. |
| 14 | 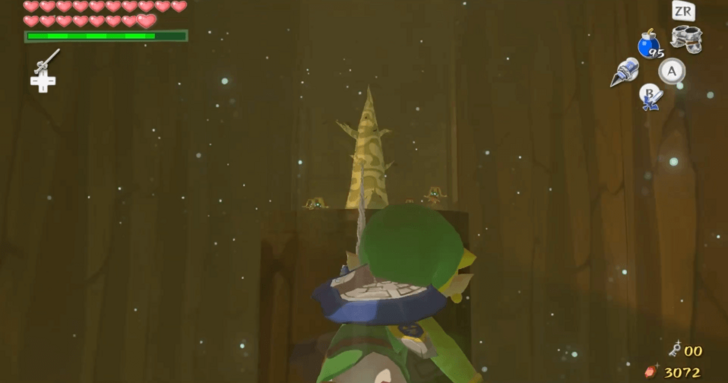 Release control of Makar. Then, use the Hookshot on the newly planted tree to get to the other platform. Defeat the enemies on the platform once you land. |
| 15 | 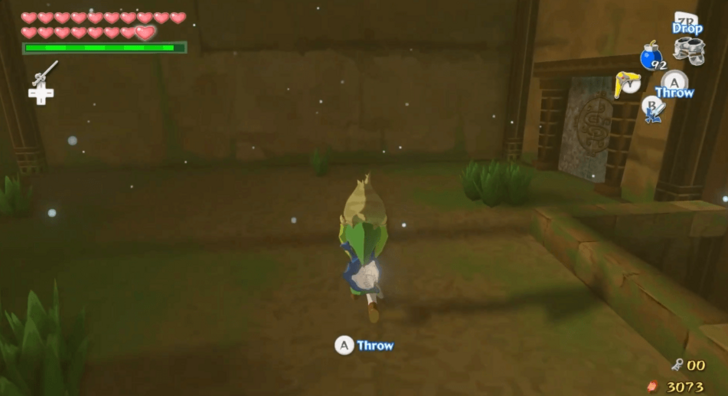 Pick Makar up and walk to the end of the path. Turn right, then open the door. |
| 16 | 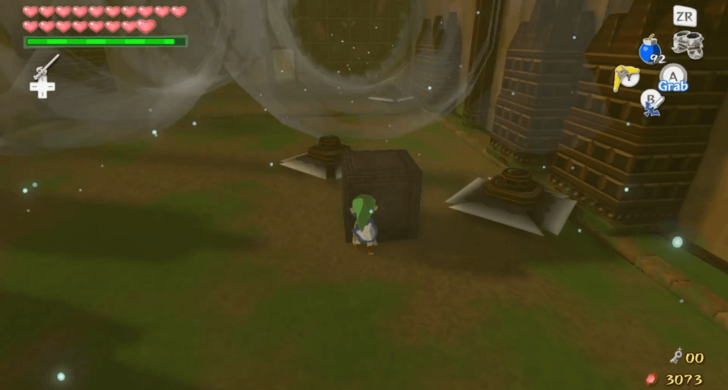 Put Makar down and equip the Iron Boots. Push one of the blocks in the room forward until the blade traps bounce off of it. |
| 17 | 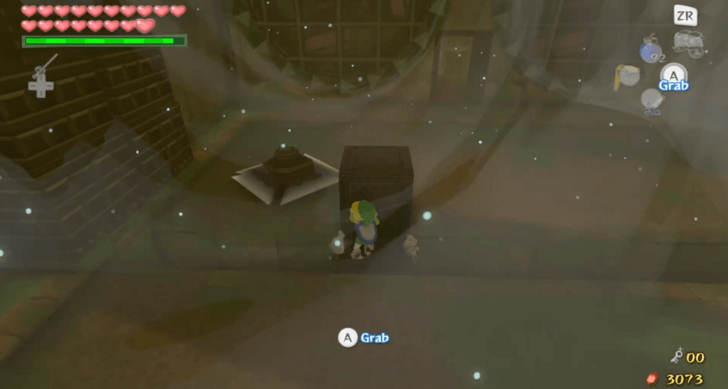 Push another block into the gap at the other end of the room to act as a bridge. Afterwards, push the third block through the bridge to block the blade trap on the far end of the room. |
| 18 | 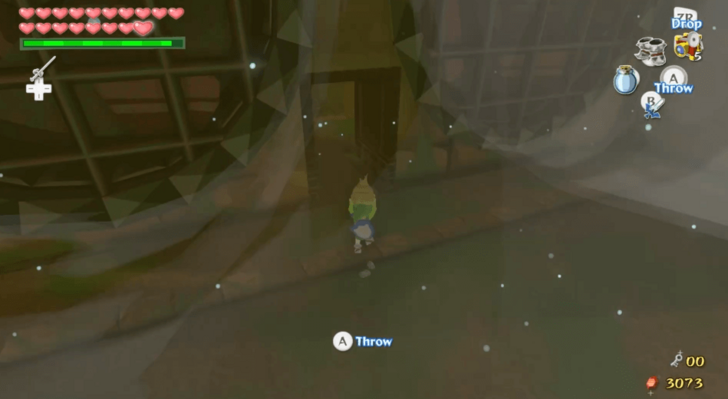 Grab Makar and walk through the passage at the other end of the room. Once you are past the passage, you may unequip the Iron Boots. |
| 19 | 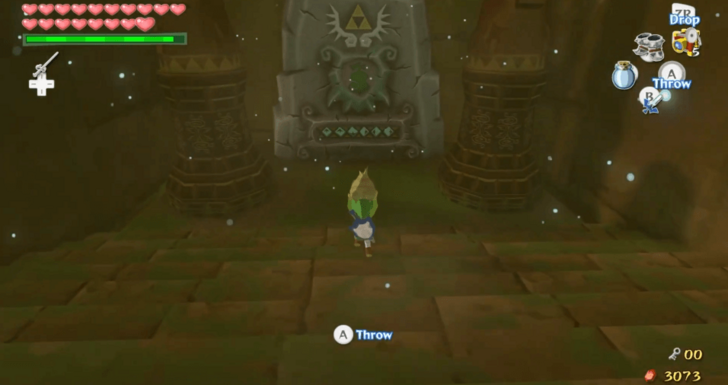 Go down the stairs and place Makar down. Conduct the Wind God's Aria in front of the stone tablet. This will prompt Makar to play it, which will break the tablet. |
| 20 |  Go through the newly revealed entrance. You will find some pots, a Warp Pot, and a large door. You may activate the Warp Pot and destroy the normal pots to get some items before enterring. Once you go through the door, you will have to fight Molgera. ▶︎ Molgera Boss Guide |
| 21 | 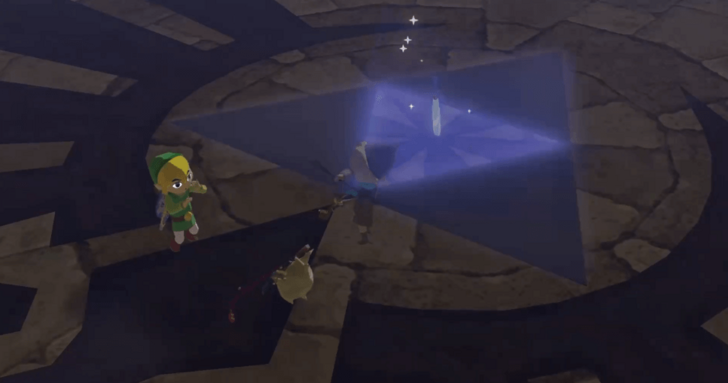 After defeating Molgera, you may claim the Heart Container it leaves behind. Stand on the glowing Triforce in the middle of the room. This will fully awaken the Master Sword and make you exit the dungeon afterwards. Once you are outside, Red will tell you that you will need to collect the Triforce Shards. ▶︎ Triforce Shards Walkthrough |
Triforce
| * |  This is one of your last few chances to backtrack to previous locations, explore the Great Sea, or collect Treasure Charts and Heart Pieces, so make sure to do any side stuff first before proceeding! |
|---|---|
| 1 | 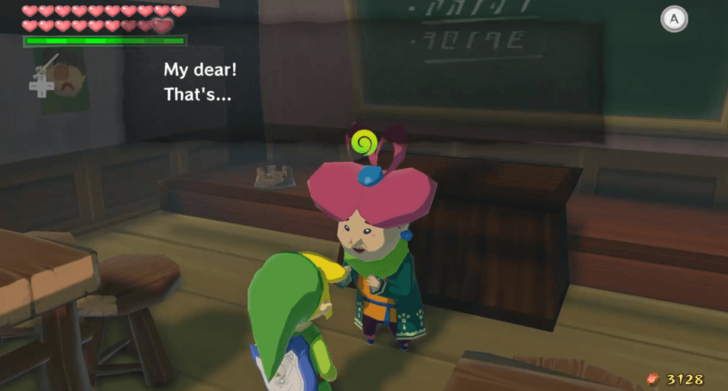 Before starting the Triforce Shards quest, you must get the Cabana Deed from Mrs. Marie on Windfall Island. Give her 20 Joy Pendants to get this item. If you give her 20 more Joy Pendants in the HD version of the game, she will give you Treasure Chart #45. In the GameCube version, she will give you the Hero's Charm. |
| * | In the HD remake, you can get Treasure Chart #46 from the second secret cavern on Pawprint Isle. Use the Hookshot to get to the strange-looking tree marking the entrance to a hidden cave. This Treasure Chart leads to a Piece of Heart, so get it before continuing your adventure. In the GameCube version, this hidden area holds a Silver Rupee. |
| * | You can get another Piece of Heart by getting the treasure from Treasure Chart #5 that you got in the Wind Temple. This treasure is located on Thorned Fairy Island. |
| 3 | You can now start collecting Triforce Shards! However, this part of the main quest differs greatly between the original GameCube and HD remake versions of the game. Please select your game version to direct you to the corresponding walkthrough. ▶︎ Original Version ▶︎ HD Version |
Original Version
| Jump to a Section | |
|---|---|
| Original Version | HD Version |
| 1 | 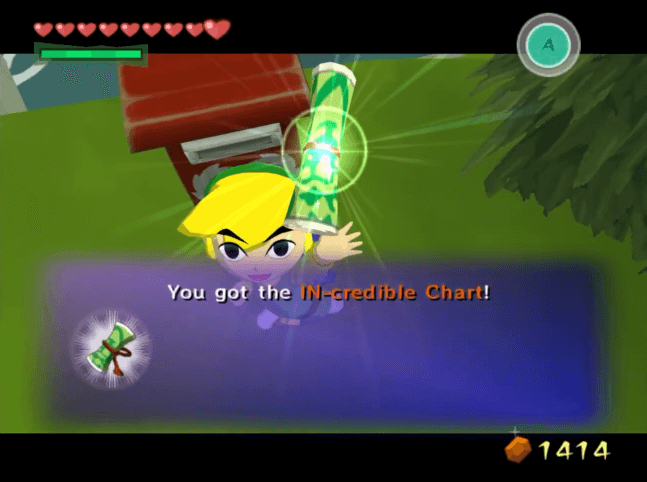 If you've broken out Tingle from jail, you should find a letter from him in the mail. Open it at any postbox for 201 Rupees and read it to receive the IN-Credible Chart. This will give you the locations of most of the Triforce Charts and Shards. |
|---|---|
| 2 | 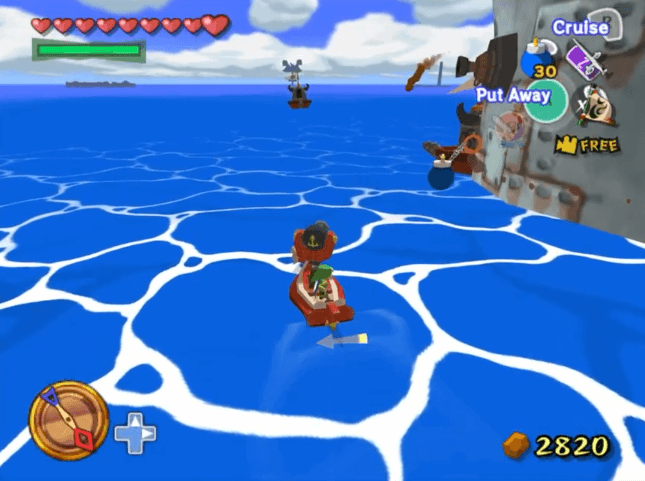 Sail to the Islet of Steel and destroy the warship. Sail through the newly unblocked entrance and stand on the Wind Crest inside. Play the Wind's Requiem to spawn a chest containing Triforce Chart #1. |
| 3 | 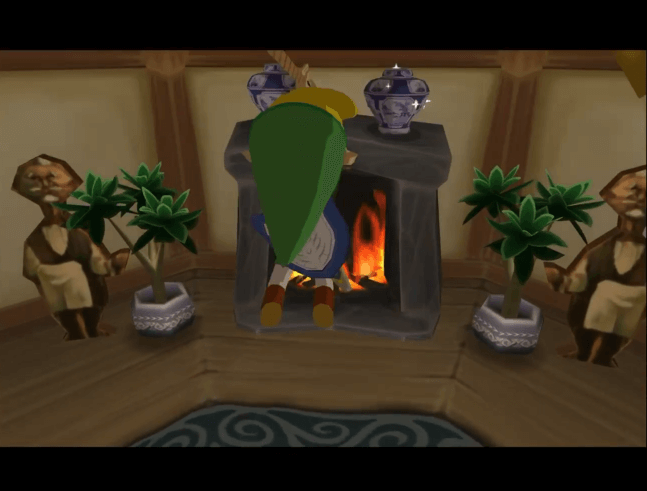 Head to the Private Oasis. Treasure Chart #27 can be found on this island, outside the cabana. Enter the Cabana with the Cabana Deed in hand. Use your Grappling Hook on the bar above to put out the fire in the fireplace. You can then go inside the newly revealed entrance. ▶︎ How to Get Cabana Deed |
| 4 | 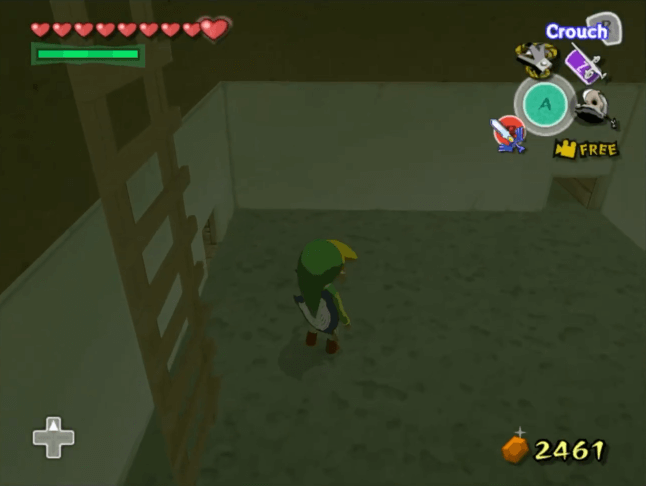 Turn right and take another right turn once the path forks. Drop down the ladder and crawl into the hole on the wall with no ladder. Go left, right, forward, and then right again to reach a ladder. |
| 5 |  Climb up the ladder and hammer down the two pegs. This will open two gates. Take the path to the left and go down the ladder. |
| * |  You may crawl into the hole to the left after going down until you reach the end of the tunnel. You will find a chest that contains an Orange Rupee. |
| 6 |  Crawl into the hole directly in front of the ladder. Once you have reached the end of the tunnel, climb up the ladder and hammer down the peg in the room. Jump into the hole near the peg to defeat the enemies and break the pots to reveal an entrance. |
| 7 |  Crawl into the entrance until you reach the other end. Climb up the ladder and play the Wind's Requiem. This will spawn a chest that contains Triforce Chart #2. Exit the cavern by hammering the nearby peg to open a gate then finding the warp. |
| 8 | 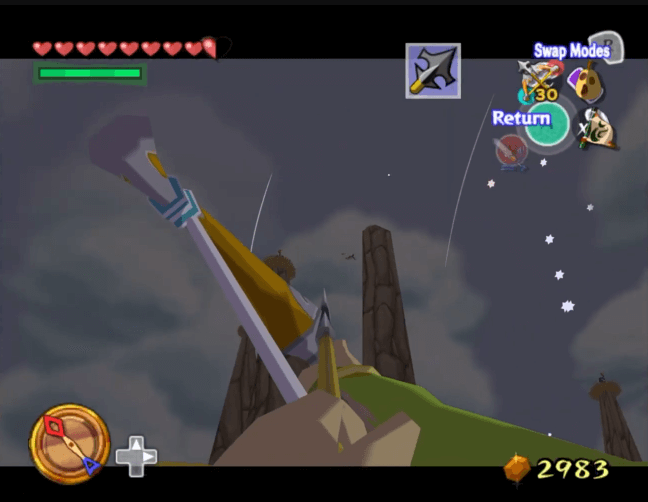 Head to Bird's Peak Rock with some Hyoi Pears. Upon landing, use your bow to take out the Kargorocs on top of the rock spires. You do not need to defeat all of them, but you may do so to make the next step easier. |
| 9 | 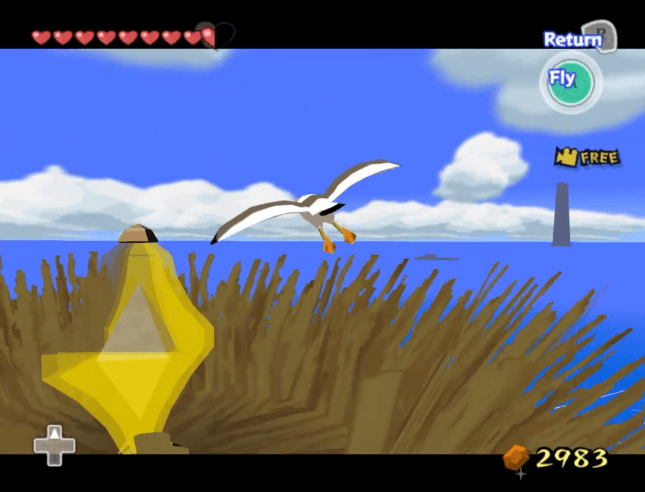 Use a Hyoi Pear to take control of a seagull. Fly the seagull to the top of each rock spire to hit the switches. If the seagull gets caught by a Kargoroc, use another Hyoi Pear to fly another seagull to the remaining switches. |
| 10 | 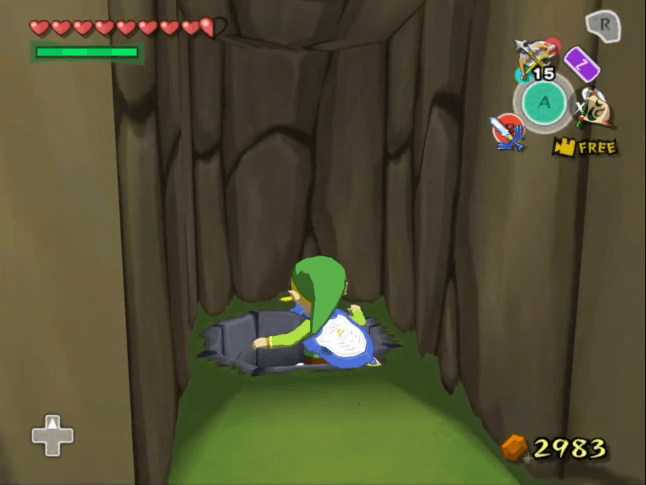 Once the switches are all activated, a gate in the island will open. Go inside the newly revealed entrance and jump into the tunnel. Stand on the Wind Crest inside, then the Wind's Requiem to spawn a chest containing Triforce Chart #3. |
| 11 | 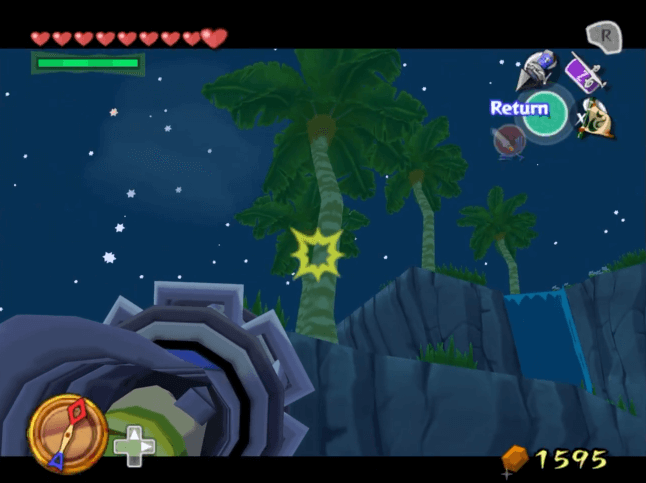 Sail to Diamond Steppe Island. Once you have arrived, use your hookshot on the trees to pull yourself up. Once you are on the top of the island, walk near the edge of the cliff and jump into the hole. |
| 12 | 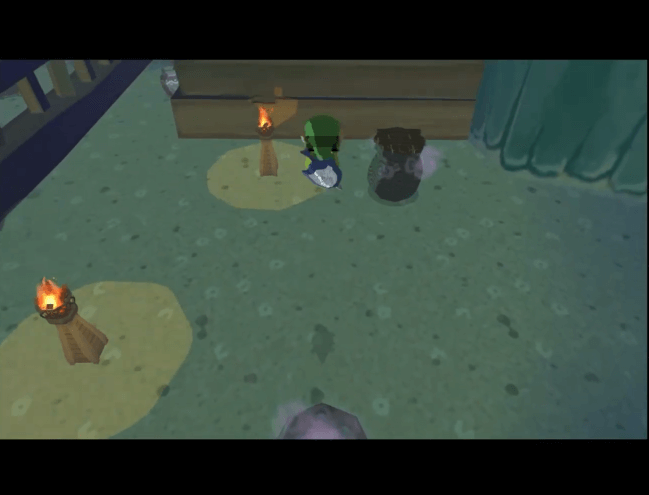 Enter the Warp Pot in front of the entrance. After being warped, enter the Warp Pot directly in front of the one you just climbed out of. |
| 13 | 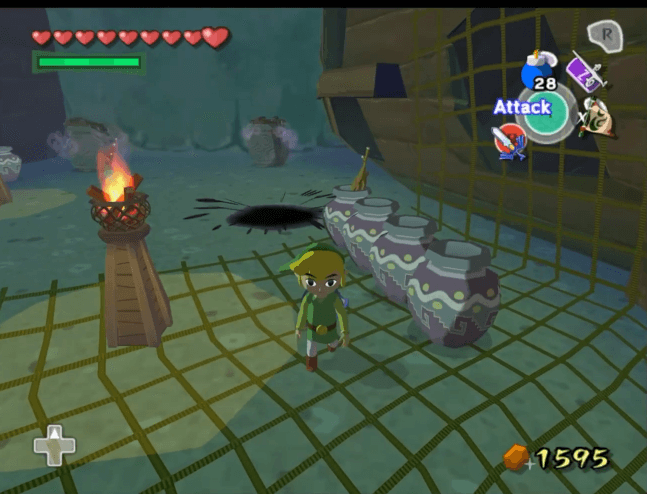 After warping, you will see two Warp Jars behind two Floor Masters. Run past the Floor Masters and enter the jar on the right. |
| 14 | 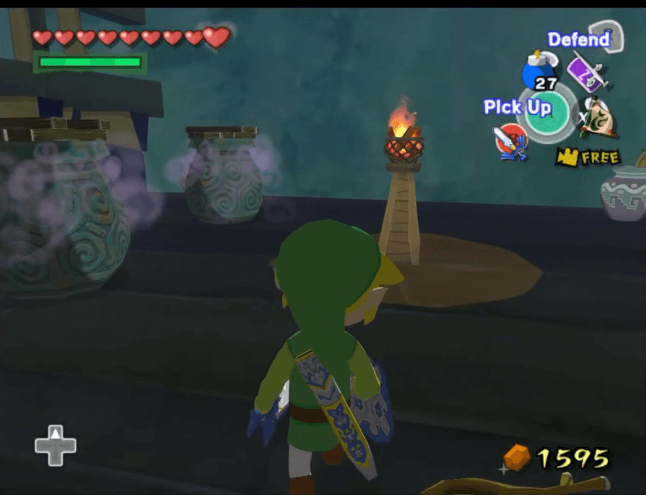 You will then be warped to an area on a ship. Run past the Floor Master and enter the left Warp Jar behind it. |
| 15 | 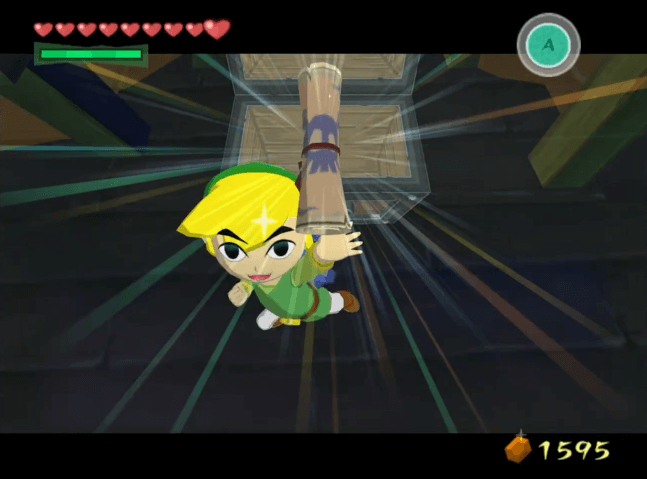 After being warped, run past the area's Floor Master until you see a chest. Open it to obtain the Ghost Ship Chart. |
| 16 | 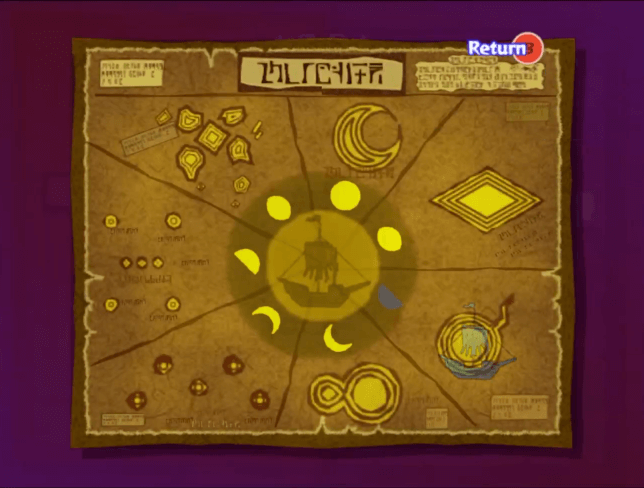 After leaving the cavern, open the Ghost Ship chart at night. It will show you the current location of the Ghost Ship according to the phase of the moon. |
| 17 | 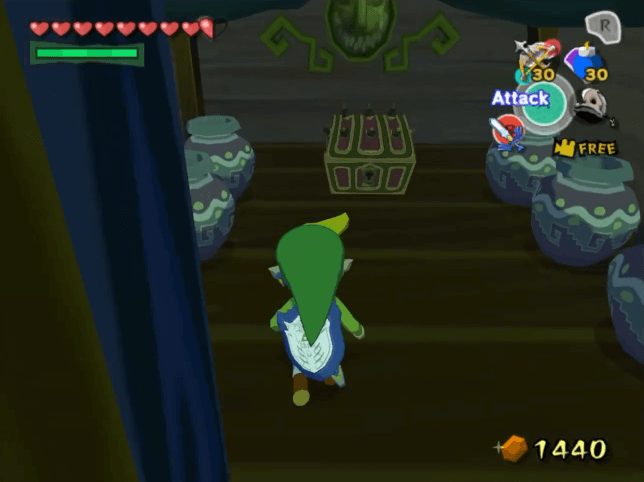 Sail to the Ghost Ship at night. Defeat the enemies that are inside and a ladder will drop. Climb up to open a chest that contains Triforce Chart #4. You will be warped outside afterwards, and the Ghost Ship will never appear again. |
| 18 | 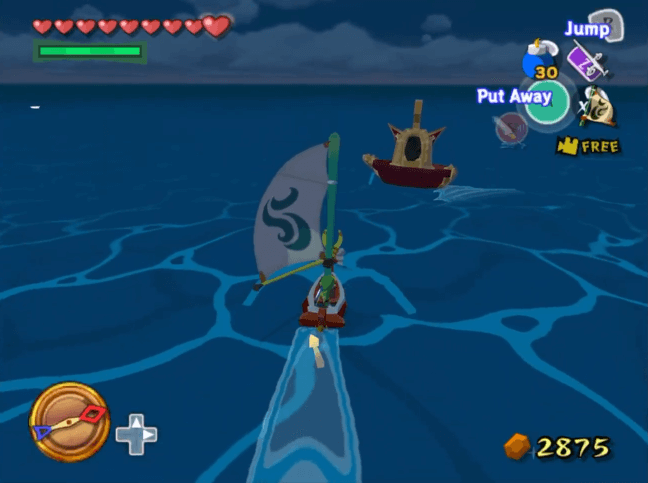 Sail to the left of Needle Rock Isle. Destroy the golden warship and use the hook on the ring of light it leaves behind. You will pull up a chest containing Triforce Chart #5. |
| 19 | 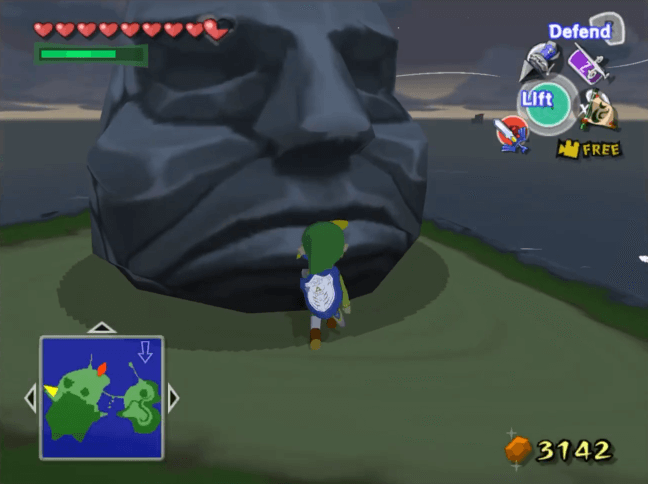 Head to Outset Island. Climb the area near your house and use the Hookshot to get to the platform with the stone head. Throw the stone head to reveal a cavern entrance. Be sure to prepare a lot of healing items before you enter. ▶︎ Savage Labyrinth Guide and Rewards |
| 20 | 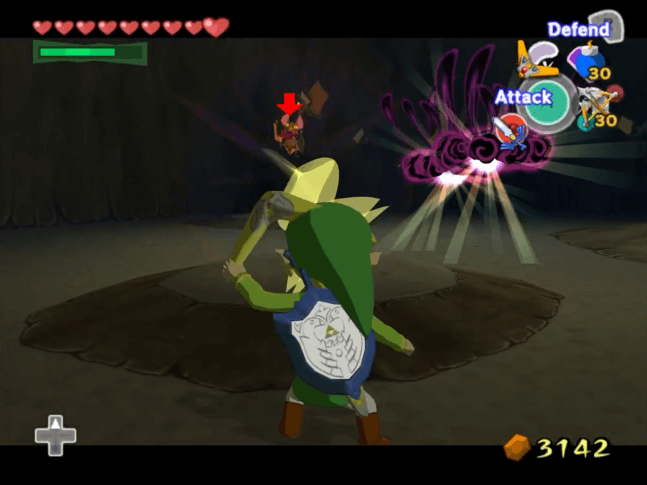 Go down the hole leading to the Savage Labyrinth. You will progress through the floors by defeating all of the enemies. Keep going until you reach the 30th floor. |
| 21 | 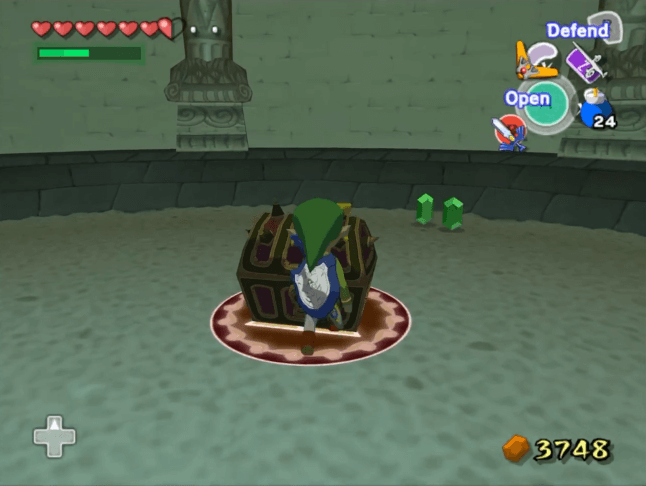 Once you've reached the 30th floor, stand on the Wind Crest inside then play the Wind's Requiem to spawn a chest containing Triforce Chart #6. |
| * | 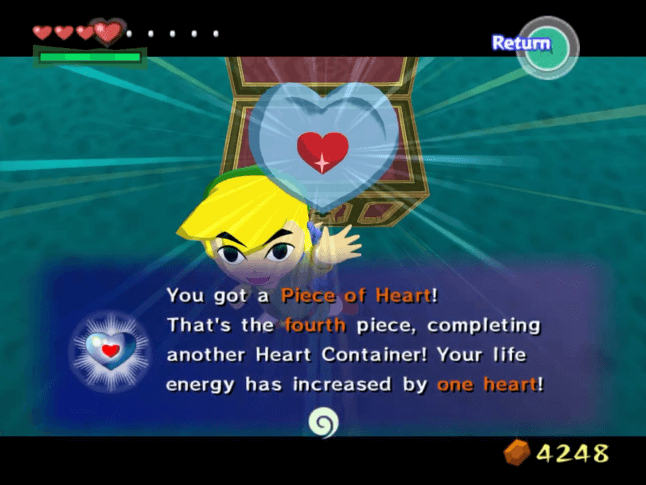 You may progress further through the Savage Labyrinth. If you manage to clear 50 floors, you will have access to a chest containing a Piece of Heart. |
| 22 |  Head to the top of Stone Watcher Island and throw the large stone head to destroy it. Jump into the newly revealed hole. After landing, enter the door in front of you. |
| 23 | 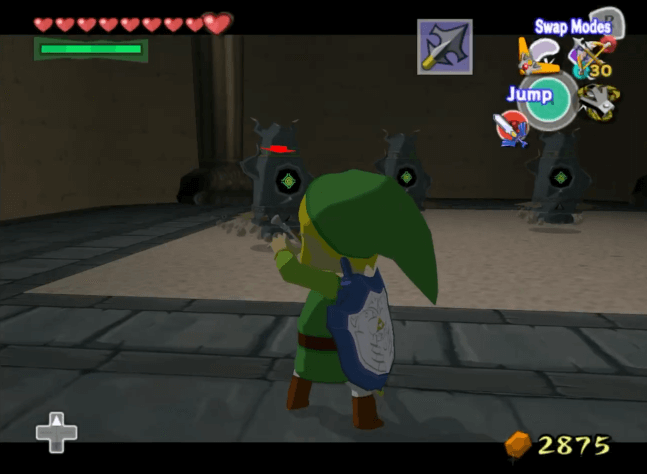 Upon entering the room, you will see five doors. The one at the center is locked, while the other doors contain enemies. Clear the four unlocked rooms by defeating the enemies inside, then defeat the enemies that spawn in the main room afterwards. This will unlock the door at the center. |
| 24 | 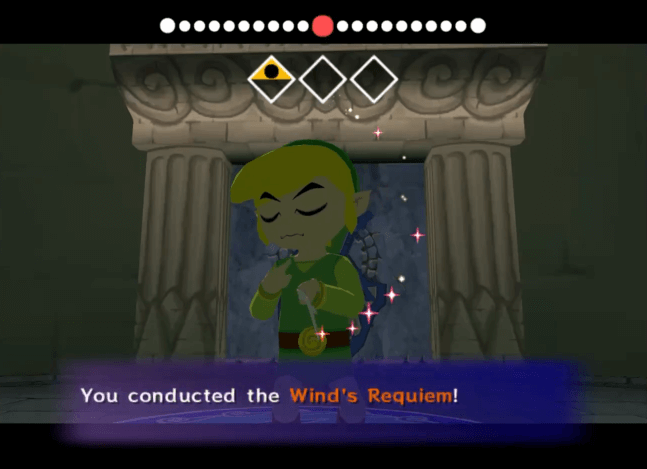 Enter the door at the center. Stand on the Wind Crest inside, then play the Wind's Requiem to spawn a chest containing Triforce Chart #7. |
| 25 | 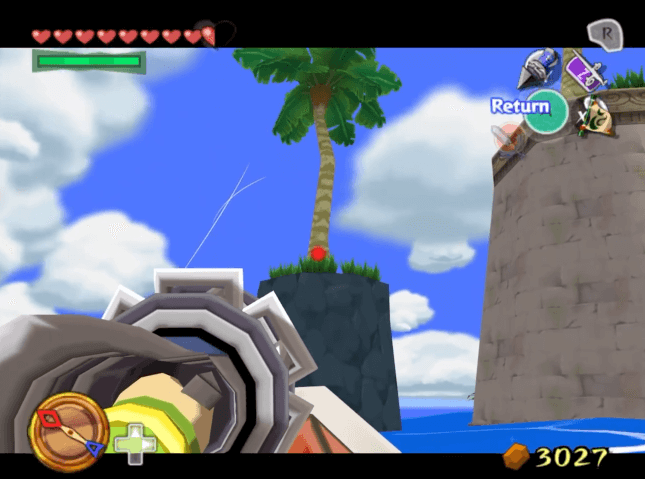 Head to Overlook Island and climb up by using the Hookshot on the trees. Once you find the cavern entrance, jump inside. |
| 26 | 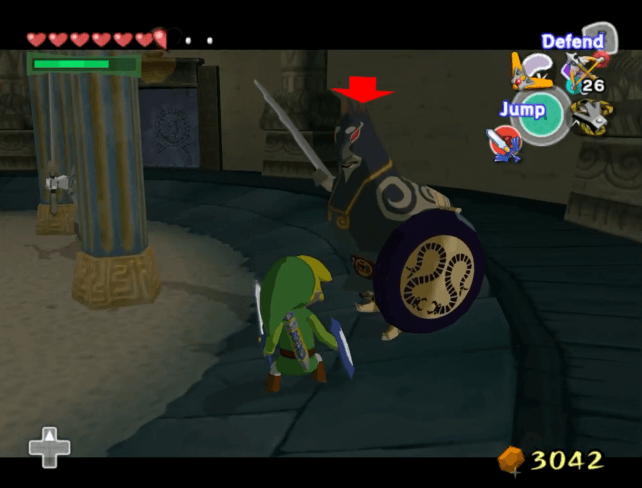 Upon entering the room, you will see five doors. The one at the center is locked, while the other doors contain enemies. Clear the four unlocked rooms by defeating the enemies inside, then defeat the enemies that spawn in the main room afterwards. This will unlock the door at the center. |
| 27 | 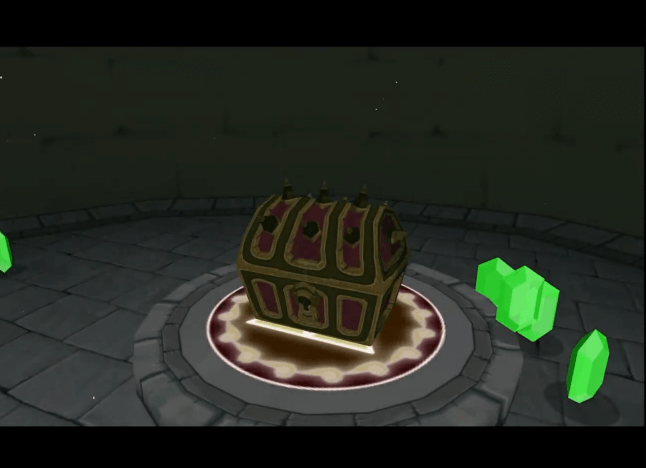 Enter the door at the center. Stand on the Wind Crest inside, then the play Wind's Requiem to spawn a chest containing Triforce Chart #8. |
| 28 | 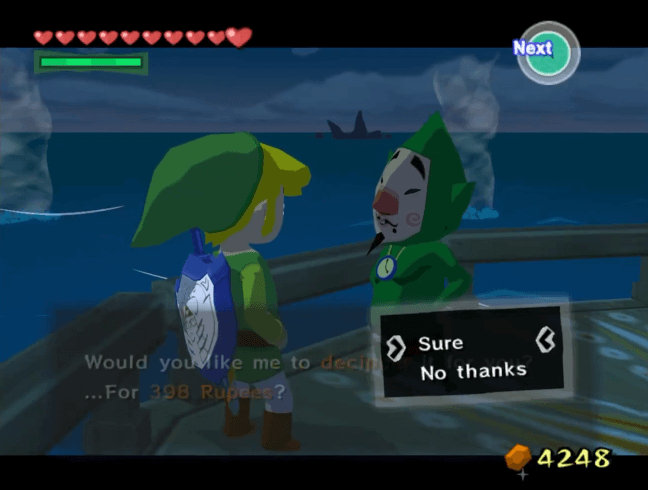 Head to Tingle Island and climb up the tower. Once you reach the top, you can speak to Tingle and have your Triforce Charts deciphered. This will cost 398 Rupees per chart, so be sure to have a lot of Rupees on hand. |
| 29 | 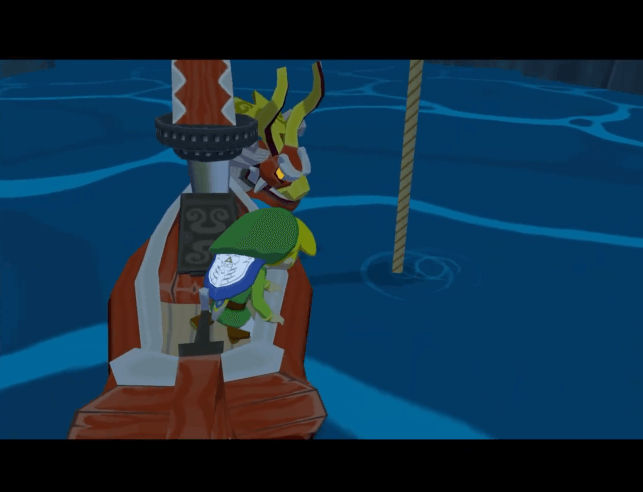 Head to the areas marked on the deciphered charts and pull the chests containing the Triforce Shards up from the sea. They are located on Greatfish Isle, Gale Isle, Stone Watcher Island, Outset Island, Cliff Plateau Isles, Southern Triangle Island, Seven-Star Isles, and Two-Eye Reef respectively. |
| 30 | Now that you have the Triforce, prepare for the final leg of your journey. Get a serving of Grandma's Elixir Soup and stock up on items before proceeding. ▶︎ Ganon's Tower Walkthrough |
HD Version
| Jump to a Section | |
|---|---|
| Original Version | HD Version |
| 1 | 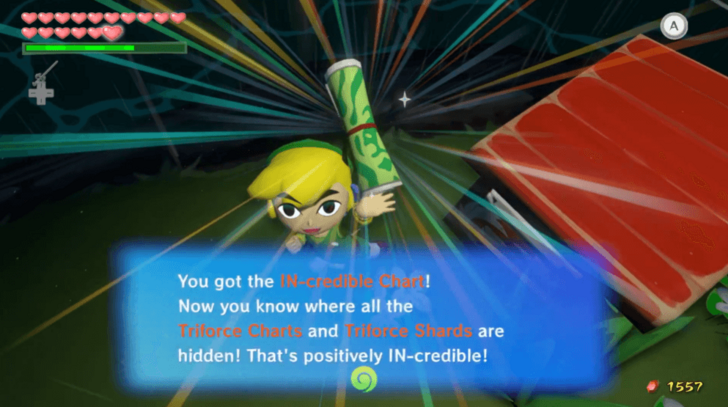 After clearing the Wind Temple, you will find a letter from Tingle in the mail. Open it at any postbox for 201 Rupees and read it to receive the IN-Credible Chart. This will give you the locations for most of the Triforce Charts and Shards. |
|---|---|
| 2 | 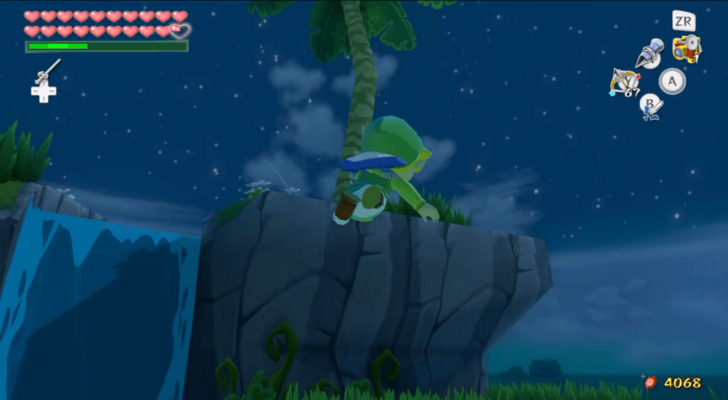 Sail to Diamond Steppe Island. Once you have arrived, use your hookshot on the trees to pull yourself up. Once you are on the top of the island, walk near the edge of the cliff and jump into the hole. |
| 3 | 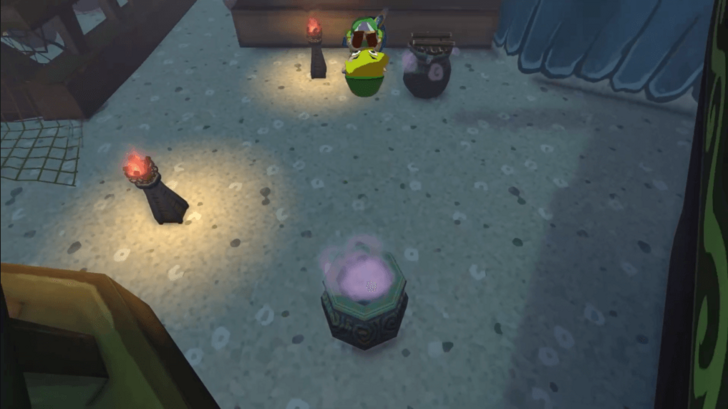 Enter the Warp Pot in front of the entrance. After being warped, enter the Warp Pot directly in front of the one you just climbed out of. |
| 4 | 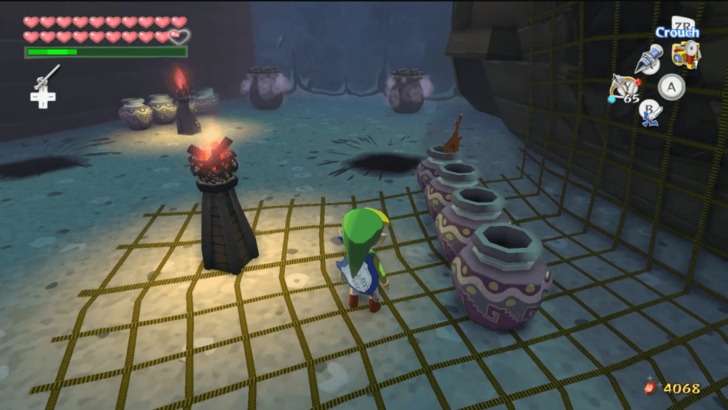 After warping, you will see two Warp Jars behind two Floor Masters. Run past the Floor Masters and enter the jar on the right. |
| 5 | 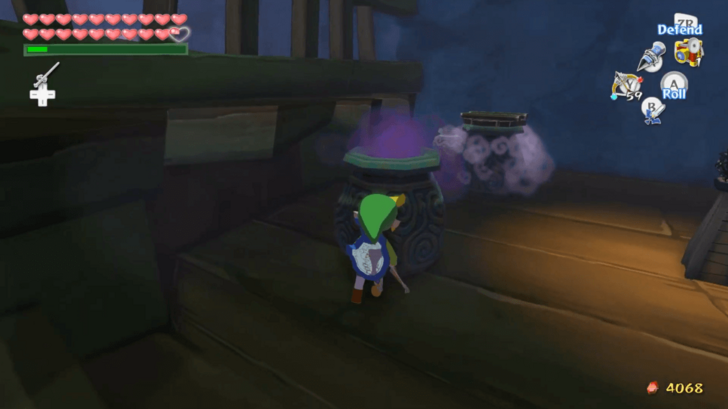 You will then be warped to an area on a ship. Run past the Floor Master and enter the left Warp Jar behind it. |
| 6 | 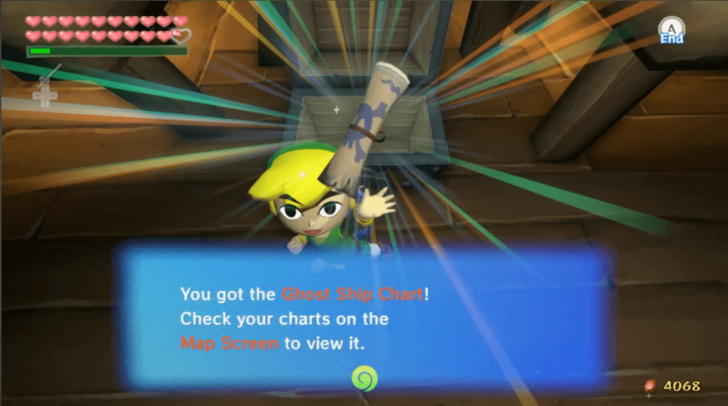 After being warped, run past the area's Floor Master until you see a chest. Open it to obtain the Ghost Ship Chart. |
| 7 | 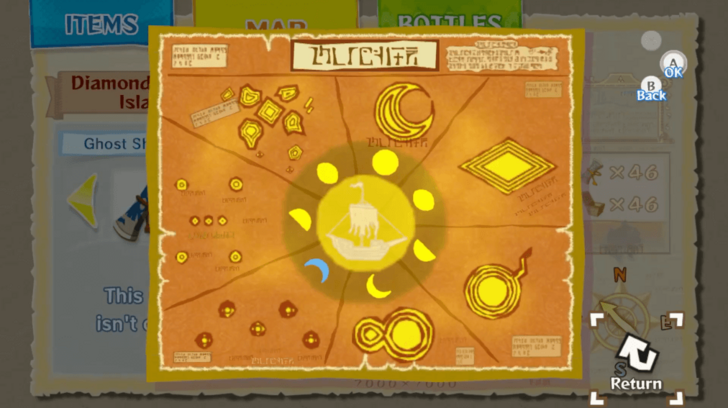 After leaving the cavern, open the Ghost Ship chart at night. It will show you the current location of the Ghost Ship according to the phase of the moon. |
| 8 | 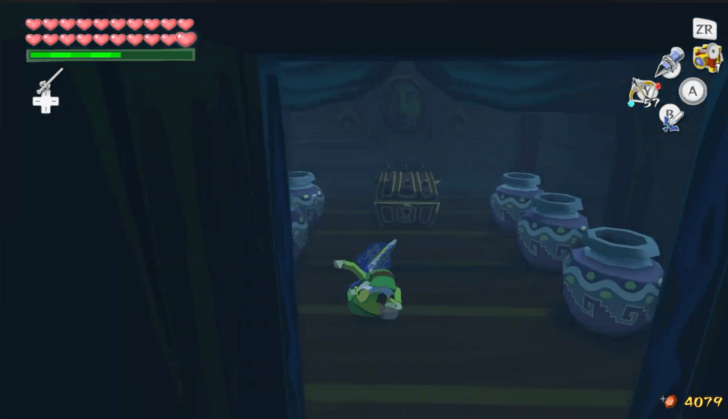 Sail to the Ghost Ship at night. Defeat the enemies that are inside and a ladder will drop. Climb up to open a chest that contains a Triforce Shard. You will be warped outside afterwards, and the Ghost Ship will never appear again. |
| 9 | 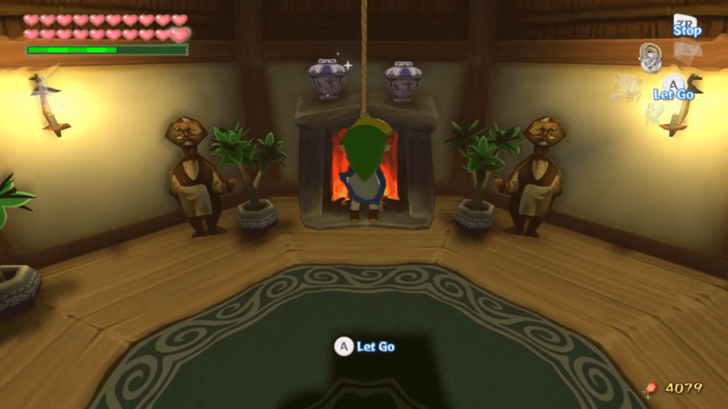 Head to the Private Oasis. Treasure Chart #27 can be found on this island, outside the cabana. Enter the Cabana with the Cabana Deed in hand. Use your Grappling Hook on the bar above to put out the fire in the fireplace. You can then go inside the newly revealed entrance. ▶︎ How to Get Cabana Deed |
| 10 | 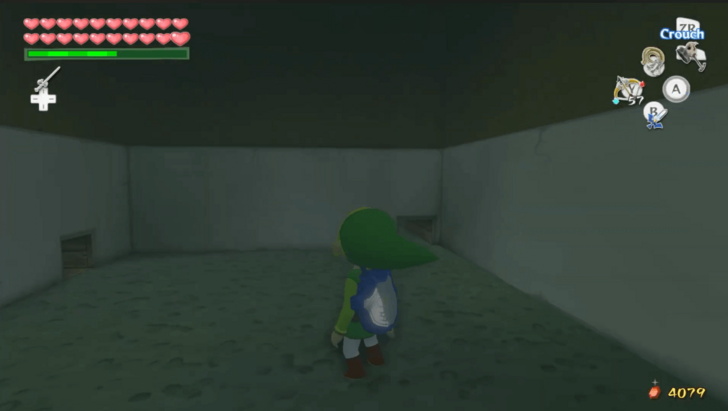 Turn right and take another right turn once the path forks. Drop down the ladder and crawl into the hole on the wall with no ladder. Go left, right, forward, and then right again to reach a ladder. |
| 11 |  Climb up the ladder and hammer down the two pegs. This will open two gates. Take the path to the left and go down the ladder. |
| * |  You may crawl into the hole to the left after going down until you reach the end of the tunnel. You will find a chest that contains an Orange Rupee. |
| 12 |  Crawl into the hole directly in front of the ladder. Once you have reached the end of the tunnel, climb up the ladder and hammer down the peg in the room. Jump into the hole near the peg to defeat the enemies and break the pots to reveal an entrance. |
| 13 | 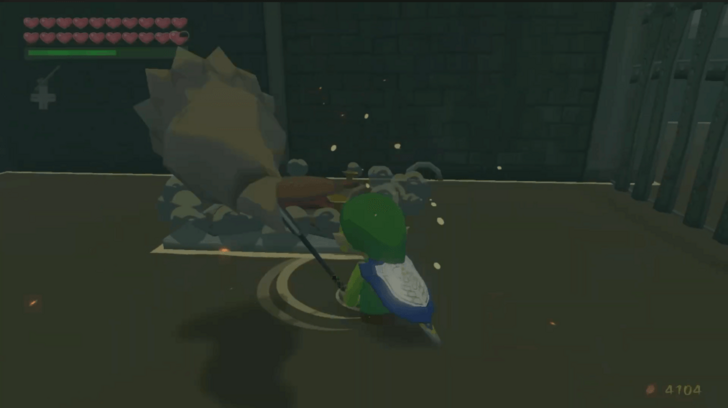 Crawl into the entrance until you reach the other end. Climb up the ladder and play the Wind's Requiem. This will spawn a chest that contains a Triforce Shard. Exit the cavern by hammering the nearby peg to open a gate then finding the warp. |
| 14 | 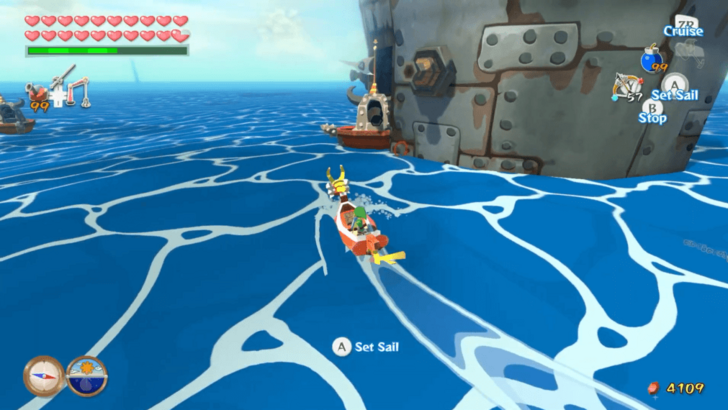 Sail to the Islet of Steel and destroy the warship. Sail through the newly unblocked entrance and stand on the Wind Crest inside. Play the Wind's Requiem to spawn a chest containing Triforce Chart 1. |
| 15 |  Head to Bird's Peak Rock with some Hyoi Pears. Upon landing, use your bow to take out the Kargorocs on top of the rock spires. You do not need to defeat all of them, but you may do so to make the next step easier. |
| 16 | 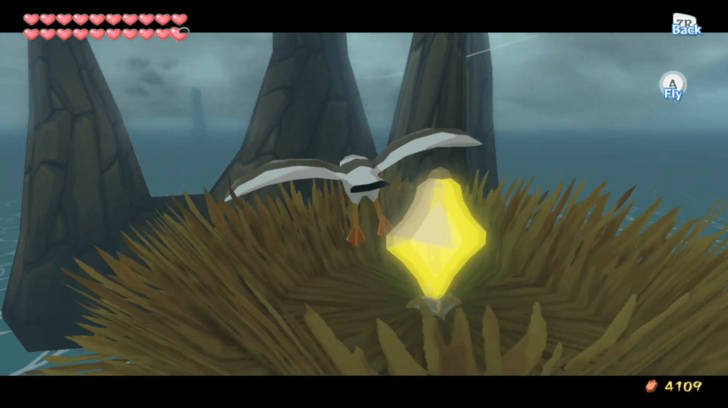 Use a Hyoi Pear to take control of a seagull. Fly the seagull to the top of each rock spire to hit the switches. If the seagull gets caught by a Kargoroc, use another Hyoi Pear to fly another seagull to the remaining switches. |
| 17 |  Once the switches are all activated, a gate in the island will open. Go inside the newly revealed entrance and jump into the tunnel. Stand on the Wind Crest inside, then the Wind's Requiem to spawn a chest containing Triforce Chart 2. |
| 18 | 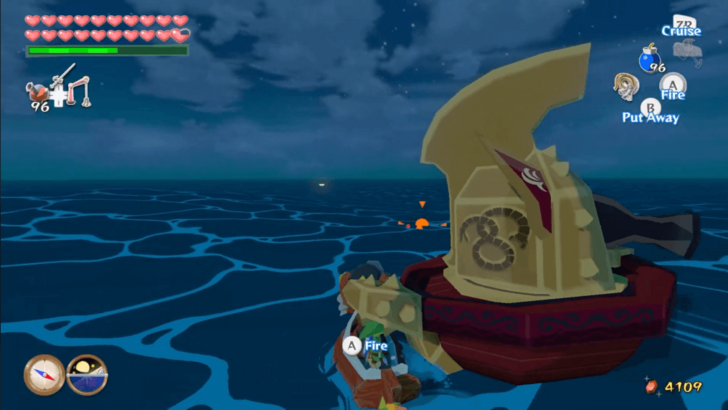 Sail to the left of Needle Rock Isle. Destroy the golden warship and use the hook on the ring of light it leaves behind. You will pull up a chest containing Triforce Chart 3. |
| 19 |  Head to Tingle Island and climb up the tower. Once you reach the top, you can speak to Tingle and have your Triforce Charts deciphered. This will cost 398 Rupees per chart, so be sure to have a lot of Rupees on hand. |
| 20 |  Head to the areas marked on the deciphered charts and pull the chests containing the Triforce Shards up from the sea. They are located on Greatfish Isle, the Cliff Plateau Isles, and Stone Watcher Island respectively. |
| 21 | 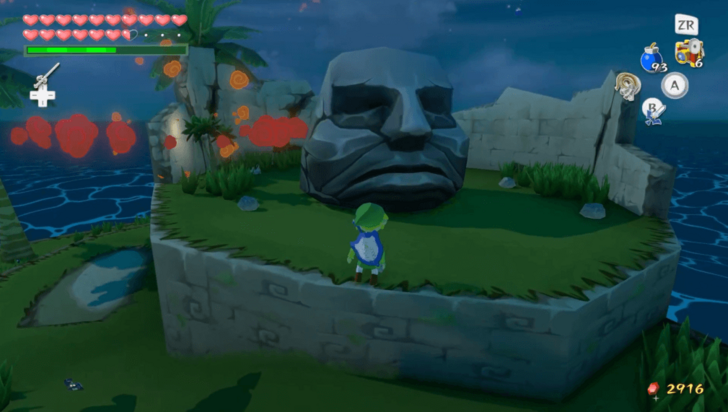 Head to the top of Stone Watcher Island and throw the large stone head to destroy it. Jump into the newly revealed hole. After landing, enter the door in front of you. |
| 22 | 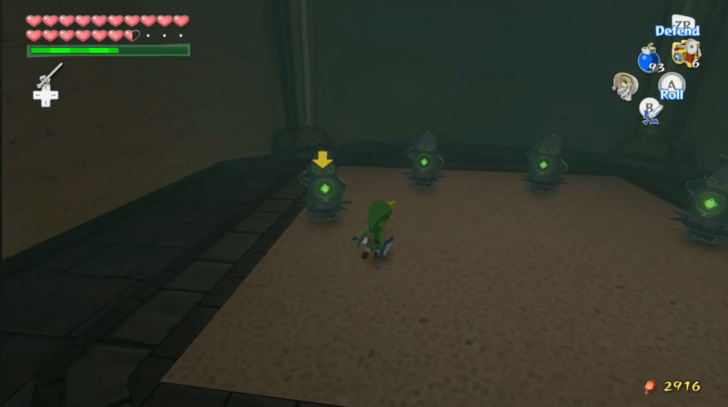 Upon entering the room, you will see five doors. The one at the center is locked, while the other doors contain enemies. Clear the four unlocked rooms by defeating the enemies inside, then defeat the enemies that spawn in the main room afterwards. This will unlock the door at the center. |
| 23 | 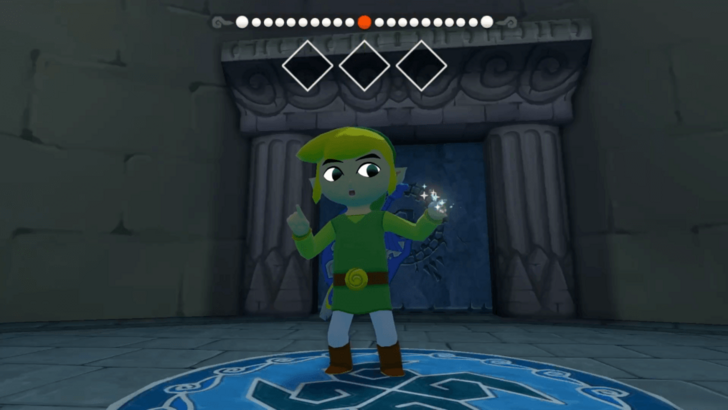 Enter the door at the center. Stand on the Wind Crest inside, then play the Wind's Requiem to spawn a chest containing a Triforce Shard. |
| 24 | 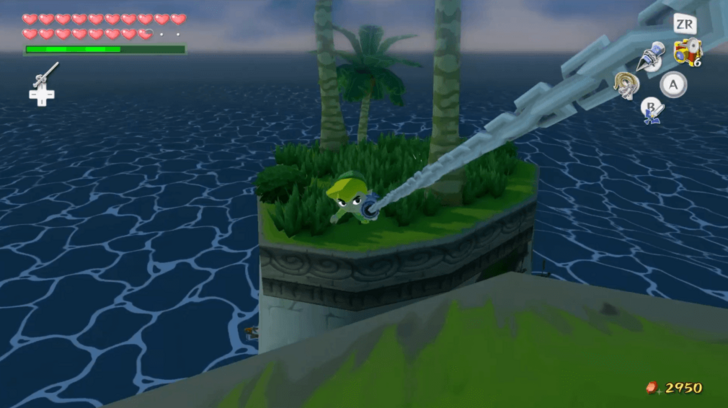 Head to Overlook Island and climb up by using the Hookshot on the trees. Once you find the cavern entrance, jump inside. |
| 25 | 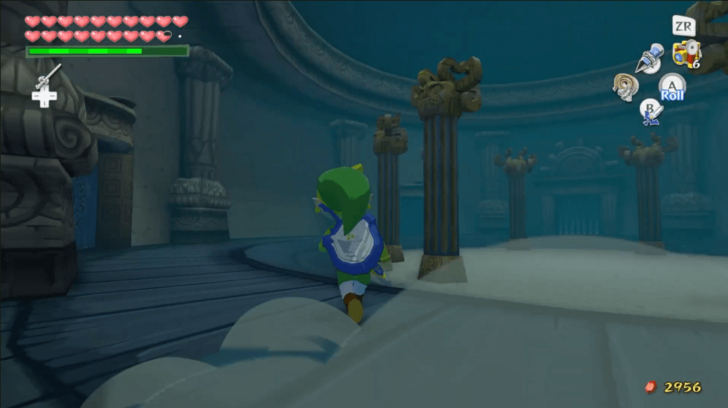 Upon entering the room, you will see five doors. The one at the center is locked, while the other doors contain enemies. Clear the four unlocked rooms by defeating the enemies inside, then defeat the enemies that spawn in the main room afterwards. This will unlock the door at the center. |
| 26 | 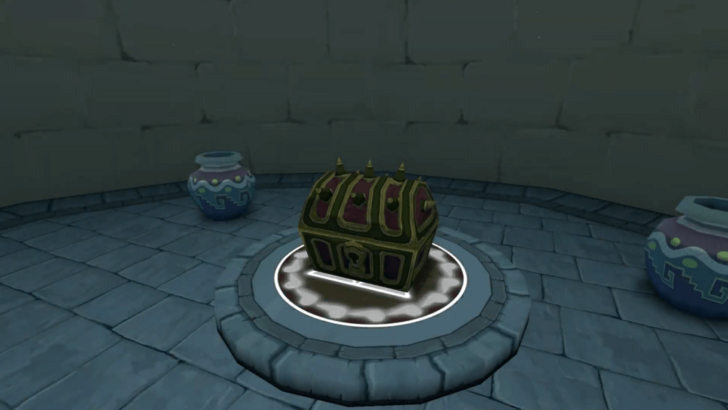 Enter the door at the center. Stand on the Wind Crest inside, then the play Wind's Requiem to spawn a chest containing a Triforce Shard. |
| 27 | 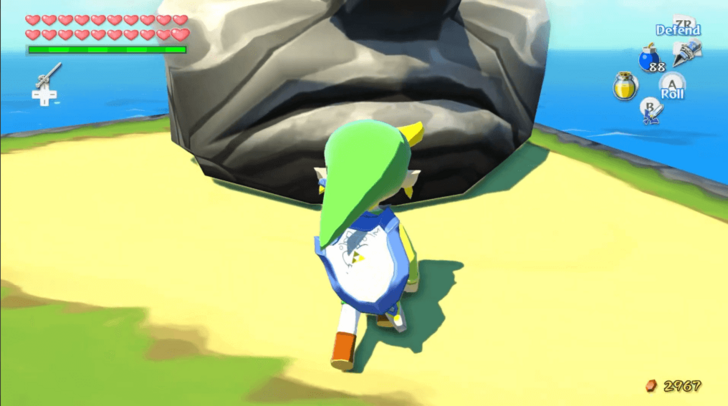 Exit the cavern and head to Outset Island. Climb the area near your house and use the Hookshot to get to the platform with the stone head. Throw the stone head to reveal a cavern entrance. Be sure to prepare a lot of healing items before you enter. ▶︎ Savage Labyrinth Guide and Rewards |
| 28 | 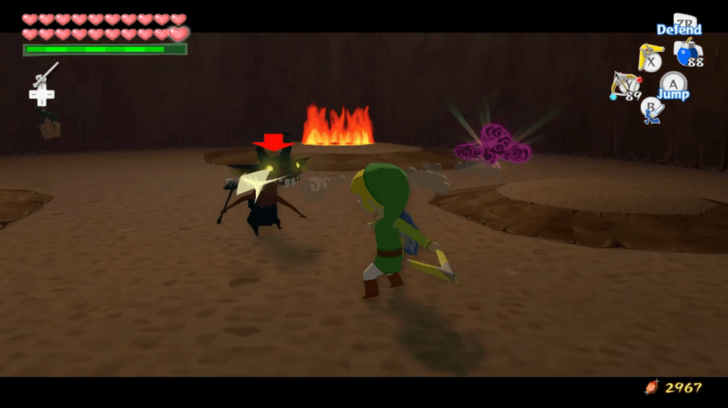 Go down the hole leading to the Savage Labyrinth. You will progress through the floors by defeating all of the enemies. Keep going until you reach the 30th floor. |
| 29 | 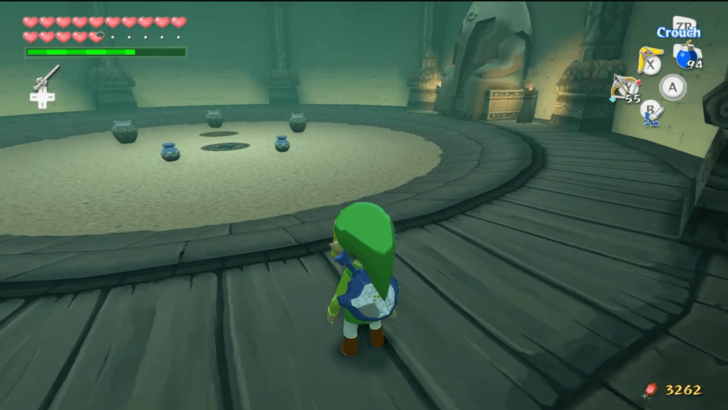 Once you've reached the 30th floor, stand on the Wind Crest inside then play the Wind's Requiem to spawn a chest containing the last Triforce Shard. |
| * | 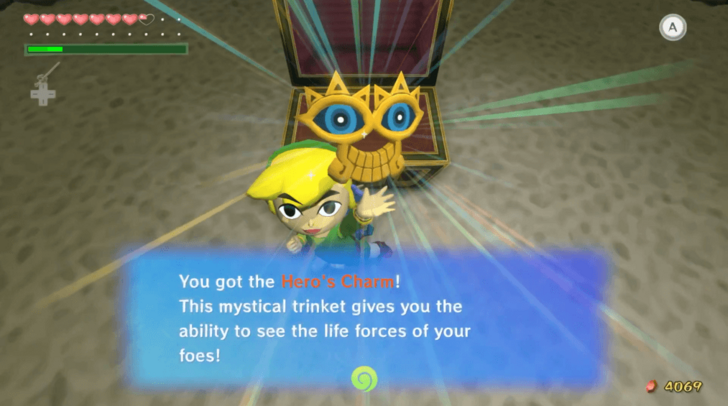 You may use the Mirror Shield to break the elephant statue in order to progress further through the Savage Labyrinth. If you manage to clear 50 floors, you will have access to a chest containing the Hero's Charm. This item allows you to see an opponent's remaining health. |
| 30 | Now that you have the Triforce, prepare for the final leg of your journey. Get a serving of Grandma's Elixir Soup and stock up on items before proceeding. ▶︎ Ganon's Tower Walkthrough |
Ganon's Tower
Hyrule Castle
| * | 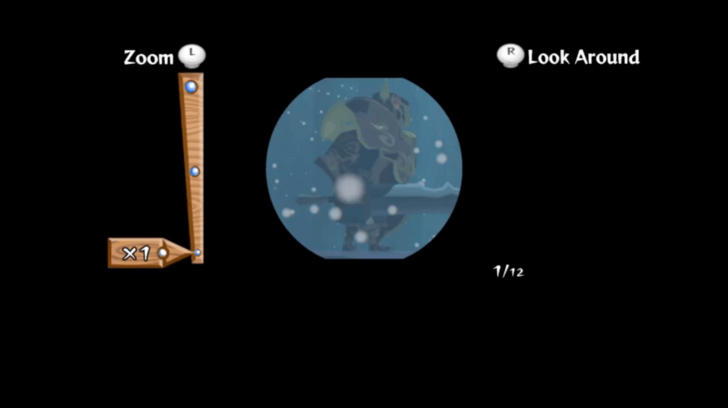 This is your last chance to backtrack to previous locations, explore the Great Sea, or collect Treasure Charts and Heart Pieces, so make sure to wrap up any side stuff before the end! |
|---|---|
| 1 | 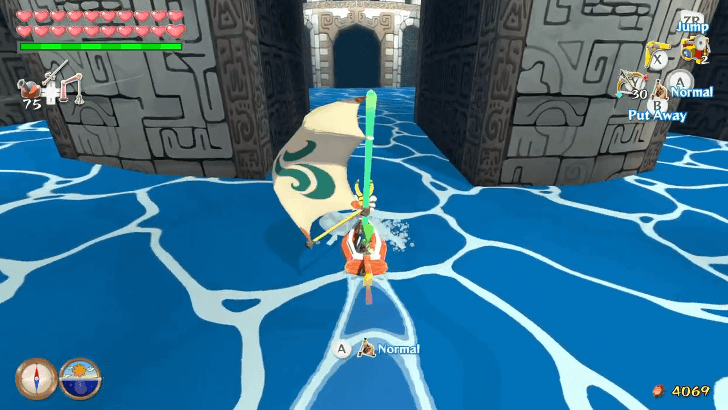 After getting the Triforce of Courage, use the Ballad of Gales to travel to the Tower of the Gods. A portal will appear and Link and the King of Red Lions will head inside Hyrule Castle. |
| 2 | 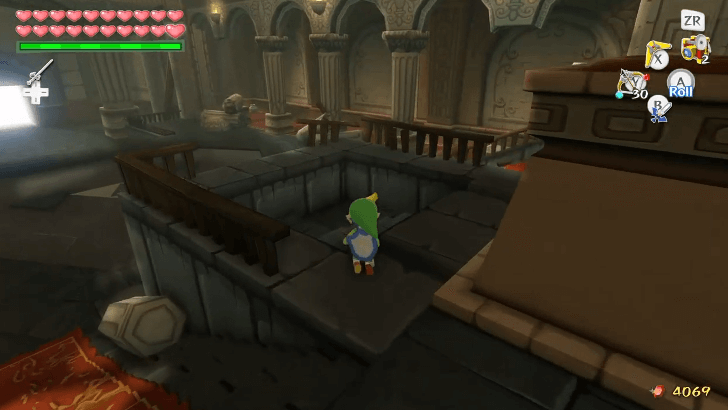 Enter the castle and head towards the fallen statue. Behind it, follow the stairs leading to the basement. |
| 3 | 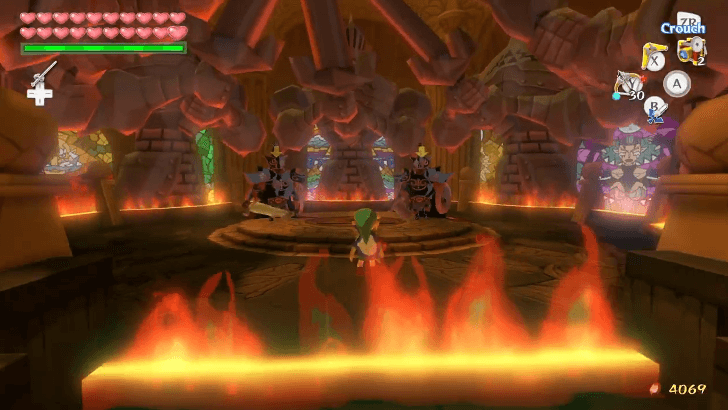 Run towards Zelda who is standing on the altar. She will disappear and two Mighty Darknuts will appear. Parry their attacks or keep attacking them to defeat the knights. |
| 4 | 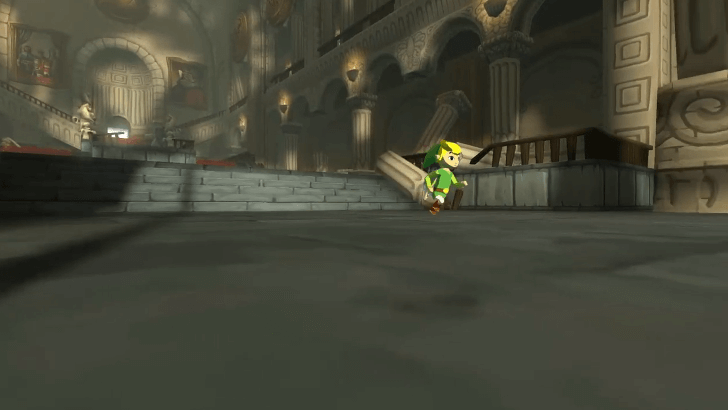 Head back upstairs. Link will then go out of the castle. |
| 5 |  Once outside, run towards the bridge and use the Master Sword to destroy the barrier surrounding the castle. |
| 6 | 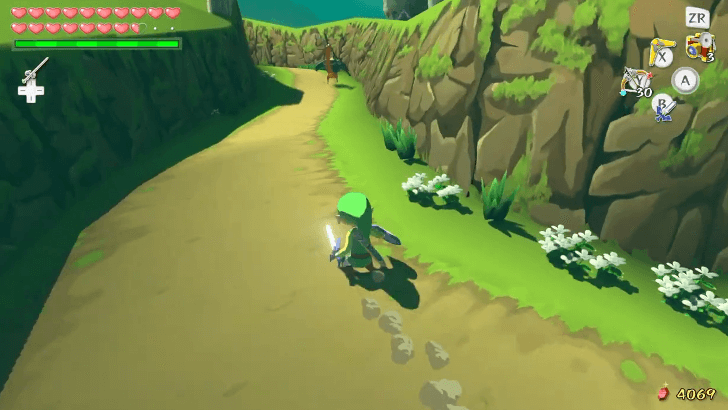 Follow the dirt path until it leads you to a broken bridge. You can choose to defeat all the enemies along the way or ignore them and keep going. |
| 7 | 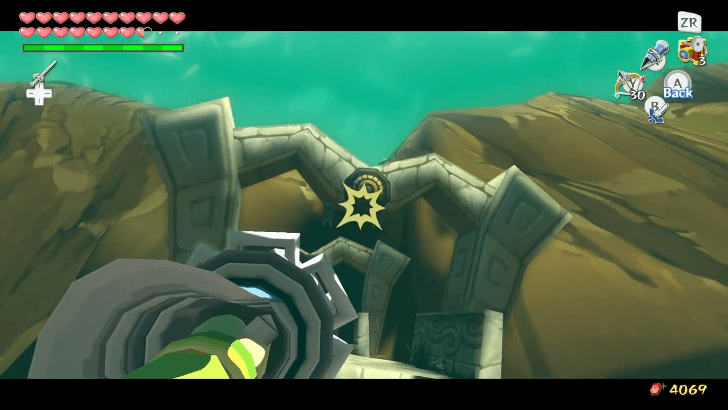 Once you reach the broken bridge, use the Hookshot to cross the gaps. |
| 8 | 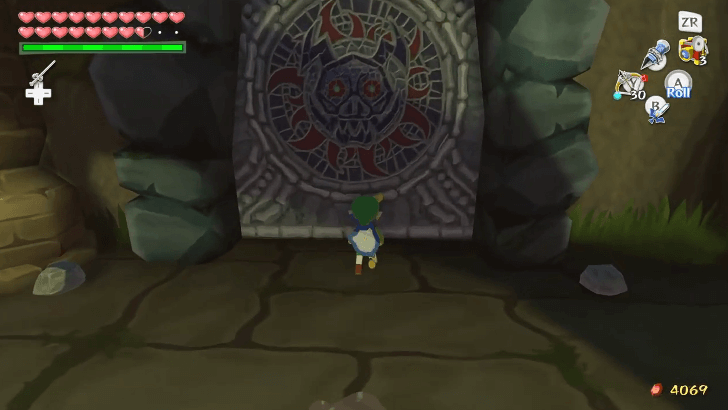 Once you make it to the other side, follow the path further until you reach a cave entrance. Interact with the door to enter Ganon's Tower. |
Ganon's Tower
| 1 |  After entering Ganon's Tower, you will see four rooms that you can reach with bridges. These will lead into boss battles and you must complete all of them to continue. |
|---|---|
| 2 |  Head to the first bridge from the left and open the door. |
| 3 |  Equip the Grappling Hook and use it to swing across the thorny vines. You can land on top of the rocks floating on the lava pool. |
| 4 |  Once you reach the third vine, climb up the rope and stand on top of the vine. Equip the Deku Leaf and glide towards the ledge. |
| 5 |  Enter the room and fight the Gohma. This will be similar to how you fought the boss in Dragon Roost Cavern, where you need to use the Grappling Hook to grab Valoo's tail to make rocks fall and break Gohma's shell then attack its eyes. ▶︎ How to Beat Gohma |
| 6 | 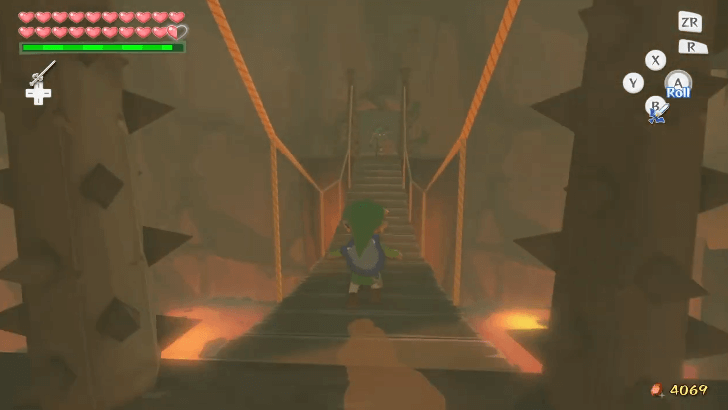 Once you defeat Gohma, you will be teleported back to the main room. Head towards the second bridge from the left to continue. |
| 7 | 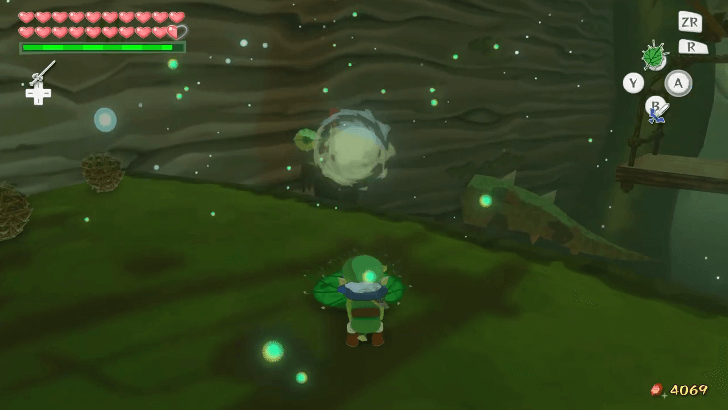 Equip your Deku Leaf and use the item to blow gusts of air towards the fan on the left, which will bring a platform towards Link. |
| 8 | 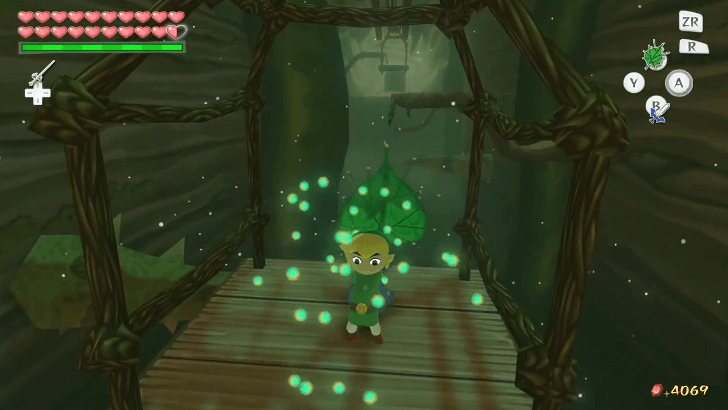 Hop on the platform and use the Deku Leaf to propel it forwards. Repeat the same method for the other fan and platforms. |
| 9 | 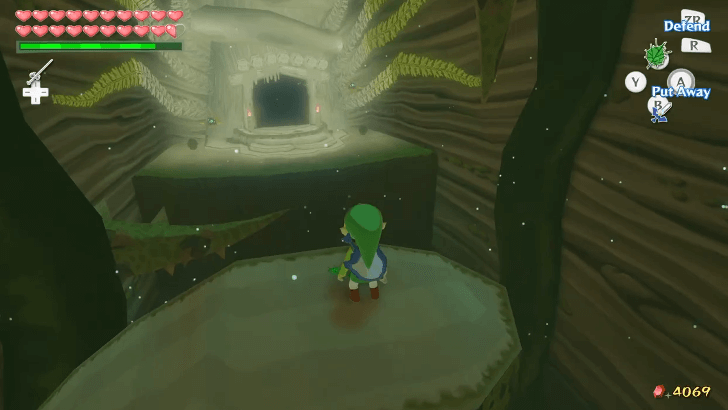 Once you reach the last platform, glide with your Deku Leaf to reach the ledge. |
| 10 | 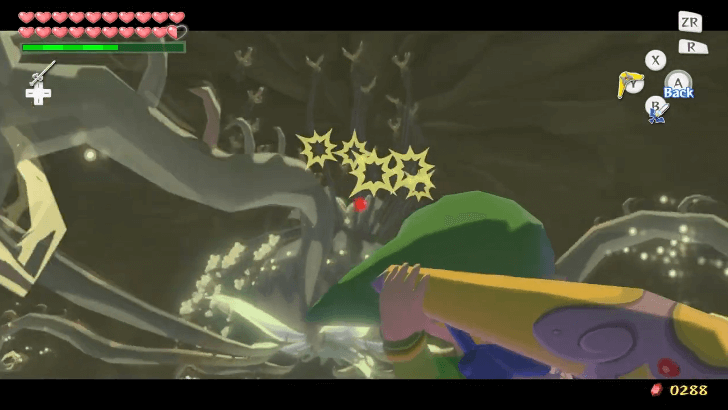 Enter the room to fight the Kalle Demos. You can defeat the boss with the same method as last time in the Forbidden Woods, where you need to use your Boomerang to cut its vines and hit its weak point. ▶︎ How to Beat Kalle Demos |
| 11 |  After defeating Kalle Demos and being brought back to the main room, head towards the second bridge from the right. |
| 12 | 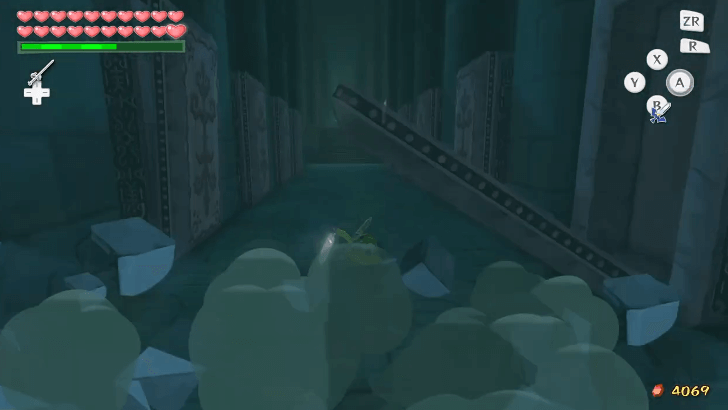 Run across the hallway and roll to avoid the falling slabs. Do the same on the next set of pillars after climbing the stairs so you don't have to worry about rolling around anymore. |
| 13 | 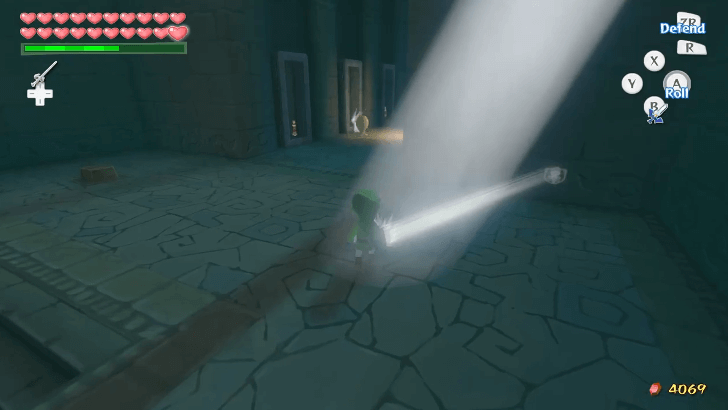 Head back to the middle of the hallway and use your Mirror Shield with the spotlight to petrify the nearby ChuChu. Place the ChuChu on top of the panel to reveal a staircase leading further into the hallway. |
| 14 | 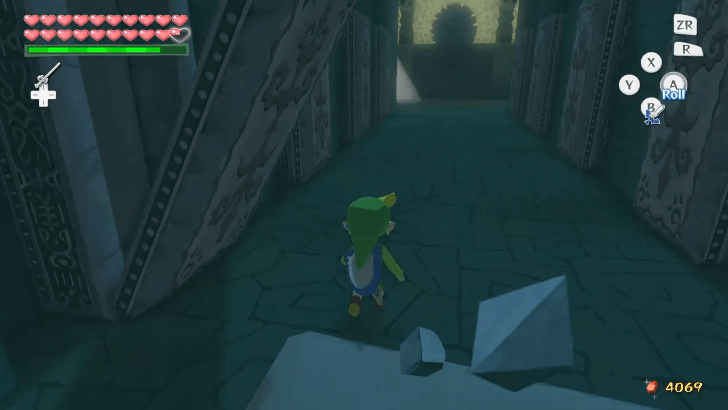 Run towards the end of the room to trigger the falling slabs, then use the spotlight again to petrify another ChuChu. Grab it and place it on top of the panel found before the hallway to get access to the end of the room. |
| 15 | 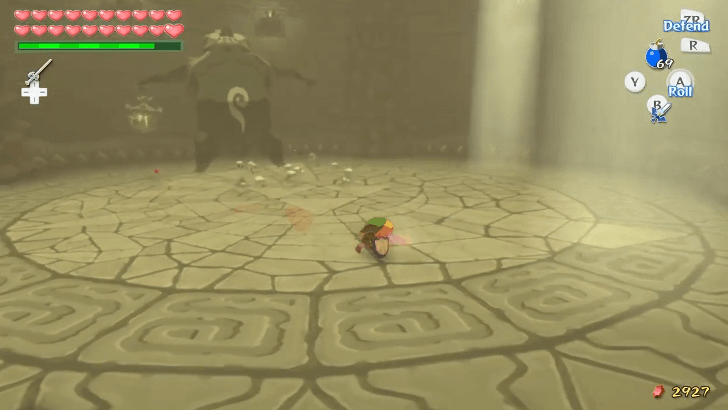 Enter the room and complete your rematch against Jalhalla. You can beat the boss the same way you fought it in the Earth Temple, which is by reflecting light towards it and hurling it towards the spiked pillars. ▶︎ How to Beat Jalhalla |
| 16 | 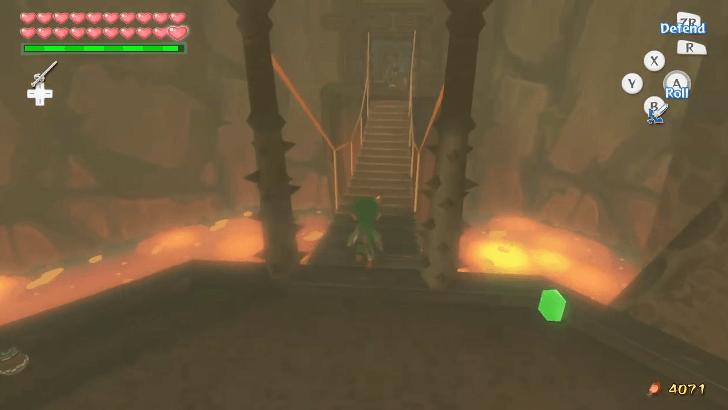 After beating Jalhalla and going back to the main room, head towards the first bridge from the right. |
| 17 | 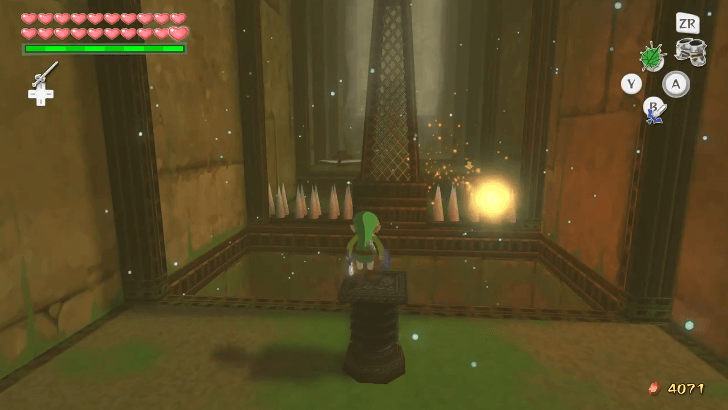 Equip your Iron Boots and climb on top of the spring. Use the item to jump up to the air and use your Deku Leaf to glide across the room. |
| 18 | 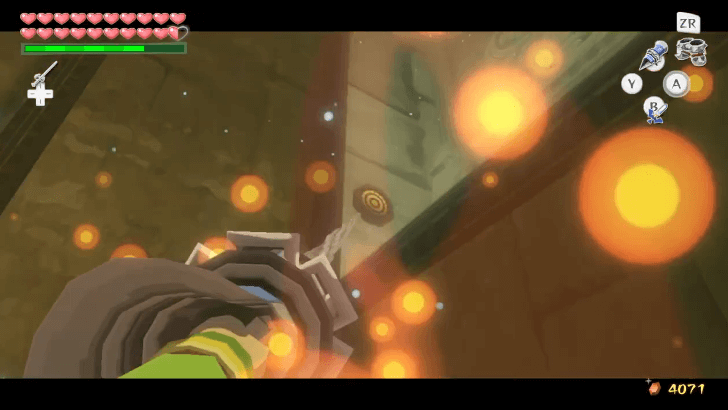 Once you're below the ledge at the end of the room, use your Hookshot at the target on the left or right wall. |
| 19 | 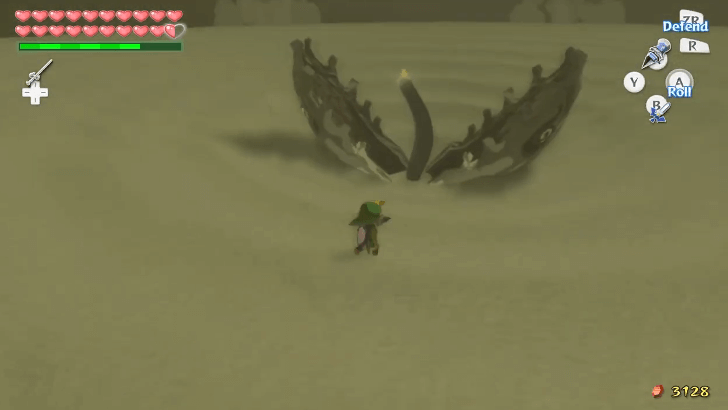 Enter the room and fight Molgera the same way you fought it in the Wind Temple, which is by pulling its tongue with the Hookshot and attacking it. |
| 20 | 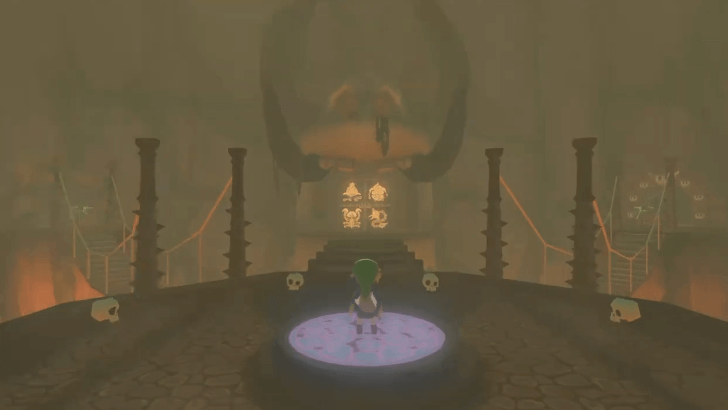 Once you deefat Molgera and go back to the main room, the seal on the door will be broken. Head inside to proceed. |
Phantom Ganon Maze and Finale
| 1 | 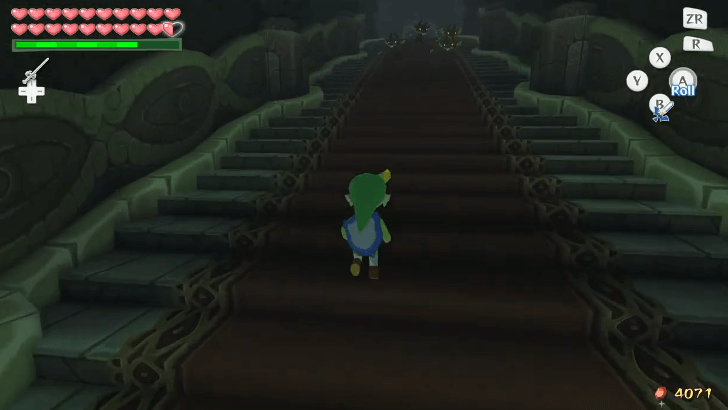 After going through the door, head up to the flight of stairs and enter the stone door. |
|---|---|
| 2 | 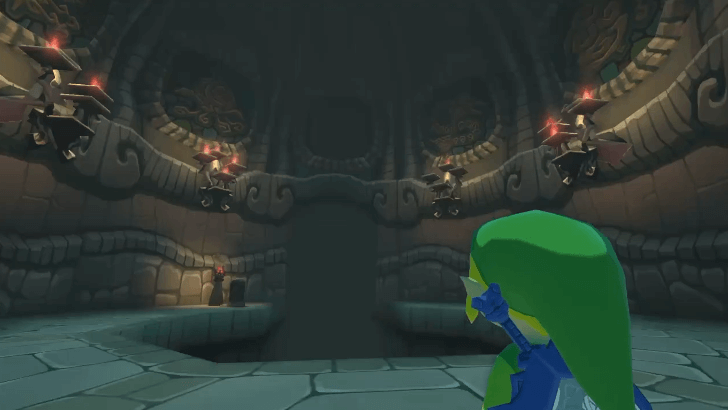 Enter the room on the right and remember the order of the lanterns shown and the number of candles. |
| 3 | 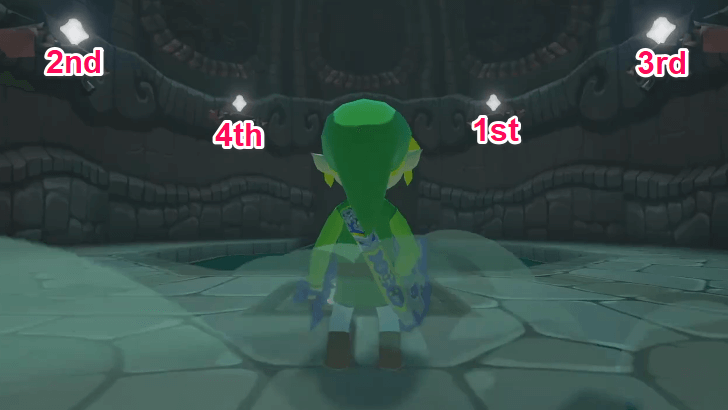 Get out of the room and head towards the room on the left. Use your Boomerang and target the lanterns in order based on what was shown in the previous room. |
| 4 | 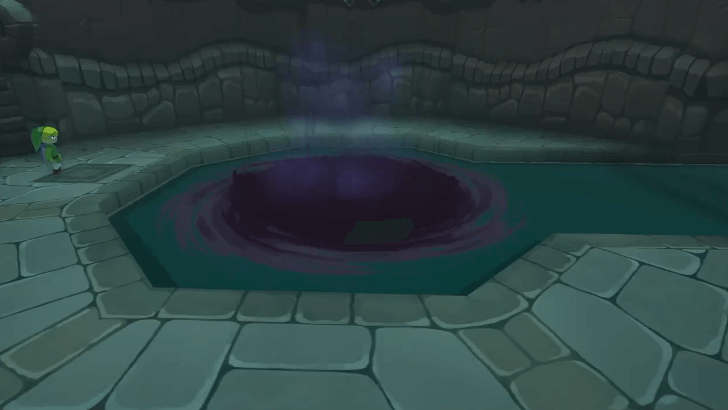 After solving the puzzle, a portal will show up which allows you to go out of this dungeon if you wish. |
| 5 | 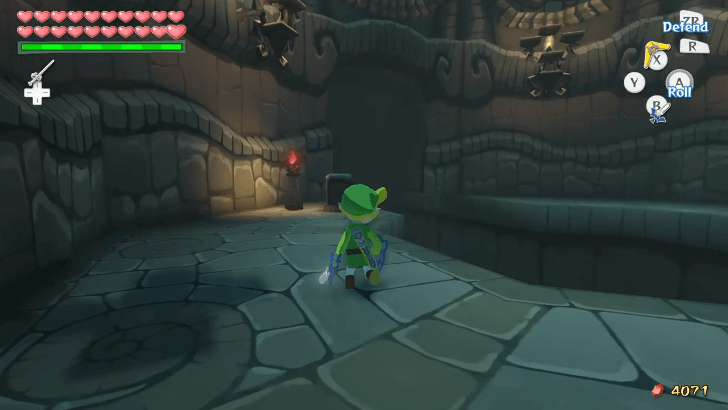 Go back to the room with the lanterns and read the stone tablet on the left. Jump down towards the darkness below to proceed. |
| 6 | 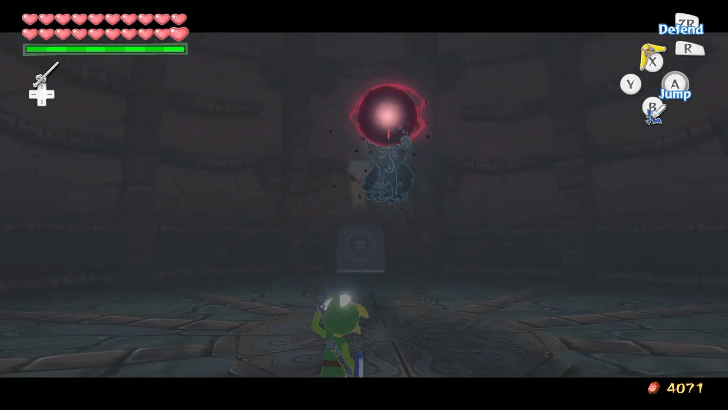 You will arrive at a dome-like arena and face Phantom Ganon. The ghost will throw projectiles which you can deflect with your sword attack. ▶︎ How to Beat Phantom Ganon |
| 7 | 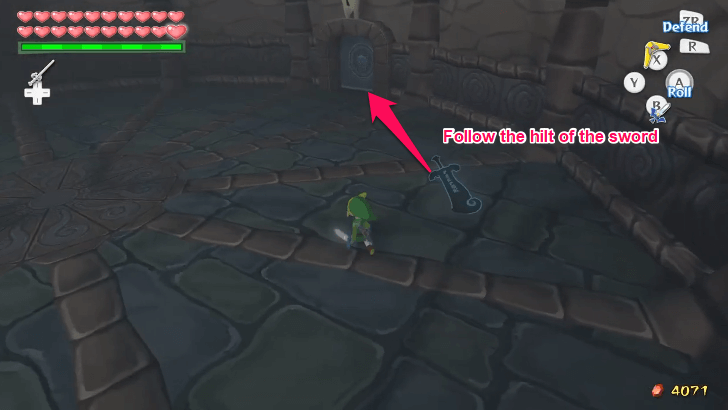 Once Phantom Ganon falls to the ground, hit it again and it will leave its sword. You need to enter the door where the hilt of the sword is pointing at, which is the whole mechanic behind this maze. You need to do this six times before you can reach the final room. |
| 8 | 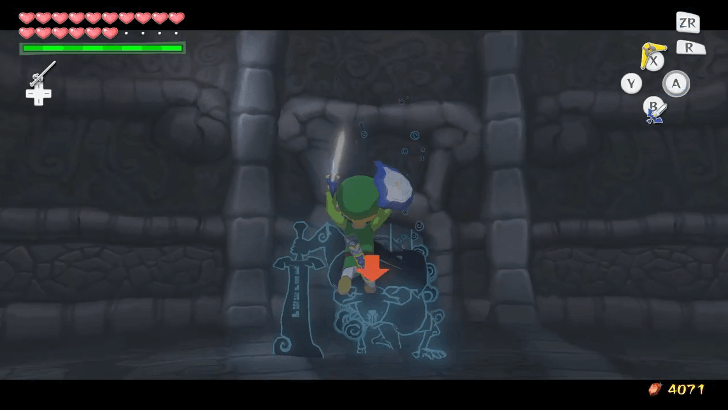 After following the hilt of the sword six times, you will face Phantom Ganon again. After defeating the ghost here, a chest will appear which contains the Light Arrow. |
| 9 | 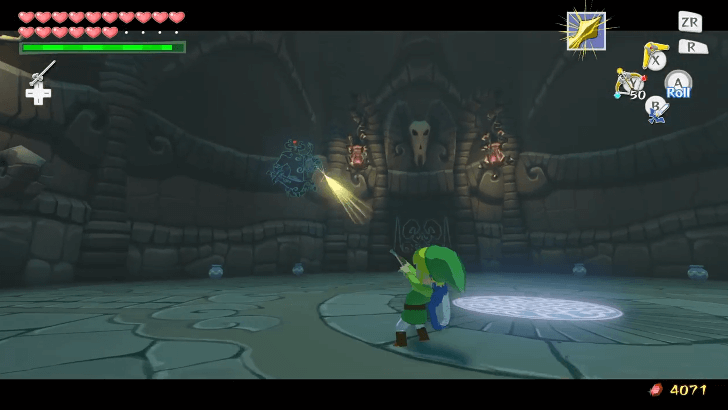 Head to the door and you will be transported back to the main room of the maze. Use your Bow and hit Phantom Ganon with the Light Arrow to defeat it. |
| 10 | 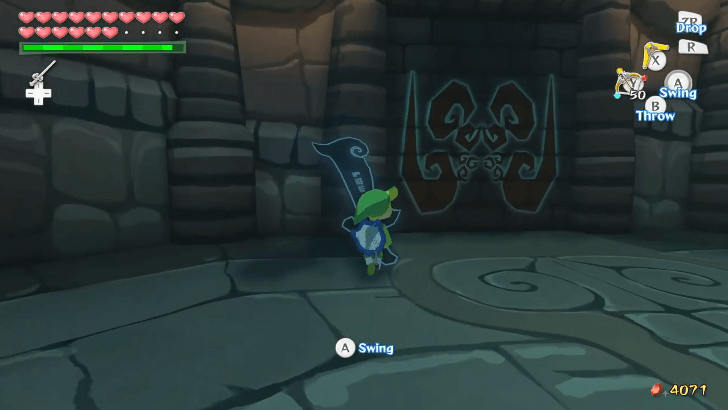 Grab the sword and use it to smash the brick wall with the red painting. |
| 11 |  Head up the stairs to reach the final room. Break the jars along the hallway or defeat the enemies to restore your health, magic, arrows, and bombs. Once you are ready, enter the big red door. |
| 12 |  You will find Zelda and Ganon who will summon Puppet Ganon. This fight has three phases where you need to attack the puppet's weak point with Light Arrows. ▶︎ How to Beat Puppet Ganon |
| 13 |  After defeating the puppet boss, Ganon will retreat and ascend the tower. Climb up the red rope and use the Hookshot to traverse along the beams. You can also break the pots found along the way to heal up. |
| 14 |  After some story cutscenes, the final fight with Ganon will begin. Zelda will lend a helping hand during the boss battle. ▶︎ How to Beat Ganondorf |
| 15 |  Once you defeat Ganondorf, you have beaten Wind Waker! You can access Second Quest, which allows you to play through the game a second time with some minor changes. |
The Legend of Zelda: The Wind Waker Related Guides

The Legend of Zelda:
The Wind Waker Wiki Top
Guides by Category
| List of Categories | |
|---|---|
 Walkthrough Walkthrough |
 Islands Islands |
 Tips and Tricks Tips and Tricks |
 Side Quests Side Quests |
 Bosses Bosses |
 Enemies Enemies |
 Items Items |
 Mini Games Mini Games |
 Songs Songs |
 Characters Characters |
Recommended Guides
 Heart Piece Locations
 All Nintendo Gallery Figurines
 GameCube and Wii U Version Differences
 Is Wind Waker on Switch?
 Savage Labyrinth Guide
 List of All Dungeons
 All Upgrades and How to Obtain Them
 All Great Fairy Locations
 All Big Octo Locations
 All Lookout Platform Locations
 Best Controllers
 100% Completion Guide
Comment
Author
The Legend of Zelda: The Wind Waker Walkthrough & Guides Wiki
100% Walkthrough Guide
Rankings
- We could not find the message board you were looking for.
Gaming News


![The Liar Princess and the Blind Prince Review [PC] | Lovely to Look at but Tedious to Play](https://img.game8.co/4442586/8d95f5faf05780f1765ce7e0938bd825.jpeg/thumb)
![Marathon Cryo Archive Map Teased as [REDACTED] on Selection Screen](https://img.game8.co/4442236/6357203e58172f6de57f1991e7c39b22.png/thumb)

Popular Games

Genshin Impact Walkthrough & Guides Wiki
Umamusume: Pretty Derby Walkthrough & Guides Wiki
Pokemon Pokopia Walkthrough & Guides Wiki
Honkai: Star Rail Walkthrough & Guides Wiki
Monster Hunter Stories 3: Twisted Reflection Walkthrough & Guides Wiki
Arknights: Endfield Walkthrough & Guides Wiki
Wuthering Waves Walkthrough & Guides Wiki
Zenless Zone Zero Walkthrough & Guides Wiki
Pokemon TCG Pocket (PTCGP) Strategies & Guides Wiki
Monster Hunter Wilds Walkthrough & Guides Wiki


Recommended Games
Diablo 4: Vessel of Hatred Walkthrough & Guides Wiki
Cyberpunk 2077: Ultimate Edition Walkthrough & Guides Wiki
Fire Emblem Heroes (FEH) Walkthrough & Guides Wiki
Yu-Gi-Oh! Master Duel Walkthrough & Guides Wiki
Super Smash Bros. Ultimate Walkthrough & Guides Wiki
Pokemon Brilliant Diamond and Shining Pearl (BDSP) Walkthrough & Guides Wiki
Elden Ring Shadow of the Erdtree Walkthrough & Guides Wiki
Monster Hunter World Walkthrough & Guides Wiki
The Legend of Zelda: Tears of the Kingdom Walkthrough & Guides Wiki
Persona 3 Reload Walkthrough & Guides Wiki


All rights reserved
© Nintendo. The Legend of Zelda and Nintendo Switch are trademarks of Nintendo.
The copyrights of videos of games used in our content and other intellectual property rights belong to the provider of the game.
The contents we provide on this site were created personally by members of the Game8 editorial department.
We refuse the right to reuse or repost content taken without our permission such as data or images to other sites.