 Heart Piece Locations
 All Nintendo Gallery Figurines
 GameCube and Wii U Version Differences
 Is Wind Waker on Switch?
 List of All Dungeons
 All Upgrades and How to Obtain Them
 All Great Fairy Locations
 All Big Octo Locations
 All Lookout Platform Locations
 Best Controllers
 100% Completion Guide
This survey will take about 1 minute.
Your answers will help us to improve our website.
The Legend of Zelda: The Wind Waker
Savage Labyrinth Guide and Rewards
▲ 100% Completion Checklist
▲ All Heart Pieces & Empty Bottle Locations
▲ Treasure Charts | Triforce Charts
▲ GameCube and Wii U Version Differences
▲ Upgrades ▶︎ Wallet | Magic Meter | Picto Box
The Savage Labyrinth is a 50-floor dungeon filled with enemies in The Legend of Zelda: The Wind Waker. Read on to learn about the list of enemies in the Savage Labyrinth, its location, rewards, and some tips and tricks on how to beat the dungeon!
List of Contents
Savage Labyrinth Required Equipment
| Required Equipment |
|---|
|
|
Hookshot
The Hookshot allows you to get to the platform where the Savage Labyrinth's entrance is located. It will help you grapple the nearby tree to pull yourself up.
The Hookshot can be found in the Wind Temple.
Power Bracelets
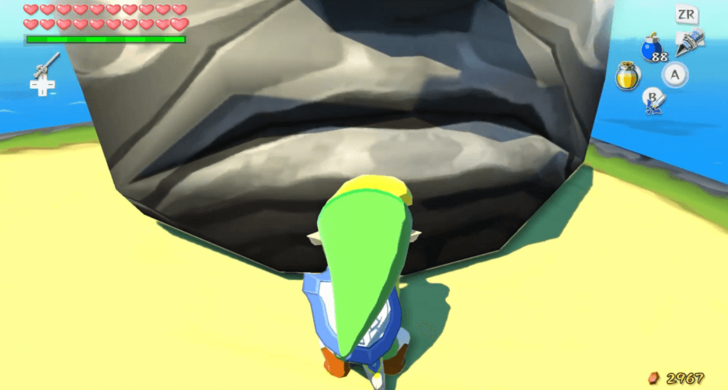
The entrance to the Savage Labyrinth is found underneath a stone head. To access the dungeon, you will need the Power Bracelets to lift the stone head and destroy it.
The Power Bracelets can be obtained after going through the Tower of the Gods. They can be found in Fire Mountain after getting the Fire and Ice Arrows.
How to Get the Power Bracelets
Mirror Shield
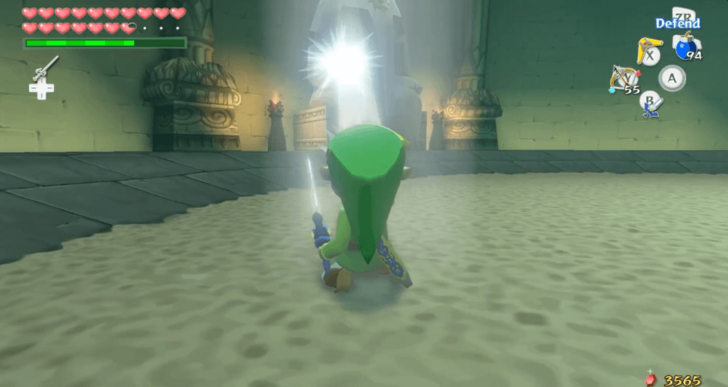
You may stop at the 30th floor of the Labyrinth if you only intend to get the Triforce Chart or Shard. However, if you want to complete every floor, you will need to use the Mirror Shield to break the statue in the 30th floor. This will reveal an entrance, allowing you to proceed further into the dungeon.
The Mirror Shield can be found in the Earth Temple.
Savage Labyrinth Enemy List
Floor 1-9 Enemies
| Enemy | How to Beat |
|---|---|
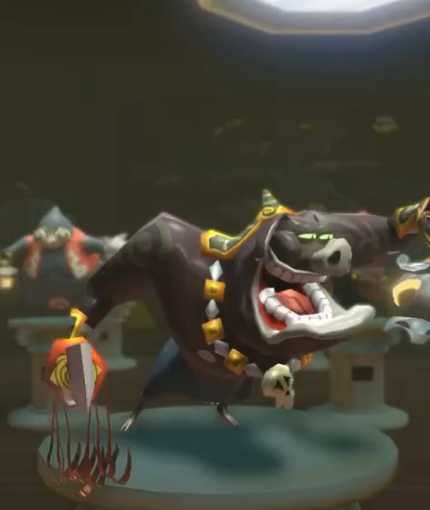 Moblin Moblin
|
Attack with B attacks. If they block, parry with A when they attack. Moblins can also be stunned with the Boomerang. |
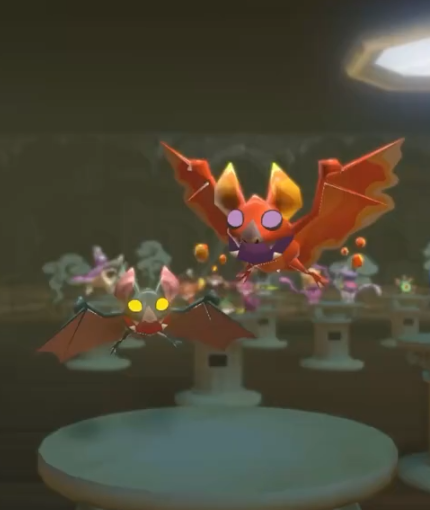 Fire Keese Fire Keese
|
Can be defeated using any weapon. |
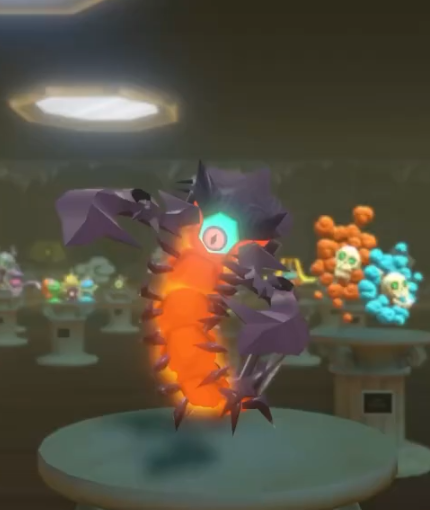 Magtail Magtail
|
Wait for the Magtail to attack then press A to parry. |
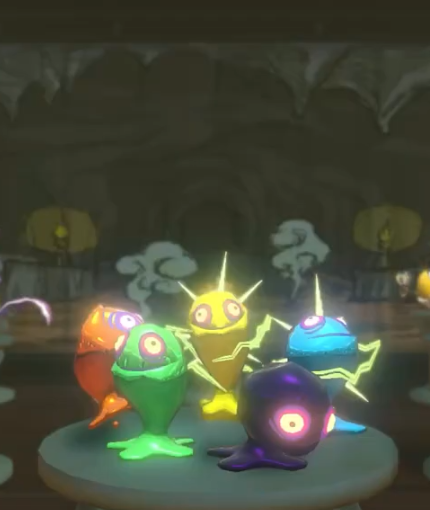 Red ChuChu Red ChuChu
|
Can be stunned using a Boomerang, Bomb, or Skull Hammer. |
 Bokoblin Bokoblin
|
Can be defeated using any weapon. |
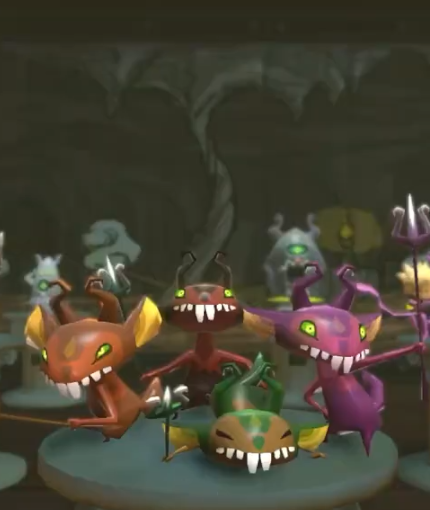 Miniblin Miniblin
|
Can be defeated using any weapon. |
|
Keese
|
Can be defeated using any weapon. |
The enemies in these floors consist of those you have faced in the Forsaken Fortress and Dragon Roost Cavern.
Floor 11-19 Enemies
| Enemy | How to Beat |
|---|---|
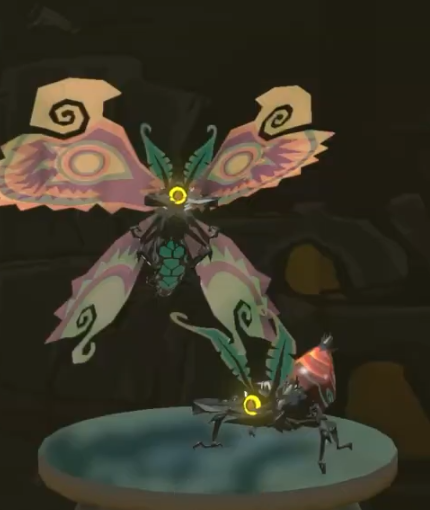 Winged Mothula Winged Mothula
|
Use the Deku Leaf to knock them to the ground then attack them. |
|
Mothula
|
Can be defeated using any weapon. |
|
Shield Bokoblin
|
Can be defeated using any weapon. |
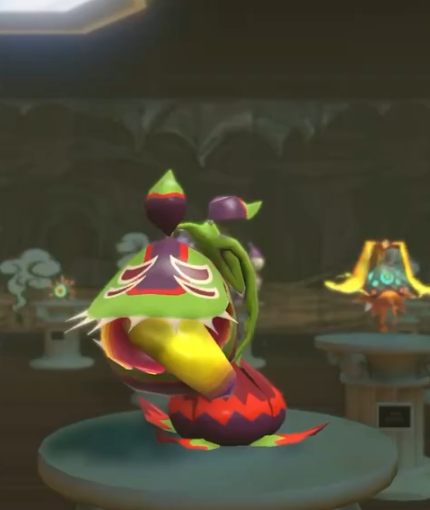 Boko Baba Boko Baba
|
Stun with a jump attack |
|
Bokoblin
|
Can be defeated using any weapon. |
|
Green ChuChu
|
Can be stunned using a Boomerang, Bomb, or Skull Hammer. |
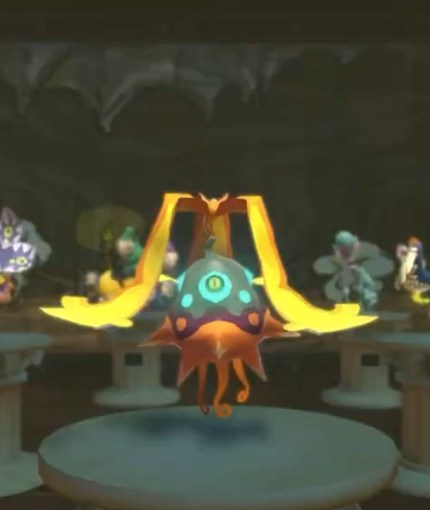 Peahat Peahat
|
Remove the propeller using a Boomerang or Deku Leaf. |
These floors contain enemies that you have encountered in the Forbidden Woods.
Floor 21-29 Enemies
| Enemy | How to Beat |
|---|---|
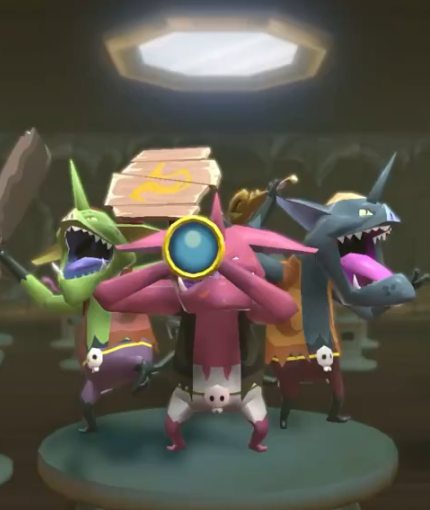
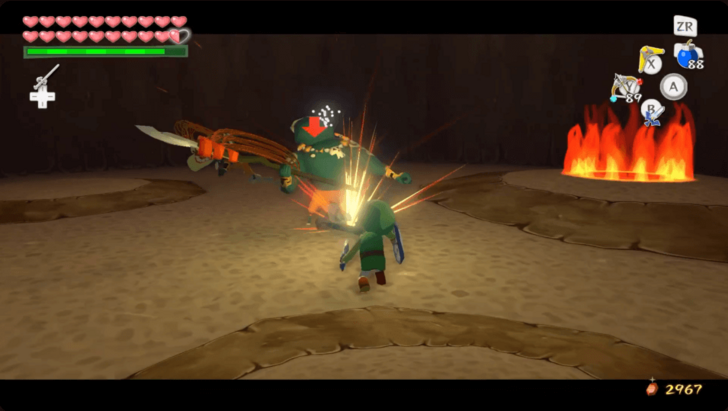
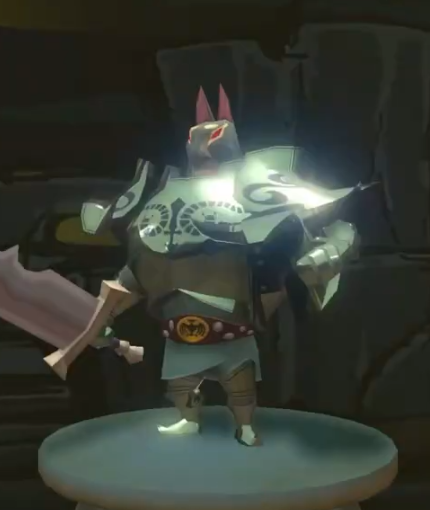 Darknut Darknut
|
Remove their helmets or breastplate. This can be done by parrying their attacks or just attacking them repeatedly. You can also sneak behind a Darknut to remove the straps for their breastplate. |
 Red Bubble Red Bubble
|
Weak against Arrows. Bubbles can also be stunned using a Hookshot or a Deku Leaf. |
|
Shield Bokoblin
|
Can be defeated using any weapon. |
|
Yellow ChuChu
|
Stun the Yellow ChuChu to disrupt its electric field. Can be stunned using a Boomerang, Bomb, or Skull Hammer. |
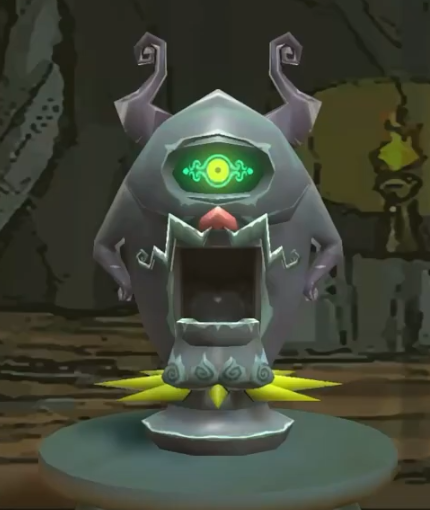 Armos Knight Armos Knight
|
Throw bombs into the mouth of an Armos Knight. Back away when it starts to spin and explode. |
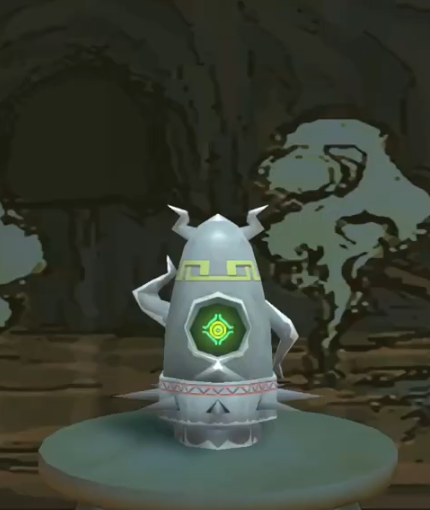 Armos Armos
|
Hit the Armos' green eye using the bow, then use your sword to strike the red crystal on its back. Back away when it starts to spin and explode |
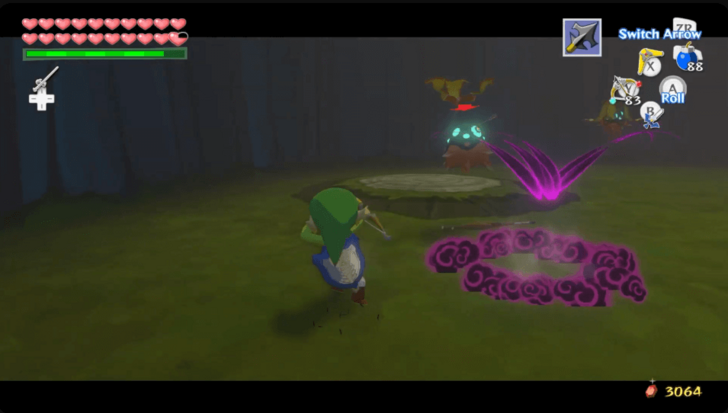
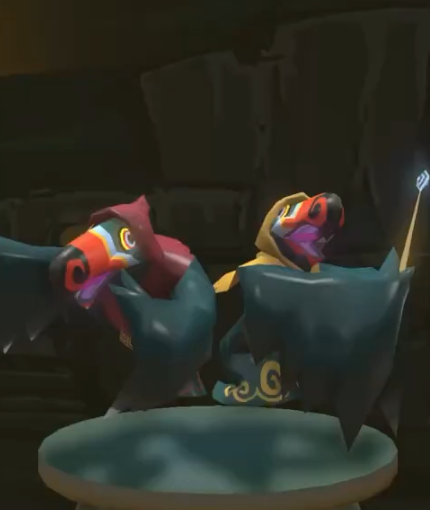 Wizzrobe Wizzrobe
|
Aim an arrow at the Wizzrobe before it casts its spell. |
The enemies in these floors consist of those you faced in the Tower of the Gods.
Floor 31-39 Enemies
| Enemy | How to Beat |
|---|---|
|
Moblin
|
Attack with B attacks. If they block, parry with A when they attack. Moblins can also be stunned with the Boomerang. |
|
Winged Mothula
|
Use the Deku Leaf to knock them to the ground then attack them. |
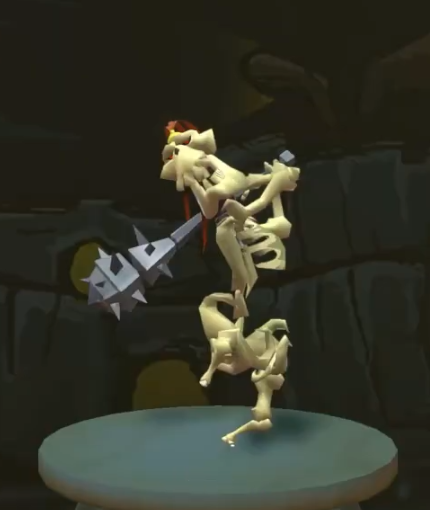 Stalfos Stalfos
|
Use a Bomb to scatter the Stalfos' bones then attack the skull before it reforms. |
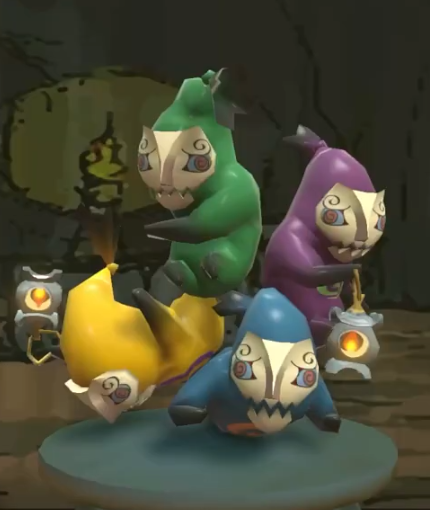 Poe Poe
|
Shine a light at the Poe, then attack it once it's solidified. |
|
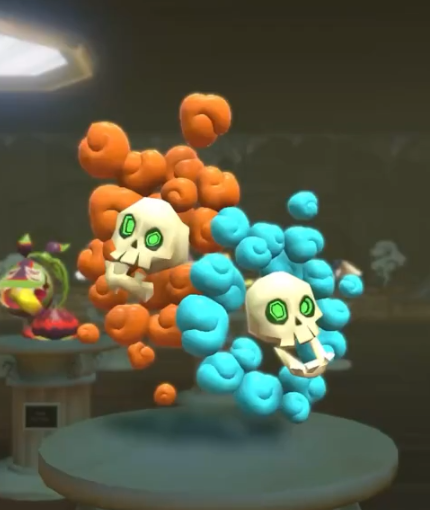
Dark ChuChu
|
Use a beam of light to turn Dark ChuChus into stone then shatter it. |
|
Blue Bubble
|
Bubbles can be stunned using a Hookshot or a Deku Leaf. |
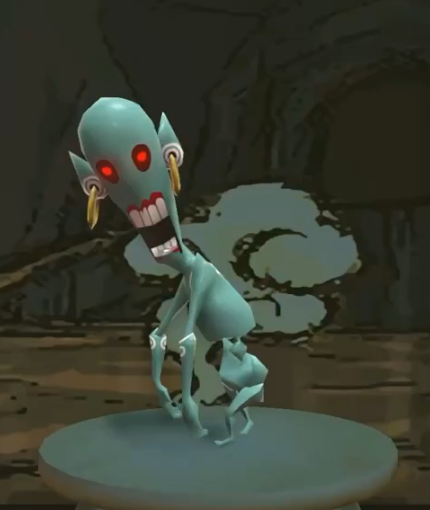 ReDead ReDead
|
Strike from behind or stun them with light. No projectile weapons except for Bombs can defeat ReDeads. |
The enemies in these floors are those that you have encountered in the Earth Temple. You will need to use the Mirror Shield to counter some of them.
Floor 41-49 Enemies
| Enemy | How to Beat |
|---|---|
|
Moblin
|
Attack with B attacks. If they block, parry with A when they attack. Moblins can also be stunned with the Boomerang. |
|
Darknut
|
Remove their helmets or breastplate. This can be done by parrying their attacks or just attacking them repeatedly. You can also sneak behind a Darknut to remove the straps for their breastplate. |
|
Stalfos
|
Use a Bomb to scatter the Stalfos' bones then attack the skull before it reforms. |
|
Red ChuChu
|
Can be stunned using a Boomerang, Bomb, or Skull Hammer. |
|
Shield Bokoblin
|
Can be defeated using any weapon. |
|
Yellow ChuChu
|
Stun the Yellow ChuChu to disrupt its electric field. Can be stunned using a Boomerang, Bomb, or Skull Hammer. |
|
Bokoblin
|
Can be defeated using any weapon. |
|
Miniblin
|
Can be defeated using any weapon. |
|
Green ChuChu
|
Can be stunned using a Boomerang, Bomb, or Skull Hammer. |
|
Wizzrobe
|
Aim an arrow at the Wizzrobe before it casts its spell. |
|
ReDead
|
Strike from behind or stun them with light. No projectile weapons except for Bombs can defeat ReDeads. |
These last floors contain enemies that you have encountered in the Wind Temple. They also have additional challenges, including electric barriers, bomb plants, and fire-breathing statues.
Savage Labyrinth Rewards
| Floor | Rewards |
|---|---|
| 10 | · Hearts · Green Rupees |
| 20 | · Hearts · Rupees · Bombs |
| 30 | · Hearts · Rupees · Triforce Chart #6 (Original Version) · Triforce Shard (HD Version) |
| 40 | · More than 500 Rupees |
| 50 | · Piece of Heart (Original Version) · Hero's Charm (HD Version) |
Savage Labyrinth Tips and Tricks
Stock Up on Healing Items

The enemies in the Savage Labyrinth do not drop items, making it tough to survive. It is ideal to bring Fairies and potions for recovery. You may also go to grandma with an empty bottle to get some Elixir Soup before entering the dungeon.
Savage Labyrinth Location
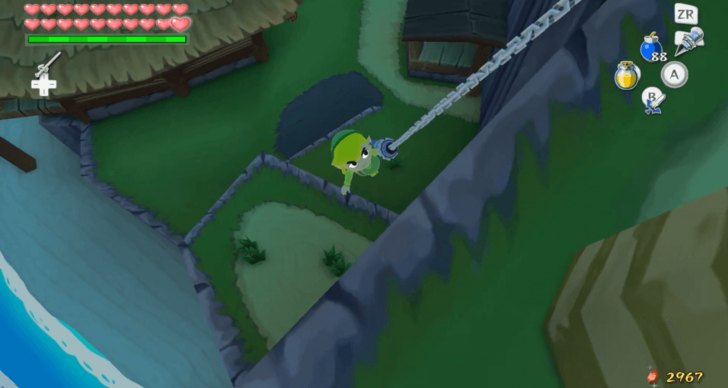
Under a Stone Head in Outset Island
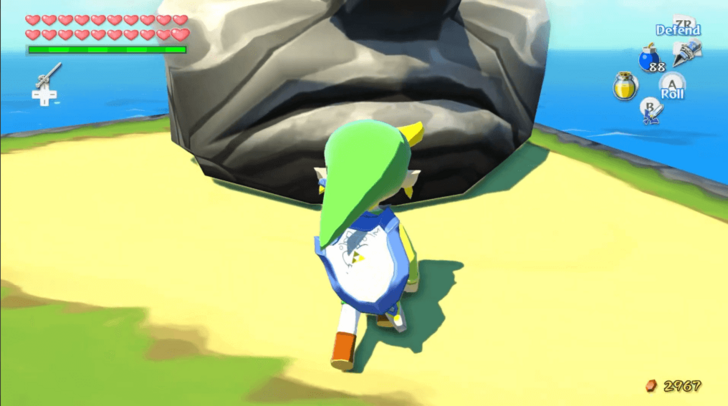
The Savage Labyrinth is located in Outset Island. Climb the area near your house and use the Hookshot to get to the platform with the stone head. You will need the Power Bracelets to lift the stone head to reveal a cavern entrance.
Savage Labyrinth Details
Defeat Enemies to Proceed
The Savage Labyrinth consists of 50 floors. To proceed to the next floor, you must defeat every enemy in your current floor.
Every 10th floor has no enemies. Instead, you may obtain items such as Hearts and Rupees. You may also opt warp back outside upon reaching one of these floors.
Enemies Do Not Drop Items
The enemies in the Savage Labyrinth do not drop items, making it tough to survive. It is best to stock up on healing items in order to clear the floors. You may also take advantage of the Hearts you can obtain in the 10th, 20th, and 30th floors.
The Legend of Zelda: The Wind Waker Related Guides

The Legend of Zelda:
The Wind Waker Wiki Top
Guides by Category
| List of Categories | |
|---|---|
 Walkthrough Walkthrough |
 Islands Islands |
 Tips and Tricks Tips and Tricks |
 Side Quests Side Quests |
 Bosses Bosses |
 Enemies Enemies |
 Items Items |
 Mini Games Mini Games |
 Songs Songs |
 Characters Characters |
Recommended Guides
Comment
Author
The Legend of Zelda: The Wind Waker Walkthrough & Guides Wiki
Savage Labyrinth Guide and Rewards
Please participate in our site
improvement survey
04/2026
improvement survey
04/2026
Would you assist in
improving Game8's site?
improving Game8's site?

×
We are listening to our users' valuable opinions and discussing how to act on them.
The information collected through this survey will be used for the purpose of improving our services. In addition, the information will only be disclosed a part of a statistic in a format that will not allow identification of personal information.
Begin Survey
Not Now
×
Please rate each item regarding Game8.co's Advertisements.
Amount of Ads
Very Dissatisfied
Somewhat Dissatisfied
Fine
Somewhat Satisfied
Highly Satisfied
Placement of Ads
Timing of Ad Display
Ad Loading Speed
Safeness of Ads
Content of Ads
×
Please rate each item regarding Game8.co's Quality of Articles.
Amount of information
Very Dissatisfied
Somewhat Dissatisfied
Fine
Somewhat Satisfied
Highly Satisfied
Frequency of updates
Speed of new information
Accuracy of articles
Understandibility of articles
Readability of sentences
×
Please rate each item regarding Game8.co's Usability of the Site.
Ease of finding information
Very Dissatisfied
Somewhat Dissatisfied
Fine
Somewhat Satisfied
Highly Satisfied
Loading Speed
Use of Color
Font Size
Visibility of Images
Easy to Understand Layout
×
Please rate each item regarding Game8.co's Message Boards, Comments.
Ease of Writing
Very Dissatisfied
Somewhat Dissatisfied
Fine
Somewhat Satisfied
Highly Satisfied
Readability
Ease in Finding Information
Comment Quality
Comment Quantity
Admin Response
×
Please rate each item regarding Game8.co's Site's new design.
Please rate our site's new design
Very Dissatisfied
Somewhat Dissatisfied
Fine
Somewhat Satisfied
Highly Satisfied
Do you think that the website's design change makes the site easier to use?
Has the new design made it easier for you to find information on the site?
Has the new design improved the overall visual appeal of the site?
How would you rate your overall satisfaction with the new design of the site?
×
How likely are you to recommend Game8 to someone you know?
Very Unlikely
0
1
2
3
4
5
6
7
8
9
10
Very Likely
If you have other opinions regarding potential improvement to the website, please share them with us. We would appreciate your honest opinion.
Note: This is a free response section, so you can proceed without entering anything.
Note: Please be sure not to enter any kind of personal information into your response.
Note: Please be sure not to enter any kind of personal information into your response.
×
Thank You
×
Thank you for participating in our survey! Your answers will help us to improve the quality of our website and services.
We hope you continue to make use of Game8.
We hope you continue to make use of Game8.
Close
Rankings
- We could not find the message board you were looking for.
Gaming News


![Forza Horizon 6 Review [Preview] | Beautiful Roads With a Whole Lot of Oversteer](https://img.game8.co/4460981/a7254c24945c43fbdf6ad9bea52b5ce9.png/thumb)
![Borderlands Mobile Review [Playtest] | The Same Borderlands Made Easy](https://img.game8.co/4465500/aac0c880a39ec5cd46073e49d18f3ed5.png/thumb)
Popular Games

Genshin Impact Walkthrough & Guides Wiki
Crimson Desert Walkthrough & Guides Wiki
Umamusume: Pretty Derby Walkthrough & Guides Wiki
Honkai: Star Rail Walkthrough & Guides Wiki
Monster Hunter Stories 3: Twisted Reflection Walkthrough & Guides Wiki
Wuthering Waves Walkthrough & Guides Wiki
The Seven Deadly Sins: Origin Walkthrough & Guides Wiki
Pokemon TCG Pocket (PTCGP) Strategies & Guides Wiki
Pokemon Pokopia Walkthrough & Guides Wiki
Zenless Zone Zero Walkthrough & Guides Wiki


Recommended Games
Fire Emblem Heroes (FEH) Walkthrough & Guides Wiki
Pokemon Brilliant Diamond and Shining Pearl (BDSP) Walkthrough & Guides Wiki
Super Smash Bros. Ultimate Walkthrough & Guides Wiki
Diablo 4: Vessel of Hatred Walkthrough & Guides Wiki
Cyberpunk 2077: Ultimate Edition Walkthrough & Guides Wiki
Yu-Gi-Oh! Master Duel Walkthrough & Guides Wiki
Elden Ring Shadow of the Erdtree Walkthrough & Guides Wiki
Monster Hunter World Walkthrough & Guides Wiki
The Legend of Zelda: Tears of the Kingdom Walkthrough & Guides Wiki
Persona 3 Reload Walkthrough & Guides Wiki


All rights reserved
© Nintendo. The Legend of Zelda and Nintendo Switch are trademarks of Nintendo.
The copyrights of videos of games used in our content and other intellectual property rights belong to the provider of the game.
The contents we provide on this site were created personally by members of the Game8 editorial department.
We refuse the right to reuse or repost content taken without our permission such as data or images to other sites.