Wind Temple Walkthrough
▲ 100% Completion Checklist
▲ All Heart Pieces & Empty Bottle Locations
▲ Treasure Charts | Triforce Charts
▲ GameCube and Wii U Version Differences
▲ Upgrades ▶︎ Wallet | Magic Meter | Picto Box

The Wind Temple is a dungeon in The Legend of Zelda: The Wind Waker. Read on for a complete walkthrough of the Wind Temple, as well as a list of the important items that you can get in this section of the game!
| ◀︎ Previous Area | Next Area ▶︎︎ |
|---|---|
| Earth Temple | Triforce |
List of Contents
Wind Temple Walkthrough
Reveal the Wind Temple Entrance
| * | Before starting the Wind Temple quest, you may want to pick up the treasure from Treasure Chart #20. This contains a Piece of Heart. |
|---|---|
| 1 | 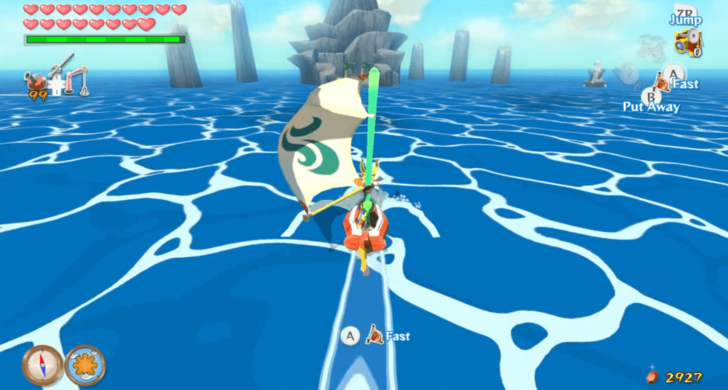 Warp to Windfall Island and sail north to Gale Isle. |
| 2 | 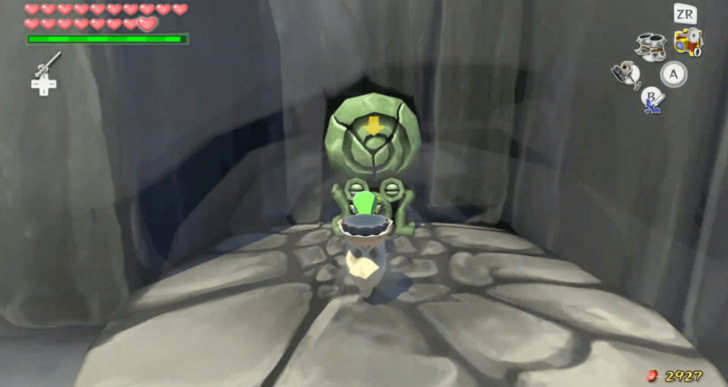 Once you land on the isle, equip the Iron Boots and walk towards the statue. Use the Skull Hammer to break the statue and reveal the entrance. |
| 3 | 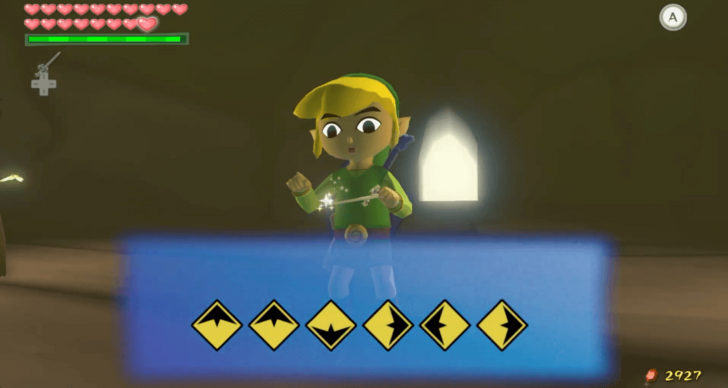 Head inside and walk up to the tablet. Use the Wind Waker to learn the Wind God's Aria. ▶ All Wind Waker Songs |
| 4 | 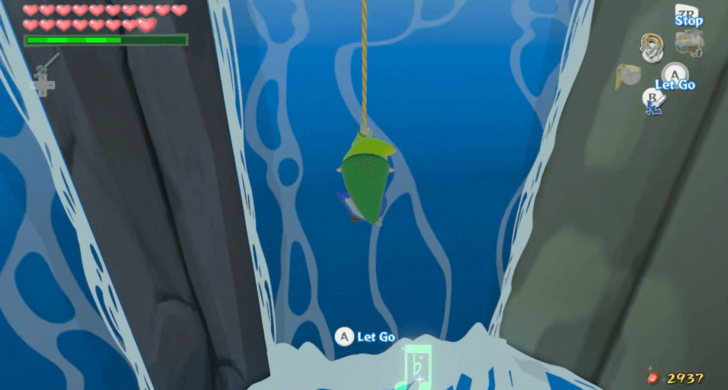 Warp to Forest Haven and climb up the steps to the top of the island. You will hear music once you reach the top of the steps. Use your Grappling Hook on the branch above to swing into the waterfall on the right. |
| 5 | 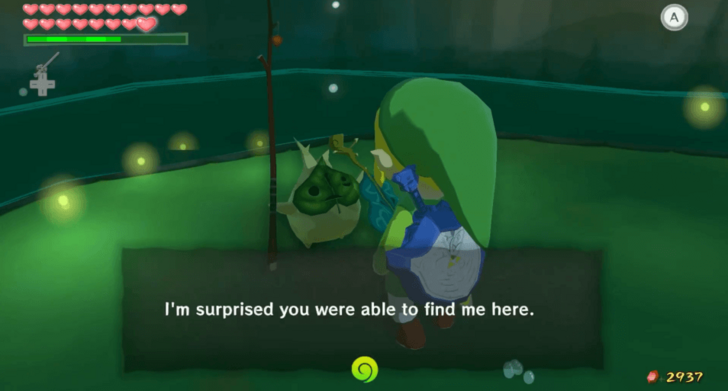 Once you are behind the waterfall, talk to Makar. Afterwards, play the Wind God's Aria, and Makar will join you in your journey to the Wind Temple. |
| 6 | 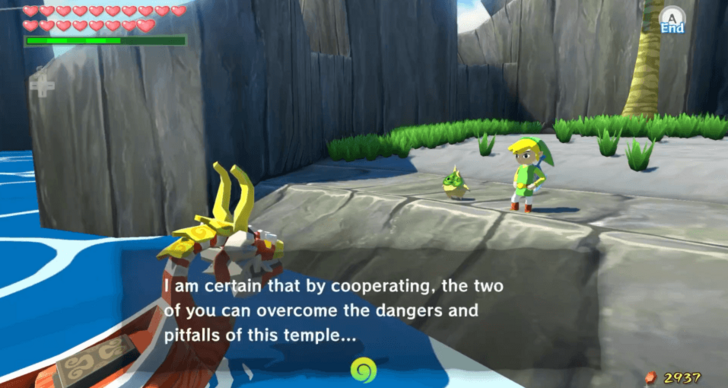 Return to Gale Isle. After landing, Red will mention that Makar can assist you like Medli did in the Earth Temple. |
| 7 | 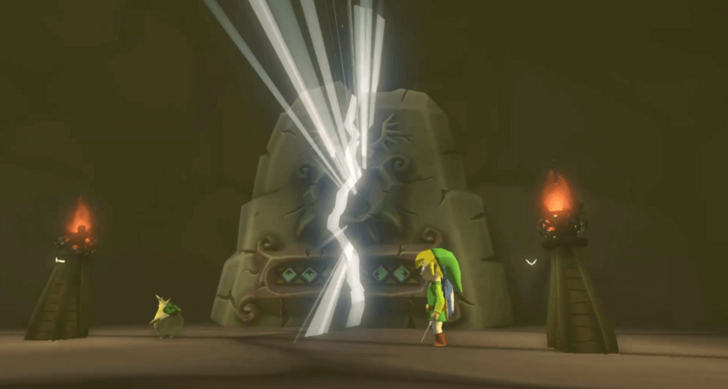 Enter the cave once more to conduct the Wind God's Aria. The entrance to the Wind Temple will be revealed afterwards. |
First Floor
| 1 | 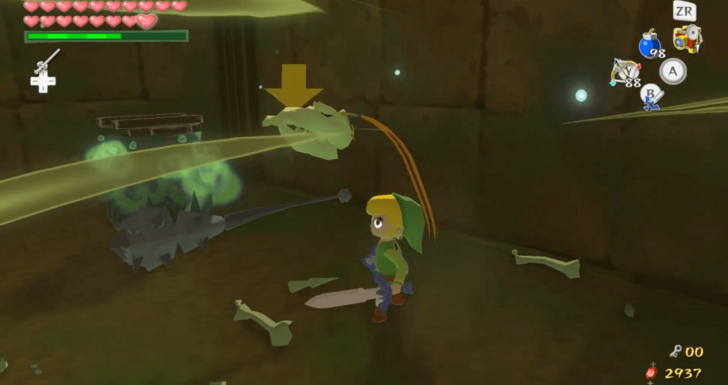 Bring Makar as you walk through the temple's entrance. Drop him off before jumping off the ledge. Defeat the enemies that are on the lower part of the room and activate the Warp Pot. |
|---|---|
| 2 | 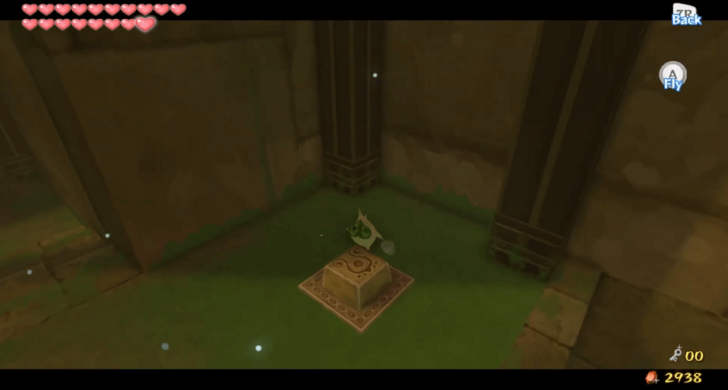 Conduct the Command Melody to take control of Makar. Use the 4/4 tempo then move your right stick ◀, ◆, ▶︎, ◆. Fly him to the upper ledge on the other side of the room and have him step on the switch. This will remove the wind vortices that were blocking the path ahead. |
| * |  Before making Makar step on the switch, you may have him drop to the lower part of the room. He can plant seeds on the two plots of dirt. This will spawn a chest containing an Orange Rupee. |
| 3 | 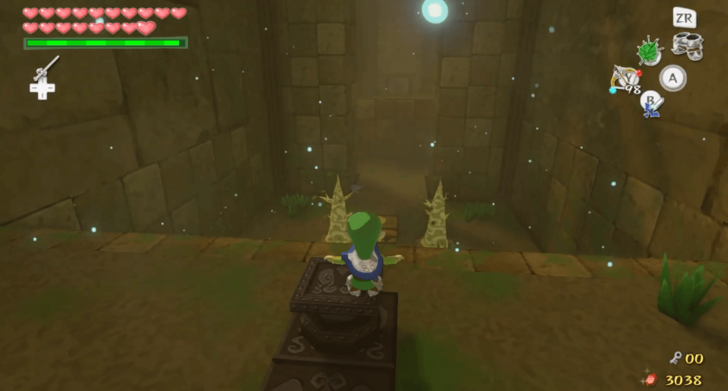 Once you release control of Makar, equip the Iron Boots. Step on the spring on the lower level, then unequip them to launch yourself to the upper ledge near the entrance. Repeat this process with the spring on that ledge while having the Deku Leaf equipped. This will launch you into the air, allowing you to glide to the ledge on the other end of the room. |
| 4 | 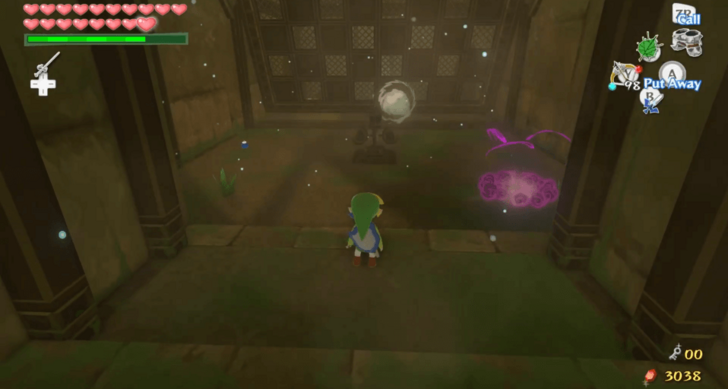 Pick Makar up before going through the door. Set him down before defeating the Amos. Afterwards, use your Deku Leaf to blow wind at the pinwheel. This will flip the fence that was blocking the way, allowing you to proceed. |
| 5 | 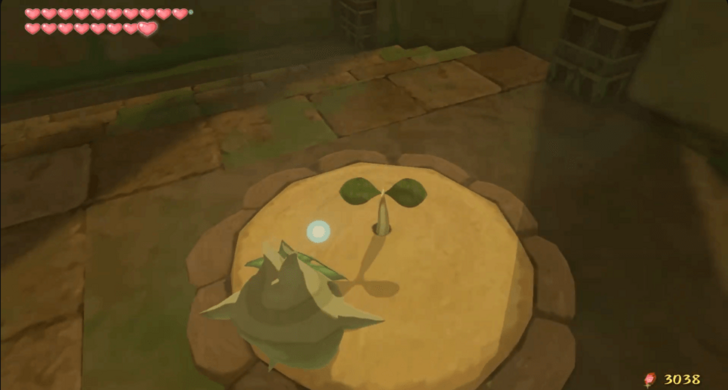 Walk ahead with Makar in tow. Take control of him and have him plant seeds on the two plots of dirt at the end of the room. This will unlock the door. |
| 6 | 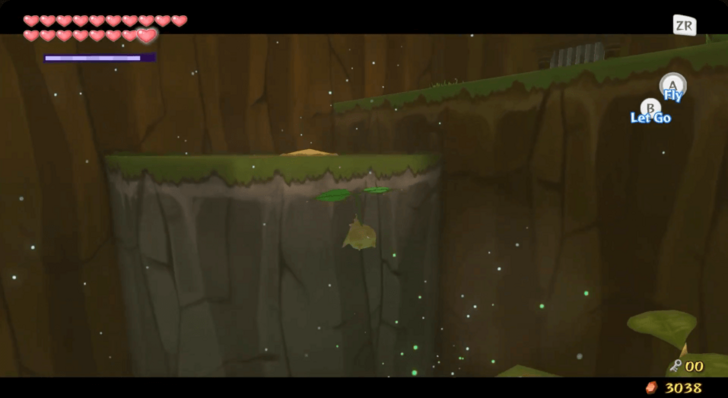 Walk through the door with Makar. Set him down and use the Command Melody to take control of him. Have him fly to the platforms to plant seeds on each plot of dirt. Once he has planted on all three, he will be captured by Floor Masters. |
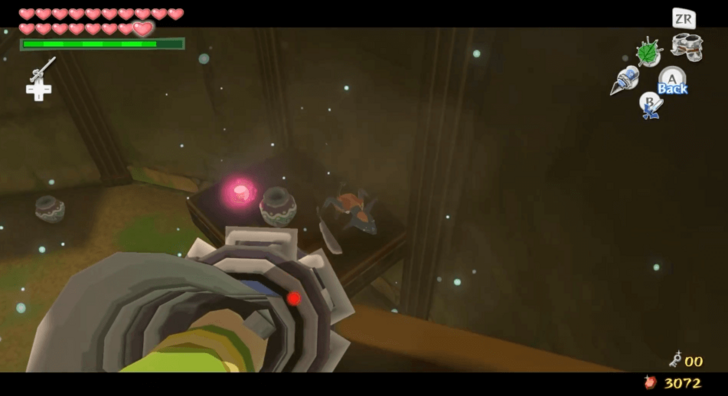
| * | 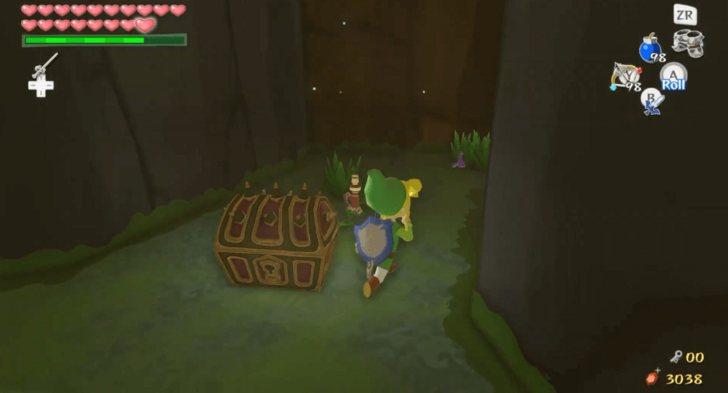 Jump off your platform to the lower part of the room. Use the Tingle Tuner (original version) or a bomb (HD version) on the area in between two of the smaller platforms. This will reveal a chest containing the Wind Tingle Statue. You may climb back to the ledge near the entrance using the thick vines on its edge. |
| 7 | 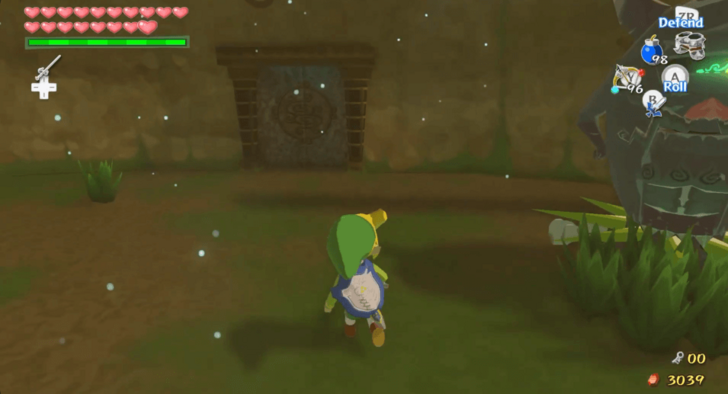 Enter the door on the right side of the platform you are on. You will then enter the room Makar is imprisoned in. Leave him there in the meantime and head to the door on the other end of the room. |
| 8 | 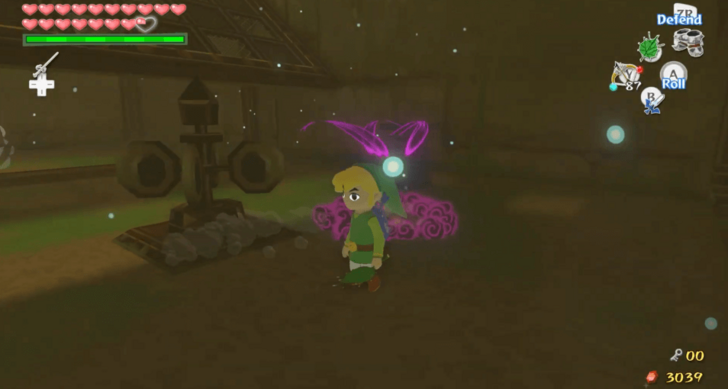 Enter the door and defeat the Peahats. Then, jump down to the lower part of the room to defeat the Floor Master. Afterwards, use the Deku Leaf to blow a gust of wind at the pinwheel to flip the fence. |
| 9 | 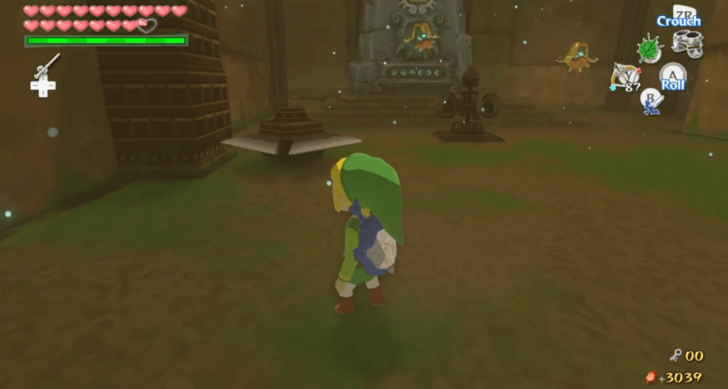 Use the spring near the pinwheel to jump to the upper level. You can grab the Joy Pendant from the nearby chest before entering the door to the right of the stone tablet. |
| 10 | 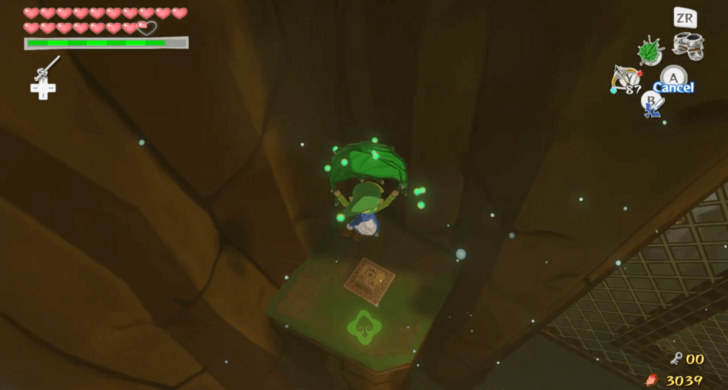 Glide to the small platform on the other side of the room and press on the switch. This will flip open a part of the fence, giving you another platform to stand on. Jump onto that platform and defeat the nearby Wizzrobe. |
| 11 | 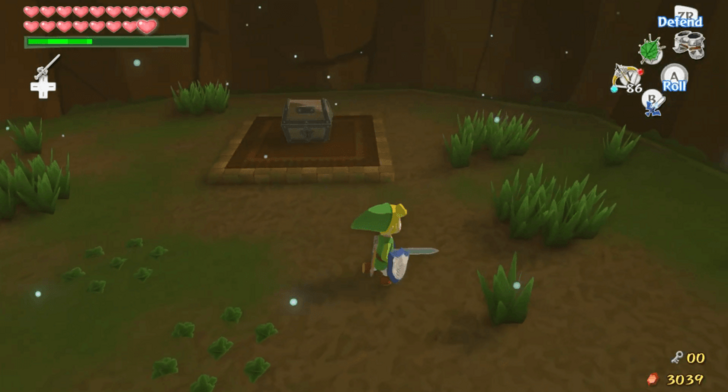 Glide through the hole on the fence ahead and land on the platform beyond it. Cut the grass to refill your Magic Bar. Afterwards, open the chest to obtain the Dungeon Map. |
| 12 | 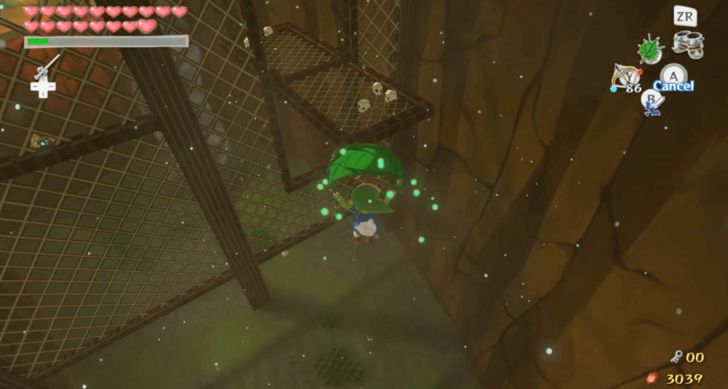 Glide back through the opening you came from. Use the nearby wind vortex to lift yourself up before turning left. Glide through the fence on that side, and use the wind vortex ahead to lift you to the platform with skulls. |
| 13 | 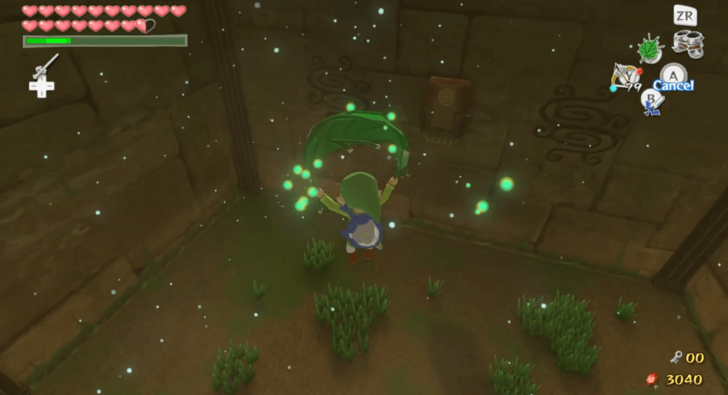 Break the skulls to refill your Magic Bar and defeat the enemies around the area with your bow. Glide to the grassy platform ahead and cut the grass to further refill your Magic Bar. Afterwards, enter the nearby door. |
| 14 | 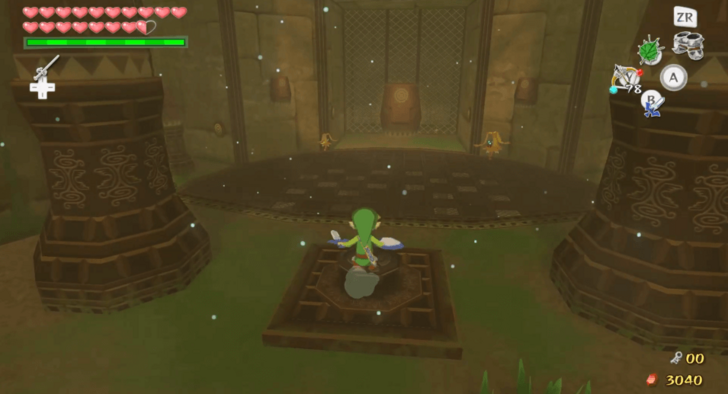 You have now returned to the room where Makar is being held. Activate the Warp Pot nearby before stepping on the switch in front of the door with the Iron Boots equipped. This will reveal an opening to the basement floor. |
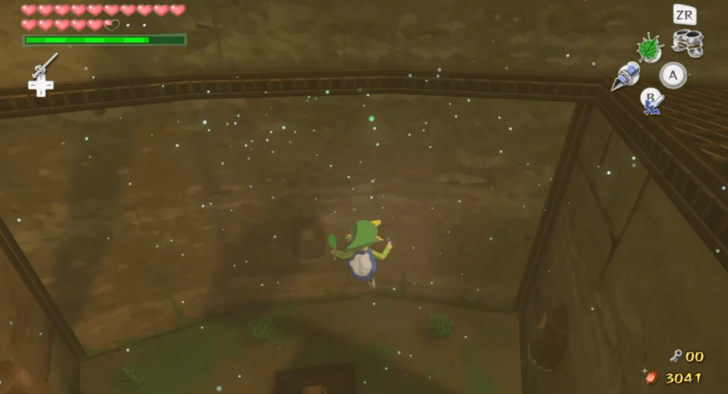
| 15 | 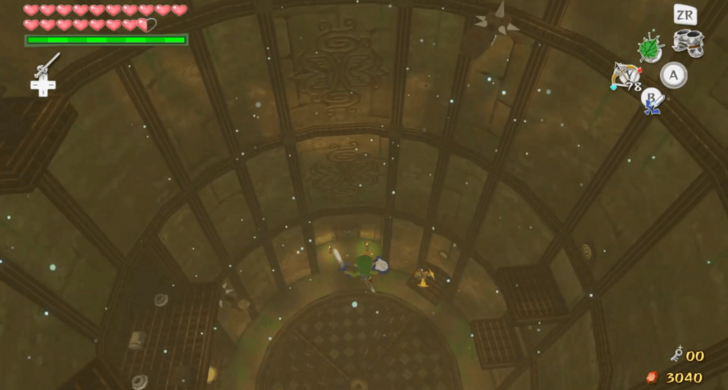 Jump down the opening. Make sure to use your Deku Leaf before you hit the ground to prevent taking damage. Afterwards, head to the door on the south. |
Basement 1
| 1 | 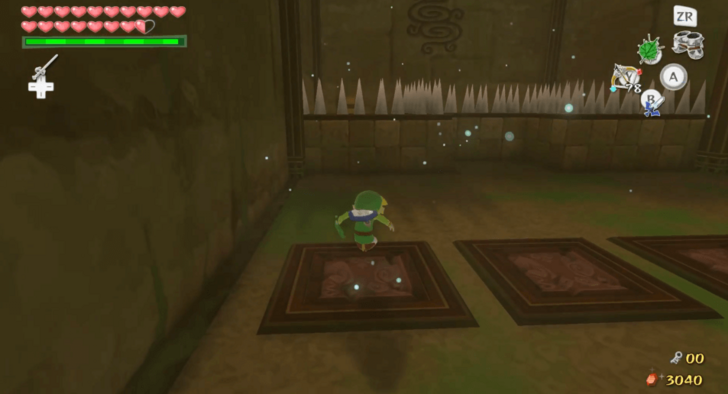 Once you enter the room to the south, you will see five stone panels. Equip the Iron Boots to break through one of the panels. You will drop through the floor, revealing enemies that you have to defeat. You will not have to face any enemies if you choose the second panel to the left. |
|---|---|
| 2 | 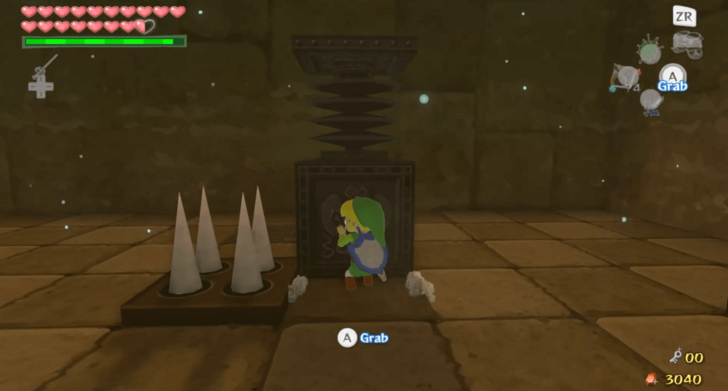 If there are enemies below the panel you chose, defeat them first. Then, push the block with the springboard on the marked tile on the other side of the room. Push another block near it to use as a stepping stone, then use the spring to jump back to the room's upper area. |
| 3 | 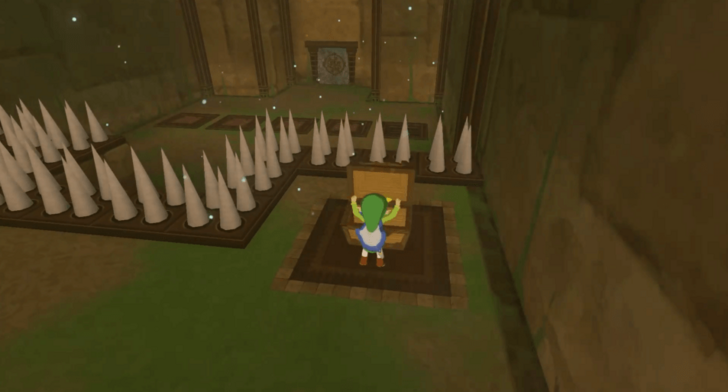 You will land on the other side of the room's spikes. Open the nearby chest to get a Small Key and remove the spikes. |
| * |  You may smash through all of the stone panels and defeat all the enemies underneath. Once you have done that, a chest will spawn. Open it to obtain Treasure Chart #35. |
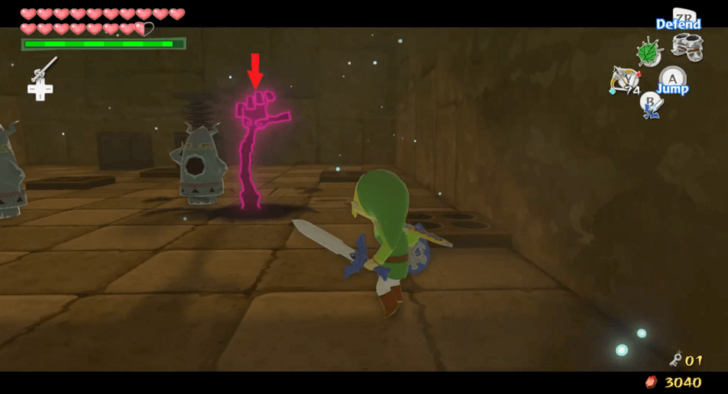
| 4 | 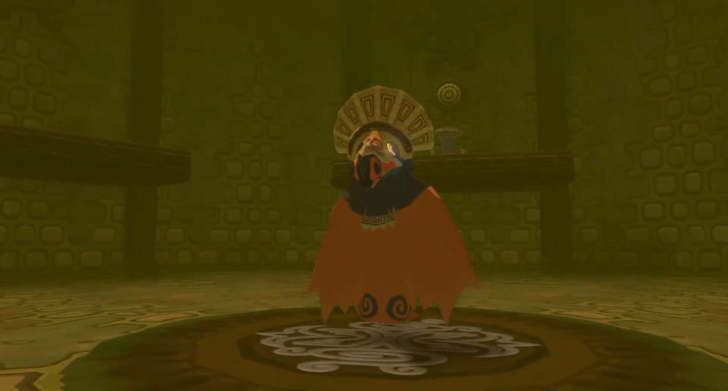 Leave the south room and head to the door at the north of the basement floor. Unlock it with the Small Key. Once inside, you will have to defeat the Wizzrobe Mini Boss. ▶︎ Wizzrobe Boss Guide |
| 5 | 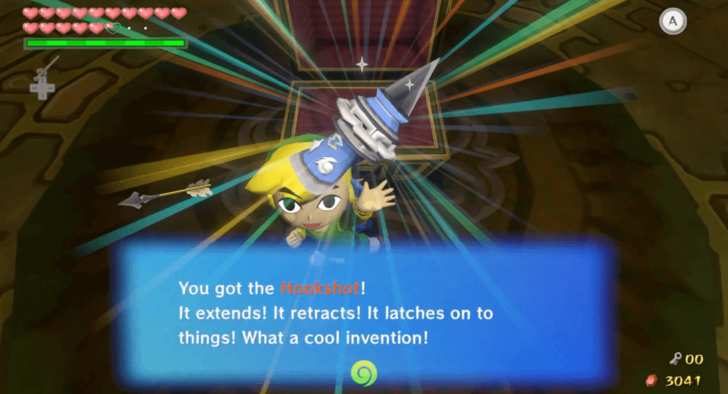 Defeat the Wizzrobe Mini Boss and its summons. Once the room is clear of any enemies, a chest will spawn. Open it to obtain the Hookshot. |
| 6 | 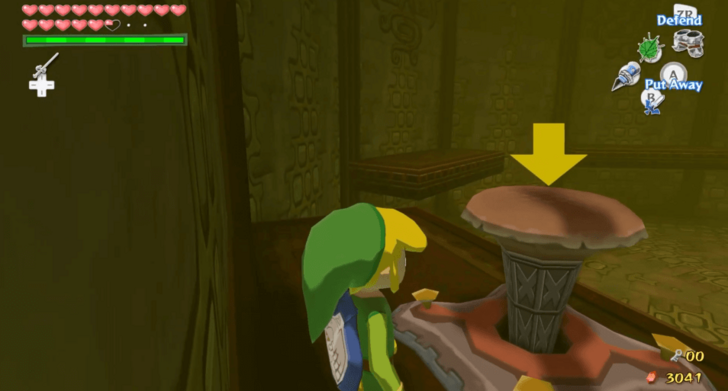 Use the Hookshot on the target above the ledge with a peg on it. Once you are on the ledge, use the Skull Hammer on the peg to unlock the door. |
| 7 | 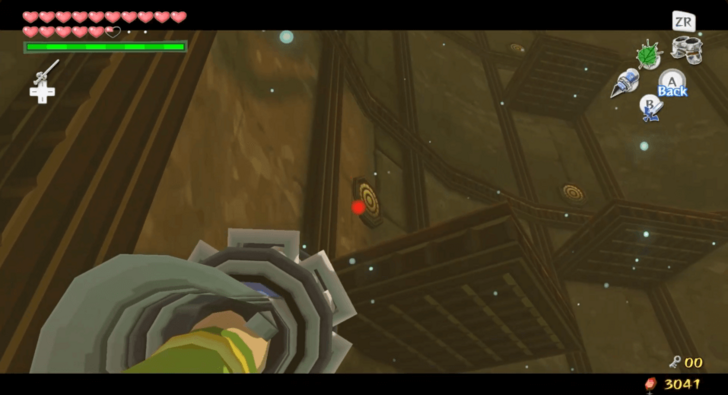 Once you have exited the room, use the Hookshot to climb up to the first floor. Aim for the targets lining the walls so that you can land on the platforms leading up. |
| 8 | 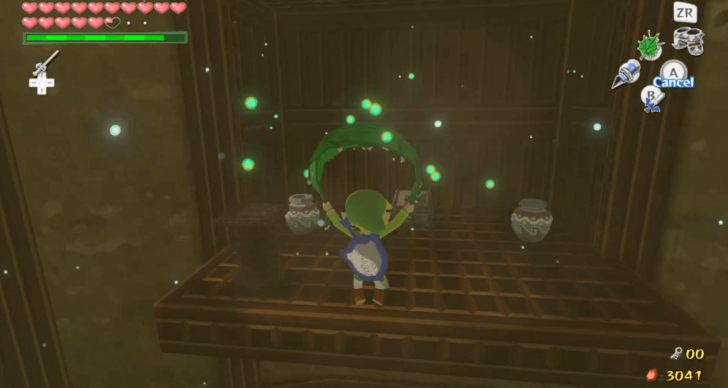 Beyond one of the platforms is an alcove with a chest. Glide to that area and open the chest to receive the Compass for the Wind Temple. |
| 9 | 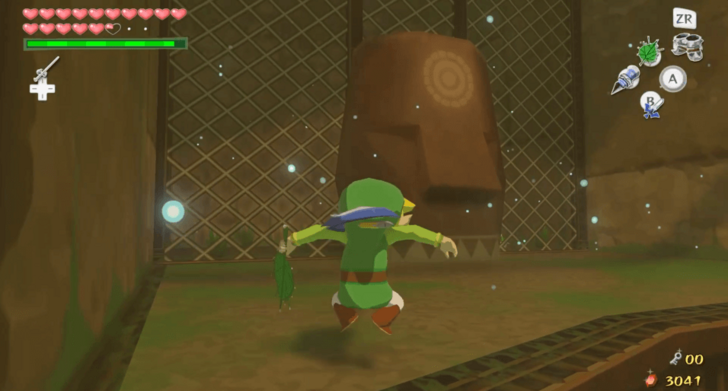 Use the nearby spring to launch yourself to the nearby ledge. Continue climbing up with the Hookshot until you see a fence with a stone face. Use the Hookshot on it while having the Iron Boots equipped to pull it down. |
| 10 | 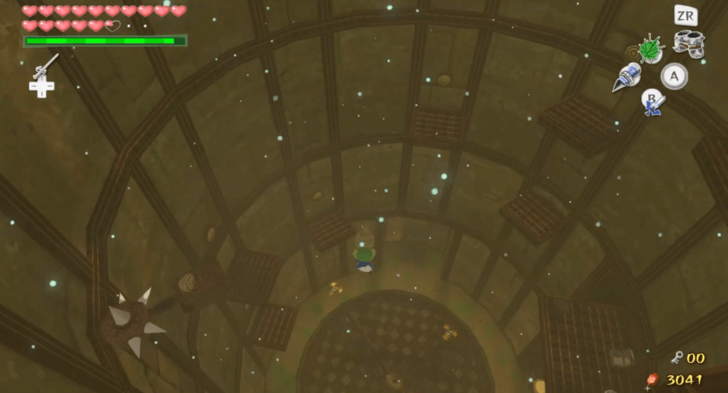 You may open the nearby chest to obtain a Joy Pendant. Afterwards, pick Makar up and drop back down to the basement floor. |
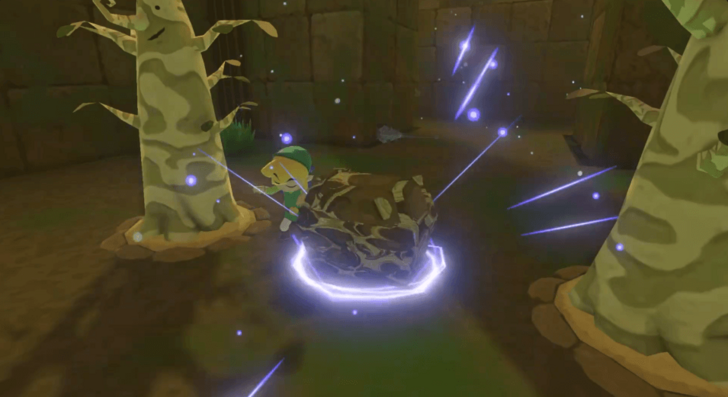
| 11 |  Use the Command Melody to take control of Makar. Have him plant seeds on the two plots of soil nearby in order to activate a wind vortex from below. |
| 12 | 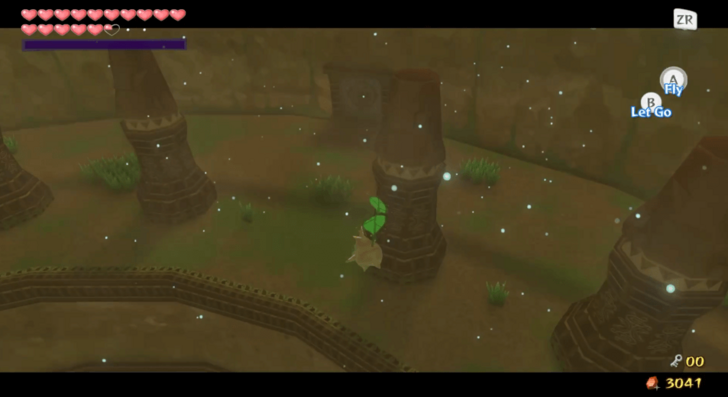 Use the wind vortex to Makar fly until he reaches the ledge on the second floor. It is one of the highest ledges that contains several pillars. Then, release control and use the Deku Leaf while on the wind vortex. This will allow you to follow Makar to the second floor. |
| * |  You may find a ledge with three stone faces nearby. You may open the chest that is on that ledge it to obtain a Joy Pendant. |
Second Floor
| 1 | 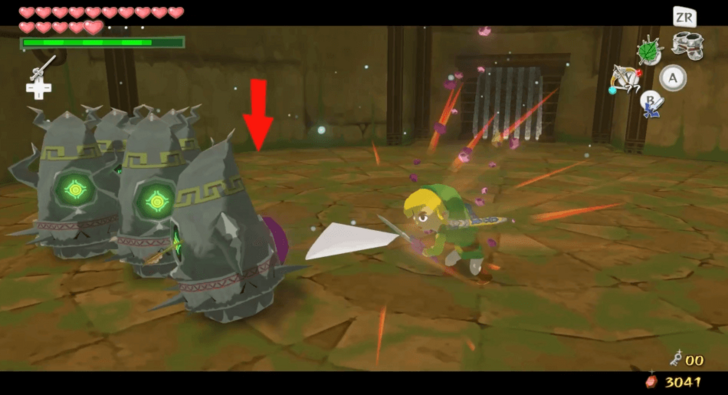 Enter the nearby door. Defeat the Armos inside the room. Once the room is clear, a fence will open up, revealing a chest. |
|---|---|
| 2 | 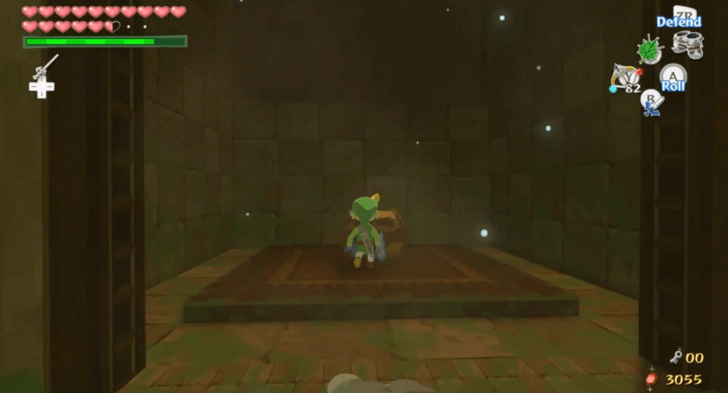 Open the chest to obtain a Small Key. Leave the room afterwards. |
| 3 | 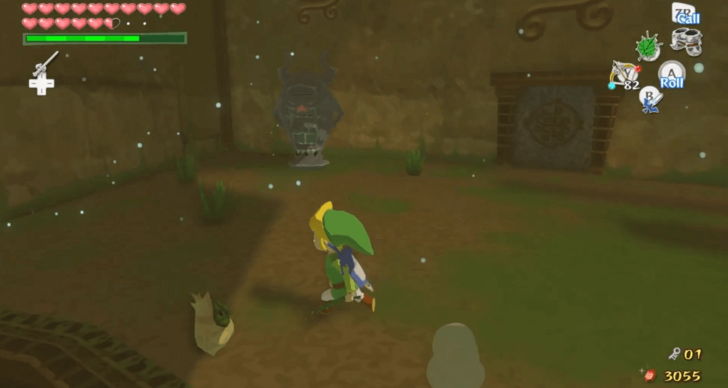 Take control of Makar and have him fly down to the east side. You will need to land on a ledge on the first floor that has Armos Knights. Follow him and defeat the Armos Knights. |
Return to the First and Basement Floors
| 1 | 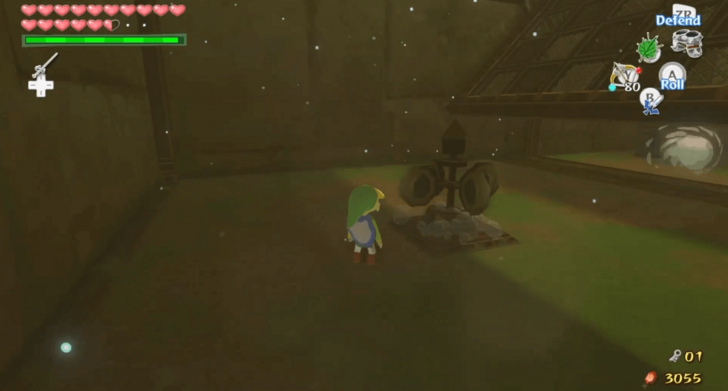 Enter the door and clear the room of enemies. Blow a gust of wind on the pinwheel on the lower part of the room to flip the fence up. |
|---|---|
| 2 | 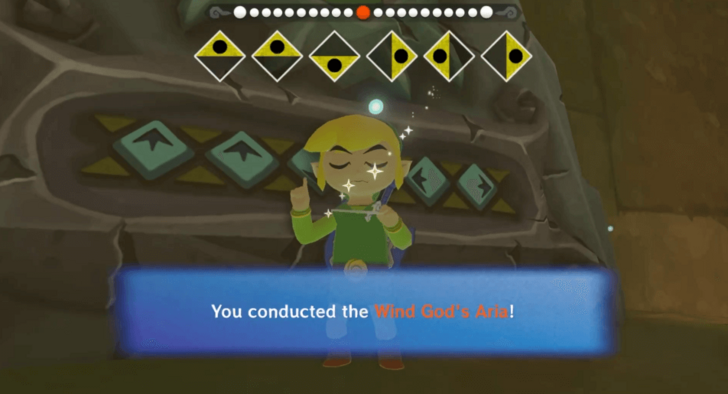 Use the spring to jump back to the upper part of the room. Pick Makar up and bring him to the stone tablet on the other end of the room. Conduct the Wind God's Aria to make Makar play the melody. This will break the stone tablet, revealing a door behind it. |
| 3 | 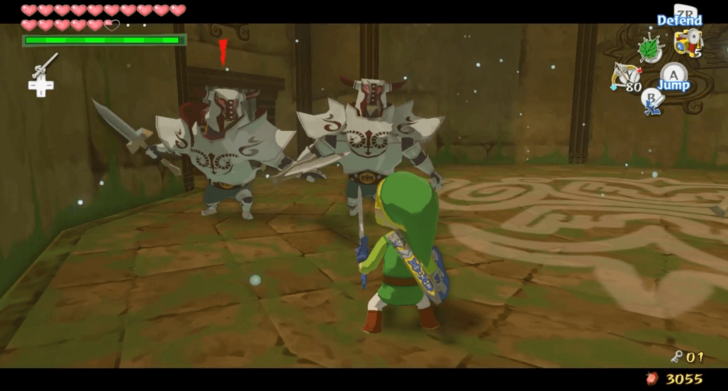 Enter the newly revealed door. Once inside, you will have to defeat the three Darknuts. You will have access to a chest that contains a Big Key afterwards. |
| 4 | 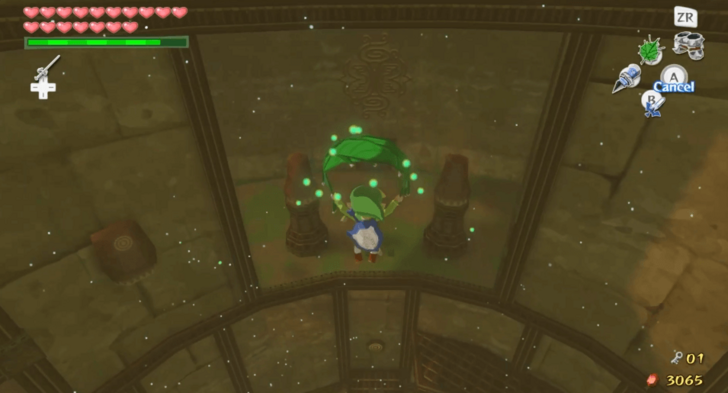 Grab Makar and go back to the ledge where you came from. You will have to blow a gust of wind towards the pinwheel again to walk on the fence. Once you have left the rooms, fly Makar to the ledge on the opposite end. Glide to where he is afterwards and enter the door. |
| 5 | 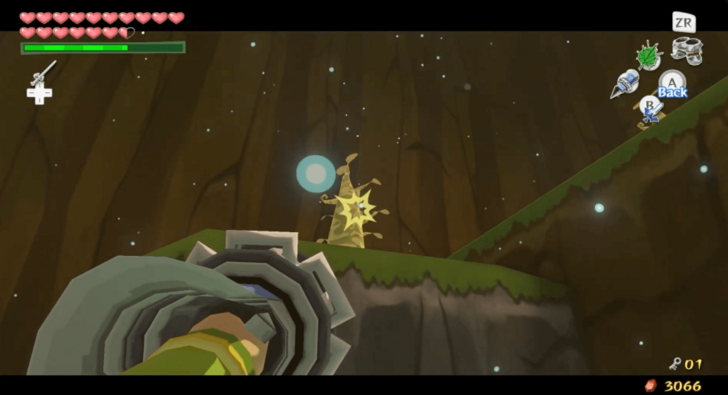 Defeat the enemies in the room. Afterwards, have Makar fly up to the topmost ledge. Use the Hookshot to climb up to where he is. Enter the nearby door. |
| 6 | 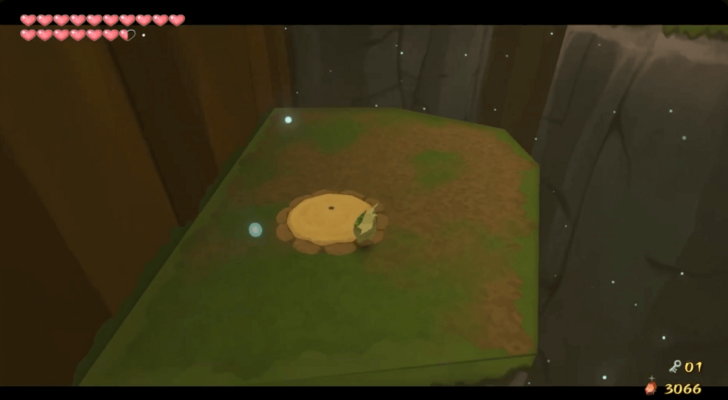 Put Makar down and defeat the Blue Bubbles in the room. You may pull them towards you with the Hookshot. Once the room is clear, have Makar fly up to the platforms to plant seeds on each plot of soil. |
| 7 | 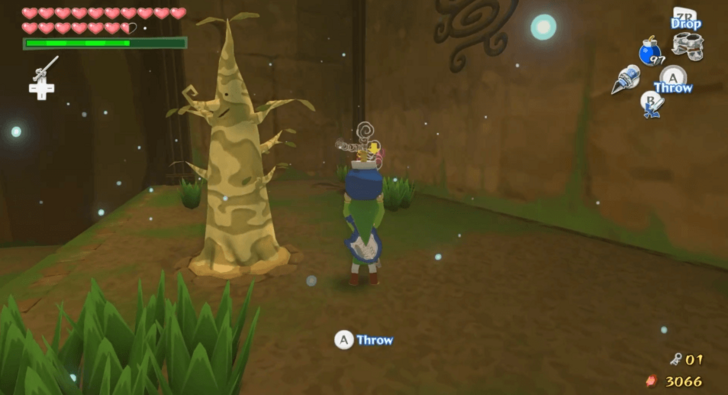 Use the Hookshot on the trees that Makar planted to climb up the topmost ledge. Defeat the Floor Master on the ledge before entering the nearby door with Makar. |
| 8 |  Place Makar on one switch and step on the other one. This will open up the fence ahead and an area below the basement floor. |
| 9 | 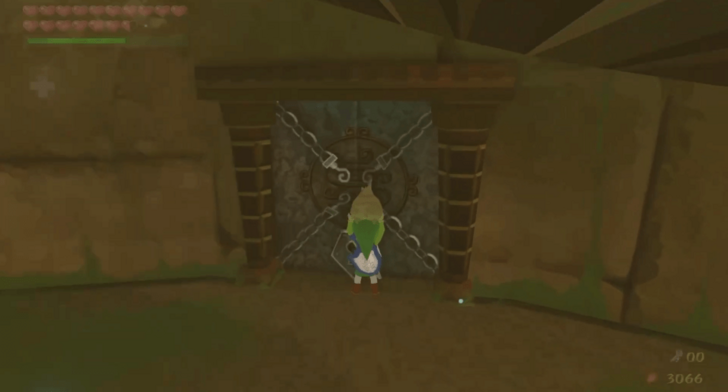 Drop down to the newly opened area underneath the Basement Floor with Makar. Unlock the nearby door and enter it. |
| 10 |  Defeat the enemies in the room, and make sure to focus on the Wizzrobe first. Afterwards, climb up the room by using the Hookshot on the targets on the walls. |
| 11 | 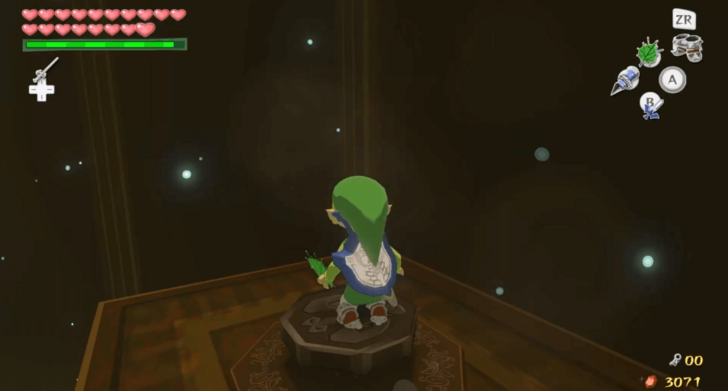 Land on the platform with a switch on it. Equip the Iron Boots then step on it to unlock the door on the opposite side of where you entered. |
| * |  You may pull down the stone faces in the room to reveal Bokoblins. Defeat them to spawn a chest containing Treasure Chart #5. |
| 12 | 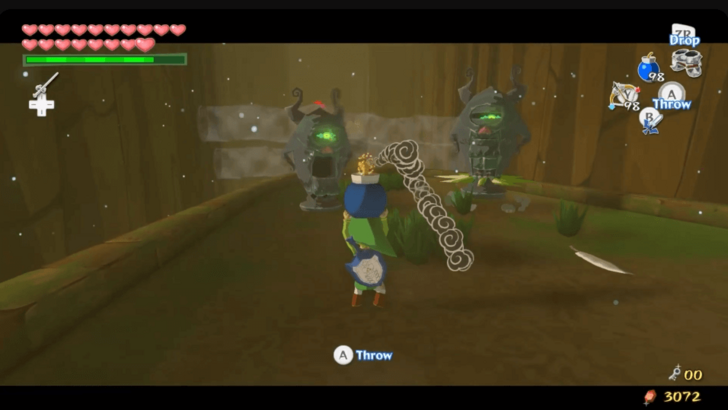 Enter the newly unlocked door with Makar. Defeat the enemies outside, then step on the end of the platform ahead |
| 13 | 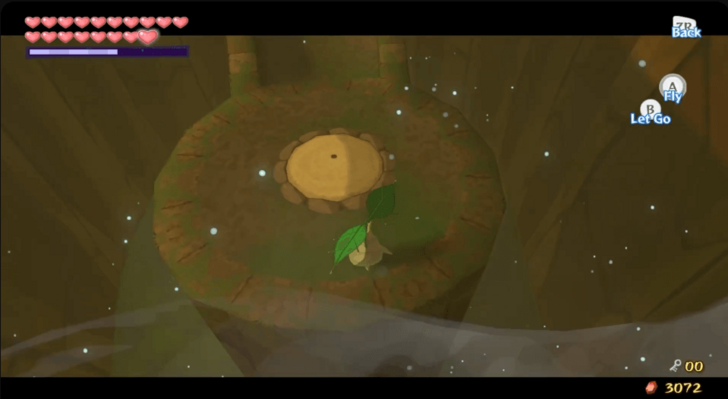 Take control of Makar, then have him fly through the gap. Once he lands on the adjacent platform, have him plant a tree on the plot of soil. |
| 14 | 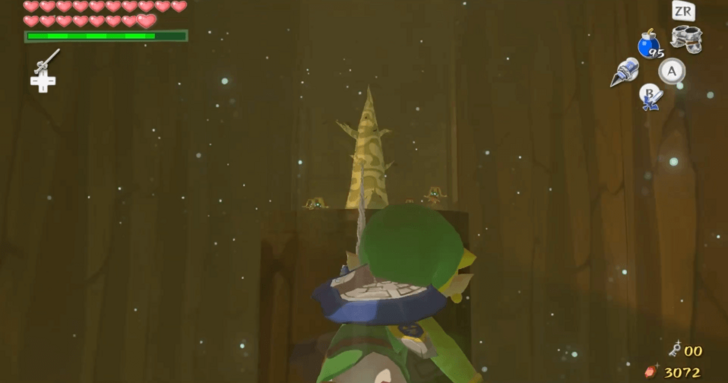 Release control of Makar. Then, use the Hookshot on the newly planted tree to get to the other platform. Defeat the enemies on the platform once you land. |
| 15 | 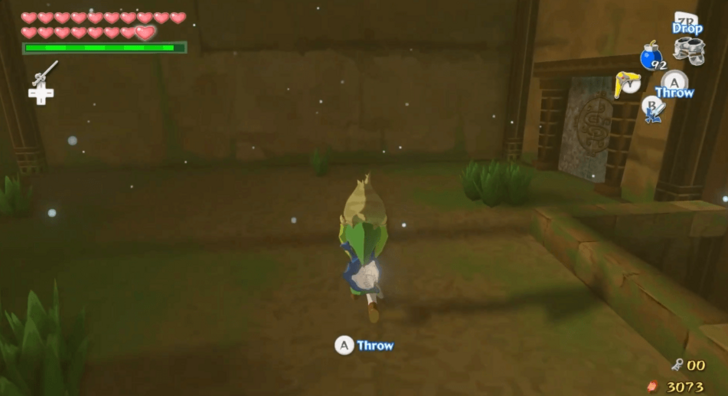 Pick Makar up and walk to the end of the path. Turn right, then open the door. |
| 16 | 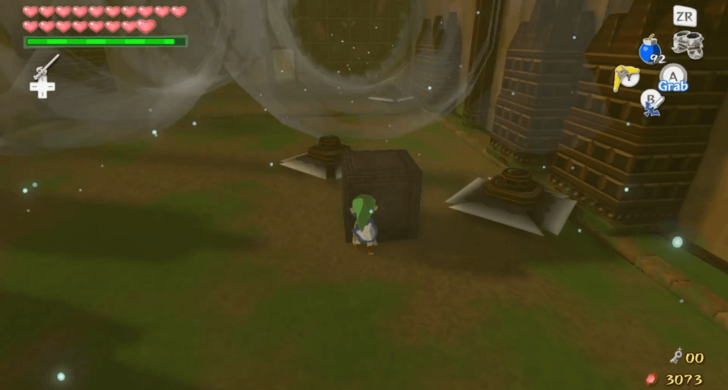 Put Makar down and equip the Iron Boots. Push one of the blocks in the room forward until the blade traps bounce off of it. |
| 17 | 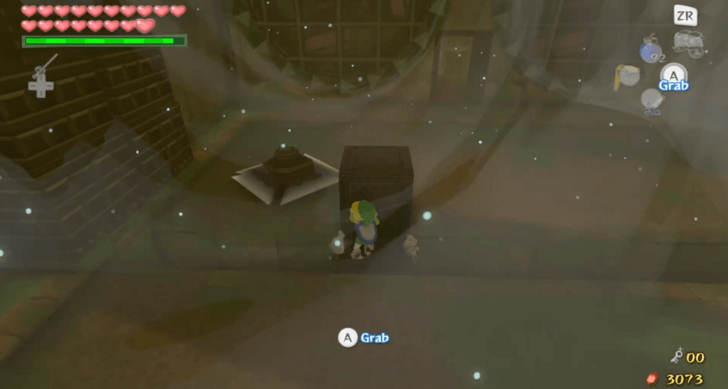 Push another block into the gap at the other end of the room to act as a bridge. Afterwards, push the third block through the bridge to block the blade trap on the far end of the room. |
| 18 |  Grab Makar and walk through the passage at the other end of the room. Once you are past the passage, you may unequip the Iron Boots. |
| 19 | 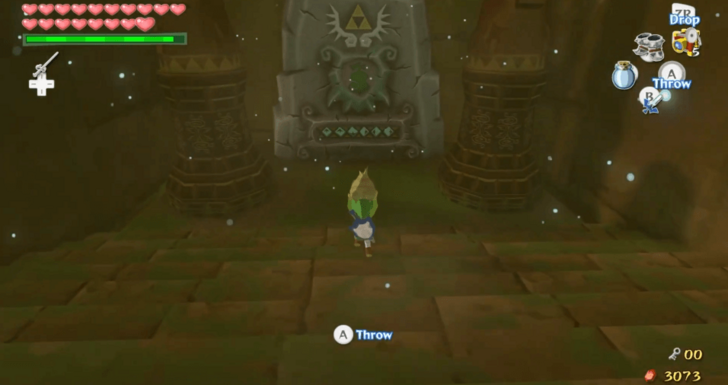 Go down the stairs and place Makar down. Conduct the Wind God's Aria in front of the stone tablet. This will prompt Makar to play it, which will break the tablet. |
| 20 | 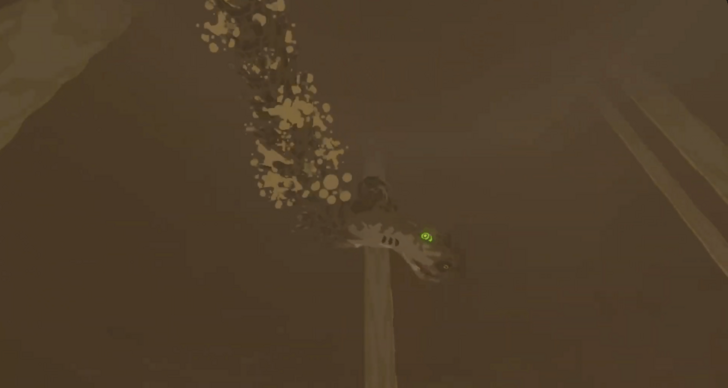 Go through the newly revealed entrance. You will find some pots, a Warp Pot, and a large door. You may activate the Warp Pot and destroy the normal pots to get some items before enterring. Once you go through the door, you will have to fight Molgera. ▶︎ Molgera Boss Guide |
| 21 | 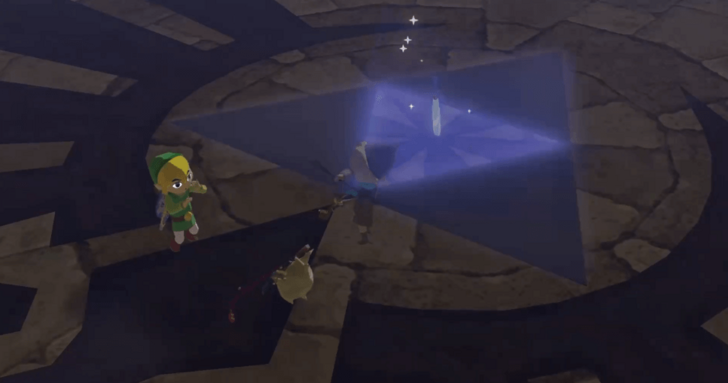 After defeating Molgera, you may claim the Heart Container it leaves behind. Stand on the glowing Triforce in the middle of the room. This will fully awaken the Master Sword and make you exit the dungeon afterwards. Once you are outside, Red will tell you that you will need to collect the Triforce Shards. ▶︎ Triforce Shards Walkthrough |
Wind Temple Bosses
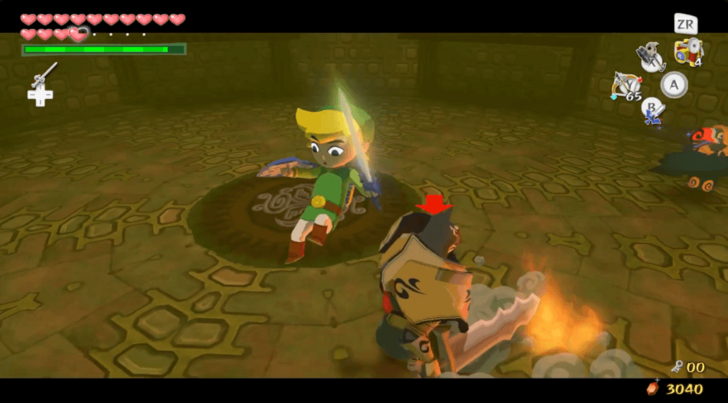
Wizzrobe Miniboss
The Wizzrobe Mini Boss is a stronger version of the typical Wizzrobe. It has twice the bulk and can summon dangerous enemies.
How to Beat Wizzrobe Mini Boss
| How to Beat Wizzrobe Mini Boss |
|---|
|
|
Remember How Each Summon is Defeated
The Wizzrobe Mini Boss can summon normal enemies to attack you. It is good to remember how to defeat these enemies for a quick victory.
Focus on Attacking the Wizzrobe
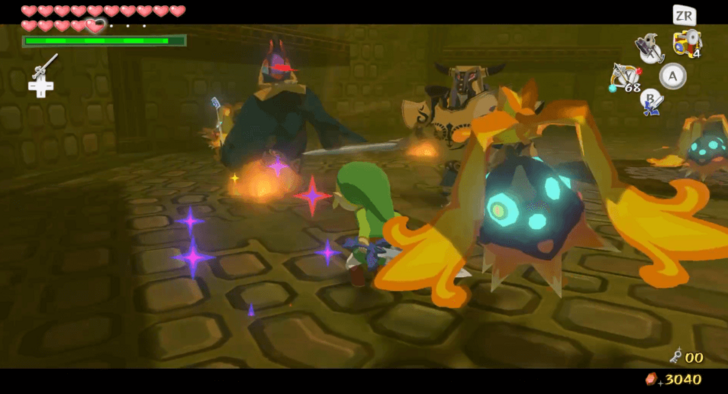
The summons will stop once the Wizzrobe is defeated. For a quicker fight, make sure to focus your attacks on the Wizzrobe. This will leave you with fewer enemies to take care of.
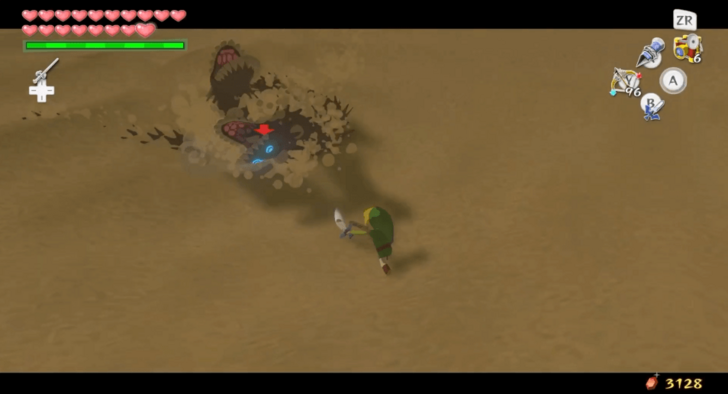
Molgera
The Molgera is the final boss of the Wind Temple. It can move under the sand and fly above. It is also able to summon larvae to attack you.
How to Beat Molgera
| How to Beat Molgera |
|---|
|
|
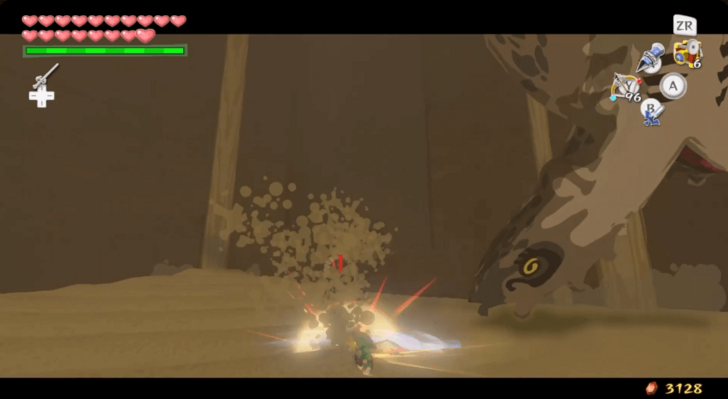
Use the Hookshot on His Tongue
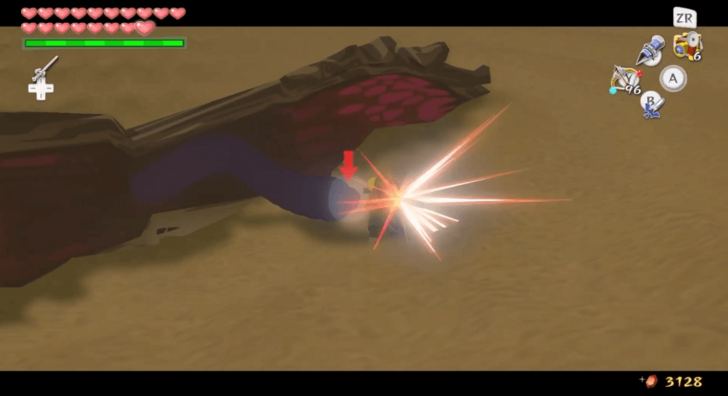
Molgera will occasionally open its mouth to reveal its blue tongue. Once this happens, use the Hookshot on it. This will allow you to attack it a few more times.
Defeat the Larvae
Molgera will summon larvae to attack you. These larvae will constantly attack you, so be sure to defeat them first before focusing on Molgera.
Avoid the Flying Molgera
Once you have attacked Molgera enough times, it will start flying. Be sure to keep an eye out before it swoops down. You may roll to evade its attacks.
Wind Temple Items to Get
Available Great Sea Items
| Item | How to Get |
|---|---|
| Piece of Heart | Obtained from Treasure Chart #20. |
First Floor Items
| Item | How to Get |
|---|---|
| Wind Tingle Statue | Found in the room where Makar is captured by the Floor Masters. Use the Tingle Tuner (original version) or a bomb (HD version) on the area in between two of the smaller platforms to reveal the chest. |
| Joy Pendant | In a chest near one of the stone tablets. |
| Joy Pendant | Found in a chest inside the fence Makar is imprisoned in. |
| Joy Pendant | Found in a chest on a ledge with three small stone faces surrounding it. |
Basement 1 Items
| Item | How to Get |
|---|---|
| Treasure Chart #35 | Inside the room with the breakable stone panels. The chest will spawn after every enemy under the stone panels is defeated. |
| Hookshot | Obtained from a chest after defeating the Wizzrobe Mini Boss. |
| Treasure Chart #5 | Found in the room with the Wizzrobe and Stalfos. The chest will spawn after defeating the Bokoblins hiding in the stone faces. |
The Legend of Zelda: The Wind Waker Related Guides

Walkthrough Guides
| 1 | Outset Island | 2 | Forsaken Fortress |
|---|---|---|---|
| 3 | Windfall Island | 4 | Dragon Roost Island |
| 5 | Dragon Roost Cavern | 6 | Forest Haven |
| 7 | Forbidden Woods | 8 | The Third Pearl |
| 9 | Tower of the Gods | 10 | Hyrule Castle |
| 11 | Return to the Forsaken Fortress | 12 | Earth Temple |
| 13 | Wind Temple | 14 | Triforce |
| 15 | Ganon's Tower | ||
Comment
Author

The Legend of Zelda: The Wind Waker Walkthrough & Guides Wiki
Wind Temple Walkthrough
Rankings
- We could not find the message board you were looking for.
Gaming News

![Monster Hunter Stories 3 Review [First Impressions] | Simply Rejuvenating](https://img.game8.co/4438641/2a31b7702bd70e78ec8efd24661dacda.jpeg/show)
![The Liar Princess and the Blind Prince Review [PC] | Lovely to Look at but Tedious to Play](https://img.game8.co/4442586/8d95f5faf05780f1765ce7e0938bd825.jpeg/thumb)
![Marathon Cryo Archive Map Teased as [REDACTED] on Selection Screen](https://img.game8.co/4442236/6357203e58172f6de57f1991e7c39b22.png/thumb)

Popular Games

Genshin Impact Walkthrough & Guides Wiki
Umamusume: Pretty Derby Walkthrough & Guides Wiki
Pokemon Pokopia Walkthrough & Guides Wiki
Honkai: Star Rail Walkthrough & Guides Wiki
Monster Hunter Stories 3: Twisted Reflection Walkthrough & Guides Wiki
Arknights: Endfield Walkthrough & Guides Wiki
Wuthering Waves Walkthrough & Guides Wiki
Zenless Zone Zero Walkthrough & Guides Wiki
Pokemon TCG Pocket (PTCGP) Strategies & Guides Wiki
Monster Hunter Wilds Walkthrough & Guides Wiki


Recommended Games
Diablo 4: Vessel of Hatred Walkthrough & Guides Wiki
Cyberpunk 2077: Ultimate Edition Walkthrough & Guides Wiki
Fire Emblem Heroes (FEH) Walkthrough & Guides Wiki
Yu-Gi-Oh! Master Duel Walkthrough & Guides Wiki
Super Smash Bros. Ultimate Walkthrough & Guides Wiki
Pokemon Brilliant Diamond and Shining Pearl (BDSP) Walkthrough & Guides Wiki
Elden Ring Shadow of the Erdtree Walkthrough & Guides Wiki
Monster Hunter World Walkthrough & Guides Wiki
The Legend of Zelda: Tears of the Kingdom Walkthrough & Guides Wiki
Persona 3 Reload Walkthrough & Guides Wiki


All rights reserved
© Nintendo. The Legend of Zelda and Nintendo Switch are trademarks of Nintendo.
The copyrights of videos of games used in our content and other intellectual property rights belong to the provider of the game.
The contents we provide on this site were created personally by members of the Game8 editorial department.
We refuse the right to reuse or repost content taken without our permission such as data or images to other sites.