Tower of the Gods Walkthrough
▲ 100% Completion Checklist
▲ All Heart Pieces & Empty Bottle Locations
▲ Treasure Charts | Triforce Charts
▲ GameCube and Wii U Version Differences
▲ Upgrades ▶︎ Wallet | Magic Meter | Picto Box
The Tower of the Gods is a dungeon in The Legend of Zelda: The Wind Waker. Read on for a complete walkthrough for the Tower of the Gods, as well as a list of the important items that you can get in this section of the game!
| ◀︎ Previous Area | Next Area ▶︎︎ |
|---|---|
| The Third Pearl | Hyrule Castle |
List of Contents
What to Do Before the Tower of the Gods
| Jump to a section! |
|---|
|
|
All Obtainable Treasure Charts
| Chart | Location |
|---|---|
| Treasure Chart 4 | Beedle's Shop Ship (B3) |
| Treasure Chart 9 |
OG: Submarine Near Crescent Moon Island (E1) HD: Submarine near Crescent Moon Island (E1) |
| Treasure Chart 10 | Crescent Moon Island (E1) |
| Treasure Chart 17 | Spectacle Island (C2) |
| Treasure Chart 18 | Windfall Island Auction (D2) |
| Treasure Chart 22 |
OG: Submarine Near Northern Fairy Island (C1) HD: Submarine near Northern Fairy Island (C1) |
| Treasure Chart 24 | Windfall Island (D2) |
| Treasure Chart 27 | Private Oasis (E5) |
| Treasure Chart 29 | Windfall Island (D2) |
| Treasure Chart 31 | Windfall Island (D2) |
| Treasure Chart 33 | Windfall Island (D2) |
| Treasure Chart 37 | Rock Spire Isle (B3) |
| Treasure Chart 38 | Windfall Island Auction (D2) |
| Treasure Chart 40 | Southern Fairy Island (D6) |
| Treasure Chart 44 | Star Belt Archipelago (G3) |
Listed above are the Treasure Charts you can get before activating the statues to unlock the Tower of the Gods. You can also get the Sunken Treasure they have if you wish to do so.
All Treasure Chart Locations and Rewards
All Obtainable Heart Pieces
| Map Location | Overworld View | |
|---|---|---|
 |
 |
|
|
Bird-Man Contest Prize
Location: Flight Control Platform - G2 Enter the Bird-Man Contest, which costs 10 rupees per attempt. Beat the current flight record by hitting at least two different vortices. You must try to keep your flight path as straight as possible to be able to obtain the Piece of Heart. |
||
 |
 |
|
|
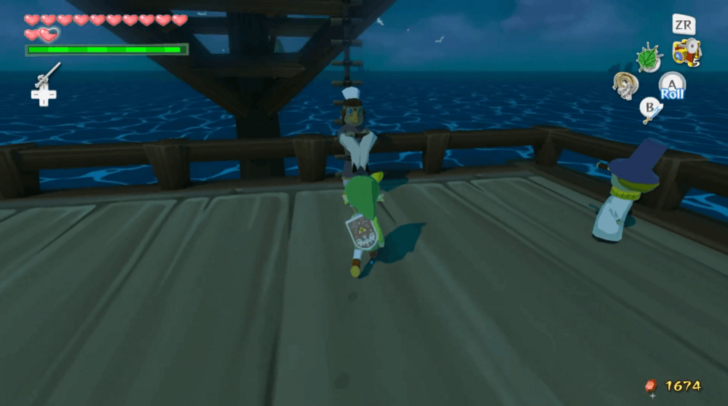
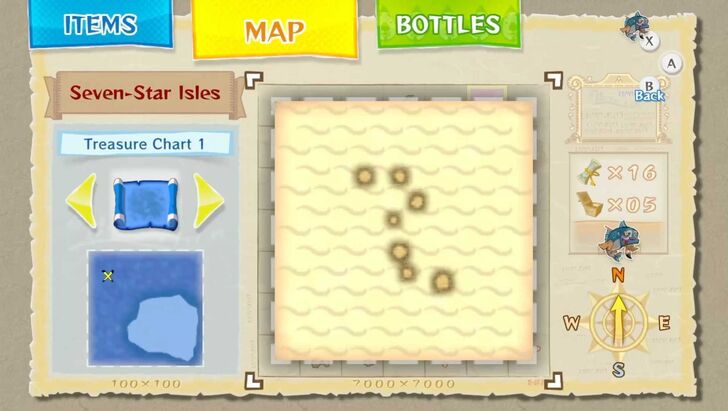
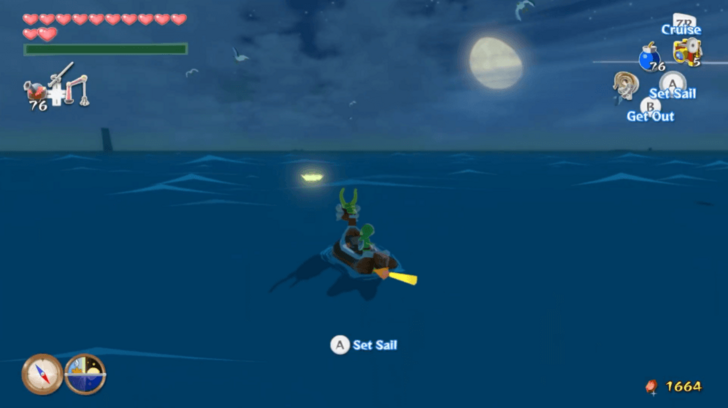
Seven-Star Isle Heart Piece
Location: Seven-Star Isles - F1 Defeat the Big Octo near the Southeast corner of Seven-Star Isle. Take the Piece of Heart from the ring of light it leaves behind afterwards. |
||
 |
 |
|
|
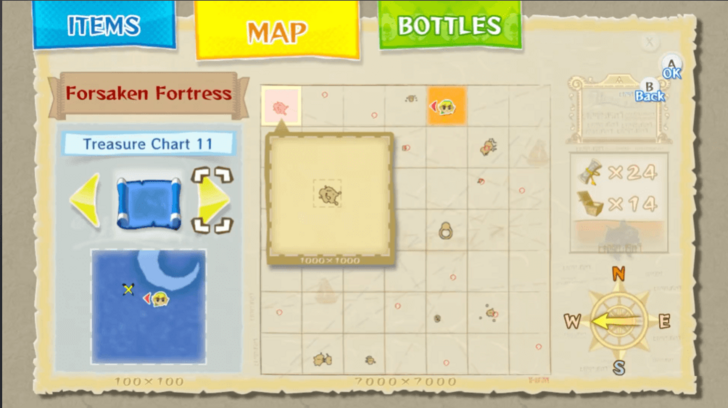
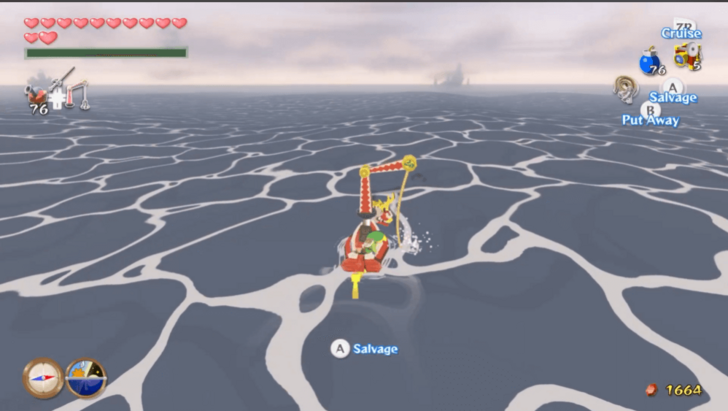
Crescent Moon Island Treasure Chart Heart Piece
Location: Crescent Moon Island - E1 Open Treasure Chart #11 to reveal the location. Once you have arrived, pull the Piece of Heart up with the Grappling Hook. |
||
 |
 |
|
|
Auction House Heart Piece
Location: Windfall Island - D2 Enter the Auction House to see if they are offering the Piece of Heart. Reenter as many times as necessary until it offered. You must win the auction and become the highest bidder in order to obtain it. |
||
|
 |
|
|
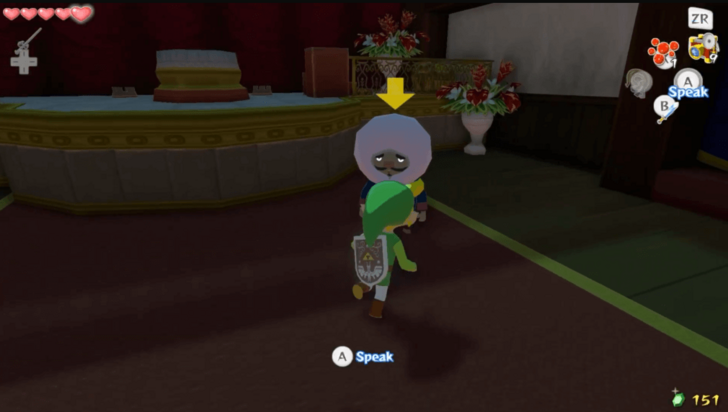
Linda and Anton Heart Piece
Location: Windfall Island - D2 Talk to Linda near the Squid-Hunt minigame hut. Take a picture of her and show it to Anton, then talk to Linda again. On the next day, go to the cafe above Zunari's stall to receive the Piece of Heart from the couple. |
||
 |
 |
|
|
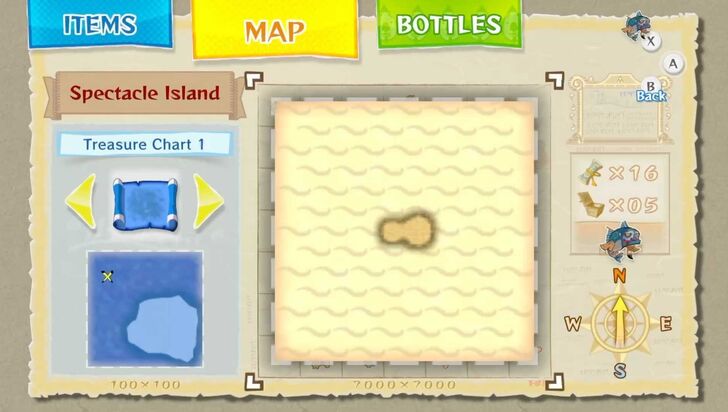
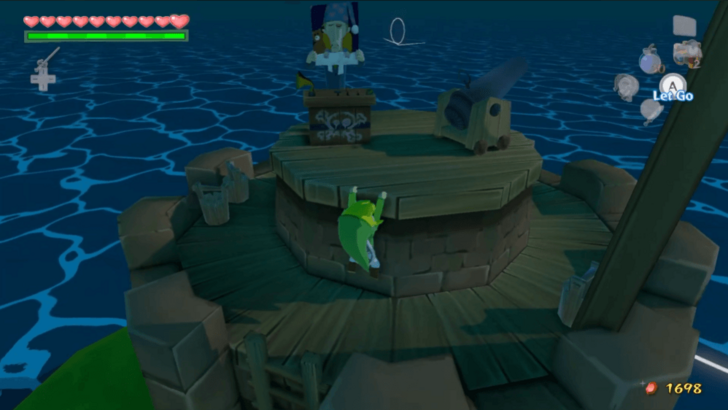
Cannon Minigame Prize
Location: Spectacle Island - C2 Play the "Cannon" minigame for 50 rupees per attempt. Shoot all 5 barrels with 10 cannonballs to win the Piece of Heart. |
||
 |
 |
|
|
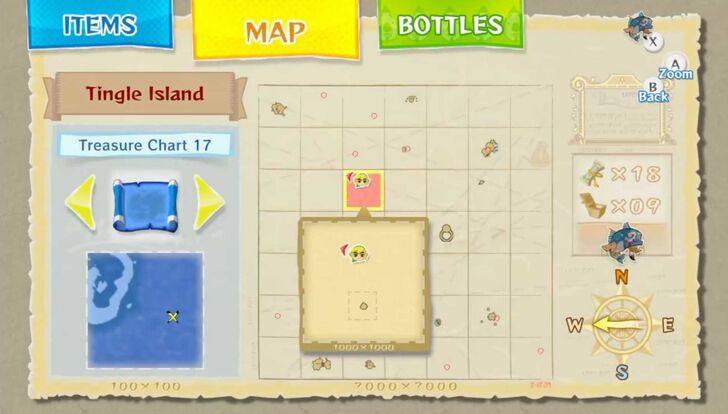
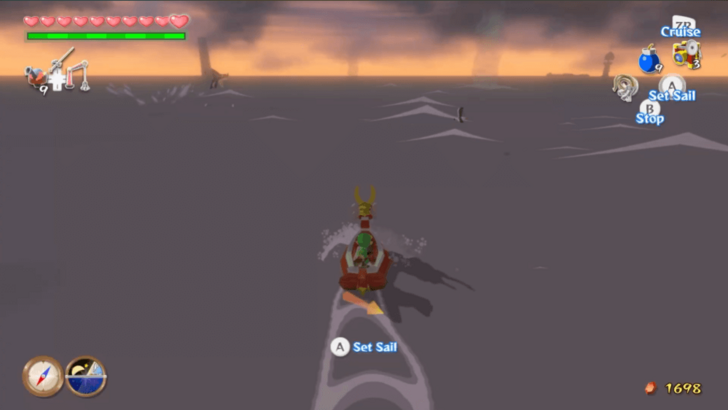
Tingle Island Heart Piece
Location: Tingle Island - C3 Defeat the Big Octo north of Tingle Island. Take the Piece of Heart from the ring of light it leaves behind afterwards. |
||
 |
 |
|
|
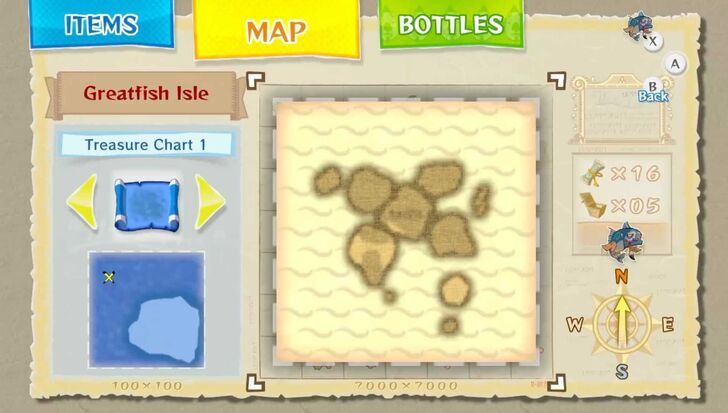
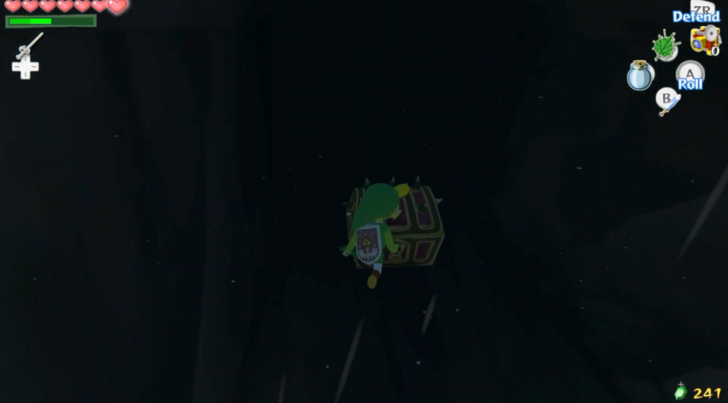
Greatfish Isle Heart Piece
Location: Greatfish Isle - B4 Climb the top of the corkscrew spire southeast of Greatfish Isle's beach. Set the wind to blow northeast and glide with the Deku Leaf. Land on the ledge below the landmass beyond the beach. Open the chest found inside the alcove there to obtain the Piece of Heart. |
||
 |
 |
|
|
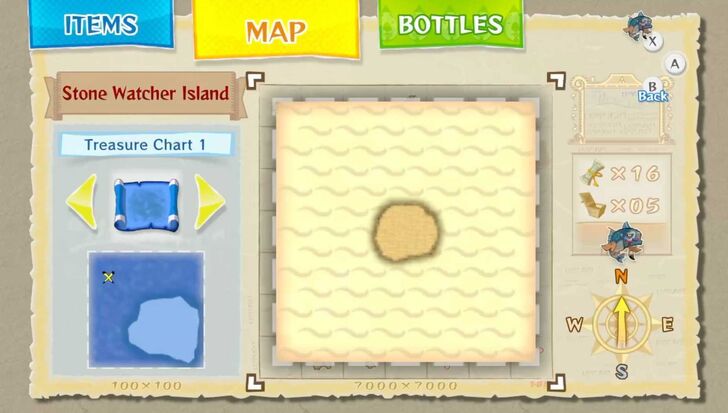
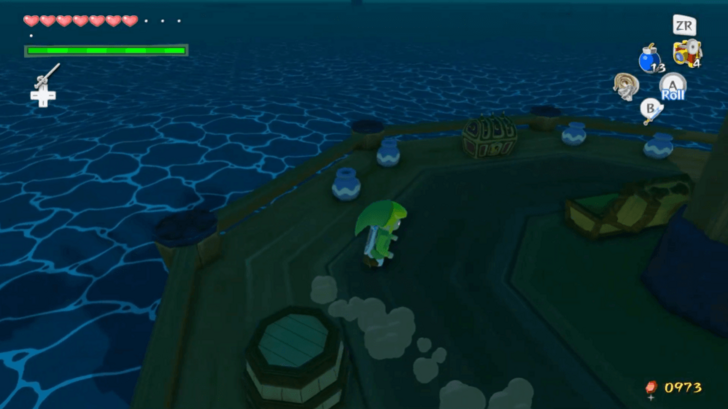
Stone Watcher Island Sea Platform Heart Piece
Location: Stone Watcher Island - C5 Destroy all the cannons surrounding the Sea Platform hut to the west of Stone Watcher Island. You may obtain the Piece of Heart from the Sea Platform afterwards. |
||
 |
 |
|
|
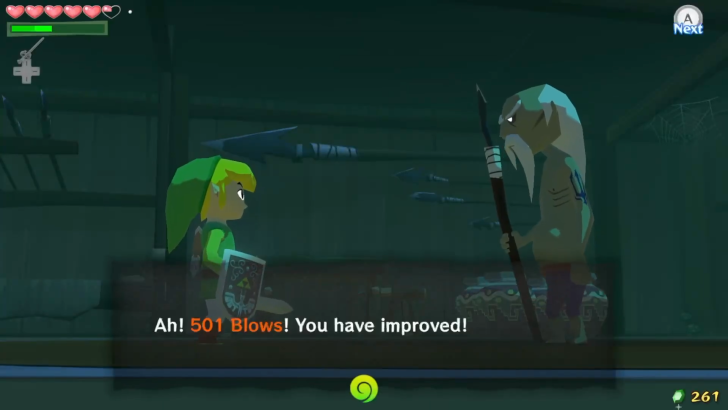
Combat Training Minigame Prize
Location: Outset Island - B7 Play the Combat Training minigame at Orca's place. Hit Orca 300 (OG)/500 (HD) times without getting hit by him more than two times. You will receive the Piece of Heart as a reward. |
||
 |
 |
|
|
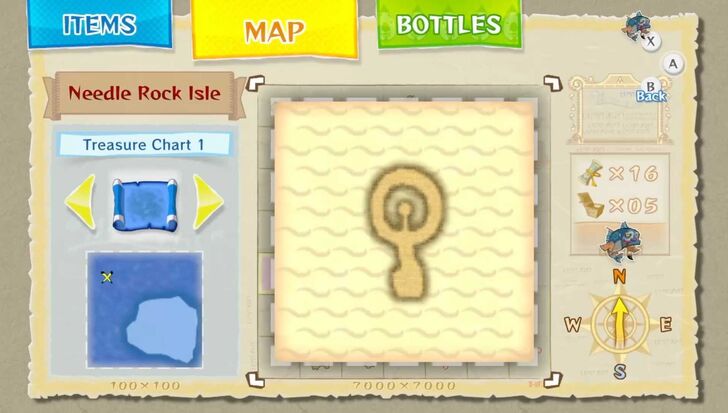
Needle Rock Isle Heart Piece
Location: Needle Rock Isle - A5 Head to the southern tip of Needle Rock Isle. Use the Hyoi Pear on a seagull to fly to the switch on the top of the needle rock. Avoid the Kargorocs and activate the switch. You may open the island's chest afterwards, which rewards you with the Piece of Heart. |
||
 |
 |
|
|
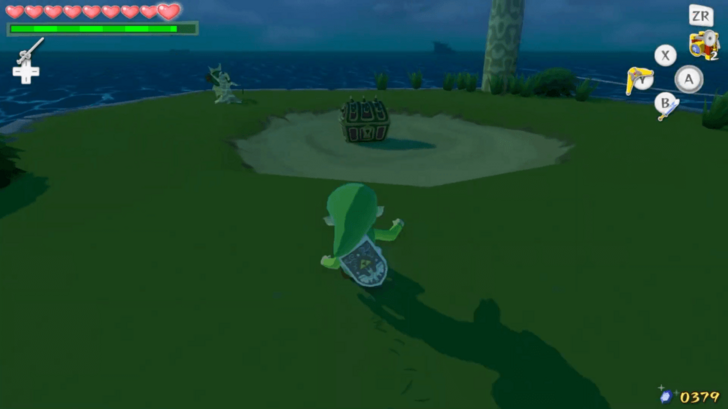
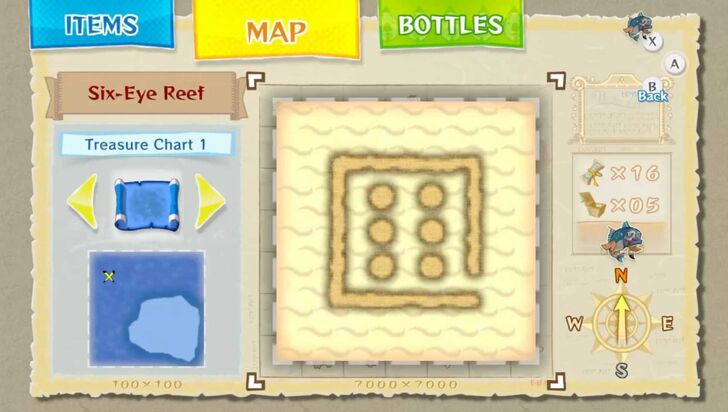
Six-Eye Reef Submarine Heart Piece
Location: Six-Eye Reef - D4 Defeat the guards in the submarine to the west of Six-Eye Reef. Afterwards, climb the ladder in the room's far side to obtain the Piece of Heart. |
||
 |
 |
|
|
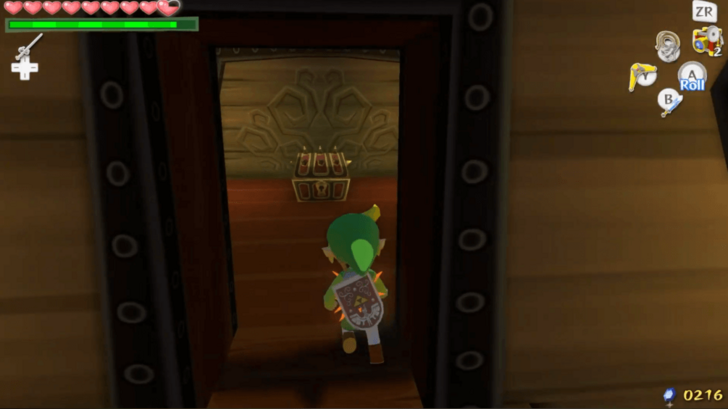
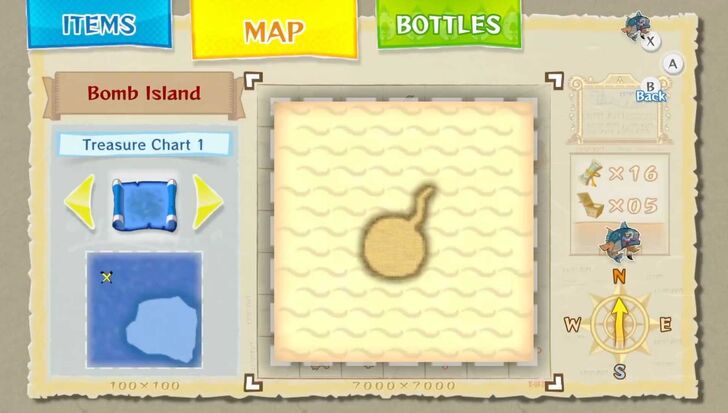
Bomb Island Cave Heart Piece
Location: Bomb Island - F5 Destroy the boulder at the top of Bomb Island and jump into the newly revealed cave entrance. Place a curled up Magtail on the switch in order to open the door. Head to the narrow path on the left and jump onto the switch inside the hole. Walk back and head to the newly unblocked path to the right. Throw Magtails onto the switches to lower the fire surrounding the chest in the cave. Open the chest to obtain the Piece of Heart. |
||
 |
 |
|
|
Rock Spire Isle Shop Ship Heart Piece
Location: Rock Spire Isle - B3 Enter the Shop Ship circling Rock Spire Isle in order to purchase the Piece of Heart. |
||
|
 |
|
|
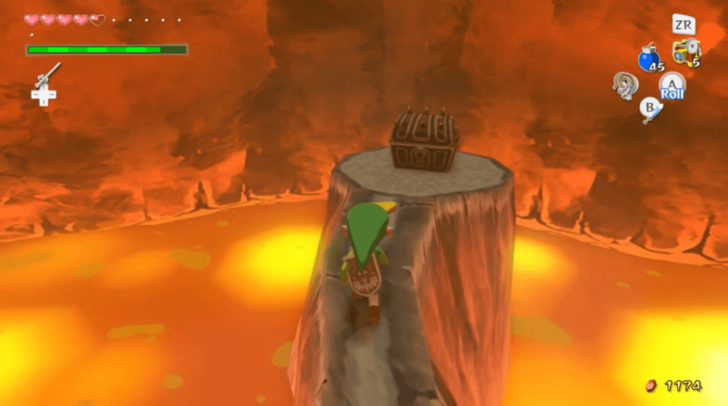
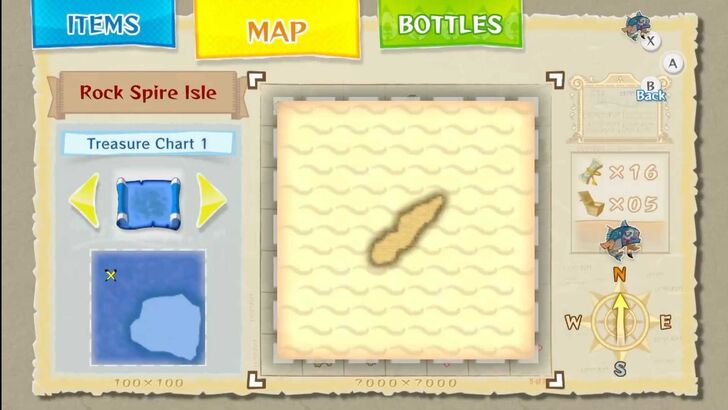
Rock Spire Isle Heart Piece
Location: Rock Spire Isle - B3 Destroy the Warships on the southwest corner of the area. Retrieve the Piece of Heart from one of the rings of light they leave behind. |
||
 |
 |
|
|
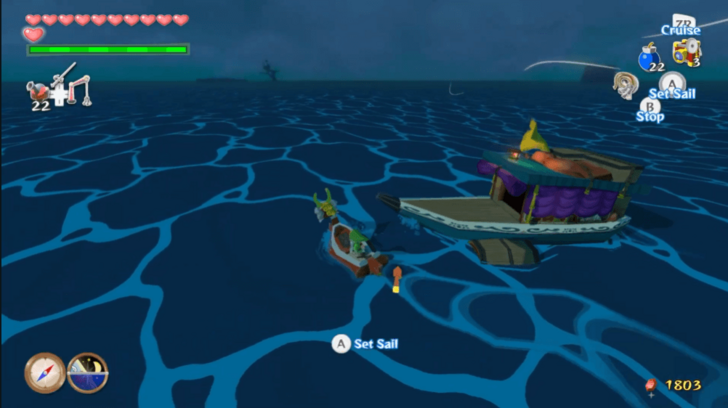
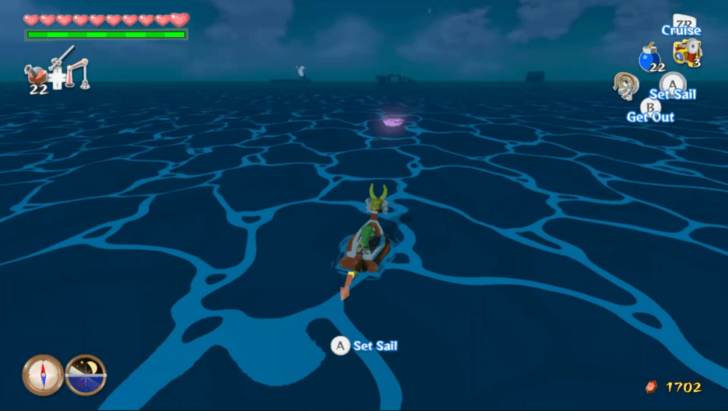
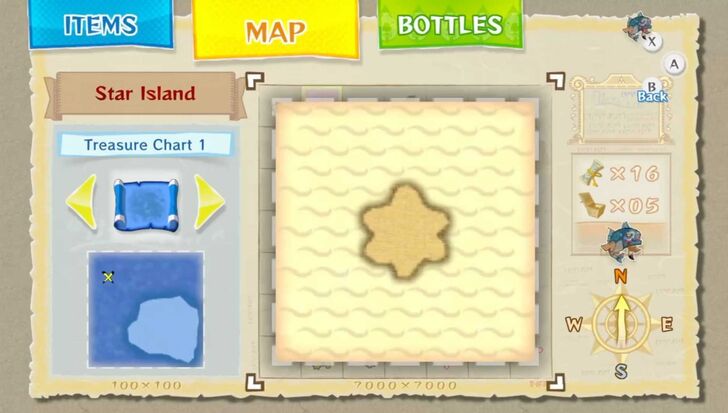
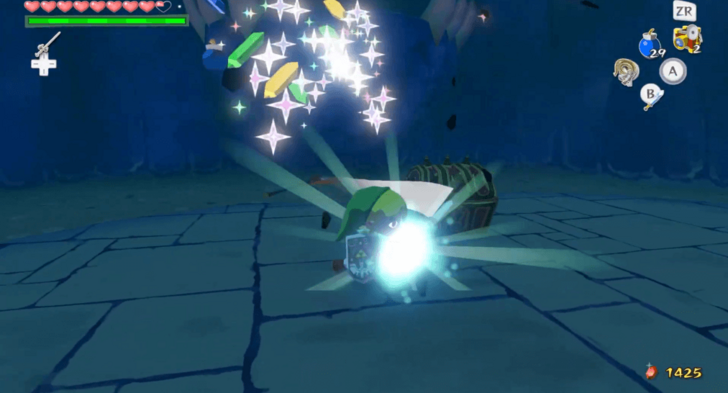
Star Island Secret Cave Heart Piece
Location: Star Island - B1 Use a bomb to destroy the boulder on Star Island's southwest tip. Enter the hole it leaves behind and defeat all the enemies inside the secret cave. Afterwards, a treasure chest containing the Piece of Heart will appear. |
||
 |
 |
|
|
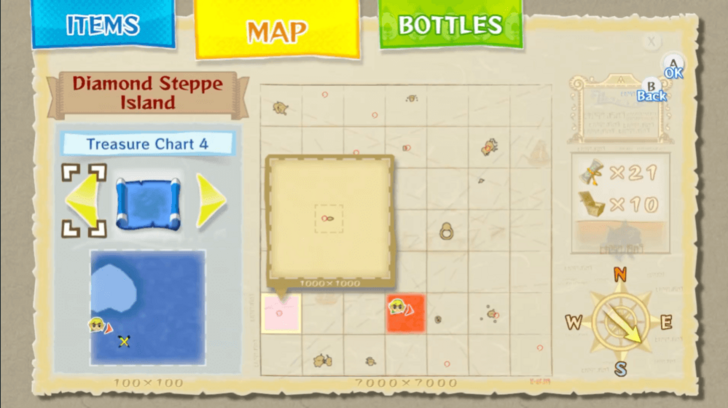
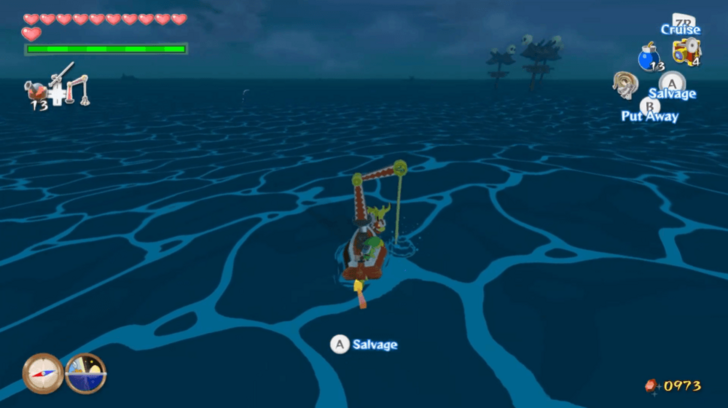
Southern Fairy Island Treasure Chart Heart Piece
Location: Southern Fairy Island - D6 Open Treasure Chart #4 to reveal the location. Once you have arrived, pull the Piece of Heart up with the Grappling Hook. |
||
 |
 |
|
|
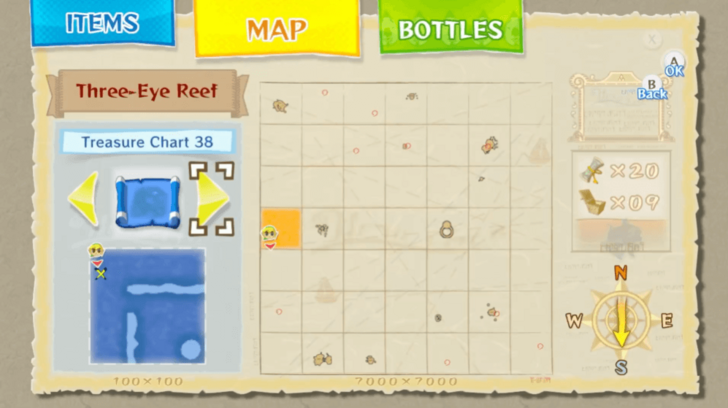
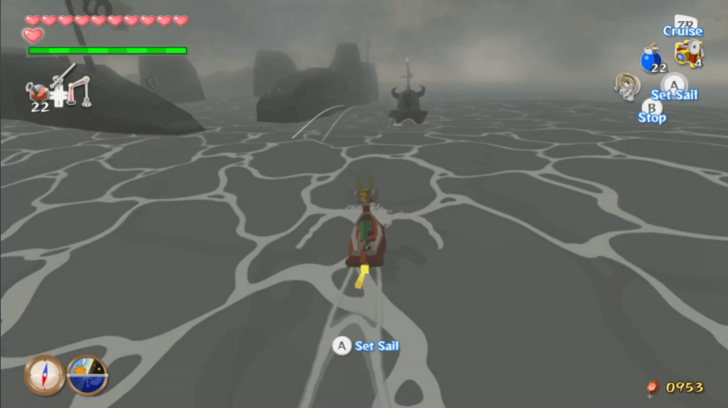
Three-Eye Reef Treasure Chart Heart Piece
Location: Three-Eye Reef - A4 Open Treasure Chart #38 to reveal the location. Once you have arrived, pull the Piece of Heart up with the Grappling Hook. |
||
 |
 |
|
|
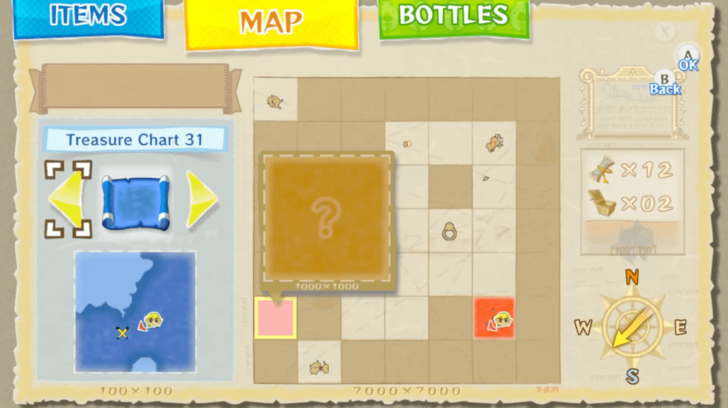
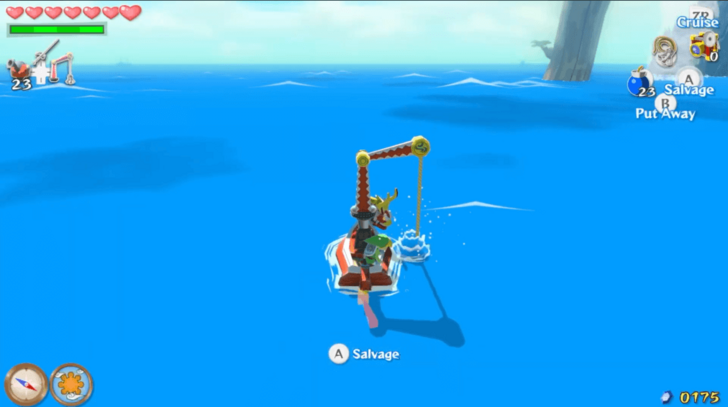
Forest Haven Treasure Chart Heart Piece
Location: Forest Haven - F6 Open Treasure Chart #31 to reveal the location. Once you have arrived, pull the Piece of Heart up with the Grappling Hook. |
||
 |
 |
|
|
Letter From Hoskit's Girlfriend
Location: Dragon Roost Island - F2 Give 20 Golden Feathers to Hoskit on the Aerie's second floor. Hoskit's girlfriend will send you a letter with a Piece of Heart later on. |
||
Listed above are the Heart Pieces you can get before activating the statues to unlock the Tower of the Gods. Note that you need the corresponding Treasure Chart for some of them.
Heart Piece Locations: All 44 Pieces of Heart
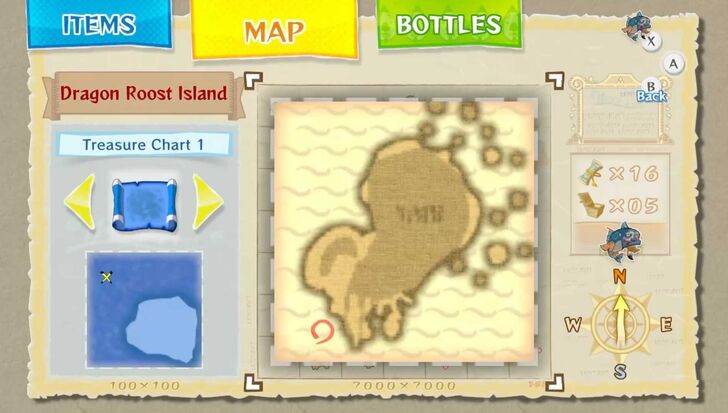
Dragon Roost Island
Obtain the Dragon Tingle Statue at Dragon Roost Cavern
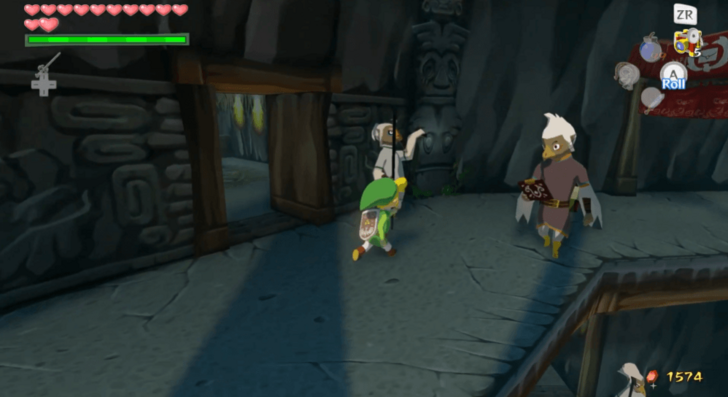
| 1 | 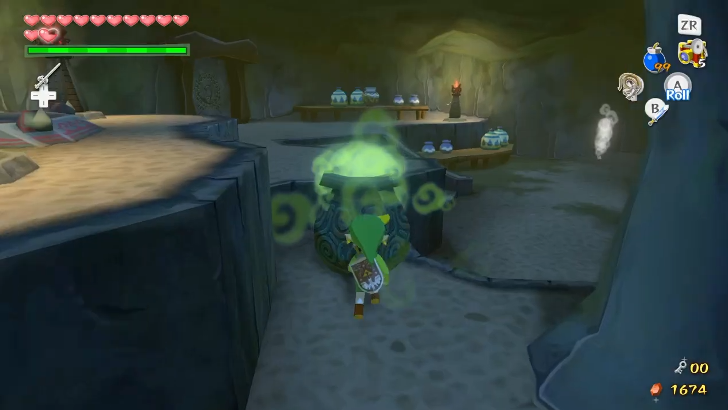 Head back to Dragon Roost Cavern, use the warp pot to get to the middle of the dungeon. |
|---|---|
| 2 | 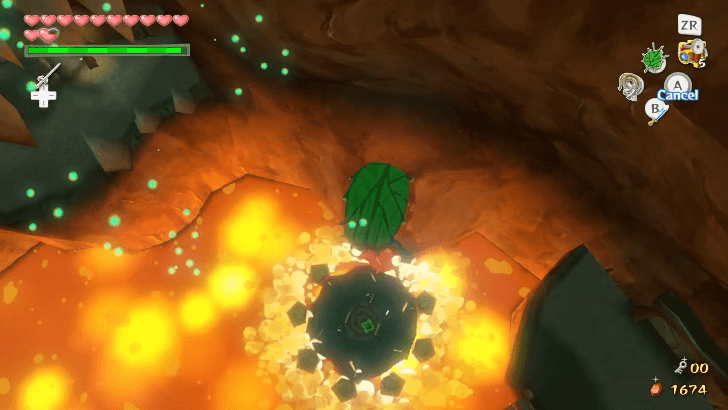 On Next to the warp pot, find the moving platform and use the Deku Leaf and float over to it. Once at the bottom, jump through the opening and move across the platforms. |
| 3 | 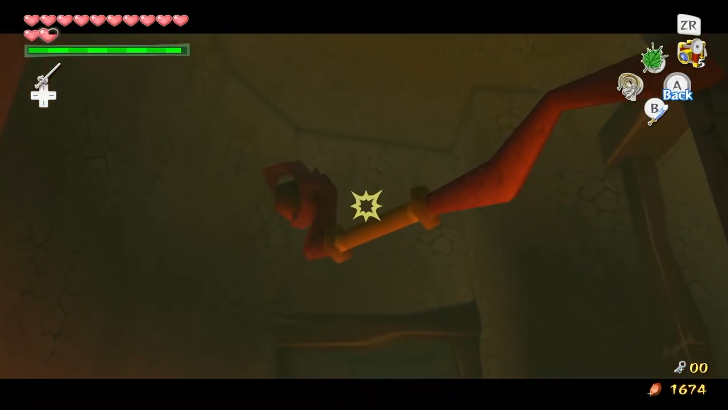 You will see a ladder, so climb it and and head through the door. Use your Grappling Hook and move across to the other side of the room. |
| 4 | 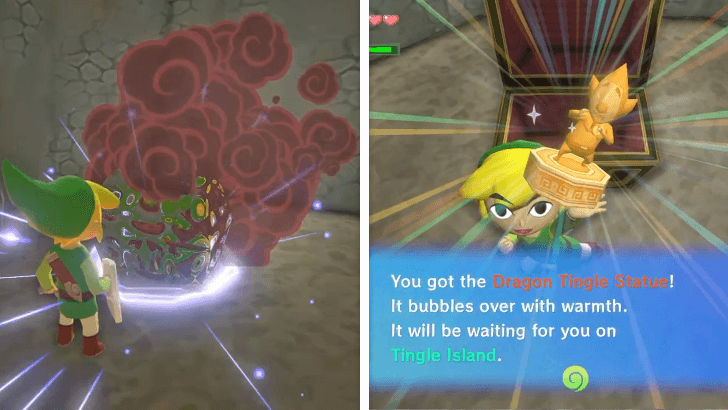 This empty platform is where the Tingle Statue is located. Drop a Bomb and a treasure chest will appear containing the Dragon Tingle Statue. |
Get the Bottle from Beedle's Shop at Rock Spire Isle
Circling Rock Spire Isle is a special Shop Ship run by Masked Beedle that sells rare items. Buy the Empty Bottle for 500 Rupees along with Treasure Chart #4 and the Heart Piece.
Upgrade Your Equipment
| 1 | 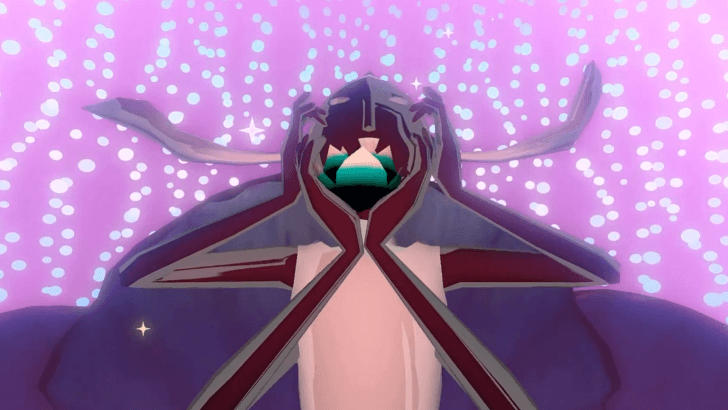 Stop by the Northern Fairy Island (C1) to get a Wallet Upgrade, which will allow you to carry more rupees. Bomb the boulder in front of the Conch Shell then enter down the hole to talk to the Great Fairy. ▶︎ All Great Fairy Locations |
|---|---|
| 2 | 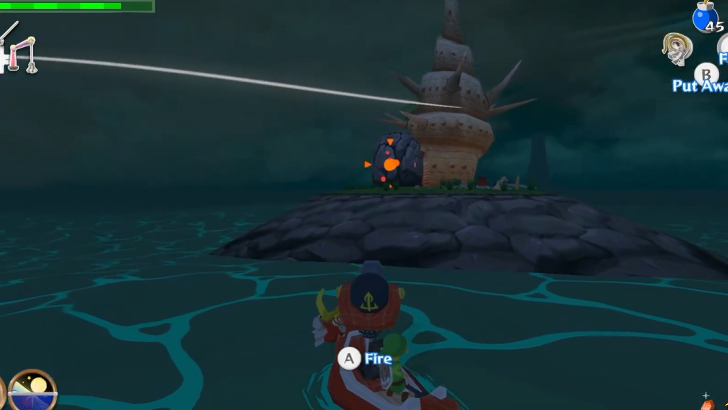 Head to Eastern Fairy Island (E3) to get another Bomb Upgrade, which will allow you to carry more bombs. Bomb the large boulder in front of the Conch Shell then enter down the hole to talk to the Great Fairy. ▶︎ All Upgrades and How to Obtain Them |
| 3 | 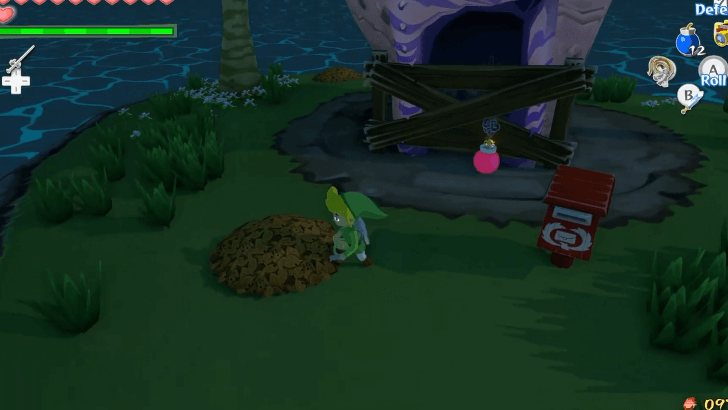 Head to Southern Fairy Island (D6) to get a Bomb Upgrade. Bomb the wooden gate in front of the Conch Shell then enter down the hole to talk to the Great Fairy. |
| 4 | 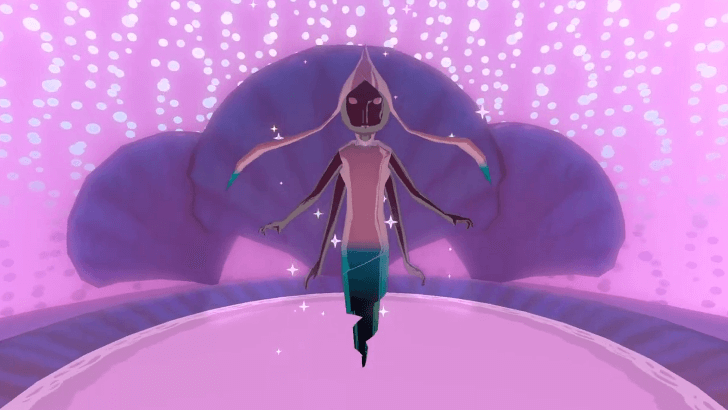 Stop back at Outset Island (B7) to get the final Wallet Upgrade, which will allow you to carry 5000 rupees. Bomb the boulder next to a sign at Forest of Fairies then enter down the hole to talk to the Great Fairy. Make sure to Bottle a fairy for Grandma later. ▶︎ All Great Fairy Locations |
| * |  While you're still at Outset Island, You can get Elixir Soup once you have helped Link's Grandma recover from being sick. Once she has recovered, she can offer to fill up one of your empty bottles with Elixir Soup anytime. |
All Upgrades and How to Obtain Them
Finish Up the Auctions
| Auction House Items |
|---|
| ・Heart Piece ・Treasure Chart #18 ・Treasure Heart #38 ・Swift Sail (HD Only) ・Joy Pendant |
If you still have not obtained them, with your upgraded wallet, you can get all of the items at the Auction House at this point.
Auction House Guide: How to Win in the Windfall Auction
Complete the Deluxe Pictobox Quests
| Deluxe Pictobox Quests Rewards |
|---|
| ・Heart Piece(from Linda and Anton) ・Treasure Chart #31 (from Kamo) ・Treasure Chart #33 (from Minenco) ・Treasure Chart #29 (from Pompie and Vera) |
Around Windfall Island, there are some NPCs requesting for Link to take colored photos of specific subjects with the Deluxe Picto Box.
This could be done done as early as completing Dragon Roost Cavern in the HD Version, but can only be done after completing Forbidden Woods in the Gamecube Version.
How to Get the Deluxe Picto Box
Tower of the Gods Walkthrough
Floor 1
| 1 | Set sail into the Tower of the God's entrance. |
|---|---|
| 2 | 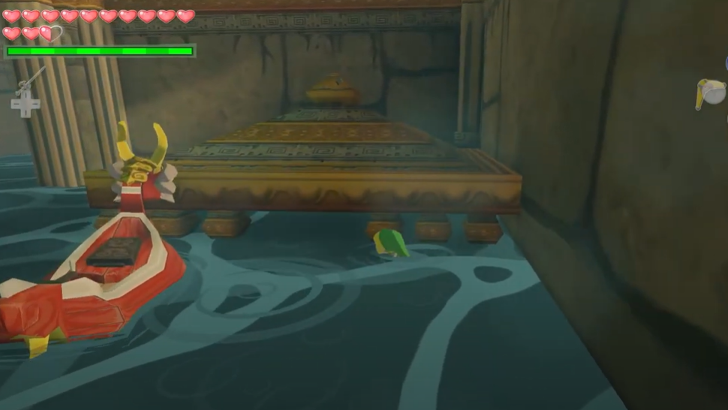 Head to the the right and wait for the water to recede to enter the doorway in the lower right corner of the room. |
| 3 | Defeat the Yellow ChuChu in the room then wait for the water to rise. |
| 4 | 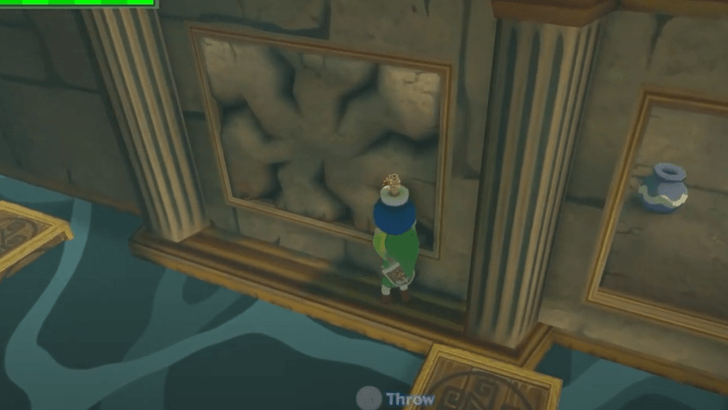 Use one of the boxes as a platform to stand then Bomb the cracking walls. Behind one of the walls is a treasure chest with a Dungeon Map that you can use to navigate. |
| 5 | 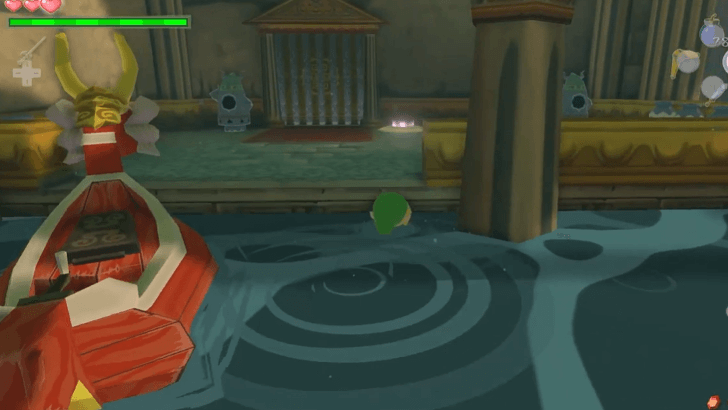 Sail to the upper right and wait for the water to rise so you can land on the platform with the doorway. |
| 6 | Lift the Armos statue and place it down on the button on the floor to open the door. |
| 7 | Enter and defeat the Yellow ChuChu inside. |
| 8 | 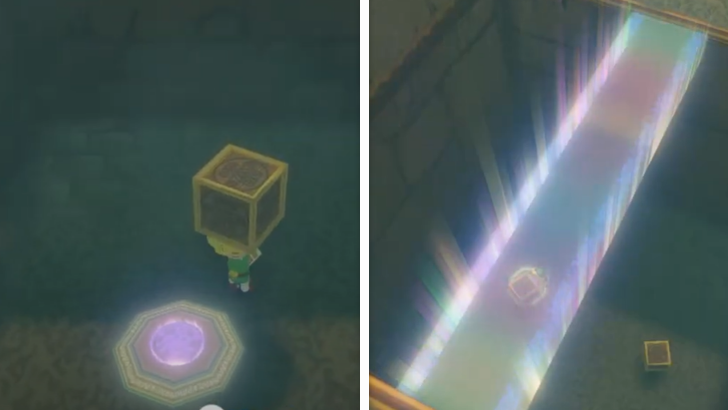 Head down the pit and place a box on top of the button at the bottom. This will create a bridge that you can cross to the other side. |
| * | Be quick! When the water rises, the box will float up and the bridge will disappear. |
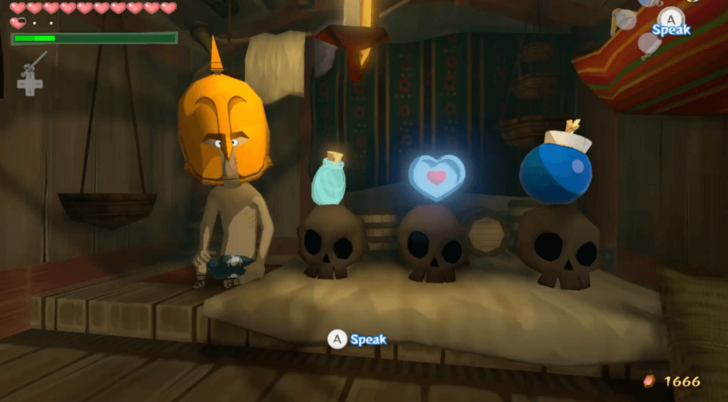
| 9 | 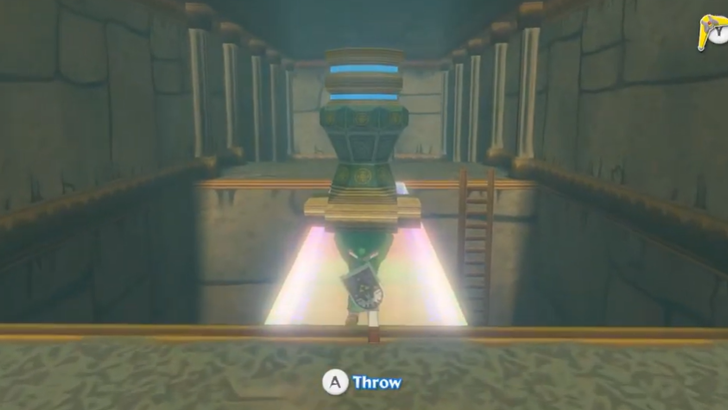 Pick up the glowing statue then exit the room. |
| 10 | 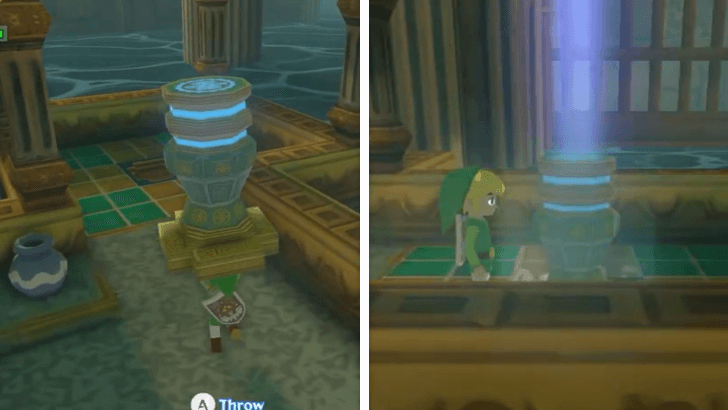 Go to the left then place the statue in the slot. This will open the gate to the East. |
| 11 | 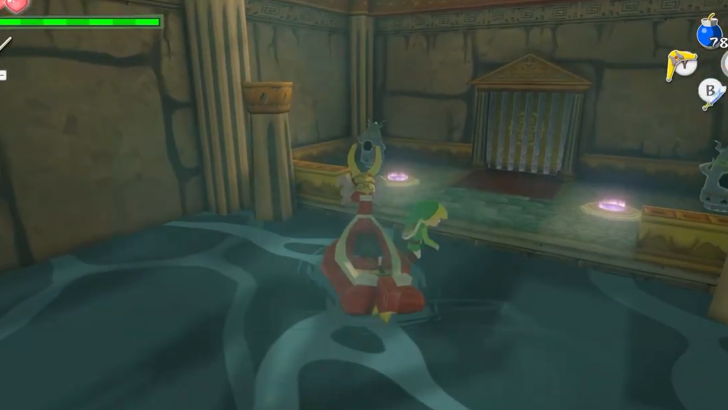 Head to the East where the gate was previously, then hop off at the platform at the end when the water level is high. |
| 12 | Place the two statues on the two buttons on the floor to open the door. |
| 13 | 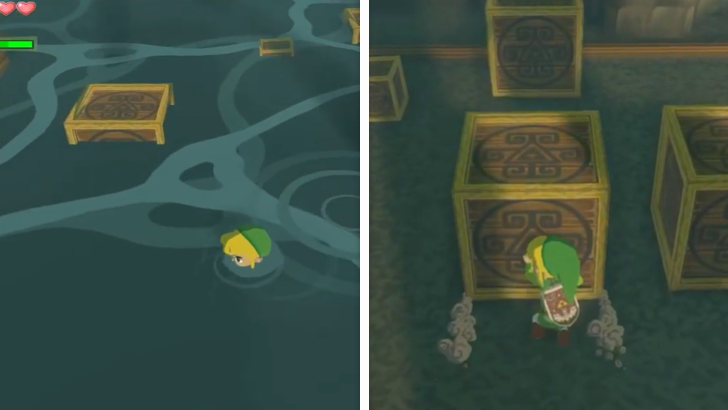 After entering, wait for the water to recede. When there is no water, arrange the boxes to create a path way to the other side. |
| 14 | 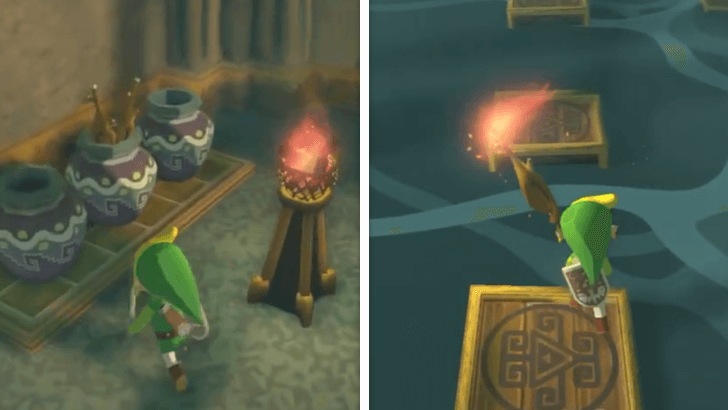 Destroy the vase on the right side to obtain a Deku Stick. Light it up using the nearby torch, then carry it across the water. |
| 15 | Light up the two torches on the platform to reveal a chest containing a Small Key. |
| 16 | Exit the room. Beware of the Yellow ChuChus that will fall from the ceiling when you try to leave. If you fall into the water, you will be electrocuted. |
| 17 | 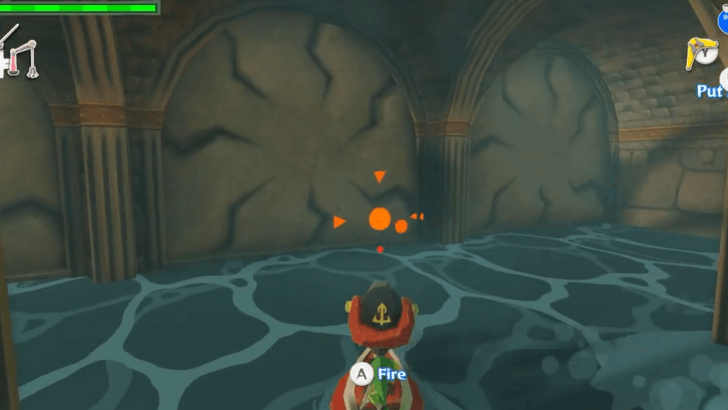 Sail to the West side of the floor. Use your cannons to destroy the cracking walls and reveal the hidden doorway. |
| 18 | 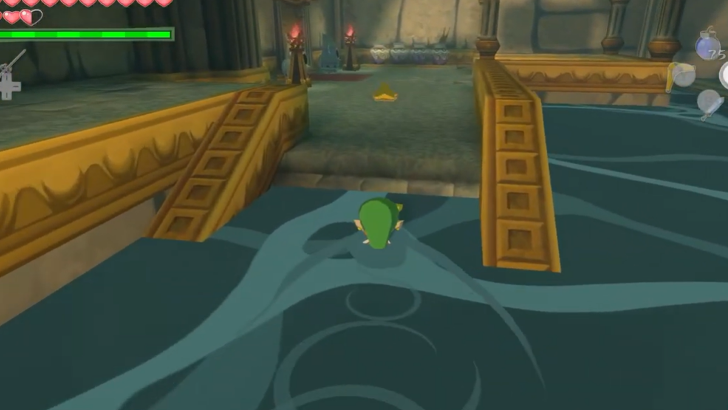 Get on the platform when the water rises and enter through the door. |
| 19 | Defeat the Fire Bubble inside by using the Deku Leaf to blow away the bubbles. Afterwards, strike the skull when it is on the floor. |
| 20 | 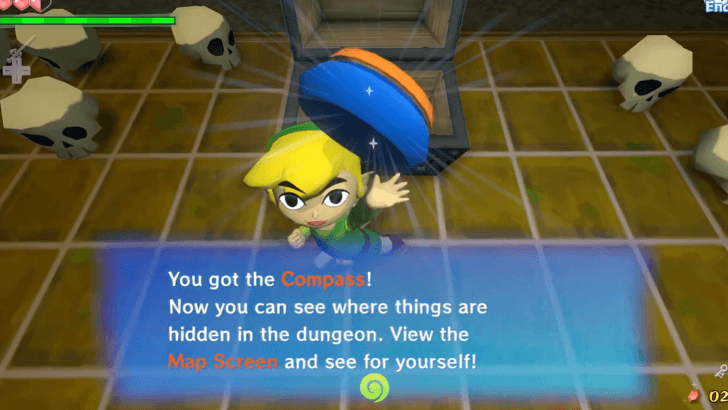 Open the treasure chest in the room to receive a Compass. You may exit the room after. |
| 21 | 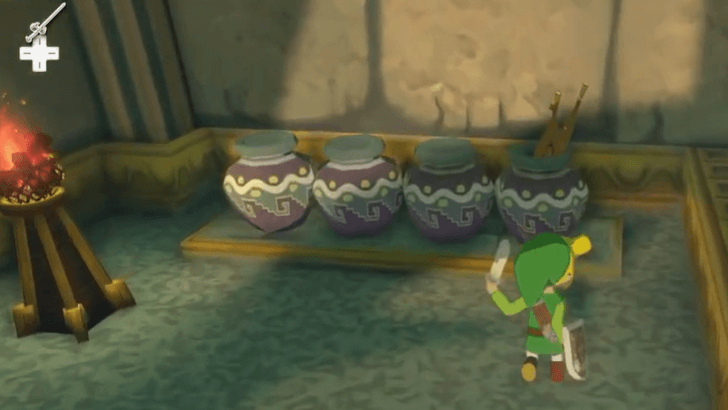 Destroy the vase to the right of the entrance to get a Deku Stick. Light it using the nearby torch. |
| 22 | 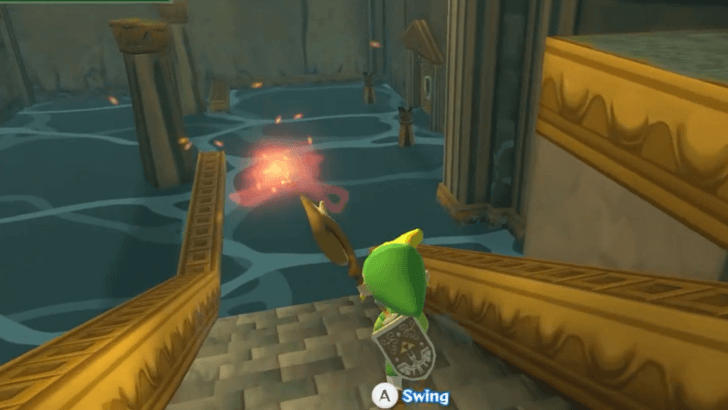 Once the water recedes, head down the stairs and light the torches in front of the entrance at the bottom. This will reveal a treasure chest at the top of the stairs containing a Joy Pendant. |
| 23 | Use the small key on the locked door at the bottom of the staircase. |
| 24 | 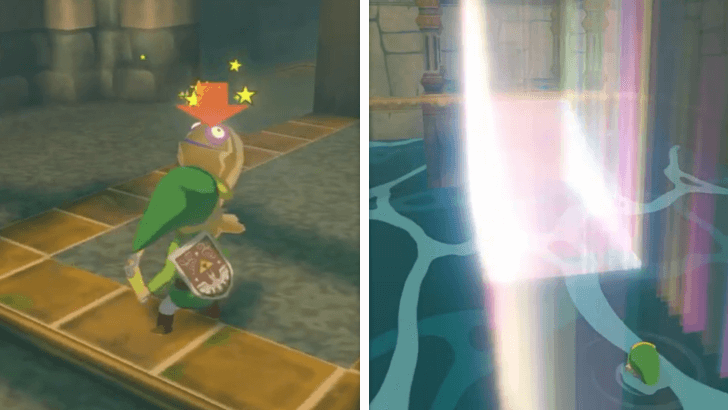 Defeat all the Yellow ChuChus in the room. This will reveal a set of stairs that you can use to reach the platform. |
| 25 | Take the glowing statue then exit the room when the water has receded. |
| 26 | 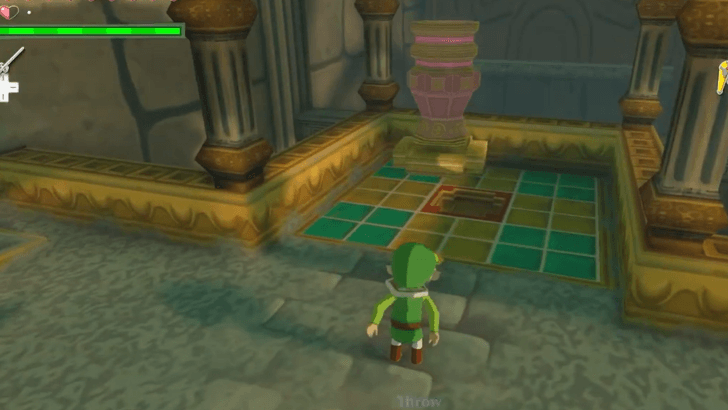 Take it to the top of the stairs then place it down on the slot to the right. This will shut down one of the water spouts. |
| 27 | 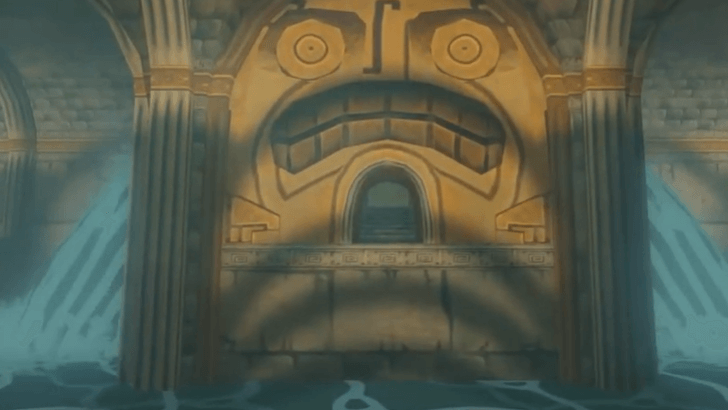 Swim back to the main area then enter the entrance that was previously hidden behind the running water. |
| 28 | 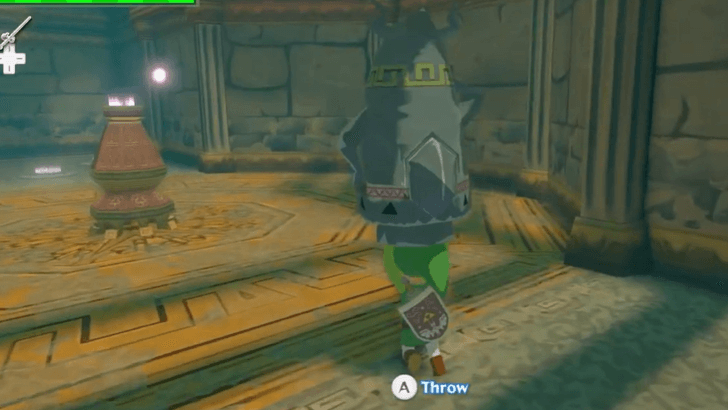 Get the two Armos statues to the other side of the room. There is a laser in the middle that will target you if you are within sight. Before it shoots, drop the statue and hide behind it as a shield. |
| 29 | 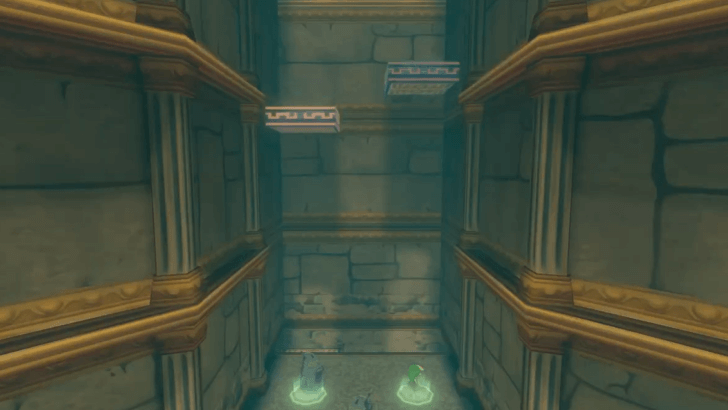 Place the statues on two of the buttons on the ground, then stand on the last one. This will active the platforms in front of you. |
| 30 | Jump between the platforms to get to the top. |
| * |  Place a bomb on the edge of the topmost platform. This will reveal a treasure chest containing a Goddess Tingle Statue. |
| 31 | 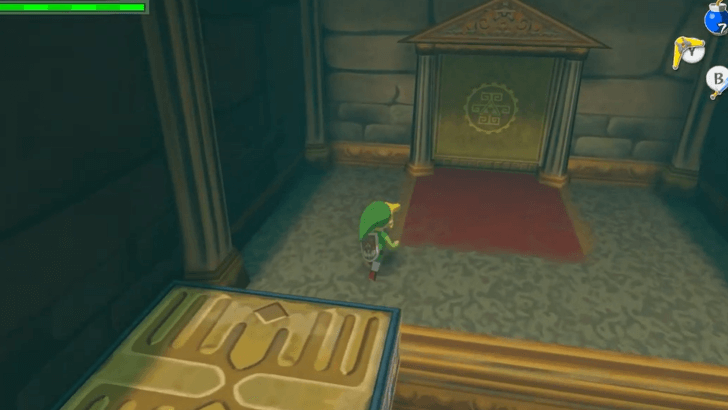 Enter the door and proceed to the next floor. |
Floor 2
| 1 | 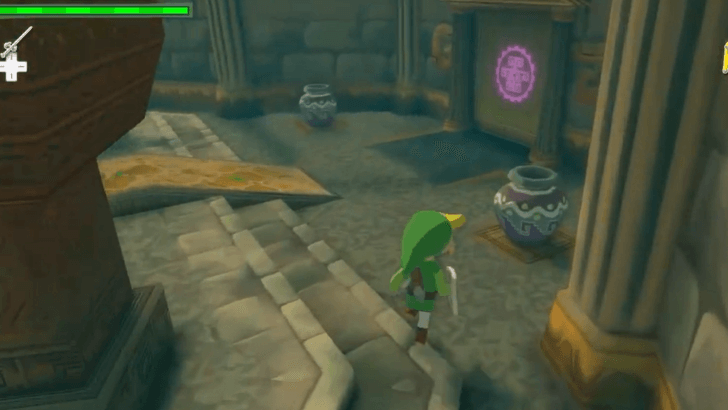 Head to the first room to the right. |
|---|---|
| 2 | Defeat the Yellow ChuChu then open the door across the gap. |
| 3 | 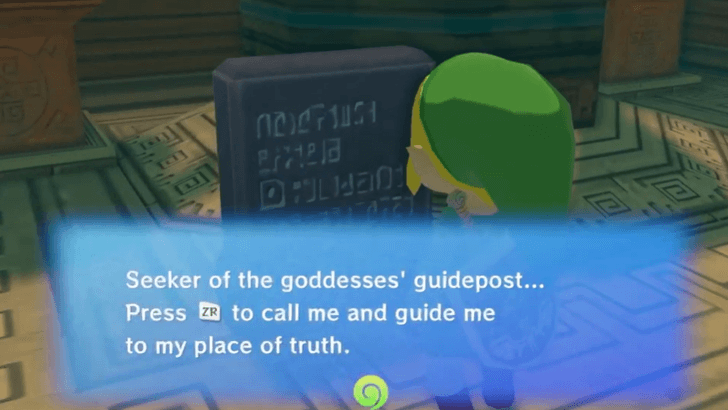 Get to the end of the path and use the Action Button (R/ZR) to lower the platform. |
| 4 | Carry the statue out of the room. Be careful of the 2 Yellow ChuChus outside the door. |
| 5 | After you exit, the statue will place itself on the platform. |
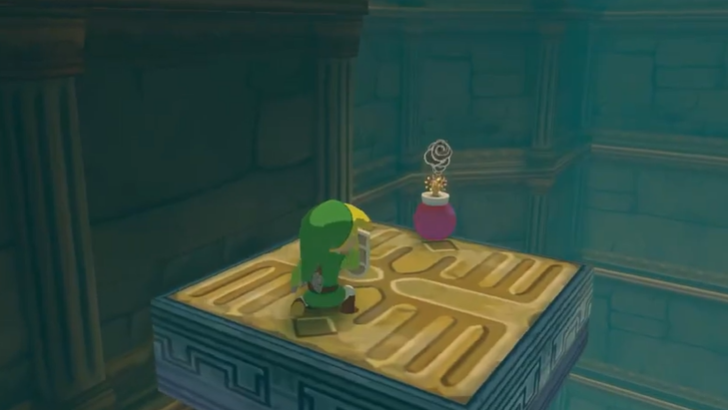
| 6 | 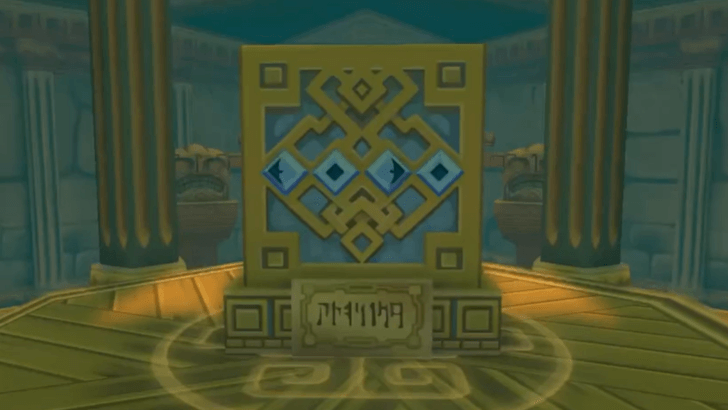 Approach the sign that appeared in the middle. |
| 7 | 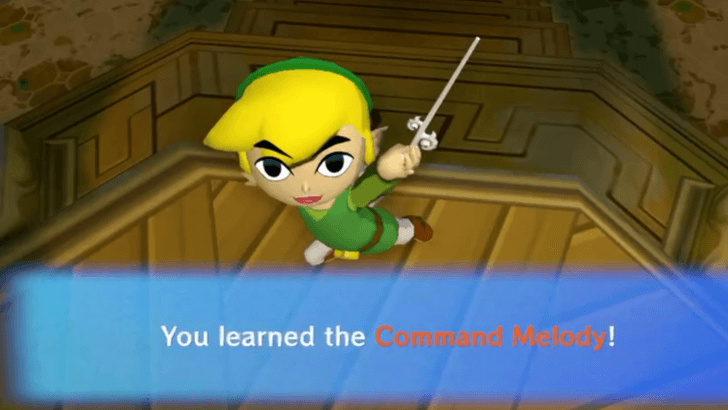 Play the tune written on the sign to learn the Command Melody. |
| 8 |  Enter the room to the left. |
| 9 | Defeat the Fire Bubbles by using the Deku Leaf while they are floating above the pit. |
| 10 | 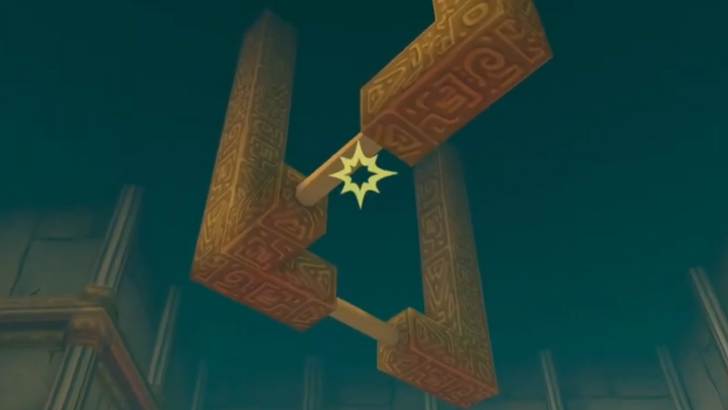 Use the Grappling Hook on the structure above the pit to get to the other side. |
| 11 | 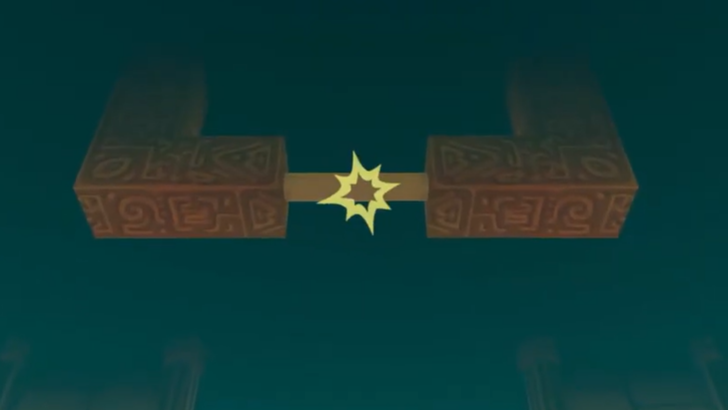 Enter the next room then use the Grappling Hook again to get to the statue. |
| 12 | Use the Action Button (R/ZR) to activate the statue. |
| 13 | 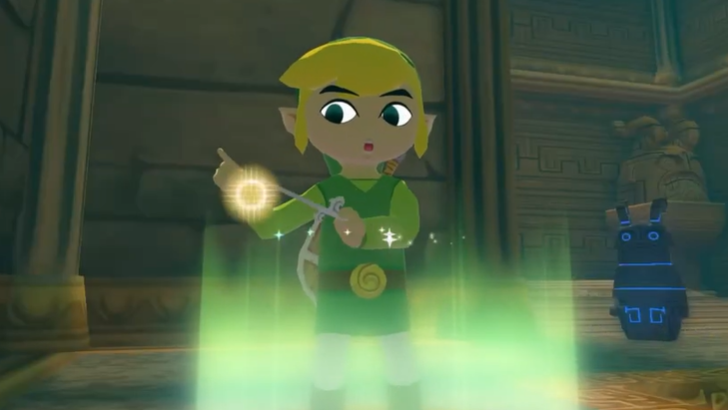 Step on the button to the right, then use the Command Melody to control the statue and lead it over the bridge. Afterwards, use the Grappling Hook or Deku Leaf to get across. |
| 14 | 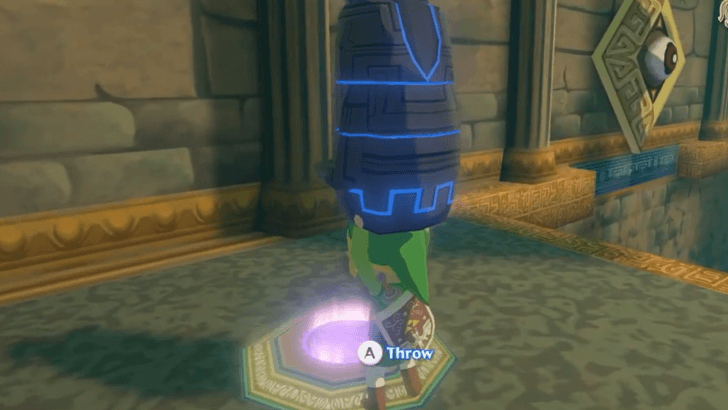 In the next room, place the statue on the button to the left. You will not be able to bring it across just yet. |
| 15 | Get to the room to the right by using the Grappling Hook or a Deku Leaf. Beware that entering the room will lead to a Darknut encounter. |
| 16 | 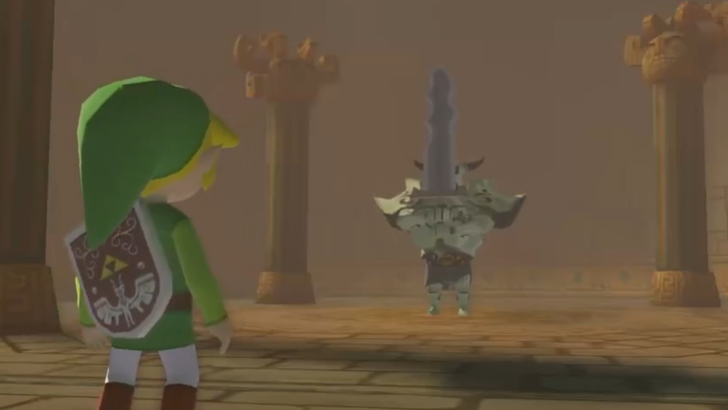 Defeat the Darknut. You can defeat a Darknut by removing their helmets or breastplate, making them vulnerable to attacks. This can be done by parrying or just attacking them repeatedly. You can also sneak behind a Darknut to remove the straps of their breastplate. |
| 17 | After defeating Darknut, a treasure chest containing the Hero's Bow will appear in the center. |
| 18 | 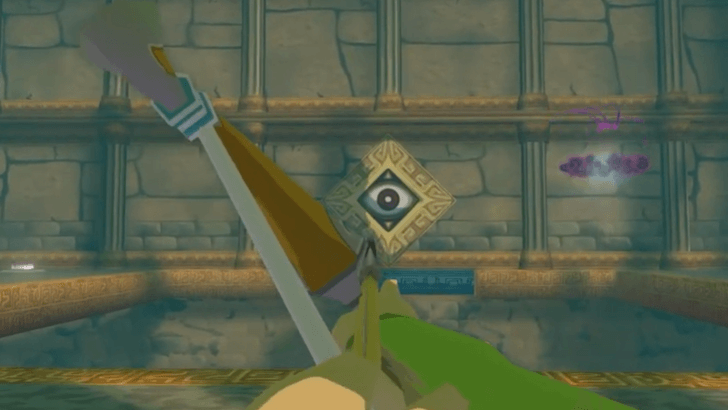 Exit the room then use the Hero's Bow to aim an arrow at the eye on the wall across. This will activate moving platforms. |
| 19 | Go back and pick up the statue that you left behind. Ride the platforms to the other side. |
| 20 | Exit the room. The statue will automatically place itself on the platform. |
| 21 | Before going north, head back down south to the room where you got the Goddess Tingle Statue. Head down and back to the first room. |
| 22 | 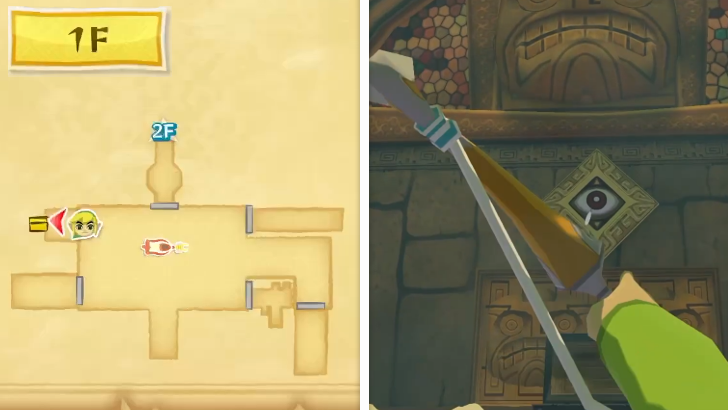 |
| 23 | 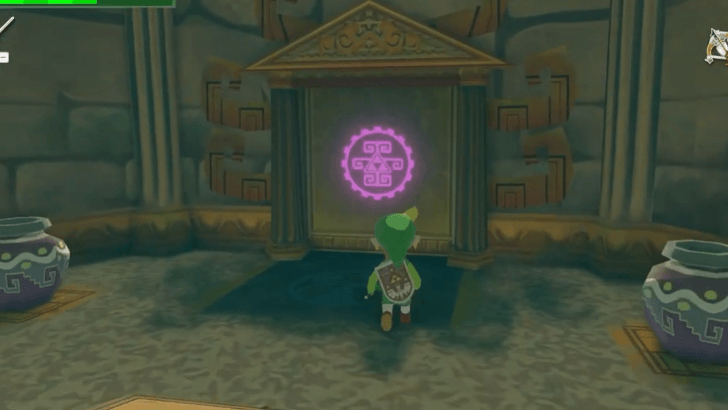 Head back up to the Second Floor Central room and now go through the room to the North instead. |
| 24 | 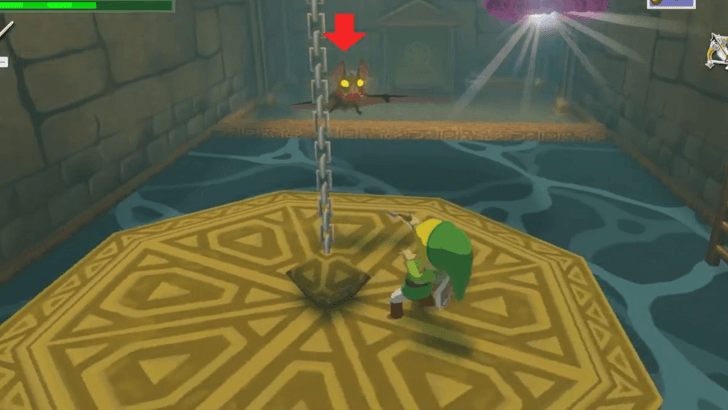 Jump down onto the circular plate at the bottom. Defeat the Keese that appear using the Hero's Bow. |
| 25 | 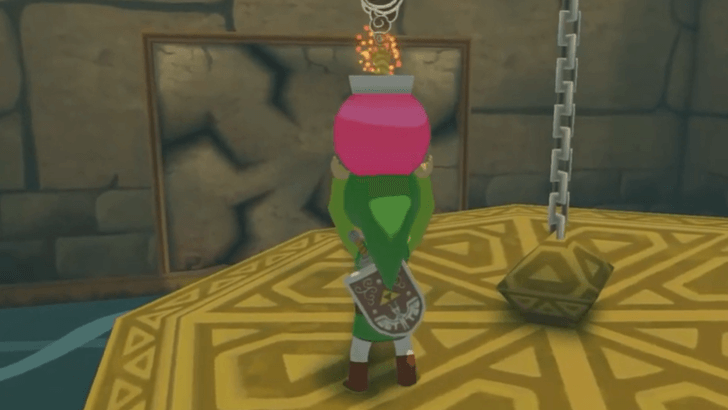 Bomb the wall to the left to reveal a door. |
| 26 | 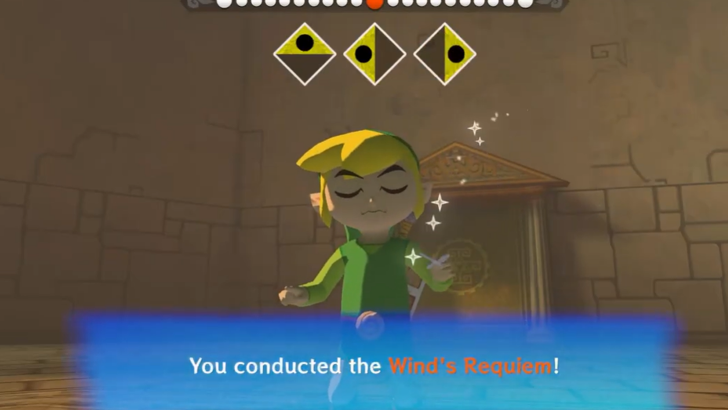 Play the Wind's Requiem to reveal a treasure chest containing a Treasure Chart #30. Beware that playing Wind's Requiem will activate the nearby Armos Knights. |
| 27 | 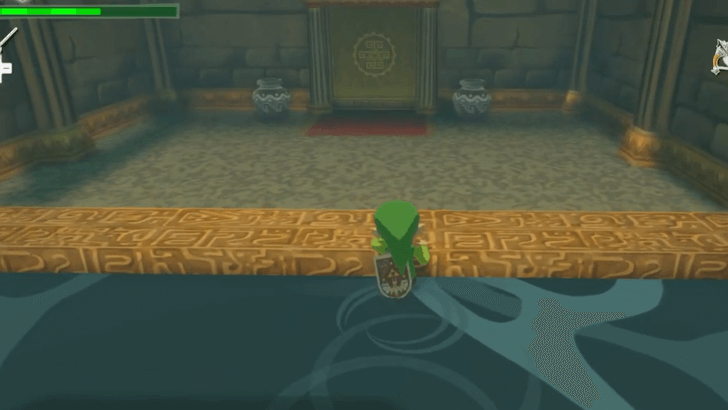 Exit the room then swim to the door on the other side. |
| 28 | 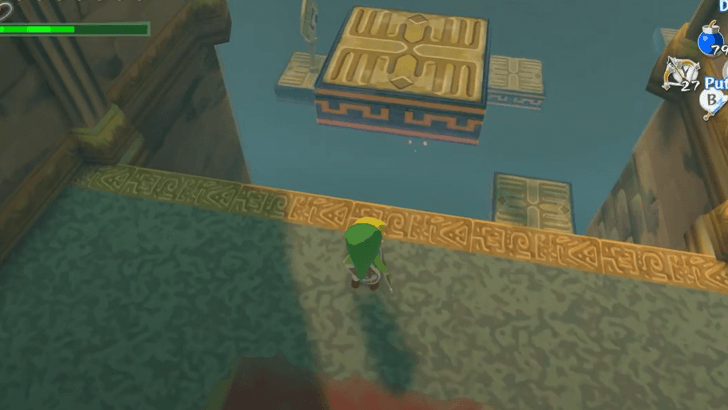 Jump onto the platform rising and falling ahead of you. |
| 29 | 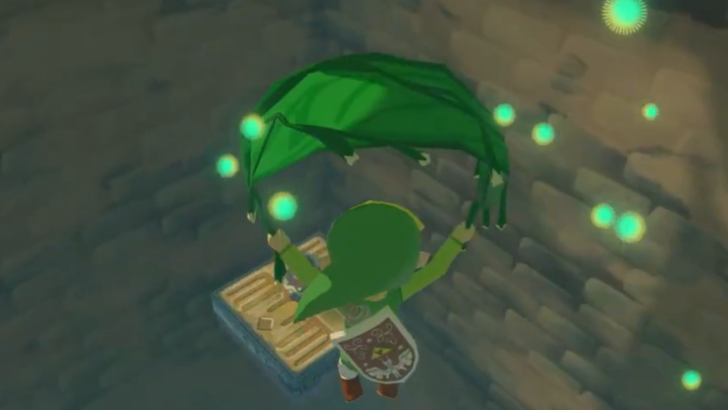 Use the Deku Leaf to float down towards the platform with the vase in the corner. |
| 30 | 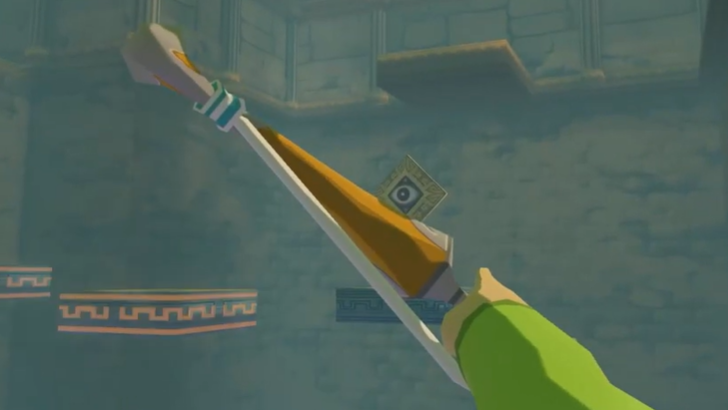 Shoot an arrow into the eyeball to the left. This will cause the platform to start moving |
| 31 | 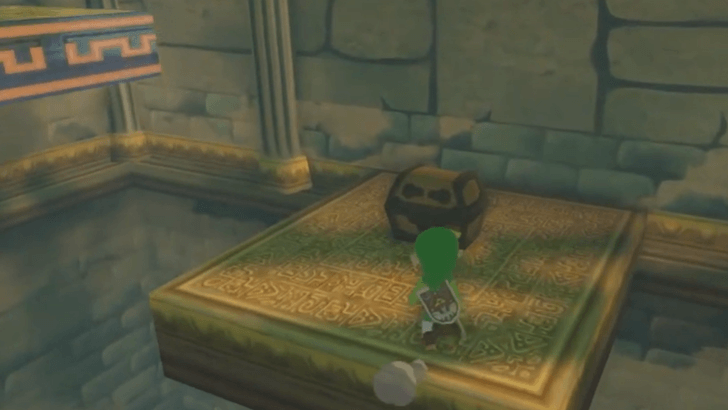 Ride the platform with the eyeball, then jump onto the landing with the treasure chest. You will get a Small Key. |
| 32 | 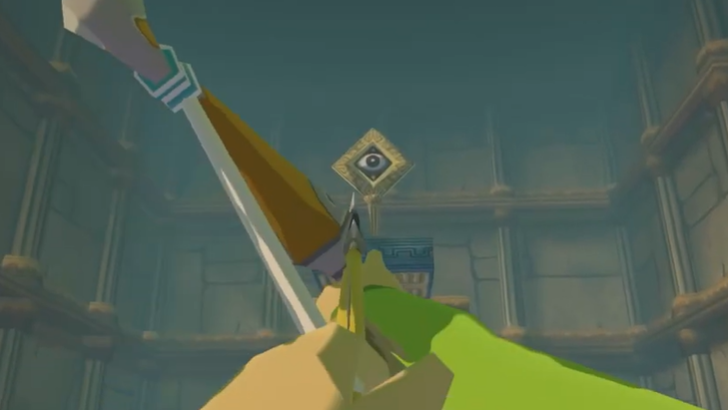 From the treasure chest, face towards the East and aim for the eyeball above. |
| 33 |  Use the platform to the right to get to the next platform with the eyeball. |
| 34 | 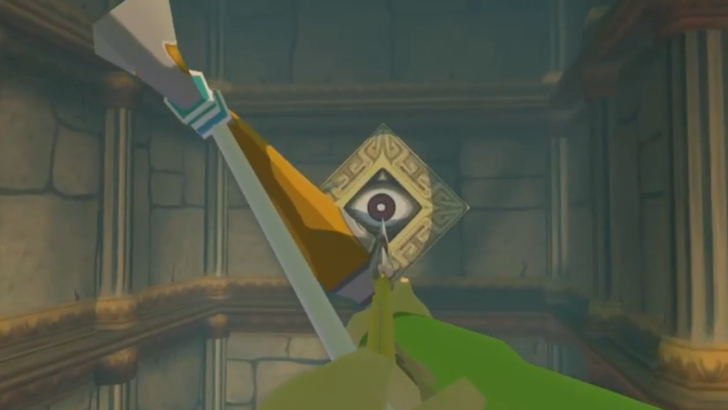 While riding the platform, face towards the South and aim for the eyeball above the entrance where you came from. This will reveal a treasure chest at the end with a Joy Pendant. |
| 35 | 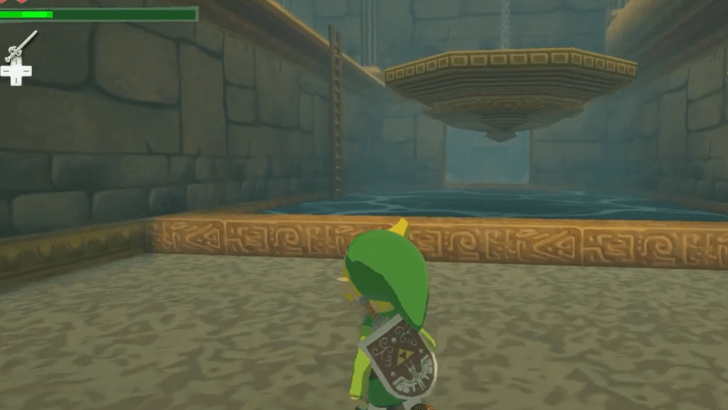 Exit the room then climb up the ladder. |
| 36 | 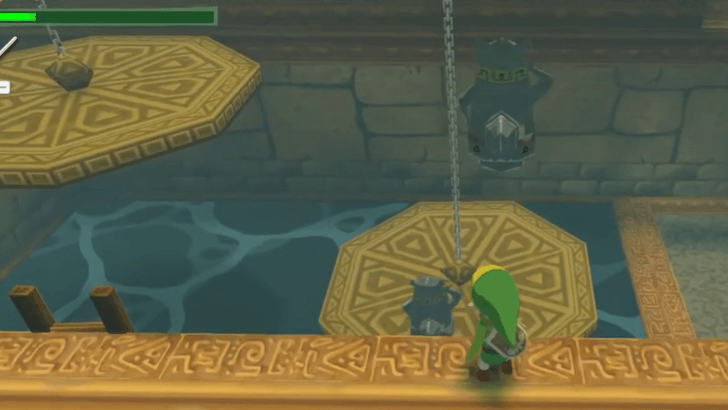 Throw the Armos Statues onto one of the circular plates to act as a weight, causing the other plate to rise. |
| 37 | 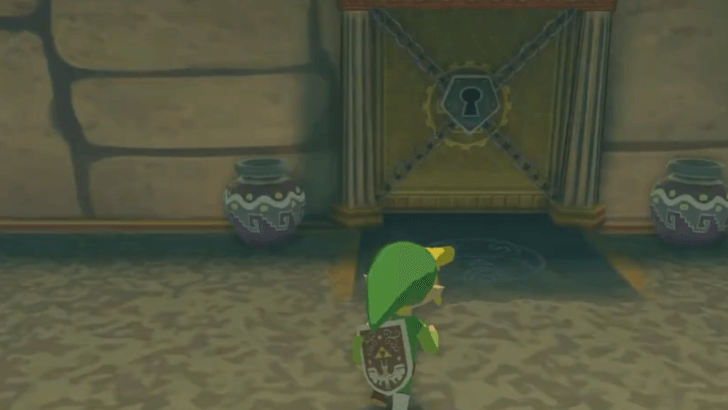 Cross the platform to the other side and use the Small Key to open the door and proceed. |
| 38 | Upon entering the room, climb onto the box and use the Deku Leaf to float over the lasers. |
| 39 | Activate the statue with the Action Button (R/ZR) then use the Command Melody to control it. |
| 40 | 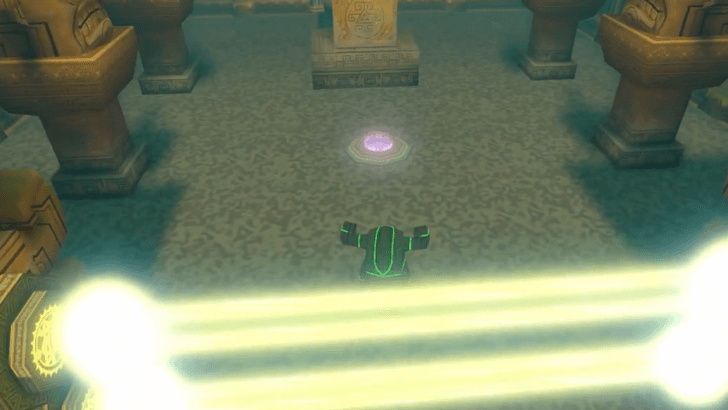 Walk the statue through the lasers and make it sit on the button on the ground. |
| 41 | Walk forward then carry the statue out of the room. |
| 42 | 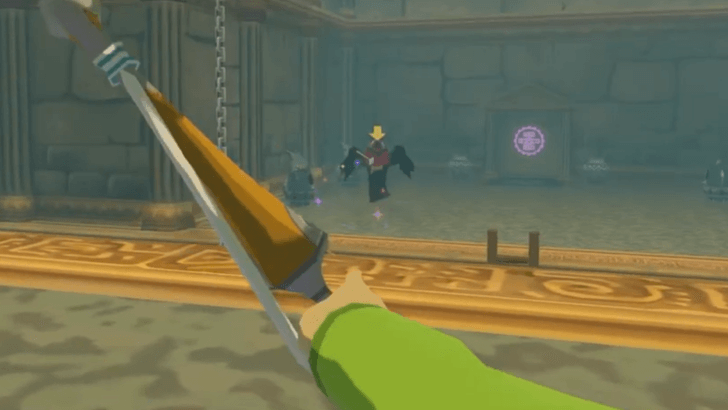 Use the Hero's Bow to defeat the Wizzrobe that appears across the room. |
| 43 | Use the Deku Leaf to get to the other side. |
| 44 |  Drop the Armos statues onto the circular plate just like before to get the other plate to rise. |
| 45 | Go back and carry the statue to the other side. |
| 46 | Exit the room. The statue will automatically place itself on the platform. |
| 47 | 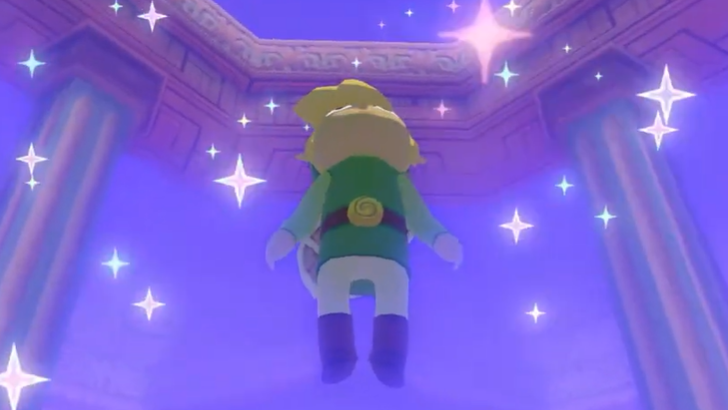 Go to the center and proceed to the next floor. |
Floor 3
| 1 |  Place the Armos statues on the three buttons on the floor. This will deactivate the lasers, allowing you to get the Big Key from the treasure chest. |
|---|---|
| 2 | 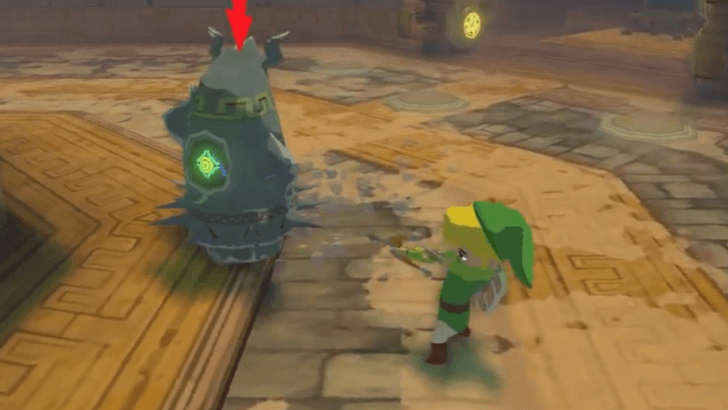 After getting the Big Key, the Armos statues will activate and become hostile. Defeat all the Armos statues to open the door across the room. |
| 3 | 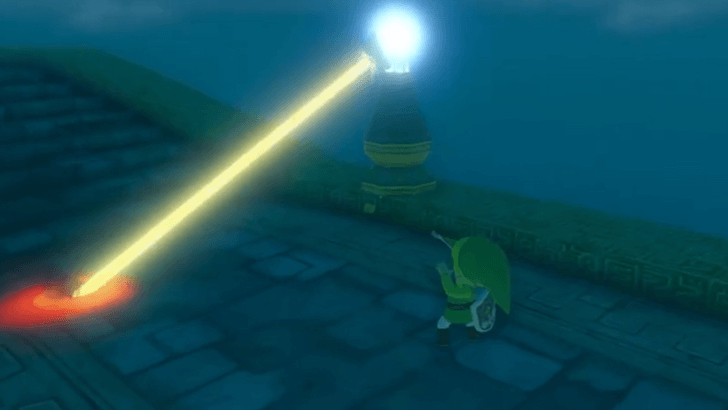 Go through the door and make your way up to the fourth floor. Destroy the lasers and defeat Kargarocs along the way. Beware that going to the fourth floor will trigger a boss fight. |
Gohdan Boss Fight
| 1 | 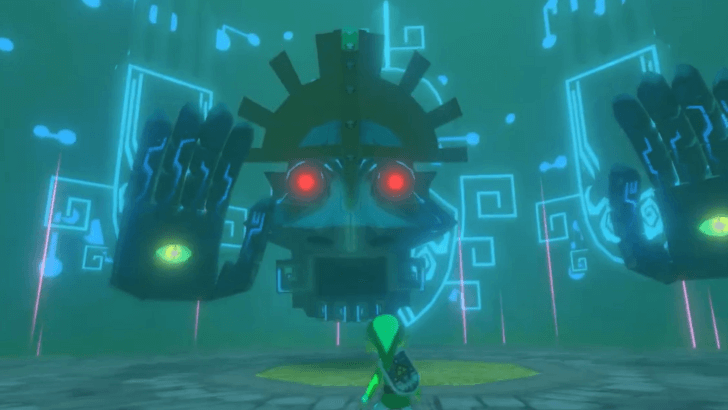 Defeat Gohdan. Gohdan's main attack is a bomb blast that will follow the player for a short amount of time, so try not to get caught. ▶︎ How to Beat Gohdan |
|---|---|
| 2 | After defeating Gohdan, head to the center to complete the dungeon. ▶︎ Hyrule Castle Walkthrough |
Tower of the Gods Boss
Gohdan
Gohdan is a boss that you will face at the end of the Tower of the Gods. Its main attack is a bomb barrage that will follow the player for a short amount of time.
To defeat it, aim for the green eyes on its hands. Afterwards, aim for its red eyes. This will stun Gohdan, allowing you to throw a bomb into its open mouth.
How to Beat Gohdan
| How to Beat Gohdan |
|---|
|
|
Aim for the Green Eyes on Gohdan's Hands
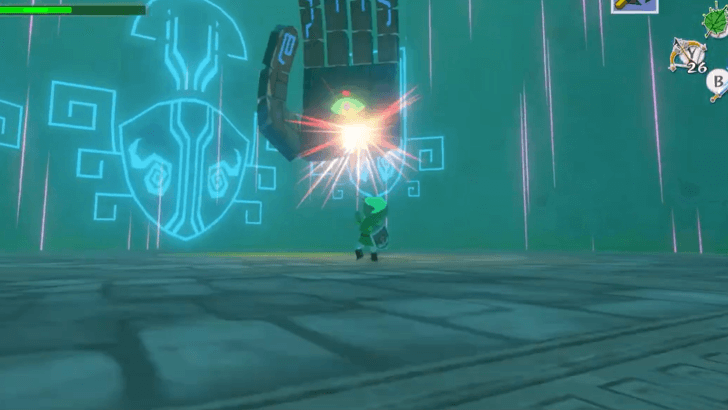
Gohdan's main weak point is its eyes, but you will not be able to hit them until its hands have been disabled. Use the Hero's Bow to shoot arrows at the green eyes on Gohdan's hands to disable them. This will allow you the chance to get a clear shot at Gohdan's eyes.
Aim for Gohdan's Red Eyes
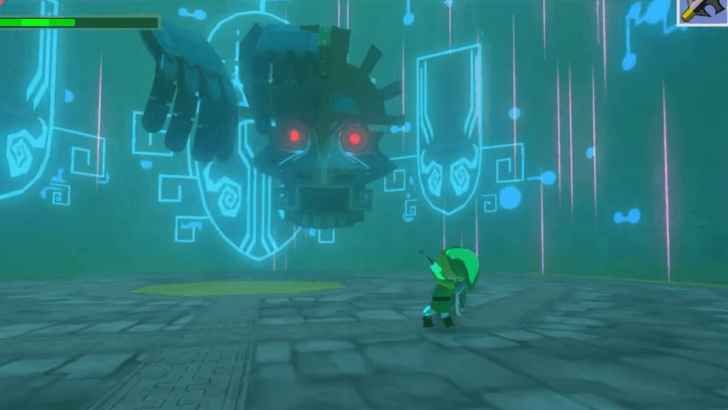
Aim for Gohdan's glowing red eyes. Once both eyes are down, Gohdan will be stunned and will fall to the ground.
Throw a Bomb into Gohdan's Mouth
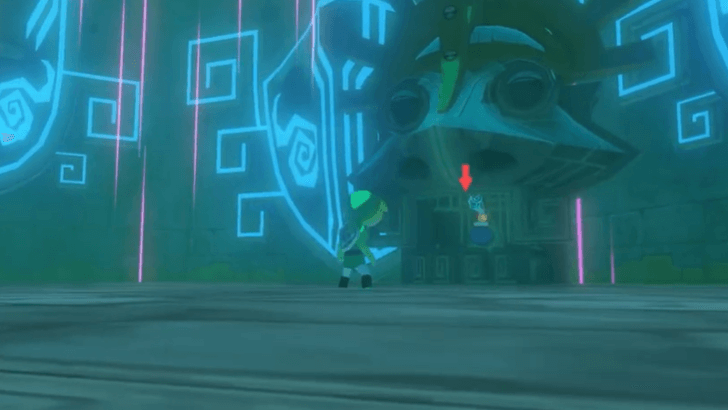
While Gohdan is on the ground, its mouth will pop open. Throw a bomb into its mouth to deal critical damage. You will need to do this twice to defeat it.
Tower of the Gods Items to Get
Floor 1 Items
| Item | How to Get |
|---|---|
| Joy Pendant | Light up the torches in front of the bottom room to the West. |
| Goddess Tingle Statue | Place a bomb on the edge of the topmost platform before you enter the next floor. |
| Treasure Chart #6 | After getting the bow, head back to the room where you got the Compass. Shoot the Eye Switch to reveal the Chest. |
Floor 2 Items
| Item | How to Get |
|---|---|
| Hero's Bow | Defeat the Darknut in the room to get the Hero's Bow. |
| Treasure Chart #30 | Play the Wind's Requiem to reveal a treasure chest containing Treasure Chart #30 in the room to the west of the circular plates. |
| Joy Pendant | While riding the platform, face towards the South and aim for the eyeball above the entrance where you came from. This will reveal a treasure chest at the end with a Joy Pendant. |
The Legend of Zelda: The Wind Waker Related Guides

Walkthrough Guides
| 1 | Outset Island | 2 | Forsaken Fortress |
|---|---|---|---|
| 3 | Windfall Island | 4 | Dragon Roost Island |
| 5 | Dragon Roost Cavern | 6 | Forest Haven |
| 7 | Forbidden Woods | 8 | The Third Pearl |
| 9 | Tower of the Gods | 10 | Hyrule Castle |
| 11 | Return to the Forsaken Fortress | 12 | Earth Temple |
| 13 | Wind Temple | 14 | Triforce |
| 15 | Ganon's Tower | ||
Comment
Author
The Legend of Zelda: The Wind Waker Walkthrough & Guides Wiki
Tower of the Gods Walkthrough
Rankings
- We could not find the message board you were looking for.
Gaming News

![Monster Hunter Stories 3 Review [First Impressions] | Simply Rejuvenating](https://img.game8.co/4438641/2a31b7702bd70e78ec8efd24661dacda.jpeg/show)
![The Liar Princess and the Blind Prince Review [PC] | Lovely to Look at but Tedious to Play](https://img.game8.co/4442586/8d95f5faf05780f1765ce7e0938bd825.jpeg/thumb)
![Marathon Cryo Archive Map Teased as [REDACTED] on Selection Screen](https://img.game8.co/4442236/6357203e58172f6de57f1991e7c39b22.png/thumb)

Popular Games

Genshin Impact Walkthrough & Guides Wiki
Umamusume: Pretty Derby Walkthrough & Guides Wiki
Pokemon Pokopia Walkthrough & Guides Wiki
Honkai: Star Rail Walkthrough & Guides Wiki
Monster Hunter Stories 3: Twisted Reflection Walkthrough & Guides Wiki
Arknights: Endfield Walkthrough & Guides Wiki
Wuthering Waves Walkthrough & Guides Wiki
Zenless Zone Zero Walkthrough & Guides Wiki
Pokemon TCG Pocket (PTCGP) Strategies & Guides Wiki
Monster Hunter Wilds Walkthrough & Guides Wiki


Recommended Games
Diablo 4: Vessel of Hatred Walkthrough & Guides Wiki
Cyberpunk 2077: Ultimate Edition Walkthrough & Guides Wiki
Fire Emblem Heroes (FEH) Walkthrough & Guides Wiki
Yu-Gi-Oh! Master Duel Walkthrough & Guides Wiki
Super Smash Bros. Ultimate Walkthrough & Guides Wiki
Pokemon Brilliant Diamond and Shining Pearl (BDSP) Walkthrough & Guides Wiki
Elden Ring Shadow of the Erdtree Walkthrough & Guides Wiki
Monster Hunter World Walkthrough & Guides Wiki
The Legend of Zelda: Tears of the Kingdom Walkthrough & Guides Wiki
Persona 3 Reload Walkthrough & Guides Wiki


All rights reserved
© Nintendo. The Legend of Zelda and Nintendo Switch are trademarks of Nintendo.
The copyrights of videos of games used in our content and other intellectual property rights belong to the provider of the game.
The contents we provide on this site were created personally by members of the Game8 editorial department.
We refuse the right to reuse or repost content taken without our permission such as data or images to other sites.