Triforce Shards Walkthrough
▲ 100% Completion Checklist
▲ All Heart Pieces & Empty Bottle Locations
▲ Treasure Charts | Triforce Charts
▲ GameCube and Wii U Version Differences
▲ Upgrades ▶︎ Wallet | Magic Meter | Picto Box
This is a walkthrough for the Triforce Shards section of The Legend of Zelda: The Wind Waker. Read on for a complete story guide through collecting the Triforce Shards, as well as a list of the important items that you can get as you progress!
| ◀︎ Previous Area | Next Area ▶︎︎ |
|---|---|
| Wind Temple | Ganon's Tower |
List of Contents
Triforce Shards Walkthrough
Preparation and Collectibles
| 1 | 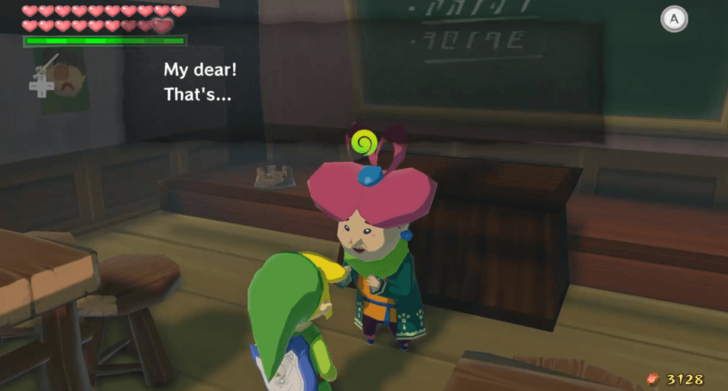 Before starting the Triforce Shards quest, you must get the Cabana Deed from Mrs. Marie on Windfall Island. Give her 20 Joy Pendants to get this item. If you give her 20 more Joy Pendants in the HD version of the game, she will give you Treasure Chart #45. In the GameCube version, she will give you the Hero's Charm. |
|---|---|
| * | In the HD remake, you can get Treasure Chart #46 from the second secret cavern on Pawprint Isle. Use the Hookshot to get to the strange-looking tree marking the entrance to a hidden cave. This Treasure Chart leads to a Piece of Heart, so get it before continuing your adventure. In the GameCube version, this hidden area holds a Silver Rupee. |
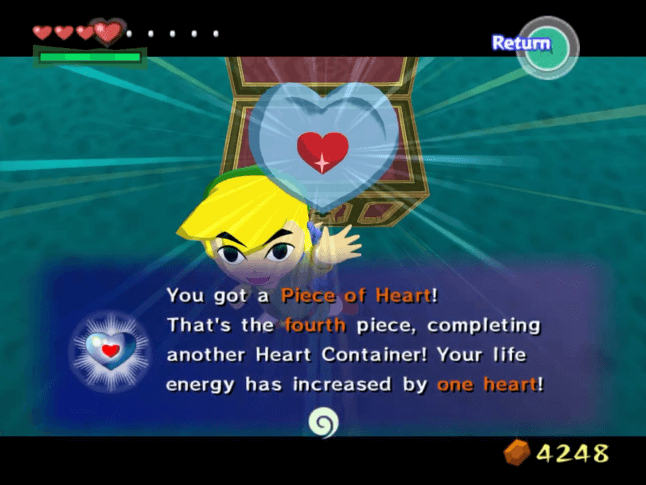
| * | You can get another Piece of Heart by getting the treasure from Treasure Chart #5 that you got in the Wind Temple. This treasure is located on Thorned Fairy Island. |
| 3 | You can now start collecting Triforce Shards! However, this part of the main quest differs greatly between the original GameCube and HD remake versions of the game. Please select your game version to direct you to the corresponding walkthrough. ▶︎ Original Version ▶︎ HD Version |
Original Version
| Jump to a Section | |
|---|---|
| Original Version | HD Version |
| 1 | 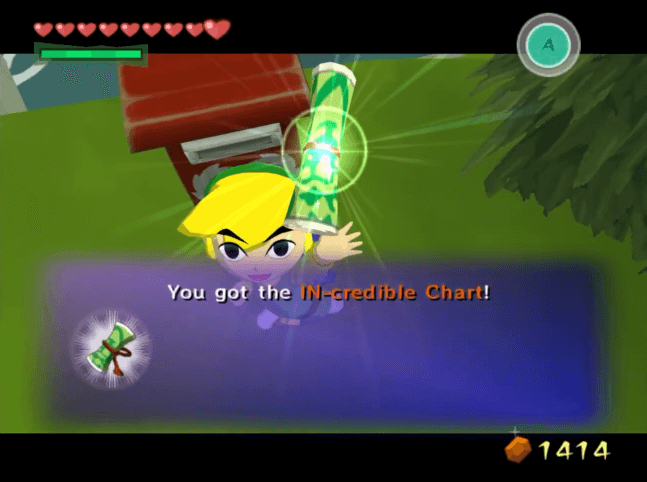 If you've broken out Tingle from jail, you should find a letter from him in the mail. Open it at any postbox for 201 Rupees and read it to receive the IN-Credible Chart. This will give you the locations of most of the Triforce Charts and Shards. |
|---|---|
| 2 | 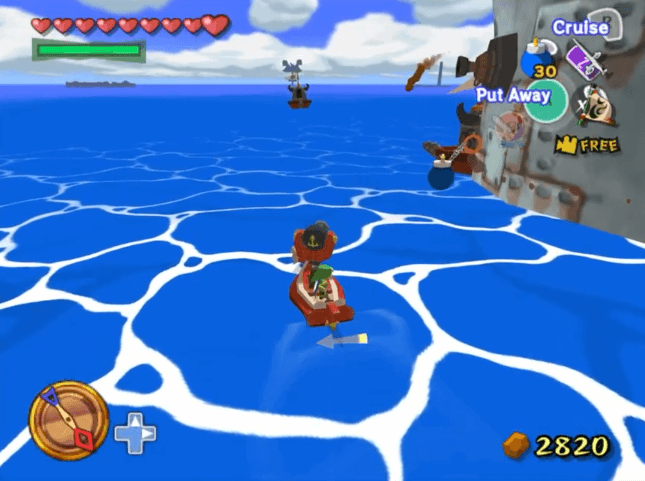 Sail to the Islet of Steel and destroy the warship. Sail through the newly unblocked entrance and stand on the Wind Crest inside. Play the Wind's Requiem to spawn a chest containing Triforce Chart #1. |
| 3 | 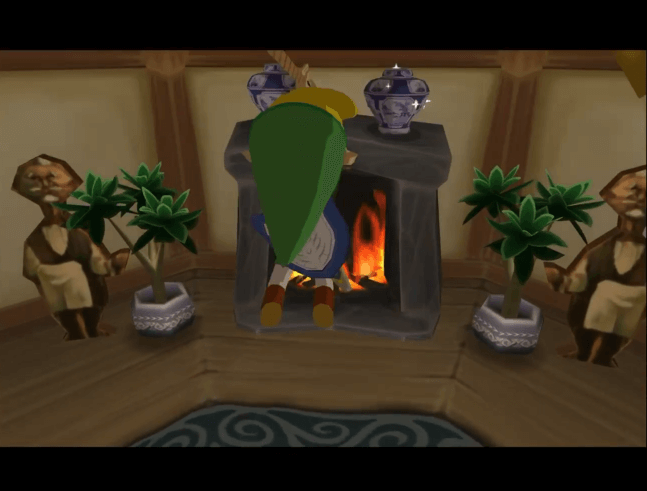 Head to the Private Oasis. Treasure Chart #27 can be found on this island, outside the cabana. Enter the Cabana with the Cabana Deed in hand. Use your Grappling Hook on the bar above to put out the fire in the fireplace. You can then go inside the newly revealed entrance. ▶︎ How to Get Cabana Deed |
| 4 | 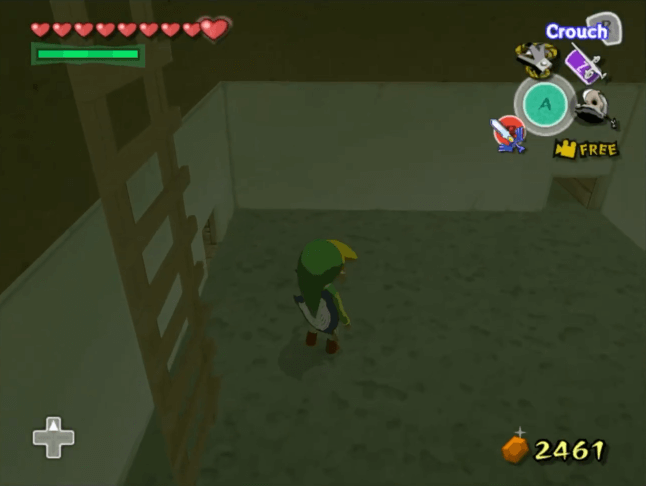 Turn right and take another right turn once the path forks. Drop down the ladder and crawl into the hole on the wall with no ladder. Go left, right, forward, and then right again to reach a ladder. |
| 5 | 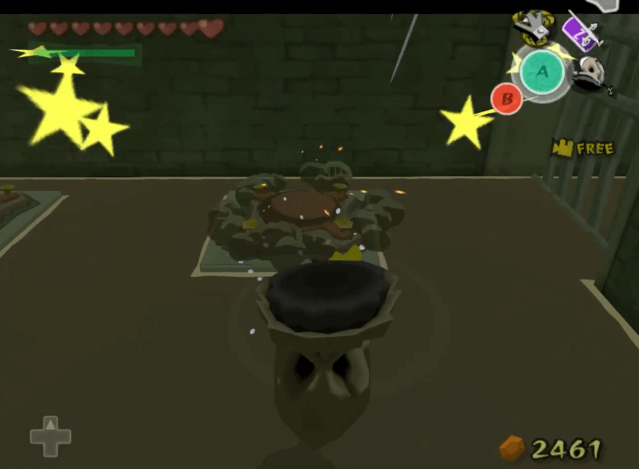 Climb up the ladder and hammer down the two pegs. This will open two gates. Take the path to the left and go down the ladder. |
| * | 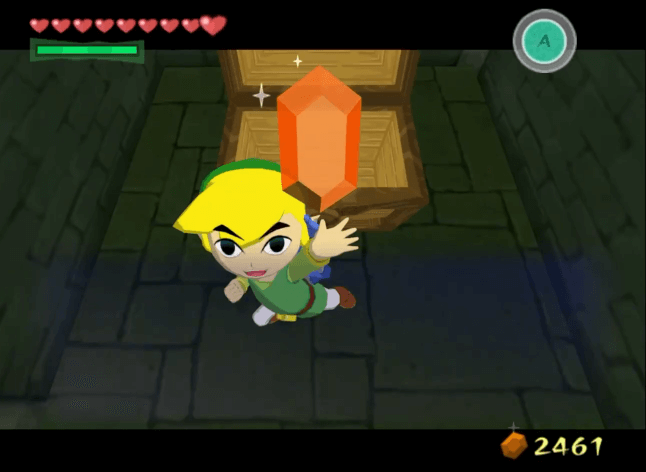 You may crawl into the hole to the left after going down until you reach the end of the tunnel. You will find a chest that contains an Orange Rupee. |
| 6 | 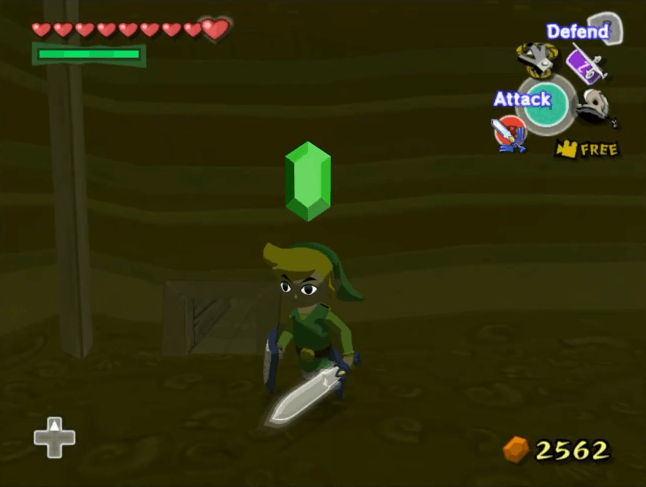 Crawl into the hole directly in front of the ladder. Once you have reached the end of the tunnel, climb up the ladder and hammer down the peg in the room. Jump into the hole near the peg to defeat the enemies and break the pots to reveal an entrance. |
| 7 | 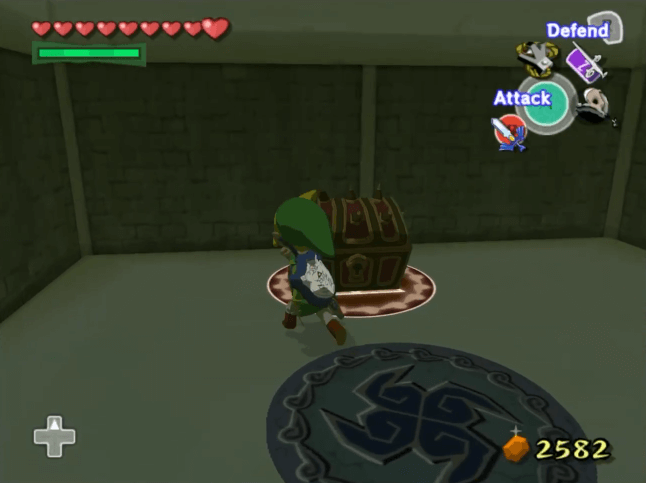 Crawl into the entrance until you reach the other end. Climb up the ladder and play the Wind's Requiem. This will spawn a chest that contains Triforce Chart #2. Exit the cavern by hammering the nearby peg to open a gate then finding the warp. |
| 8 | 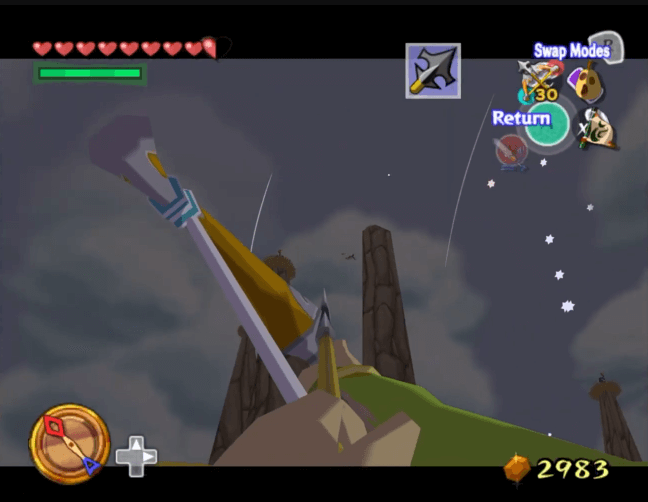 Head to Bird's Peak Rock with some Hyoi Pears. Upon landing, use your bow to take out the Kargorocs on top of the rock spires. You do not need to defeat all of them, but you may do so to make the next step easier. |
| 9 | 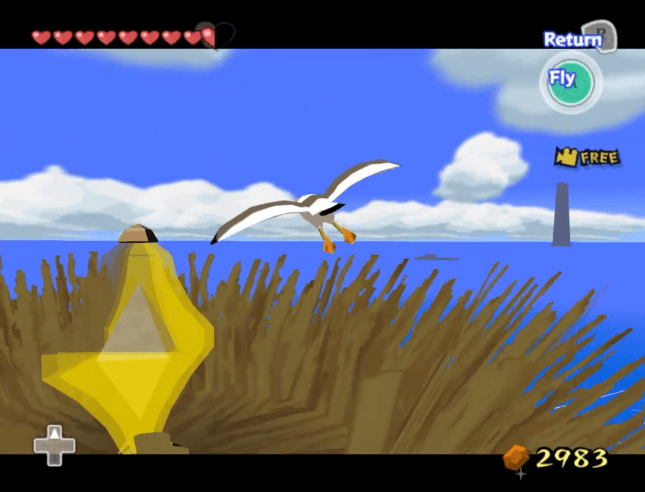 Use a Hyoi Pear to take control of a seagull. Fly the seagull to the top of each rock spire to hit the switches. If the seagull gets caught by a Kargoroc, use another Hyoi Pear to fly another seagull to the remaining switches. |
| 10 | 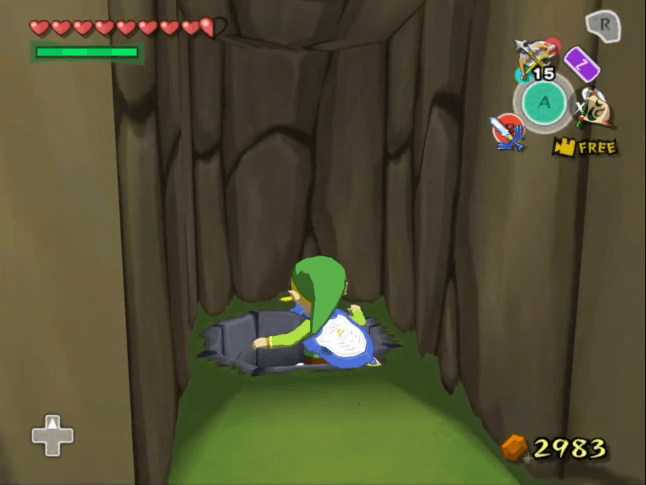 Once the switches are all activated, a gate in the island will open. Go inside the newly revealed entrance and jump into the tunnel. Stand on the Wind Crest inside, then the Wind's Requiem to spawn a chest containing Triforce Chart #3. |
| 11 | 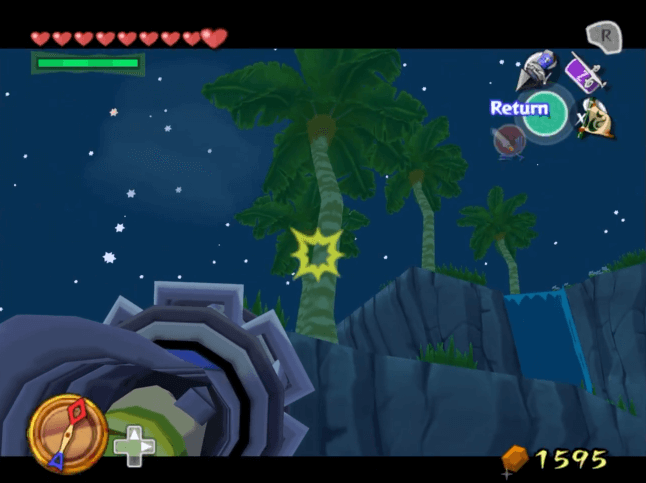 Sail to Diamond Steppe Island. Once you have arrived, use your hookshot on the trees to pull yourself up. Once you are on the top of the island, walk near the edge of the cliff and jump into the hole. |
| 12 | 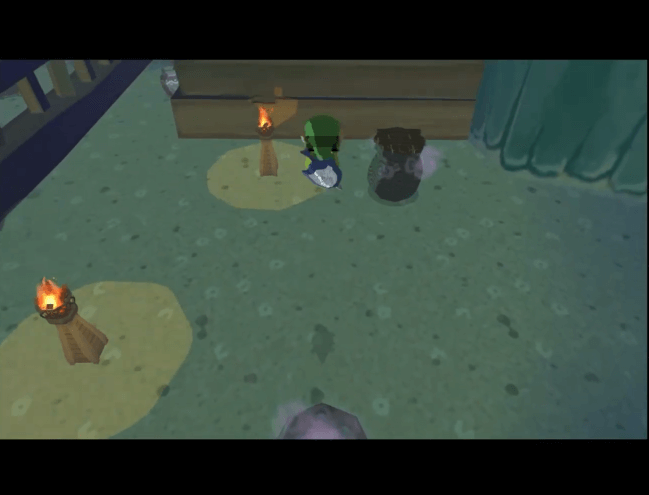 Enter the Warp Pot in front of the entrance. After being warped, enter the Warp Pot directly in front of the one you just climbed out of. |
| 13 | 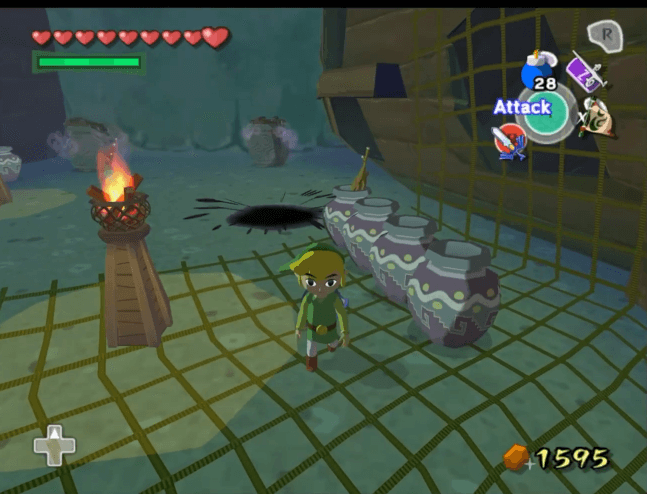 After warping, you will see two Warp Jars behind two Floor Masters. Run past the Floor Masters and enter the jar on the right. |
| 14 | 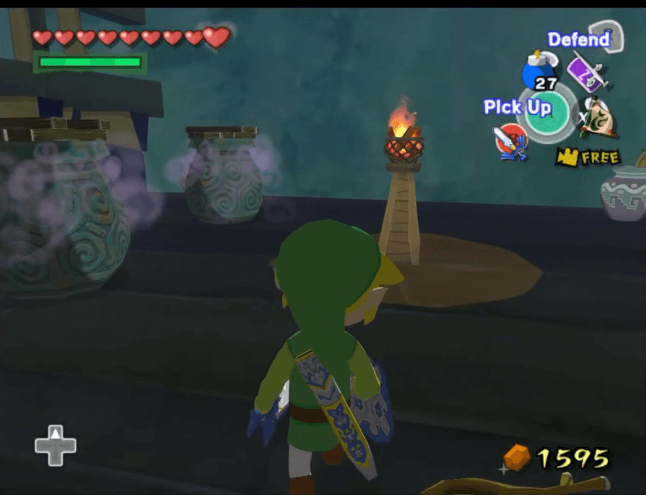 You will then be warped to an area on a ship. Run past the Floor Master and enter the left Warp Jar behind it. |
| 15 | 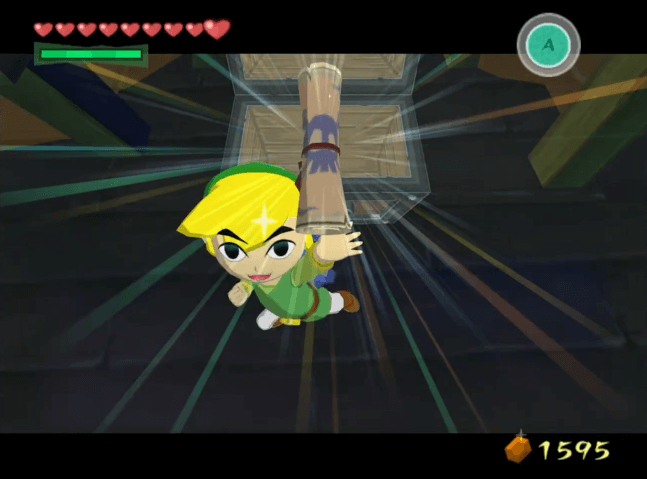 After being warped, run past the area's Floor Master until you see a chest. Open it to obtain the Ghost Ship Chart. |
| 16 | 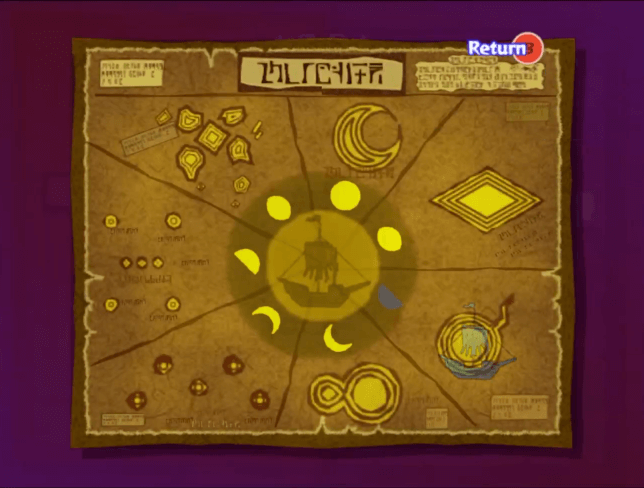 After leaving the cavern, open the Ghost Ship chart at night. It will show you the current location of the Ghost Ship according to the phase of the moon. |
| 17 | 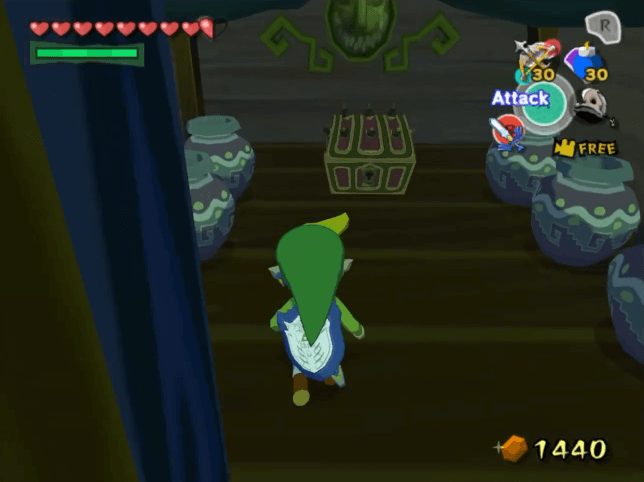 Sail to the Ghost Ship at night. Defeat the enemies that are inside and a ladder will drop. Climb up to open a chest that contains Triforce Chart #4. You will be warped outside afterwards, and the Ghost Ship will never appear again. |
| 18 | 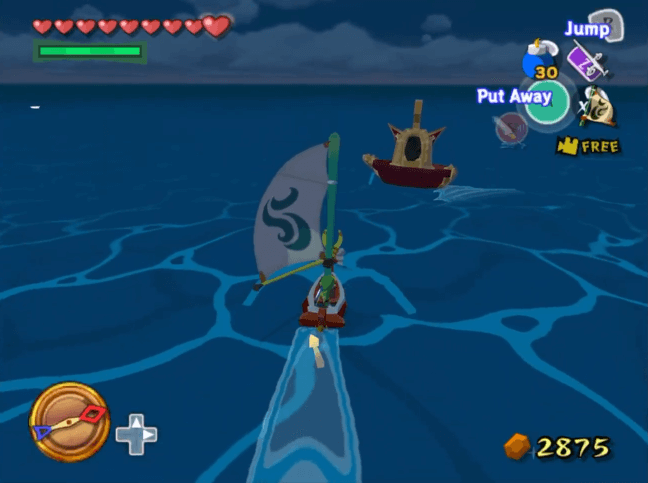 Sail to the left of Needle Rock Isle. Destroy the golden warship and use the hook on the ring of light it leaves behind. You will pull up a chest containing Triforce Chart #5. |
| 19 | 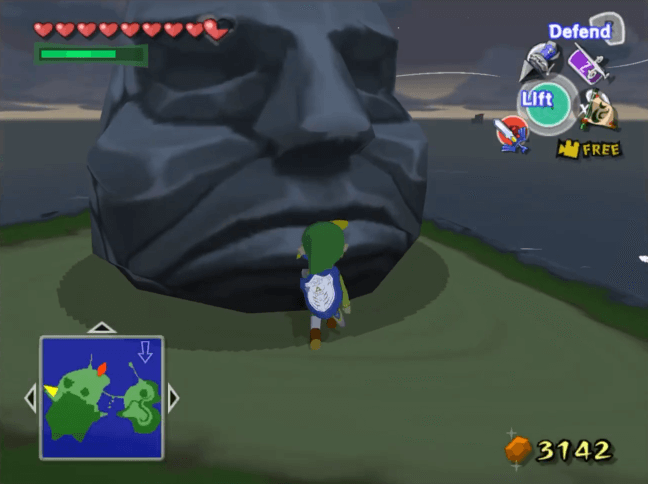 Head to Outset Island. Climb the area near your house and use the Hookshot to get to the platform with the stone head. Throw the stone head to reveal a cavern entrance. Be sure to prepare a lot of healing items before you enter. ▶︎ Savage Labyrinth Guide and Rewards |
| 20 |  Go down the hole leading to the Savage Labyrinth. You will progress through the floors by defeating all of the enemies. Keep going until you reach the 30th floor. |
| 21 |  Once you've reached the 30th floor, stand on the Wind Crest inside then play the Wind's Requiem to spawn a chest containing Triforce Chart #6. |
| * |  You may progress further through the Savage Labyrinth. If you manage to clear 50 floors, you will have access to a chest containing a Piece of Heart. |
| 22 | 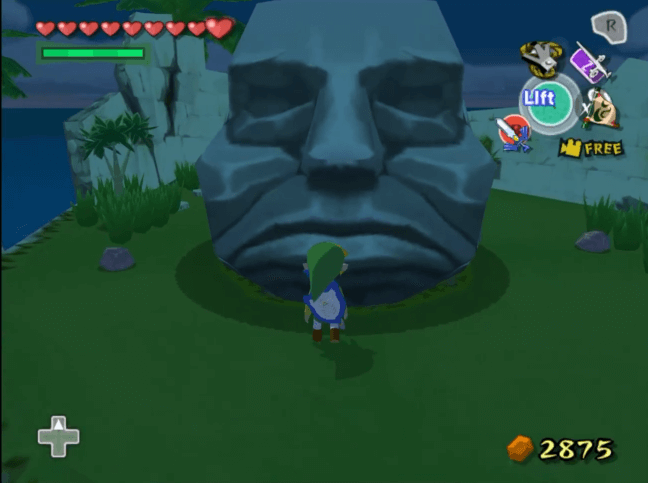 Head to the top of Stone Watcher Island and throw the large stone head to destroy it. Jump into the newly revealed hole. After landing, enter the door in front of you. |
| 23 | 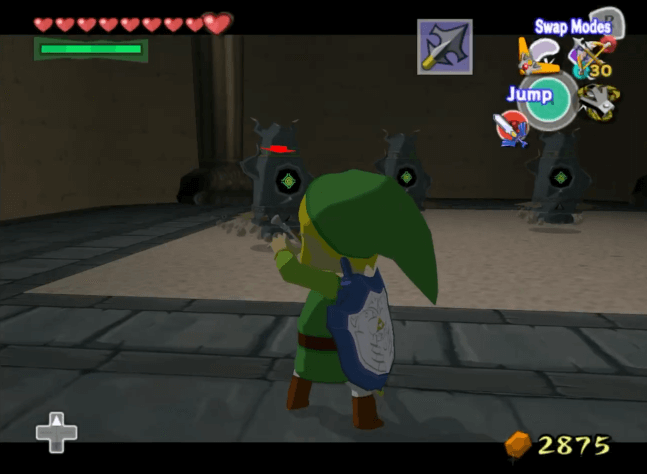 Upon entering the room, you will see five doors. The one at the center is locked, while the other doors contain enemies. Clear the four unlocked rooms by defeating the enemies inside, then defeat the enemies that spawn in the main room afterwards. This will unlock the door at the center. |
| 24 | 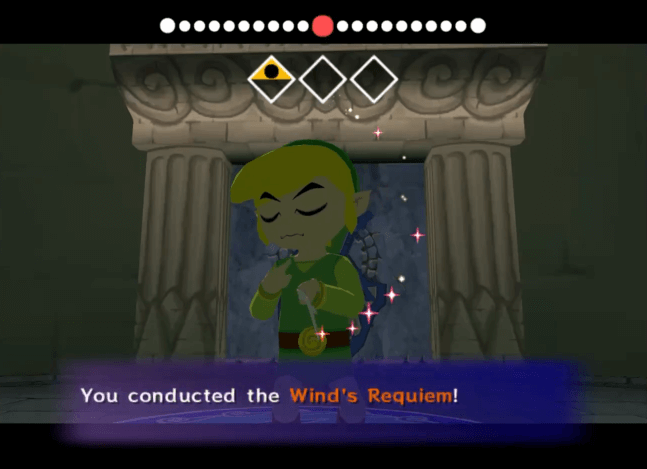 Enter the door at the center. Stand on the Wind Crest inside, then play the Wind's Requiem to spawn a chest containing Triforce Chart #7. |
| 25 | 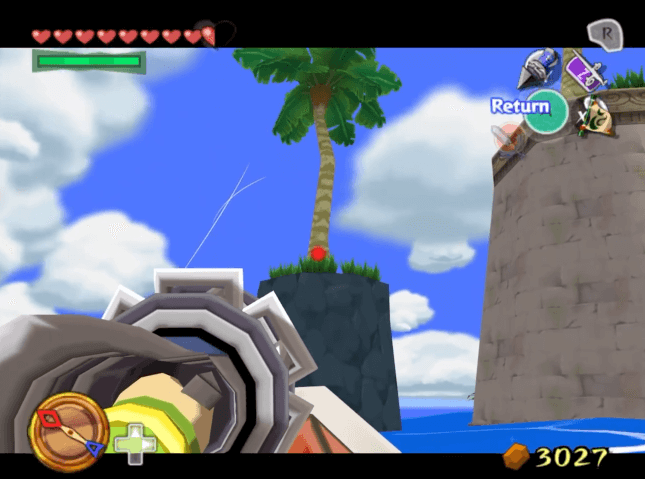 Head to Overlook Island and climb up by using the Hookshot on the trees. Once you find the cavern entrance, jump inside. |
| 26 | 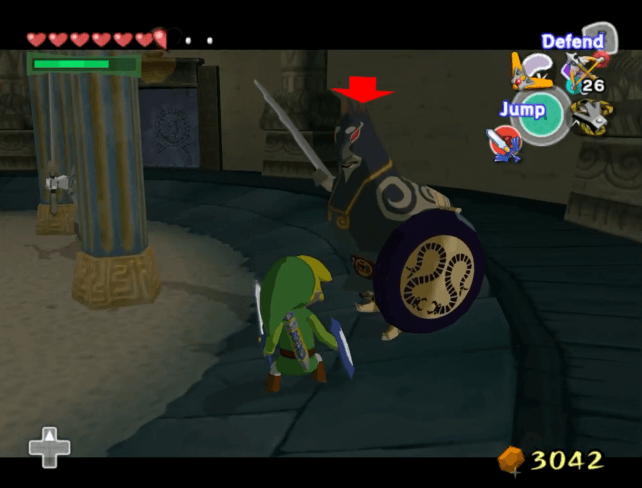 Upon entering the room, you will see five doors. The one at the center is locked, while the other doors contain enemies. Clear the four unlocked rooms by defeating the enemies inside, then defeat the enemies that spawn in the main room afterwards. This will unlock the door at the center. |
| 27 | 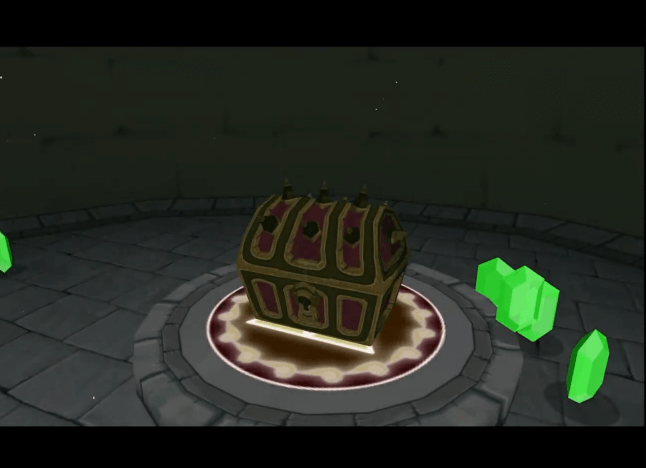 Enter the door at the center. Stand on the Wind Crest inside, then the play Wind's Requiem to spawn a chest containing Triforce Chart #8. |
| 28 | 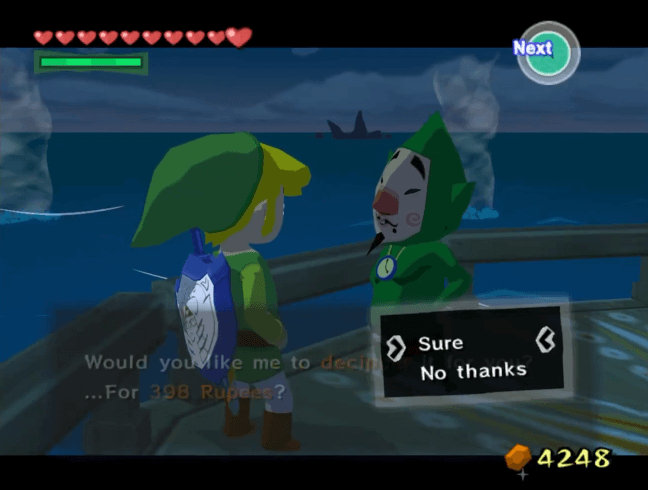 Head to Tingle Island and climb up the tower. Once you reach the top, you can speak to Tingle and have your Triforce Charts deciphered. This will cost 398 Rupees per chart, so be sure to have a lot of Rupees on hand. |
| 29 | 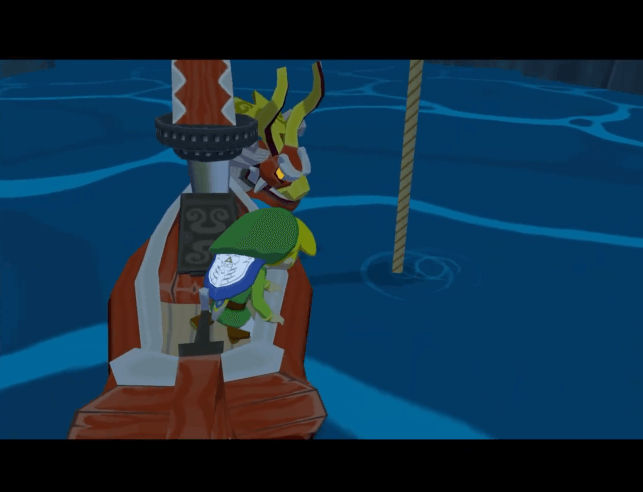 Head to the areas marked on the deciphered charts and pull the chests containing the Triforce Shards up from the sea. They are located on Greatfish Isle, Gale Isle, Stone Watcher Island, Outset Island, Cliff Plateau Isles, Southern Triangle Island, Seven-Star Isles, and Two-Eye Reef respectively. |
| 30 | Now that you have the Triforce, prepare for the final leg of your journey. Get a serving of Grandma's Elixir Soup and stock up on items before proceeding. ▶︎ Ganon's Tower Walkthrough |
HD Version
| Jump to a Section | |
|---|---|
| Original Version | HD Version |
| 1 | 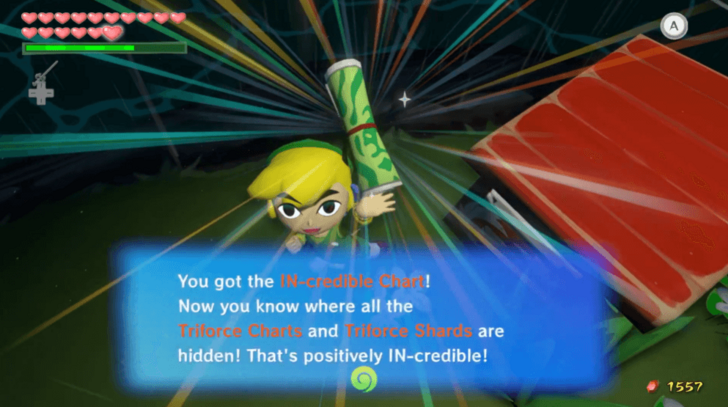 After clearing the Wind Temple, you will find a letter from Tingle in the mail. Open it at any postbox for 201 Rupees and read it to receive the IN-Credible Chart. This will give you the locations for most of the Triforce Charts and Shards. |
|---|---|
| 2 | 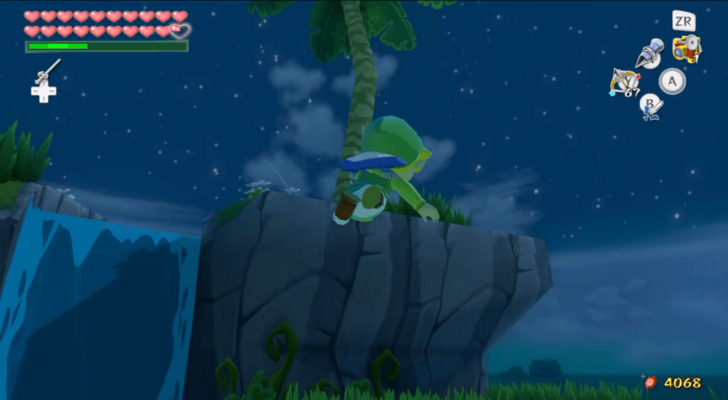 Sail to Diamond Steppe Island. Once you have arrived, use your hookshot on the trees to pull yourself up. Once you are on the top of the island, walk near the edge of the cliff and jump into the hole. |
| 3 | 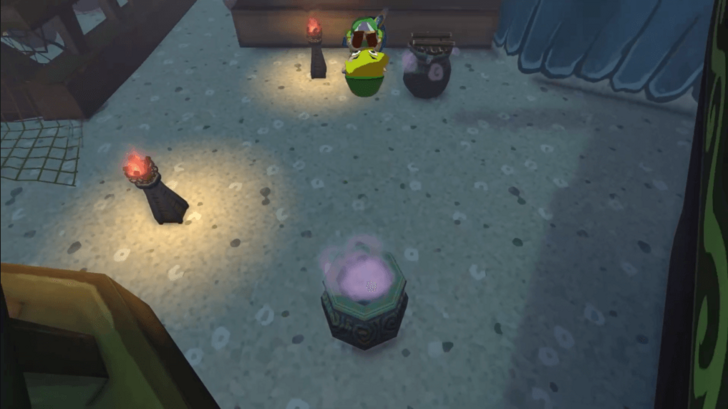 Enter the Warp Pot in front of the entrance. After being warped, enter the Warp Pot directly in front of the one you just climbed out of. |
| 4 | 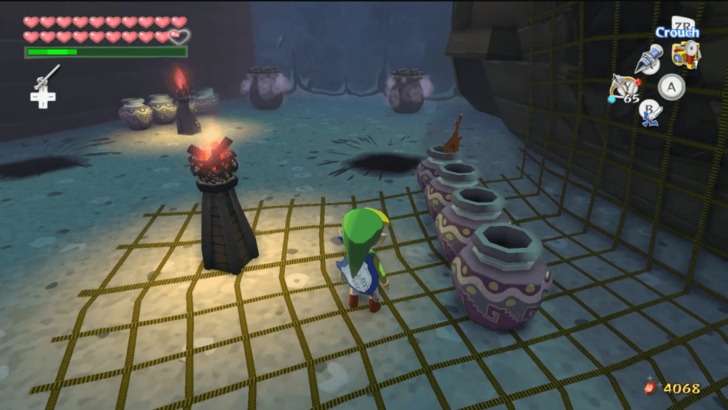 After warping, you will see two Warp Jars behind two Floor Masters. Run past the Floor Masters and enter the jar on the right. |
| 5 | 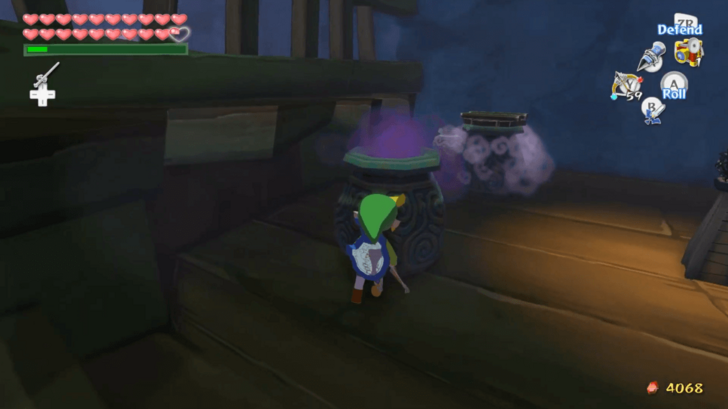 You will then be warped to an area on a ship. Run past the Floor Master and enter the left Warp Jar behind it. |
| 6 | 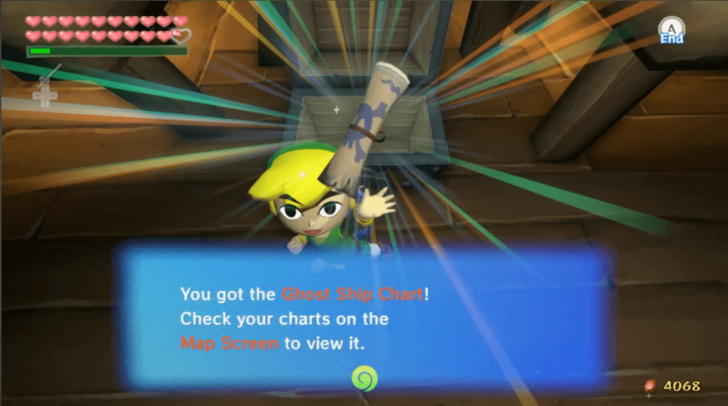 After being warped, run past the area's Floor Master until you see a chest. Open it to obtain the Ghost Ship Chart. |
| 7 | 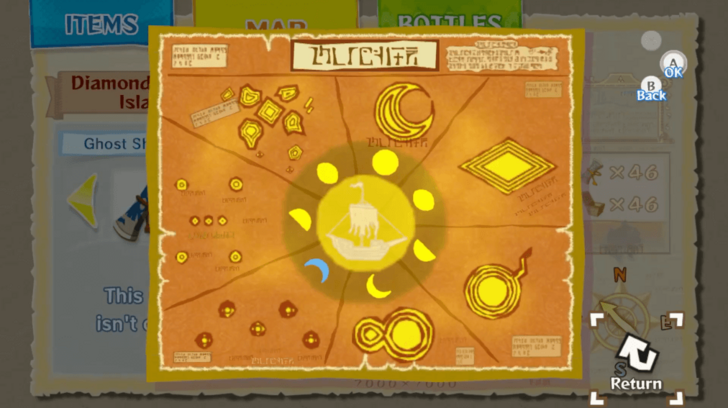 After leaving the cavern, open the Ghost Ship chart at night. It will show you the current location of the Ghost Ship according to the phase of the moon. |
| 8 | 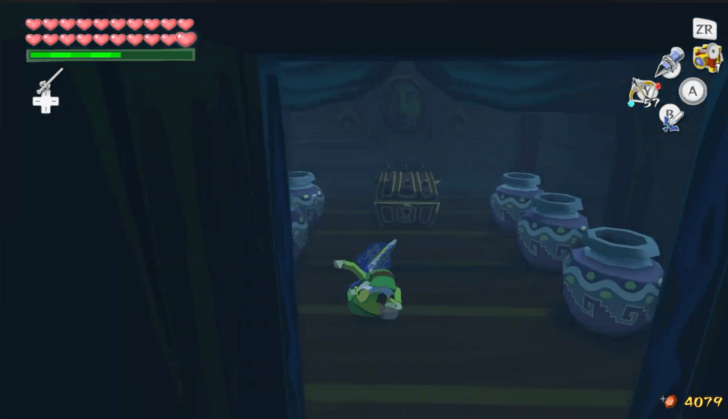 Sail to the Ghost Ship at night. Defeat the enemies that are inside and a ladder will drop. Climb up to open a chest that contains a Triforce Shard. You will be warped outside afterwards, and the Ghost Ship will never appear again. |
| 9 | 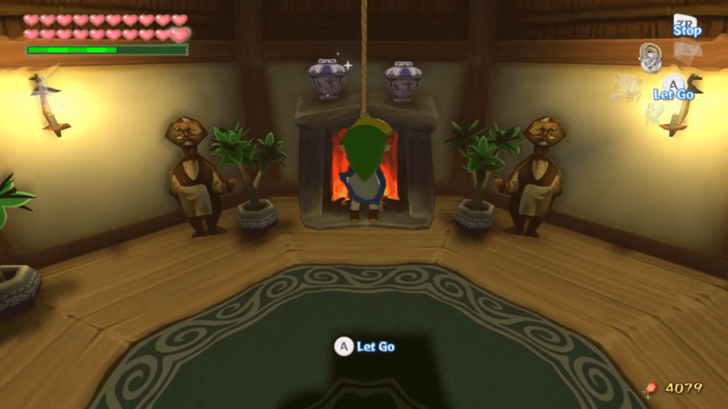 Head to the Private Oasis. Treasure Chart #27 can be found on this island, outside the cabana. Enter the Cabana with the Cabana Deed in hand. Use your Grappling Hook on the bar above to put out the fire in the fireplace. You can then go inside the newly revealed entrance. ▶︎ How to Get Cabana Deed |
| 10 |  Turn right and take another right turn once the path forks. Drop down the ladder and crawl into the hole on the wall with no ladder. Go left, right, forward, and then right again to reach a ladder. |
| 11 |  Climb up the ladder and hammer down the two pegs. This will open two gates. Take the path to the left and go down the ladder. |
| * | 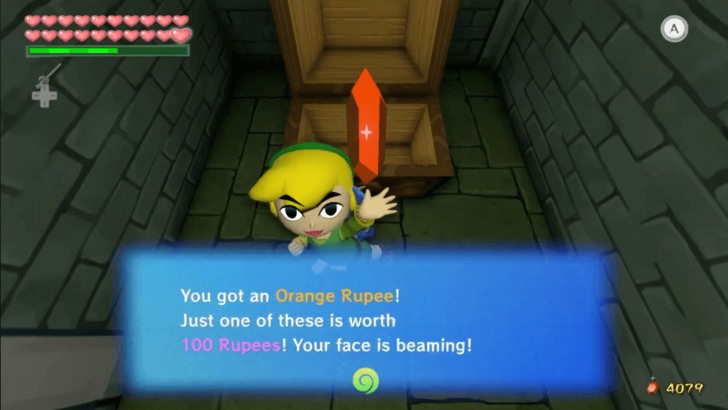 You may crawl into the hole to the left after going down until you reach the end of the tunnel. You will find a chest that contains an Orange Rupee. |
| 12 |  Crawl into the hole directly in front of the ladder. Once you have reached the end of the tunnel, climb up the ladder and hammer down the peg in the room. Jump into the hole near the peg to defeat the enemies and break the pots to reveal an entrance. |
| 13 |  Crawl into the entrance until you reach the other end. Climb up the ladder and play the Wind's Requiem. This will spawn a chest that contains a Triforce Shard. Exit the cavern by hammering the nearby peg to open a gate then finding the warp. |
| 14 |  Sail to the Islet of Steel and destroy the warship. Sail through the newly unblocked entrance and stand on the Wind Crest inside. Play the Wind's Requiem to spawn a chest containing Triforce Chart 1. |
| 15 |  Head to Bird's Peak Rock with some Hyoi Pears. Upon landing, use your bow to take out the Kargorocs on top of the rock spires. You do not need to defeat all of them, but you may do so to make the next step easier. |
| 16 | 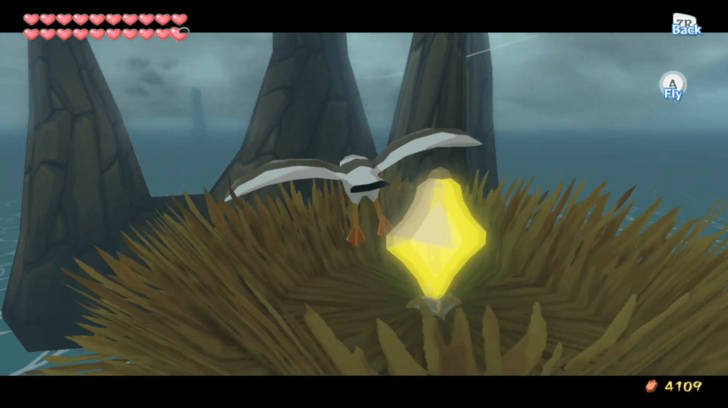 Use a Hyoi Pear to take control of a seagull. Fly the seagull to the top of each rock spire to hit the switches. If the seagull gets caught by a Kargoroc, use another Hyoi Pear to fly another seagull to the remaining switches. |
| 17 | 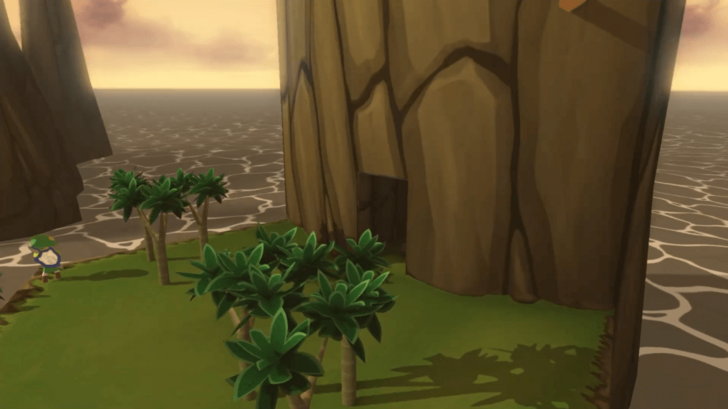 Once the switches are all activated, a gate in the island will open. Go inside the newly revealed entrance and jump into the tunnel. Stand on the Wind Crest inside, then the Wind's Requiem to spawn a chest containing Triforce Chart 2. |
| 18 | 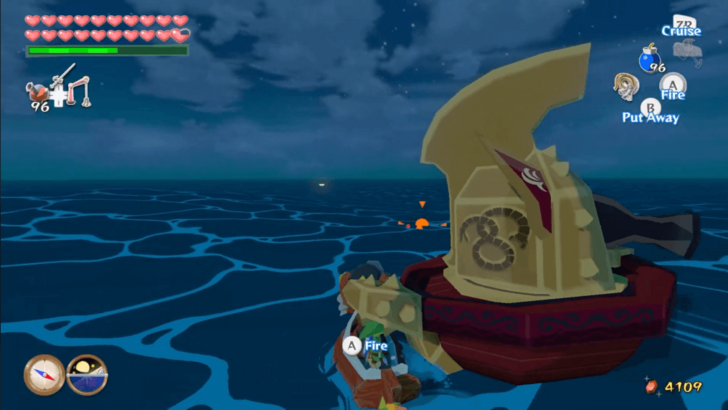 Sail to the left of Needle Rock Isle. Destroy the golden warship and use the hook on the ring of light it leaves behind. You will pull up a chest containing Triforce Chart 3. |
| 19 |  Head to Tingle Island and climb up the tower. Once you reach the top, you can speak to Tingle and have your Triforce Charts deciphered. This will cost 398 Rupees per chart, so be sure to have a lot of Rupees on hand. |
| 20 |  Head to the areas marked on the deciphered charts and pull the chests containing the Triforce Shards up from the sea. They are located on Greatfish Isle, the Cliff Plateau Isles, and Stone Watcher Island respectively. |
| 21 | 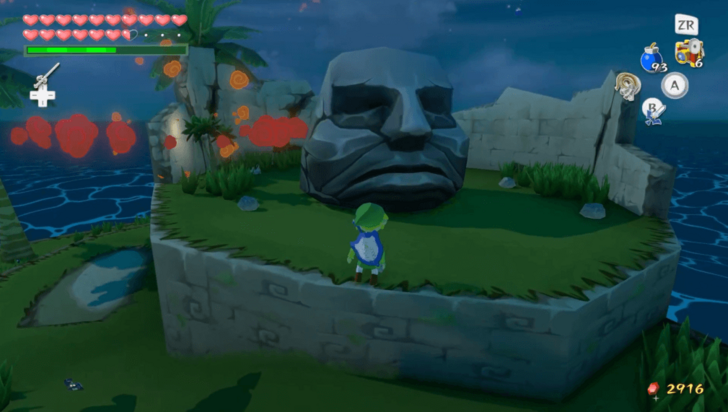 Head to the top of Stone Watcher Island and throw the large stone head to destroy it. Jump into the newly revealed hole. After landing, enter the door in front of you. |
| 22 | 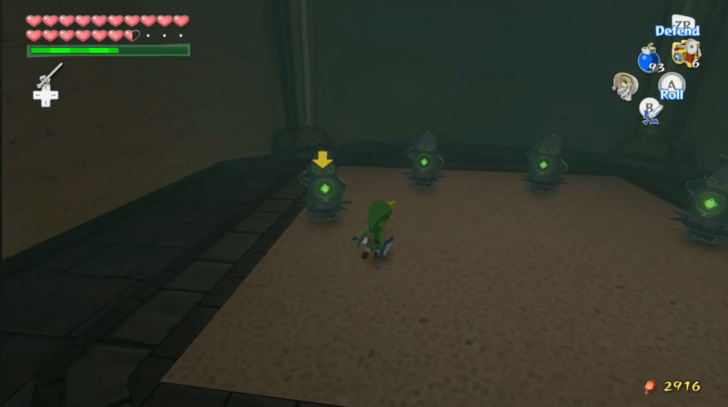 Upon entering the room, you will see five doors. The one at the center is locked, while the other doors contain enemies. Clear the four unlocked rooms by defeating the enemies inside, then defeat the enemies that spawn in the main room afterwards. This will unlock the door at the center. |
| 23 | 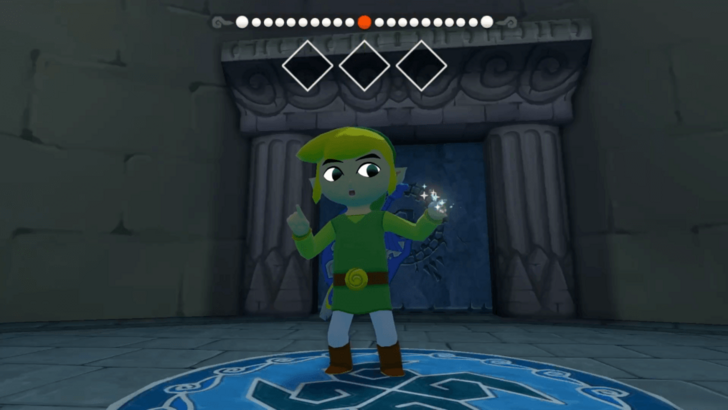 Enter the door at the center. Stand on the Wind Crest inside, then play the Wind's Requiem to spawn a chest containing a Triforce Shard. |
| 24 | 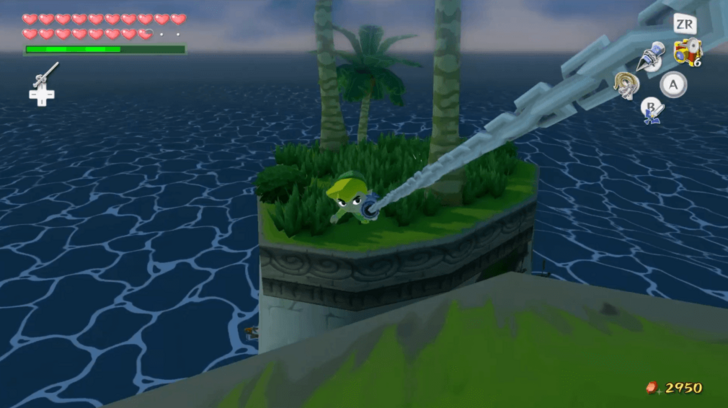 Head to Overlook Island and climb up by using the Hookshot on the trees. Once you find the cavern entrance, jump inside. |
| 25 | 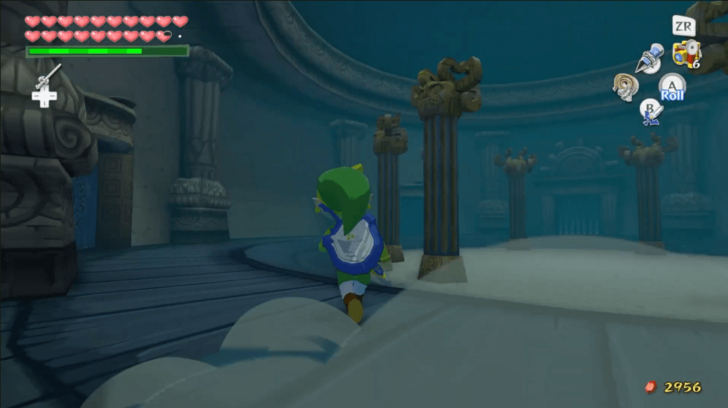 Upon entering the room, you will see five doors. The one at the center is locked, while the other doors contain enemies. Clear the four unlocked rooms by defeating the enemies inside, then defeat the enemies that spawn in the main room afterwards. This will unlock the door at the center. |
| 26 | 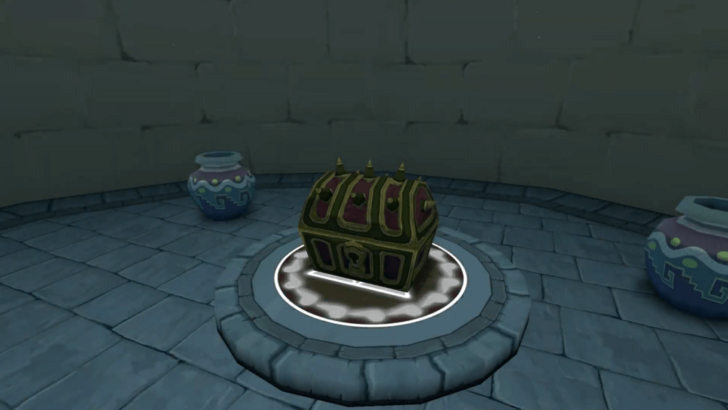 Enter the door at the center. Stand on the Wind Crest inside, then the play Wind's Requiem to spawn a chest containing a Triforce Shard. |
| 27 | 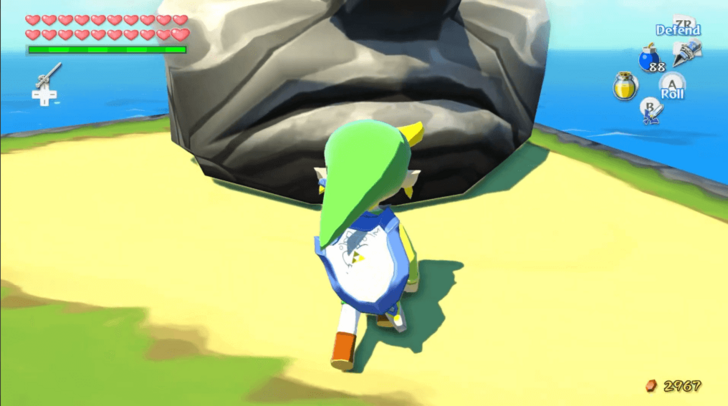 Exit the cavern and head to Outset Island. Climb the area near your house and use the Hookshot to get to the platform with the stone head. Throw the stone head to reveal a cavern entrance. Be sure to prepare a lot of healing items before you enter. ▶︎ Savage Labyrinth Guide and Rewards |
| 28 |  Go down the hole leading to the Savage Labyrinth. You will progress through the floors by defeating all of the enemies. Keep going until you reach the 30th floor. |
| 29 | 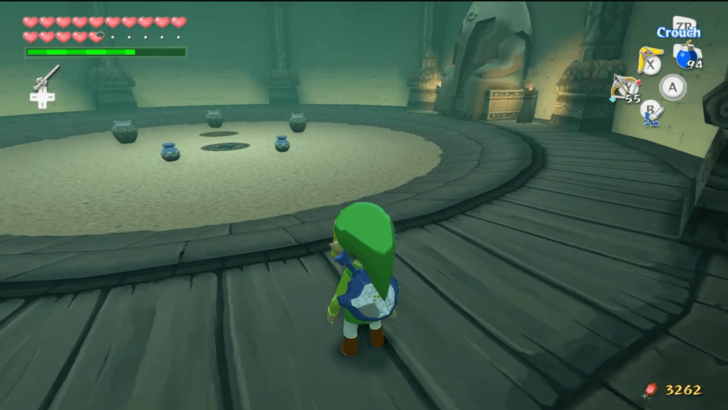 Once you've reached the 30th floor, stand on the Wind Crest inside then play the Wind's Requiem to spawn a chest containing the last Triforce Shard. |
| * | 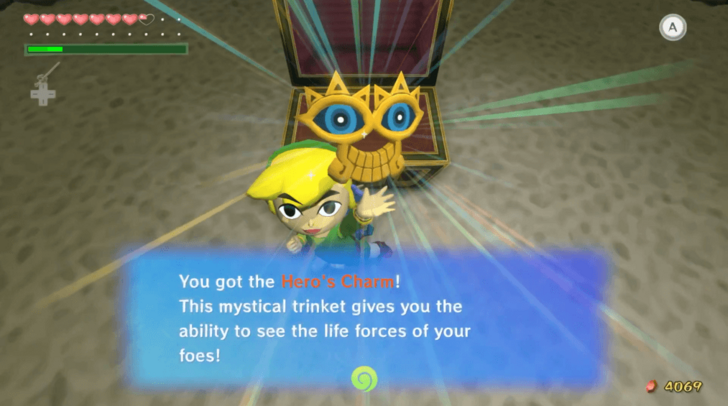 You may use the Mirror Shield to break the elephant statue in order to progress further through the Savage Labyrinth. If you manage to clear 50 floors, you will have access to a chest containing the Hero's Charm. This item allows you to see an opponent's remaining health. |
| 30 | Now that you have the Triforce, prepare for the final leg of your journey. Get a serving of Grandma's Elixir Soup and stock up on items before proceeding. ▶︎ Ganon's Tower Walkthrough |
Items to Get
Important Items
| Item | How to Get |
|---|---|
| Cabana Deed | Give Mrs. Marie 20 Joy Pendants after completing the Killer Bees Hide-and-Seek Challenge. |
| Treasure Chart #45 | (HD version only) Give Mrs. Marie 20 additional Joy Pendants after getting the Cabana Deed. |
| Hero's Charm | (GameCube version only) Give Mrs. Marie 20 additional Joy Pendants after getting the Cabana Deed. |
| Treasure Chart #46 | (HD version only) Obtained from the secret cavern on Pawprint Isle that requires the Hookshot. |
| Piece of Heart | (HD version only) Get the treasure from Treasure Chart #46. |
| Piece of Heart | Get the treasure from Treasure Chart #5. |
| Treasure Chart #27 | Obtained from a chest in the Private Oasis. |
| IN-Credible Chart | Free Tingle from jail, then check your postbox after you begin looking for Triforce Shards. |
| Ghost Ship Chart | Use the Hookshot to get to the Warp Jar puzzle. Solve the puzzle to get to the chest containing the chart. |
| Piece of Heart | (GameCube version only) Clear 50 floors of the Savage Labyrinth. |
| Hero's Charm | (HD version only) Clear 50 floors of the Savage Labyrinth. |
Original Version Triforce Charts
| Chart Location | Triforce Shard Location | |
|---|---|---|
| Triforce Chart 1 Found in Islet of Steel |
Greatfish Isle (B4) | |
| Triforce Chart 2 Found in Private Oasis |
Gale Isle (D1) | |
| Triforce Chart 3 Found in Bird's Peak Rock |
Stone Watcher Island (C5) | |
| Triforce Chart 4 Found in Ghost Ship |
Outset Island (B7) | |
| Triforce Chart 5 Found in Needle Rock Isle |
Cliff Plateau Isles (G6) | |
| Triforce Chart 6 Found in Outset Island |
Southern Triangle Island (D5) | |
| Triforce Chart 7 Found in Stone Watcher Island |
Seven-Star Isles (F1) | |
| Triforce Chart 8 Found in Overlook Island |
Two-Eye Reef (D7) |
HD Version Triforce Charts
| Chart Location | Triforce Shard Location | |
|---|---|---|
| Triforce Chart 1 Found in Islet of Steel (B5) |
Greatfish Isle (B4) | |
| Triforce Chart 2 Found in Bird's Peak Rock (G5) |
Stone Watcher Island (C5) | |
| Triforce Chart 3 Found in Needle Rock Isle (A5) |
Cliff Plateau Isles (G6) |
HD Version Triforce Shards
| Shard No. | Location |
|---|---|
| 1 | Greatfish Isle (B4) (Associated with Triforce Chart 1) |
| 2 | Stone Watcher Island (C5)
(Associated with Triforce Chart 2) |
| 3 | Cliff Plateau Isles (G6) (Associated with Triforce Chart 3) |
| 4 | Outset Island (B7) |
| 5 | Stone Watcher Island (C5) |
| 6 | Private Oasis (E5) |
| 7 | Overlook Island (G1) |
| 8 | Ghost Ship |
All Triforce Charts and Triforce Shard Locations
The Legend of Zelda: The Wind Waker Related Guides

Walkthrough Guides
| 1 | Outset Island | 2 | Forsaken Fortress |
|---|---|---|---|
| 3 | Windfall Island | 4 | Dragon Roost Island |
| 5 | Dragon Roost Cavern | 6 | Forest Haven |
| 7 | Forbidden Woods | 8 | The Third Pearl |
| 9 | Tower of the Gods | 10 | Hyrule Castle |
| 11 | Return to the Forsaken Fortress | 12 | Earth Temple |
| 13 | Wind Temple | 14 | Triforce |
| 15 | Ganon's Tower | ||
Comment
Author
The Legend of Zelda: The Wind Waker Walkthrough & Guides Wiki
Triforce Shards Walkthrough
Rankings
- We could not find the message board you were looking for.
Gaming News

![The Liar Princess and the Blind Prince Review [PC] | Lovely to Look at but Tedious to Play](https://img.game8.co/4442586/8d95f5faf05780f1765ce7e0938bd825.jpeg/show)
![The Liar Princess and the Blind Prince Review [PC] | Lovely to Look at but Tedious to Play](https://img.game8.co/4442586/8d95f5faf05780f1765ce7e0938bd825.jpeg/thumb)
![Marathon Cryo Archive Map Teased as [REDACTED] on Selection Screen](https://img.game8.co/4442236/6357203e58172f6de57f1991e7c39b22.png/thumb)

Popular Games

Genshin Impact Walkthrough & Guides Wiki
Umamusume: Pretty Derby Walkthrough & Guides Wiki
Pokemon Pokopia Walkthrough & Guides Wiki
Honkai: Star Rail Walkthrough & Guides Wiki
Monster Hunter Stories 3: Twisted Reflection Walkthrough & Guides Wiki
Arknights: Endfield Walkthrough & Guides Wiki
Wuthering Waves Walkthrough & Guides Wiki
Zenless Zone Zero Walkthrough & Guides Wiki
Pokemon TCG Pocket (PTCGP) Strategies & Guides Wiki
Monster Hunter Wilds Walkthrough & Guides Wiki


Recommended Games
Diablo 4: Vessel of Hatred Walkthrough & Guides Wiki
Cyberpunk 2077: Ultimate Edition Walkthrough & Guides Wiki
Fire Emblem Heroes (FEH) Walkthrough & Guides Wiki
Yu-Gi-Oh! Master Duel Walkthrough & Guides Wiki
Super Smash Bros. Ultimate Walkthrough & Guides Wiki
Pokemon Brilliant Diamond and Shining Pearl (BDSP) Walkthrough & Guides Wiki
Elden Ring Shadow of the Erdtree Walkthrough & Guides Wiki
Monster Hunter World Walkthrough & Guides Wiki
The Legend of Zelda: Tears of the Kingdom Walkthrough & Guides Wiki
Persona 3 Reload Walkthrough & Guides Wiki


All rights reserved
© Nintendo. The Legend of Zelda and Nintendo Switch are trademarks of Nintendo.
The copyrights of videos of games used in our content and other intellectual property rights belong to the provider of the game.
The contents we provide on this site were created personally by members of the Game8 editorial department.
We refuse the right to reuse or repost content taken without our permission such as data or images to other sites.