Best Fighter Build
This is a guide on the best Fighter build in Grounded 2 that can take heavy hits and strike back with retaliation. Read on to learn the best armor, weapons, trinkets, and mutations to use to create a hard-hitting and tanky fighter build!
List of Contents
Best Fighter Build
| Jump to a section! | |
|---|---|
| Best Armor | Best Weapons |
| Trinket | Mutations |
Best Armor for Fighters
| Armor | Overview |
|---|---|
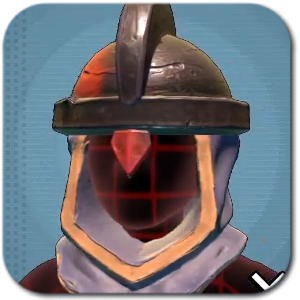
 Snail Shell Casque Snail Shell Casque
|
Base Tier: Tier III
Armor Slot: Head Mods: Fighter Armor Fighter Armor Effect: Melee attacks generate more threat.
, Block Stun Block Stun Effect: Applies stun damage to target. |
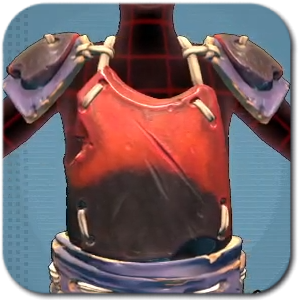
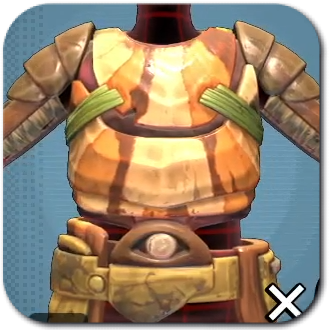 Snail Shell Plastron Snail Shell Plastron
|
Base Tier: Tier III
Armor Slot: Body Mods: Fighter Armor Fighter Armor Effect: Melee attacks generate more threat.
, Block Stun Block Stun Effect: Applies stun damage to target. |
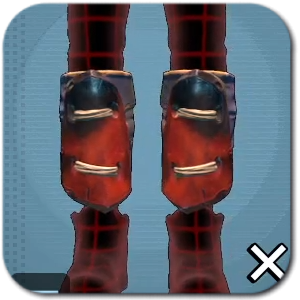
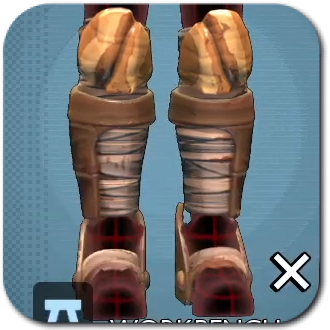 Snail Shell Greaves Snail Shell Greaves
|
Base Tier: Tier III
Armor Slot: Legs Mods: Fighter Armor Fighter Armor Effect: Melee attacks generate more threat.
, Block Stun Block Stun Effect: Applies stun damage to target. |
| Snail Shell Armor Set Bonus | |
| Retaliation: Blocked hits give your next charged melee a shockwave. Retaliation stacks up to 5 times, increasing charge attack speed and damage. | |
The Snail Shell Armor Set offers high damage resistance and useful buffs, including increased threat generation for co-op and reduced block stun.
Equipping the full set grants the Retaliation bonus, boosting DPS on blocks and charging a shockwave attack after multiple blocks, which is perfect for frontline clearing.
Ladybug Set for Earlier Tier 2 Armor
| Armor | Overview |
|---|---|
 Ladybug Faceplate Ladybug Faceplate
|
Base Tier: Tier II
Armor Slot: Head Mods: Fighter Armor Fighter Armor Effect: Melee attacks generate more threat.
, Bargain Block Bargain Block Effect: Blocked attacks drain less stamina. |
 Ladybug Chestplate Ladybug Chestplate
|
Base Tier: Tier II
Armor Slot: Body Mods: Fighter Armor Fighter Armor Effect: Melee attacks generate more threat.
, Bargain Block Bargain Block Effect: Blocked attacks drain less stamina. |
 Ladybug Shin Guards Ladybug Shin Guards
|
Base Tier: Tier II
Armor Slot: Legs Mods: Fighter Armor Fighter Armor Effect: Melee attacks generate more threat.
, Bargain Block Bargain Block Effect: Blocked attacks drain less stamina. |
| Ladybug Armor Set Bonus | |
| Scarlet Embrace: Blocked attacks restore health slightly. | |
Before getting the Tier 3 Snail Shell Armor, craft the Tier 2 Ladybug Set for excellent earlier protection. It offers solid defense along with bonus healing and blocking buffs, making it a strong choice in the midgame.
All Armor Sets and Armor Set Bonuses
Best Weapons for Fighters
| Weapon | Overview |
|---|---|
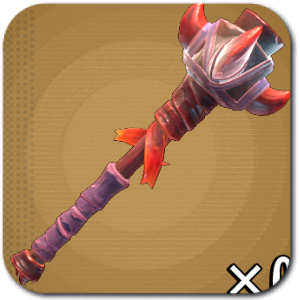 Roach Club Roach Club
|
Base Tier: Tier II
Handling Type: One-Handed Damage Type: Smashing |
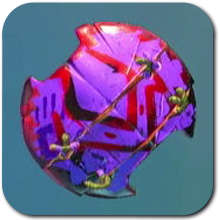 Scarlet Aegis Scarlet Aegis
|
Base Tier: Tier II
Handling Type: Shield Mods: Heavy Shield Heavy Shield Effect: Heavy shields fully block damage and don't drain as much stamina while blocking attacks.
and Parry Buggie Heal Parry Buggie Heal Effect: Perfect blocks heal buggies near you. |
The Roach Club is the best weapon for a raw fighter, with high base damage and excellent stun potential to incapacitate enemies quickly.
Pair it with the Scarlet Aegis unique shield for maximum tankiness. Its high block stat and Heavy Shield mod let you absorb multiple hits with ease, working perfectly with your armor’s defensive passives.
Early Game Fighter Weapons
| Weapon | Overview |
|---|---|
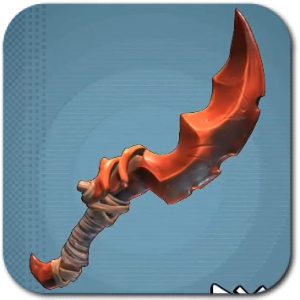 Crimson Saber Crimson Saber
|
Base Tier: Tier I
Handling Type: One-Handed Damage Type: Slashing |
 Ladyguard Ladyguard
|
Base Tier: Tier II
Handling Type: Shield Mods: Heavy Shield Heavy Shield Effect: Heavy shields fully block damage and don't drain as much stamina while blocking attacks.
|
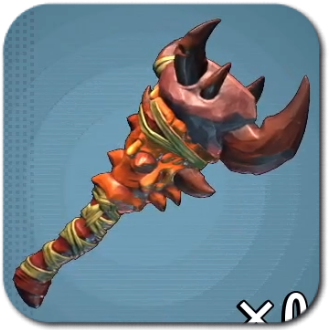 Red Ant Club Red Ant Club
|
Base Tier: Tier II
Handling Type: Two-Handed Damage Type: Smashing |
Early on, use a Crimson Saber paired with a Ladyguard Shield for a balanced mix of offense and defense before unlocking Tier 3 weapons. The Red Ant Club is a strong two-handed option for raw damage, though it's not suited for blocking.
Best Trinket for Fighters
| Trinket | Tier and Mods |
|---|---|
 O.R.C. Nullifier O.R.C. Nullifier
|
Base Tier: Tier II
Mods: O.R.C. Attack Down O.R.C. Attack Down Effect: Attack hits reduce damage dealt by O.R.C. creatures for a short duration.
|
 Sturdy Shell Sturdy Shell
|
Base Tier: Tier I
Mods: Friendly Fire Defense Up Friendly Fire Defense Up Effect: Reduces the amount of friendly fire damage you receive from fellow teens.
and Major Threat Major Threat Effect: Increases enemies desire to attack you over other targets while in combat. |
For playing solo, trinkets that boost defense are ideal for a frontline fighter build. The O.R.C. Nullifier is a great option, reducing the damage taken from O.R.C. enemies.
In co-op, the Sturdy Shell is an excellent trinket that reduces friendly fire damage and increases aggro generation, making it perfect for tanking and protecting your team.
Best Mutations for Fighters
| Mutation | Type and Effects |
|---|---|
 Smasher Smasher
|
Type: Fighting Styles
Effects: Smasher Smasher Effect: Attacks with club deal more stun.
, Club Master Club Master Effect: Club attacks deal more damage against stunned creatures.
|
 Parry Master Parry Master
|
Type: Combat Abilities
Effects: Parry Master Parry Master Effect: Perfect blocks restore stamina.
|
 Cardio Fan Cardio Fan
|
Type: Survival
Effects: Hyperstamina Hyperstamina Effect: Regain stamina faster.
, Exhaustion Exhaustion Effect: Lowers the amount of time you spend exhausted after using all of your stamina.
|
Take Smasher for the club main weapon, taking advantage of stun damage. Parry Master is good earlier on for the added stamina gain.
Cardio Fan is also essential for survival, providing extra stamina regeneration to run, attack, and block more frequently!
Take Frenzy Combat Ability Once Unlocked
| Mutation | Type and Effects |
|---|---|
 Frenzy Frenzy
|
Type: Combat Abilities
Effects: Frenzy Frenzy Effect: Melee attacks trigger rage. You deal increased damage and regenerate health while enraged but cannot time your blocks.
|
The Frenzy mutation is unlocked after defeating the Masked Stranger boss. Frenzy will boost your power as you take hits, giving you a strong damage window when frenzied before blocking again.
Best Fighter Build Overview
| Fighter Frontline Build | |
|---|---|
| Weapon | |
| Armor | |
| Trinket |
・
Trinket Mods: ・ O.R.C. Attack Down O.R.C. Attack Down Effect: Attack hits reduce damage dealt by O.R.C. creatures for a short duration.
|
| Mutations |
・
・
・
|
The build is focused on being able to take hits and dishing them back. You want to be on the frontlines and stunning enemies frequently.
How to Play the Fighter Class
Start Fights By Charging In
When entering combat, take the initiative and charge in. You can absorb incoming damage, and each hit you take only makes you stronger. Strike back immediately to stun enemies with overwhelming force!
Block and Retaliate
Block attacks when necessary and counterattack once the enemy is vulnerable. The fighter build benefits greatly from block bonuses, and a well-timed block followed by a quick combo lets you take no damage while dishing out a lot in return.
Grounded 2 Related Guides

All Builds
| Best Class Builds | |
|---|---|
| Best Builds | |
| Fist | - |
Comment
Author
Best Fighter Build
Rankings
- We could not find the message board you were looking for.
Gaming News


Popular Games

Genshin Impact Walkthrough & Guides Wiki
Umamusume: Pretty Derby Walkthrough & Guides Wiki
Pokemon Pokopia Walkthrough & Guides Wiki
Honkai: Star Rail Walkthrough & Guides Wiki
Monster Hunter Stories 3: Twisted Reflection Walkthrough & Guides Wiki
Arknights: Endfield Walkthrough & Guides Wiki
Wuthering Waves Walkthrough & Guides Wiki
Zenless Zone Zero Walkthrough & Guides Wiki
Pokemon TCG Pocket (PTCGP) Strategies & Guides Wiki
Monster Hunter Wilds Walkthrough & Guides Wiki


Recommended Games
Fire Emblem Heroes (FEH) Walkthrough & Guides Wiki
Diablo 4: Vessel of Hatred Walkthrough & Guides Wiki
Cyberpunk 2077: Ultimate Edition Walkthrough & Guides Wiki
Yu-Gi-Oh! Master Duel Walkthrough & Guides Wiki
Super Smash Bros. Ultimate Walkthrough & Guides Wiki
Pokemon Brilliant Diamond and Shining Pearl (BDSP) Walkthrough & Guides Wiki
Elden Ring Shadow of the Erdtree Walkthrough & Guides Wiki
Monster Hunter World Walkthrough & Guides Wiki
The Legend of Zelda: Tears of the Kingdom Walkthrough & Guides Wiki
Persona 3 Reload Walkthrough & Guides Wiki


All rights reserved
© 2025 Obsidian Entertainment, Inc. Obsidian Entertainment, the Obsidian Entertainment logo, Grounded 2, and Grounded 2 logos are trademarks or registered trademarks of Obsidian Entertainment, Inc. All rights reserved.
The copyrights of videos of games used in our content and other intellectual property rights belong to the provider of the game.
The contents we provide on this site were created personally by members of the Game8 editorial department.
We refuse the right to reuse or repost content taken without our permission such as data or images to other sites.