Beginner's Guide to Grounded 2: Tips and Tricks
This is a beginner's guide to Grounded 2. Discover all the tips and tricks for getting started and gameplay pointers to help you conquer Brookhollow Park!
Beginner's Guide to Grounded 2
| Getting Started in Grounded 2 | |
|---|---|
|
① Teen Choice Doesn't Matter ② Always Analyze New Resources ③ Build Storage Space ASAP ④ Carry Exploration Essentials ⑤ Use Trail Markers ⑥ Check Your Equipment's Fighting Style |
|
Teen Choice Doesn't Matter
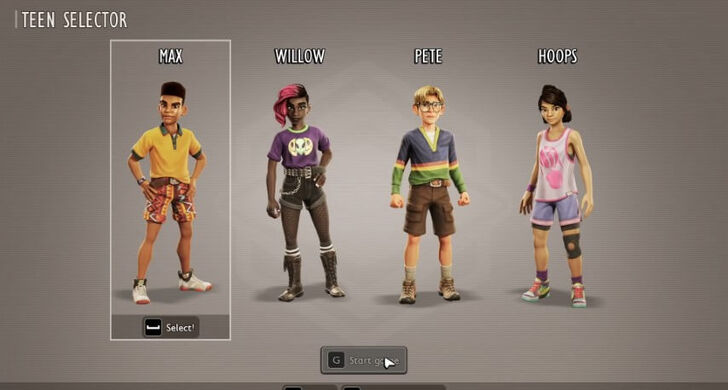
The kids from the original Grounded are all grown up! Similar to the first game, the teens in Grounded 2 play the same. They have no gameplay differences, but have distinct looks and personalities. It's best to just choose a teen based on your personality to enhance your roleplaying experience.
Always Analyze Your Resources
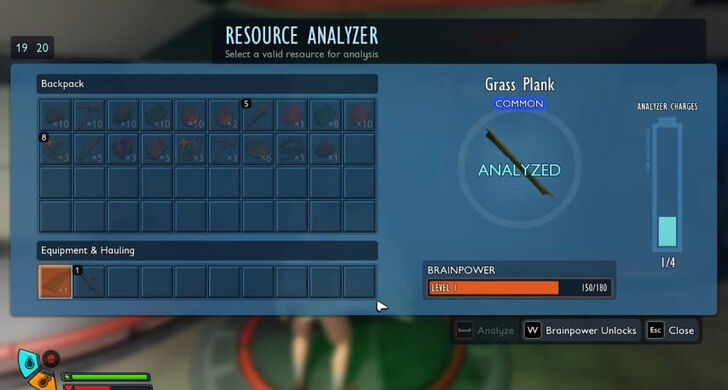
Whenever you find new resources, always make an effort to scan them on the Resource Analyzer. This unlocks new recipes and grants Raw Science, which you can use at the Science Shop to purchase even more recipes.
Build Storage Spaces at Your Base
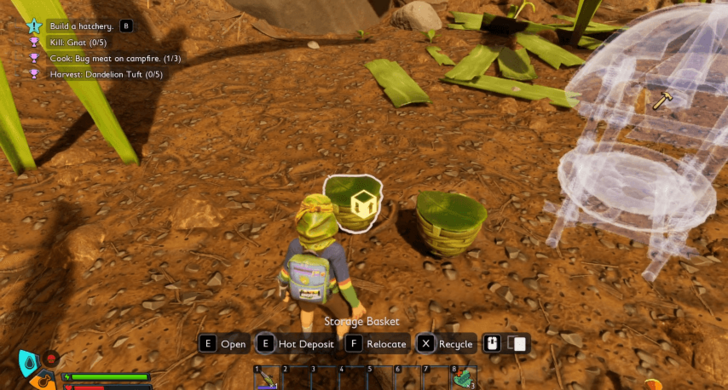
In your base, after building a Lean-To and Workbench, the next priority is storage chests for your items, since you'll be picking up a lot of resources when you venture out on quests or expeditions.
These natural resources don't perish, so it's good to keep them in storage units at your base so they don't go to waste and so that your inventory stays relatively empty.
Carry Exploration Essentials
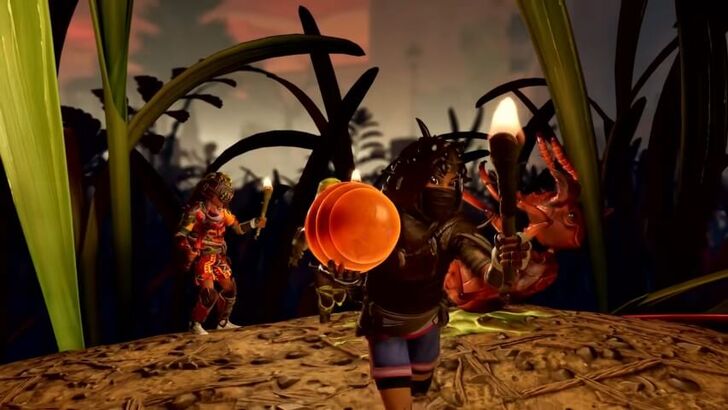
Make sure to always stock up on heals to survive the elements and bring a light source, like a Torch, to light your way. There are more dangerous creatures that come out of Brookhollow Park at night!
Carry a few resources like crude rope, sprigs, sap, plant fiber, pebbles, clover, and dry grass for quick repairs, crafting tools, and building on the go, ensuring you’re prepared for any situation.
Craft Aphid Slippers to Run Faster
| Armor | Overview |
|---|---|
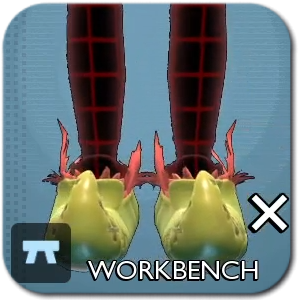 Aphid Slippers Aphid Slippers
|
Base Tier: Tier I
Armor Slot: Legs Mods: The Quickness The Quickness Effect: Run faster.
|
For early exploration, Aphid Slippers are easy to craft and come with the Quickness mod, letting you run faster, travel more easily, and gather essentials more quickly.
Use Trail Markers
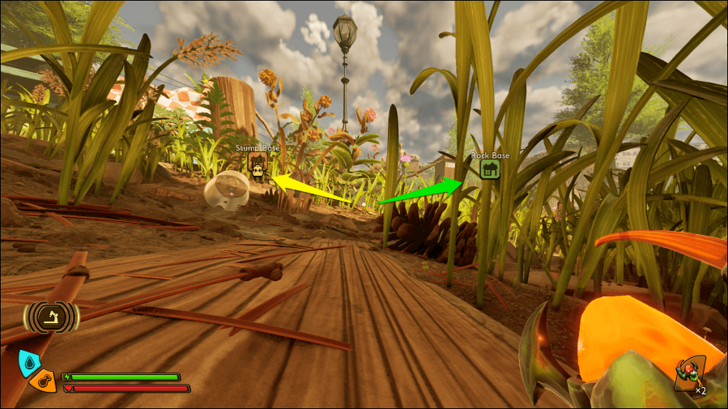
Place Trail Markers at important locations like your bases and farms to help you keep track of them. These markers can be customized and always appear on your map. On your HUD, they’re visible from a distance, but you can hide individual markers through the map menu.
Check Your Equipment's Fighting Style
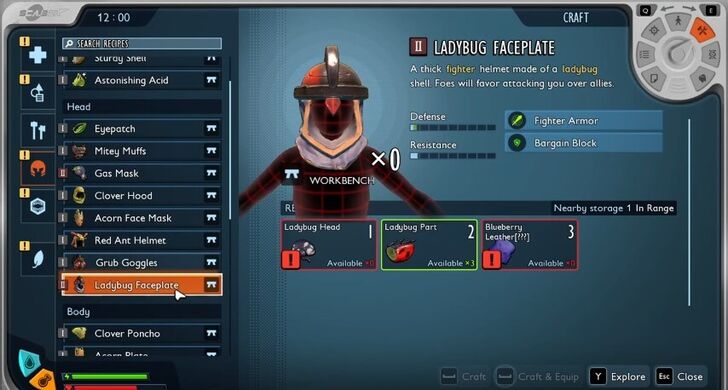
You can gauge the strengths of your weapons and armor by checking their bonuses and mods in your inventory. These details can reveal whether they are better suited for certain playstyles, such as a ranged Mage or melee Rogue, based on the unique buffs they provide.
Understanding these bonuses will help you craft effective Builds, so be sure to read equipment descriptions to find the pieces that best match your playstyle.
Grounded 2 Tips and Tricks
Follow the Story Questline to Get Essentials
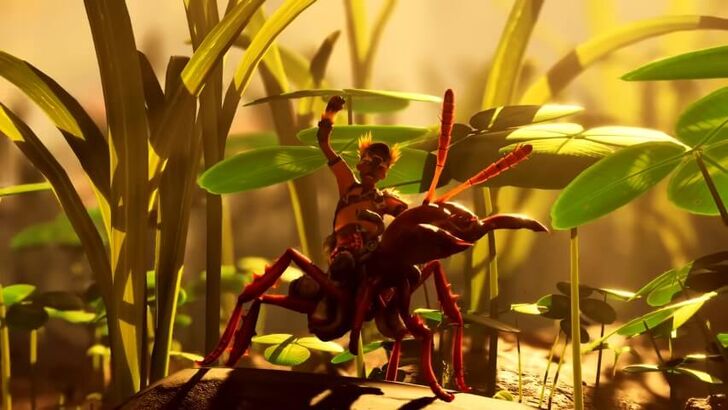
While you’re free to explore from the start, we recommend following the story objectives first to unlock essentials like the Omni Tool for chopping, breaking, and digging, and your first mount, the Red Soldier Ant Buggy. It is fast, tough, can fight bigger bugs, and can also carry resources for you.
Further down the story, you'll be led towards objectives that involve getting Optical Disks for better recipes and upgrades.
Walkthrough and All Story Quests List
PEEP Bugs to Check Their Weaknesses
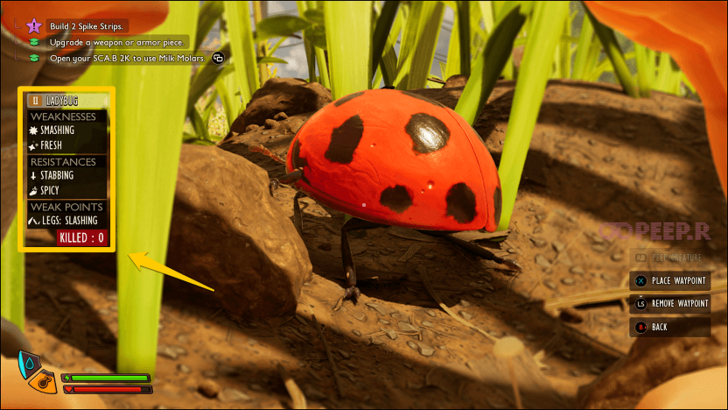
Use the PEEP.R function on any new creatures you come across to check their resistances, weaknesses, and weakpoints. You will also see their Tier, which will help determine if your gear is sufficient to take on the bug.
When you peep a creature, its card is saved in the Creature Cards section of the Data screen, which you can access from the pause menu.
List of All Bugs and Creature Cards
Upgrade Your Weapons and Armor
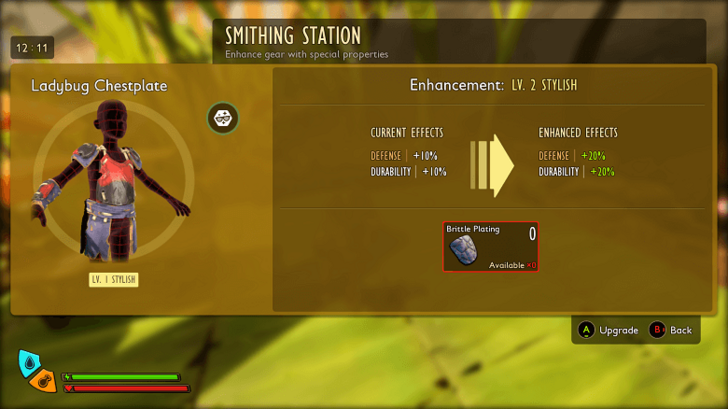
When you have access to a Smithing Station, upgrade your weapons and especially your armor whenever possible. This will make creature encounters easier to handle and reduce the risk of taking heavy damage or being overwhelmed.
How to Unlock the Smithing Station
Upgrade All Omni-Tools to Level 2
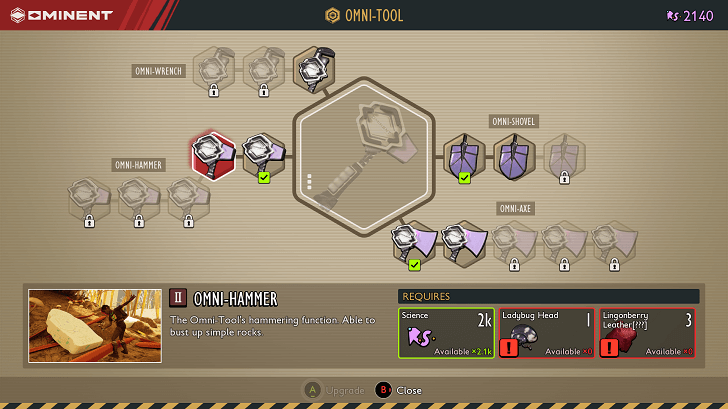
Upgrade your Omni-Tools as soon as possible to not miss out on any Tier 2 items you can dig out, such as Clay, Mushrooms Chunks, and Milkweed.
Set Up Efficient Food and Water Gathering
Food and water can be scarce at the start, so aim to set up these builds early to keep yourself hydrated and well-fed at all times.
Build a Dew Collector and Water Containers
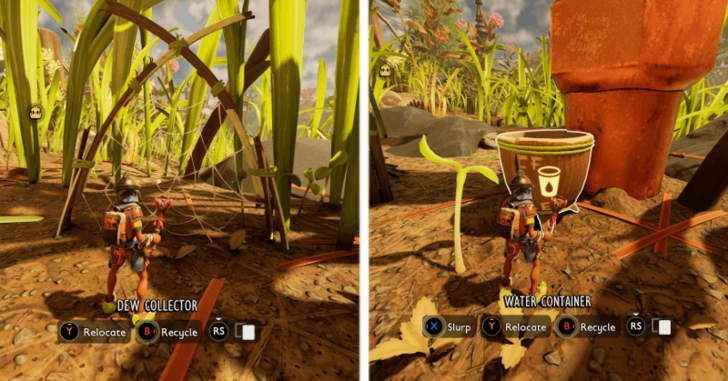
Set up a Dew Collector and Water Containers around leaves and water sources like Sprinklers to catch water passively as you adventure. With this, you'll have a steady supply of H2O to refill your Canteen with at base.
Build a Jerky Rack and Smoothie Station
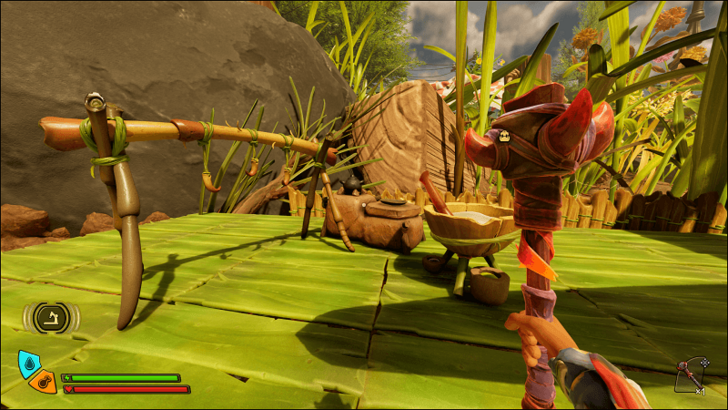
Build a Jerky Rack to produce meat that never spoils and can be stored indefinitely, eliminating most food spoilage concerns.
For healing and buffs, use a Smoothie Station to craft Sticky Smoothies and Chunky Smoothies that restore health and provide useful bonuses.
Use the Scorching Orb for Easy Cooked Food
On the go, you can use the Scorching Orb to kill bugs that drop meat, such as Aphids and Gnats. Upon harvesting their body, you'll get roasted meat that you can eat immediately.
Use Your Buggy When Building
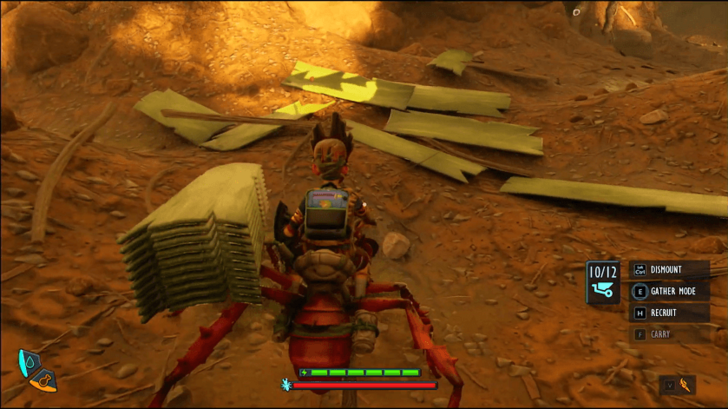
Buggies are tremendously helpful when building and gathering. While riding your buggy, you can attack, carry, and chop resources more efficiently. It also has a fast gather mode for quick harvesting. You can even use the buggy to transport up to 12 Planks, making base building much easier.
All Tips and Tricks Guides
Grounded 2 Related Guides

Grounded 2 Wiki
| Grounded 2 Guides | |
|---|---|
 Story Quests Story Quests |
 Interactive Map Interactive Map |
 Resources Resources |
 Creatures Creatures |
 Tips and Tricks Tips and Tricks |
 Builds Builds |
 Weapons Weapons |
 Armor Armor |
 Trinkets Trinkets |
 Buggies Buggies |
 Keys Keys |
 Optical Disks Optical Disks |
 Bosses Bosses |
 Omni-Tool Upgrades Omni-Tool Upgrades |
 Mutations Mutations |
 Ranger Challenges Ranger Challenges |
 Building Recipes Building Recipes |
 News News |
Recommended Guides
Comment
Author
Beginner's Guide to Grounded 2: Tips and Tricks
Rankings
- We could not find the message board you were looking for.
Gaming News

![Death Stranding 2: On The Beach [PC] Review | A Port That Delivers](https://img.game8.co/4447392/15310a0c9aa1b6843bb713b2ea216930.jpeg/show)


Popular Games

Genshin Impact Walkthrough & Guides Wiki
Umamusume: Pretty Derby Walkthrough & Guides Wiki
Crimson Desert Walkthrough & Guides Wiki
Monster Hunter Stories 3: Twisted Reflection Walkthrough & Guides Wiki
Honkai: Star Rail Walkthrough & Guides Wiki
Pokemon Pokopia Walkthrough & Guides Wiki
The Seven Deadly Sins: Origin Walkthrough & Guides Wiki
Wuthering Waves Walkthrough & Guides Wiki
Zenless Zone Zero Walkthrough & Guides Wiki
Arknights: Endfield Walkthrough & Guides Wiki


Recommended Games
Fire Emblem Heroes (FEH) Walkthrough & Guides Wiki
Diablo 4: Vessel of Hatred Walkthrough & Guides Wiki
Cyberpunk 2077: Ultimate Edition Walkthrough & Guides Wiki
Yu-Gi-Oh! Master Duel Walkthrough & Guides Wiki
Super Smash Bros. Ultimate Walkthrough & Guides Wiki
Pokemon Brilliant Diamond and Shining Pearl (BDSP) Walkthrough & Guides Wiki
Elden Ring Shadow of the Erdtree Walkthrough & Guides Wiki
Monster Hunter World Walkthrough & Guides Wiki
The Legend of Zelda: Tears of the Kingdom Walkthrough & Guides Wiki
Persona 3 Reload Walkthrough & Guides Wiki


All rights reserved
© 2025 Obsidian Entertainment, Inc. Obsidian Entertainment, the Obsidian Entertainment logo, Grounded 2, and Grounded 2 logos are trademarks or registered trademarks of Obsidian Entertainment, Inc. All rights reserved.
The copyrights of videos of games used in our content and other intellectual property rights belong to the provider of the game.
The contents we provide on this site were created personally by members of the Game8 editorial department.
We refuse the right to reuse or repost content taken without our permission such as data or images to other sites.