The Beast Pack's Final Stand Waddle Dee Locations and Missions Walkthrough
This is a walkthrough for The Beast Pack's Final Stand stage in Kirby and the Forgotten Land. Read on to learn how to clear all The Beast Pack's Final Stand stage missions, see Waddle Dee and Figure locations, Enemy Information, and more!
| Previous Stage | Next Stage |
|---|---|
| Gathering of the Beast Council | In the Presence of the King |
List of Contents
The Beast Pack's Final Stand Walkthrough Video
The Beast Pack's Final Stand Missions and Abilities
Missions List
| Mission | Waddle Dees |
|---|---|
| 3 | |
| 5 | |
| 1 | |
| 1 | |
| 1 |
Waddle Dee Locations for All Missions
Copy Abilities
 Tornado Tornado
|
 Hammer Hammer
|
 Needle Needle
|
 Bomb Bomb
|
 Fire Fire
|
 Ranger Ranger
|
Waddle Dee Locations for All Missions
The Beast Pack's Final Stand Mission Completion Order
This stage has a total of five areas. Follow the tables below to clear each mission in order.
Area 1
| Area 1 Missions | ||
|---|---|---|
| 1 | 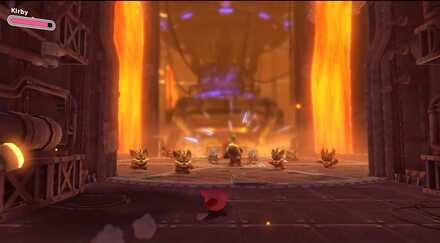 |
Defeat all the beasts in the starting area |
| 2 | 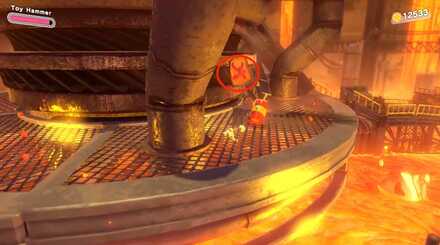 |
Remove the 1st beast-base wanted poster |
| 3 | 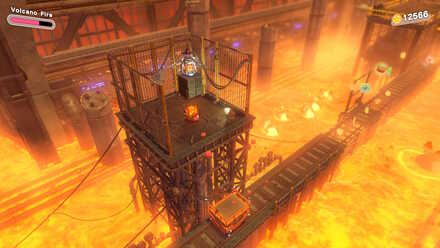 |
Rescue the 1st hidden Waddle Dee |
| 4 | 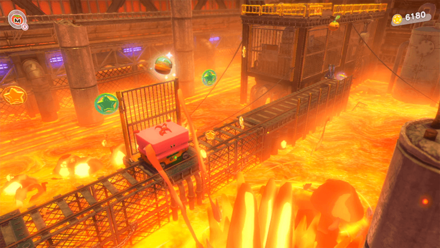 |
Grab the 1st figure |
Area 2
| Area 2 Missions | ||
|---|---|---|
| 5 | 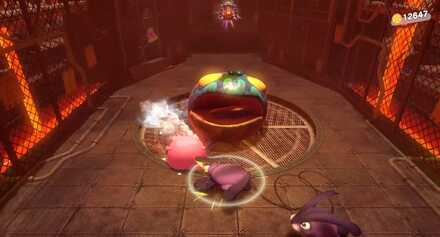 |
Rescue the 2nd hidden Waddle Dee |
| 6 | 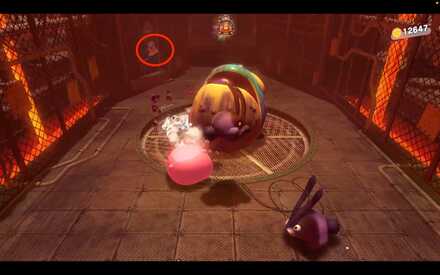 |
Remove the 2nd beast-base wanted poster |
Area 3
| Area 3 Missions | ||
|---|---|---|
| 7 | 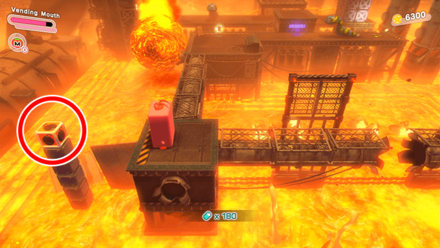 |
Grab the 2nd figure |
| 8 | 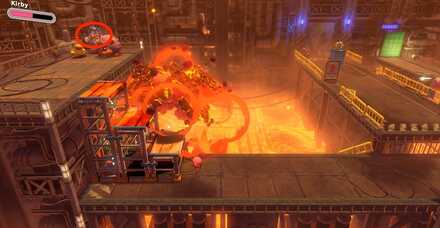 |
Rescue the 3rd hidden Waddle Dee |
| 9 | 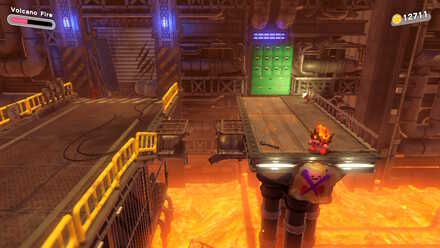 |
Remove the 3rd beast-base wanted poster |
Area 4
| Area 4 Missions | ||
|---|---|---|
| 10 | 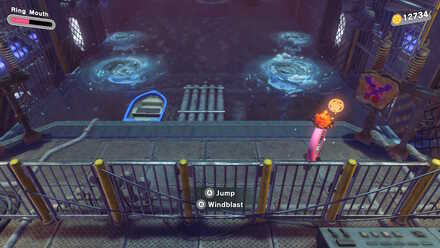 |
Remove the 4th beast-base wanted poster |
| 11 |  |
Grab the 3rd figure |
| 12 | 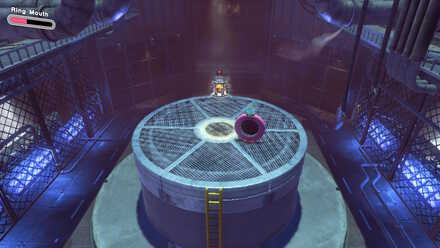 |
Rescue the 4th hidden Waddle Dee |
Area 5
| Area 5 Missions | ||
|---|---|---|
| 13 | 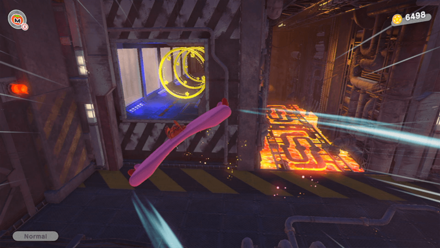 |
Grab the 4th figure |
| 14 | 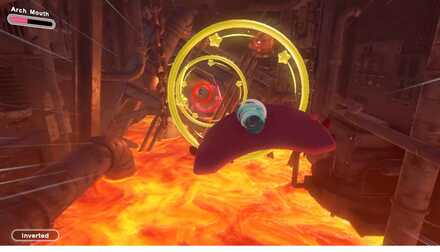 |
Rescue the 5th hidden Waddle Dee |
| 15 | 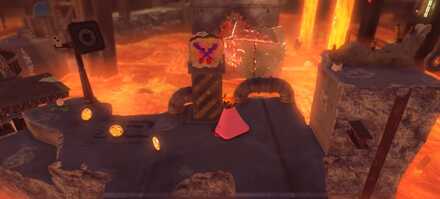 |
Remove the 5th beast-base wanted poster |
| 16 | 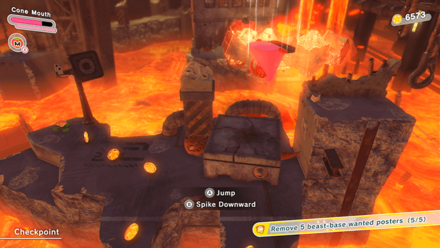 |
Grab the 5th figure |
The Beast Pack's Final Stand Hidden Waddle Dee Locations
1: Reach the High Ledge with Scissor-Lift Kirby

Use Scissors-Lift Kirby to reach the ledge where the first Waddle Dee is located.
2: Defeat the Poison Croakam

After defeating the first Poison Croakam with Water-Balloon Kirby, use the platform to reach the Waddle Dee.
3: Move the Stairs to Reach the Waddle Dee

Use Stairs Mouth Kirby to move the stairs next to the ledge where the third Waddle Dee is located.
4: Defeat the First Gnawcodile

Similar to the Position Croakam, defeat the Gnawcodile to rescue the Waddle Dee directly above it.
5: Grab the Waddle Dee While Gliding

Glide through the red ring that follows the set of yellow rings to grab the last Waddle Dee for this level. If you miss the Waddle Dee along the way, you can always retry at the end, so don't fret!
How to Defeat the Beasts in the Starting Area
Make sure to Defeat all Enemies before Continuing

While none of the beasts in the starting area are particularly difficult to defeat, it might cause you to ignore them entirely. Make sure you defeat each beast before proceeding to complete the mission.
The Beast Pack's Final Stand Beast-Base Wanted Poster Locations
1: Along the Giant Cylinder in the first Area

The first wanted poster is located on the giant valve, right before the location of the scissors lift.
2: On the Wall near the first Poison Croakam

After you defeat the Poison Croakam and rescue the Waddle Dee, jump down from the platform and remove the poster.
3: Hang Off the Edge of the Platform

Before swallowing the storage locker, hover down and remove the poster from the edge of the platform.
4: On the Wall Near the Boat

Use Ring Mouth Kirby to remove the wanted poster on the wall before riding in the boat.
5: Near the Traffic Cone in the Final Area

You can remove this poster either before or after becoming Cone Mouth Kirby.
How to Avoid the Lava While Using Cone Mouth
Time Your Jumps Accordingly
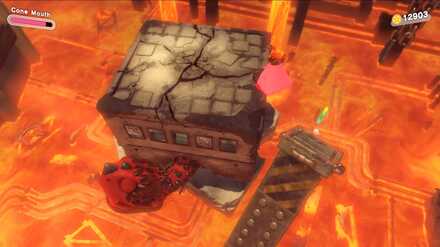
Cone Mouth Kirby has very poor mobility, so make sure to defeat the enemies surrounding you before jumping to avoid falling into the lava. When you are on the final falling pillar, collect at least one of the Star Coins before jumping to ensure a safe landing.
Use Scissors-Lift Kirby to Reach the Figure
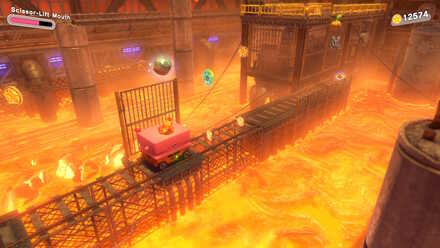
Be careful of the fireballs and grab the figure as Scissor-Lift Kirby.
Use Soda Shot on the Bomb Block
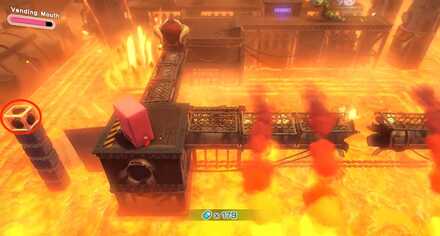
Use Vending-Mouth Kirby's Soda Shot ability on the bomb block to create a path to the Figure.
Grab the Figure while Gliding
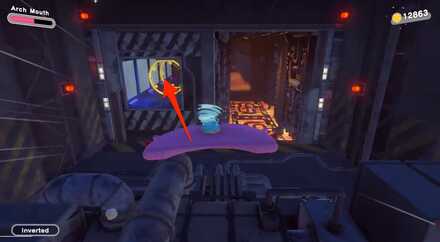
Head left during the gliding section to grab yellow rings, as well as the Figure for this section.
The Beast Pack's Final Stand Figure Locations
1: Use the Scissor-Lift to Reach the Figure

Use the Scissor-Lift to extend up and obtain the figure floating above the first area.
2: Destroy the Bomb Block on the Left

Use the Vending Mouth to hit the bomb block on the left of the third area to spawn a set of platforms leading towards the figure.
3: Break the Cracked Wall on the Left

Use the Ring Mouth to perform a Blast Boost on the cracked wall on the left to enter the area inside and obtain the third figure.
4: Glide to the Leftmost Area

While using the Arch Mouth, hit all the yellow fans to open the area on the left. Glide towards this area to find the fourth figure inside.
5: Defeat the Tortorner Using the Cone Mouth at the Final Area

Use the Cone Mouth to defeat the Tortorner to obtain the fifth and last figure.
Kirby and the Forgotten Land Related Guides
Redgar Forbidden Lands Walkthrough and Stage List
| List of Stages | |
|---|---|
 Enter the Fiery Forbidden Lands Enter the Fiery Forbidden Lands
|
 Conquer the Inferno Road Conquer the Inferno Road
|
 Burning, Churning Power Plant Burning, Churning Power Plant
|
 Gathering of the Beast Council Gathering of the Beast Council
|
 The Beast Pack's Final Stand The Beast Pack's Final Stand
|
 In the Presence of the King In the Presence of the King
|
Comment
Two stages link to this page. "Gathering of the Beast Council" is missing
Author
The Beast Pack's Final Stand Waddle Dee Locations and Missions Walkthrough
improvement survey
03/2026
improving Game8's site?

Your answers will help us to improve our website.
Note: Please be sure not to enter any kind of personal information into your response.

We hope you continue to make use of Game8.
Rankings
- We could not find the message board you were looking for.
Gaming News
Popular Games

Genshin Impact Walkthrough & Guides Wiki

Honkai: Star Rail Walkthrough & Guides Wiki

Umamusume: Pretty Derby Walkthrough & Guides Wiki

Pokemon Pokopia Walkthrough & Guides Wiki

Resident Evil Requiem (RE9) Walkthrough & Guides Wiki

Monster Hunter Wilds Walkthrough & Guides Wiki

Wuthering Waves Walkthrough & Guides Wiki

Arknights: Endfield Walkthrough & Guides Wiki

Pokemon FireRed and LeafGreen (FRLG) Walkthrough & Guides Wiki

Pokemon TCG Pocket (PTCGP) Strategies & Guides Wiki
Recommended Games

Diablo 4: Vessel of Hatred Walkthrough & Guides Wiki

Fire Emblem Heroes (FEH) Walkthrough & Guides Wiki

Yu-Gi-Oh! Master Duel Walkthrough & Guides Wiki

Super Smash Bros. Ultimate Walkthrough & Guides Wiki

Pokemon Brilliant Diamond and Shining Pearl (BDSP) Walkthrough & Guides Wiki

Elden Ring Shadow of the Erdtree Walkthrough & Guides Wiki

Monster Hunter World Walkthrough & Guides Wiki

The Legend of Zelda: Tears of the Kingdom Walkthrough & Guides Wiki

Persona 3 Reload Walkthrough & Guides Wiki

Cyberpunk 2077: Ultimate Edition Walkthrough & Guides Wiki
All rights reserved
© HAL Laboratory, Inc. / Nintendo
The copyrights of videos of games used in our content and other intellectual property rights belong to the provider of the game.
The contents we provide on this site were created personally by members of the Game8 editorial department.
We refuse the right to reuse or repost content taken without our permission such as data or images to other sites.





![Everwind Review [Early Access] | The Shaky First Step to A Very Long Journey](https://img.game8.co/4440226/ab079b1153298a042633dd1ef51e878e.png/thumb)

![Monster Hunter Stories 3 Review [First Impressions] | Simply Rejuvenating](https://img.game8.co/4438641/2a31b7702bd70e78ec8efd24661dacda.jpeg/thumb)


Replying to confirm, the link to “gathering of the beast council” and “the beast packs final stand” both go to “the beats packs final stand”.