How to Beat Douglas and Bounty Walkthrough | How to Fight Douglas' Suit
★ Gear up with our beginner's guide for High On Life!
★ Check out all the guns and weapons in High On Life!
★ Read up on all the achievements on High On Life!
Douglas is a Bounty target during the main story of High on Life. Read on for a complete Douglas bounty walkthrough including info on how to unlock the contract, all unlockable achievements & weapons, all rewards for completion, puzzle solutions, tips for beating him, and how to fight Douglas' Suit!
Douglas Bounty Overview
Bounty Target Info
| Douglas | |
|---|---|
 G3 Chief of Training and Torture |
|
| Bounty Description | Trains new recruits at the G3 facilities in Dreg Town. Also tortures them. He's an unpredictable party animal with a big drug abuse problem and he's on thin ice with the G3. |
| Location | Port Terrene |
| Rewards | 1500 Pesos |
| How to Unlock | Complete 9-Torg's Bounty Contract. |
Unlockable Weapons
 Sweezy Sweezy
|
Type: Rapid Fire Pistol Unique Ability: Time Bubble Voice Actor: Betsy Sodaro |
|---|
Unlockable Achievements
| Achievement | How to Unlock | Gamer Score |
|---|---|---|
| G3 Graduation | Defeat Douglas. | 20 |
| Sweezy Like Sunday Morning | Obtain Sweezy. | 20 |
List of Achievements and Trophies Guide
Douglas Bounty Walkthrough
Bounty Objectives
Accept the Contract and Warp to Port Terrene
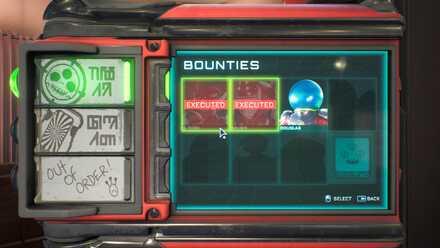
With 9-Torg out of the picture, you’re clear to take on your next bounty. Head to the Bounty 5000 and accept Douglas’ Bounty, then warp to Port Terrene to kick things off. Time to ruin another alien’s day!
Use Your Info Scanner to Get to the Gorge
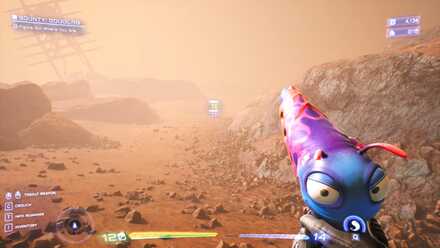
Upon arriving, you'll be greeted by vast tracts of desert. Use your Info Scanner (press T or Up D-pad) to generate waypoints that you can follow to the Gorge, all while dealing with enemies you find along the way.
Use Tether, Glob Shot, and Dash to Cross the Gorge
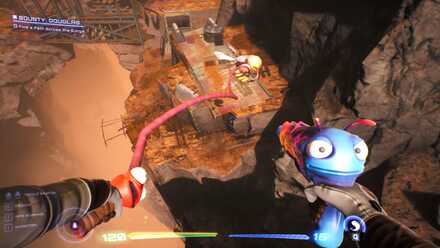
Once at the Gorge, you will be faced with multiple platforming sequences. Use Kenny's Glob Shot, Knifey's Tether, and your Dash Module to safely make your way across.
Killing or Ignoring the Brothers Will Not Affect the Story
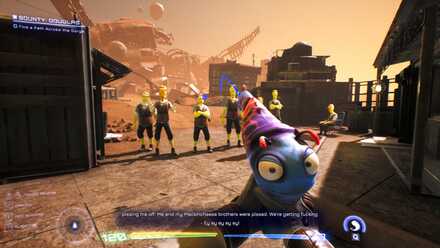
The group of related construction workers you find at the start of the Gorge will confront you as soon as you approach them. You can either choose to ignore them or kill them. Either choice will not affect the outcome of the mission.
Ricochet Kenny’s Glob Shot to Activate the Bridge Mechanism
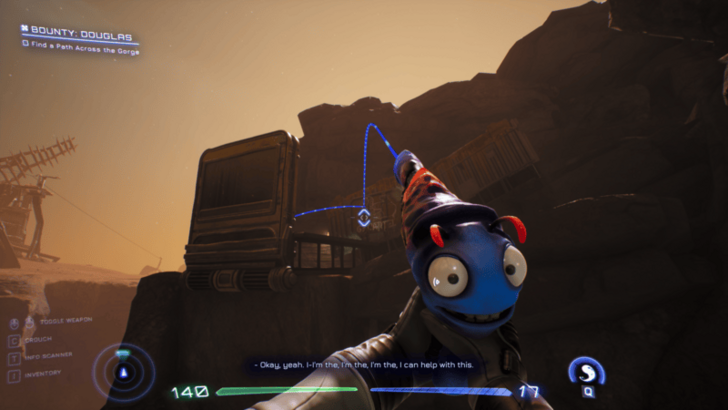
On the way to Old Town, you’ll reach a bridge that won’t lower on its own. Equip Kenny and use his Glob Shot to hit the green panel - make it ricochet off the wall if needed. The impact will activate the mechanism and rotate the bridge into place.
Speak to Old Wet Grundy to Get Into Old Town
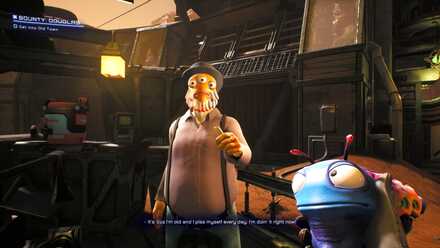
After you successfully cross the Gorge, speak to Old Wet Grundy to ask him more about Old Town, Dreg Town, the G3, and Douglas. Once you've had your fill of information, allow Grundy to open the gate, giving you access to Old Town.
Clear Out the G3 Recruits in Old Town
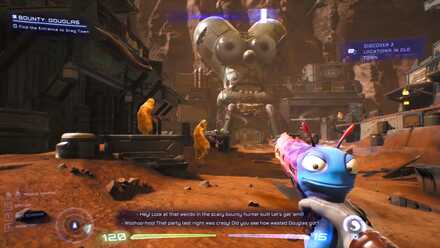
In this area, you will need to kill multiple G3 Recruits. After the initial wave, the alien guarding the gate to Dreg Town will tell you that you will need to kill the rest of the G3 Recruits before he can lift the lockdown. Do as he says to gain access to Dreg Town.
Enter Dreg Town and Find the G3 Recruitment Center
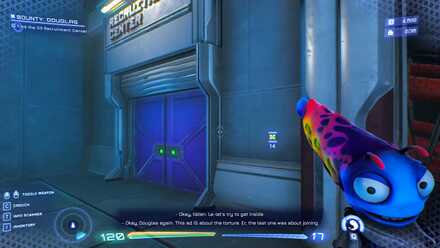
With the way forward clear, head into Dreg Town by taking the funicular (you can listen to Douglas while the animation plays). Once at the town proper, explore the area in order to find the G3 Recruitment Center.
Collect the Warp Crystals From the Warped Bases

Midway through this exploration segment, you will fight multiple G3 Recruits and wildlife. Once the fighting concludes, make sure to loot the Warp Crystals that you can find on top of Warped Bases. These are a special type of currency you can spend once you return to Blim City.
Grab the Stagger Upgrade at the Dreg Town Store
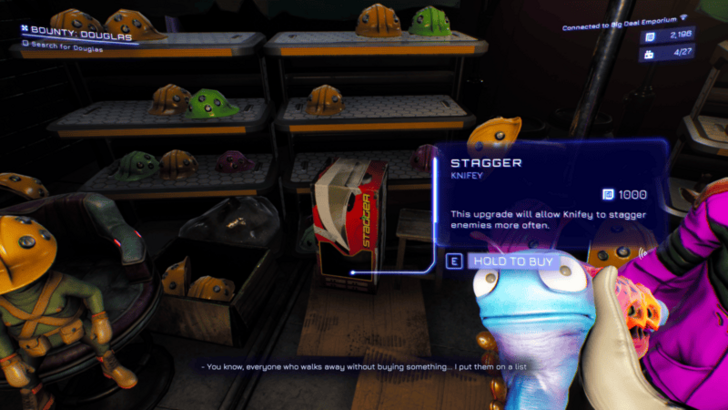
In Dreg Town, head to the Big Deal Emporium to pick up the Stagger upgrade for Knifey. It costs 1,000 Pesos and boosts his ability to stagger enemies, giving you more openings during close-quarters combat.
Speak to the Goop Guy and Get Gooped
Before you can even enter the Recruitment Center, you will need to get gooped. Find the Goop Guy tucked inside a small alley and speak to him in order to acquire Goop.
Participate in the G3 Orientation
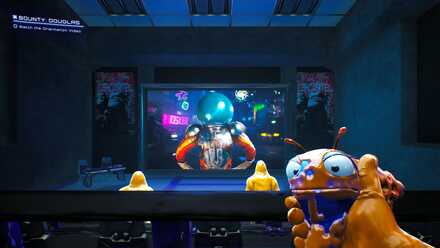
Being sufficiently goopy, head inside the recruitment center and participate in the Orientation. Once the video ends, you will be put through a battery of tests to gauge your combat skills and movement abilities.
Kill the Recruits to Pick Up Durashields
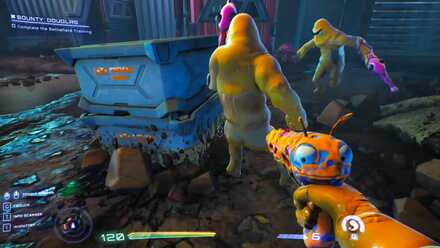
During the combat trial, you can kill your fellow recruits to get Durashield Pickups which replenish your shields. It will be safe to betray them since they will only aggro one-by-one and not all turn hostile as soon as you shoot one of them.
Use Dodge to Pass the Electric Platforming Segment
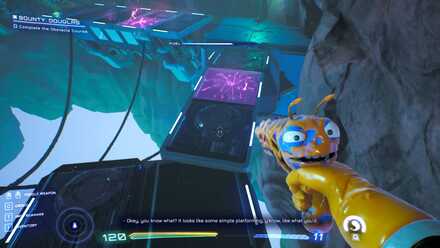
Dodge will be your go-to movement technique to get through this section unscathed. Remember, at the end of the platforming segment, you will have to make a long jump. Use dash midway through your jump to reach the far cliff edge.
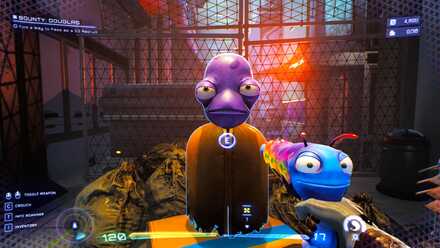
Find a Way Past the 1-Hour Waiting Room
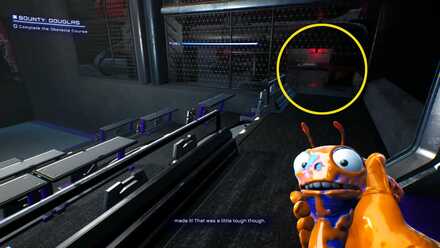
Congrats, you survived the bloodbath! Douglas now says you’ve gotta sit tight for a whole hour, but your gun knows better. Crawl into the nearby vent to skip the waiting room and move on.
What If You Wait For 1 Full Hour?
The Walkthrough Team decided to find out, so you don't have to. Douglas will periodically show up every 15 minutes.
What Happens If You Wait One Full Hour?
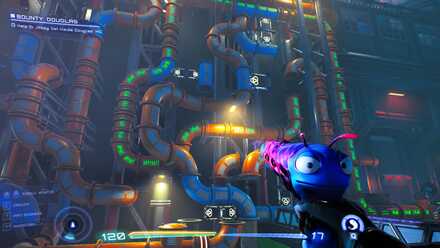
Solve Dr. Joopy's First Pipe Puzzle to Proceed
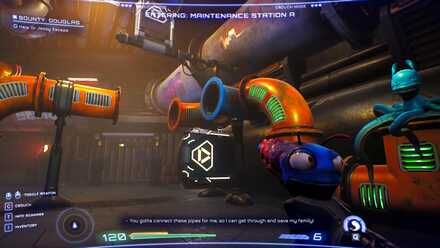
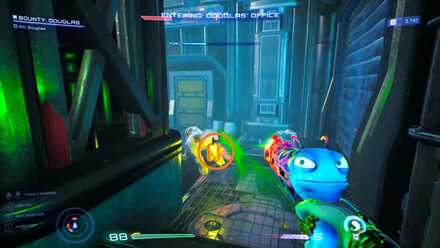
To move forward in the bounty, you’ll need to help out Dr. Joopy - a suspiciously cheerful squid-alien with a pipe obsession. Solve his little puzzle by using Kenny’s Glob Shot to rotate the pipe sections.
Kill All the Recruits

Despite the promise of a straight shot to Douglas' HQ, the zipline ride will end abruptly as the game throws you into an arena filled with G3 Recruits battling it out. Kill all of them and emerge the victor to proceed with the mission.
Note: Don't forget to collect the Warp Crystal next to the arena exit. Again, this can be used later on as a form of currency at one of the shops back in Blim City.
Solve Dr. Joopy's Second Pipe Puzzle to Proceed
After the recruit battle royale, you will once again need to help Dr. Joopy with another pipe puzzle. Solve it again to proceed further into the G3 Cartel's base of operations.
Grab the Multiglob Mod and Muscle Implant from Dreg Town Pawn
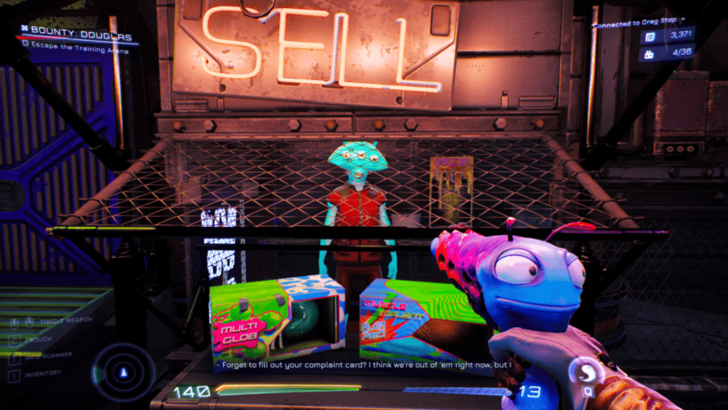
After the Battle Royale, swing by the Dreg Stop (a.k.a. Dreg Town Pawn). They've got the Multiglob Mod for 500 Pesos - because more slime is always better - and a Muscle Implant that buffs Kenny’s primary shots for extra hurt.
Fight Your Way to Douglas' HQ
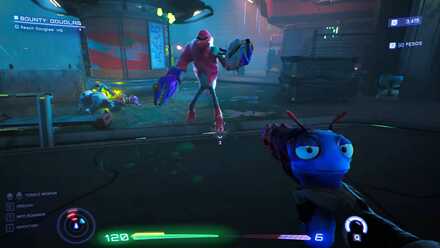
This next portion of the mission will have you fighting multiple waves of enemies as you press forward towards Douglas' HQ. Kill all of the G3 Recruits attacking you and platform your way up towards Douglas' location.
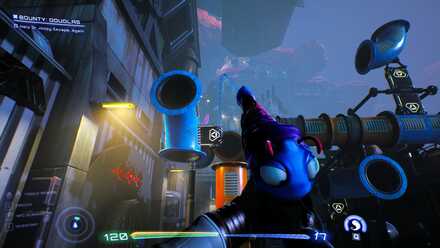
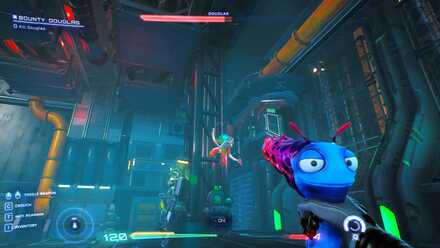
Use Kenny's Glob Shot to Get the Lower the Bridges

Use Kenny’s Glob Shot and bounce it off the wall to lower the first bridge. Cross over, then repeat the same trick to drop the second one.
Solve Dr. Joopy's Third Pipe Puzzle to Open the Door to Douglas' HQ
The final obstacle to the HQ will be another pipe puzzle. Help Dr. Joopy one last time and complete the puzzle in order to unlock the door leading to Douglas' room.
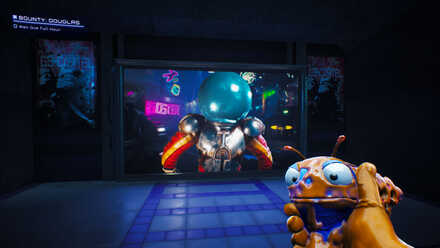
Defeat Douglas and Obtain His Tentacle
After you realize that Dr. Joopy and Douglas are one and the same, make him pay for the deception by killing him. Avoid the electric platforms that light up the arena and keep blasting away until Douglas is defeated.
What to Do When Soft Locked After the Boss Fight
If you find yourself stuck inside the boss room after defeating Douglas, make sure your game is updated. Squanch Games has released a major patch update on December 14, 2022 to address this issue, along with other notable bug fixes.
December 14, 2022 Update and Patch Notes
Use Sweezy to Escape Douglas' HQ
With proof of the bounty's completion secure, pick up Sweezy - a brand new Gatlian - and use her Time Bubble ability to escape Douglas' former HQ. Deal with any enemies you encounter along the way and use the portal to safely warp back to Blim City.
Shoot Through Cover with Sweezy
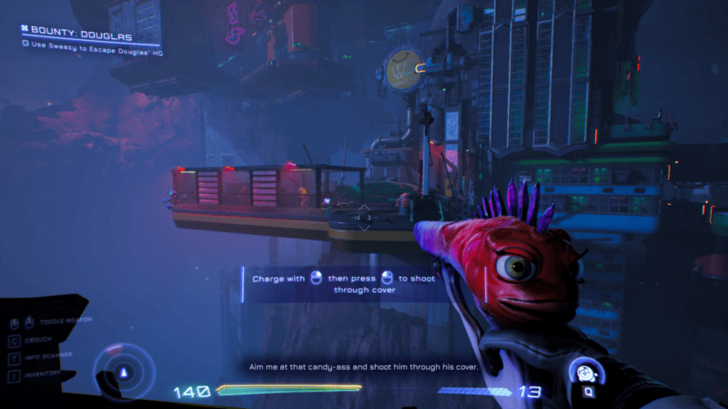
While using Sweezy, charge your shot and fire through cover to hit enemies even when they're hiding.
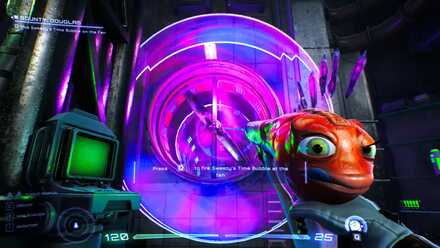
Use Sweezy's Time Bubble to Slow a Vehicle
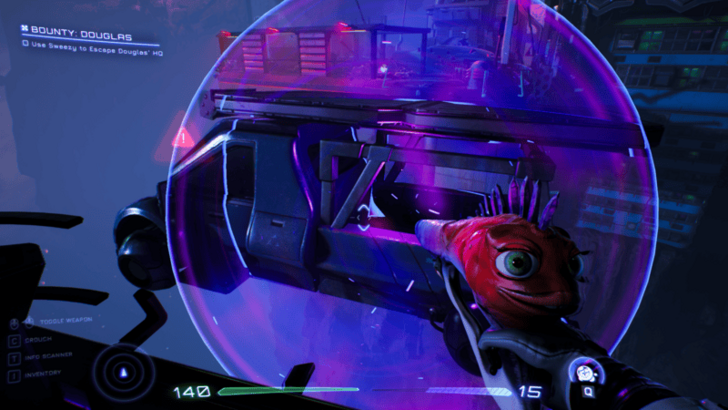
After that, use Sweezy’s Time Bubble to slow down a passing vehicle, then jump onto it and quickly leap off to reach the other side.
Turn in Douglas' Tentacle
Like with 9-Torg, use the Bounty 5000 to turn in Douglas' Tentacle and complete the bounty. This will either allow you to unlock more contracts or free you up to complete Krubis' Bounty if you have not done so already.
How to Beat Douglas
| Douglas Boss Fight Tips |
|---|
|
|
Focus on Dodging the Electric Floor When He Teleports
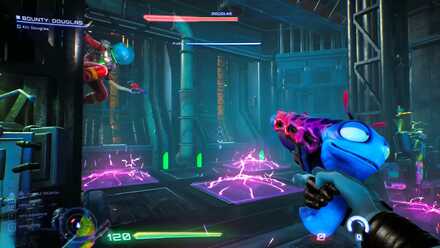
During the boss fight, Douglas will start zipping between different pillars while the ground starts lighting up with electricity. When this happens, ignore Douglas and focus on dodging the electrified platforms. Use your Dodge Module or Knifey's Tether to keep away from the electrified floor tiles.
Deal With the Grunts to Get Durashield Pickups
Again, midway through the fight, G3 Grunts will start spawning in. Since they're pretty easy to deal with, keep a few of them alive and only kill them once your shields drop too low. They will drop Durashield Pickups which charge you back up, so spacing out the drops will help you survive the boss fight easily.
Use Kenny's Glob Shot to Temporarily Stop Douglas
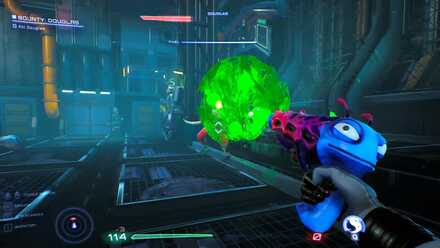
Kenny's Glob Shot, while primarily used to take out large enemy groups and clear obstacles, can also stun bosses temporarily giving you a chance to use Knifey for added damage.
How to Fight Douglas' Suit
| Douglas' Suit Guide |
|---|
|
|
Get Gus from Krubis' Bounty
It's possible to kill Dr. Joopy early and instead fight Douglas' Suit in the boss fight. The primary requirement for this secret boss fight is Gus, whom you obtain at the end of Krubis' bounty.
Gus Weapon Guide:
Upgrades, Mods, and Abilities
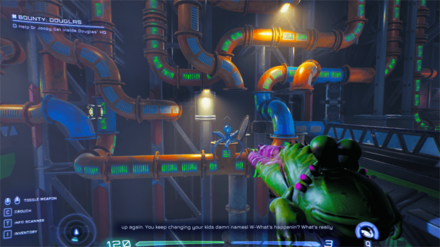
Hold Gus While Meeting Dr. Joopy
After obtaining Gus, progress through the Douglas bounty until you reach the first pipe puzzle, where you meet Dr. Joopy for the first time. At this point, you will need to have Gus out for him to start talking with Dr. Joopy.
Likewise, you will also need to have Gus out once you reach the second and third pipe puzzles for him to exchange the necessary dialogue with Dr. Joopy.
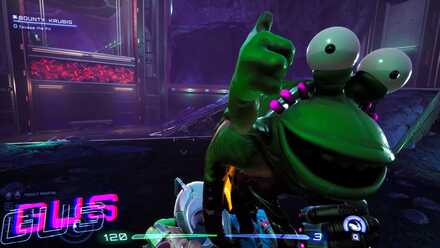
Shoot Dr. Joopy Before the Boss Arena
Once you reach the final puzzle before the boss arena with Gus, he will notice that Dr. Joopy messes up the name of one of his children. While it's quickly brushed off, Dr. Joopy slips up again halfway through the puzzle, and Gus calls them out, asking you to shoot them for lying.
Shoot Dr. Joopy to severely wound them and cause them to reveal themselves as Douglas. Afterward, proceed with the rest of the puzzle to reach the Douglas' Suit boss fight.
Take Down Douglas' Suit
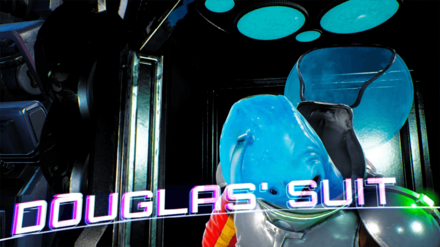
Once inside the boss arena, Douglas will crawl into his suit and die, causing it to enter Chaos Mode and start the boss fight. Take down Douglas' Suit to finish the bounty.
Features New Intro and Dialogue
While this fight plays out the same way as the regular Douglas fight, it does feature a different intro cutscene and new dialogue from Gus and Douglas' Suit.
High on Life Related Guides

All Base Game Bounties
| All Bounty Targets | ||
|---|---|---|
 9-Torg 9-Torg |
 Krubis Krubis |
 Douglas Douglas |
 Skrendel Bros Skrendel Bros |
 Dr. Giblets Dr. Giblets |
 Nipulon Nipulon |
 Garmantuous (Final Boss) Garmantuous (Final Boss) |
||
DLC Bounties
| All Bounty Targets | ||
|---|---|---|
 Knifey's Package (DLC) Knifey's Package (DLC) |
Author

How to Beat Douglas and Bounty Walkthrough | How to Fight Douglas' Suit
Rankings
- We could not find the message board you were looking for.
Gaming News

![Star Savior Review [First Impressions] | Engaging, Entertaining, and Expensive](https://img.game8.co/4447603/8f500e9bf666bdb8adb1af478e9dfdbd.png/show)


Popular Games

Genshin Impact Walkthrough & Guides Wiki
Umamusume: Pretty Derby Walkthrough & Guides Wiki
Crimson Desert Walkthrough & Guides Wiki
Monster Hunter Stories 3: Twisted Reflection Walkthrough & Guides Wiki
Honkai: Star Rail Walkthrough & Guides Wiki
Pokemon Pokopia Walkthrough & Guides Wiki
The Seven Deadly Sins: Origin Walkthrough & Guides Wiki
Wuthering Waves Walkthrough & Guides Wiki
Zenless Zone Zero Walkthrough & Guides Wiki
Arknights: Endfield Walkthrough & Guides Wiki


Recommended Games
Fire Emblem Heroes (FEH) Walkthrough & Guides Wiki
Diablo 4: Vessel of Hatred Walkthrough & Guides Wiki
Cyberpunk 2077: Ultimate Edition Walkthrough & Guides Wiki
Yu-Gi-Oh! Master Duel Walkthrough & Guides Wiki
Super Smash Bros. Ultimate Walkthrough & Guides Wiki
Pokemon Brilliant Diamond and Shining Pearl (BDSP) Walkthrough & Guides Wiki
Elden Ring Shadow of the Erdtree Walkthrough & Guides Wiki
Monster Hunter World Walkthrough & Guides Wiki
The Legend of Zelda: Tears of the Kingdom Walkthrough & Guides Wiki
Persona 3 Reload Walkthrough & Guides Wiki


All rights reserved
©2016-2022 Squanch Games, Inc. SquanchGames®, Squanch Games®, Squanch™, High On Life™, and related design and composite marks are trademarks of Squanch Games, Inc. All rights reserved.
The copyrights of videos of games used in our content and other intellectual property rights belong to the provider of the game.
The contents we provide on this site were created personally by members of the Game8 editorial department.
We refuse the right to reuse or repost content taken without our permission such as data or images to other sites.