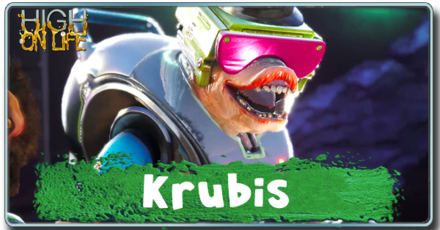
How to Beat Krubis and Bounty Walkthrough
★ Gear up with our beginner's guide for High On Life!
★ Check out all the guns and weapons in High On Life!
★ Read up on all the achievements on High On Life!
Krubis is a Bounty target during the main story of High on Life. Read on for a complete Krubis bounty walkthrough including info on how to unlock the contract, all unlockable achievements & weapons, all rewards for completion, puzzle solutions, and tips for beating Krubis during the bounty boss battle.
List of Contents
Krubis Bounty Overview
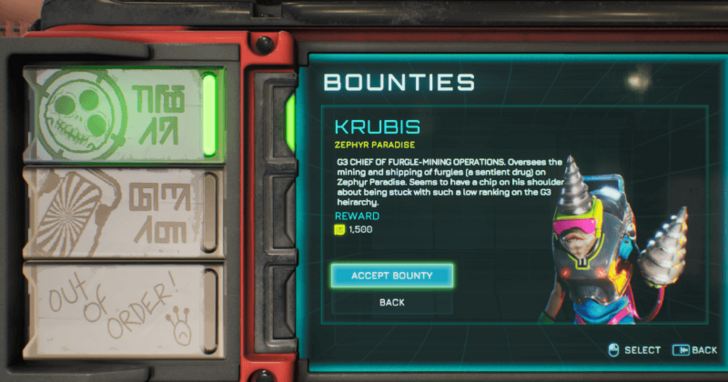
Bounty Target Info
| Krubis | |
|---|---|
 G3 Chief of Furgle-Mining Operations |
|
| Bounty Description | Oversees the mining and shipping of furgles (a sentient drug) on Zephyr Paradise. Seems to have a chip on his shoulder about being stuck with such a low ranking on the G3 hierarchy. |
| Location | Zephyr Paradise |
| Rewards | 1500 Pesos |
| How to Unlock | Complete 9-Torg's Bounty Contract. |
Unlockable Weapons
 Gus Gus
|
Type: Shotgun Unique Ability: Disc Shot Voice Actor: JB Smoove |
|---|
Unlockable Achievements
| Achievement | How to Unlock | Gamer Score |
|---|---|---|
| Satisfied Gus-tomer | Obtain Gus. | 20 |
| Cold-Blooded Driller | Defeat Krubis. | 20 |
| Gunning For Your Job | Use Sweezy to boss around the Office Moplets. | 20 |
List of Achievements and Trophies Guide
Krubis Bounty Walkthrough
Bounty Objectives
Accept the Bounty and Warp to Zephyr Paradise
With 9-Torg out of the way, you’re now free to choose your next target. Head to the Bounty 5000 and accept the Krubis bounty, then warp to Port Terrene to kick off the mission.
Explore the Jungle
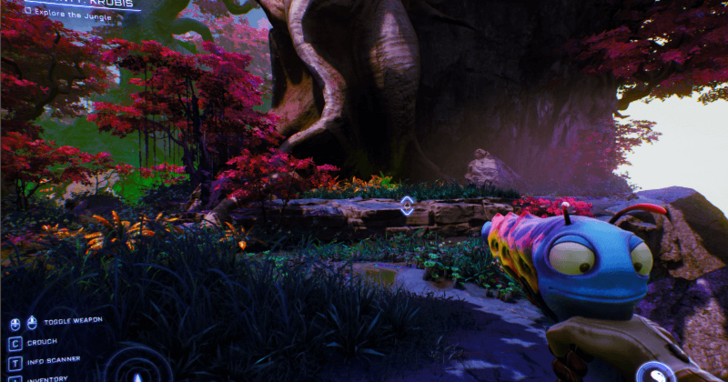
After landing in the jungles of Zephyr Paradise, keep moving forward and explore the area. If you’re running into enemy groups, you’re on the right path. Use your Info Scanner to check for the next waypoints if you’re unsure. Keep going until you arrive at the Moplet Village.
Shoot the Green Bulbs to Create Platforms
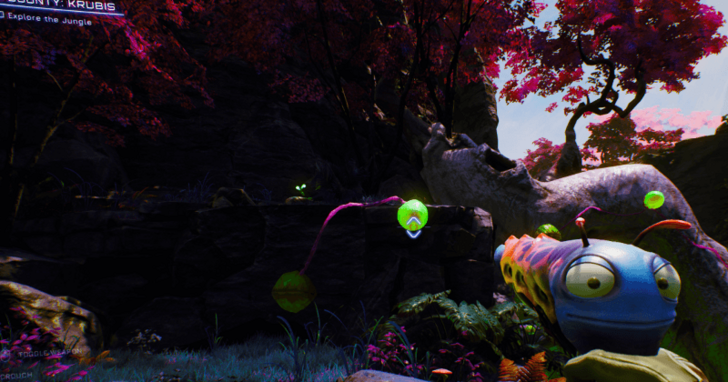
If you ever feel stuck, look around for green bulbs nearby. Shooting them causes plant leaves to unfold, creating new platforms to help you move forward.
Free the Village
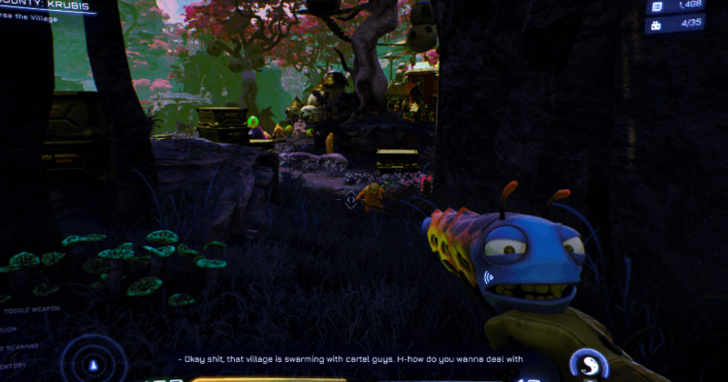
As you approach the village, waves of enemies will swarm you. Use the terrain to your advantage - shoot the green bulbs to trigger spiked leaves. If an enemy is near one, the spikes can kill them when the leaf extends.
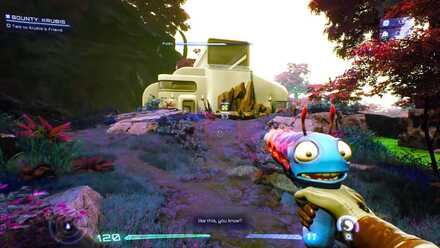
Speak to the Moplet Elder
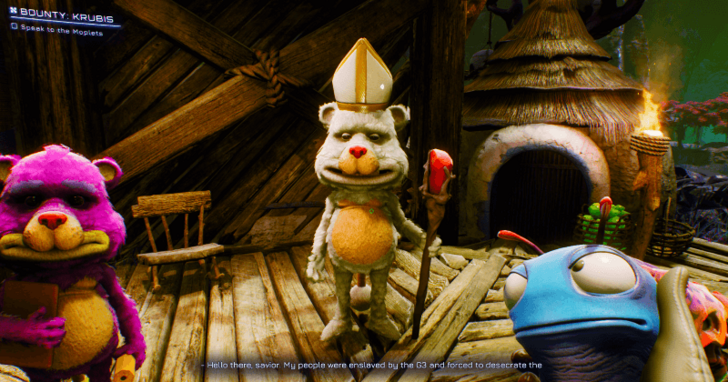
Speak to the Elder after freeing the Village and they will give you information on finding Krubis. They will tell you to go to the mansion on the other side of the river and retrieve a Warp Remote.
Grab the Warp Crystals!
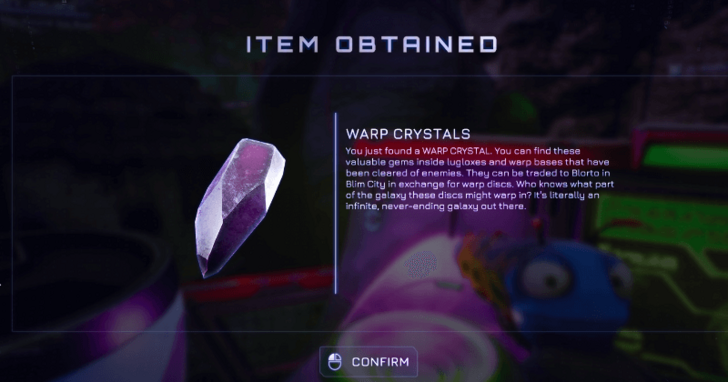
You can find a few Warp Crystals perched on top of buildings in the village - be sure to grab them! Later, you can trade them with Blorto in Blim City for some shiny new Warp Discs.
Warp Crystals Guide: How to Farm and Where to Spend
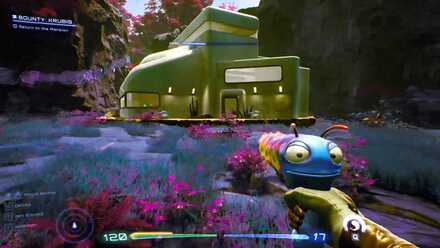
Locate the Mansion
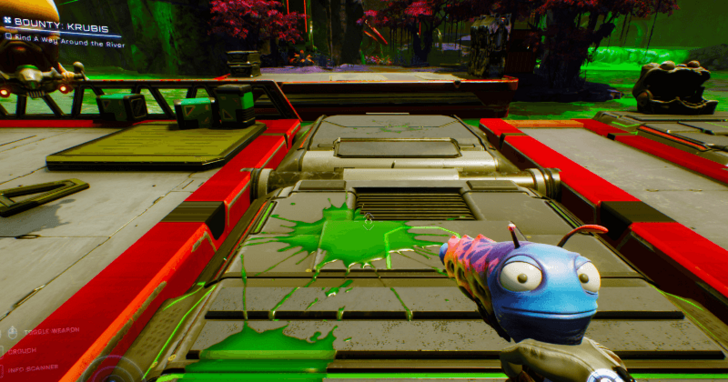
Use your Info Scanner to make your way to the mansion, using Glob Shots to open up new paths and Knifey's Tether to traverse along ziplines. There will be lots of enemies on your path to the mansion so get ready to fight your way through.
Catapult Yourself with Glob Shot
On the way to the mansion, you’ll need to use Kenny's Glob Shot to activate a rotating platform. Fire at the opposite side of the platform while standing on it - the impact will flip the platform and launch you across the toxic river, helping you reach the next area on your path to the mansion.
Bounce Your Glob Shot Off the Mushroom to Drop the Bridge
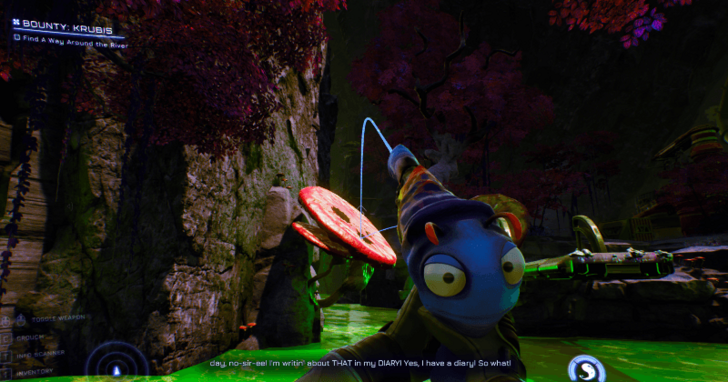
Use the large mushroom to bounce your Glob Shot into the back of the bridge, triggering it to drop down and create a path forward. Hold down the Glob Shot button to preview the trajectory before firing.
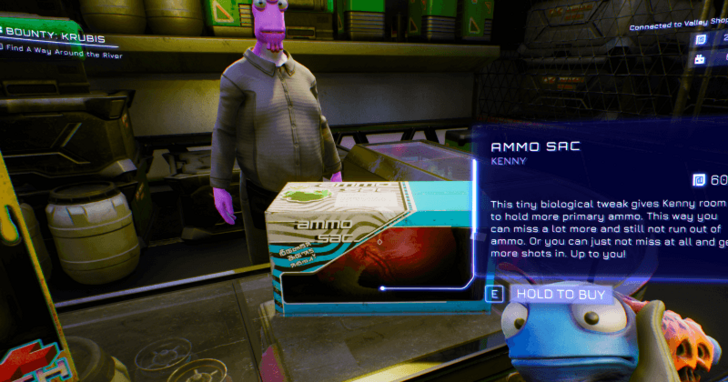
Buy the Upgrades at the Valley Shop
On your way to the mansion, stop by the Valley Shop in the Supply Station. The merchant there sells two key upgrades: the Durahealth Tank for 1000 Pesos, which boosts your max health, and the Ammo Sac (Kenny) for 800 Pesos, which increases Kenny’s ammo capacity. Definitely worth picking up both before you move on.
Get the Warp Remote
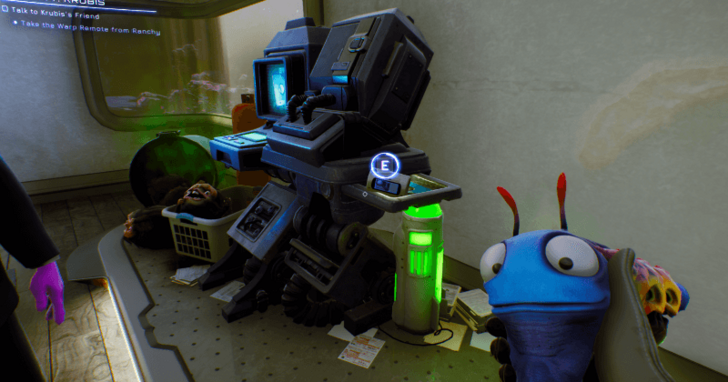
Once you find the mansion, talk to Ranchy. After a quick chat, you’ll be able to grab the Warp Remote. Now all you need is a blank Warp Disc and Krubis’ coordinates to continue.
Return to the Village

Use the Warp Remote by the river outside the mansion to quickly return to the Village. Talk to the Village Elder and they will give you the access code to the mining site.
Go to the Mining Site
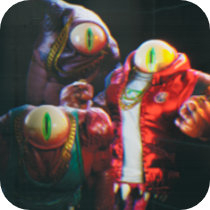
Follow your Info Scanner's waypoint to locate the mining site. Infiltrate the site and kill any G3 members that you find. Get on the elevator down to the mine. The elevator will break, exit through one of the panels and enter the mine.
Get Glob Kidney from the Mining Site Shop
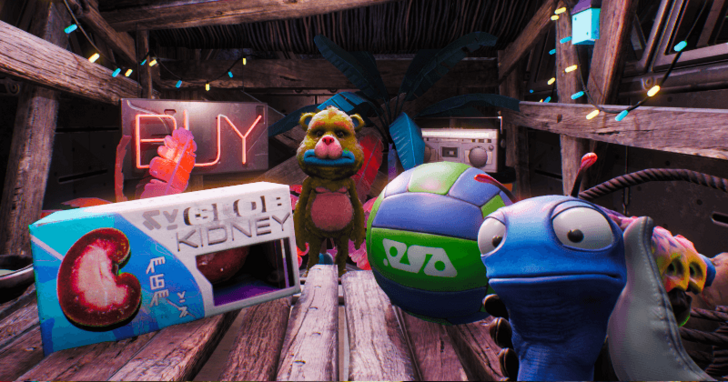
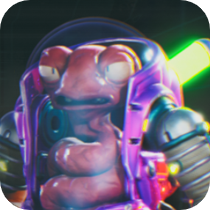
In the mines, look for the Moplet G3 Quartermaster. He sells the Glob Kidney for 600 Pesos, which lets Kenny regenerate slime faster - meaning quicker Glob Shot cooldowns. He also sells a Volleyball for 80 Pesos, though it’s just a joke item and not essential.
How to Get Krubis' Coordinates
Go to Administrative Services
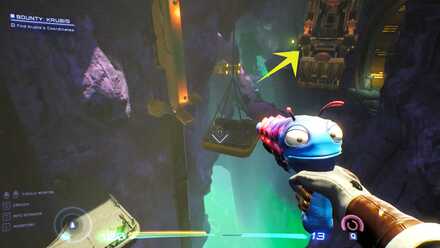
Once inside the mine, and the enemies patrolling it are dealt with, catapult yourself with the Glob Shot to the the upper sectors of the mine. Then tether on the Hookbugs to land on the digger. Jump across to reach Administrative Services. Then talk to Helen. Depending on the gun you have equipped when you talk to her, the outcome will change. Once the employees are gone, you can go into Krubis' office to get his coordinates.
Have Sweezy Talk to Helen at the Front Desk

This achievement will only work if you have Sweezy in your possession and have her talk to Helen at the front desk claiming she is the new boss. This will give you the opportunity to boss around the other Moplets and unlocking the achievement.
Gunning For Your Job Achievement Guide
Not Having Sweezy Yields A Different Outcome
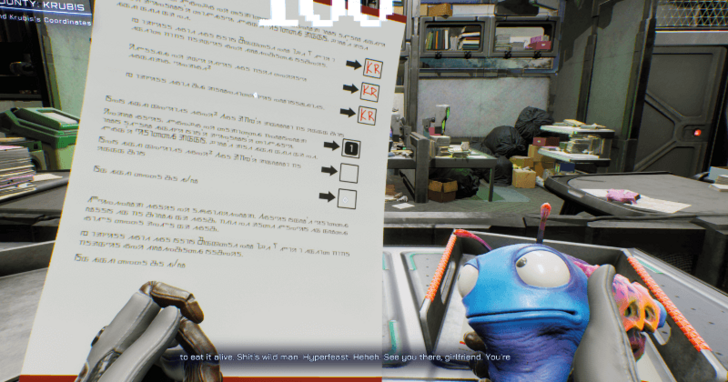
If you do not yet have Sweezy before you start Krubis's bounty you will not be able to get the achievement. Instead you will have to go through a minigame where you have to do paperwork.
How to Get Blank Warp Disc
Save Prince Chosen One
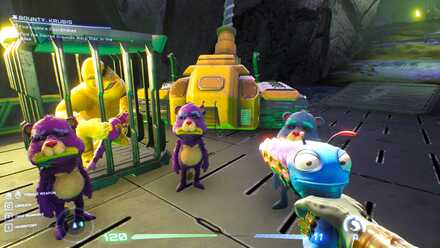
Once you have the coordinates all you need is a blank Warp Disc. Go back through the digger's claw and go deeper into the mines until you see a group of Moplets who managed to cage a G3 member. They will tell you that Prince Chosen One has a blank Warp Disc, but that he is held captive.
How to Get Sacred Grounds Warp Disc
Go deeper into the mine until you see the building to your right. Kill the G3 members inside the base and get the Sacred Grounds Warp Disc. Take the Warp Disc and teleport Prince Chosen One. Once you talk to him, he'll give you a blank Warp Disc.
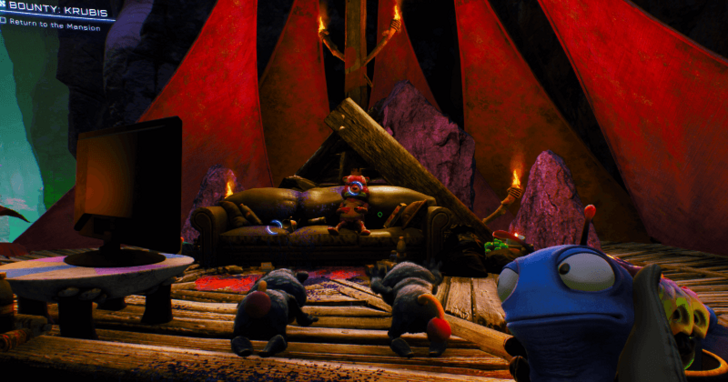
Return to the Mansion
With both the coordinates and the warp disc in hand, return to the mansion to encode the coordinates to the disc using the computer. Afterwards, go outside to warp Krubis to you.
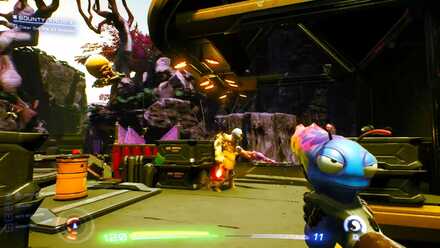
Defeat Krubis and Obtain Gus
Krubis is no different from the previous bounty. You can use a combination of Glob Shots and melee attacks to deal heavy damage. If you already acquired Sweezy, you can also use her Time Bubble to freeze Krubis in his tracks, especially when he does his Drill Atttack.
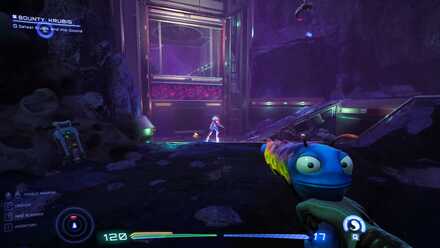
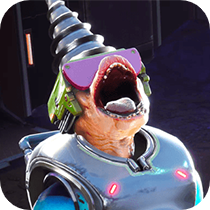
How to Beat Krubis
| Krubis Boss Fight Tips |
|---|
|
|
Get Durashield Pickups from Grunts
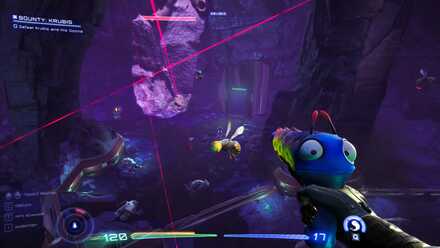
Krubis' attacks deal a decent amount of damage, so it's always good to have your Durashield maxed out. Whenever he retreats into the backrooms and spawns G3 grunts for you to kill, only pick up the Durashield drops that you need and save the rest for later in the fight.
Pop Krubis' Pink Mines
Whenever Krubis sends out pink mines while drilling through the ground, clear them out by shooting them as they appear. Doing this will prevent you from accidentally stepping on them while avoiding his other attacks.
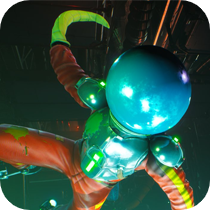
Steer Clear of the Drill Attack's Red Lines
When you lose sight of Krubis, and red lines start appearing in the arena, it signals the start of Krubis' deadly Drill Attack. Prioritize dodging each drill attack and taking advantage of the Hookbugs in the room for added mobility until Krubis shows up again.
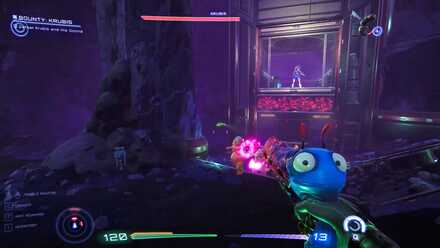
Stun Krubis with Glob Shot or Time Bubble
Whenever Krubis is on the ground or stuck in the floor, you can use Kenny's Glob Shot to stun him and deal significant damage with a close-range melee attack.
In addition, if you've already obtained Sweezy from Douglas' bounty, you can also use her Time Bubble to freeze Krubis during his Drill Attack.
High on Life Related Guides

All Base Game Bounties
| All Bounty Targets | ||
|---|---|---|
 9-Torg 9-Torg |
 Krubis Krubis |
 Douglas Douglas |
 Skrendel Bros Skrendel Bros |
 Dr. Giblets Dr. Giblets |
 Nipulon Nipulon |
 Garmantuous (Final Boss) Garmantuous (Final Boss) |
||
DLC Bounties
| All Bounty Targets | ||
|---|---|---|
 Knifey's Package (DLC) Knifey's Package (DLC) |
Author

How to Beat Krubis and Bounty Walkthrough
Rankings
- We could not find the message board you were looking for.
Gaming News

![Death Stranding 2: On The Beach [PC] Review | A Port That Delivers](https://img.game8.co/4447392/15310a0c9aa1b6843bb713b2ea216930.jpeg/show)


Popular Games

Genshin Impact Walkthrough & Guides Wiki
Umamusume: Pretty Derby Walkthrough & Guides Wiki
Crimson Desert Walkthrough & Guides Wiki
Monster Hunter Stories 3: Twisted Reflection Walkthrough & Guides Wiki
Honkai: Star Rail Walkthrough & Guides Wiki
Pokemon Pokopia Walkthrough & Guides Wiki
The Seven Deadly Sins: Origin Walkthrough & Guides Wiki
Wuthering Waves Walkthrough & Guides Wiki
Zenless Zone Zero Walkthrough & Guides Wiki
Arknights: Endfield Walkthrough & Guides Wiki


Recommended Games
Fire Emblem Heroes (FEH) Walkthrough & Guides Wiki
Diablo 4: Vessel of Hatred Walkthrough & Guides Wiki
Cyberpunk 2077: Ultimate Edition Walkthrough & Guides Wiki
Yu-Gi-Oh! Master Duel Walkthrough & Guides Wiki
Super Smash Bros. Ultimate Walkthrough & Guides Wiki
Pokemon Brilliant Diamond and Shining Pearl (BDSP) Walkthrough & Guides Wiki
Elden Ring Shadow of the Erdtree Walkthrough & Guides Wiki
Monster Hunter World Walkthrough & Guides Wiki
The Legend of Zelda: Tears of the Kingdom Walkthrough & Guides Wiki
Persona 3 Reload Walkthrough & Guides Wiki


All rights reserved
©2016-2022 Squanch Games, Inc. SquanchGames®, Squanch Games®, Squanch™, High On Life™, and related design and composite marks are trademarks of Squanch Games, Inc. All rights reserved.
The copyrights of videos of games used in our content and other intellectual property rights belong to the provider of the game.
The contents we provide on this site were created personally by members of the Game8 editorial department.
We refuse the right to reuse or repost content taken without our permission such as data or images to other sites.