Ewefall Walkthrough, Bosses, and Resources
★ Woolhaven DLC available now!
★ New Features: Ranch | Winter
★ Learn how to get all Legendary Weapons!
★ All Marchosias Choices
★ How to Start the Woolhaven DLC
★ How to Get the Fleece of the Knight
Ewefall is a dungeon in the Woolhaven DLC of Cult of the Lamb. See a walkthrough of Ewefall here, along with its resources, bosses, Follower Forms, and decorations in this guide.
Ewefall Resources
All Resources in Ewefall
| Resources | How to Get |
|---|---|
 Rotburn Rotburn
|
Hit Red Boulders in the Rotburn room |
 Charged Shard Charged Shard
|
Hit the glass lamps in the Charged Shards room |
 Snow Fruit Seed Snow Fruit Seed
|
Hit the giant Snow Fruit in the Crops room |
 Berry Berry
|
Harvest the Berries in the Crops room |
 Berry Bush Seed Berry Bush Seed
|
Harvest the Berries in the Crops room |
 Wool Wool
|
Hit the Lamb statues in the Wool room |
 Snowdrop Snowdrop
|
Hit the flowers |
 Grass Grass
|
Hit Grass |
 Bone Bone
|
Hit Skulls and Carcasses |
 Stone Stone
|
Hit boulders and the ground |
These are the materials that you can obtain by hitting objects or entering special rooms at Ewefall.
Special Lamb Wools
 Wool of the Rancher
 Wool of the Scholar
 Wool of the Stargazer
 Wool of the Charred
 Wool of the Shrewd
 Wool of the Resolute
 Wool of the Warrior
 Wool of the Harbinger
 Wool of the Pretender
 Wool of the Innocent
During the Woolhaven DLC story, you'll be able to obtain special Wools at the end of certain areas in Ewefall. These Wools can be obtained by solving the puzzle in the final room of the area.
Upon obtaining them, you must bury them in the graves surrounding Yngya at Woolhaven in order to progress the story. This is also how you can rebuild the Woolhaven Town and unlock new features.
Ewefall Bosses
All Ewefall Minibosses and Bosses
| Boss | Type | Recruitable? |
|---|---|---|
 Abas Abas
|
Miniboss | Yes |
 Thoas Thoas
|
Miniboss | Yes |
 Witness Ipos Witness Ipos
|
Miniboss | Yes |
 Gorgo Gorgo
|
Miniboss | Yes |
 Mestor, Festor, and Nestor Mestor, Festor, and Nestor
|
Miniboss | Yes |
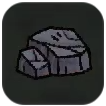
 Marchosias Marchosias
|
Boss | No |
Ewefall Follower Forms

|

|

|

|

|

|

|

|

|

|

|

|

|

|

|

|

|
Ewefall Follower forms can all be obtained in the Ewefall dungeon, either by defeating bosses or from random drops. Most of them can also be purchased from the Follower Forms statue at Woolhaven.
All Woolhaven DLC Follower Forms
Ewefall Decorations
 Spark Bulb
 Piked Cultist I
 Piked Cultist II
 Rendering of the Mountain
 Firepit
 Charged Lamp
 Sparking Pillar
 Static Post
 Faithless Altar
 Lupine Statue
 Alchemist's Instrument I
 Alchemist's Instrument II
 Alchemist's Instrument III
 Energy Coil
 Alpine Tree
 Wire Bundle
Ewefall decorations can be obtained as random rewards in Ewefall.
Ewefall Walkthrough
- Ewefall Base
- Ewefall Cliffs
- Ewefall Heights
- Third Marchosias Choice
- Unlocking the Path to Yngya
- Heading to Marchosias
Ewefall Base
| # | Step-by-Step Guide |
|---|---|
| 1 |
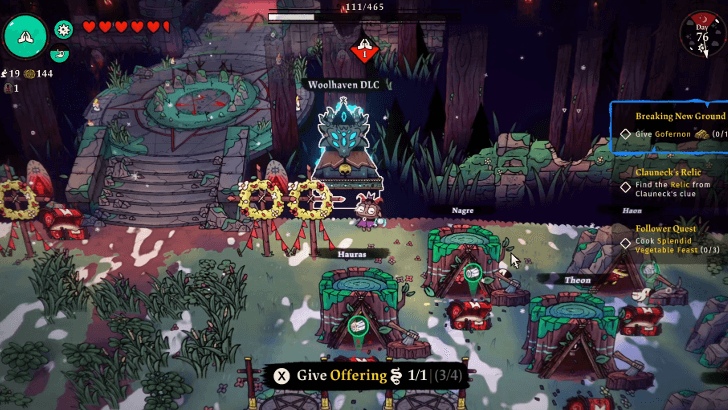 After completing all of the offerings to Yngya and viewing the title card for Woolhaven, you'll spawn back at the base. A new path eastward will open up. Follow this path to enter Woolhaven. |
| 2 |
 A short cutscene will play, then the path to Ewefall will open. Go through this path to start a run, aim to reach the peak of Ewefall. |
| 3 |
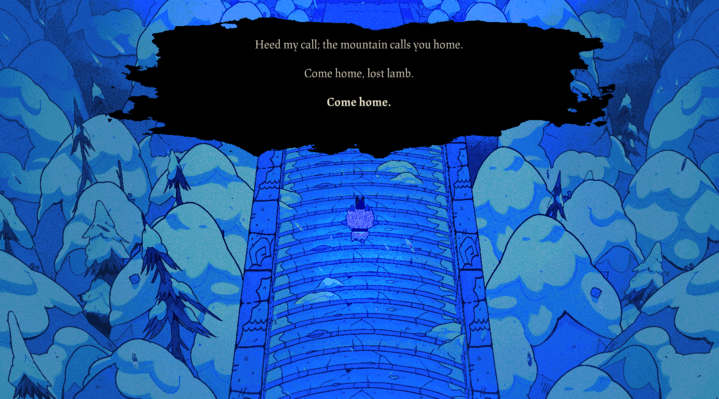
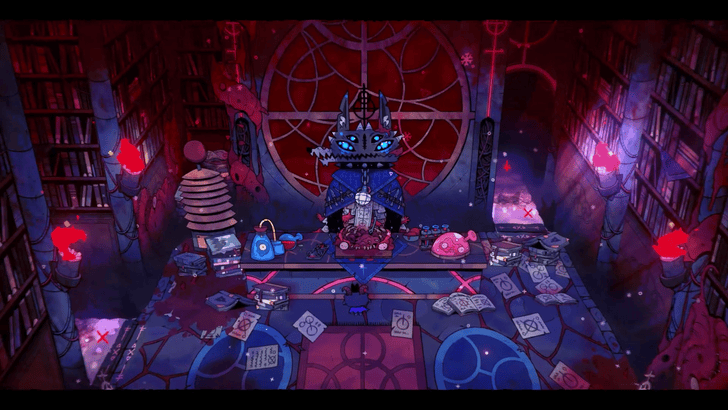
 Upon arriving at the peak, an animated cutscene will play where the Lamb awakens Yngya and causes winter to fall. After the cutscene, approach the Lost Souls and call them home. |
| 4 |
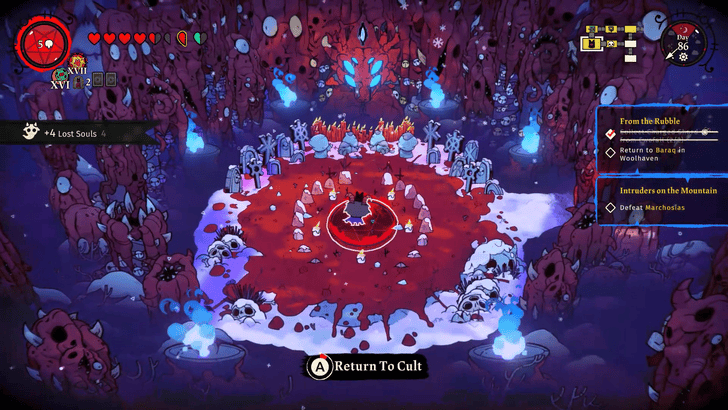
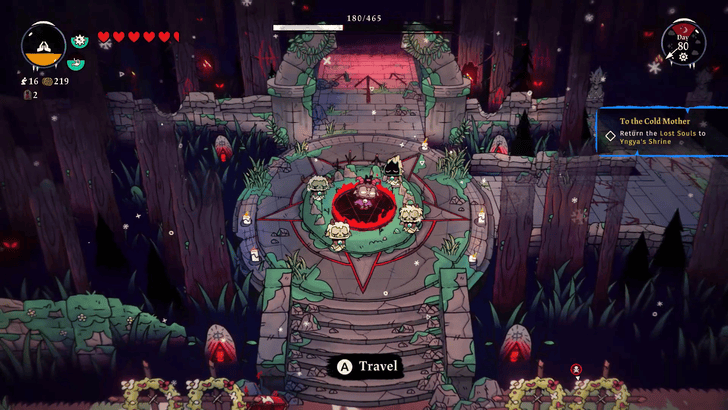 Return to the Cult where you will find the Lost Souls waiting there. Guide them east to Woolhaven and return the Lost Souls to Yngya's Shrine. |
| 5 |
 Yngya will be resurrected, and she will ask for your help to bring home more Lost Souls in exchange of knowledge. She will also ask that you collect 5 Rotburn from the mountain. When you awaken Yngya, winter begins, and a brief cutscene shows your cult enjoying the season. ▶︎ How to Survive Winter |
| 6 |
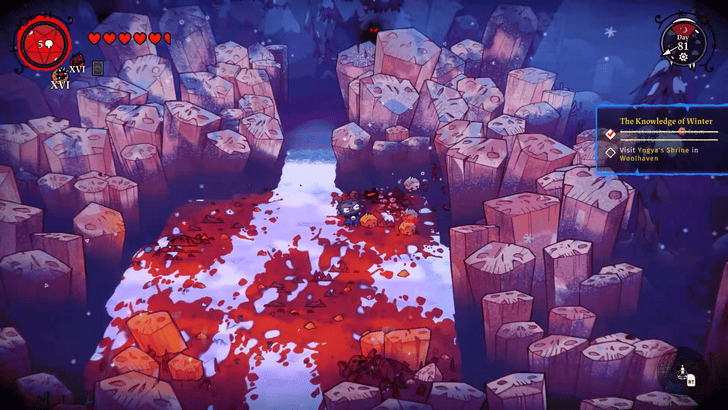 Go for a run in Ewefall, and you'll eventually find Rotburn as you progress. They appear like reddish stones, but are actually fleshy growths. Destroy them to gather the Rotburn needed for Yngya's request. Rotburn can be found in its own room. Gofernon will appear to tell you about it when you enter. |
| 7 |
 At the end of you run in Ewefall, you will find the Wool of the Rancher in one of the boss rooms. You can reach it by placing the crowns on the effigies of the Bishops, matching their colors. The Wool of the Rancher is what remains of one of Yngya's Disciples. You can bury it back in Woolhaven to summon their soul as the first step in rebuilding the ranch. |
| 8 |
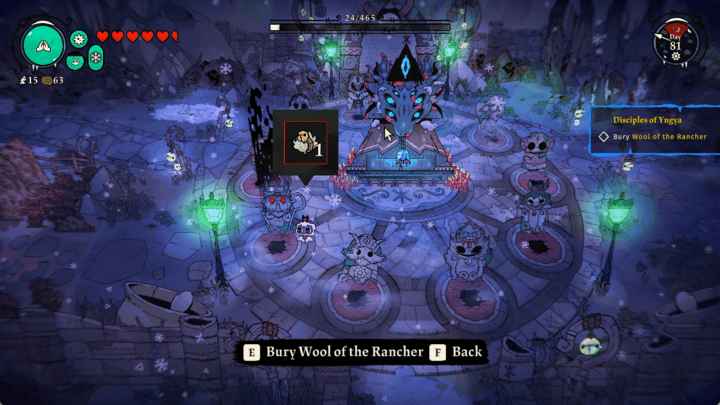 Bury the Wool of Baraq the Rancher to ease his soul into returning to Woolhaven. Doing so will open up the path for you to rebuild his ranch. This is vital to generate a food source since winter freezes farmland, preventing crops from growing. |
| 9 |
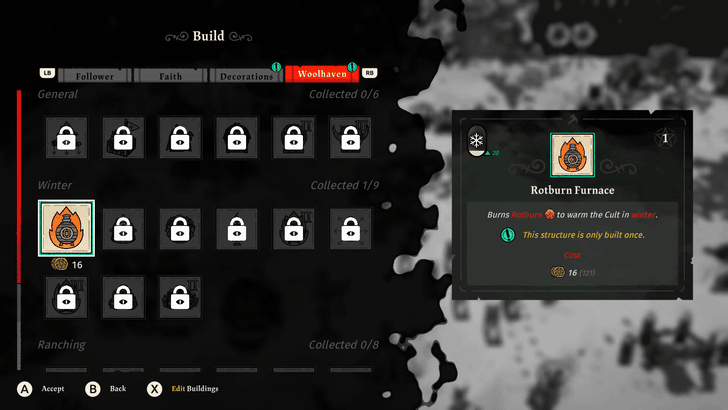 Once you return to Woolhaven, present the Rotburn to Yngya. She will then ask that you construct the Rotburn Furnace. This is required to keep your Followers from freezing, preventing them from their work and worship. |
| 10 |
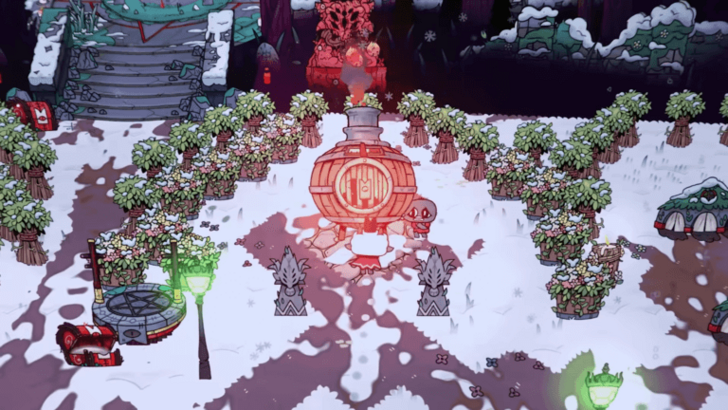 Construct the Rotburn Furnace at your Cult. Remember to fuel it with Rotburn to keep your Followers warm for the rest of winter. |
Ewefall Cliffs
| # | Step-by-Step Guide |
|---|---|
| * |
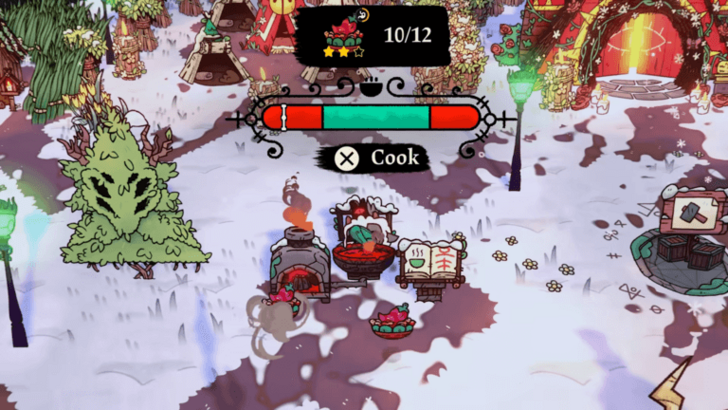 Before proceeding further, make sure to cook for your followers first. The area ahead may cause you to lose a lot of resources, so it's better to use them now than lose them as you continue. |
| 1 |
 Return to Yngya, and she will ask you to find more of her Disciples and bring them home to Woolhaven. Go for another run in search of them at Ewefall Cliffs until you meet Heathen Marchosias of the Free Pack. |
| 2 |
 Marchosias will test what kind of God you are and will make you choose between keeping enough food for 5 days or enough food for 10 days but losing half a heart. Whichever you choose, Marchosias will comment on your decision before leaving. This also marks the first of your many encounters. ▶︎ All Marchosias Choices |
| * | In between the two choices, the best option is the food for 5 days. You can use rituals to avoid hunger, and winter should be over after 5 days at the latest. |
| 3 |
 To rebuild the ranch, you'll need to find Charged Shards from destroying electric machinery in Ewefall. You'll need to bring at least two to Baraq. |
| 4 |
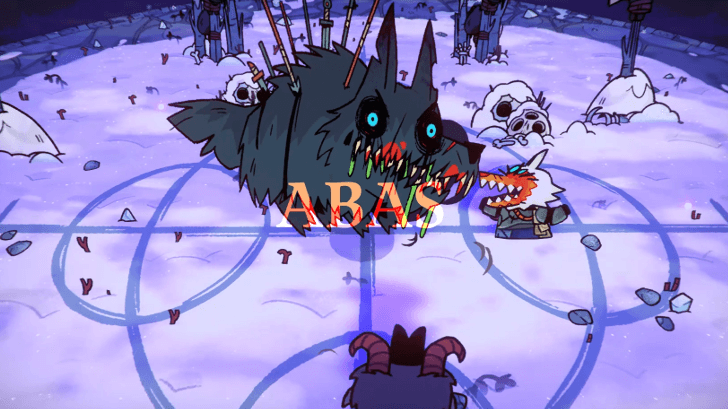 As you progress, one of Marchosias' Followers will challenge you with the miniboss Abas in Ewefall Cliffs. Once defeated, he reverts to a follower that you can send back to your cult. |
| 5 |
 When you complete your run, you'll find more lost souls to bring home. Return to your cult and escort these new souls to Woolhaven. |
| 6 | The rest of Ewefall will be locked for now, so make your way to The Rot to continue the story. ▶︎ The Rot Walkthrough, Bosses, and Resources |
Ewefall Heights
| # | Step-by-Step Guide |
|---|---|
| * |
Before proceeding further, make sure to fill your Rotburn furnaces and cook warming meals for your cult. This should keep your followers from becoming frozen while you're away. If it isn't winter, you can still cook meals so your followers don't get hungry. |
| 1 |
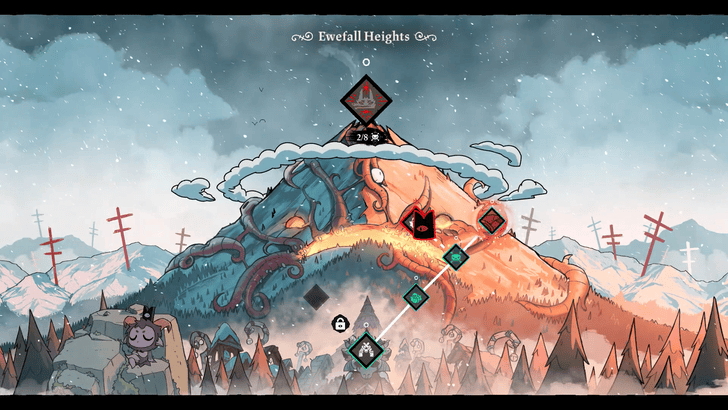 Head to Woolhaven and go to Ewefall Heights. This part of the dungeon can be accessed by selecting the Wool icon as a starting point. |
| 2 |
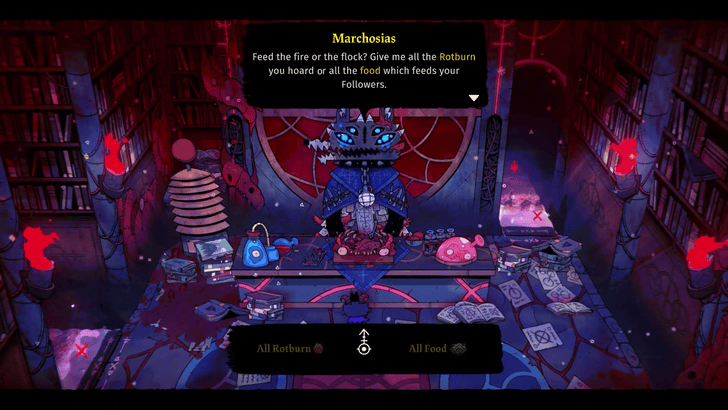 As you explore Ewefall Heights, you'll have another encounter with Marchosias. This time, he'll confiscate either all your food or Rotburn. You can give up all your Rotburn here, especially if you have your furnace full. This should suffice for the rest of the winter. ▶︎ All Marchosias Choices |
| 3 |
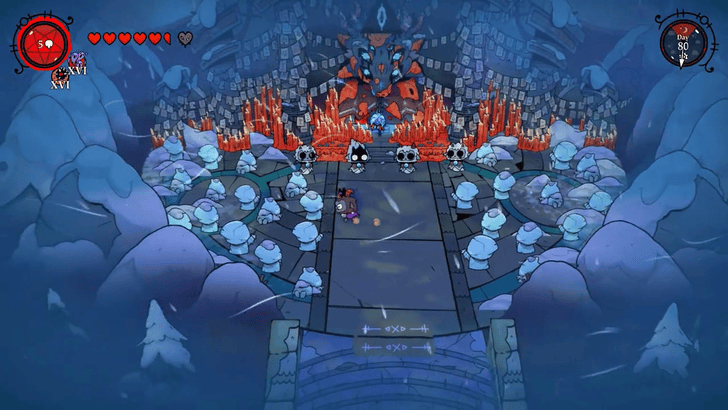
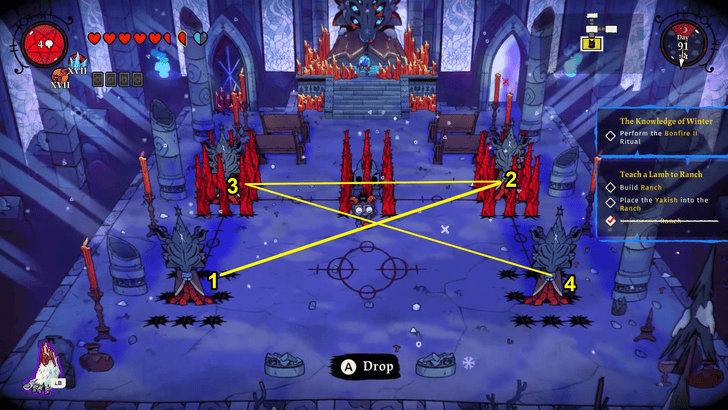 At the peak, complete the puzzle here, which simply requires you to interact with the effigies in a certain order: lower left, then upper right, then upper left, and end in lower right. Note that depending on the order you selected the tiles at Ewefall and The Rot, the puzzle and Wools available in this area may differ. |
| 4 |
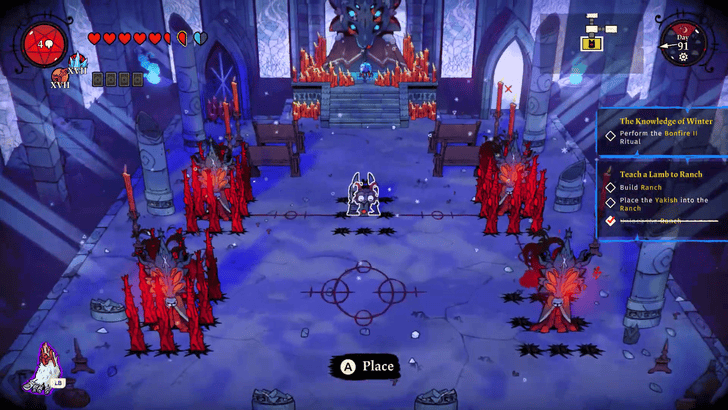 Place the glowing piece in the effigy to finish the puzzle. You'll get both the Wool of the Stargazer and the Wool of the Scholar afterward, unlocking two more facilities in Woolhaven. |
| 5 |
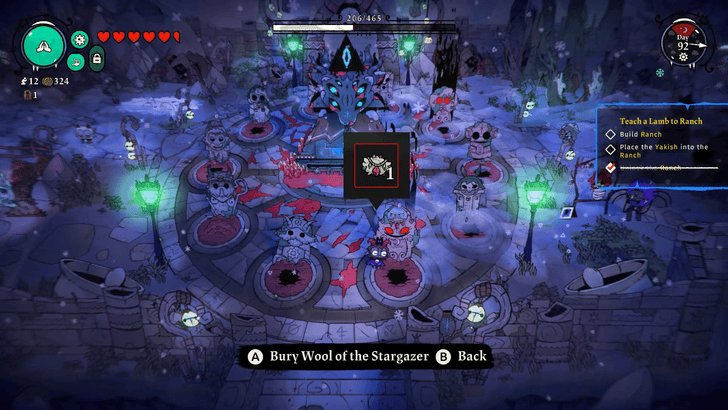 Bury the Wool of the Stargazer to unlock Koka. Head upper west afterward to visit her tarot shop. |
| 6 |
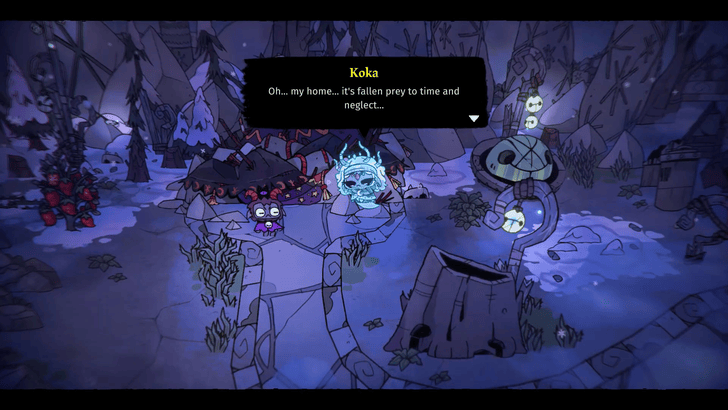 Rebuild her tarot shop using Pure Yewbark. You can get Cursed Yewbark in The Rot, which you can purify in your refinery to obtain Pure Yewbark. For Koka's shop, you need at least three. Once you repair her shop, you can access her quest board. Complete her quests, and you should be able to earn more tarot cards to use. |
| 7 |
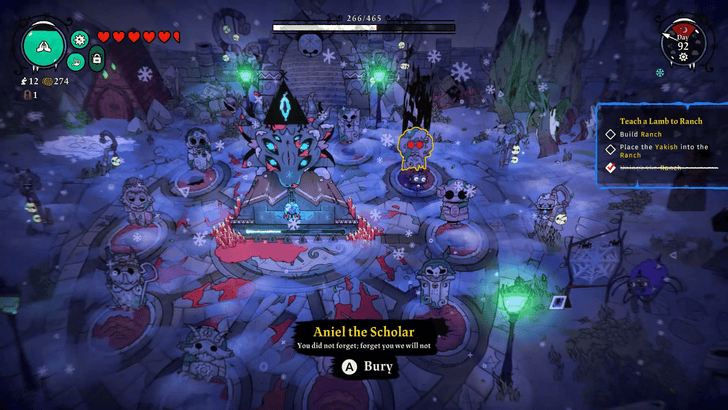 Bury the Wool of the Scholar next to unlock Aniel. He owns a museum east of Woolhaven. Head there to fix his facility as well. |
| 8 |
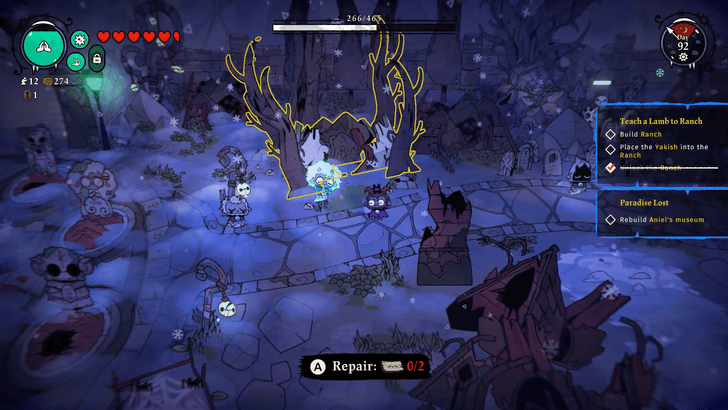 Use two Purified Yewbark to repair Aniel's museum. Here, you can play Flockade, which earns you Flockade pieces. Completing all of these earns you the The Complete Collection achievement. ▶︎ All Woolhaven Achievements |
Third Marchosias Choice
| # | Step-by-Step Guide |
|---|---|
| 1 | 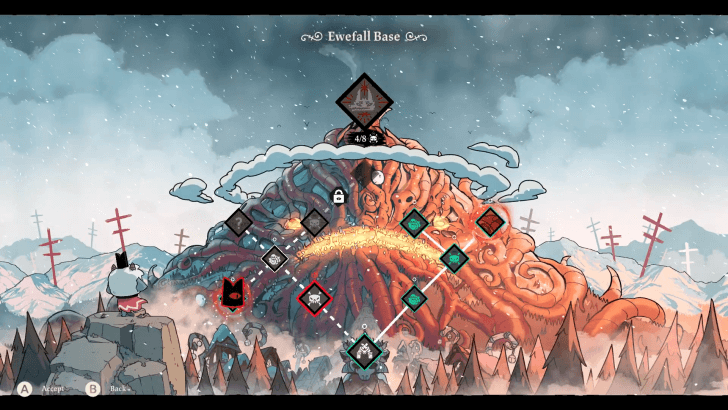 Make your way back to Ewefall. Both Ewefall Base and Ewefall Cliffs on the west side are accessible, so you can select whichever you'd prefer. If you're in need of resources, Ewefall Base is recommended. If you want to unlock a new building at Woolhaven, you can head to Ewefall Cliffs. For this walkthrough, let's head to Ewefall Base first. |
| 2 | 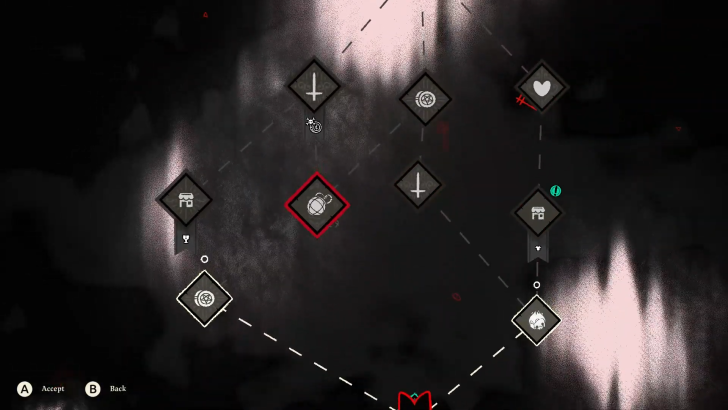 Go for a run at Ewefall Base on the west side of the mountain. It's recommended to prioritize going to resource rooms for Charged Shards and Rotburn to help with your base maintenance and rebuilding of Woolhaven. |
| 3 | 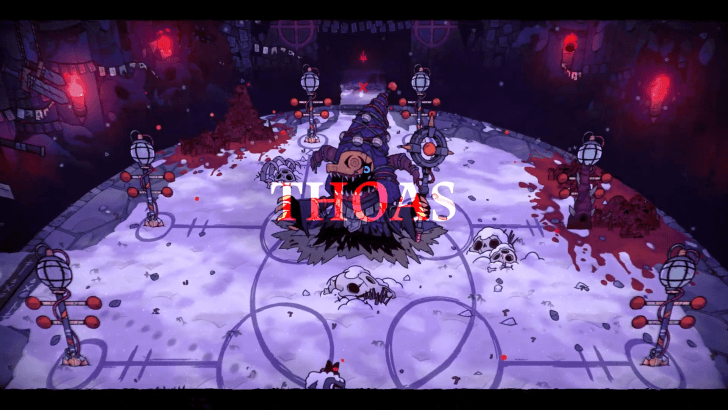 At the end of Ewefall Base, you'll face the boss Thoas. This boss uses ranged lightning attacks. Try not to stray too far when avoiding its attacks so that you can attack it quickly once you get an opening. Defeat Thoas, and convert him into your Follower. |
| 4 | 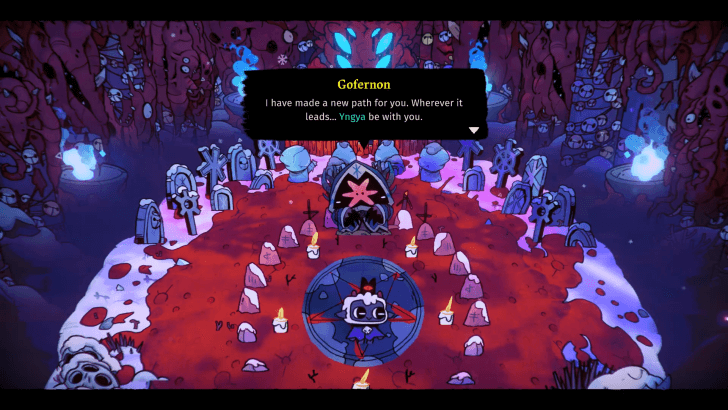 Head to the next room to call the 4 Lost Souls home. Then, make your way back to your cult. Gofernon will inform you that he's opened up a new path in The Rot. |
| 5 | 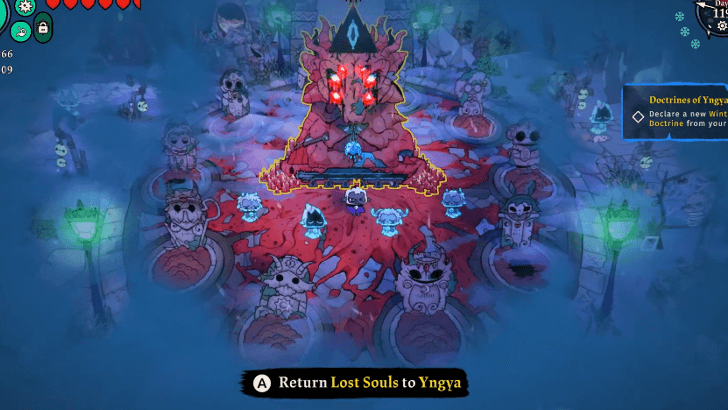 Return the Lost Souls to Yngya. Then, prepare to go on a crusade in Ewefall once more. Make sure to cook food for your Followers, and fill your Rotburn Furnace if it's winter. |
| 6 | 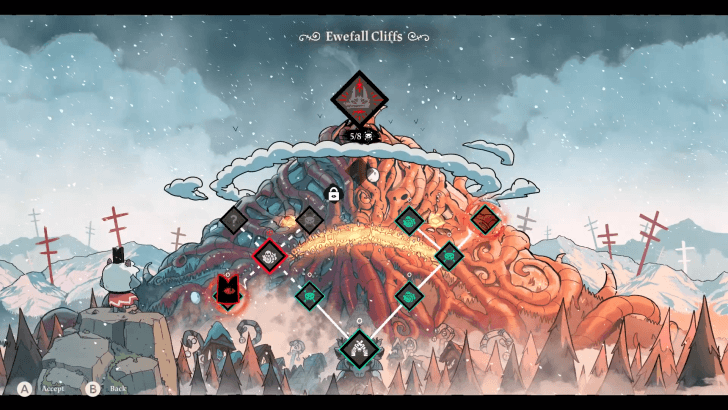 Head up the stairs in Woolhaven to go to Ewefall. Select Ewefall Cliffs with the Wool icon on the left side of the mountain. |
| 7 | Progress through the dungeon. It's recommended to select tiles for resources you're in need of. However, you may want to avoid Rotburn rooms, since you may lose them before the end of the dungeon. |
| 8 | 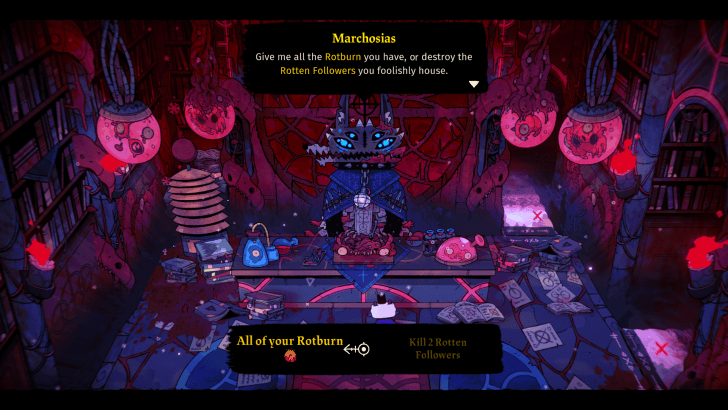 In the final tile of the dungeon, you will run into Marchosias again. For this third choice, he will ask you to choose between giving up all of your Rotburn or sacrificing all of your Rotten Followers. ▶︎ All Marchosias Choices |
| * |
It is recommended to give Marchosias all of your Rotburn, since the Rotburn Mine building should be accessible to you at this point. This should make Rotburn easier to come by. However, if you only have one Rotten Follower—ideally one on the brink of death—then it might be more appealing to choose to sacrifice that Follower instead. |
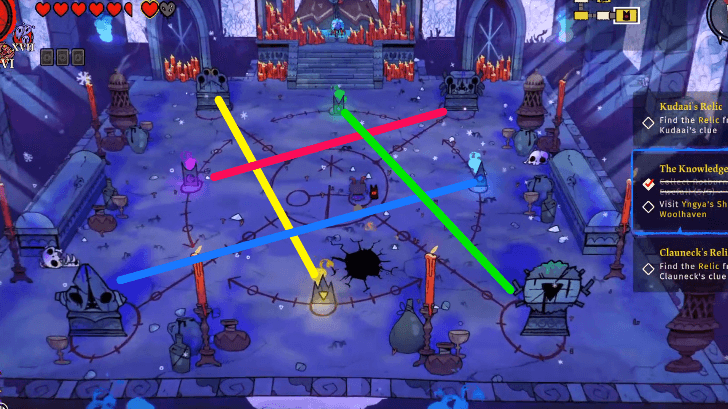
| 9 |  The final room of this dungeon is another puzzle room, which will reward you with the Wool of the Resolute. To solve the puzzle, interact with the Yngya effigies on the left and right. This will free the yellow and green crowns as well as The One Who Waits effigy. |
| 10 | 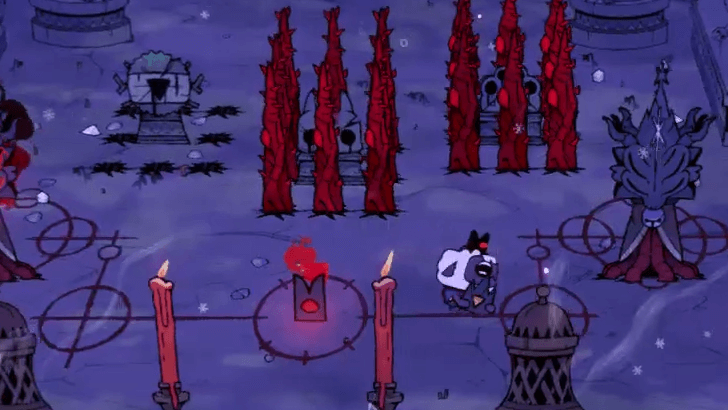 Pick up the yellow crown, place it anywhere outside of the red barriers. Do the same for the green crown. |
| 11 | 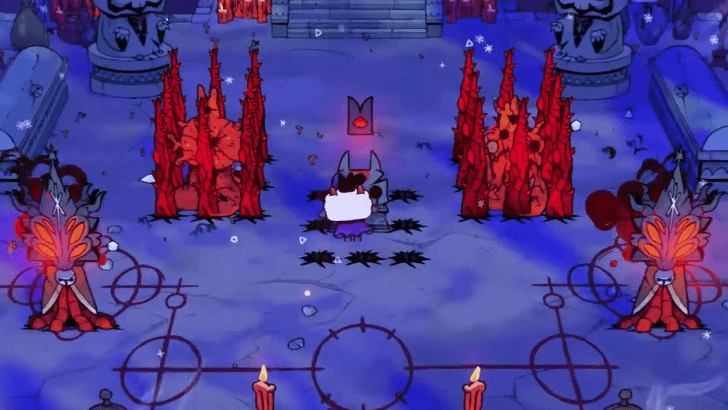 Place the red crown on the effigy in the middle that resembles The One Who Waits. |
| 12 | 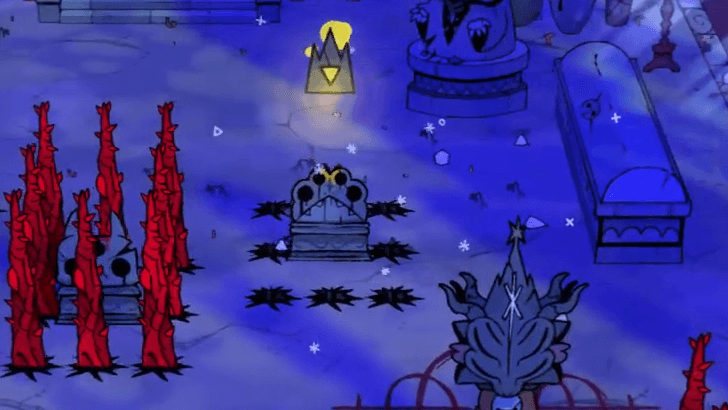 Interact with both Yngya effigies again. Place the yellow crown on the effigy on the right resembling Heket, which should have a yellow marking on its head. |
| 13 | 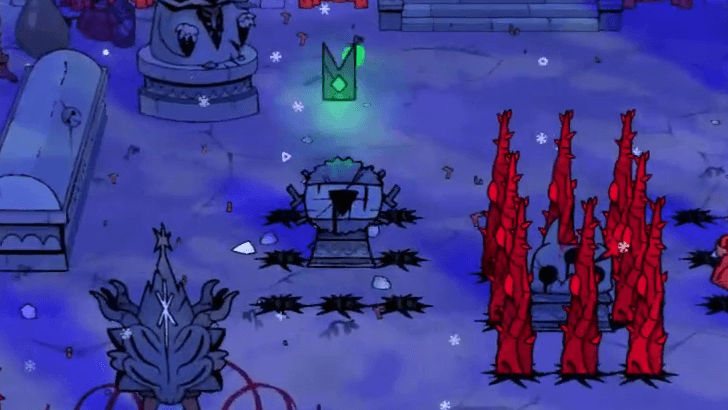 Place the green crown on the effigy on the left resembling Leshy, which should have a green marking on its head. |
| 14 | 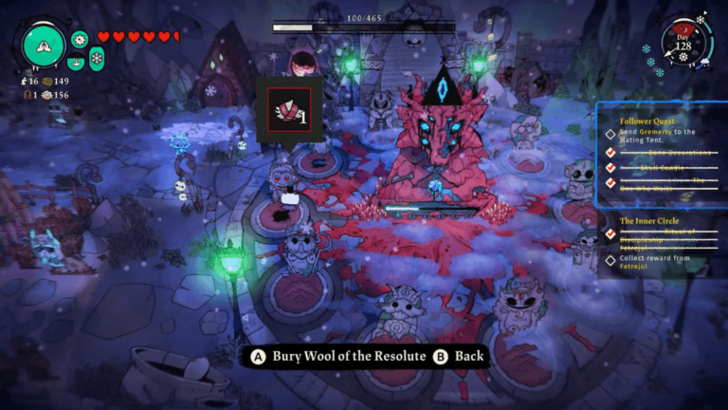 Obtain the Wool of the Resolute, then return to your cult. Bury the Wool in the grave of Sariel the Resolute. You can leave an offering of 40 Wool on Sariel's grave in order to get the Fleece of the Resolute. |
| 15 | 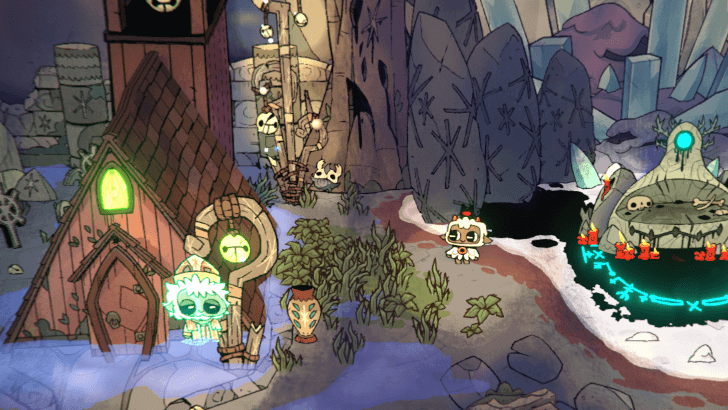 Rebuild Sariel's building using 10 Pure Yewbark. This unlocks his quest board and will also allow the Wool of the Knight to spawn near the building. This can be buried at the grave of the Unnamed Knight in order to obtain the Fleece of the Knight. |
Unlocking the Path to Yngya
| # | Step-by-Step Guide |
|---|---|
| 1 | 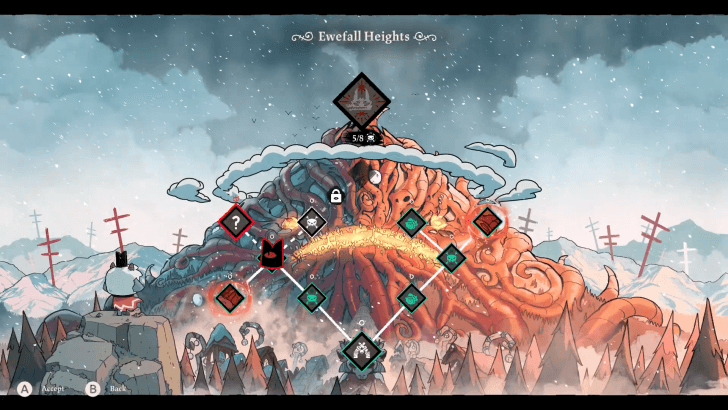 Take some time to do maintenance in your cult. Attend to the needs of your Followers. Then, once you're ready head back up the mountain and go to Ewefall. Let's first take on the ? tile on the leftmost section of Ewefall before we continue on the main path. |
| 2 |  Go through the dungeon like normal. At the very end of the dungeon, there will be no Lost Souls or disciple Wool. Instead, you will face the boss Witness Ipos. |
| 3 | 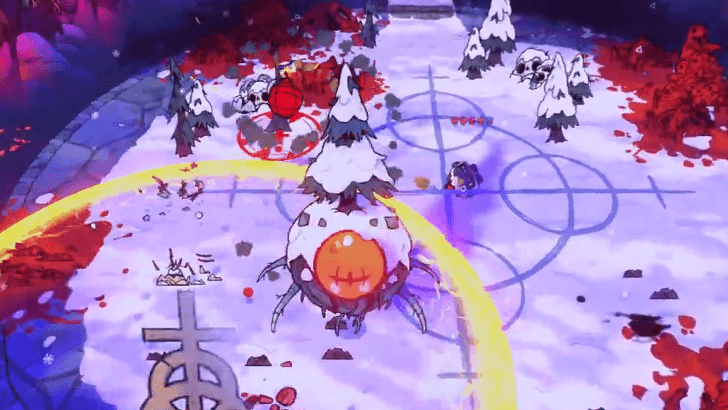 Pay attention to the markings on the floor indicating where Witness Ipos's attacks will land. Make sure to avoid these, and dodge out of the way of the expanding area of effect of the Charged Shard bombs. |
| 4 | Witness Ipos will also summon other monsters to fight for him. Defeat them all to bring Witness Ipos back onto the field. Attack Witness Ipos whenever you find an opening until he's been defeated. |
| 5 | 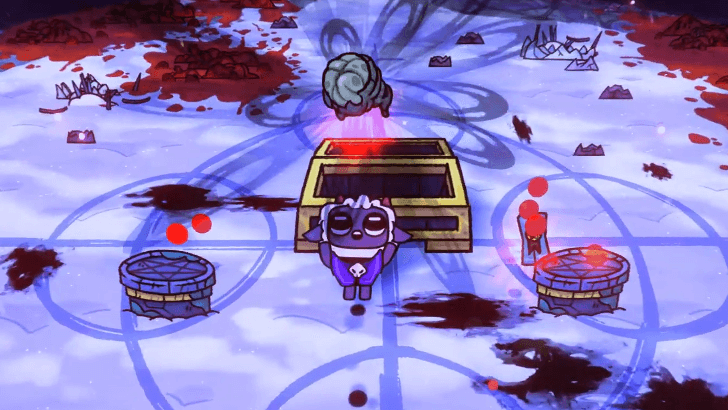 Defeating Witness Ipos will reward you with the Witness Ipos Follower and the Rotten Eye of the Witness. Pick this up in addition to your other rewards, then return to your cult. |
| 6 | 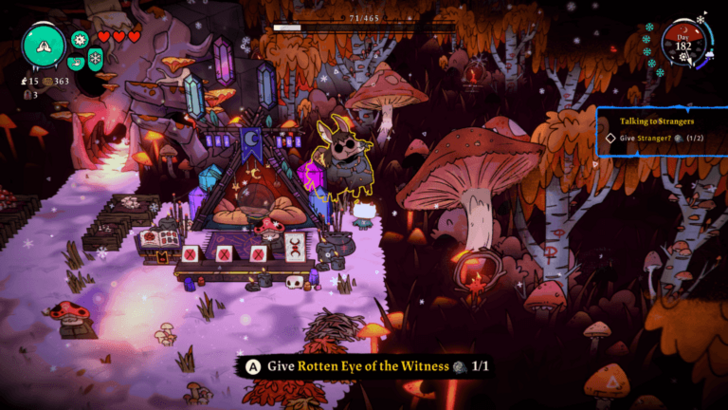 Unlike regular Eyes of the Witness, Plimbo will not accept the Rotten versions. Instead, you will have to go to Spore Grotto and interact with the horse "Stranger?" NPC hiding behind a mushroom on the right corner of the room. They will give you the Idol of the Immolated Relic in exchange. |
| 7 | 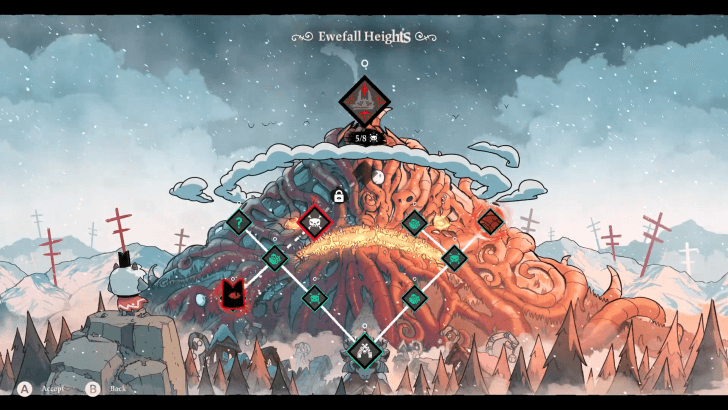 Go back to Ewefall, and select the skull icon for Ewefall Heights. |
| 8 | 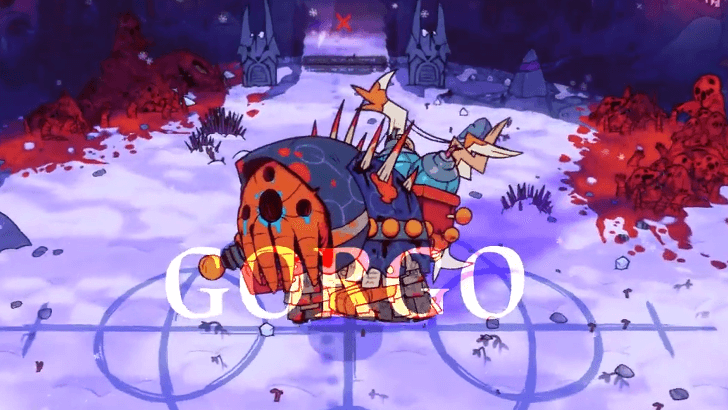 Battle your way through the dungeon. At the end, you will encounter the boss Gorgo. When Gorgo summons the large Charged Shards that rotate around him, smash them to stun him. |
| 9 |  Upon defeating Gorgo, you can send him to your cult as a Follower. Four Lost Souls will also be available for you to bring back. As you head back to the cult, Gofernon will tell you that he's opened up the final locked path to Ygnya in The Rot. |
| 10 | Return to your cult, and offer the Lost Souls to Yngya. |
Heading to Marchosias
| # | Step-by-Step Guide |
|---|---|
| 1 | 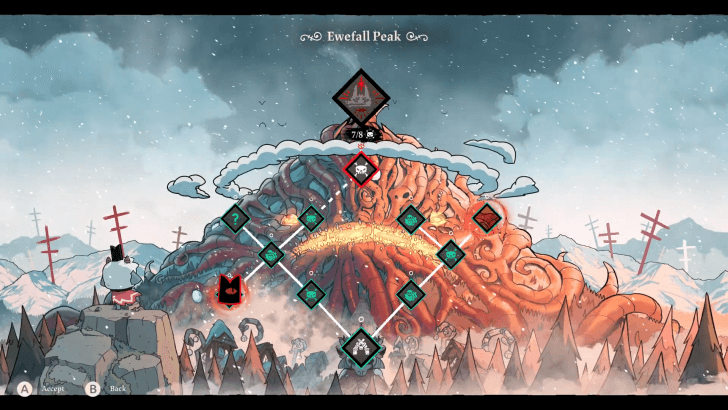 Before you can go to Yngya at The Rot, you must first battle Marchosias at Ewefall. There should be just one tile standing between you and Marchosias, so head to the skull tile at Ewefall Peak. |
| 2 | 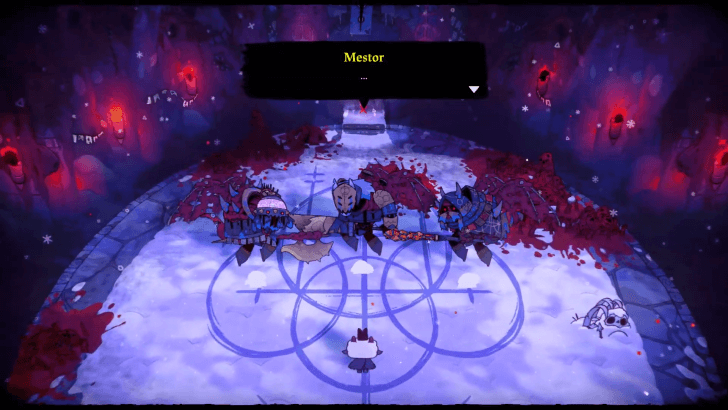 Make your way through the dungeon. At the end of it, you will face three bosses: Mestor, Festor, and Nestor. ▶︎ All Woolhaven DLC Bosses |
| 3 | 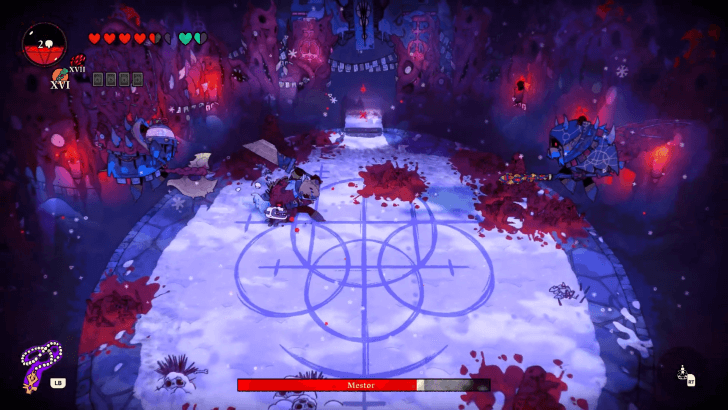 To deal with these three, attack whomever is on the ground. They will take turns flying and landing to attack, and you can only hit those who are on the ground. |
| 4 | 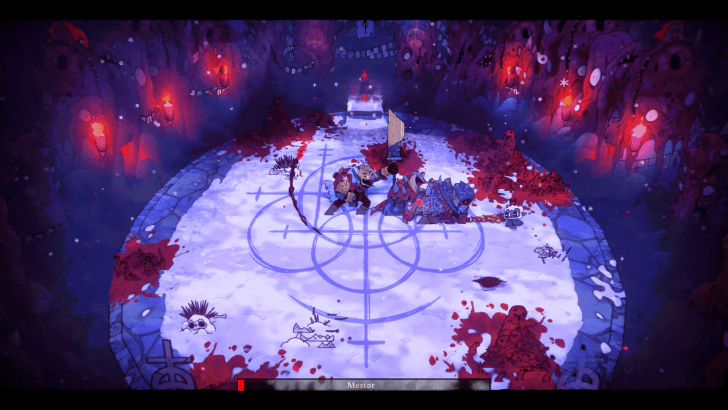 Once their HP bar is almost depleted, Mestor will restore their HP and all three will attack you at the same time. It's best to target one boss at a time, since they will fall once their individual HP is depleted. |
| 5 | 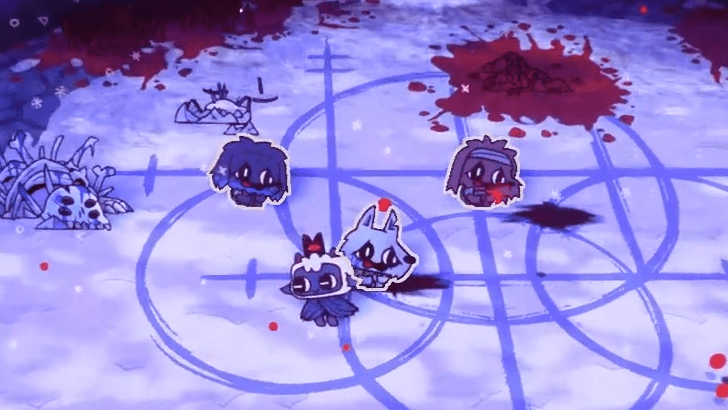 Upon defeating the three bosses, you will be able to recruit all three of them. Convert these new Followers, obtain your rewards, and call the Lost Souls in the next room home before returning to your cult. |
| 6 | Return the Lost Souls to Yngya. Then, once you're ready, head back up to Ewefall. |
| 7 | 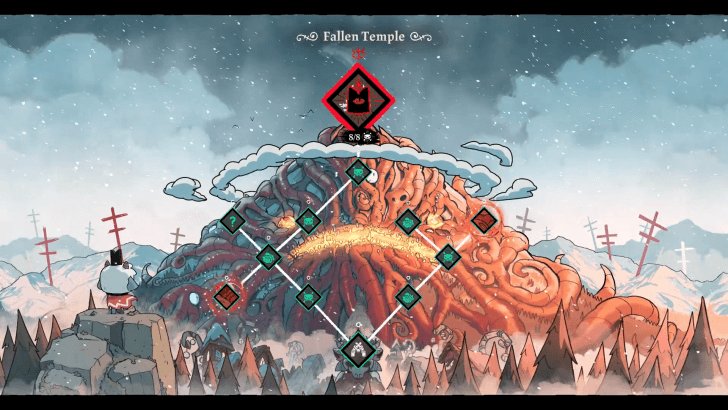 Enter the Fallen Temple at the very top of Ewefall. |
| 8 |  Three random weapons and three random curses will be available before you. Approach them to see their effects, then choose the weapon and curse that you're most comfortable with. It is recommended to have a ranged option for either your curse or your weapon for this fight, but it's not required if there isn't one you like among the selection. |
| 9 |  Make your way up the stairs to start the Marchosias boss fight. Marchosias will rot and will have a wide range, so try your best to dodge his attacks. Marchosias's attacks become faster and harder to dodge in the late game. Still try to dodge his attacks, but focus on dealing a lot of damage at this stage to try and finish the battle quickly. ▶︎ Marchosias Boss Guide |
| 10 |  Once Marchosias has been defeated, you will be given the option to either Indoctrinate or Sacrifice Marchosias. Regardless of which option you choose, Marchosias cannot become a Follower and will always die. ▶︎ All Marchosias Choices |
| 11 | 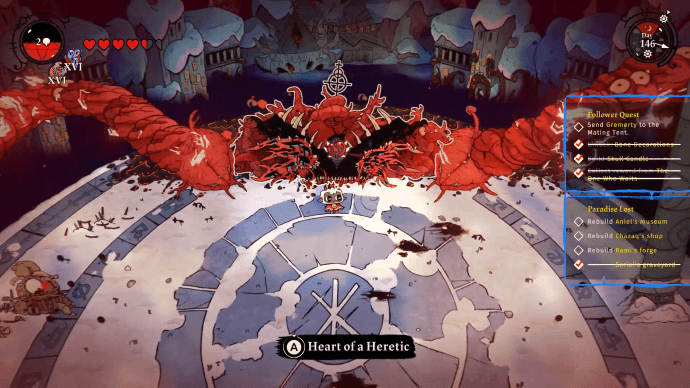 Marchosias will drop a lot of food items (likely the food he took from you), the Heart of a Heretic, and the Marchosias Trophy decoration. When exchanged at the Temple, the Heart of a Heretic will unlock the ability to turn off the winter feature in your game. |
| 12 | 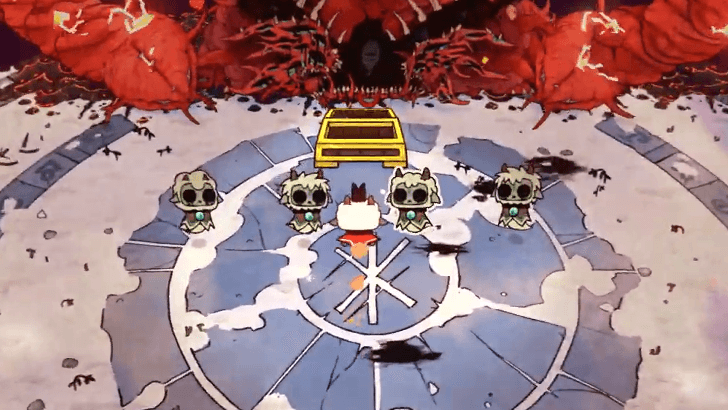 Four Lost Souls will appear once you've obtained all of the rewards. Interact with them to call them home, then return to your cult. |
| 13 | 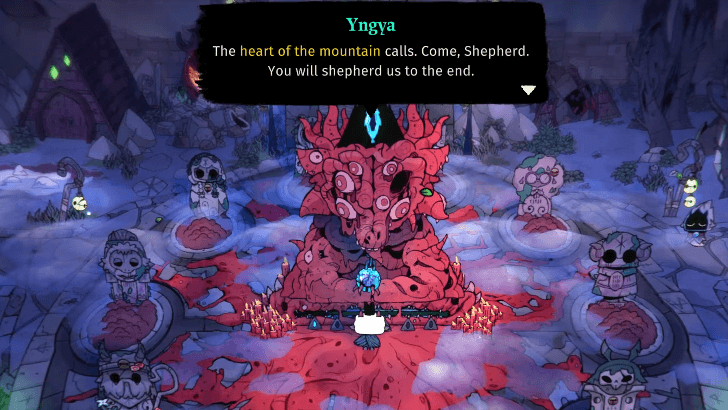 Return the Lost Souls to Yngya at Woolhaven, and Yngya will allow you to reach her at The Rot. |
Cult of the Lamb Related Guides

Lands of the Old Faith: All Dungeons
All Woolhaven Dungeons
| Woolhaven Dungeons | |
|---|---|
| Ewefall | The Rot |
Comment
Author
Ewefall Walkthrough, Bosses, and Resources
Rankings
- We could not find the message board you were looking for.
Gaming News


Popular Games

Genshin Impact Walkthrough & Guides Wiki
Umamusume: Pretty Derby Walkthrough & Guides Wiki
Crimson Desert Walkthrough & Guides Wiki
Monster Hunter Stories 3: Twisted Reflection Walkthrough & Guides Wiki
Honkai: Star Rail Walkthrough & Guides Wiki
Pokemon Pokopia Walkthrough & Guides Wiki
The Seven Deadly Sins: Origin Walkthrough & Guides Wiki
Wuthering Waves Walkthrough & Guides Wiki
Zenless Zone Zero Walkthrough & Guides Wiki
Arknights: Endfield Walkthrough & Guides Wiki


Recommended Games
Fire Emblem Heroes (FEH) Walkthrough & Guides Wiki
Diablo 4: Vessel of Hatred Walkthrough & Guides Wiki
Cyberpunk 2077: Ultimate Edition Walkthrough & Guides Wiki
Yu-Gi-Oh! Master Duel Walkthrough & Guides Wiki
Super Smash Bros. Ultimate Walkthrough & Guides Wiki
Pokemon Brilliant Diamond and Shining Pearl (BDSP) Walkthrough & Guides Wiki
Elden Ring Shadow of the Erdtree Walkthrough & Guides Wiki
Monster Hunter World Walkthrough & Guides Wiki
The Legend of Zelda: Tears of the Kingdom Walkthrough & Guides Wiki
Persona 3 Reload Walkthrough & Guides Wiki


All rights reserved
Copyright Massive Monster 2022. All Rights Reserved.
The copyrights of videos of games used in our content and other intellectual property rights belong to the provider of the game.
The contents we provide on this site were created personally by members of the Game8 editorial department.
We refuse the right to reuse or repost content taken without our permission such as data or images to other sites.