How to Beat Last Time Loop Guardians
★ Trending: Puzzles | Codes | Jeljin | NG+
☆ Starting out? Check our Beginner's Guide
┗ Combat | Builds | Weapons | Tier List
★ Walkthrough | Good Deeds | Mysteries
┗ Timeloops | Vaults | NPCs | Enemies
☆ Missables | Game Length | Trophies
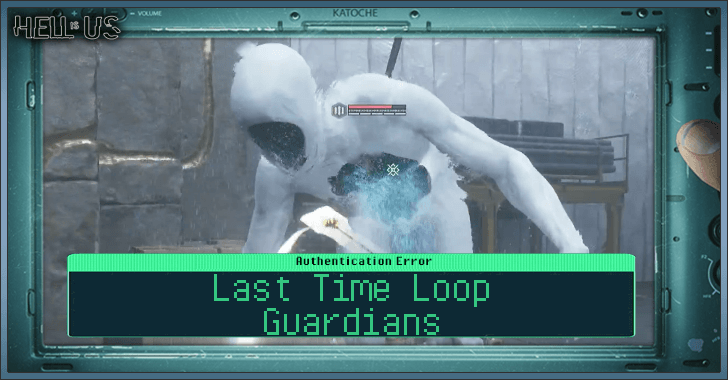
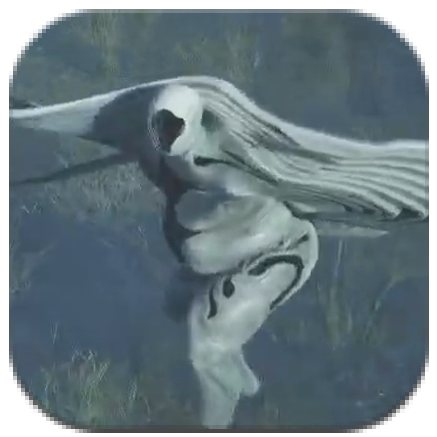
Last Time Loop Guardians are unique enemies in Hell is Us. Check out Last Time Loop Guardian's weaknesses and resistances, their location, and tips on how to beat them here!
List of Contents
How to Beat Last Time Loop Guardians
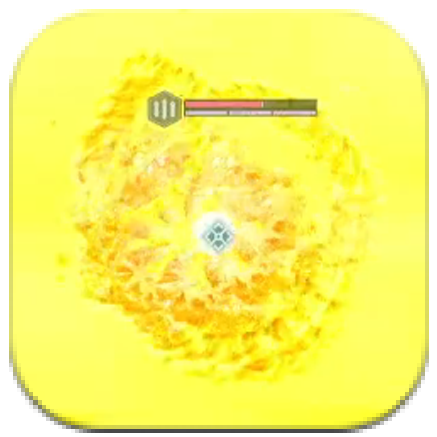
Reserve Skills For Higher Grade Hazes
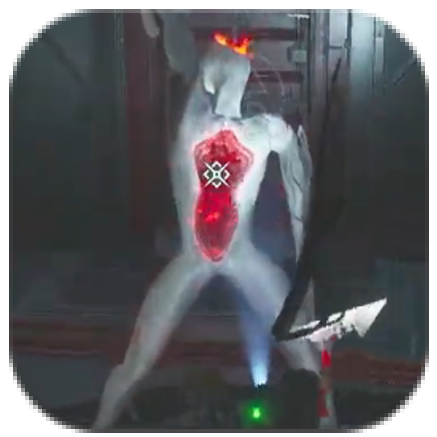
The Last Time Loop Guardians will summon Hazes according to their type. When the Haze gets defeated, you're free to damage the Guardian. It will summon another Haze of a higher grade once it takes enough damage.
When the Guardian summons a grade one Haze, you can just use basic attacks to defeat it. Save your skills for when the Guardian summons higher grade Hazes so you can burst them down and kill them easily.
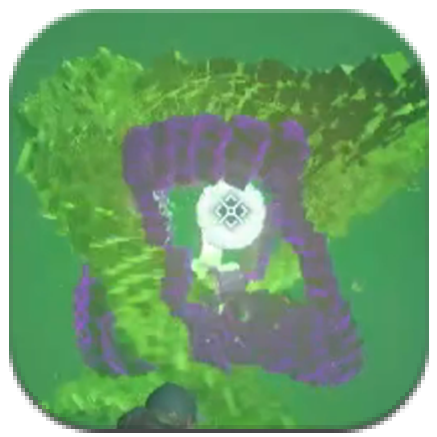
Use Abilities To Distract The Guardian
You can also use your abilities or the drone to distract or stun the Guardian while you're fighting its Hazes. This allows you to freely focus your attacks on the Haze while the Guardian is distracted or stunned.
As shown, you can use a Delirium Glyph to temporarily stagger the Guardian and then attack the Haze.
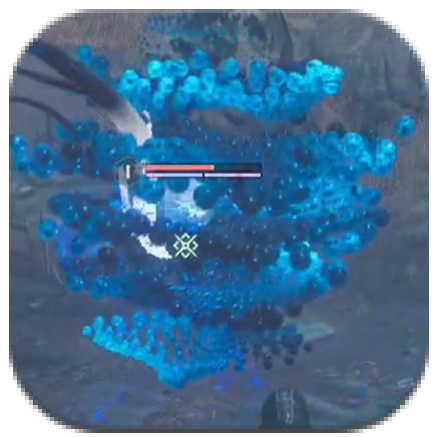
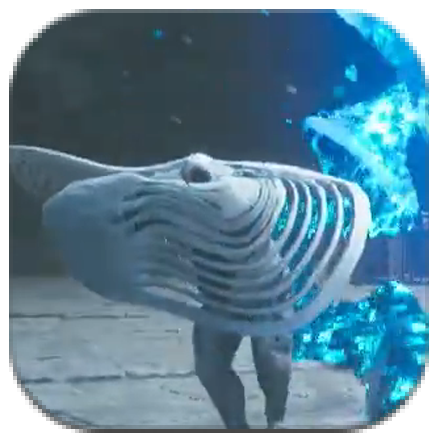
Watch Out For Terror Guardian's Lymbic Zone
The Terror Time Loop Guardian is the hardest one to fight since it has an attack where it summons a white area around the arena. Moving or staying in this area will deal heavy damage to you, so stay out of it.
You can stay in the middle and guard against the Guardian's incoming attacks to avoid the Lymbic Zone.
Last Time Loop Guardians Movesets
| Jump to a section below! | ||
|---|---|---|
| Last Time Loop Guardian | Terror Guardian Hazes | Grief Guardian Hazes |
| Ecstacy Guardian Hazes | Rage Guardian Hazes | - |
Last Time Loop Guardian Attack Patterns
| Moves | Details |
|---|---|
| Strike and Slams |
The Guardian will strike you with its arm and then stomp twice, followed by a slam at the end. You can parry this attack when the Guardian turns red between its stomps. It is also interruptible, so use your abilities for an advantage. |
| Rock Throw |
The Guardian will crouch to the ground and throw rocks at you. You can parry this attack when it turns red before crouching down. Alternatively, if there's enough space between you and the Guardian, this attack can be easily dodged. |
| Single Swing |
The Guardian will swing at you once with its arm. This attack can easily be guarded against or dodged. |
| Single Slam |
The Guardian will slam the ground with both its arms, leaving behind a white area that damages you. You can dodge or guard against the initial strike but quickly move away from the white area to avoid taking damage. |
Terror Guardian Hazes Attack Patterns
| Moves | Details |
|---|---|
| Purple Walls |
The Haze of Terror will summons purple walls continuously to deal damage. You can guard against this until the wall attacks cease if you're in close range. If there's enough space, just dodge to any direction since the walls are pretty small. |
| Purple Cube Waves |
The Haze of Terror will summon two waves of purple cubes and throw them at you. With enough space between you and the Haze, you should be able to dodge the attack pretty easily. |
| Summon White Area |
The Guardian will stand still and summon a huge white area that deals damage if you step in it. It will also do continuous stomps. The area in the middle of the arena will be clear, so stay in the middle while guarding against the Guardian's stomps. |
| Single Slam |
The Haze of Terror will form a limb and then slam towards you. You can just guard against this attack. |
Grief Guardian Hazes Attack Patterns
| Moves | Details |
|---|---|
| Piercing Lunge |
The Haze of Grief will form two limbs and do a piercing lunge with both limbs. Once it pauses and raises both limbs, guard or dodge to any direction to avoid the lunge. |
| Heavy Strike |
The Haze of Grief will form a limb and then strike quickly. You can guard against this attack or dodge once you see it raising its limb slightly. |
| Headbutt |
The Haze of Grief will lean its body forward and headbutt you. Once it leans forward, it will glow. Guard or dodge to any direction during this moment to avoid the incoming headbutt attack. |
| Multiple Slams |
The Haze of Grief will raise one of its limbs in the air and perform multiple slams right after. Once you see the Haze raise its limb, back away immediately to avoid the incoming slams. |
Ecstasy Guardian Hazes Attack Patterns
| Moves | Details |
|---|---|
| Double Ground Slam |
The Guardian will stand still then slam the ground twice. This affects the whole arena, so don't try to dodge it. Once you see it stand still, guard to block the first slam then guard again for the second. |
| Fan Attack |
The Haze of Ecstacy will transform into a fan and lunge twice at you. You can guard both attacks or dodge the first one to make enough space for the second attack to whiff. |
| Beam |
The Haze of Ecstacy will emit orange color and fire a beam of light after. Once you see it change color, guard or dodge to a direction to avoid the beam attack. |
| Red Ball |
The Haze of Ecstacy will form a red ball and throw it at you. You can interrupt this while the ball circles around it. |
Rage Guardian Hazes Attack Patterns
| Moves | Details |
|---|---|
| Multiple Thorns |
The Haze of Rage will float into the air and unleash multiple thorn attacks towards you. This attack deals heavy damage so immediately move away once you see the Haze rise into the air. |
| Spike Walls |
The Haze of Rage forms two spike walls and then slams them together towards you. Once you see it form the two spike walls, back away and wait for it to do the attack before going back in to avoid taking damage. |
| Wave of Spikes |
The Haze of Rage launches a wave of spikes towards you that lingers for a few seconds. When you see the Haze stand still, dodge to any direction or back away to avoid taking damage. Wait until the spikes disappear before going back in for attacks. |
| Area of Spikes |
The Guardian's hands will start glowing with red crystals and summon an area of spikes that pulse and deal continuous damage. Guard against each pulse until the attack finishes to avoid taking damage. |
Last Time Loop Guardians Location
Located in The Golden Eye

The Last Time Loop Guardians can be encountered in The Golden Eye of Act 3. After collecting all four orbs on the altars in the chamber, take the Prism and go through the door to get to the arena.
Hell is Us Related Guides
All Common Enemies
 Primeval Primeval |
 Artillery Walker Artillery Walker |
 Feral Walker Feral Walker |
|||||||||
 Protector Walker Protector Walker |
 Negator Negator |
 Hazes Hazes |
All Bosses and Unique Encounters
 Terror Haze Boss Terror Haze Boss |
 Ecstasy Haze Boss Ecstasy Haze Boss |
 Last Time Loop Guardians Last Time Loop Guardians |
 Terror Feral Walker Terror Feral Walker |
 Rage Feral Walker Rage Feral Walker |
 Grief Protector Grief Protector |
Comment
Author

How to Beat Last Time Loop Guardians
Rankings
- We could not find the message board you were looking for.
Gaming News


![Monster Hunter Stories 3 Review [First Impressions] | Simply Rejuvenating](https://img.game8.co/4438641/2a31b7702bd70e78ec8efd24661dacda.jpeg/thumb)
![The Seven Deadly Sins: Origin [First Impressions] | A Promising Start](https://img.game8.co/4440581/584e0bfb87908f12c4eab6e846eb1afd.png/thumb)

Popular Games

Genshin Impact Walkthrough & Guides Wiki
Umamusume: Pretty Derby Walkthrough & Guides Wiki
Pokemon Pokopia Walkthrough & Guides Wiki
Honkai: Star Rail Walkthrough & Guides Wiki
Monster Hunter Stories 3: Twisted Reflection Walkthrough & Guides Wiki
Arknights: Endfield Walkthrough & Guides Wiki
Wuthering Waves Walkthrough & Guides Wiki
Zenless Zone Zero Walkthrough & Guides Wiki
Pokemon TCG Pocket (PTCGP) Strategies & Guides Wiki
Monster Hunter Wilds Walkthrough & Guides Wiki


Recommended Games
Diablo 4: Vessel of Hatred Walkthrough & Guides Wiki
Cyberpunk 2077: Ultimate Edition Walkthrough & Guides Wiki
Fire Emblem Heroes (FEH) Walkthrough & Guides Wiki
Yu-Gi-Oh! Master Duel Walkthrough & Guides Wiki
Super Smash Bros. Ultimate Walkthrough & Guides Wiki
Pokemon Brilliant Diamond and Shining Pearl (BDSP) Walkthrough & Guides Wiki
Elden Ring Shadow of the Erdtree Walkthrough & Guides Wiki
Monster Hunter World Walkthrough & Guides Wiki
The Legend of Zelda: Tears of the Kingdom Walkthrough & Guides Wiki
Persona 3 Reload Walkthrough & Guides Wiki


All rights reserved
©2025 – Nacon
The copyrights of videos of games used in our content and other intellectual property rights belong to the provider of the game.
The contents we provide on this site were created personally by members of the Game8 editorial department.
We refuse the right to reuse or repost content taken without our permission such as data or images to other sites.