Searching for the Keystone of Terror Walkthrough
★ Trending: Puzzles | Codes | Jeljin | NG+
☆ Starting out? Check our Beginner's Guide
┗ Combat | Builds | Weapons | Tier List
★ Walkthrough | Good Deeds | Mysteries
┗ Timeloops | Vaults | NPCs | Enemies
☆ Missables | Game Length | Trophies
This is a walkthrough for Searching for the Keystone of Terror, an investigation in Hell is Us. Learn more about how to complete Searching for the Keystone of Terror, its points of interest, and its Exploration points here!
| ◄ Previous Mission | Next Mission ▶ |
|---|---|
| Family Legacy | Searching for the Keystone of Rage |
List of Contents
Searching for the Keystone of Terror Walkthrough
| Searching for the Keystone of Terror Objectives |
|---|
|
1. Learn About the Symbol of the Screaming Face 2. Find Clues About the Blood Queen in Marastan 3. Reach the Blood Queen's Tomb 4. Enter the Tower in Senedra Forest 5. Close the Timeloop and Defeat the Boss |
1. Learn About the Symbol of the Screaming Face
| Objectives | |
|---|---|
| 1.1 | 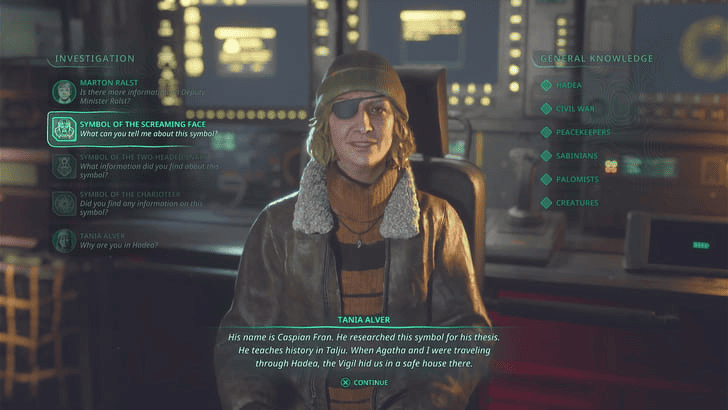 Return to the APC and ask Tania about the Symbol of the Screaming Face. Then, travel to Talju via the Navigation Computer. This triggers a cutscene that transports you to Talju once it ends. |
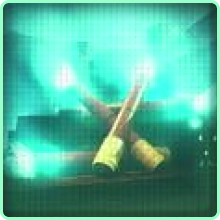
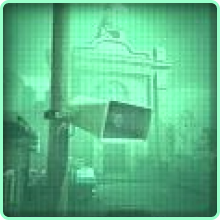
| 1.2 |  Look up to see Boro's autoshop sign and head towards it, which is located past the abandoned cars in front of the APC. Be careful of the enemies along the way, especially the Protector at the end with a Haze of Grief! |
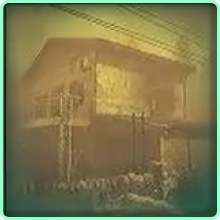
| 1.3 | 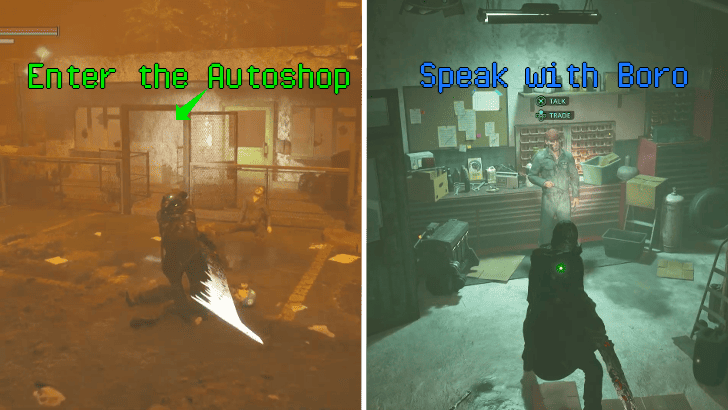 Enter the building next to the gas station and head to the room on the right to reach the garage. Talk to the Sheltered Mechanic, Boro Juven, and ask him about Caspian Fran's whereabouts to receive the Map of Talju. |
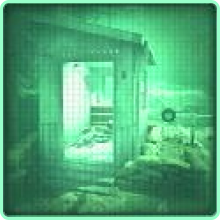
| 1.4 | 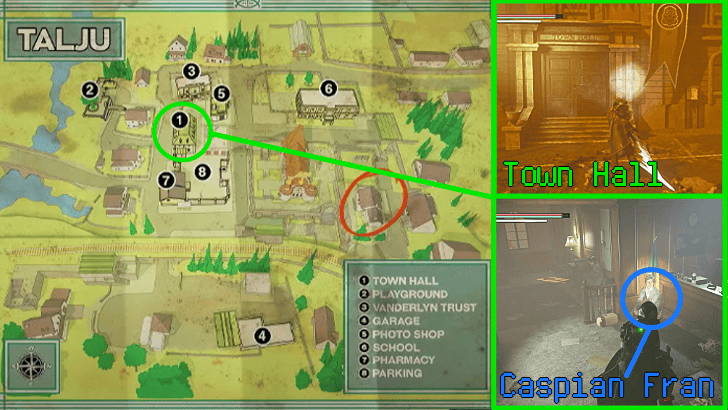 Return to the APC and follow the path behind it toward the town. Take the left path and continue forward until you reach the Town Hall. Pick up the Signal Flares near the sandbag blockade, as they are used to complete the Good Deed, A Light in the Dark. Enter the Town Hall and talk to Caspian near the front desk, ask him about the symbol, and he will ask you to look for his son, giving you a Walkie-Talkie after the conversation ends. |
| 1.5 | 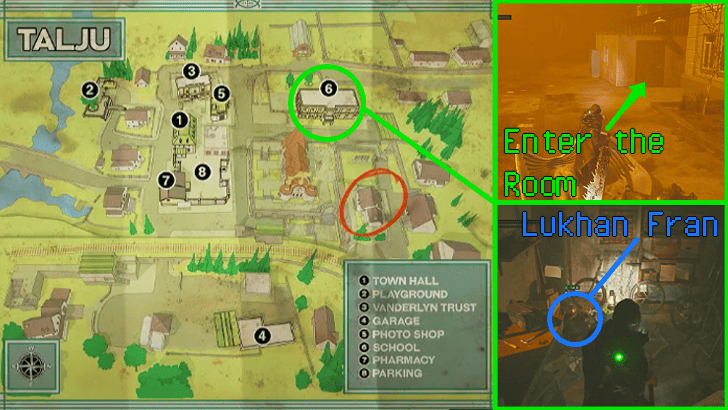 Backtrack to the town entrance, then take the path to the right and head north. Turn right again to reach the school. Lukhan can be found in the maintenance room behind the school. Be sure to exhaust all dialogue options to learn more about him. |
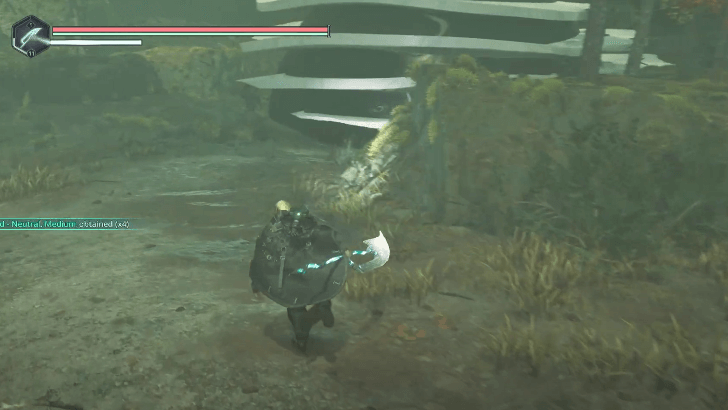
| 1.6 | 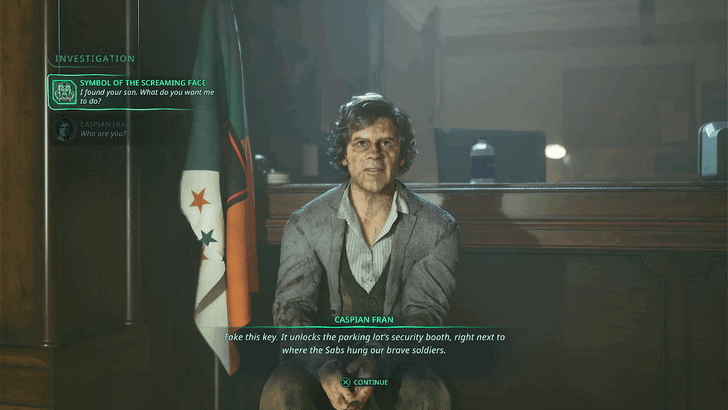 Trade the Walkie-Talkie with Lukhan, which triggers a cutscene. Return to the Town Hall and speak with Caspian. Ask him about the symbol to receive the Parking Lot Key and your next objective, which is to defeat the enemy in the parking lot for them to access the ON truck and escape. Before you defeat the enemy in the parking lot, complete A Light in the Dark to get Boro out of the way in the Autoshop. On the table behind him you can find a photo of Sam the dog. This will complete his data in the Investigation Chart. |
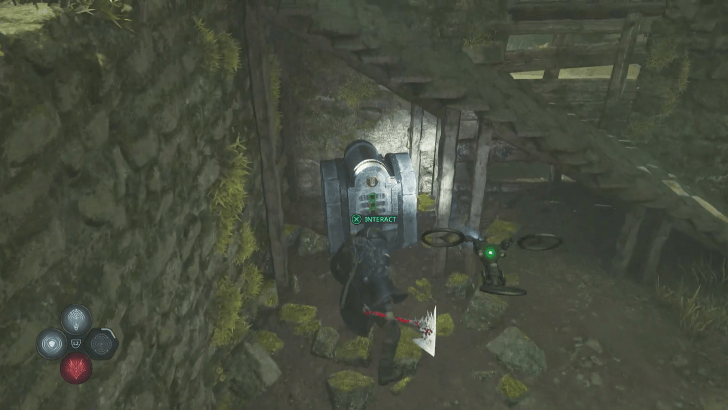
| 1.7 | 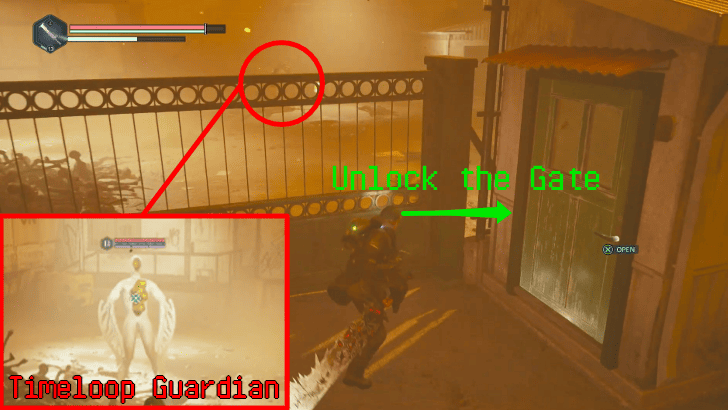 From the Town Hall, head to the western area of the town to reach the parking lot booth, the same path you took earlier to reach the school but before the structure with the hanging bodies. Use the key to open the booth and gain access to the computer inside. Open the gate using the computer. Head inside and defeat the Timeloop Guardian. |
| 1.8 |  Use the back entrance to unlock a shortcut back to the Town Hall, then talk to Caspian and ask him about the Symbol of the Screaming Face and the Blood Queen, which unlocks the ability to travel to Marastan via the APC. |
| ▲Return To Objectives List▲ | |
2. Find Clues About the Blood Queen in Marastan
| Objectives | |
|---|---|
| 2.1 |  Travel to Marastan and look up to see a church. Follow the upward path past the enemies to reach the town. Turn left after passing the Soaring Eagle restaurant and reach the Marastan Market building. |
| 2.2 | 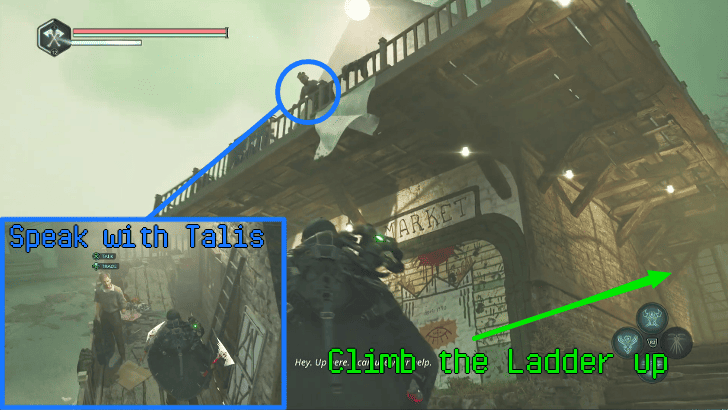 Climb the ladder and speak with Talis on the Marastan Market balcony to receive the task of eliminating the enemies near the church entrance. He will also give you the Key - Statue. Once you have it, head to the church. |
| 2.3 | 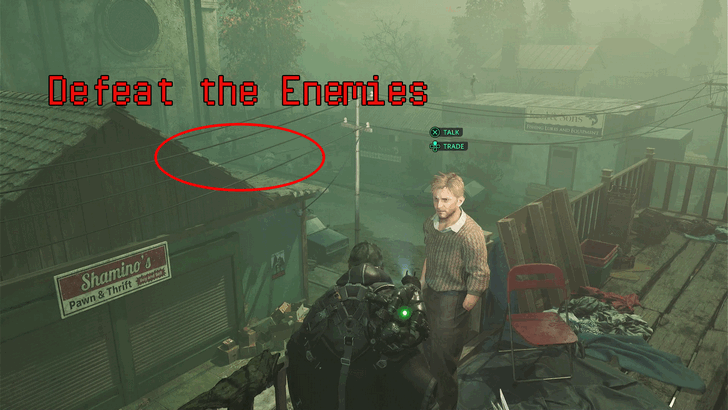 Defeat the enemies near the church, ignoring the Artillery Walker on the rooftop of Keol and Sons' shop, as it's not part of the task. Return to Talis to afterward to receive the gate key to the Blood Queen's Observatory. |
| 2.4 | 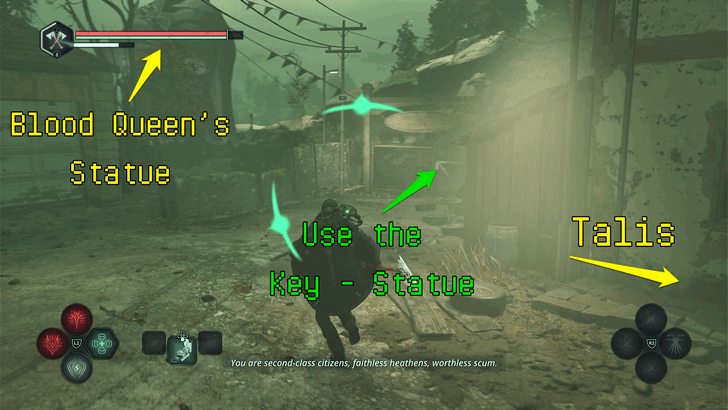 From Maristan Market, head south past a couple of establishments and houses, then turn right. You should see the Blood Queen's statue at this point. Use the key you got from Talis to unlock the gate to the Blood Queen's Observatory. Defeat the Protector along the path and enter the cave system. |
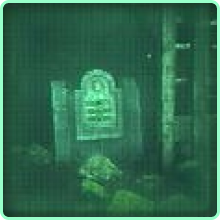
| 2.5 | 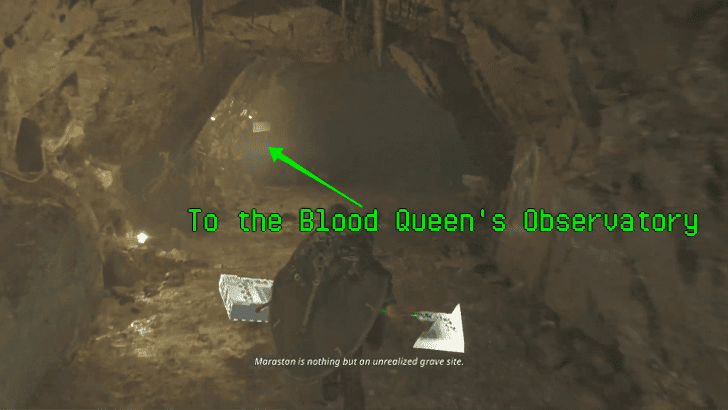 Upon entering the cave, take the left path to head towards the statue. Continue following the path with lights until you reach a ladder. |
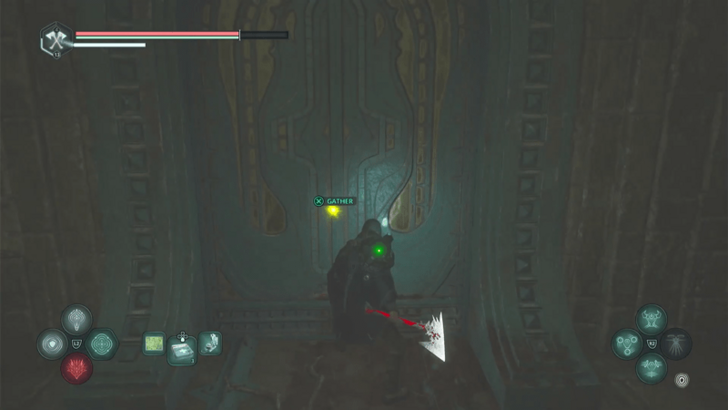
| 2.6 | 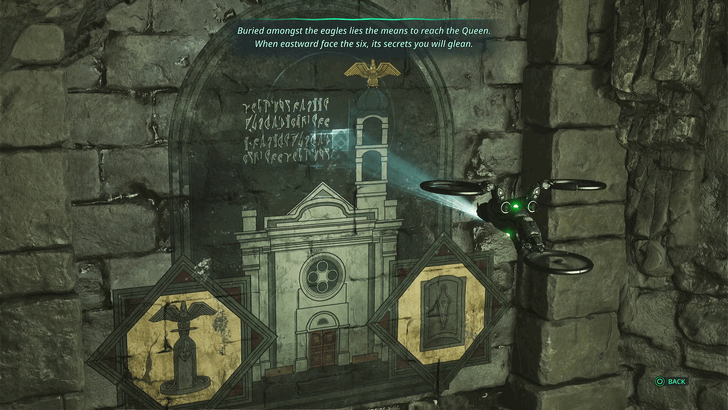 Climb up and reach the Blood Queen's hollowed head. Scan the mural to receive clues for the next puzzle. Interact with the telescope to find out where the Blood Queen's tomb is. |
| ▲Return To Objectives List▲ | |
3. Reach the Blood Queen's Tomb
| Objectives | |
|---|---|
| 3.1 | 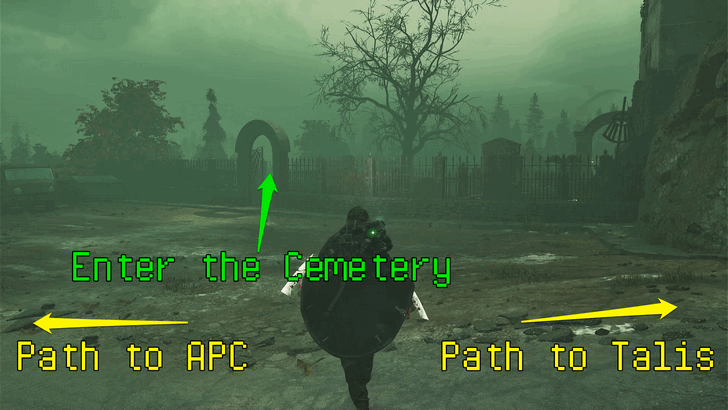 Return to the town and follow the same path you took from the APC. Head downhill and turn right to reach the cemetery, where you should see the six eagle statues inside. |
| 3.2 | 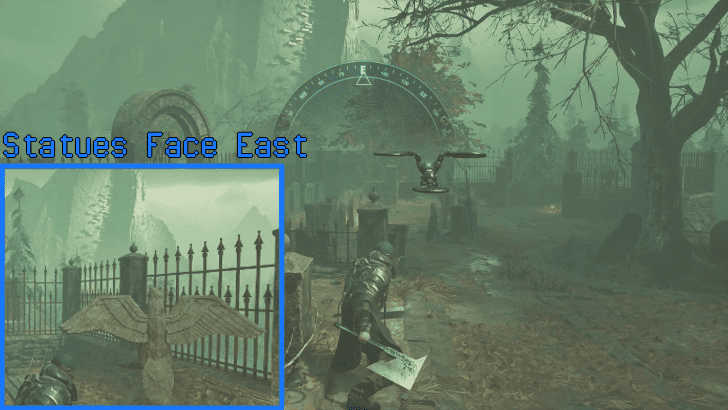 Solve the eagle statue puzzle by rotating all six statues to face east. Use your compass to check if they are facing the correct direction. Completing the puzzle opens up a way down to the tomb. ▶︎ Marastan Graveyard Eagle Puzzle Guide |
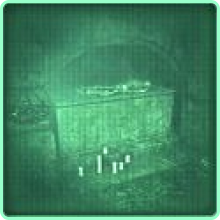
| 3.3 |  Enter the tomb and go through a series of narrow hallways and collect the Square, Oblique, and Angled Tablet Fragments. Travel back to the APC via the save point near the entrance to the tomb. |
| 3.4 | 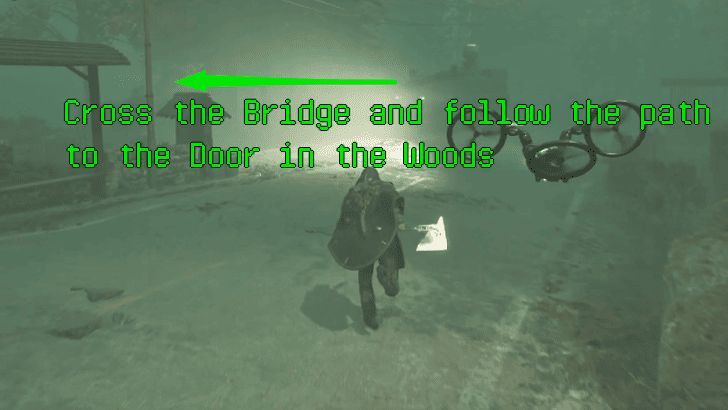 From the APC, take the path on the right towards the Hanging Coffins touristic site. Cross the wooden bridge and take the path on the right upon reaching an intersection. Continue forward past a couple of enemies until you reach the huge structure. Defeat the Protector Walker within the area. |
| 3.5 | To activate the puzzle, insert the matching Tablet Fragments into the pillars. Align the symbols on the pillars with the corresponding symbols on the floor to open the entrance. Defeat the enemy that comes out and proceed inside. ▶︎ Marastan Door Puzzle Guide |
| 3.6 | 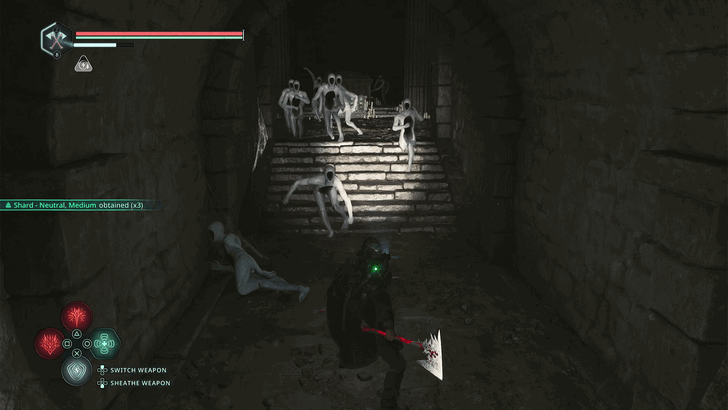 Inside, you will encounter a horde of enemies. Lure them toward the entrance, where the narrow path will allow you to defeat them one by one and avoid being overwhelmed from all sides. |
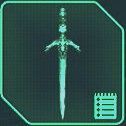
| 3.7 | 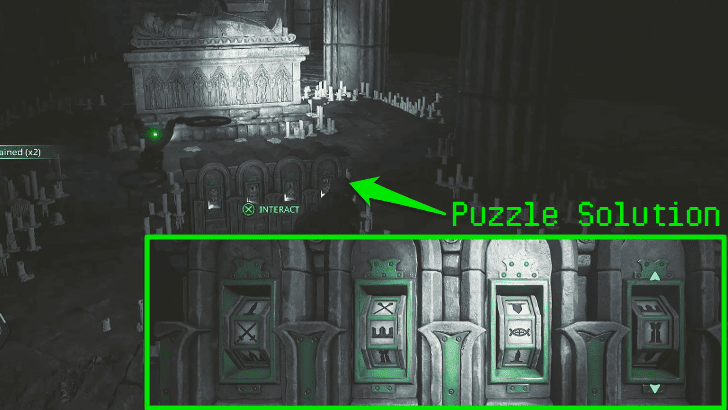 Afterwards, solve the puzzle inside by revealing the symbols: Crossed Swords, Crown, Eye, and Tower. Note that the Crown and the Tower each have two different designs. Check the murals to determine which symbol you should input. Collect the Sword of the Blood Queen and the Queen's Eulogy afterwards. ▶︎ Marastan Symbols Puzzle Guide |
| ▲Return To Objectives List▲ | |
4. Enter the Tower in Senedra Forest
| Objectives | |
|---|---|
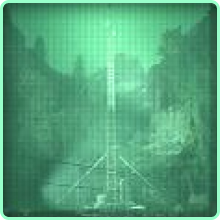
| 4.1 | 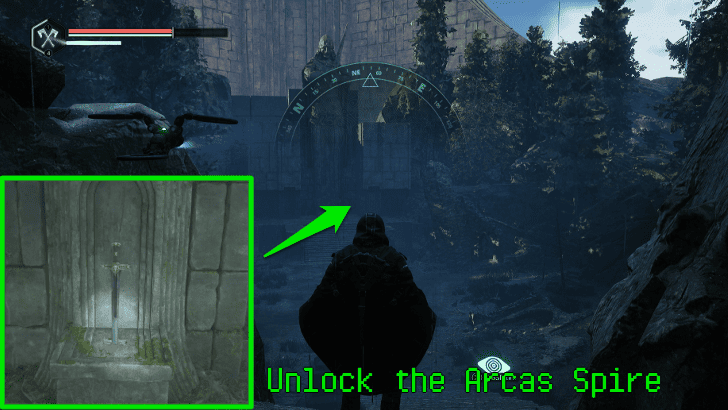 Return to the APC and travel to Senedra Forest. Make sure to have consumables that restore your HP, as you'll need it to solve puzzles inside the tower. Go to the northeast most area of the map to where the the tower, also known as Arcas Spire, is. Insert the Sword of the Blood Queen to unlock the entrance. |
| 4.2 | 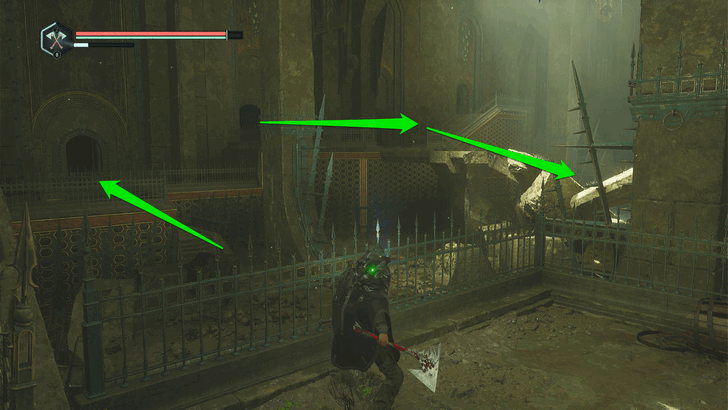 Follow the path and exit through the door that leads to an open area. Go to the other side to reach another door and go outside through the other exit. Head down past the ruined pillar and continue forward past the Protector Walker to reach a flight of stairs. |
| 4.3 |  Upon reaching the top of the stairs, fight through the huge horde of enemies until you reach to the wooden scaffolding. Turn right and you'll find a save point along the path. |
| 4.4 | 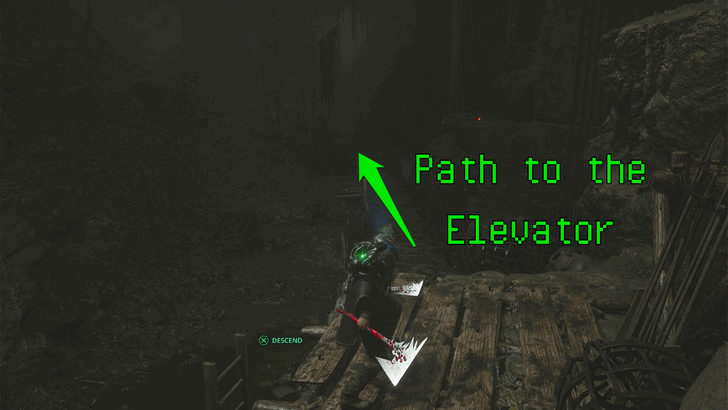 Past the save point, enter the room with a ladder leading downward. Continue descending through the ladders until you reach an area filled with skeletons. Follow the wooden path from there until you arrive at the elevator. |
| 4.5 |  Head down the stairs to the right and follow the path while defeating enemies along the way. At the end of the path is a skeleton with the Gear - Spire. |
| 4.6 | 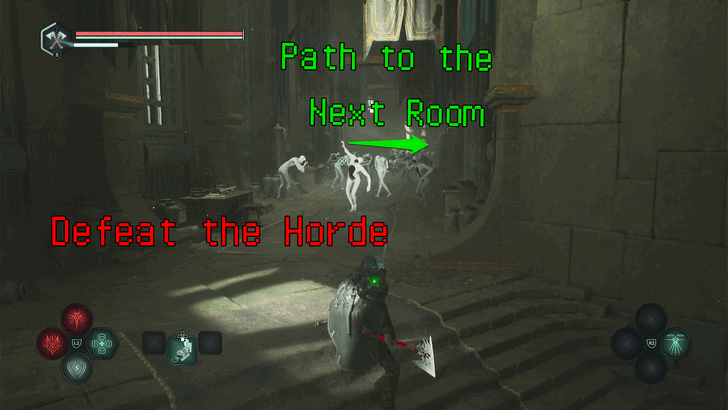 Go back to the elevator and insert the gear in the mechanism below the elevator. Head up and pull the lever to move up the tower. Follow the path and fight through the hordes of enemies in the hallway. At the end of the hallway, turn right and enter another room with another horde. |
| 4.7 | 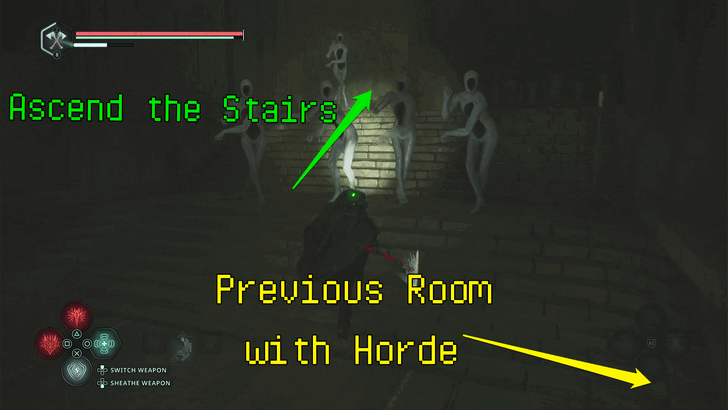 Face east and climb the spiral staircase and exit to a wooden scaffolding. Head down to reach the grand staircase, and go up, where another horde awaits. Be careful of the hole in the grand staircase, as there are enemies if you fall into it! |
| 4.8 | 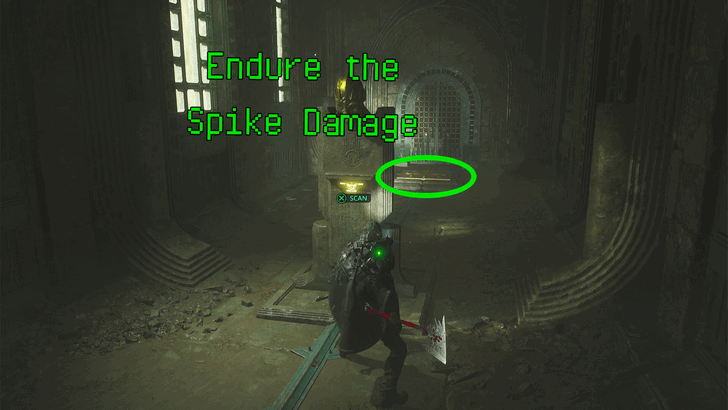 Enter the next room and pass through the door to reach a hallway with a pressure plate past the pillar with the Blood Queen's head sculpture. Step on it and endure the spike damage to proceed to the next area. |
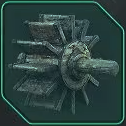
| 4.9 | In the next room, head up the stairs in front of you and turn left. Pass through the open room beside the stairs and exit to the other end. Then, step on the pressure plate labeled A1. Quickly return to the main area through the open passage behind you, and pull the Tower lever. ▶︎ Arcas Spire Tile Puzzle Guide |
| 4.10 | Next, head up the stairs in front of you and turn right. Step on the prssure plate labeled B2 located just beside the stairs. This opens up a room filled with enemies, but ignore them and quickly return to the main area through the open passage by the stairs, and pull the Skull lever. |
| 4.11 | Finally, head up the stairs in front of you and turn right, then climb the stairs up to the topmost floor. Step on the prssure plate labeled F4. Quickly head down the stairs all the way to the area with the levers while dodging the enemies.Pull the Twin-headed Snake lever, and this will open the door on the top-most floor. |
| 4.12 |  Proceed through the room and climb a long flight of stairs until you reach the top with a save point. Interact with the door to open it and receive an Advanced Lymbic Forging book and an Amine Prism - Theta and Rho. |
| ▲Return To Objectives List▲ | |
5. Close the Timeloop and Defeat the Boss
| Objectives | |
|---|---|
| 5.1 | 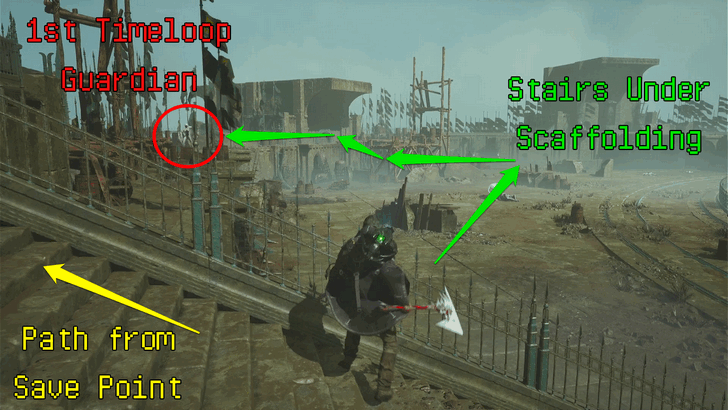 Exit outside through the door and you'll find a timeloop in the middle of the area. Head down the stairs and turn left, hug the wall until you see some stairs near the wooden scaffolding. Once you're on the second level, return towards the large staircase from where you exited, and defeat the Timeloop Guardian nearby. |
| 5.2 | 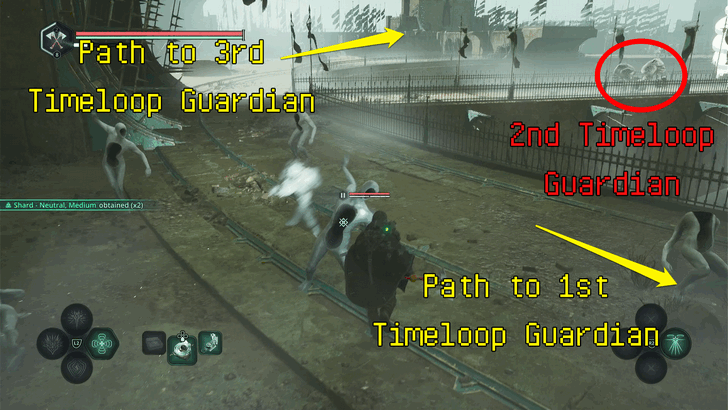 Head down and proceed onwards until you reach the other side of the timeloop. Defeat the Timeloop Guardian near the timeloop itself to progress. |
| 5.3 | 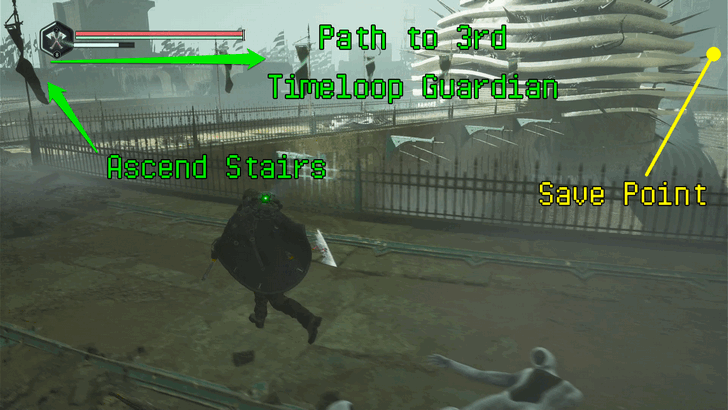 From the timeloop, proceed forward towards the staircase you exited out of while hugging the wall. Climb the stairs by the wall to reach the second level, and proceed forward until you reach the Artillery Walker Timeloop Guardian by the wooden scaffolding. Defeat it and head to the timeloop. |
| 5.4 | 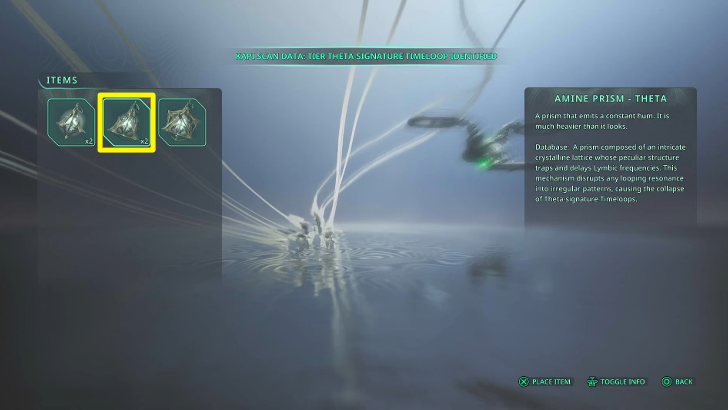 Enter the timeloop and interact with your drone. Select the Amine Prism - Theta, obtained from the previous door, to place it into the timeloop to collapse it. |
| 5.5 |  Interact with the gold item on the ground and face the Terror Haze Boss. Defeat the Boss by approaching the glitching pillars to make it spawn. Once it does, attack until its health bar is depleted. Afterwards, you’ll obtain the Keystone of Terror. Return to the APC and ask Tania about the Symbol of the Charioteer to unlock Jeljin. |
| ▲Return To Objectives List▲ | |
Searching for the Keystone of Terror Full Exploration List
| Jump to a Section! | |
|---|---|
| List of All Items | Timeloops |
| Amine Prisms | Mysteries and Good Deeds |
List of All Items
Talju
| ✔️ | Item | How to Get |
|---|---|---|
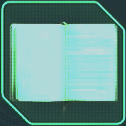 Diary - Crazy Week Diary - Crazy Week
|
Found of a corpse in Talju. Used as a hint for Supply Chain Mystery. |
|
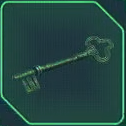
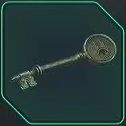
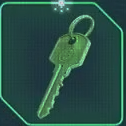 Key - Parking Lot Key - Parking Lot
|
Obtained from Caspian Fran in Talju. Used to open the parking lot in Talju. |
|
 Key - Pharmacy Key - Pharmacy
|
Found on a corpse in Talju. Used to open the Pharmacy. |
|
 Lymbic Rod - Rage, Z Lymbic Rod - Rage, Z
|
Found inside Caspian's Basement in Talju. Used to open Lymbic Chests and Lymbic Doors. |
|
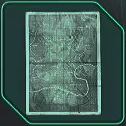 Map - Senedra Mountains Map - Senedra Mountains
|
Found on a corpse in Talju. Give to the Trapped Woman in Senedra Forest. |
|
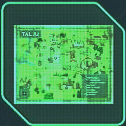 Map of Talju Map of Talju
|
Obtained from the first NPC you talk to in Talju. Used to locate the house of Caspian Fran. |
|
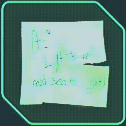
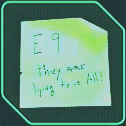 Note - Cryptic Clue (Talju) Note - Cryptic Clue (Talju)
|
Found in a bus stop in Talju. |
|
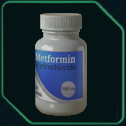 Pill Bottle - Metformin Pill Bottle - Metformin
|
Found in a medical clinic in Talju. Given to the stranded ON Soldier in Acasa Western Monument. |
|
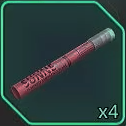 Signal Flare x4 Signal Flare x4
|
Found in a military supply creat in Talju. Given to the four survivors in Talju. |
|
 Symbol - Flame Symbol - Flame
|
Found on a corpse in Talju. Open locked bunker in Senedra Forest. |
|
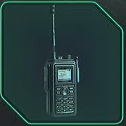 Walkie-Talkie Walkie-Talkie
|
Obtained from Caspian Fran in Talju. Give to Lukhan Fran. |
|
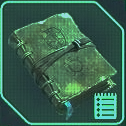 Worn Journal Worn Journal
|
Found in Talju. |
|
 Zoom Lens Zoom Lens
|
Found in a destroyed photography shop in Talju. Deliver to the Hermit in Acasa Marshes. |
Marastan
| ✔️ | Item | How to Get |
|---|---|---|
 Children's Book Children's Book
|
Found in Marastan. |
|
 Citizen's File Citizen's File
|
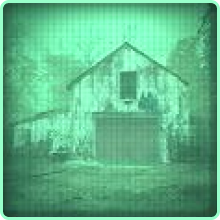
Found in a shed in Marastan. |
|
 Fuse Fuse
|
Found in a mechanic's shop in Marastan. Used to restore power to the houses in Marastan. |
|
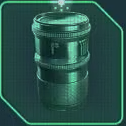
 Gas Canister Gas Canister
|
Found at the docks below the town of Marastan. Trade with Korio Della in Marastan. |
|
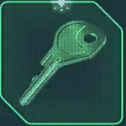
 Key - Antenna Key - Antenna
|
Found on a soldier's corpse in the Marastan woods. Used to shutdown the transmissioned message. |
|
 Key - Marastan Church Key - Marastan Church
|
Found in the caves near the town of Marastan Used in the Graveyard at Marastan. |
|
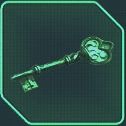
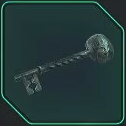
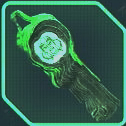
 Key - Statue Key - Statue
|
Obtained from the caretaker, Talis Arthiom, in Marastan. Used to access the Blood Queen observatory. |
|
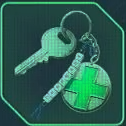
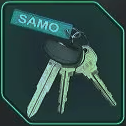 Keys - Samo's Spare Keys - Samo's Spare
|
Found in the general store in Marastan. Give to Dorno Grisibel. |
|
 Letter - Getting Out Letter - Getting Out
|
Found in an abandoned house in Marastan. Hints at where to bring the Urn in Marastan |
|
 Lymbic Rod - Rage, Y Lymbic Rod - Rage, Y
|
Found in Marastan. Used to open Lymbic Chests and Lymbic Doors. |
|
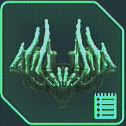
 Lymbic Rod - Terror, V Lymbic Rod - Terror, V
|
Found in the crypts below Marastan. Used to open Lymbic Chests and Lymbic Doors. |
|
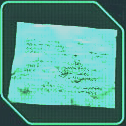
 Note - Cryptic Clue (Marastan) Note - Cryptic Clue (Marastan)
|
Found in the market of Marastan. |
|
 Note - Tithe Note - Tithe
|
Found in the caves near the town of Marastan. |
|
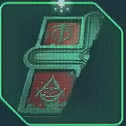
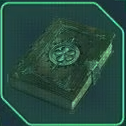
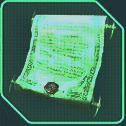 Scroll - Queen's Eulogy Scroll - Queen's Eulogy
|
Found in the sarcophagus of the Blood Queen in Marastan. Used to unlock the Arcas Spire |
|
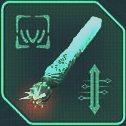
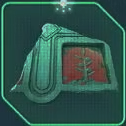
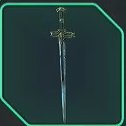 Sword of the Blood Queen Sword of the Blood Queen
|
Found in the sarcophagus of the Blood Queen in Marastan. Unlocks the Arcas Spire in Senedra Forest. |
|
 Tablet Fragment - Angled Tablet Fragment - Angled
|
Found in the crypts below Marastan. Unlock the Door in Marastan Ruins. |
|
 Tablet Fragment - Oblique Tablet Fragment - Oblique
|
Found in the crypts below Marastan. Unlock the Door in Marastan Ruins. |
|
 Tablet Fragment - Square Tablet Fragment - Square
|
Found in the crypts below Marastan. Unlock the Door in Marastan Ruins. |
|
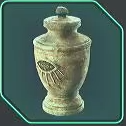 Urn Urn
|
Found in Marastan. Show to Edwyn Tosan. |
|
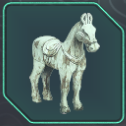 Wooden Horse Figurine Wooden Horse Figurine
|
Found inside the catacombs in the secret underground area, at a Marastan graveyard. |
Arcas Spire
| ✔️ | Item | How to Get |
|---|---|---|
 Advanced Lymbic Forging Advanced Lymbic Forging
|
Found in the Arcas Spire. Give to Victor Gaz. |
|
 Crown of Bones Crown of Bones
|
Found at the top of Arcas Spire. |
|
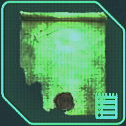 Faded Parchment Faded Parchment
|
Found in Arcas Spire. |
|
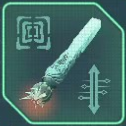
 Gear - Spire Gear - Spire
|
Found in the Arcas Spire. Used to complete the elevator in the Arcas Spire. |
|
 Jewelled Dagger Jewelled Dagger
|
Found in Arcas Spire. |
|
 Key - Brass Key - Brass
|
Found in the Arcas Spire. Used to open a locked chest in Arcas Spire. |
|
 Key - Rusted (Arcas Spire Timeloop) Key - Rusted (Arcas Spire Timeloop)
|
Found on a balcony of the Arcas Spire. Used to open a door in the Arcas Spire. |
|
 Key - Rusted (Arcas Spire) Key - Rusted (Arcas Spire)
|
Found in the Arcas Spire. Unlocks a Chest in Arcas Spire |
|
 Keystone of Terror Keystone of Terror
|
Found inside the Arcas Spire Used in the Lymbic Forge. |
|
 Scroll - General Aarlon's Note Scroll - General Aarlon's Note
|
Found atop the Arcas Spire. Used to locate the Keystone of Terror |
Timeloops
Talju
| ✔️ | Timeloop | How to Solve |
|---|---|---|
 On the Outskirts of the City |
The Talju Timeloop is on the outskirts of the city and in the soil. Go through a broken wall and follow the tracks on the soil until you see the Timeloop. |
Marastan
| ✔️ | Timeloop | How to Solve |
|---|---|---|
 Ruins outside the town |
The Marastan Timeloop is inside of some ruins outside the town. Cross the water and you'll see some ruins with moss. Go through the ruins and you'll see the Timeloop. |
Arcas Spire
| ✔️ | Timeloop | How to Solve |
|---|---|---|
 In the Arena |
The Timeloop in Arcas Spire is located in the middle of the big arena. You'll see flags on the path to it. The Timeloop itself has a huge size so it's easy to see as well. |
All Timeloop and Guardian Locations
Amine Prisms
Marastan
| ✔️ | Amine Prism | How to Get |
|---|---|---|
 Amine Prism - Theta |
You can obtain this prism by opening the Lymbic Chest at Marastan Ruins.
►Lymbic Chest - Marastan Ruins Walkthrough and Rewards |
Arcas Spire
| ✔️ | Amine Prism | How to Get |
|---|---|---|
 Amine Prism - Theta |
You can pick this prism up at the very top of the Arcas Spire. | |
| Amine Prism - Rho |
You can pick this prism up at the very top of the Arcas Spire. |
Mysteries and Good Deeds
Talju
| ✔️ | Items | How to Get |
|---|---|---|
 A Light in the Dark A Light in the Dark
|
Type:
Good Deed
Location: Talju Deadline: Before the evaucation truck leaves Talju. |
|
 History Lesson History Lesson
|
Type:
Mysteries
Location: Talju |
|
 Supply Chain Supply Chain
|
Type:
Mysteries
Location: Talju |
|
 The Hideout The Hideout
|
Type:
Mysteries
Location: Talju |
Marastan
| ✔️ | Items | How to Get |
|---|---|---|
 Ill-Gotten Gains Ill-Gotten Gains
|
Type:
Mysteries
Location: Marastan |
|
 Insult to Injury Insult to Injury
|
Type:
Good Deed
Location: Marastan |
|
 Locked Down Locked Down
|
Type:
Mysteries
Location: Marastan |
|
 Lymbic Chest - Marastan Ruins Lymbic Chest - Marastan Ruins
|
Type:
Mysteries
Location: Marastan |
|
 Power to the People Power to the People
|
Type:
Good Deed
Location: Marastan |
|
 Samo's Keys Samo's Keys
|
Type:
Good Deed
Location: Marastan |
|
 The Depths of Hell The Depths of Hell
|
Type:
Good Deed
Location: Marastan |
Arcas Spire
| ✔️ | Items | How to Get |
|---|---|---|
 Emergency Stash Emergency Stash
|
Type:
Mysteries
Location: Arcas Spire |
|
 Righteous Protection Righteous Protection
|
Type:
Mysteries
Location: Arcas Spire |
Searching for the Keystone of Terror Points of Interest
| Required Investigations Points | |
|---|---|
 Investigate the clues about the Symbol of the Screaming Face |
|
| Points of Interest | Locations |
|
NPC: |
Key Items: |
Hell is Us Related Guides
Story Walkthrough and List of All Acts
Complete Walkthrough
| Act | Investigation |
|---|---|
| Act 1 | • Family Reunion
• Family Legacy |
| Act 2 | • Searching for the Keystone of Terror
• Searching for the Keystone of Rage • Searching for the Keystone of Ecstasy |
| Act 3 | • Into the Unknown |
100% Location Completion Guide
| List of All Locations | ||
|---|---|---|
| Senedra Forest | Acasa Marshes | Vyssa Hills |
| Lake Cynon | Lethe - National Library | Plains of Mist |
| Marastan | Talju | Lethe - Ministry of Cultural Primacy |
| Jeljin | Auriga Museum | - |
| Sub-Areas | ||
| Watcher's Nest | ||
Comment
Author

Searching for the Keystone of Terror Walkthrough
Rankings
- We could not find the message board you were looking for.
Gaming News


![Monster Hunter Stories 3 Review [First Impressions] | Simply Rejuvenating](https://img.game8.co/4438641/2a31b7702bd70e78ec8efd24661dacda.jpeg/thumb)
![The Seven Deadly Sins: Origin [First Impressions] | A Promising Start](https://img.game8.co/4440581/584e0bfb87908f12c4eab6e846eb1afd.png/thumb)

Popular Games

Genshin Impact Walkthrough & Guides Wiki
Umamusume: Pretty Derby Walkthrough & Guides Wiki
Pokemon Pokopia Walkthrough & Guides Wiki
Honkai: Star Rail Walkthrough & Guides Wiki
Monster Hunter Stories 3: Twisted Reflection Walkthrough & Guides Wiki
Arknights: Endfield Walkthrough & Guides Wiki
Wuthering Waves Walkthrough & Guides Wiki
Zenless Zone Zero Walkthrough & Guides Wiki
Pokemon TCG Pocket (PTCGP) Strategies & Guides Wiki
Monster Hunter Wilds Walkthrough & Guides Wiki


Recommended Games
Diablo 4: Vessel of Hatred Walkthrough & Guides Wiki
Cyberpunk 2077: Ultimate Edition Walkthrough & Guides Wiki
Fire Emblem Heroes (FEH) Walkthrough & Guides Wiki
Yu-Gi-Oh! Master Duel Walkthrough & Guides Wiki
Super Smash Bros. Ultimate Walkthrough & Guides Wiki
Pokemon Brilliant Diamond and Shining Pearl (BDSP) Walkthrough & Guides Wiki
Elden Ring Shadow of the Erdtree Walkthrough & Guides Wiki
Monster Hunter World Walkthrough & Guides Wiki
The Legend of Zelda: Tears of the Kingdom Walkthrough & Guides Wiki
Persona 3 Reload Walkthrough & Guides Wiki


All rights reserved
©2025 – Nacon
The copyrights of videos of games used in our content and other intellectual property rights belong to the provider of the game.
The contents we provide on this site were created personally by members of the Game8 editorial department.
We refuse the right to reuse or repost content taken without our permission such as data or images to other sites.