Best Builds and Loadouts
★ Check out our Beginner's Guide!
☆ How to Beat All Enemies: Automatons | Terminids
★ Equip the Best Builds and Loadouts!
┗Best Weapons | Best Armor | Best Stratagems
☆ Upgrades: Ship Modules | Boosters

These are the Best Builds and Loadouts you can equip in Helldivers 2. See a more detailed look at builds for certain enemy types, including recommended armor perks, weapons, and even stratagem loadouts for different mission types and gameplay preferences.
List of Contents
Best Builds and Loadouts
| Jump to a Loadout! | ||
|---|---|---|
| Beginner | Exterminator | Robo-Killer |
| Support | Pyromaniac | Elite Killer |
| Endgame | ||
Beginner Build
| Armor | Passive | |
|---|---|---|
|
|
Fortified Further reduces recoil when crouching or prone by 30%. Provides 50% resistance to explosive damage. |
|
| Primary | Secondary | Grenade |
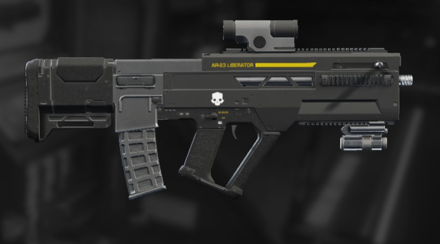 AR-23 Liberator AR-23 Liberator
|
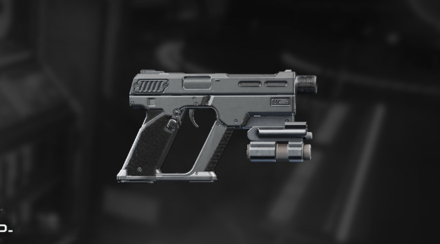 P-2 Peacemaker P-2 Peacemaker
|
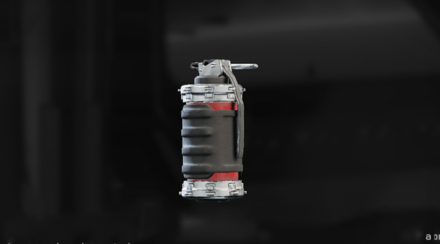 G-12 High Explosive G-12 High Explosive
|
| Booster and Effect |
Hellpod Space Optimization Helldivers come out of the Hellpod fully stocked on Ammo, Grenades, and Stims. |
|
| Stratagems | ||
The Beginner Build focuses on the first weapons, armor, and stratagems that are available to you as you begin your fight as a Helldiver. On your first few runs, you will only have a couple of stratagems to choose from as you start.
This is inevitable since the first few runs are meant for you to farm Warbond Medals to buy better armor and weapons, and Requisition Slips to purchase more stratagems.
Exterminator Build
| Armor | Passive | |
|---|---|---|
|
|
Engineering Kit Further reduces recoil when crouching or prone by 30%. Increases initial inventory and holding capacity of grenades by +2. |
|
| Primary | Secondary | Grenade |
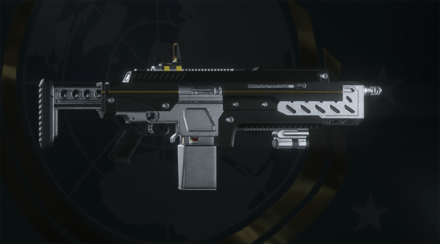 SG-225 Breaker SG-225 Breaker
|
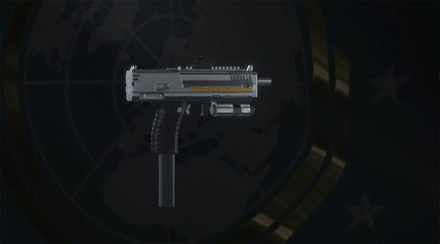 P-19 Redeemer P-19 Redeemer
|
 G-12 High Explosive G-12 High Explosive
|
| Booster and Effect |
Hellpod Space Optimization Helldivers come out of the Hellpod fully stocked on Ammo, Grenades, and Stims. |
|
| Stratagems | ||
The Exterminator Build is a Terminid-focused loadout that relies on having a larger stock of grenades to close bug breach holes. You need to be quick on your feet because Terminids can easily swarm a stationary shooter so choosing heavy armor is out of the question.
The SG-225 Breaker is undoubtedly one of the best weapons in the game, if not the best. Alternatively, you can purchase either the Stalwart or the Machine Gun as a support weapon, but we both know you'll use it as a primary weapon.
As for your stratagems, choose stratagems that deal wide AoE damage because bugs tend to cluster when swarming. Save up for the optimization booster to make sure you always deploy with full mags and grenades.
Robo-Killer
| Armor | Passive | |
|---|---|---|
|
|
Scout Markers placed on the map will generate radar scans every 2.0s. Reduces range at which enemies can detect the wearer by 30%. |
|
| Primary | Secondary | Grenade |
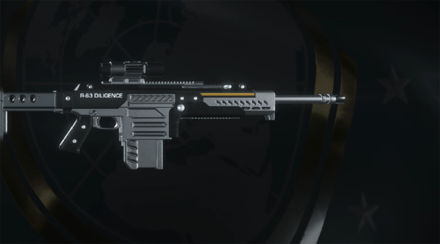 R-63 Diligence R-63 Diligence
|
 P-4 Senator P-4 Senator
|
 G-16 Impact G-16 Impact
|
| Booster and Effect |
UAV Recon Booster Increases all Helldiver's effective radar range. |
|
| Stratagems | ||
The Robo-Killer Build is an Automaton-focused loadout relying more on stealth and coordinated attacks from cover. Pair the Scout passive with the Recon Booster, and keep on dropping pins on the map to check for enemy forces in advance.
As for your weapons, we recommend the R-63 Diligence marksman rifle, for its higher damage output and long-range capability. We recommend the G-16 Impact grenade so that it detonates upon impact, rather than wait for a fuse to run out.
Against Automatons, having long-range advantage is a must. Use the Anti-Materiel Rifle to pick out stronger enemies like Berserkers before engaging the rest of the enemies. Likewise, we recommend long-range stratagems like the Mortar Sentry to take out multiple enemies before advancing.
Support Build
| Armor | Passive | |
|---|---|---|
|
|
Med-Kit Increases initial inventory and holding capacity of stims by +2. Increases stim effect duration by 2.0s. |
|
| Primary | Secondary | Grenade |
 SG-225 Breaker SG-225 Breaker
|
 P-19 Redeemer P-19 Redeemer
|
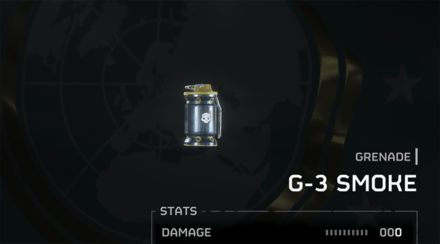 G-3 Smoke G-3 Smoke
|
| Booster and Effect |
Increased Reinforcement Budget Increases the number of available reinforcements. |
|
| Stratagems | ||
The Support Build is focused on providing cover fire for your squad, as well as serving as the unofficial “medic”. Your armor's passive allows you to carry 2 more stims so you can heal a teammate when their stims run out.
Your choice of weapons is also geared for long-range attacks. The Breaker shotgun is meant only if the enemy gets close to you, your primary weapon will be the Anti-Materiel Rifle shooting enemies from afar and covering your team as they complete objectives.
The stratagems chosen for this build also prioritize providing support rather than dealing damage. The Supply Pack is reserved for moments when your Resupply Stratagem is still on cooldown, and the Eagle Smoke Strike provides an easy getaway for your teammates.
Pyromaniac Build
| Armor | Passive | |
|---|---|---|
|
|
Democracy Protects 50% chance to not die when taking lethal damage. Prevents all damage from bleeding if chest hemorrhages. |
|
| Primary | Secondary | Grenade |
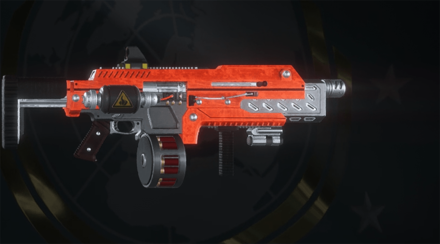 SG-225IE Breaker Incendiary SG-225IE Breaker Incendiary
|
 P-19 Redeemer P-19 Redeemer
|
 G-10 Incendiary G-10 Incendiary
|
| Booster and Effect |
Vitality Enhancement Allows all Helldivers to resist injury. |
|
| Stratagems | ||
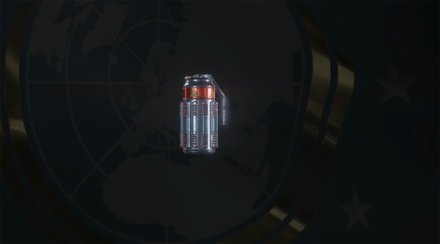
If you just want to watch the world burn, then this Pyromaniac Build is the one for you. This build focuses on dealing fire damage to obtain the Kill it with Fire! achievement. Swap out the SG-225 Breaker for its Incendiary variant, and make all your shots count. Throw your Incendiary Grenade at groups of bugs to deal damage over time. The Eagle Napalm Airstrike not only deals fire damage directly to its targets, but because it leaves a wall of fire, this lets you do some more damage to bugs who will try to cross the wall.
Kill it with Fire! Trophy
 Silver Silver
| Kill it with fire! |
|---|---|
| Kill 100 enemies using fire damage during the same mission.
・List of All Weapons |
It is recommended to choose an Eradicate Terminid Swarm with this loadout to clear this trophy.
Elite Killer
| Armor | Passive | |
|---|---|---|
|
|
Democracy Protects 50% chance to not die when taking lethal damage. Prevents all damage from bleeding if chest hemorrhages. |
|
| Primary | Secondary | Grenade |
 P-4 Senator P-4 Senator
|
 G-12 High Explosive G-12 High Explosive
|
|
| Booster and Effect |
Increased Reinforcement Budget Increases the number of available reinforcements. |
|
| Stratagems | ||
The Elite Killer build focuses on dealing with the Elite enemies in the game. Equip yourself with armor that possess the Democracy Protects because it gives you a 50% chance of survivng attacks that would normally automatically kill your helldiver.
As for weapons and stratagems, we opted to go for the weapons that deal the most damage. When it comes to mission types where you must eliminate the elite enemy to complete the mission, damage even at the expense of blowing up your teammates, is the only option.
Death is inevitable, especially when against Elite enemies. We recommend saving up Warbond Medals for the Reinforcement booster to increase the number of reinforcements you can deploy, ensuring higher chances of completing the mission.
Endgame Build
| Armor | Passive | |
|---|---|---|
|
|
Democracy Protects 50% chance to not die when taking lethal damage. Prevents all damage from bleeding if chest hemorrhages. |
|
| Primary | Secondary | Grenade |
 SG-225 Breaker SG-225 Breaker
|
 P-4 Senator P-4 Senator
|
 G-16 Impact G-16 Impact
|
| Booster and Effect |
Vitality Enhancement Allows all Helldivers to resist injury. |
|
| Stratagems | ||
This Endgame Build is the current “meta” in Helldivers 2. This build focuses on utilizing the best possible stratagems and armor perks available. Most of the recommended stratagems are unlocked only when you reach level 15 and higher, and each one costing upwards of 10000 Requisition slips.
This build is not the end-all-be-all in Helldivers, teamwork is still your best tactic when it comes to clearing missions and objectives.
Helldivers 2 Related Guides

Helldivers 2 Walkthrough Wiki
| Game8 Helldivers 2 Guides | |
|---|---|
 Tips and Tricks Tips and Tricks |
 Weapons Weapons |
 Stratagems Stratagems |
 Armor Armor |
 Ship Modules Ship Modules |
 Loadouts Loadouts |
 Enemies Enemies |
 News News |
 Galactic War Galactic War |
|
Comment
Author
Best Builds and Loadouts
improvement survey
03/2026
improving Game8's site?

Your answers will help us to improve our website.
Note: Please be sure not to enter any kind of personal information into your response.

We hope you continue to make use of Game8.
Rankings
- We could not find the message board you were looking for.
Gaming News
Popular Games

Genshin Impact Walkthrough & Guides Wiki

Honkai: Star Rail Walkthrough & Guides Wiki

Umamusume: Pretty Derby Walkthrough & Guides Wiki

Pokemon Pokopia Walkthrough & Guides Wiki

Resident Evil Requiem (RE9) Walkthrough & Guides Wiki

Monster Hunter Wilds Walkthrough & Guides Wiki

Wuthering Waves Walkthrough & Guides Wiki

Arknights: Endfield Walkthrough & Guides Wiki

Pokemon FireRed and LeafGreen (FRLG) Walkthrough & Guides Wiki

Pokemon TCG Pocket (PTCGP) Strategies & Guides Wiki
Recommended Games

Diablo 4: Vessel of Hatred Walkthrough & Guides Wiki

Fire Emblem Heroes (FEH) Walkthrough & Guides Wiki

Yu-Gi-Oh! Master Duel Walkthrough & Guides Wiki

Super Smash Bros. Ultimate Walkthrough & Guides Wiki

Pokemon Brilliant Diamond and Shining Pearl (BDSP) Walkthrough & Guides Wiki

Elden Ring Shadow of the Erdtree Walkthrough & Guides Wiki

Monster Hunter World Walkthrough & Guides Wiki

The Legend of Zelda: Tears of the Kingdom Walkthrough & Guides Wiki

Persona 3 Reload Walkthrough & Guides Wiki

Cyberpunk 2077: Ultimate Edition Walkthrough & Guides Wiki
All rights reserved
© 2024 Arrowhead Game Studios AB
The copyrights of videos of games used in our content and other intellectual property rights belong to the provider of the game.
The contents we provide on this site were created personally by members of the Game8 editorial department.
We refuse the right to reuse or repost content taken without our permission such as data or images to other sites.


