Ipsen's Castle (Disc 3)
This is the Story Walkthrough for Ipsen's Castle (Disc 3) from Final Fantasy IX (FFIX, FF9). Read on for more information about objectives and bosses within this section.
List of Contents
| Previous Chapter |
Next Chapter |
|---|---|
| Esto Gaza / Mount Gulug | Terra / Bran Bal |
Ipsen's Castle - Objectives
| Objectives | |
|---|---|
| Note | Ipsen Castle's Curse. |
| 1 | Head to Ipsen's Castle. You can use the Airship's autopilot to head there without getting lost. |
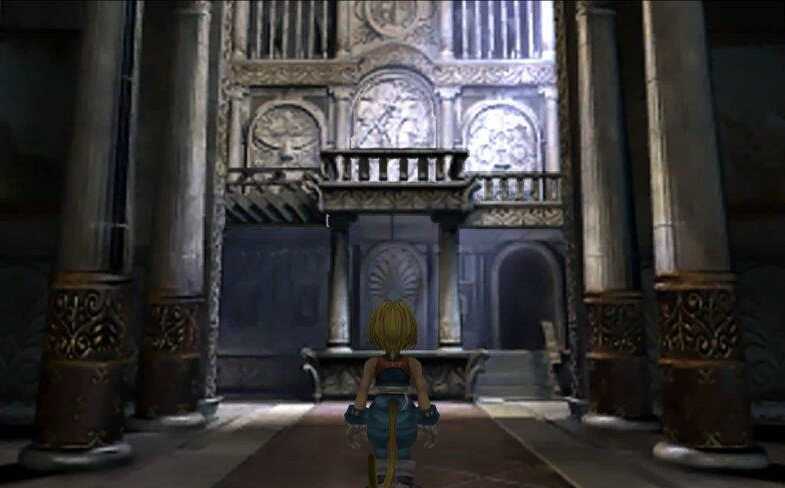
| 2 | Head forward. Use the pole on the lower part of the screen to head lower. |
| 3 | Head to the ladder and use it to climb up. |
| 4 | Follow the path until you reach another area. |
| 5 | Upon reaching the stairwell, head down then go to the next ladder to the opposite side of the area. |
| 6 | Climb the topmost area to reach the castle lift. Use the lift then prepare for a boss fight. |
| Boss | Taharka |
| 7 | Return all the way to Ipsen's Castle's entrance. You can use the rotating wall near the lift to have an easier time getting there. |
| 8 | Head to the area with the chandelier. Head to the lower left area to find Amarant. |
| 9 | Return to Ipsen Castle's entrance again. |
| 10 | Find the four shrines. |
| 11 | After each pair has been dropped off to each shrine, prepare for a boss battle. |
| Boss | Earth Guardian. |
Ipsen Castle's Curse
It is fine if the gear of your characters are not up to date in this area. Weapons (but not armor) have their stats reversed, which means it's recommended to bring the weakest weapons you can to deal more damage.
The Door By The Lift
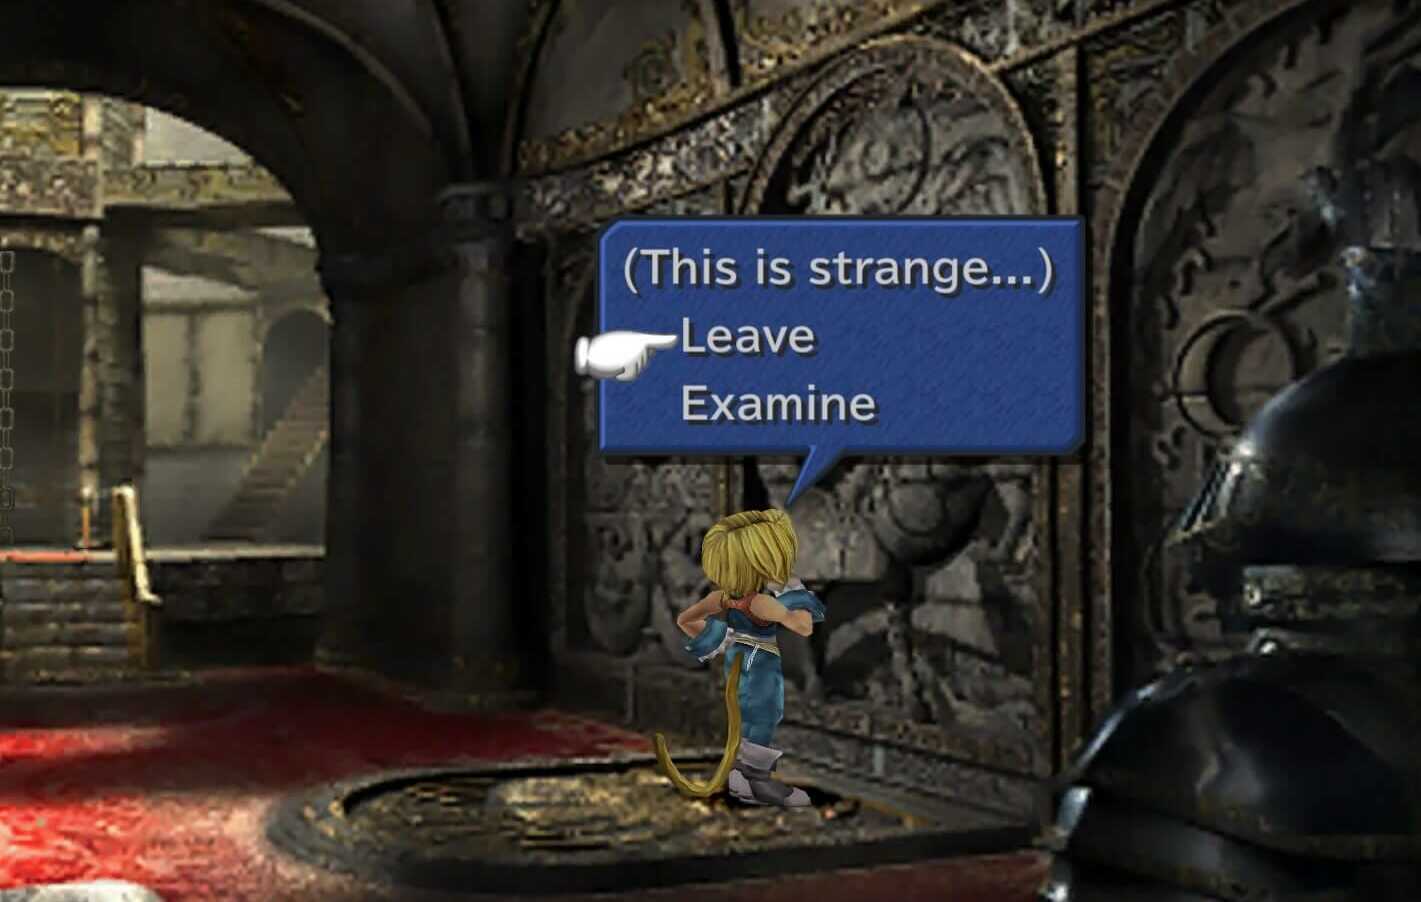
There is an obviously hidden door by the wall near the lift in Ipsen's Castle. You can interact with it several times. Exhaust all the options until the option to rest appears. Resting by the door will cause it to open.
The Four Shrines
The four shrines' locations are hinted at by the mirror. Their location are as follows:
Water
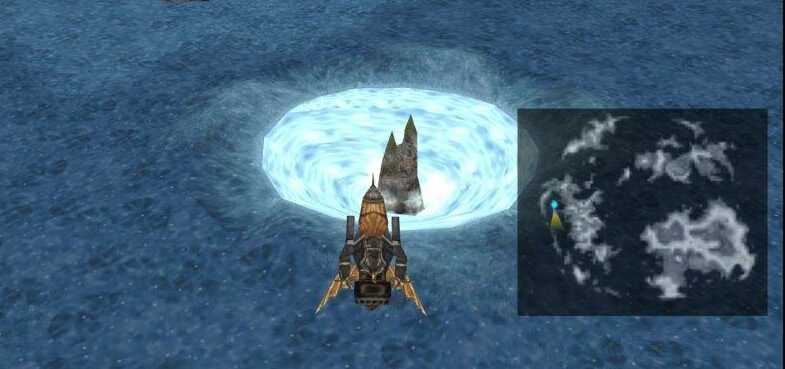
The Water Shrine is the easiest to find. Look for a whirlpool south of Ipsen's Castle.
Fire
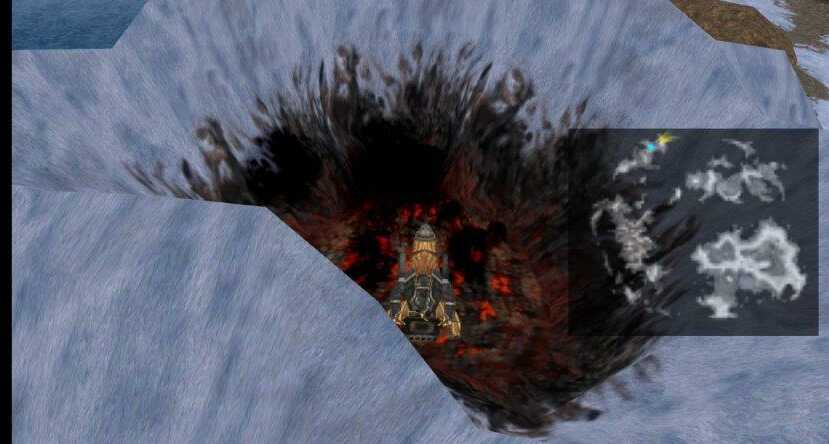
The Fire Shrine is found near Mount Gulug.
Wind
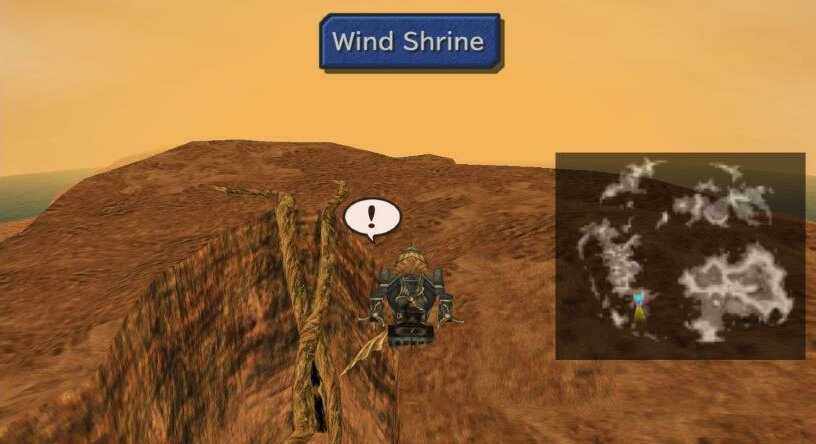
The Wind Shrine is found inbetween the valley southeast of Oeilvert.
Earth
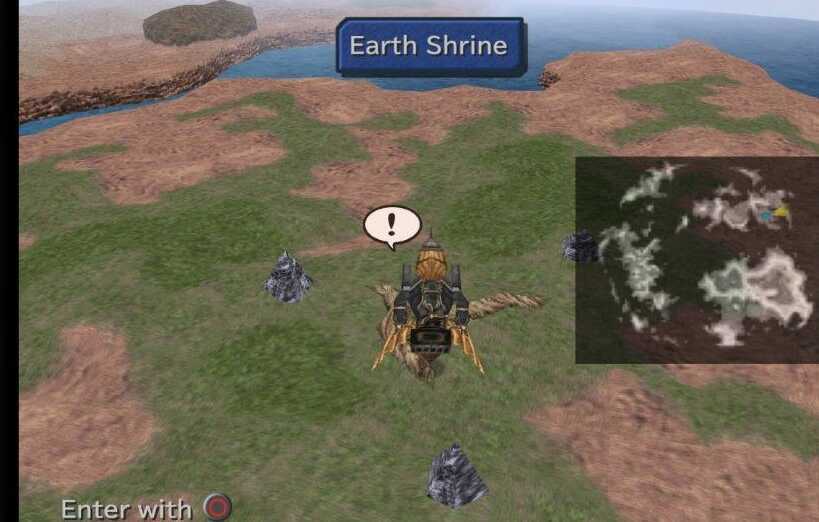
The Earth Shrine is the triangle shaped rock formation south of the Desert Palace.
Ipsen's Castle - Items and Equipment
| Item | Quantity | Location |
|---|---|---|
| Dagger | x1 | Located between the pillars in the lobby at the left side. |
| Aquarius | x1 | Located between the pillars in the lobby at the right side. |
| Cat's Claws | x1 | Found at the room where Kumool is located. |
| Broadsword | x1 | Obtained by jumping right when '?' appears. |
| Javelin | x1 | Obtain by jumping left when '?' appears. |
| Rod | x1 | Acquired by following the path after climbing another ladder and jumping when '?' appears. |
| Barette | x1 | Located at the right side of the balcony. |
| Air Racket | x1 | Located at the left corner way passed the elevator going to the Ancient Aroma's location. |
| Golem's Flute | x1 | Open the chest in the same location as Ancient Aroma. |
| Ancient Aroma | x1 | Get it from the pot to the right. |
| Mage Staff & Fork | x2 | Acquired by climbing up the pole. |
| Maiden Prayer | x1 | Obtained by standing on the trap square. |
Dagger
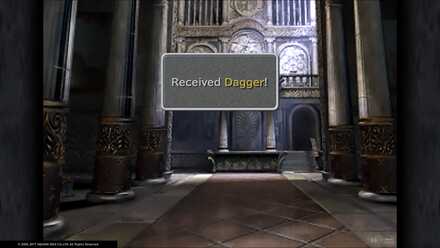
You can find this in the entrance by opening the chest to your left.
Aquarius
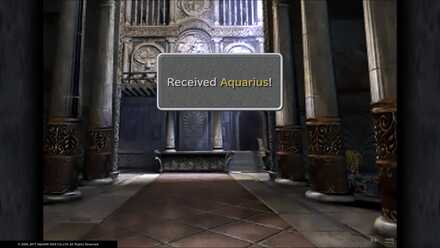
You can find this in the entrance by opening the chest to your right.
Cat's Claws
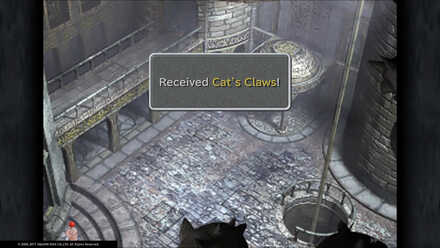
From the entrance, head past the reception area. Enter the door to the right. Keep going straight and open the chest in the upper right corner of your screen.
Broadsword
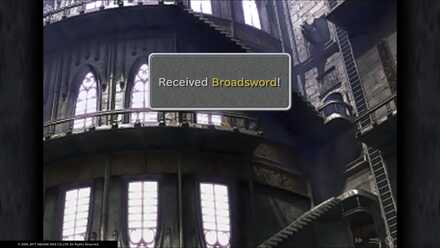
Use the rope to climb down from the save room. Ascend the ladder to your right and keep following the path, entering the tunnel-like opening. Climb up the ladder then jump to the right.
Javelin
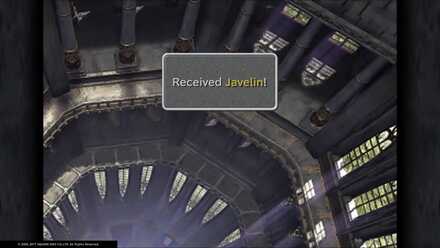
Use the rope to climb down from the save room. Then ascend the ladder to your right. Keep following the path and enter the tunnel-like opening. Climb up the ladder then jump left.
Rod
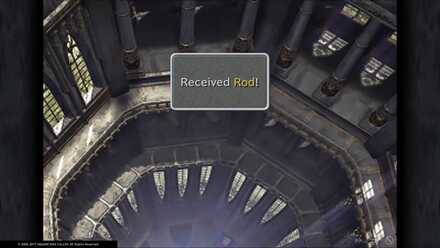
From the Javelin's location go back to the ladder. Climb down to the lowest level and take a right. Follow the path and climb another ladder. Jump to your right.
Barette
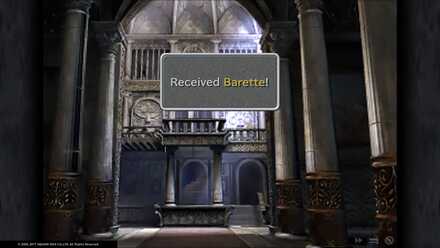
From the Rod's location, return near the ladder. Instead of climbing it, go down through the opening. Open the secret door here by selecting every option and retrying until 'rest' appears. Choose to rest by the door and the door will open, leading to a treasure chest.
Air Racket
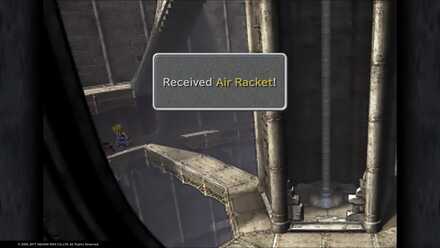
From the entrance, head past the reception area. Enter the door to the left. Follow the path then circle around to your left to find a treasure chest.
Golem's Flute
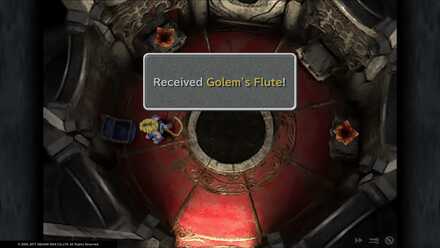
From the entrance, head past the reception area. Enter the door to the left. Follow the path then ride the lift to bring you to an area where the chest is located.
Ancient Aroma
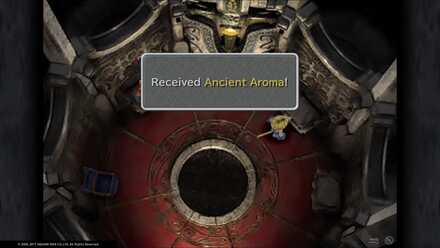
In the same room where you found the Golem's Flute, move the pots counter-clockwise twice. You'll find the Ancient Aroma in the pot to your right.
Maiden Prayer
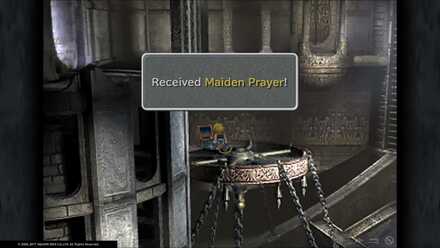
Return to the Moogle or the Dagger treasure chest's location. After talking to your friends a hole in the floor will appear. Move around and step on the trap door. Open the treasure chest on the top of a chandelier-like structure.
Ipsen's Castle - Shops
Kumool's Mogshop
Items
| Item Name | Price |
|---|---|
| Phoenix Down | 150 Gil |
| Annoyntment | 150 Gil |
| Hi-Potion | 200 Gil |
| Tent | 800 Gil |
| Remedy | 300 Gil |
| Magic Tag | 100 Gil |
| Vaccine | 100 Gil |
| Echo Screen | 50 Gil |
| Eye Drops | 50 Gil |
| Soft | 100 Gil |
| Antidote | 50 Gil |
| Potion | 50 Gil |
| Rising Sun | 500 Gil |
Weapons
| Weapon Name | Price |
|---|---|
| Mage Masher | 500 Gil |
| Oak Staff | 2400 Gil |
| Iron Sword | 600 Gil |
| Mythril Rod | 560 Gil |
| Multina Racket | 750 Gil |
| Needle Fork | 3100 Gil |
| Mythril Spear | 1100 Gil |
| Lamia's Flute | 3800 Gil |
| Poison Knuckles | 5000 Gil |
Armor
| Armor Name | Price |
|---|---|
| Red Hat | 3000 Gil |
| Golden Hairpin | 3700 Gil |
| Diamond Helm | 3000 Gil |
| Cross Helm | 2200 Gil |
| N-Kai Armlet | 3000 Gil |
| Jade Armlet | 3400 Gil |
| Venetia Shield | 2800 Gil |
| Shield Armor | 4300 Gil |
| Demon's Mail | 5900 Gil |
| Power Vest | 7200 Gil |
| Gaia Gear | 8700 Gil |
Ipsen's Castle Boss Fights
Taharka
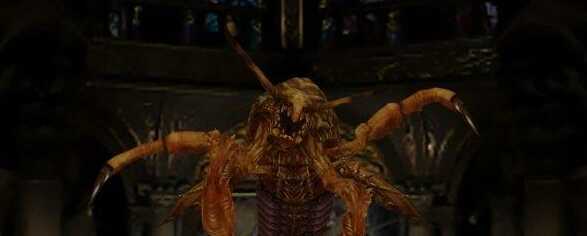
Taharka is the guardian of the mirrors. Taharka uses Ice elemental magic accompanied by hard hitting physical attacks. For more information about Taharka, see the link below.How to Beat Taharka
Earth Guardian
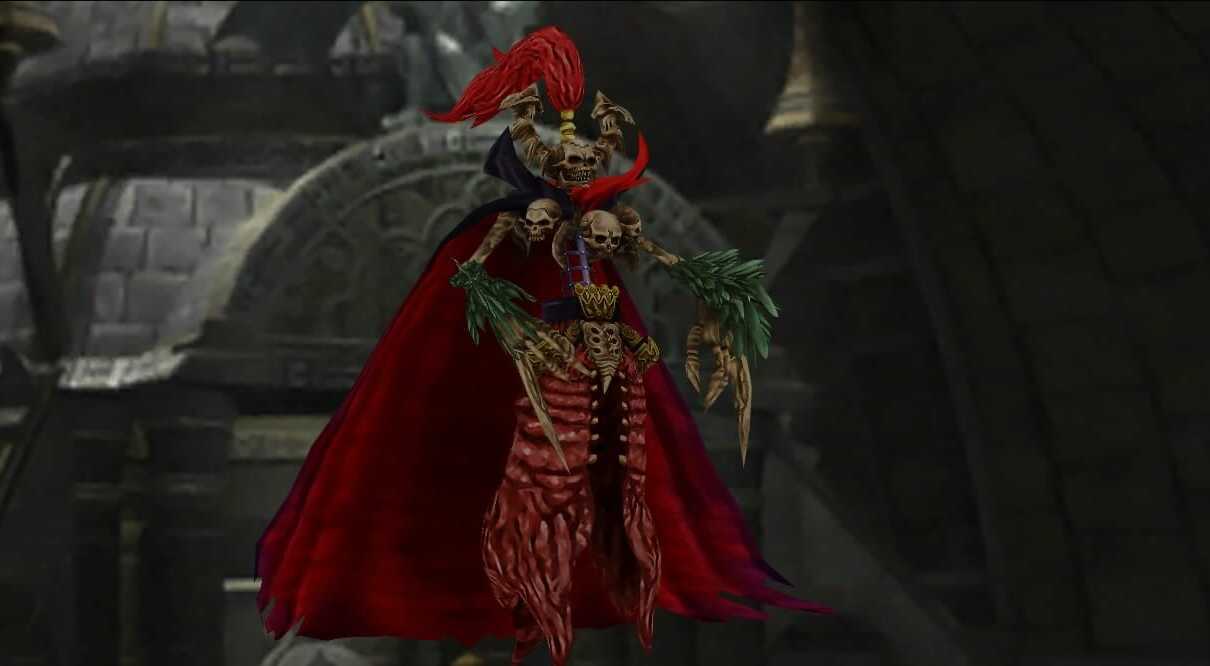
Earth Guardian focuses on using magic abilities and earth based attacks. Earth Guardian is also the only boss that can be eaten by Quina. For more information about Earth Guardian, see the link below.
How to Beat Earth Guardian
Final Fantasy IX - Related Links
 Go back to the Main Story Walkthrough Front Page
Author

Ipsen's Castle (Disc 3)
Rankings
- We could not find the message board you were looking for.
Gaming News


Popular Games

Genshin Impact Walkthrough & Guides Wiki
Umamusume: Pretty Derby Walkthrough & Guides Wiki
Pokemon Pokopia Walkthrough & Guides Wiki
Honkai: Star Rail Walkthrough & Guides Wiki
Monster Hunter Stories 3: Twisted Reflection Walkthrough & Guides Wiki
Arknights: Endfield Walkthrough & Guides Wiki
Wuthering Waves Walkthrough & Guides Wiki
Zenless Zone Zero Walkthrough & Guides Wiki
Pokemon TCG Pocket (PTCGP) Strategies & Guides Wiki
Monster Hunter Wilds Walkthrough & Guides Wiki


Recommended Games
Fire Emblem Heroes (FEH) Walkthrough & Guides Wiki
Diablo 4: Vessel of Hatred Walkthrough & Guides Wiki
Cyberpunk 2077: Ultimate Edition Walkthrough & Guides Wiki
Yu-Gi-Oh! Master Duel Walkthrough & Guides Wiki
Super Smash Bros. Ultimate Walkthrough & Guides Wiki
Pokemon Brilliant Diamond and Shining Pearl (BDSP) Walkthrough & Guides Wiki
Elden Ring Shadow of the Erdtree Walkthrough & Guides Wiki
Monster Hunter World Walkthrough & Guides Wiki
The Legend of Zelda: Tears of the Kingdom Walkthrough & Guides Wiki
Persona 3 Reload Walkthrough & Guides Wiki


All rights reserved
© 2000, 2020 SQUARE ENIX CO., LTD. All Rights Reserved.
LOGO ILLUSTRATION:© 2000 YOSHITAKA AMANO
FINAL FANTASY, SQUARE ENIX and the SQUARE ENIX logo are registered trademarks or trademarks of Square Enix Holdings Co., Ltd.
The copyrights of videos of games used in our content and other intellectual property rights belong to the provider of the game.
The contents we provide on this site were created personally by members of the Game8 editorial department.
We refuse the right to reuse or repost content taken without our permission such as data or images to other sites.