This survey will take about 1 minute.
Your answers will help us to improve our website.
Armored Core 6
All Boss Walkthroughs

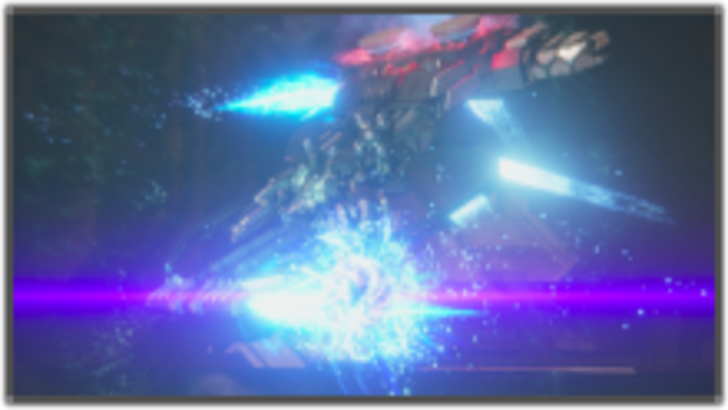
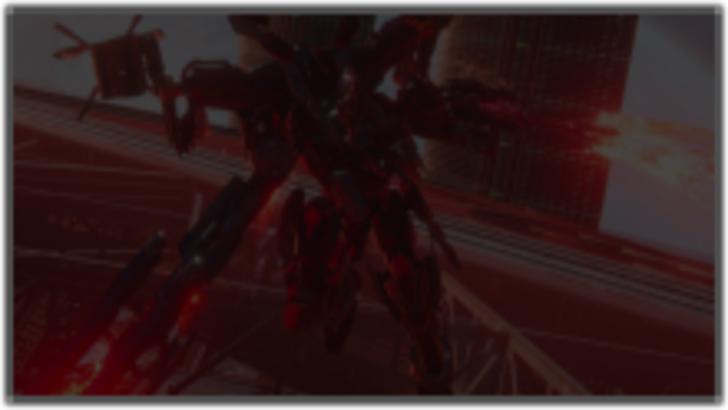
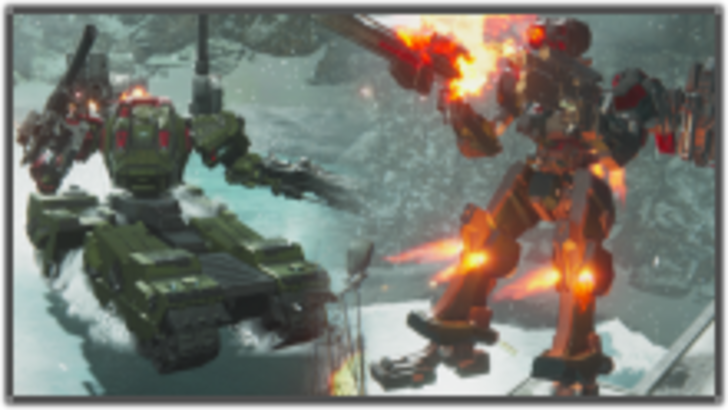
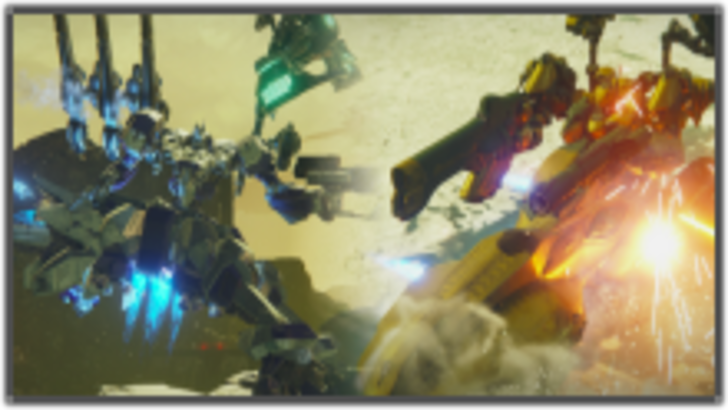
This is a list of all bosses in Armored Core 6. Check here for information on how to defeat each boss and recommended builds. If you're struggling with tough bosses, be sure to use this as a reference.
List of Contents
List of Boss Strategies
Chapter 1 Bosses
| Boss | Difficulty/Strategy |
|---|---|
 AH12 HC Helicopter AH12 HC Helicopter |
Difficulty: ★★★★☆ Chapter 1 - "Illegal Entry" - Take position directly beneath the helicopter - Perform close-range attacks in sync with its movements! |
 AC Tester Pilot AC Tester Pilot |
Difficulty: ★☆☆☆☆ Chapter 1 - "Destroy the Tester AC" - Learn Quick Boost to lock on faster - Be cautious of close-range attacks |
 Index Durham Index Durham |
Difficulty: ★☆☆☆☆ Chapter 1 - "Attack the Dam Complex" - Leave the frontlines to your allies and support from the rear |
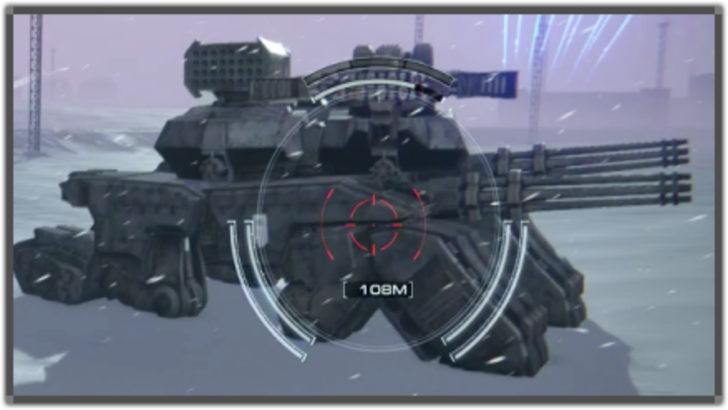
 HA-T-102 Juggernaut HA-T-102 Juggernaut |
Difficulty: ★★★☆☆ Chapter 1 - "Operation Wallclimber" - Equip Plasma Missiles and Bazookas - Take to the skies and fight from there |
 Sulla Sulla |
Difficulty: ★★★☆☆ Chapter 1 - "Attack the Watchpoint" - Use cover to maneuver - Avoid close-quarters combat! |
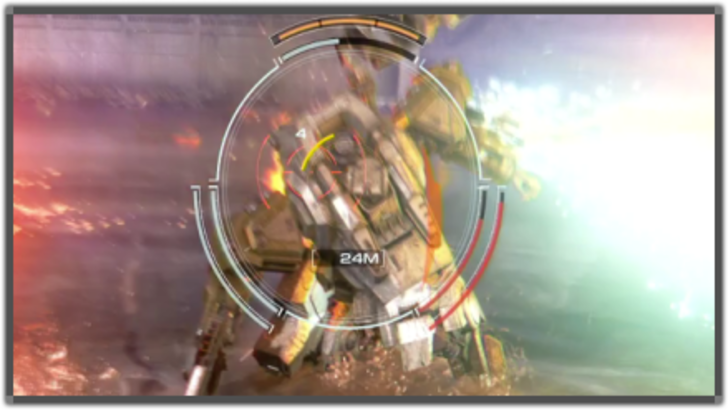
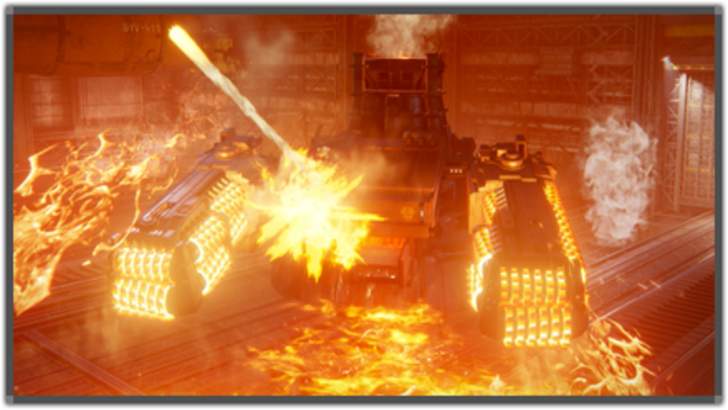
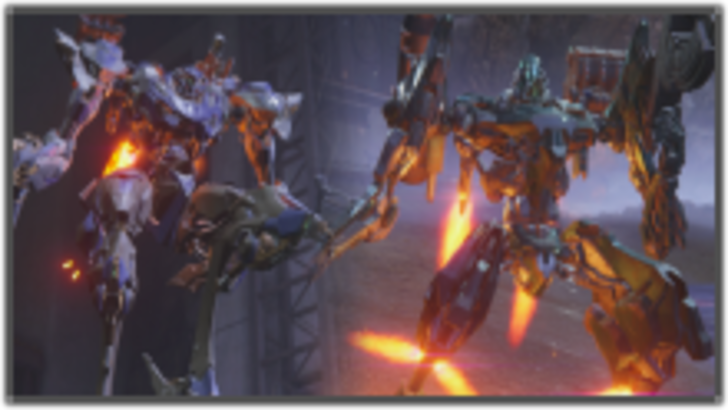
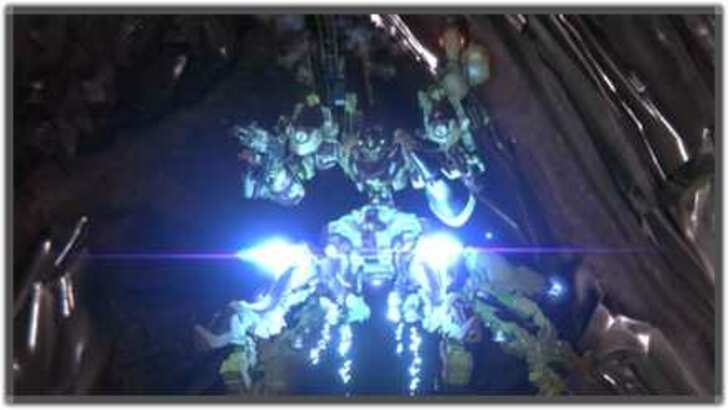
 AA P07 Balteus AA P07 Balteus |
Difficulty: ★★★★★ Chapter 1 - "Attack the Watchpoint" - A boss that will make you despair - Build your AC appropriately before the battle |
Chapter 2 Bosses
| Boss | Difficulty/Strategy |
|---|---|
 Mad Stamp Mad Stamp |
Difficulty: ★☆☆☆☆ Chapter 2 - "Infiltrate Grid 086" - Keep your distance and you'll be safe - Watch out for his chainsaw |
 EC-0804 Smart Cleaner EC-0804 Smart Cleaner |
Difficulty: ★★★★☆ Chapter 2 - "Infiltrate Grid 086" - Use hover legs and strike it from above - Only 2 weak points can be attacked |
 IA-13 Sea Spider IA-13 Sea Spider |
Difficulty: ★★★★☆ Chapter 2 - "Ocean Crossing" - Equip legs that will let you fire your cannons while on the move |
Chapter 3 Bosses
| Boss | Difficulty/Strategy |
|---|---|
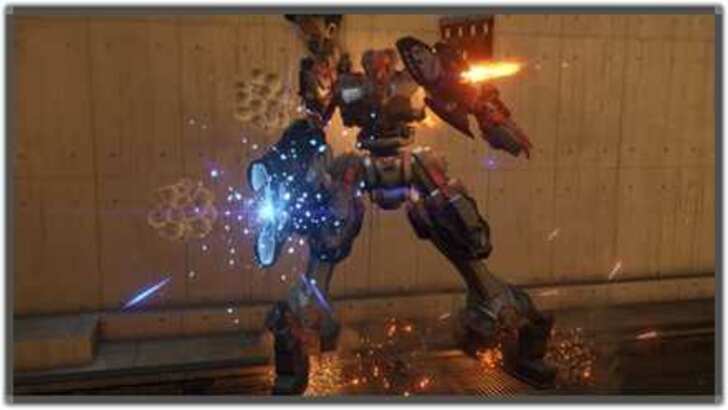
 AAS03: Ekdromoi AAS03: Ekdromoi |
Difficulty: ★ ☆☆☆☆ Chapter 3 - "Attack the Refueling Base" - Defeat them one at a time - Try to corner them |
 PCA Warrant Officer PCA Warrant Officer |
Difficulty: ★★★★ ☆ Chapter 3 - "Eliminate the Enforcement Squad" - Equip a pulse gun to get rid of its shield quickly |
 Cataphract Cataphract |
Difficulty: ★★ ☆☆☆ Chapter 3 - "estroy the Special Forces Craft" - You can only hit it from the front - Equip shotguns or Gatling guns |
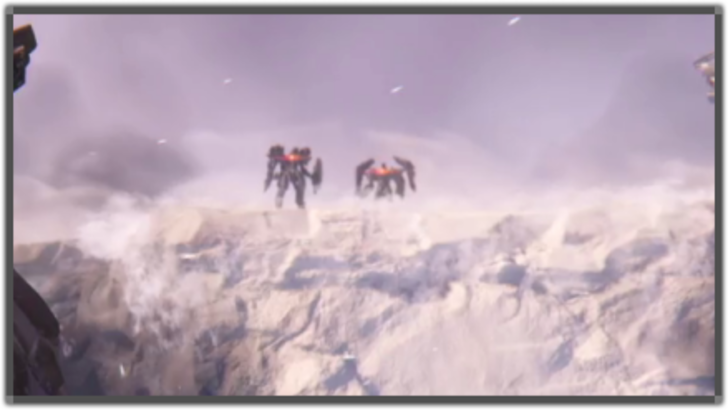 PCA Captain & PCA 1st Lieutenant PCA Captain & PCA 1st Lieutenant |
Difficulty: ★★ ☆☆☆ Chapter 3 - "Attack the Old Spaceport" - 2-on-2 fight with V.IV Rusty at your side - Take out the flying HC first |
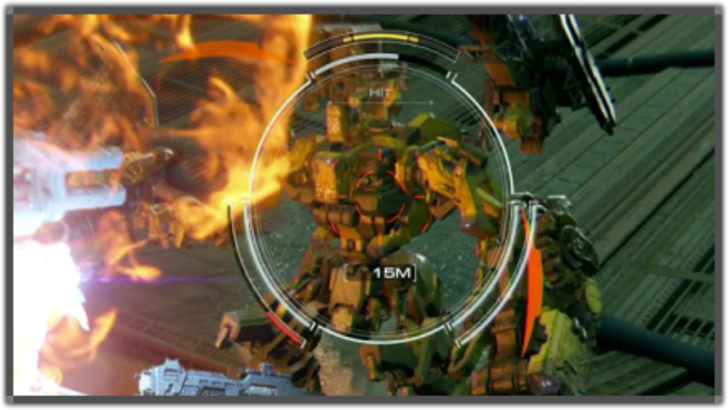 “Honest” Brute “Honest” Brute |
Difficulty: ★★ ☆☆☆ Chapter 3 - "Eliminate ‘Honest’ Brute" - Keep your distance while firing - Boss has a flamethrower, so be careful |
 ??? ??? |
Difficulty: ★★★ ☆☆ Chapter 3 - "Defend the Old Spaceport" - Equip light tank treads and Gatling guns to make this an easy fight |
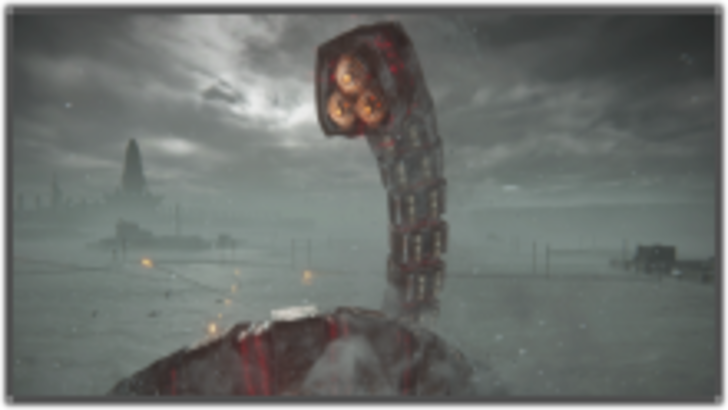 IA-02 Ice Worm IA-02 Ice Worm |
Difficulty: ★★☆☆☆ Chapter 3 - "Destroy the Ice Worm" - Equip hover legs to stay in the air and avoid its ground attacks |
Chapter 4 Bosses
| Boss | Difficulty/Strategy |
|---|---|
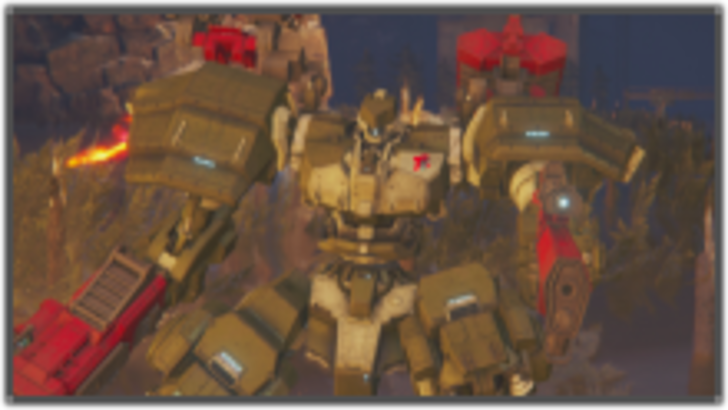
 AAP03 Enforcer AAP03 Enforcer |
Difficulty: ★★★★ ☆ Chapter 4 - Underground Exploration: Depth 2" - Equip light tank treads - Use grenade cannons to stagger, before shooting with Gatling guns |
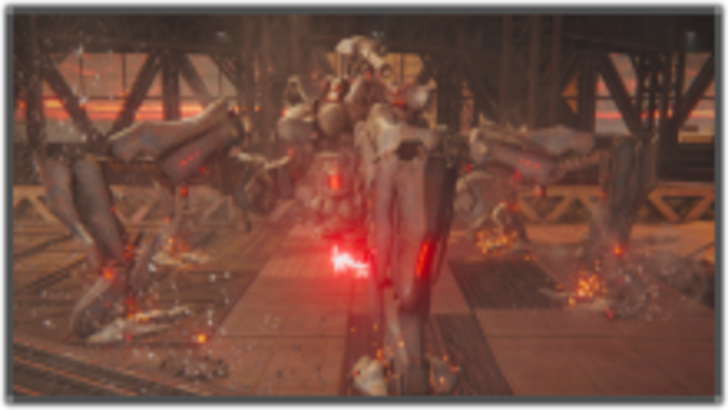
 IAC01 Ephemera IAC01 Ephemera |
Difficulty: ★★★ ☆☆ Chapter 4 - "Underground Exploration: Depth 3" - Use shotguns and stun needle launchers to take it out quickly - You need to kill it within 2 minutes |
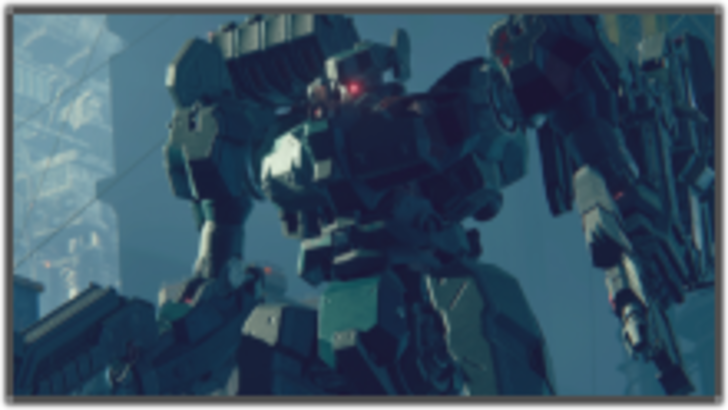
 G1 Michigan G1 Michigan |
Difficulty: ★★☆☆☆ Chapter 4 - "Intercept the Redguns" - Dual-wield laser pistols and grenade cannons |
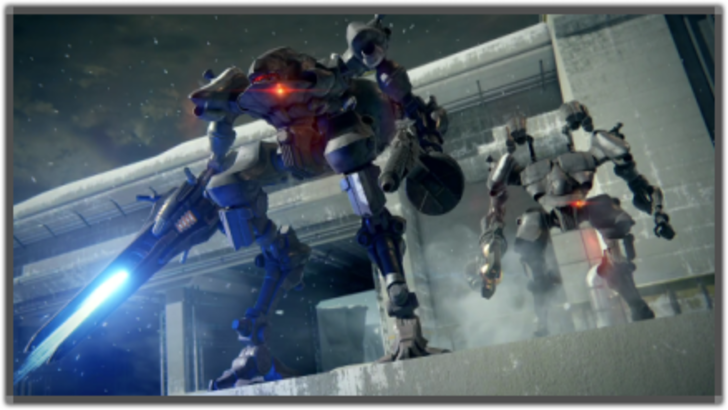
 V.V Hawkins & V.VIII Pater V.V Hawkins & V.VIII Pater |
Difficulty: ★★☆☆☆ Chapter 4 - "Ambush the Vespers" - Focus on one enemy at a time - Keep your partner alive; this is a 2v2 fight |
 V.VI Maeterinck & G3 Wu Huahai V.VI Maeterinck & G3 Wu Huahai |
Difficulty: ★★☆☆☆ Chapter 4 - "Reach the Coral Convergence" - Save Maeterinck for last - Try using the other enemies around the area to keep these bosses busy |
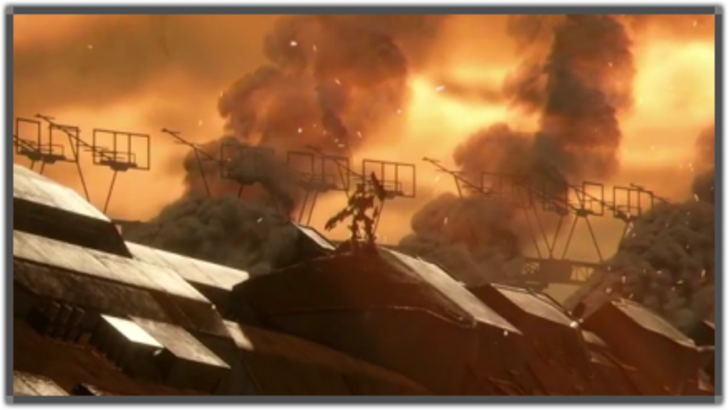
 IB-01 CEL 240 "Ibis Series" IB-01 CEL 240 "Ibis Series" |
Difficulty: ★★★★★ Chapter 4 - "Reach the Coral Convergence" - Use light treads - Shotguns and stun needle launchers will make short work of it |
Chapter 5 Bosses
Intercept the Corporate Forces
Branch Route
| Boss | Difficulty/Strategy |
|---|---|
 AA22 Heavy Cavalry AA22 Heavy Cavalry |
Difficulty: ★★☆☆☆ Chapter 5 - "Intercept the Corporate Forces" (Branch) - The opening presents an opportunity for attack - Aim for openings after evading its close-range attacks |
 V.I Freud V.I Freud |
Difficulty: ★★☆☆☆ Chapter 5 - "Intercept the Corporate Forces" (Branch) - Use light tank treads - Easy to stagger |
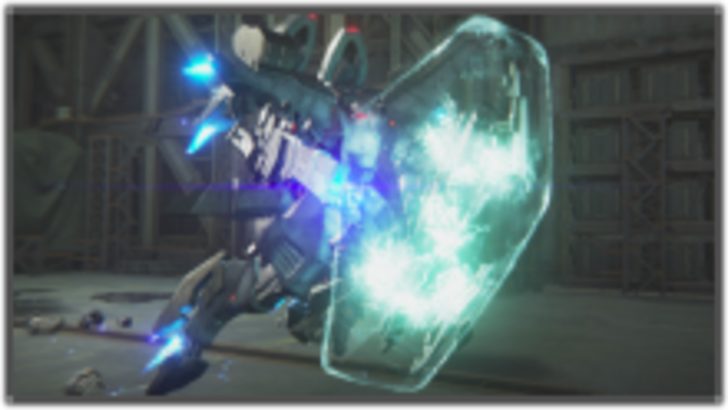
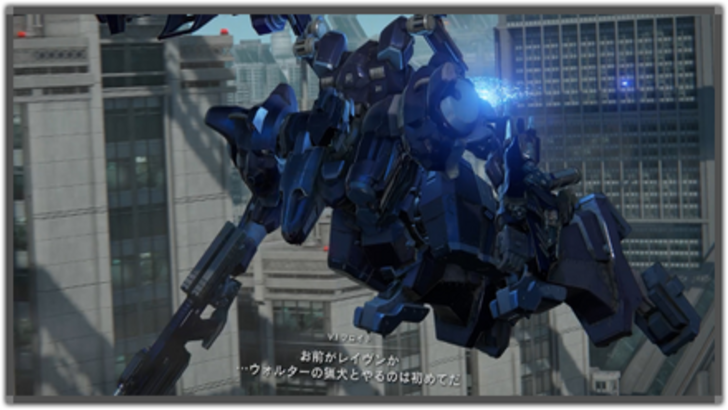
 V.IV Rusty V.IV Rusty |
Difficulty: ★★★☆☆ Chapter 5 - "Breach the Karman Line" (Branch) - You can attack him after dodging his melee attack - Keep flying around to have a height advantage, then attack |
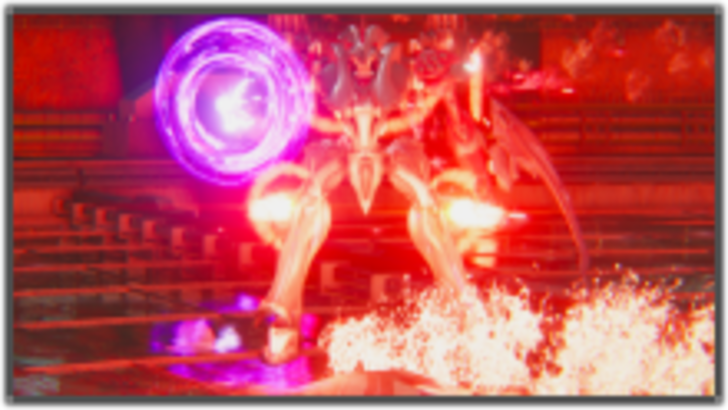
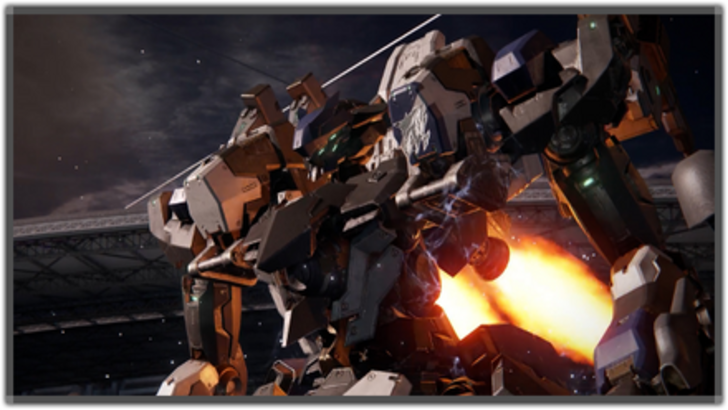
 Final Boss Final Boss |
Difficulty: ★★★★★ Chapter 5 - "Shut Down the Closure Satellites" (Branch) - You can attack her after dodging her melee attacks - Be cautious of her second form's attacks and learn to evade! |
Mission Sinder Kara Elimination
Branch Route
| Boss | Difficulty/Strategy |
|---|---|
 “Cinder” Carla & “Chatty” Stick “Cinder” Carla & “Chatty” Stick |
Difficulty: ★★★☆☆ Chapter 5 - "Eliminate ‘Cinder’ Carla" (Branch) - Dual-boss battle - Opt for a high-mobility AC build to evade the bullet barrage |
 AAP07A Arquebus Balteus / V.II Snail AAP07A Arquebus Balteus / V.II Snail |
Difficulty: ★★★★☆ Chapter 5 - "Destroy the Drive Block" (Branch) - Easy to stagger - Avoid his major attacks |
 Final Boss Final Boss |
Difficulty: ★★★★☆ Chapter 5 - "Bring Down the Xylem" (Branch) - Use Quick Boost frequently, but don't run out of EN either - Easy to stagger |
▼Hidden boss from the 3rd playthrough and beyond can be found here (Jump to the section below)
Bosses Exclusive to the 2nd Playthrough and Beyond
| Boss | Difficulty/Strategy |
|---|---|
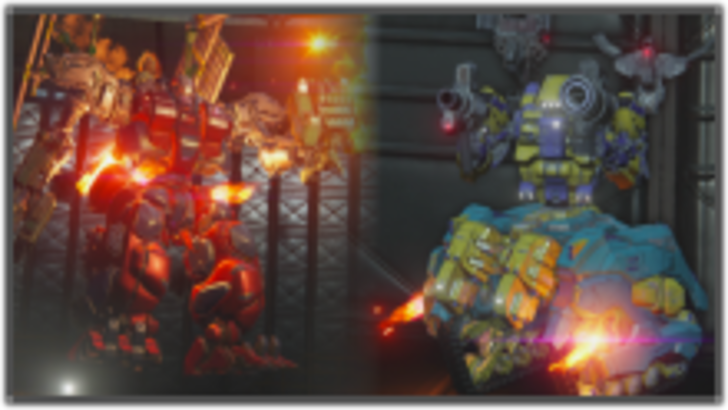
 G5 Iguazu & G4 Volta G5 Iguazu & G4 Volta |
Difficulty: ★★★☆☆ Chapter 1 - "Attack the Dam Complex" (Depending on your choices) - Isolate one before killing the other - Use the terrain to your advantage |
 King and Chartreuse King and Chartreuse |
Difficulty: ★★☆☆☆ Chapter 3 - "Defend the Dam Complex" - They'll join the battle if you take too long - They are not individually strong, so take them out one by one |
 V.IV Rusty & Middle Flatwell V.IV Rusty & Middle Flatwell |
Difficulty: ★★☆☆☆ Chapter 4 - "Unknown Territory Survey" (Alternative) - Flatwell will join mid-battle - Focus on defeating Rusty first, who can't repair himself |
Bosses Exclusive to the 3rd Playthrough and Beyond
| Boss | Difficulty/Strategy |
|---|---|
 G2 Nile G2 Nile |
Difficulty: ★☆☆☆☆ Chapter 1 - "Prisoner Rescue" - Pay attention to the durability of the helicopter you're escorting during the boss battle |
 Thumb Dolmayan Thumb Dolmayan |
Difficulty: ★★☆☆☆ Chapter 3 - "Surveying the Uninhabited Floating City" (Alternative) - Watch out for incendiary rounds - Focus on offensive capabilities for this battle |
 G5 Iguazu G5 Iguazu |
Difficulty: ★★☆☆☆ Chapter 2 - "Stop the Secret Data Breach" - Take him out while he's busy with the intruders that will suddenly appear in the middle of the battle |
 Coldcall Coldcall |
Difficulty: ★★☆☆☆ Chapter 3 - "Underground Exploration: Depth 2" (Alternative) - Beware of his laser shotgun - You can overpower this boss with brute force |
 V.III O’Keeffe V.III O’Keeffe |
Difficulty: ★★★☆☆ Chapter 4 - "Eliminate V.III" - Descend to the lowest level for the battle - Use a lot of missiles to make this an easy fight |
 V.II Snail & G5 Iguazu V.II Snail & G5 Iguazu |
Difficulty: ★★★☆☆ Chapter 4 - "Reach the Coral Convergence" - Use tank treads and Gatling guns - Be careful of Snail's melee attacks |
 V.VIII Pater V.VIII Pater |
Difficulty: ★★☆☆☆ Chapter 5 - "MIA" - Focus on evading his missiles - Use close-range melee attacks to defeat him |
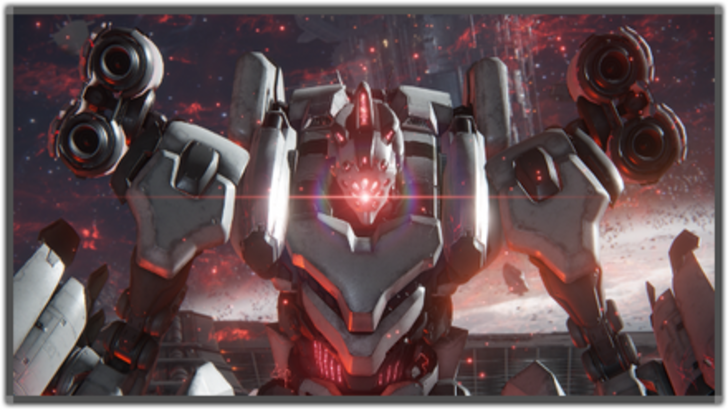
 Secret Boss Secret Boss |
Difficulty: ★★★★☆ Chapter 5 - "Coral Release" - Essentially two back-to-back battles with multiple enemies - Stun needle launchers are invaluable in this fight |
Comment
Author

All Boss Walkthroughs
Please participate in our site
improvement survey
03/2026
improvement survey
03/2026
Would you assist in
improving Game8's site?
improving Game8's site?

×
We are listening to our users' valuable opinions and discussing how to act on them.
The information collected through this survey will be used for the purpose of improving our services. In addition, the information will only be disclosed a part of a statistic in a format that will not allow identification of personal information.
Begin Survey
Not Now
×
Please rate each item regarding Game8.co's Advertisements.
Amount of Ads
Very Dissatisfied
Somewhat Dissatisfied
Fine
Somewhat Satisfied
Highly Satisfied
Placement of Ads
Timing of Ad Display
Ad Loading Speed
Safeness of Ads
Content of Ads
×
Please rate each item regarding Game8.co's Quality of Articles.
Amount of information
Very Dissatisfied
Somewhat Dissatisfied
Fine
Somewhat Satisfied
Highly Satisfied
Frequency of updates
Speed of new information
Accuracy of articles
Understandibility of articles
Readability of sentences
×
Please rate each item regarding Game8.co's Usability of the Site.
Ease of finding information
Very Dissatisfied
Somewhat Dissatisfied
Fine
Somewhat Satisfied
Highly Satisfied
Loading Speed
Use of Color
Font Size
Visibility of Images
Easy to Understand Layout
×
Please rate each item regarding Game8.co's Message Boards, Comments.
Ease of Writing
Very Dissatisfied
Somewhat Dissatisfied
Fine
Somewhat Satisfied
Highly Satisfied
Readability
Ease in Finding Information
Comment Quality
Comment Quantity
Admin Response
×
Please rate each item regarding Game8.co's Site's new design.
Please rate our site's new design
Very Dissatisfied
Somewhat Dissatisfied
Fine
Somewhat Satisfied
Highly Satisfied
Do you think that the website's design change makes the site easier to use?
Has the new design made it easier for you to find information on the site?
Has the new design improved the overall visual appeal of the site?
How would you rate your overall satisfaction with the new design of the site?
×
How likely are you to recommend Game8 to someone you know?
Very Unlikely
0
1
2
3
4
5
6
7
8
9
10
Very Likely
If you have other opinions regarding potential improvement to the website, please share them with us. We would appreciate your honest opinion.
Note: This is a free response section, so you can proceed without entering anything.
Note: Please be sure not to enter any kind of personal information into your response.
Note: Please be sure not to enter any kind of personal information into your response.
×
Thank You
×
Thank you for participating in our survey! Your answers will help us to improve the quality of our website and services.
We hope you continue to make use of Game8.
We hope you continue to make use of Game8.
Close
Rankings
- We could not find the message board you were looking for.
Gaming News


![Slay the Spire 2 Review [Early Access] | Still the Deckbuilder to Beat](https://img.game8.co/4433115/44e19e1fb0b4755466b9e516ec7ffb1e.png/thumb)

![Resident Evil Village Review [Switch 2] | Almost Flawless Port](https://img.game8.co/4432790/e1859f64830960ce4248d898f8cd38d9.jpeg/thumb)
Popular Games

Genshin Impact Walkthrough & Guides Wiki
Honkai: Star Rail Walkthrough & Guides Wiki
Umamusume: Pretty Derby Walkthrough & Guides Wiki
Pokemon Pokopia Walkthrough & Guides Wiki
Resident Evil Requiem (RE9) Walkthrough & Guides Wiki
Monster Hunter Wilds Walkthrough & Guides Wiki
Wuthering Waves Walkthrough & Guides Wiki
Arknights: Endfield Walkthrough & Guides Wiki
Pokemon FireRed and LeafGreen (FRLG) Walkthrough & Guides Wiki
Pokemon TCG Pocket (PTCGP) Strategies & Guides Wiki


Recommended Games
Fire Emblem Heroes (FEH) Walkthrough & Guides Wiki
Diablo 4: Vessel of Hatred Walkthrough & Guides Wiki
Yu-Gi-Oh! Master Duel Walkthrough & Guides Wiki
Super Smash Bros. Ultimate Walkthrough & Guides Wiki
Pokemon Brilliant Diamond and Shining Pearl (BDSP) Walkthrough & Guides Wiki
Elden Ring Shadow of the Erdtree Walkthrough & Guides Wiki
Monster Hunter World Walkthrough & Guides Wiki
The Legend of Zelda: Tears of the Kingdom Walkthrough & Guides Wiki
Persona 3 Reload Walkthrough & Guides Wiki
Cyberpunk 2077: Ultimate Edition Walkthrough & Guides Wiki


All rights reserved
©Bandai Namco Entertainment Inc. / ©1997-2023 FromSoftware, Inc. All rights reserved.
The copyrights of videos of games used in our content and other intellectual property rights belong to the provider of the game.
The contents we provide on this site were created personally by members of the Game8 editorial department.
We refuse the right to reuse or repost content taken without our permission such as data or images to other sites.