This survey will take about 1 minute.
Your answers will help us to improve our website.
FF8
Story Walkthrough: Ultimecia Castle (Chapter 22)
| Previous Chapter: Lunatic Pandora |
- |
This is the Story Walkthrough for the location Ultimecia Castle in the game Final Fantasy VIII (FF8, FFVII). Read on for more information about objectives, items, and bosses within this section.
List of Contents
Ultimecia Castle Story Walkthrough
| Objective | |
|---|---|
| 1 | Boss Battle Sorceress |
| 2 | After all the cutscenes, enter Ultimecia Castle. |
| 3 | Unsealing Quest |
| 4 | Once you are comfortable with the commands you hzve unlocked, it is time to head to Ultimecia's room. |
| 5 | From the entrance, climb the stairs where you fought Sphinxaur. |
| 6 | Walk to the chandelier and let it fall. |
| 7 | Head forward into the chapel then take the right path to reach the wooden bridge. |
| 8 | Climb the very long staircase and keep following the path. |
| 9 | Make sure to save your game and use all consumable items you have for the final boss. |
| 10 | Final Boss Ultimecia. |
Unsealing Quest
Sphinxaur
At the Stairway near the entrance. The first Ultimecia Minion you can fight.
How to Beat Sphinxaur | Final Fantasy VIII
Tri-Point
At the cellar, use the chandelier as a platform and it will fall, allowing the rusty door to be opened.
How to Beat Tri-Point | Final Fantasy VIII
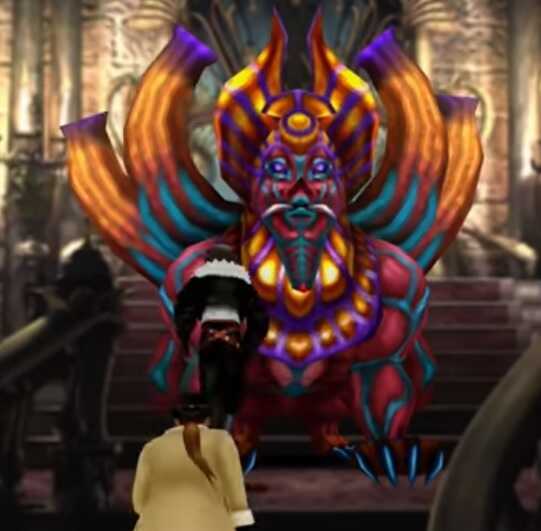
Krysta

Make your 2nd party hold the lever so the chandelier won't fall. Cross it to reach the terrace and find Krysta there.
How to Beat Krysta | Final Fantasy VIII
Red Giant
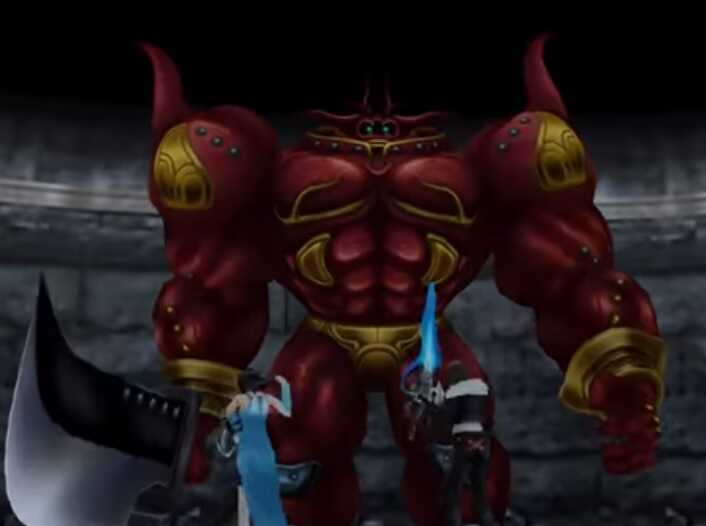
Red Giant can be found in the PrisonCell located in the room after the art gallery..
How to Beat Red Giant | Final Fantasy VIII
Gargantua

From the area before reaching the prison cell, head to the right room to find Gargantua.
How to Beat Gargantua | Final Fantasy VIII
Trauma

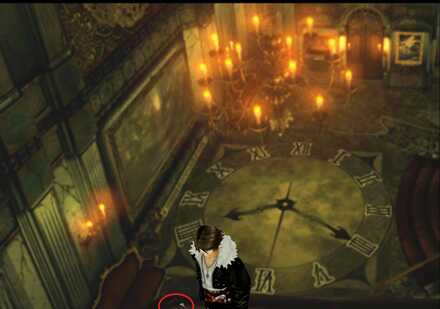
Examine all the paintings in the Art Gallery. Each Painting corresponds to a time in a clock (in Roman numeral notation). After examining all the paintings in the gallery, head up near the drawpoint for meltdown and look at the clock on the ground. Choose the title of the huge painting on the left in the ground floor.
How to Beat Trauma | Final Fantasy VIII
Art Gallery Puzzle
1.) VIVIDARIUM
2.) INTERVIGILIUM
3.) VIATOR
Catoblepas
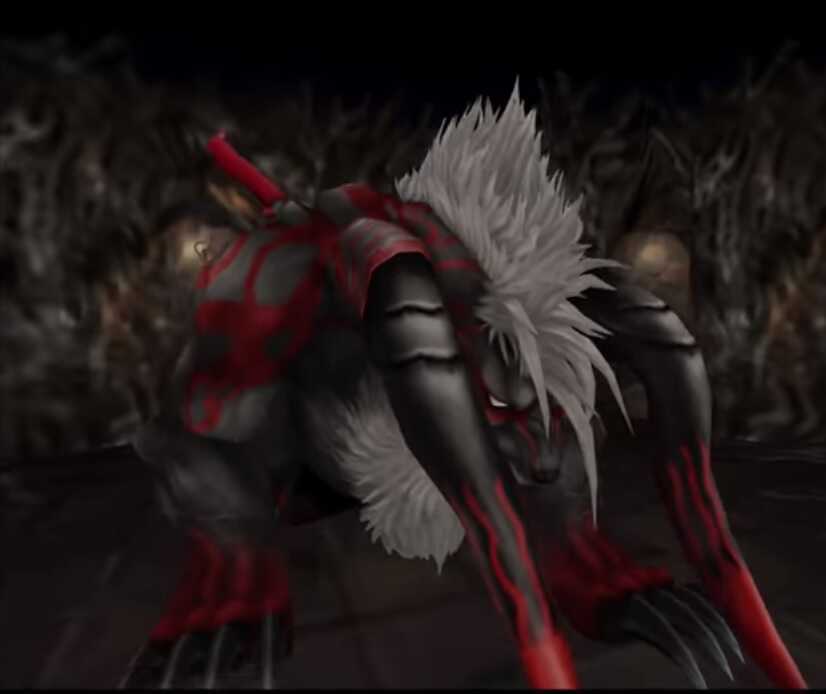
Look for the key near the fountain and unlock the door located at the back of the pillar in the passageway. You must then open all the boxes in the room to release Catoblepas.
How to Beat Catoblepas | Final Fantasy VIII
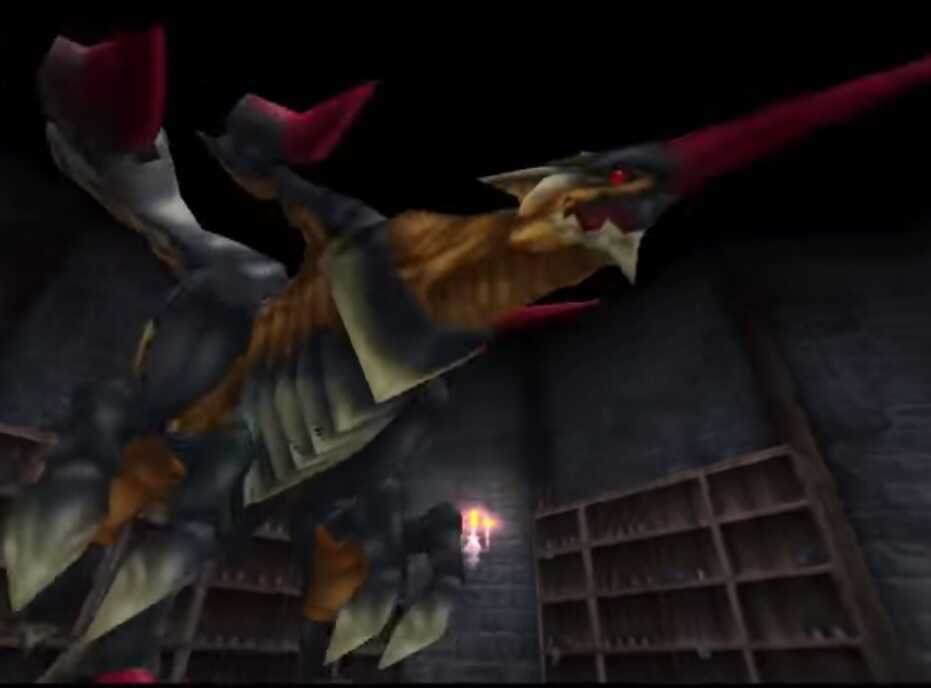
Tiamat

Can be found by hopping unto the huge bell piece in the center of the clock tower.
How to Beat Tiamat | Final Fantasy VIII
Omega Weapon
The most difficult boss in the game. Posseses over a million HP at max level, extremely high agility, lethal team combos, and absorbs elemental attacks. For more information about Omega Weapon, see the link below.
How to Beat Omega Weapon | Final Fantasy VIII
Ultimecia's Castle - Item list
| Item | Quantity | Location |
|---|---|---|
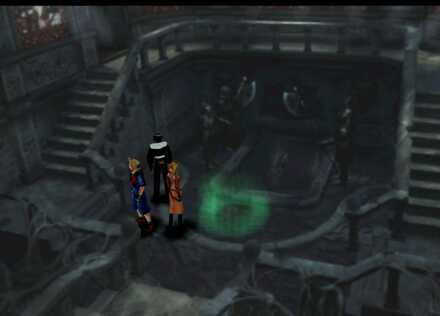
| Triple | Random | Can be obtained from a draw point in Edea's house. |
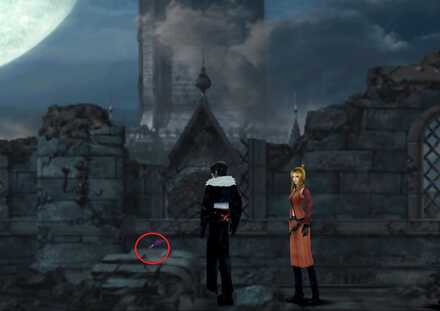
| Flare | Random | Can be obtained from a draw point hidden by the front gate. |
| Slow | Random | Can be obtained from a draw point in the courtyard. |
| Dispel | Random | Obtained from a draw point in the chapel on the left side before you reach a piano. |
| Aura | Random | Obtained from a draw point hidden in the wine cellar, near Tri-point's location. |
| Meltdown | Random | Obtained from a draw point located on the right side of the second floor with a series of pictures |
| Treasure Key Vault | x1 | On the ground near the fountain. |
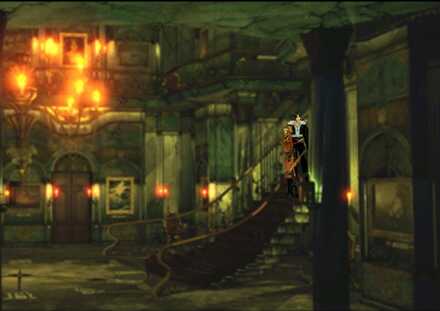
| Armor Key | x1 | On the bridge connecting to the other building. |
| Prison Key | x1 | Obtained from the statue inside the prison room. |
| Full-life | Random | Can be obtained from a draw point in the basement after entering the door to the right. |
| Ultima | Random | Obtained from a draw point in the basement entering the door to the right. |
| Cura | Random | Located on the left side of the second floor from the basement. |
| Holy | Random | Obtained from a draw point in the treasure room. |
| Curaga | Random | Obtained from a draw point in the room where the second elavator lift stops. |
| Floodgate Key | x1 | Located in the room going up from the second elevator lift. |
| Rosetta Stone | x1 | Can be obtained from the drained waterway when teh bars are lifted. |
| Stop | Random | Can be acquired from the draw point on the way to the clock tower. |
| Triple | Random | Can be obtained from a draw point behind Trimat's location. |
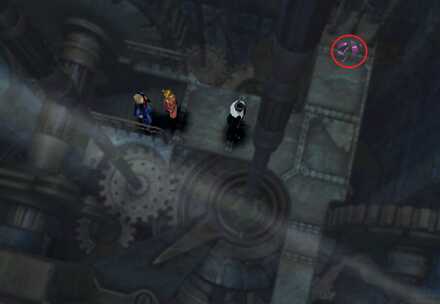
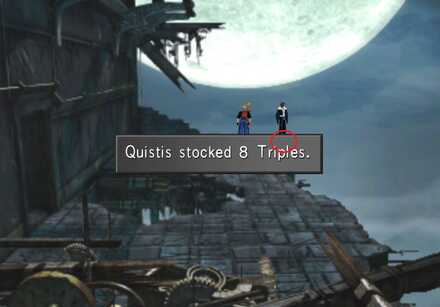
Triple Draw Point
Descend the stairs from Edea's house, where you will find a Triple Draw Point.
Flare Draw Point
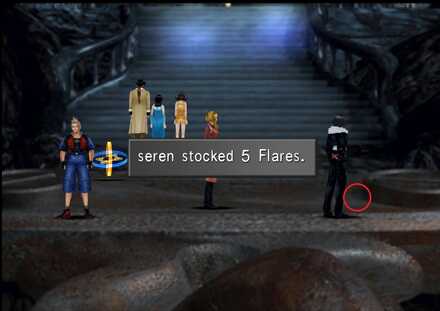
A Flare draw point is available by the front gate of the mansion.
Slow Draw Point
From the starting point, go straight and then left. You will find yourself in the courtyard. From there, go right, then enter the big door right at the center. You will see a draw point at the left side.
Dispel Draw Point
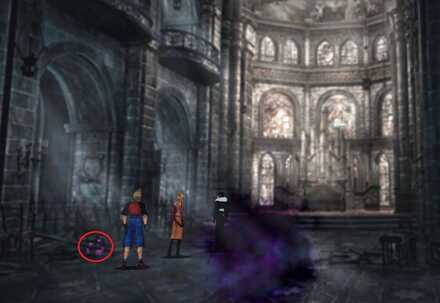
From the Slow draw point location, enter the chapel. You will find the Dispel draw point at the left side.
Auras Draw Point
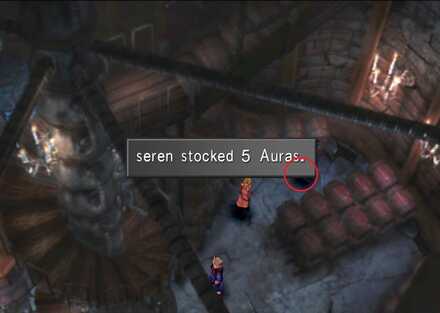
You can find the Aura Draw Point by opening the door below and descending the stairs. You will run over it at the right side of the stairs.
Meltdown Draw Point
Ascend the stairs to the right. Keep going right until you see a draw point that will give you Meltdown spell.
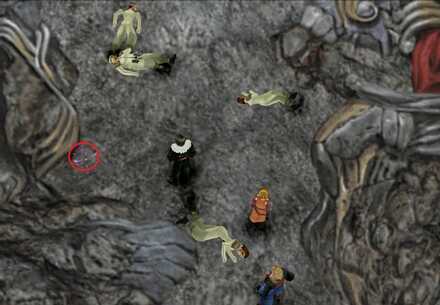
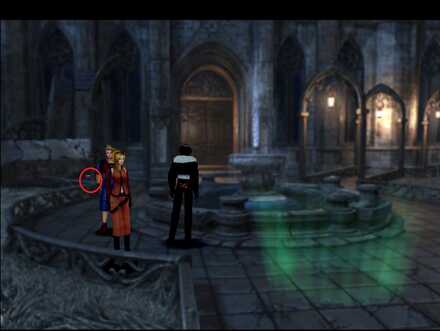
Treasure Key Vault
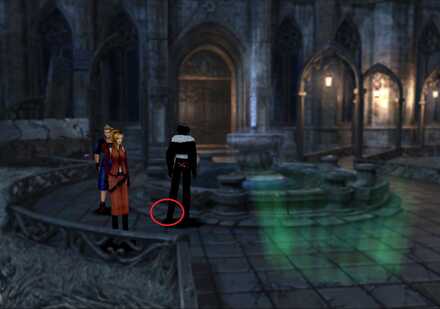
You can find the tresure key vault near the fountain and near the slow draw point.
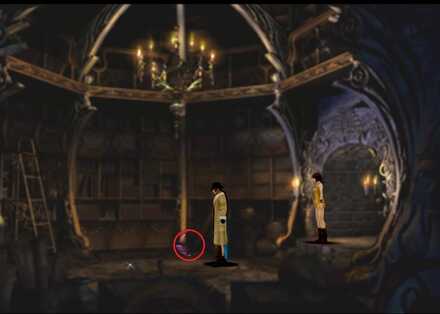
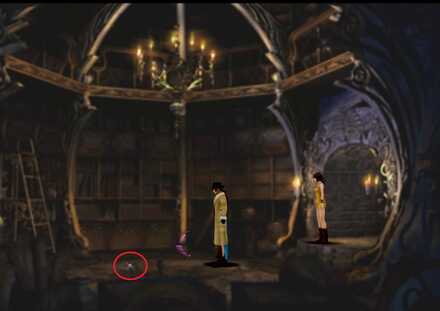
Armor Key
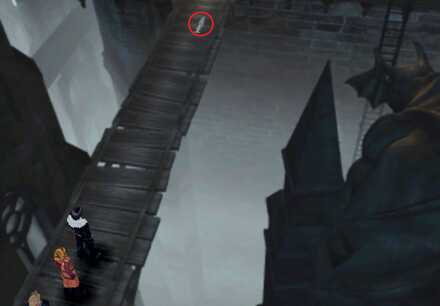
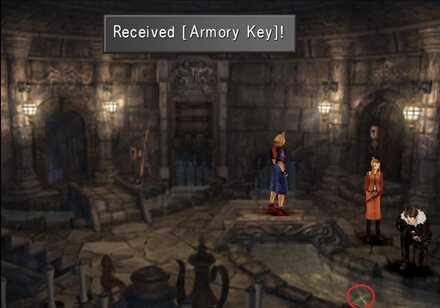
From the Dispel draw point location, go right. You will see a brige and an item on it. Walk slowly to prevent it to fall out of the bridge. The armor key is necessary to open the armor room where the Gargantuadwells.
If you dropped the key, you can still get it from the basement's waterways.
Prison Key

Get the prison key from a woman-like statue near the prison room. This another key item to make the sealed spirit Red Giant appear.
Full-life Draw Point
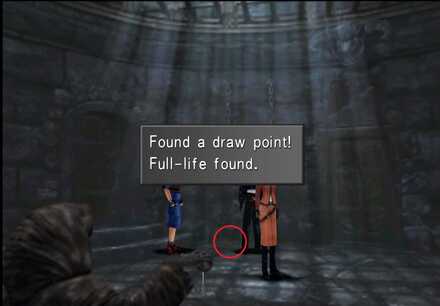
From the basement starting point, enter the left door. Run around on the left side to find the hidden draw point giving you Full-life magic.
Ultima Draw Point
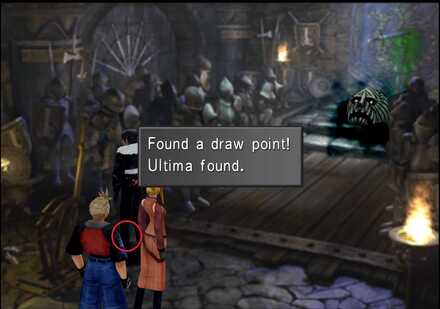
From the armor room, there is a hidden draw point giving you Ultima Magic.
Cura Draw Point
From the basement, head straight. Then, ascend the stairs to the second floor. Go left and head head straight. You will encounter the Cura Draw Point here.
Holy Draw Point
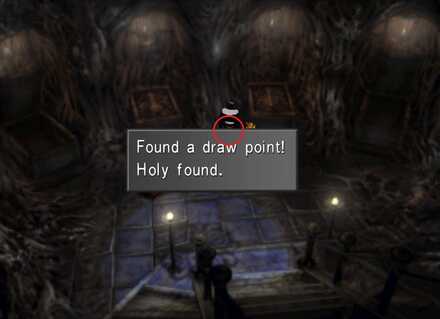
This Holy Draw Point is located in the treasure room where Catoblepas resides.
Curaga Draw Point
Use the left elevator lift to go to the left room on the second floor. The storage room has a Curaga Draw Point.
Floodgate Key
The floodgate key can be found in the storage room. Use the second elevator lift to get there.
Rosetta Stone
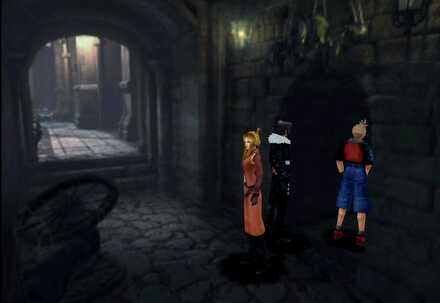
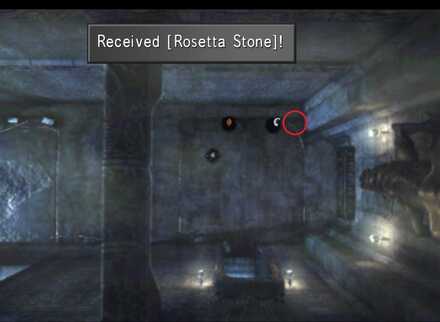
You can get the Rosetta Stone following these steps. First, have your other party drain and undrain the water in the canal. Then, switch to the other party to play the piano. Press all all keys at once or you will not open the way to the empty canal. As you successfully do all tasks, the fences will be lifted. Enter and head east. You will find a box there containing a Rosetta Stone.
Stop Draw Point
Cross the bridge from the chapel. Head towards an entry way and keep walking on the spiral staircase until you reach the top. You will find a Stop Draw Point here.
Triple Draw Point
Head through the entrance with the spiral staircase. Go around until you're near the bell. Hop on the bell to cross to the other side. Beat Tiamat to get to the Triple Draw Point behind him.
Ultimecia's Castle - Boss Battle
Boss Battle Ultimecia
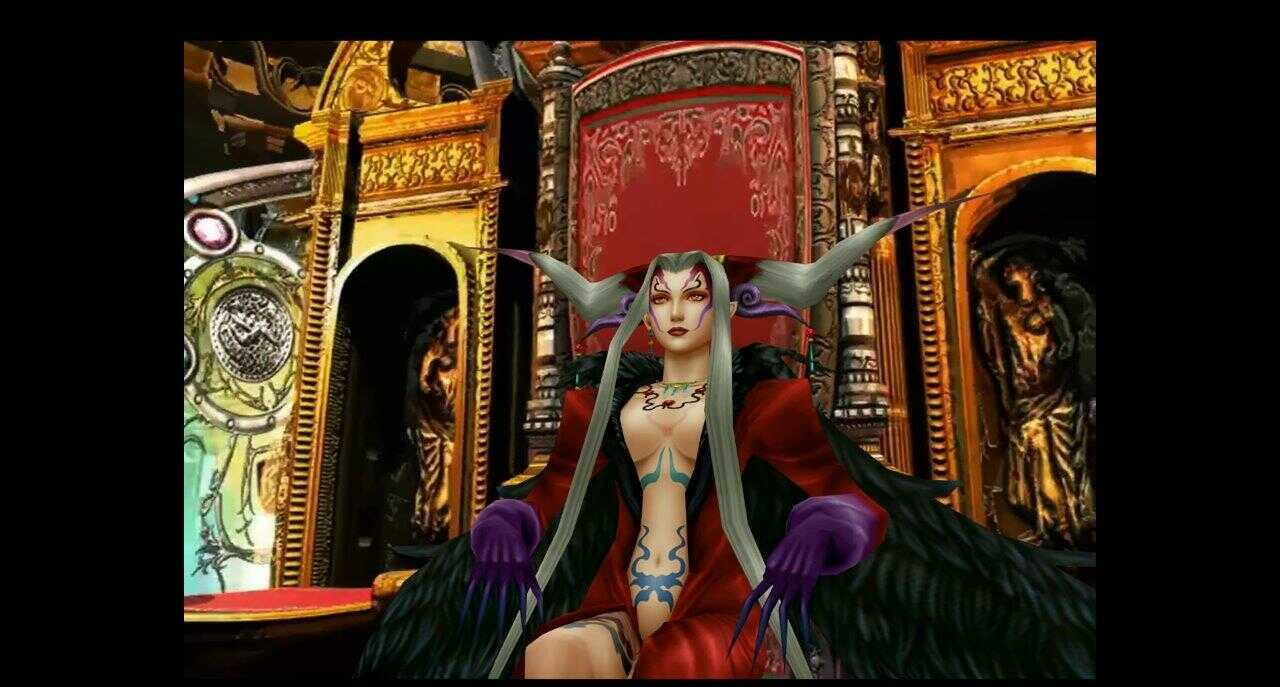
The Final Boss of the game. The party members chosen for the battle are also randomized which makes it even harder. For more information about Ultimecia, see the link below.
How to Beat Ultimecia | Final Fantasy VIII
Final Fantasy VIII (FFVIII) Related Links
Main Story Chapters
| Laguna Dream | ||
|---|---|---|
| Laguna Dream 1: Deling |
Laguna Dream 2: Centra |
Laguna Dream 3: Winhill |
| Laguna Dream 4: Trabia Canyon |
Laguna Dream 5: Esthar |
- |
Author
Story Walkthrough: Ultimecia Castle (Chapter 22)
Please participate in our site
improvement survey
03/2026
improvement survey
03/2026
Would you assist in
improving Game8's site?
improving Game8's site?

×
We are listening to our users' valuable opinions and discussing how to act on them.
The information collected through this survey will be used for the purpose of improving our services. In addition, the information will only be disclosed a part of a statistic in a format that will not allow identification of personal information.
Begin Survey
Not Now
×
Please rate each item regarding Game8.co's Advertisements.
Amount of Ads
Very Dissatisfied
Somewhat Dissatisfied
Fine
Somewhat Satisfied
Highly Satisfied
Placement of Ads
Timing of Ad Display
Ad Loading Speed
Safeness of Ads
Content of Ads
×
Please rate each item regarding Game8.co's Quality of Articles.
Amount of information
Very Dissatisfied
Somewhat Dissatisfied
Fine
Somewhat Satisfied
Highly Satisfied
Frequency of updates
Speed of new information
Accuracy of articles
Understandibility of articles
Readability of sentences
×
Please rate each item regarding Game8.co's Usability of the Site.
Ease of finding information
Very Dissatisfied
Somewhat Dissatisfied
Fine
Somewhat Satisfied
Highly Satisfied
Loading Speed
Use of Color
Font Size
Visibility of Images
Easy to Understand Layout
×
Please rate each item regarding Game8.co's Message Boards, Comments.
Ease of Writing
Very Dissatisfied
Somewhat Dissatisfied
Fine
Somewhat Satisfied
Highly Satisfied
Readability
Ease in Finding Information
Comment Quality
Comment Quantity
Admin Response
×
Please rate each item regarding Game8.co's Site's new design.
Please rate our site's new design
Very Dissatisfied
Somewhat Dissatisfied
Fine
Somewhat Satisfied
Highly Satisfied
Do you think that the website's design change makes the site easier to use?
Has the new design made it easier for you to find information on the site?
Has the new design improved the overall visual appeal of the site?
How would you rate your overall satisfaction with the new design of the site?
×
How likely are you to recommend Game8 to someone you know?
Very Unlikely
0
1
2
3
4
5
6
7
8
9
10
Very Likely
If you have other opinions regarding potential improvement to the website, please share them with us. We would appreciate your honest opinion.
Note: This is a free response section, so you can proceed without entering anything.
Note: Please be sure not to enter any kind of personal information into your response.
Note: Please be sure not to enter any kind of personal information into your response.
×
Thank You
×
Thank you for participating in our survey! Your answers will help us to improve the quality of our website and services.
We hope you continue to make use of Game8.
We hope you continue to make use of Game8.
Close
Rankings
- We could not find the message board you were looking for.
Gaming News


![Slay the Spire 2 Review [Early Access] | Still the Deckbuilder to Beat](https://img.game8.co/4433115/44e19e1fb0b4755466b9e516ec7ffb1e.png/thumb)

![Resident Evil Village Review [Switch 2] | Almost Flawless Port](https://img.game8.co/4432790/e1859f64830960ce4248d898f8cd38d9.jpeg/thumb)
Popular Games

Genshin Impact Walkthrough & Guides Wiki
Honkai: Star Rail Walkthrough & Guides Wiki
Umamusume: Pretty Derby Walkthrough & Guides Wiki
Pokemon Pokopia Walkthrough & Guides Wiki
Resident Evil Requiem (RE9) Walkthrough & Guides Wiki
Monster Hunter Wilds Walkthrough & Guides Wiki
Wuthering Waves Walkthrough & Guides Wiki
Arknights: Endfield Walkthrough & Guides Wiki
Pokemon FireRed and LeafGreen (FRLG) Walkthrough & Guides Wiki
Pokemon TCG Pocket (PTCGP) Strategies & Guides Wiki


Recommended Games
Fire Emblem Heroes (FEH) Walkthrough & Guides Wiki
Diablo 4: Vessel of Hatred Walkthrough & Guides Wiki
Yu-Gi-Oh! Master Duel Walkthrough & Guides Wiki
Super Smash Bros. Ultimate Walkthrough & Guides Wiki
Pokemon Brilliant Diamond and Shining Pearl (BDSP) Walkthrough & Guides Wiki
Elden Ring Shadow of the Erdtree Walkthrough & Guides Wiki
Monster Hunter World Walkthrough & Guides Wiki
The Legend of Zelda: Tears of the Kingdom Walkthrough & Guides Wiki
Persona 3 Reload Walkthrough & Guides Wiki
Cyberpunk 2077: Ultimate Edition Walkthrough & Guides Wiki


All rights reserved
© 1999, 2019 SQUARE ENIX CO., LTD. All Rights Reserved.
CHARACTER DESIGN: TETSUYA NOMURA
LOGO ILLUSTRATION:© 1999 YOSHITAKA AMANO
The copyrights of videos of games used in our content and other intellectual property rights belong to the provider of the game.
The contents we provide on this site were created personally by members of the Game8 editorial department.
We refuse the right to reuse or repost content taken without our permission such as data or images to other sites.