 under the page's title to be notified of any updates!
This survey will take about 1 minute.
Your answers will help us to improve our website.
Monster Hunter Stories 3 (MHS3)
List of All Weapons
✦ The game is available as of March 13: Release Time
✧ Beginner's Guide | All Eggs | All Poogies
✦ All Monsties | Monster Weaknesses
✧ Best Monsties | Best Team
✦ Best Weapons | Best Armor
✧ Combat System | Habitat Restoration
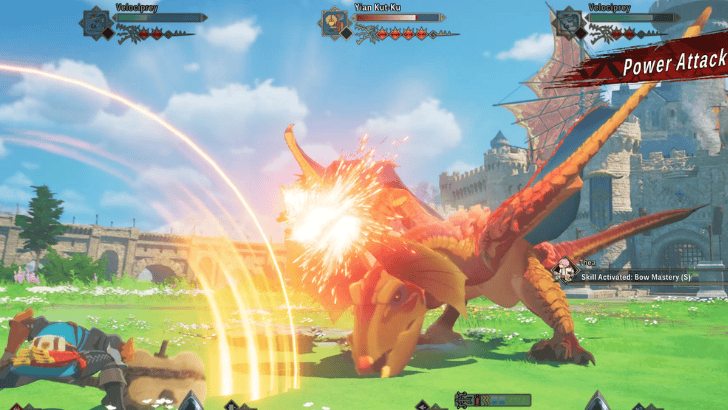
This is a guide to all Weapon Types in Monster Hunter Stories 3. Learn the differences between Slash, Blunt, and Piercing weapons, understand how damage types affect part-breaking, and choose the best weapon loadout for your Rider here!
| Weapon Pages | |
|---|---|
| All Weapons | Best Weapons |
List of Contents
List of All Weapons
 Attention! Attention! |
We are currently rushing out guides as quickly as possible. More details will be added here soon! |
|---|
| Weapon | Type | Element | Attack Type | Max Deco | Skills |
|---|---|---|---|---|---|
| Iron Sword |
|
|
|
3 |
・ Charge Tackle
Charge Tackle Increases Charge Gauge by 1 level, then deals damage to one enemy with the weapon element. ・ Charged Slash
Charged Slash Consumes Charge Gauge to damage one enemy with the weapon element. Requires charge level 1 or higher. ・ Strong Charged Slash
Strong Charged Slash Consumes Charge Gauge to damage one enemy with the weapon element. Requires charge level 2 or higher. ・ Great Sword Mastery (S)
Great Sword Mastery (S) Slight chance to increase Charge Gauge by 1 extra level when filling it. |
| Bone Horn |
|
|
|
3 |
・ Soothing Song
Soothing Song Deals damage to one enemy with the weapon element, then recovers all allies' HP. ・ Wyvernfell Melody
Wyvernfell Melody Grants Wyvernfell Up (M). ・ Rousing Riff
Rousing Riff Deals damage to one enemy with the weapon element, then grants Attack Up and Accuracy Up to all allies. ・ Kinship Chorale
Kinship Chorale Grants Kindship Charge Up to all allies ・ Magnificent Trio
Magnificent Trio Consumes melodies to deal the weapon's elemental damage to one enemy, based on the number of melodies consumed. In addition, all allies are granted the corresponding melody effects. ・ Comforting Melody
Comforting Melody Recovers HP at the end of each turn. |
| Iron Bow |
|
|
|
3 |
・ Dragon Piercer
Dragon Piercer Consumes Charge Gauge to unleash the coating's power. Deals damage to one enemy with the weapon element. High chance of landing a critical hit. Requires charge level 5. ・ Power Coating
Power Coating Applies a coating that increases bow power, then deals damage to one enemy with the weapon element. The coating's effect persists and gains power relative to Charge Gauge level. ・ Bow Mastery (S)
Bow Mastery (S) Slight chance to increase Charge Gauge by 1 extra level when filling it. ・ Attack Down Coating
Attack Down Coating Applies a coating that inflicts Attack Down, then deals damage to one enemy with the weapon element. The coating's effect persists and gains power relative to Charge Gauge level. ・ Piercing Shot
Piercing Shot Increases Charge Gauge by 2 levels, deals damage to one enemy with the weapon element. High chance of landing a critical hit. |
| Azure Serpentblade |
|
|
|
1 |
・ Great Sword Mastery (S)
Great Sword Mastery (S) Slight chance to increase Charge Gauge by 1 extra level when filling it. ・ Charge
Charge Increases Charge Gauge by 2 levels. ・ Slash (BLNT)
Slash (BLNT) Deals damage to all enemies with the weapon element. Retains charge level after use. ・ Wide Slash
Wide Slash Consumes Charge Gauge to damage all enemies with the weapon element. Requires charge level 1 or higher. |
| Iron Katana |
|
|
|
3 |
・ Lunge Stance
Lunge Stance Deals damage to one enemy with the weapon element, then assumes the Lunge stance, which launches follow-up attacks after allies attack. Requires Spirit Gauge level 1 or higher. ・ Unsheating Strike
Unsheating Strike Deals damage to one enemy with the weapon element, then removes Special Sheathe. ・ Spirit Release Slash
Spirit Release Slash Consumes all Spirit Gauge and grants Critical Eye to the user, and counters one enemy attack with the weapon element. Removes Special Sheathe on countering or at the end of the turn. ・ Spirit Blade
Spirit Blade Deals damage to one enemy with the weapon element, then increases Spirit Gauge by 1 level. ・ Iai Mastery (S)
Iai Mastery (S) Slight chance to negate Spirit Gauge reduction during Special Sheathe. |
| Bone Katana "Wolf" |
|
|
|
3 |
・ Spirit Blade (STR)
Spirit Blade (STR) Deals damage to one enemy with the weapon element, then increases Spirit Gauge by 1 level. ・ Unsheating Strike
Unsheating Strike Deals damage to one enemy with the weapon element, then removes Special Sheathe. ・ Counter Boost (S)
Counter Boost (S) Reduces damage taken during Special Sheathe, and slightly increases damage dealt by follow-up attacks. ・ Retaliation Stance
Retaliation Stance Deals damage to one enemy with the weapon element, then assumes the Retaliation stance, which launches counterattacks after enemies attack. Requires Spirit Gauge level 1 or higher. ・ Spirit Release Slash (TLNT)
Spirit Release Slash (TLNT) Consumes all Spirit Gauge and grants Critical Eye to the user, and counters one enemy attack with the weapon element. Removes Special Sheathe on countering or at the end of the turn. ・ Spirit Roundslash (BRK)
Spirit Roundslash (BRK) Deals damage to all enemies with the weapon element, then increases Spirit Gauge by 1 level. |
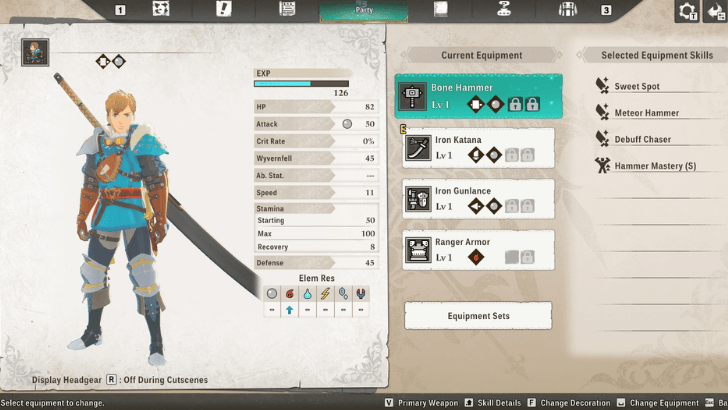
| Bone Hammer |
|
|
|
3 |
・ Sweet Spot
Sweet Spot Deals damage to all enemies with the weapon element, inflicting heavy damage to the Wyvernsoul Gauge. Chance to inflict Stun. ・ Meteor Hammer
Meteor Hammer Deals damage to one enemy with the weapon element, inflicting heavy damage to the monster part. ・ Debuff Chaser
Debuff Chaser Deals damage to one enemy with the weapon element. Targets with decreased stats take more damage. ・ Hammer Mastery (S)
Hammer Mastery (S) Slightly reduces Stamina cost when winning a Head-to-Head. |
| Chata Clobberer |
|
|
|
3 |
・ Meteor Hammer
Meteor Hammer Deals damage to one enemy with the weapon element, inflicting heavy damage to the monster part. ・ Sweet Spot (BLNT)
Sweet Spot (BLNT) Deals damage to all enemies with the weapon element, inflicting heavy damage to the Wyvernsoul Gauge. Chance to inflict Stun. ・ Chain Scrap
Chain Scrap Deals damage to one enemy with the weapon element, inflicting greater damage to parts with repeated use. ・ Striking Secret (S)
Striking Secret (S) Normal attacks deal slightly more damage to the Wyvernsoul Gauge. |
| Magia Charm |
|
|
|
1 | TBD
|
| Lumu Horn |
|
|
|
3 |
・ Hunting Horn Mastery (S)
Hunting Horn Mastery (S) Slightly increases Speed after performing a melody. ・ Magnificent Trio
Magnificent Trio Consumes melodies to deal the weapon's elemental damage to one enemy, based on the number of melodies consumed. In addition, all allies are granted the corresponding melody effects. ・ Comforting Melody
Comforting Melody Recovers HP at the end of each turn. ・ Elementless Melody
Elementless Melody Grants Non-Elem Atk Up (S) and Non-Elem Def Up (S). Activated by performing Magnificent Trio when 2 notes are on the musical staff. ・ Critical Chant (STAB)
Critical Chant (STAB) Deals damage to one enemy with the weapon element, then grants Critical Up to all allies. ・ Rallying Refrain (STAB)
Rallying Refrain (STAB) Deals damage to one enemy with the weapon element, then grants Regenerate to all allies. ・ Lyrical Legato
Lyrical Legato Deals damage to one enemy with the weapon element, then extends the duration of buffs on all allies. |
| Vicello Nulo Red |
|
|
|
2 |
・ Kinship Chorale
Kinship Chorale Grants Kindship Charge Up to all allies ・ Magnificent Trio
Magnificent Trio Consumes melodies to deal the weapon's elemental damage to one enemy, based on the number of melodies consumed. In addition, all allies are granted the corresponding melody effects. ・ Blazing Melody
Blazing Melody Grants Fire Atk Up (S) and Fire Def Up (S). Activated by performing Magnificent Trio when 2 notes are on the musical staff. ・ Tumultuous Melody
Tumultuous Melody Grants the effects of one major melody. Activated by performing Magnificent Trio when 4 notes are on the musical staff. ・ Bolstering Ballad
Bolstering Ballad Grants immunity to all abnormal statuses to all allies. ・ Mending Musician (S)
Mending Musician (S) Recovers a slight amount of the user's HP when performing a hunting horn melody. |
| Vicello Nulo Yellow |
|
|
|
2 |
・ Magnificent Trio
Magnificent Trio Consumes melodies to deal the weapon's elemental damage to one enemy, based on the number of melodies consumed. In addition, all allies are granted the corresponding melody effects. ・ Enervating Melody
Enervating Melody Grants the following effect: Attacks have a chance to inflict Paralysis. ・ Militant March (STR)
Militant March (STR) Deals damage to one enemy with the weapon element, then grants Stamina Regen Up to all allies. ・ Tumultuous Melody
Tumultuous Melody Grants the effects of one major melody. Activated by performing Magnificent Trio when 4 notes are on the musical staff. ・ Bolstering Ballad
Bolstering Ballad Grants immunity to all abnormal statuses to all allies. ・ Mending Musician (S)
Mending Musician (S) Recovers a slight amount of the user's HP when performing a hunting horn melody. |
| Arko Nulo Yellow |
|
|
|
2 |
・ Dragon Piercer
Dragon Piercer Consumes Charge Gauge to unleash the coating's power. Deals damage to one enemy with the weapon element. High chance of landing a critical hit. Requires charge level 5. ・ Attack Down Coating
Attack Down Coating Applies a coating that inflicts Attack Down, then deals damage to one enemy with the weapon element. The coating's effect persists and gains power relative to Charge Gauge level. ・ Piercing Shot
Piercing Shot Increases Charge Gauge by 2 levels, deals damage to one enemy with the weapon element. High chance of landing a critical hit. ・ Paralysis Coating
Paralysis Coating Applies a coating that inflicts Paralysis, then deals damage to one enemy with the weapon element. The coating's effect persists and gains power relative to Charge Gauge level. ・ Battle Ready (S)
Battle Ready (S) Applies a random coating at the start of the battle. (Excludes coatings provided by skills gained from decorations.) |
| Arko Nulo Red |
|
|
|
2 |
・ Dragon Piercer
Dragon Piercer Consumes Charge Gauge to unleash the coating's power. Deals damage to one enemy with the weapon element. High chance of landing a critical hit. Requires charge level 5. ・ Piercing Shot
Piercing Shot Increases Charge Gauge by 2 levels, deals damage to one enemy with the weapon element. High chance of landing a critical hit. ・ Paralysis Coating
Paralysis Coating Applies a coating that inflicts Paralysis, then deals damage to one enemy with the weapon element. The coating's effect persists and gains power relative to Charge Gauge level. ・ Battle Ready (S)
Battle Ready (S) Applies a random coating at the start of the battle. (Excludes coatings provided by skills gained from decorations.) ・ Defense Down Coating
Defense Down Coating Applies a coating that inflicts Defense Down, then deals damage to one enemy with the weapon element. The coating's effect persists and gains power relative to Charge Gauge level. |
| Arko Nulo White |
|
|
|
2 |
・ Dragon Piercer
Dragon Piercer Consumes Charge Gauge to unleash the coating's power. Deals damage to one enemy with the weapon element. High chance of landing a critical hit. Requires charge level 5. ・ Piercing Shot
Piercing Shot Increases Charge Gauge by 2 levels, deals damage to one enemy with the weapon element. High chance of landing a critical hit. ・ Accuracy Down Coating
Accuracy Down Coating Applies a coating that inflicts Accuracy Down, then deals damage to one enemy with the weapon element. The coating's effect persists and gains power relative to Charge Gauge level. ・ Paralysis Coating
Paralysis Coating Applies a coating that inflicts Paralysis, then deals damage to one enemy with the weapon element. The coating's effect persists and gains power relative to Charge Gauge level. ・ Battle Ready (S)
Battle Ready (S) Applies a random coating at the start of the battle. (Excludes coatings provided by skills gained from decorations.) |
| Iron Gunlance |
|
|
|
3 |
・ Shelling
Shelling Consumes 2 shells to damage one enemy with the weapon element, then grants Guard to the user. ・ Wyvern's Fire
Wyvern's Fire Deals damage to one enemy with the weapon element at the end of turn. Guaranteed to hit. Greatly reduces defense while preparing. The user is then inflicted with Overheat for 5 turns. ・ Guard Chance (S)
Guard Chance (S) Recovers a slight amount of HP after guarding. ・ Guard Reload
Guard Reload Loads 2 shells and grants Guard to the user. ・ Taunt
Taunt Makes enemies focus their attacks on the user. |
| Fiore Nulo Red |
|
|
|
2 |
・ Shelling
Shelling Consumes 2 shells to damage one enemy with the weapon element, then grants Guard to the user. ・ Quick Reload
Quick Reload Loads 3 shells. ・ Audacious Wyvern (S)
Audacious Wyvern (S) Slightly increases damage dealt when using Wyvern's Fire or Wyvern's Blaze, but also increases damage taken. ・ Wyvern's Blaze (TLNT)
Wyvern's Blaze (TLNT) Deals damage to all enemies with the weapon element at the end of turn. Guaranteed to hit. Greatly reduces defense while preparing. The user is then inflicted with Overheat for 10 turns. |
❖ Select a weapon or attack type to see more details.
All Weapon Types
Monster Hunter Stories 3 features weapon types divided into three main damage categories: Slash, Blunt, and Piercing. Each weapon excels at breaking specific monster parts and countering enemy weaknesses.
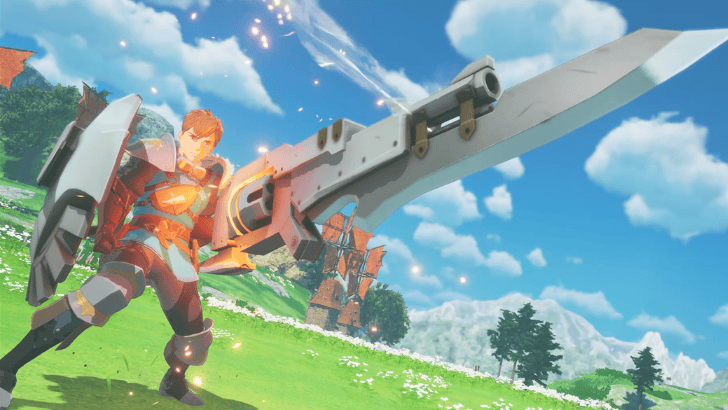
Great Sword Guide and Overview
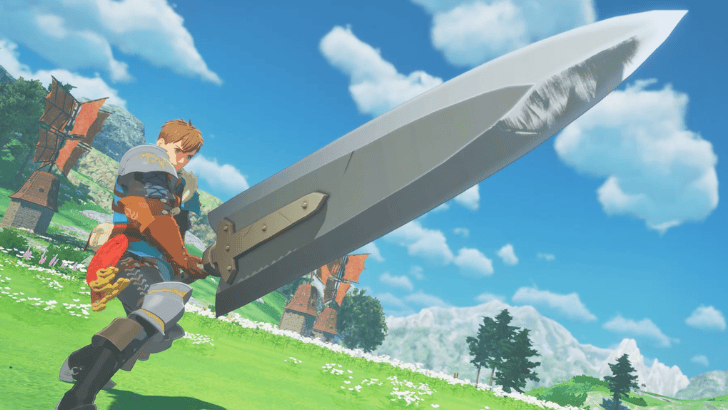
The Great Sword is a heavy Slash weapon that focuses on powerful single-hit attacks. It deals high burst damage but usually acts slower compared to other weapons.
This weapon excels at cutting tails and breaking parts that are weak to Slash damage. Many Great Sword skills focus on large burst damage that can quickly punish monsters after winning head-to-head clashes.
Long Sword Guide and Overview
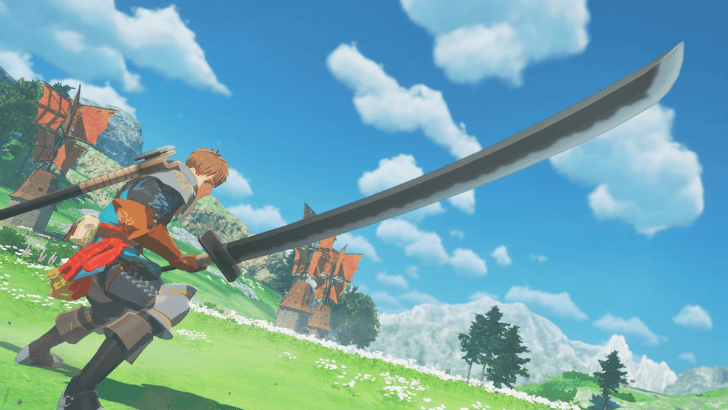
The Long Sword is a balanced Slash weapon that focuses on sustained damage through its Spirit Gauge system. Its playstyle rewards consistent attacks that help build the Spirit Gauge during battle.
Long Sword users often aim to win Head-to-Head encounters to deal reliable damage and charge weapon skills more quickly.
Hammer Guide and Overview
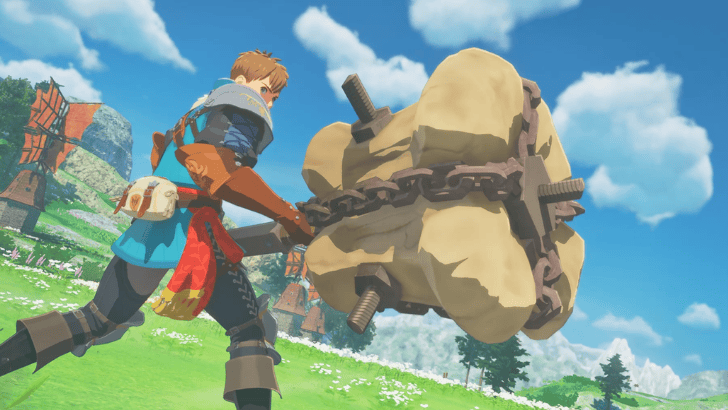
The Hammer is a Blunt weapon that specializes in heavy impact attacks. It is particularly effective when targeting a monster’s head or other hard or armored parts.
Blunt damage has a higher chance of triggering stun effects, which can temporarily disable monsters and give players more control over the battle.
Hunting Horn Guide and Overview
The Hunting Horn is a Blunt weapon that combines offense with powerful support abilities. Its attacks generate notes, and you can hold up to four active notes at a time. Depending on the weapon’s equipped skills, these notes can be used to perform powerful attacks or provide buffs to the entire party.
In Monster Hunter Stories 3, many Hunting Horn abilities now deal damage while providing buffs, allowing Riders to support their party without sacrificing offense.
Bow Guide and Overview
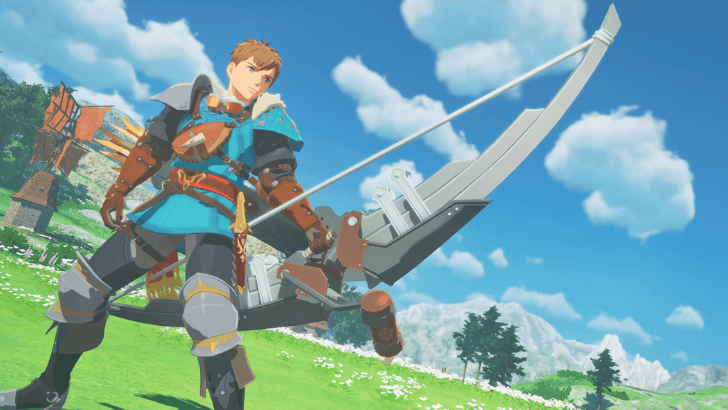
The Bow is a Piercing weapon that excels at damaging wings and other monster parts that are weak to Piercing attacks.
Many Bow skills also apply elemental damage and status effects, making it effective for exploiting monster weaknesses during battle.
Gunlance Guide and Overview
The Gunlance is a Piercing weapon that combines thrusting attacks with powerful shelling techniques.
Shelling skills deal explosive damage that can ignore certain defenses, making the weapon effective against heavily armored monster parts.
The Gunlance provides strong burst damage options while still dealing reliable Piercing damage each turn.
Weapon Damage Types Explained
| Damage Type | Effect |
|---|---|
| Slash | Best for cutting tails and breaking blade-vulnerable parts. |
| Blunt | Effective at stunning monsters and breaking hard skull or armor parts. |
| Piercing | Effective against wings and other monster parts that are weak to Piercing damage. |
Riders can switch between the three equipped weapons during battle, allowing them to adapt to monster part weaknesses and different damage types.
Which Weapon Should You Choose?
|
|
Great Sword and Long Sword for Slash Damage
The Great Sword and Long Sword are Slash-type weapons that excel at Head-to-Head encounters and attacking monster parts weak to Slash damage, such as tails or blade-vulnerable areas.
The Great Sword focuses on high burst damage from single powerful attacks, while the Long Sword uses the Spirit Gauge system to maintain consistent offensive pressure through skill usage.
Hammer and Hunting Horn for Blunt Damage
Blunt weapons are particularly effective at damaging monster heads and may trigger stun effects that help control the flow of battle.
The Hammer focuses on straightforward impact damage and is useful for stunning monsters, while the Hunting Horn combines offensive attacks with party-enhancing effects through its note system.
Hunting Horn skills can deal damage while activating notes that provide buffs or healing effects for your party.
Bow and Gunlance for Piercing Damage

Piercing weapons such as the Bow and Gunlance specialize in dealing damage to monster parts that are weak to Piercing attacks.
The Bow can apply elemental or status effects, while the Gunlance offers powerful burst damage through its shelling skills.
Choose the Weapon That Fits Your Playstyle
Ultimately, the best weapon depends on how you like to play.
Slash weapons like Great Sword and Long Sword are best for aggressive, up-close battles. Blunt weapons give control with stuns and support, while Bow and Gunlance are perfect for exploiting monster weaknesses.
Can You Equip Multiple Weapons?
Riders Can Equip Up to Three Weapons
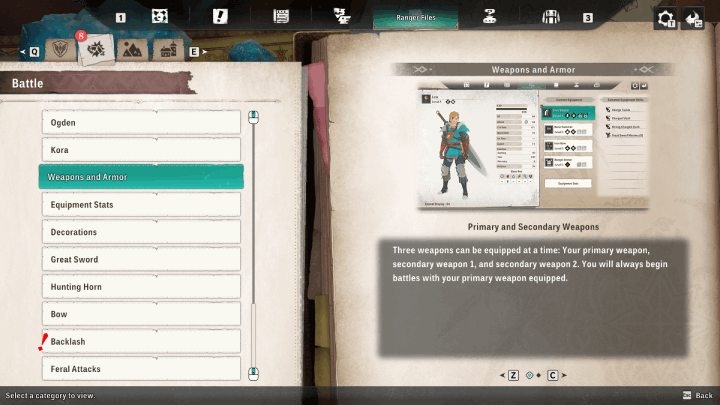
Riders can equip up to three weapons before battle and freely switch between them during combat without consuming a turn. This allows you to adapt to monster part weaknesses and use the most effective damage type at the right moment.
How to Get Weapons
You can Forge Weapons at the Smithy
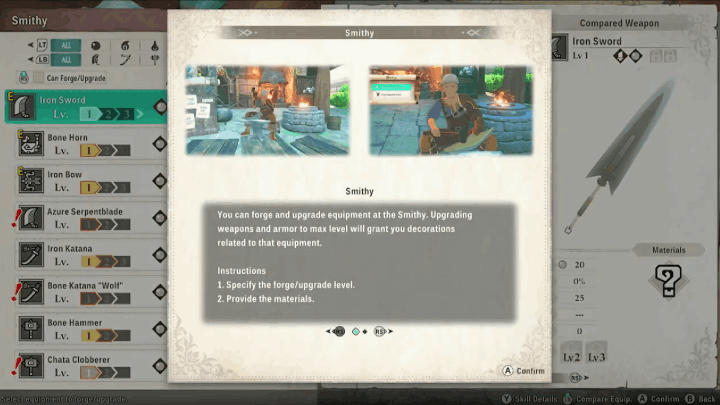
In Monster Hunter Stories 3, most weapons are obtained through crafting and upgrading at the Smithy rather than finding them in the field. As you progress through the story and hunt monsters, you’ll gather materials and Zenny, the in-game currency, which are required for forging and upgrading weapons.
To craft a weapon, speak to the smithy NPC in towns or settlements and select the Forge/Upgrade Weapon option. Some upgrades require forging or enhancing base versions first, guiding your progression through each weapon’s evolution.
Monster Hunter Stories 3 (MHS3) Related Guides
Monster Hunter Stories 3 Wiki Front
Guides by Category
 Monsters Monsters |
 Weapons Weapons |
 Characters Characters |
 Tips and Tricks Tips and Tricks |
 Bosses Bosses |
 Interactive Map Interactive Map |
 Items Items |
 News News |
 Main Story Main Story |
 Side Quests Side Quests |
 Trophies Trophies |
 Armor Armor
|
Comment
Author

Monster Hunter Stories 3: Twisted Reflection Walkthrough & Guides Wiki
List of All Weapons
Please participate in our site
improvement survey
03/2026
improvement survey
03/2026
Would you assist in
improving Game8's site?
improving Game8's site?

×
We are listening to our users' valuable opinions and discussing how to act on them.
The information collected through this survey will be used for the purpose of improving our services. In addition, the information will only be disclosed a part of a statistic in a format that will not allow identification of personal information.
Begin Survey
Not Now
×
Please rate each item regarding Game8.co's Advertisements.
Amount of Ads
Very Dissatisfied
Somewhat Dissatisfied
Fine
Somewhat Satisfied
Highly Satisfied
Placement of Ads
Timing of Ad Display
Ad Loading Speed
Safeness of Ads
Content of Ads
×
Please rate each item regarding Game8.co's Quality of Articles.
Amount of information
Very Dissatisfied
Somewhat Dissatisfied
Fine
Somewhat Satisfied
Highly Satisfied
Frequency of updates
Speed of new information
Accuracy of articles
Understandibility of articles
Readability of sentences
×
Please rate each item regarding Game8.co's Usability of the Site.
Ease of finding information
Very Dissatisfied
Somewhat Dissatisfied
Fine
Somewhat Satisfied
Highly Satisfied
Loading Speed
Use of Color
Font Size
Visibility of Images
Easy to Understand Layout
×
Please rate each item regarding Game8.co's Message Boards, Comments.
Ease of Writing
Very Dissatisfied
Somewhat Dissatisfied
Fine
Somewhat Satisfied
Highly Satisfied
Readability
Ease in Finding Information
Comment Quality
Comment Quantity
Admin Response
×
Please rate each item regarding Game8.co's Site's new design.
Please rate our site's new design
Very Dissatisfied
Somewhat Dissatisfied
Fine
Somewhat Satisfied
Highly Satisfied
Do you think that the website's design change makes the site easier to use?
Has the new design made it easier for you to find information on the site?
Has the new design improved the overall visual appeal of the site?
How would you rate your overall satisfaction with the new design of the site?
×
How likely are you to recommend Game8 to someone you know?
Very Unlikely
0
1
2
3
4
5
6
7
8
9
10
Very Likely
If you have other opinions regarding potential improvement to the website, please share them with us. We would appreciate your honest opinion.
Note: This is a free response section, so you can proceed without entering anything.
Note: Please be sure not to enter any kind of personal information into your response.
Note: Please be sure not to enter any kind of personal information into your response.
×
Thank You
×
Thank you for participating in our survey! Your answers will help us to improve the quality of our website and services.
We hope you continue to make use of Game8.
We hope you continue to make use of Game8.
Close
Rankings
- We could not find the message board you were looking for.
Gaming News


![Everwind Review [Early Access] | The Shaky First Step to A Very Long Journey](https://img.game8.co/4440226/ab079b1153298a042633dd1ef51e878e.png/thumb)

![Monster Hunter Stories 3 Review [First Impressions] | Simply Rejuvenating](https://img.game8.co/4438641/2a31b7702bd70e78ec8efd24661dacda.jpeg/thumb)
Popular Games

Genshin Impact Walkthrough & Guides Wiki
Honkai: Star Rail Walkthrough & Guides Wiki
Umamusume: Pretty Derby Walkthrough & Guides Wiki
Pokemon Pokopia Walkthrough & Guides Wiki
Resident Evil Requiem (RE9) Walkthrough & Guides Wiki
Monster Hunter Wilds Walkthrough & Guides Wiki
Wuthering Waves Walkthrough & Guides Wiki
Arknights: Endfield Walkthrough & Guides Wiki
Pokemon FireRed and LeafGreen (FRLG) Walkthrough & Guides Wiki
Pokemon TCG Pocket (PTCGP) Strategies & Guides Wiki


Recommended Games
Diablo 4: Vessel of Hatred Walkthrough & Guides Wiki
Fire Emblem Heroes (FEH) Walkthrough & Guides Wiki
Yu-Gi-Oh! Master Duel Walkthrough & Guides Wiki
Super Smash Bros. Ultimate Walkthrough & Guides Wiki
Pokemon Brilliant Diamond and Shining Pearl (BDSP) Walkthrough & Guides Wiki
Elden Ring Shadow of the Erdtree Walkthrough & Guides Wiki
Monster Hunter World Walkthrough & Guides Wiki
The Legend of Zelda: Tears of the Kingdom Walkthrough & Guides Wiki
Persona 3 Reload Walkthrough & Guides Wiki
Cyberpunk 2077: Ultimate Edition Walkthrough & Guides Wiki


All rights reserved
©CAPCOM CO., LTD, and CAPCOM CO. logos are trademarks or registered trademarks of CAPCOM. All rights reserved.
The copyrights of videos of games used in our content and other intellectual property rights belong to the provider of the game.
The contents we provide on this site were created personally by members of the Game8 editorial department.
We refuse the right to reuse or repost content taken without our permission such as data or images to other sites.