Wind Fish's Egg Walkthrough
This is a walkthrough for the Wind Fish's Egg in The Legend of Zelda: Links Awakening (Remake) for the Nintendo Switch. Use this guide to learn how to reach this section and defeat the bosses to complete the game.
| ◀︎ Previous Dungeon | Next Dungeon ▶︎︎ |
|---|---|
| Turtle Rock | - |
List of Contents
Getting to the Wind Fish's Egg
| Getting to Wind Fish's Egg Objectives |
|---|
|
|
Prepare for the Final Battle
- Trade for the Boomerang
- Equip Red Mail
- Acquire the Koholint Sword
- Gain Maximum Hearts
- Stock Up on Fairies
- Buy Secret Medicine
Before marching in to the final battle, there are a few preparations you may want to take, to ensure a smooth victory. All of the following upgrades are completely optionally, however we highly recommend getting the Boomerang.
Trade for the Boomerang
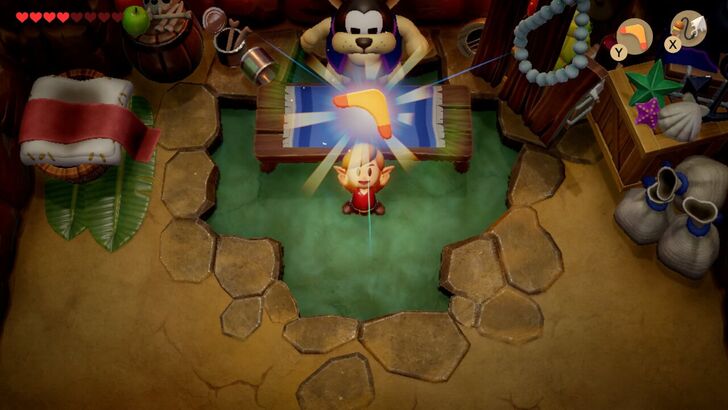
If you did not already obtain the Boomerang after getting the Hookshot, now would be a good time to go back for it, as it is quite useful for dealing with the boss' last two forms. You get it by completing the Trading Sequence.
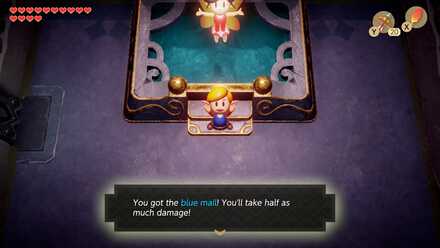
Equip Red Mail
| Blue Mail | Red Mail |
|---|---|
 |
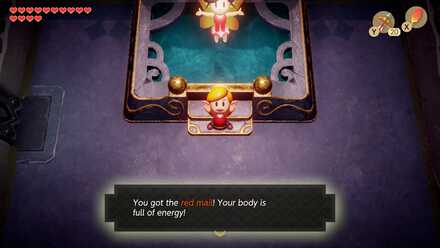 |
After finishing the Color Dungeon, you can equip the Red Mail, which increases your damage output, or the Blue Mail, which increases your defense. We recommend using the Red Tunic since you can increase your Hearts and or stock up on Fairies with Bottles.
Acquire the Koholint Sword

The Koholint Sword deals double the damage of Link's regular sword and will also shoot beams when he has full health. It can be obtained by collecting 40 Seashells and bringing them to Seashell Mansion.
Secret Seashell Locations and Rewards
Gain Maximum Hearts
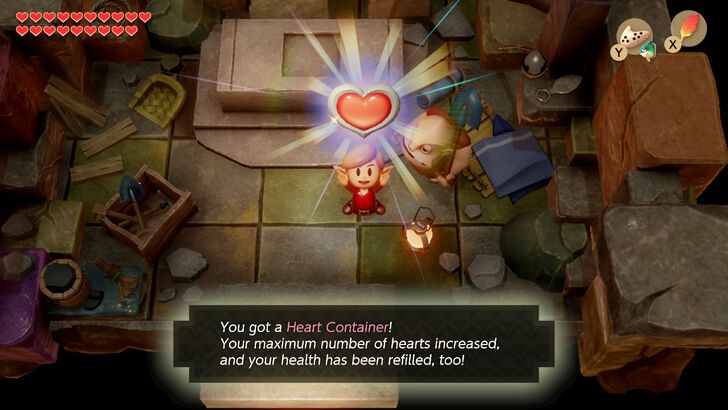
If you have not collected all 32 Pieces of Heart, you can go back and find the ones you are missing in order to have more hearts available.
Stock Up on Fairies
There are three Empty Bottles that can be obtained in Link's Awakening. They can be used to hold Fairies for later use. This can revive some hearts in a pinch.
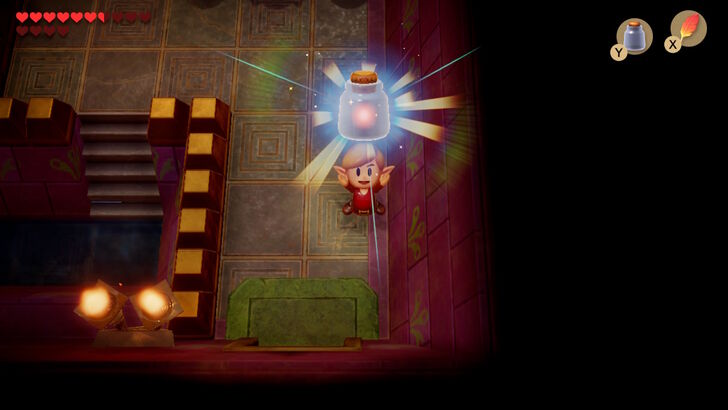
Buy Secret Medicine
Additonally, you can go by Crazy Tracy's Spa and pay 28 rupees for some Secret Medicine. It will revive you when you have run out of hearts. With three Fairy Bottles and some Secret Medicine in your inventory, victory is almost certain!
Restock on Magic Powder
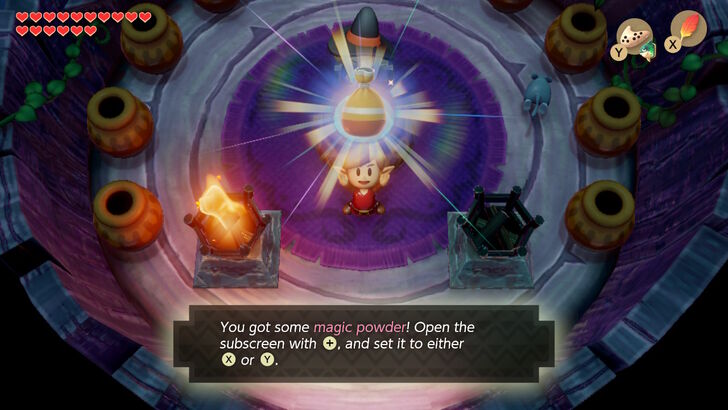
This item will actually be required for the first battle coming up, so make sure you have enough of it! Magic Powder can be obtained by giving the witch north of the Cemetary a Toadstool, or by purchasing it for 50 rupees. It is also a prize at the Trendy Game in Mabe Village.
You can also increase the amount of Magic Powder you can carry by finding a Li'l Devil.
Read Dark Secrets and Mysteries of Koholint
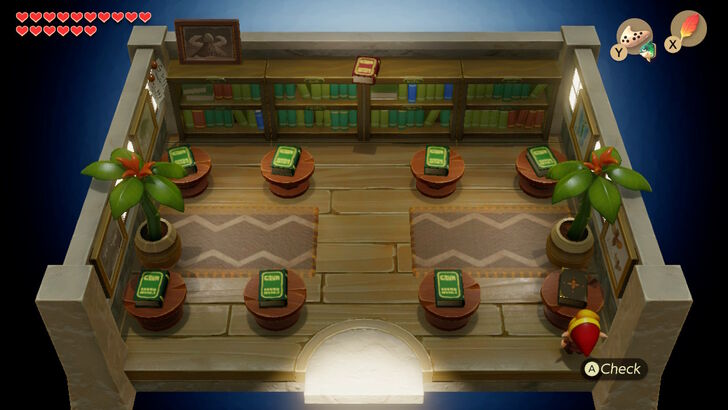
Once you are finished preparing for the final battle, we have one last stop we will have to make. Travel back to Mabe Village, and head west to the Village Library. It will be north where the two children are playing.
Once inside, you will see a black book in the bottom right corner in the room titled 'Dark Secrets and Mysteries of Koholint'. Go over to it and read it.
Unique to Each Game Copy
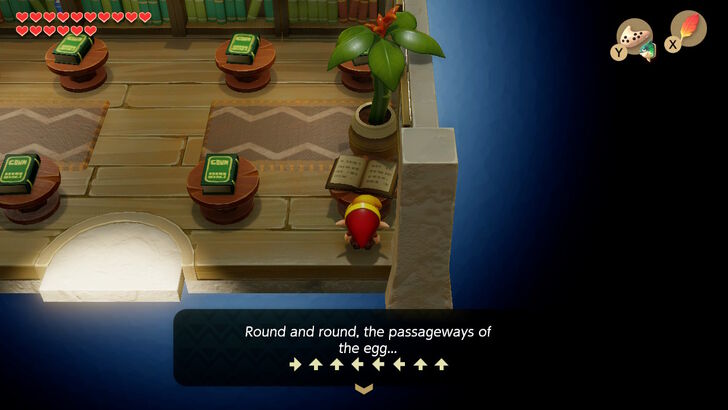
This book will reveal the path that you must take within the Wind Fish's Egg. Make sure you write it down or take a picture of it.
The exact path that shows up will vary for each game, so the picture above will be different to what your copy of the game will show you.
Play Ballad of Wind Fish Near Egg
 |
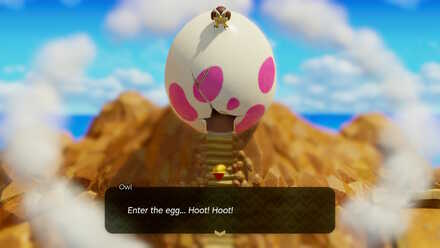 |
Climb the ladder at Mt. Tamaranch, then head up the stairs until you are standing directly in front of the Wind Fish's Egg. Now, equip your Ocarina, and select the song taught to you by Marin: the Ballad of the Wind Fish.
Play the song, which will cause all eight of the Instruments of the Sirens to appear and play along. After this, the egg will open up, and the owl will come speak with you. Finally, step inside the egg.
Wind Fish's Egg Walkthrough
Wind Fish's Egg Objectives
| Wind Fish's Egg Objectives |
|---|
|
|
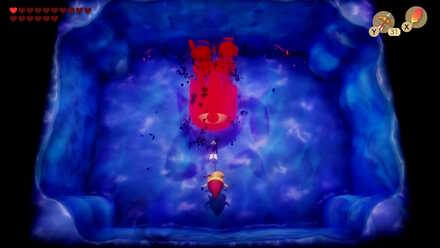
Jump Into the Abyss
Once inside, proceed forward into the next room. This next room is nothing but a large abyss. Take the leap of faith and jump into it. After landing, you will be in a room with a north and south exit. Heading south takes you back to the start, so instead go forward a room.
Use Code From Book
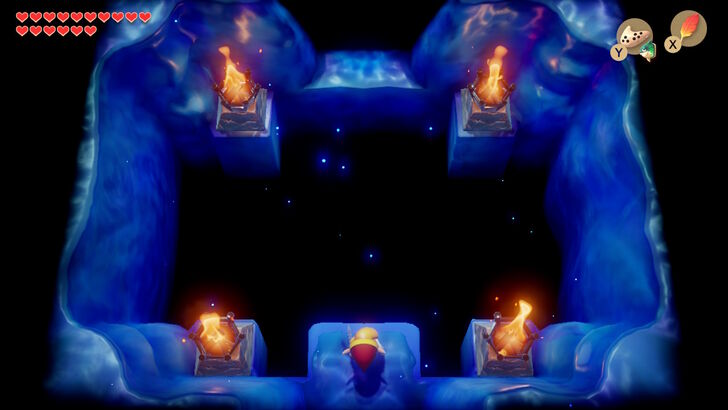
The next room you go to will have paths on every side. Follow the path that was written in 'Dark Secrets and Mysteries of Koholint'. Every room you enter will look exactly the same, but do not worry. As long as you follow the right order, you should arrive at the correct location.
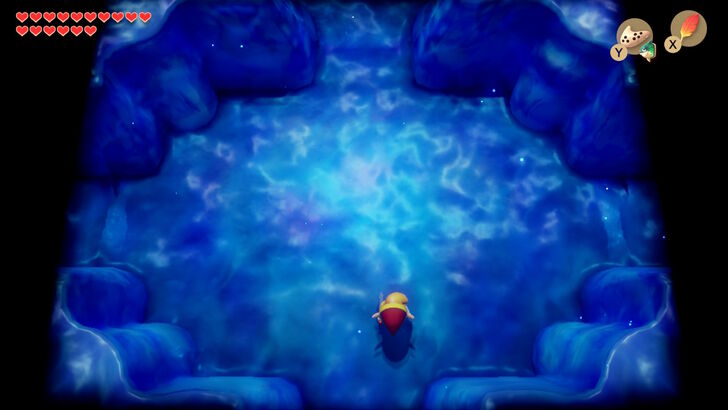
Going through all of the rooms in the correct order will give you the familiar puzzle solution chime and lead you to a room with a circular void in the center. Hop through it and prepare for the final battle, Shadow Nightmare.
Wind Fish's Egg Boss (Nightmare): Shadow Nightmare
| Shadow Nightmare Phases | |
|---|---|
| Giant Blob | Agahnim’s Shadow |
| Moldorm | Shadow of Ganon |
| Lanmola | Dethl |
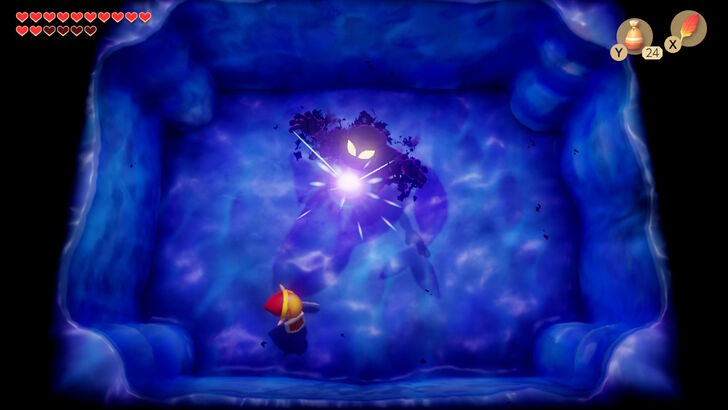
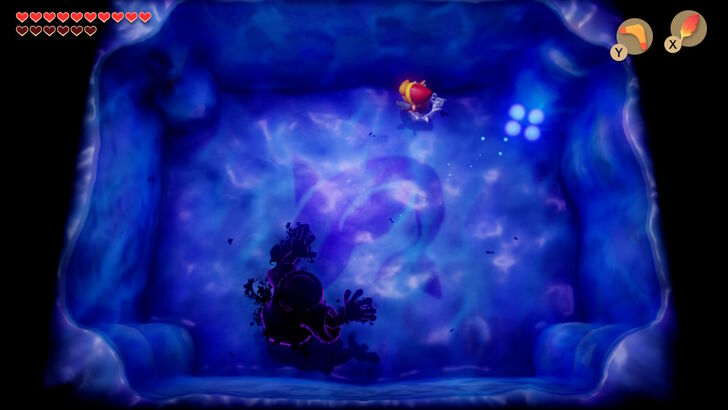
Shadow Nightmare Phase 1: Giant Blob
Use Magic Power as It Lands

The first form of the Shadow Nightmare is a circular blob that bounces around the room, hitting the floor three or four times before vanishing or disappearing. It will only be damaged by Magic Powder.
You will need to time it so that you use the item as it lands. Do this three times to go to the next stage of the fight.
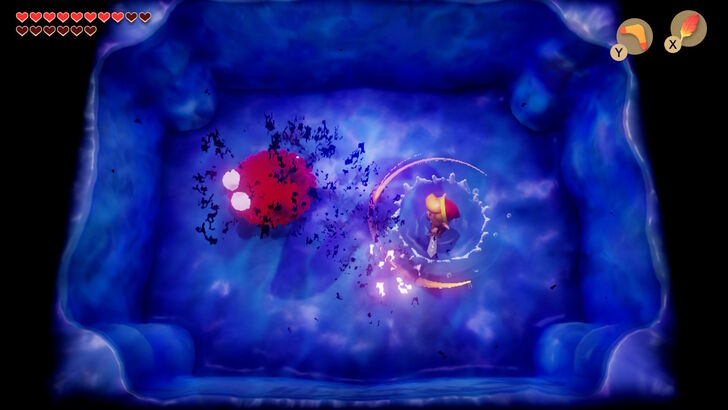
Shadow Nightmare Phase 2: Agahnim’s Shadow
Reflect Red Projectile With Sword
The second form will warp around the room and shoot one of two projectiles at you. The red projectile can be blocked, but you need to hit it with your sword to send it back at him. Do this a total of four or so times to defeat this form.
Blue Projectile is Unblockable
Be aware that occassionally he may throw a blue projectile that consists of four balls at you. You cannot block or hit it, so run out of the way to avoid it. If it hits the wall, it will bounce off in several directions, so be ready to dodge these as well.
Shadow Nightmare Phase 3: Moldorm
Hit Tail Repeatdly
The third form is the same as the nightmare of the first dungeon, Moldorm. Just like before, you need to attack his tail several times while avoiding his head and body, and his speed will increase as he takes more damage.
You can use a Spin-Attack to deal extra damage while he is still slow moving. The Boomerang is also quite useful for securing a hit towards the end when he is moving very fast. After taking enough hits, he will die, transforming once again.
Shadow Nightmare Phase 4: Shadow of Ganon
Dodge Trident Then Spin Attack
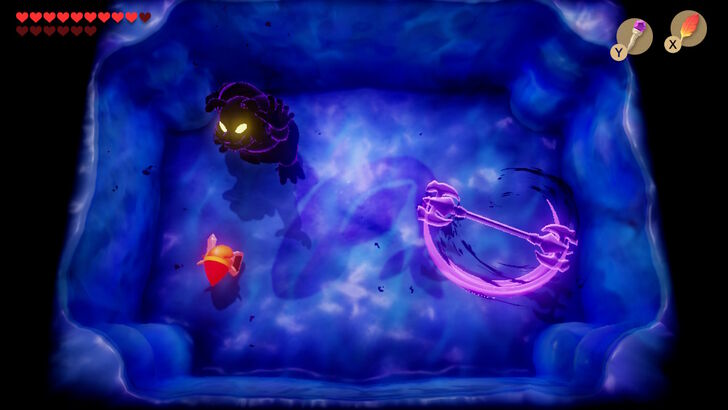
The next form is a bit more challenging. It will spin a trident while summoning flaming bats to fly at you. Jump over them with Roc's Feather or just move out of the way. Then, it will throw his trident at you.
After it throws their trident, charge up a Spin-Attack and hit him on his side. You can also dash into him with your Pegasus Boots.
Shadow Nightmare Phase 5: Lanmola
Use Ranged Attacks on Head

In this form, it will hover quickly around the room trying to run into you, occasionally vanishing and reappearing. Be sure to have Roc's Feather equipped here, as it makes avoiding its movement much easier.
Use either the Boomerang or Bow to hit its head, causing it to pause temporary. This will allow you to unleash a flurry or Boomerang or Arrow hits. It can also be damaged via a Spin-Attack while its stunned.
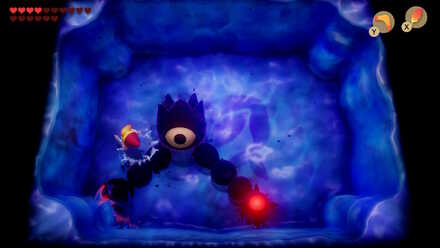
Shadow Nightmare Phase 6: Dethl
Use Ranged Attacks on Open Eye
 |
 |
Its final form, Dethl, has two arms, which move around him. It will move around to hit you with the large spikes on its hands. Dodge its arms by jumping with the Roc's Feather
Use either the Boomerang or Bow to attack its eye when it opens. If you are using the Bow, you can sometimes land two shots while its eye is open.
After enough hits, it will be defeated and a flight of stairs will appear. Climb up them and enjoy the final cutscene. Congratulations! You have beaten The Legend of Zelda: Link's Awakening.
Link's Awakening Related Guides

List of All Dungeons and Story Walkthrough
All Dungeon Walkthroughs
Comment
im walking the same ways it wants me to but its not working help in the wind fishes egg
Author

The Legend of Zelda: Link's Awakening Walkthrough & Guides Wiki
Wind Fish's Egg Walkthrough
Rankings
- We could not find the message board you were looking for.
Gaming News
![Animal Crossing: New Horizons Review [Switch 2] | Needlessly Crossing Over to a New Generation](https://img.game8.co/4391759/47d0408b0b8a892e453a0b90f54beb8a.png/show)


Popular Games

Genshin Impact Walkthrough & Guides Wiki
Honkai: Star Rail Walkthrough & Guides Wiki
Arknights: Endfield Walkthrough & Guides Wiki
Umamusume: Pretty Derby Walkthrough & Guides Wiki
Wuthering Waves Walkthrough & Guides Wiki
Pokemon TCG Pocket (PTCGP) Strategies & Guides Wiki
Abyss Walkthrough & Guides Wiki
Zenless Zone Zero Walkthrough & Guides Wiki
Digimon Story: Time Stranger Walkthrough & Guides Wiki
Clair Obscur: Expedition 33 Walkthrough & Guides Wiki


Recommended Games
Fire Emblem Heroes (FEH) Walkthrough & Guides Wiki
Pokemon Brilliant Diamond and Shining Pearl (BDSP) Walkthrough & Guides Wiki
Diablo 4: Vessel of Hatred Walkthrough & Guides Wiki
Super Smash Bros. Ultimate Walkthrough & Guides Wiki
Yu-Gi-Oh! Master Duel Walkthrough & Guides Wiki
Elden Ring Shadow of the Erdtree Walkthrough & Guides Wiki
Monster Hunter World Walkthrough & Guides Wiki
The Legend of Zelda: Tears of the Kingdom Walkthrough & Guides Wiki
Persona 3 Reload Walkthrough & Guides Wiki
Cyberpunk 2077: Ultimate Edition Walkthrough & Guides Wiki


All rights reserved
© 1993-2019 Nintendo
The copyrights of videos of games used in our content and other intellectual property rights belong to the provider of the game.
The contents we provide on this site were created personally by members of the Game8 editorial department.
We refuse the right to reuse or repost content taken without our permission such as data or images to other sites.
Thank you 💜 You helped me soo much! It was my first time playing Zelda and a loved.