Color Dungeon Walkthrough
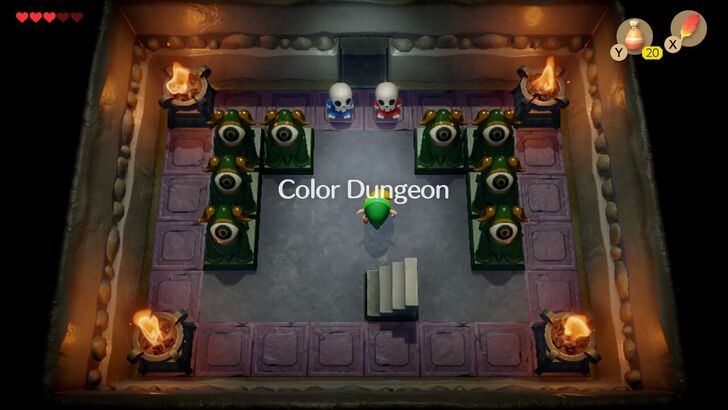
This is the walkthrough for the Color Dungeon in The Legend of Zelda: Links Awakening (Remake) for the Nintendo Switch. Read on to see how to reach this dungeon, solve the dungeon's puzzles, and defeat the bosses to beat this dungeon.
List of Contents
Getting to Color Dungeon
The Color Dungeon entrance can be unlocked by pushing grave stones in a specific order and direction. You also need to at least obtain the Power Bracelet from Bottle Grotto before you can enter the Color Dungeon, although the Pegasus Boots need to be obtained from Key Cavern to find the hint leading to the dungeon. Also, you need to face the Color Dungeon Trial alone, so leave BowWow or Marin behind before trying to enter.
Color Dungeon Location
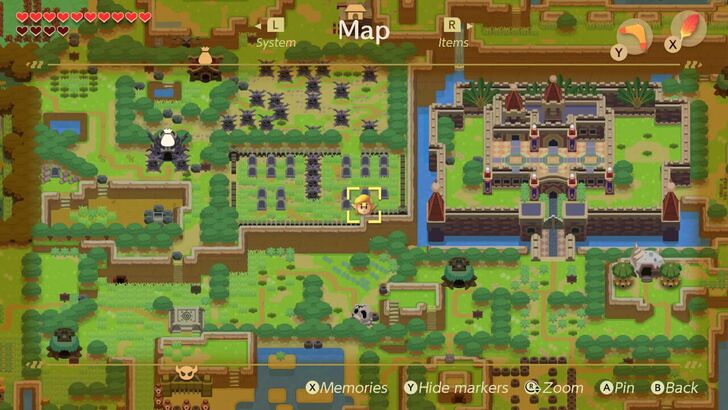
Getting to Color Dungeon Objectives
| No. | Objective |
|---|---|
| 1 | Get the Power Bracelet from Bottle Grotto. |
| 2 | (Optional) Go to Mabe Library after obtaining the Pegasus Boots and dash into the bookcase. Read the red book that drops down. |
| 3 | Go to the Cemetary, and locate the five tombstones in the southeast section. |
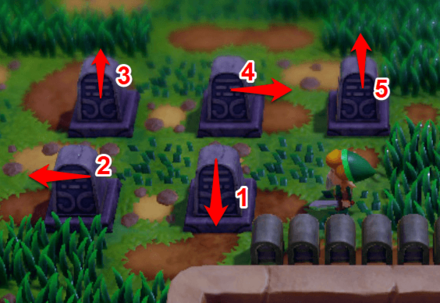
| 4 | Push the tombstones in the order and direction written in the book. Go down the stairs that appear. |
Obtaining the Power Bracelet
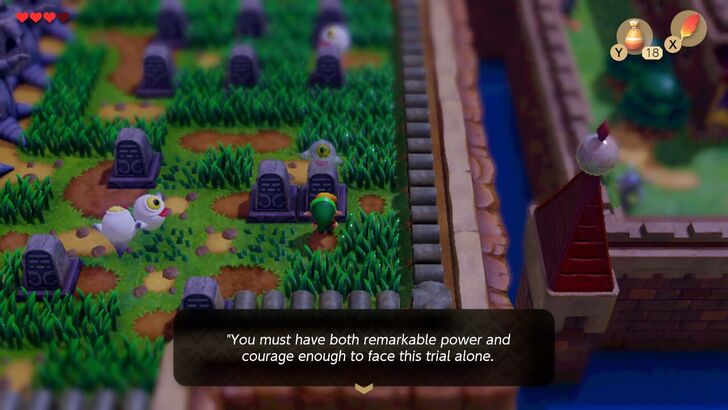
Trying to push the Tombstone before obtaining the Power Bracelet from Bottle Grotto will prompt that you do not have enough power and courage to face this trial. Be sure to have it before beginning this quest.
The Secret Book
 |
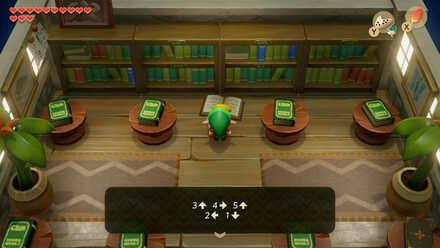 |
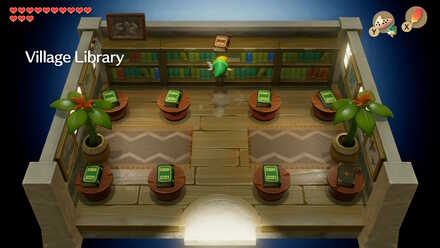
Although you can technically get to the dungeon without it, a book located in the library of West Mabe Village prompts you to find the dungeon and gives you steps for entering. To read this book, enter the Village Library, then use the Pegasus Boots (obtained in Key Cavern) to dash into the bookcase. A red book will drop down. Read it for instructions on finding and entering Color Dungeon
The Cemetary
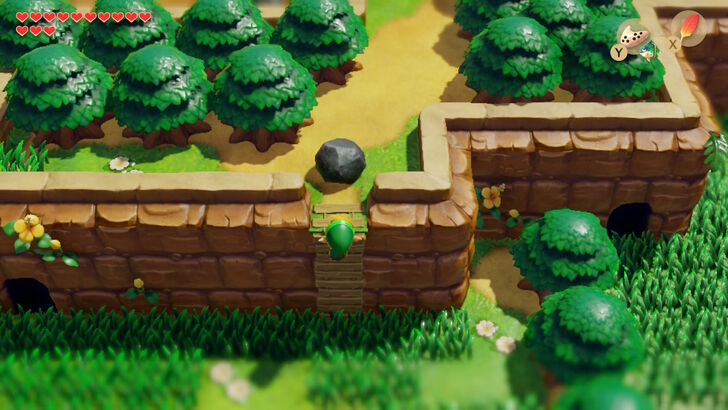
Warp to Ukuku Prarie (the warp zone is just east of Mabe Villge, above Key Cavern). Just north of the warp zone, there is a ladder with a boulder at the top. climb to the top, pick up the boulder, and enter the Cemetary. There are four sets of tombstones here, so go to the southeastern one, which has five tombstones total. Watch out for the Poes that appear when you bump into a gravestone.
Opening the Color Dungeon
 |
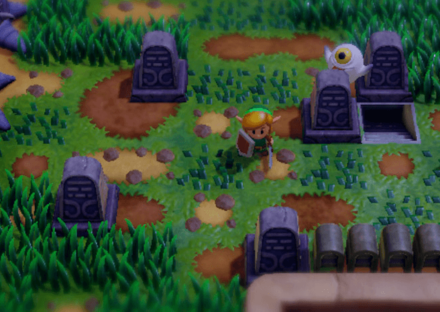 |
There are 5 tombstones that need to be pushed in a specific order and towards the right direction. Above is an image of the direction and sequence to unlock the Color Dungeon entrance. After that, enter the stairs that are revealed.
Color Dungeon Walkthrough
Color Dungeon Map and Items
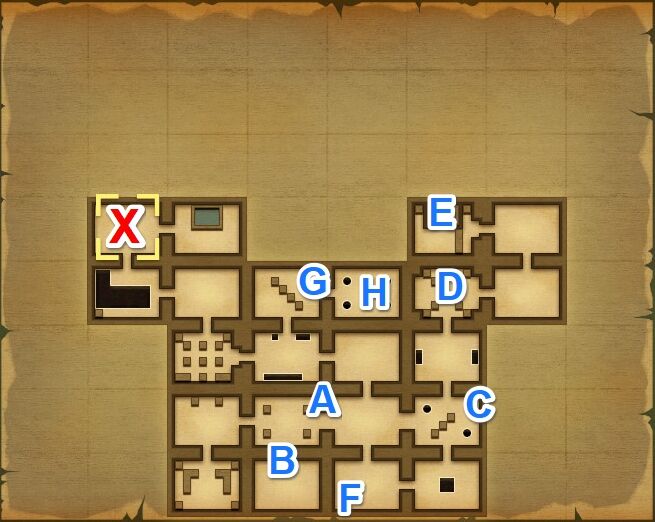
| Location on Map | Item |
|---|---|
| A | Compass |
| B | 140 Rupees |
| C | Stone Beak |
| D | Small Key #1 |
| E | Nightmare Key |
| F | Small Key #2 |
| G | Map |
| H | Small Key #3 |
Color Dungeon Objectives
| No. | Objective |
|---|---|
| 1 | Go north and defeat the Camo Goblins to open the east door. Solve the puzzle in the next room to get the Compass. |
| 2 | Go two rooms east, and defeat Orb Monsters and obtain the Stone Beak. |
| 3 | Head north twice and solve the puzzle to obtain Small Key #1. |
| 4 | Go east, then north and defeat Giant Buzz Blob to gain access to the next room. |
| 5 | Grab the Nightmare Key and backtrack to the area where you first saw Orb Monsters. |
| 6 | Go south and then west to get Small Key #2 |
| 7 | Go north twice from there and defeat Stone Hinox. |
| 8 | Go west and hit the switch under the pot, then go north. Obtain the Map by defeating all the Zol. |
| 9 | Go to the next room and defeat 4 Orb Monsters to obtain Small Key #3 |
| 10 | Go back to the previous room where you saw the Bone Putter, but this time go west and solve the puzzle. |
| 11 | Proceed north and then west. Hit the switch and enter the Nightmare Lair. |
| 12 | Defeat Hardhit Beetle to obtain the reward from the Fairy Queen. |
Compass
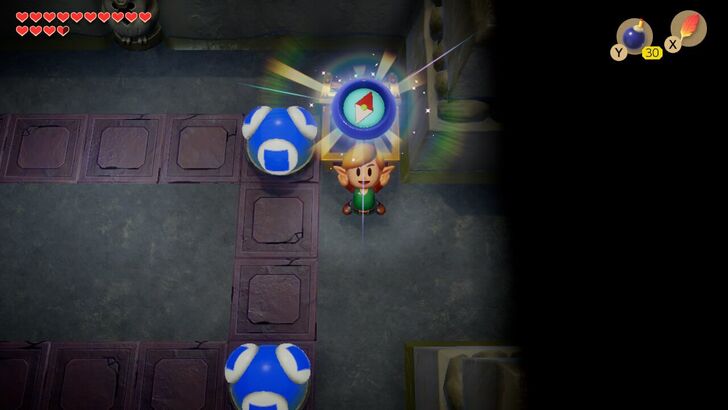
Talk to Gar and Dion to pass inside the Color Dungeon. You can purchase Magic Powder from Gar if you forgot to bring any for 100 Rupees. Upon entering the north room you will have to fight 3 Camo Goblins. Dispose of them by slashing them when they pop up to unlock the door leading to the next room.
Once you enter this room and encounter a set of spheres. Hitting one will change it and all adjacent spheres to change colors. Hit the upper left colored sphere and then the lower right colored sphere. Doing this will spawn a Treasure Chest containing the Compass.
Rupee Room
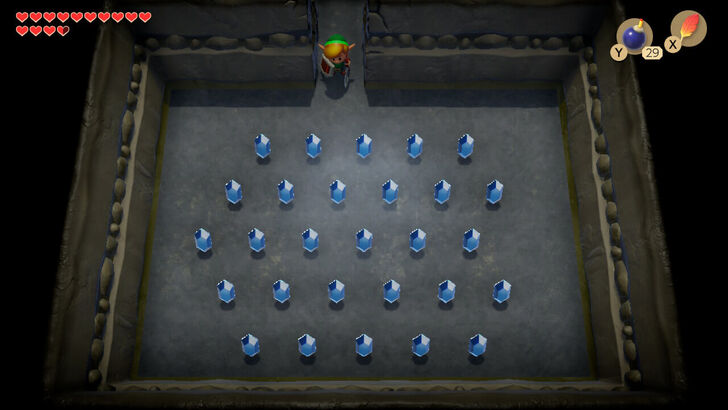
Destroy the breakable wall south of the room where you first saw the color sphere puzzle. You will see 28 Blue Rupees, worth 5 Rupees each, for a total of 140 Rupees.
Stone Beak
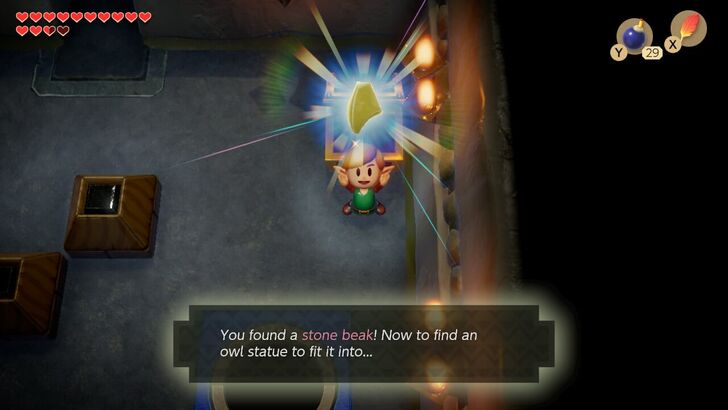
Return to the previous room and this time enter the right door. Here you will encounter a Bone Putter jumping around the floor. This floor changes colors when stepped on, and will break when red, so do not step on red tiles. Leave this area by going through the right door. You will fight 2 Orb Monsters here. To beat them, slash them with your sword, then pick them up and throw them into the hole of the same color when they are in ball form. Doing so will drop a Treasure Chest with the Stone Beak. Proceed through the north door.
Small Key #1
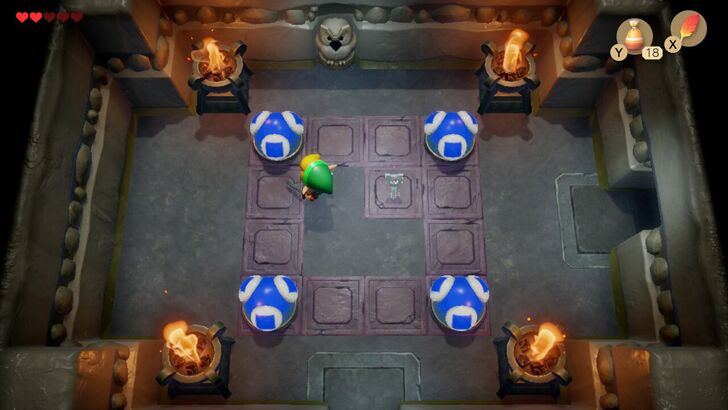
Here you will fight two more Bone Putters, but you can skip through this area without fighting them. In the next room, you will encounter another second color sphere puzzle that you need to solve. Hit the bottom right sphere once, and the top left sphere twice. Doing this will drop Small Key #1. Go to the room on the right. You will encounter three more Camo Goblins and a locked door. Use your small key on this door.
Mini-Boss: Giant Buzz Blob
 |
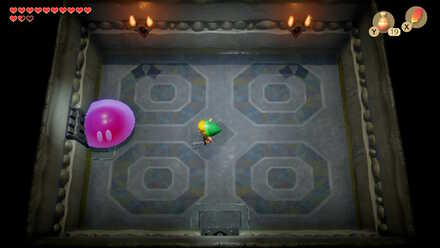 |
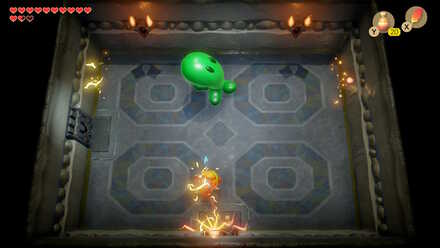
Upon going through the locked door, you will find the mini-boss: Giant Buzz Blob. It turns into a giant Green Buzz Blob and shoots electricity at you in the four directions of his feet. You will have to use Magic Powder to make him vulnerable to your attacks. When you do this, he turns into his initial form and hops around, but is now weak to your sword. Note that his jumping can still damage you, so dodge his landing and strike him right after.
Nightmare Key
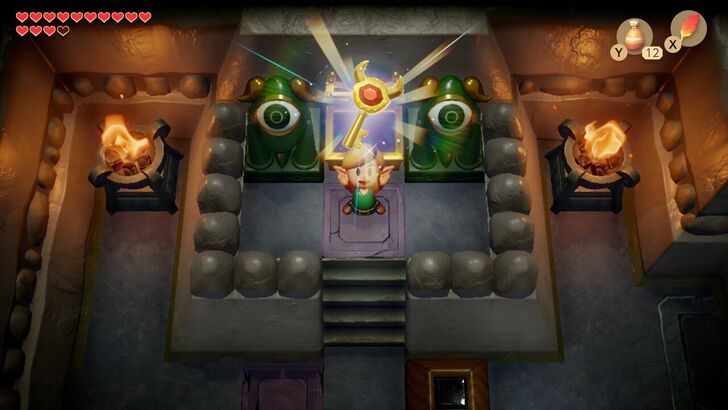
Repeat this a few times, and it will explode and drop a fairy. Defeating the Mini-Boss Giant Buzz Blob will allow you to go through the left room. Push the blocks out of the way here and find the Treasure Chest containing the Nightmare Key.
Small Key #2
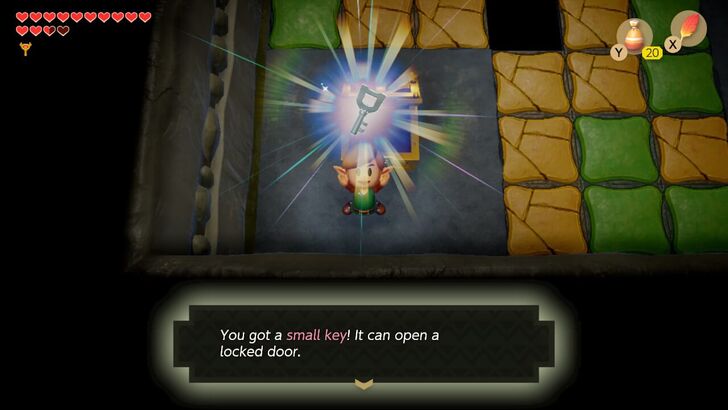
Backtrack to the area where you fought the Orb Monsters for the first time and this time go south. Here you will fight 4 Camo Goblins. Take them out and go left. Defeat two more Bone Putters before they break the floor and grab Small Key #2, then proceed two rooms to the north.
Mini-Boss: Stone Hinox
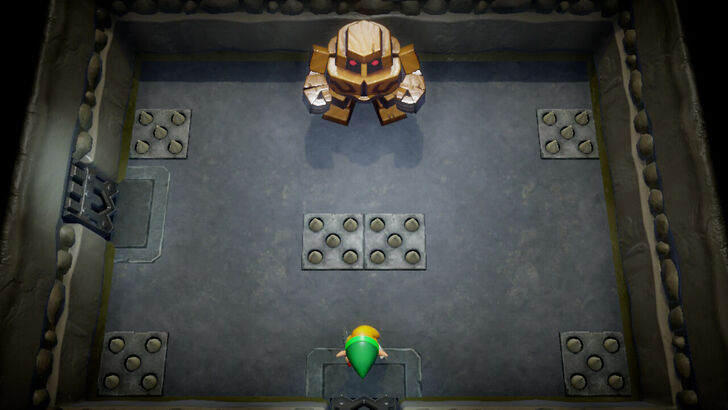
Go through the locked door and you will encounter the Stone Hinox. He will jump and cause rocks to fall, stunning you when landing. Evade the falling rocks by running (watching out for the spikes) and the tremors by jumping before his landing. Throw bombs at him from a distance, or hit him up close with your sword. Bow and Arrows are very useful here too, if you already have them. After he takes enough hits, he will jump more and more. Hit him until he explodes and drops a fairy.
Map
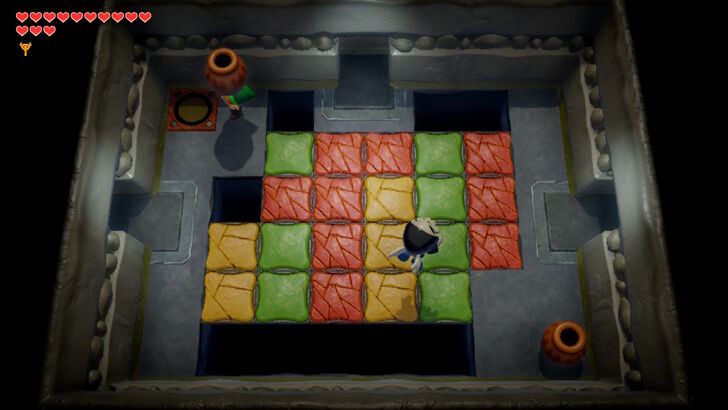
After beating the Stone Hinox head west, then hit the switch under the top left pot. Open the doors and head north to find a room full of hidden Zols. Walk around defeating all of the enemies to make the hidden Treasure Chest appear containing the Map.
Small Key #3
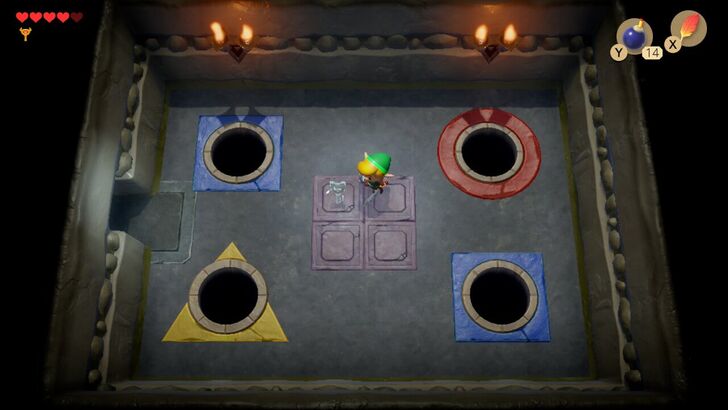
After obtaining the map go to the east room where you will find 4 Orb Monsters. Just like before, hit them and throw their bodies into the hole with the same color as them to reveal a treasure chest containing Small Key #3. Go two rooms back, and enter the west room.
Getting to the Nightmare Lair
 |
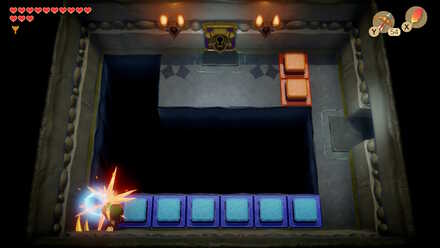 |
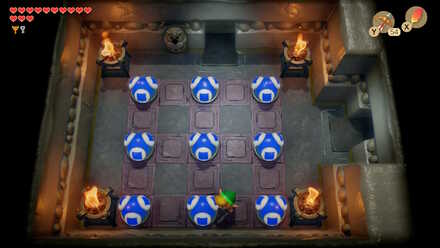
You will encounter another sphere puzzle here, this time with 9 spheres total. Hit them in this order: top center, left center, right center, and bottom center. This will turn them blue and unlock the northern door. In the next room, a fairy can be found in the top right pots. Unlock the left side door and continue forward. In this room, walk across the room to the color switch and hit it, then walk to the door leading to the Nightmare Lair.
Color Dungeon Nightmare: Hardhit Beetle
 |
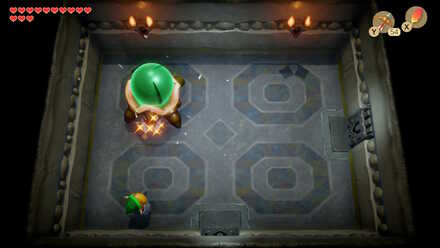 |
Hardhit Beetle will start off with a blue colored crystal on his back which will change colors as you hit him with your sword. He will also shoot a projectile at you, so jump over it and slash at his back. Hardhit Beetle regains his health quickly, so you must continuously strike his back before he has a chance to recover.
 |
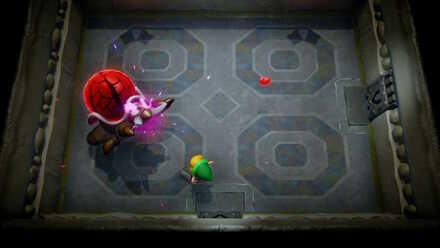 |
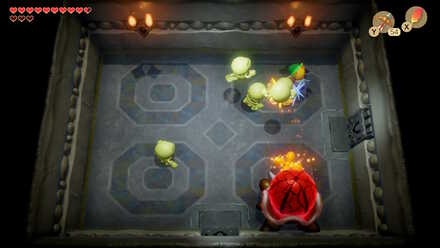
When his back becomes an orangish color, he will summon several Stalfos. Just avoid them and keep slashing Hardhit Beetle's back, until it turns red, then deliver the final blow to defeat him. Pick up the fairy and head to the east room to receive a reward from the Fairy Queen.
Fairy Queen's Reward
 |
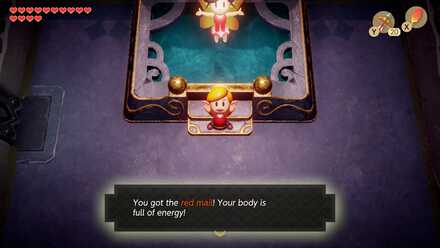 |
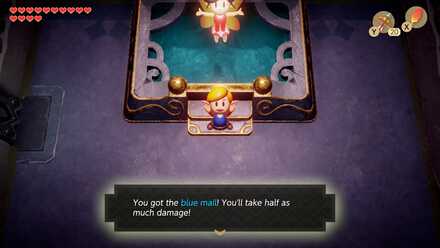
Talk to the Fairy Queen and choose the color of the mail you want to receive. The Red Mail Increases the damage of your sword while the Blue Mail reduces the damage you receive by half.
Because you can always stock up on bottled fairies and Tracy's medicine to avoid death, we recommend the Red Mail to increase your offensive capability, although the Blue Mail can be useful in the beginning of the game when you are low on hearts. However, you can always return to the dungeon and speak with Fairy Queen again if you change your mind.
Link's Awakening Related Guides

List of All Dungeons and Story Walkthrough
All Dungeon Walkthroughs
Author
The Legend of Zelda: Link's Awakening Walkthrough & Guides Wiki
Color Dungeon Walkthrough
improvement survey
03/2026
improving Game8's site?

Your answers will help us to improve our website.
Note: Please be sure not to enter any kind of personal information into your response.

We hope you continue to make use of Game8.
Rankings
- We could not find the message board you were looking for.
Gaming News
Popular Games

Genshin Impact Walkthrough & Guides Wiki

Honkai: Star Rail Walkthrough & Guides Wiki

Umamusume: Pretty Derby Walkthrough & Guides Wiki

Pokemon Pokopia Walkthrough & Guides Wiki

Resident Evil Requiem (RE9) Walkthrough & Guides Wiki

Monster Hunter Wilds Walkthrough & Guides Wiki

Wuthering Waves Walkthrough & Guides Wiki

Arknights: Endfield Walkthrough & Guides Wiki

Pokemon FireRed and LeafGreen (FRLG) Walkthrough & Guides Wiki

Pokemon TCG Pocket (PTCGP) Strategies & Guides Wiki
Recommended Games

Diablo 4: Vessel of Hatred Walkthrough & Guides Wiki

Fire Emblem Heroes (FEH) Walkthrough & Guides Wiki

Yu-Gi-Oh! Master Duel Walkthrough & Guides Wiki

Super Smash Bros. Ultimate Walkthrough & Guides Wiki

Pokemon Brilliant Diamond and Shining Pearl (BDSP) Walkthrough & Guides Wiki

Elden Ring Shadow of the Erdtree Walkthrough & Guides Wiki

Monster Hunter World Walkthrough & Guides Wiki

The Legend of Zelda: Tears of the Kingdom Walkthrough & Guides Wiki

Persona 3 Reload Walkthrough & Guides Wiki

Cyberpunk 2077: Ultimate Edition Walkthrough & Guides Wiki
All rights reserved
© 1993-2019 Nintendo
The copyrights of videos of games used in our content and other intellectual property rights belong to the provider of the game.
The contents we provide on this site were created personally by members of the Game8 editorial department.
We refuse the right to reuse or repost content taken without our permission such as data or images to other sites.


![Everwind Review [Early Access] | The Shaky First Step to A Very Long Journey](https://img.game8.co/4440226/ab079b1153298a042633dd1ef51e878e.png/thumb)

![Monster Hunter Stories 3 Review [First Impressions] | Simply Rejuvenating](https://img.game8.co/4438641/2a31b7702bd70e78ec8efd24661dacda.jpeg/thumb)


