Level 4 - Angler's Tunnel Walkthrough
This is the walkthrough for Angler's Tunnel, the fourth dungeon in The Legend of Zelda: Links Awakening (Remake) for the Nintendo Switch. Read on to see how to reach this dungeon, solve its puzzles, and defeat its bosses!
| ◀︎ Previous Dungeon | Next Dungeon ▶︎︎ |
|---|---|
| Key Cavern | Catfish's Maw |
List of Contents
Getting to Angler's Tunnel
Getting to Angler's Tunnel Objectives
| No. | Objective |
|---|---|
| 1 | Head west toward Kanalet Castle, and find the trees just south of Seashell Mansion. |
| 2 | Cut the single patch of grass to the right of these trees to reveal a hidden staircase, and go down it. |
| 3 | Break the obstacles here and emerge. Go southeast to reach Animal Village. |
| 4 | Take the path between the southern trees to find a Walrus blocking the path. Chef Bear in the bottorm right house will tell you to bring Marin. |
| 5 | Travel back to Mabe Village and obtain the Ocarina from the Dream Shrine. |
| 6 | Head to the east part of Toronbo Shores to find Marin and have her accompany you. |
| 7 | Return to Animal Village and have Marin sing to wake the Walrus. |
| 8 | Enter the Yarna Desert and defeat the Lanmola to get the Angler Key. |
| 9 | Head toward the Bottle Grotto entrance. Move the boulders on the right and head east until you reach a ladder. |
| 10 | Go down the ladder and continue east until you see a statue. Use the Angler Key here to stop the waterfall. |
| 11 | Go back and head up through Tal Tal Heghts. |
| 12 | Continue eastward until you are outside again. Go to where the waterfall previously flowed and jump down to enter Angler's Tunnel. |
Honeycomb
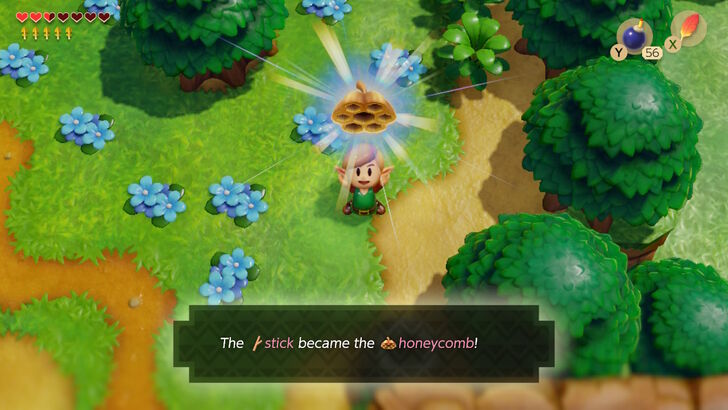
If you have not obtained the Honeycomb yet, now would be a good time to grab it. It is located northeast of Key Cavern, by a lone tree (just north of a lrge bombable skull). See Tarin there, and give him your Twig to initiate a silly cutscene. When the scene is over, you will obtain the Honeycomb, the next item needed for the trading sequence.
Finding Animal Village
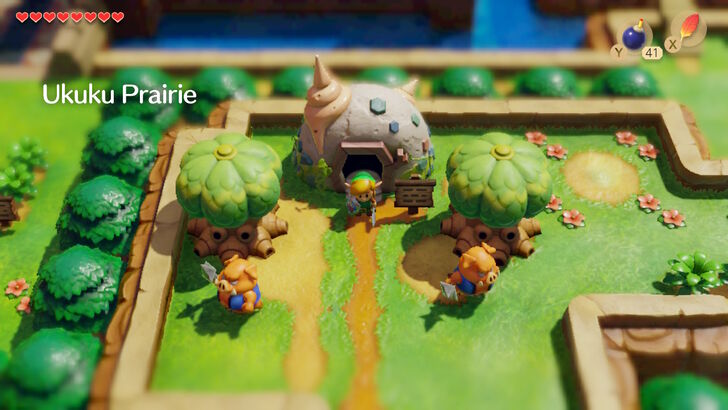
From Key Cavern, you will want to climb up the stairs and then hop down on the left side. If you have not already done so, activate the warp point just around the corner of Key Cavern by going up the stairs and standing in the center. From here, continue east, toward Kanalet Castle. Eventually, you will reach a hill with a seashell shaped house on it. This is Seashell Mansion, and you can exchange your Secret Seashells for rewards here. For more info on this, see the Secret Seashells Guide.
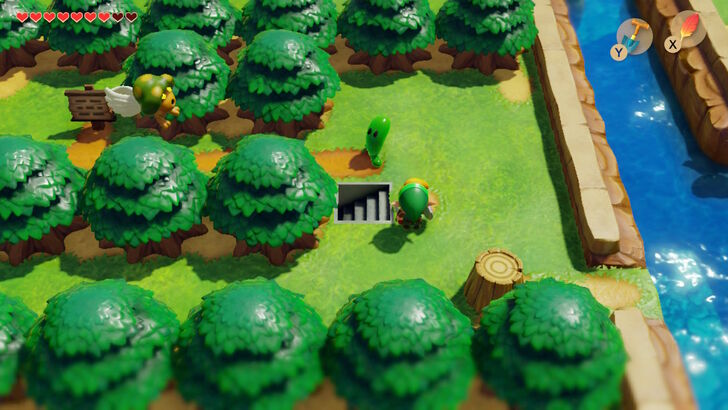
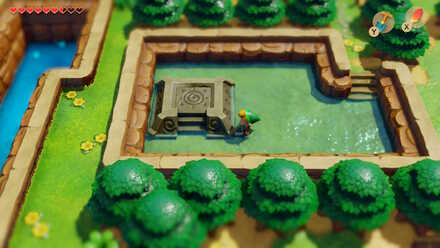
Just south of Seashell Mansion, you will see several trees. There is a small path between these trees you can walk through, and when you reach the other side you will notice a river stopping you from reaching the opposite site. A small patch of grass to the right of the trees can be cut here to reveal some hidden stairs! Do this and go down the stairs.
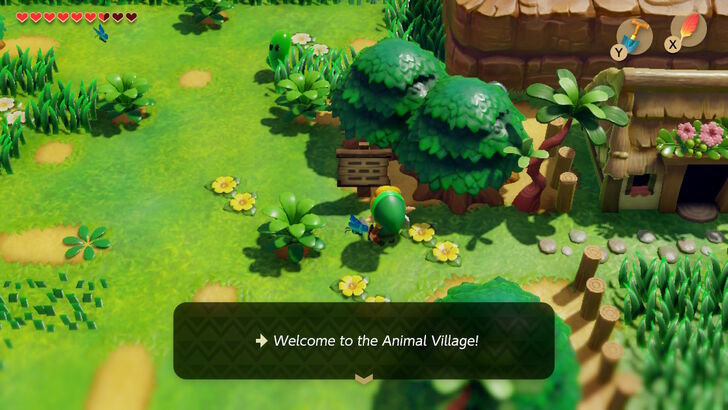
Dash through the tunnel using your new Pegasus Boots to break the obstacles and reach another set of stairs, which will put you on the other side of the river. After emerging, go south east to arrive at Animal Village! As the name implies, all of this area's inhabitants are talking animals (or was that not implied?).
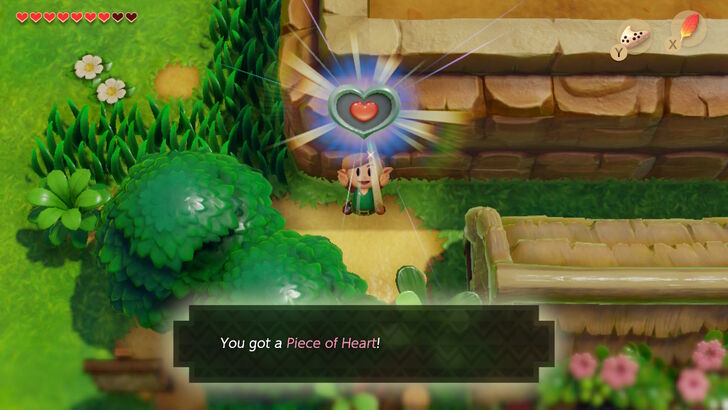
Piece of Heart #15 is located behind the houses, and can be obtained by going following the path between two trees. When the path splits, go north and follow the fence behind the houses, leading to the Piece of Heart.
 |
 |
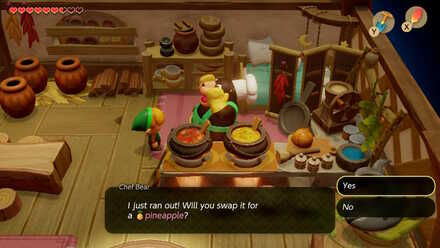
Go to the bottom right house and speak with Chef Bear, who requests a Honeycomb. Trade it to him for the Pineapple, and then he mentions a sleepy walrus and how you should bring Marin. Exit his house and go down and left to find another warp point. Activate it, and warp back to Ukuku Prairie, then head west toward Mabe Village.
Ocarina
 |
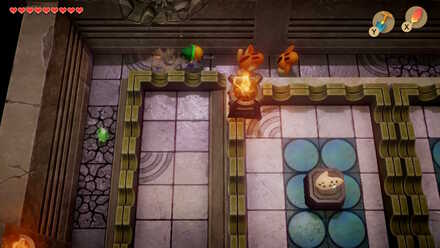 |
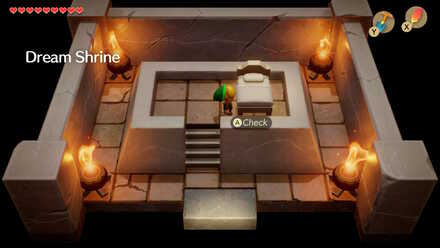
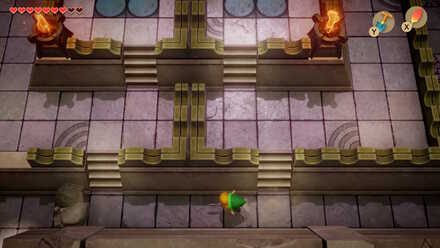
While it is not required just yet, you may as well go ahead and obtain the Ocarina while you are here. Go to the house in Mabe Village just north of the shop. Lift the boulders blocking the entrance, and enter the Dream Shrine. Go to the bed here and enter it to be transported to another area.
 |
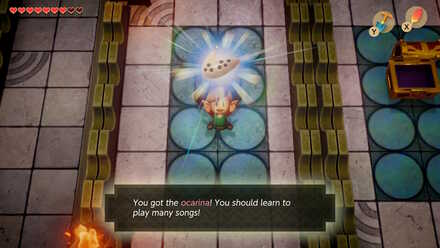 |
This place is home many foes called Arm-Mimics, who mirror your movement. They will hurt you a ton if you touch them, but luckily you can use the Pegasus Boots to dash through and OHKO them until you completely revolve around the room (be cautious of cracked tiles as they will break if you stand on them too long). Go up and open the treasure chest for 100 rupees, then go back down and dash through the obstacles on the left to climb the other stairs and and grab the Ocarina.
The Color Dungeon
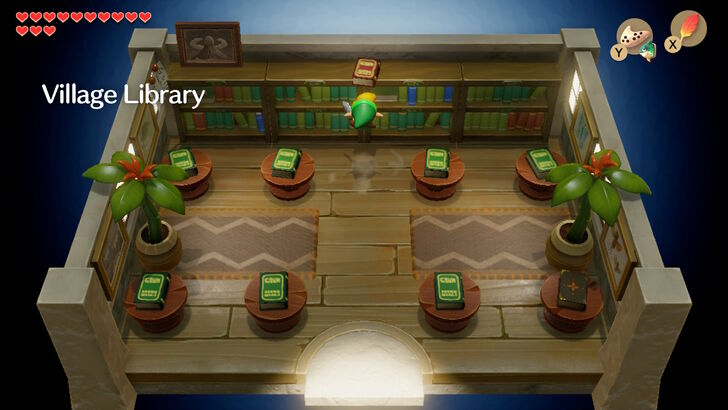
Before getting to Toronbo Shores, you will pass by the Village Library in West Mabe Village. Going inside and using your Pegasus Boots to dash into the bookcase will cause a red book to drop down. This books contains instructions on getting to the Color Dungeon. For more information on reaching this dungeon and how to complete it, see the link below.
Finding Marin
 |
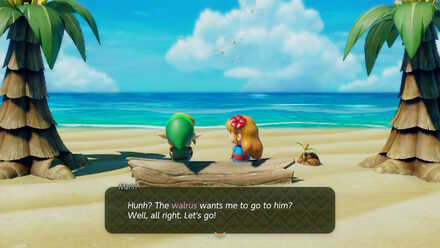 |
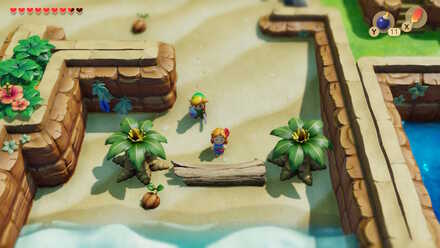
Next you must find Marin. However she is no longer in her normal spot, but she has moved to Toronbo shores. Head far to the right, past Sale’s Banana House, and you should come across Marin alone gazing into the ocean. Speaking with her triggers a (very cute) cutscene. When this scene ends, Marin will follow behind you.
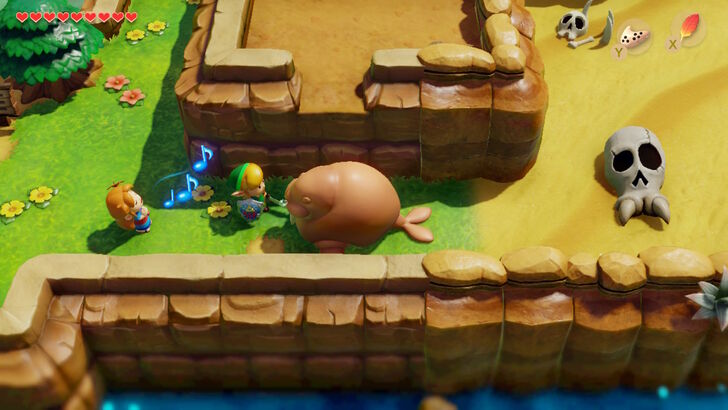
Go back to the warp point and return to Animal Village. Approach the walrus and try to talk to it to have Marin sing and wake it up. The walrus will jump into the water, giving you access to the Yarna Desert.
Getting the Angler Key
 |
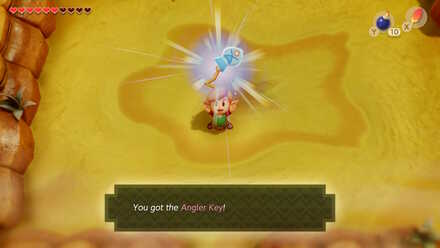 |
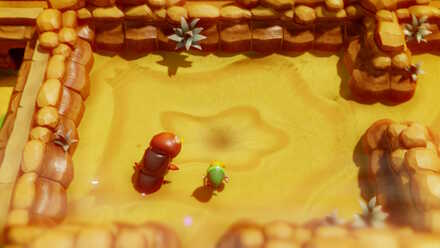
Many enemies such as Leevers and Pokeys litter the sands of this desert, so watch out for them. Go to the northwest most portion of the Desert to find a quicksand pit. Here you will encounter a large foe known as a Lanmola. It will occasionally jump out of the sand and dive into another area within the pit. Its weak point is its head, so strike it mid-jump, then get out of the way. After hitting it about 8 times, the monster should explode, leaving behind the Angler Key. Grab it quickly before it sinks, or if it does sink, just sink down to obtain it from the cavern below.
Exploring the Yarna Desert
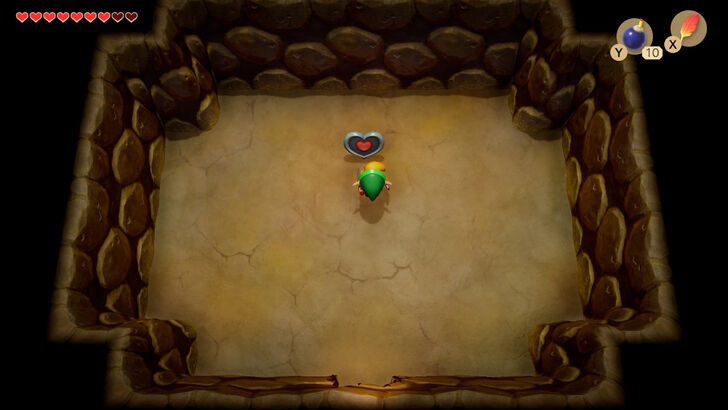
After picking up the Angler key, go into the quicksand pit if you did not already. Drop down into the cave and you will notice a cracked wall on the north side. Use a bomb to destroy the wall and find Piece of Heart #16. Head back one room, go through the room on your right, then go up the stairs.
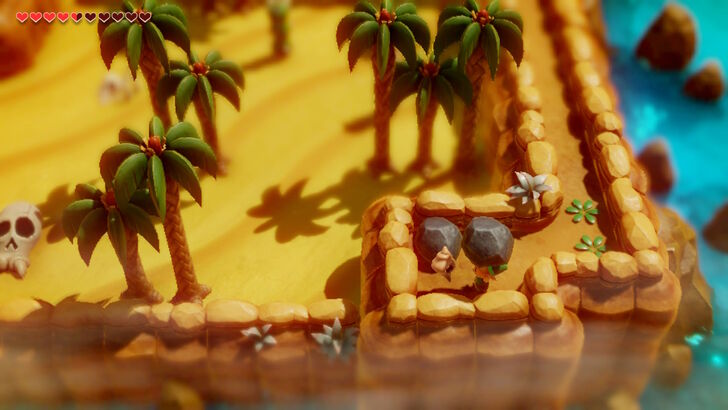
Upon exiting the stairs, you will see an Owl statue. Just south of that, if you use your shovel to dig in the space surrounded by cacti you can pick up Secret Seashell #15. Follow the path thealong the east wall to travel south along a path that will lead you to two boulders. Lift the bottom one to obtain yet another Secret Seashell. At this point, you are ready to go find that next dungeon!
Ballad of the Wind Fish
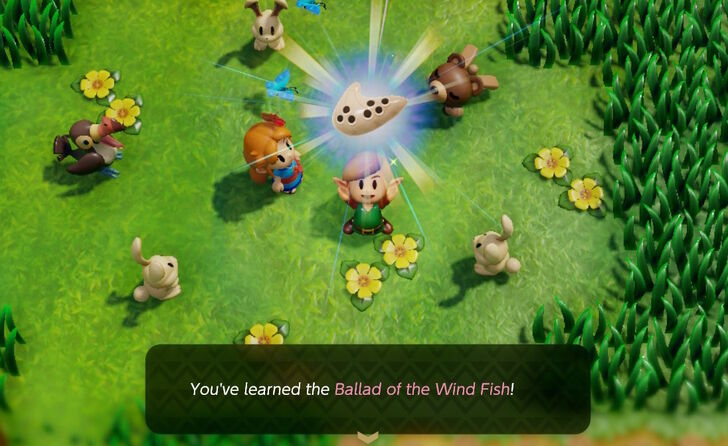
From here, you will need to make your way to Tal Tal Heights. Walk through Animal Village again and see Marin singing with all the animals. Talk with her and a cutscene will trigger where Link uses his ocarina to play with her. After this, you will learn the Ballad of the Wind Fish (it can also be learned by speaking to Marin in front of the Rooster in Mabe Village at any point after getting the ocarina). Use the warp zone to warp to Ukuku Prairie again.
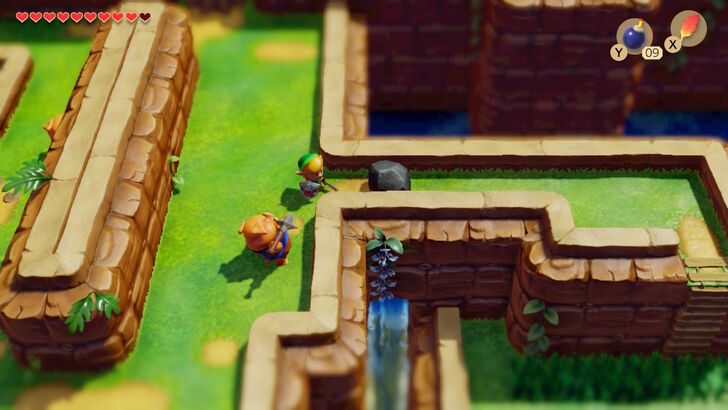
From here you will head north until you reach the Moblin Cave from earlier. Just to the right of the Bottle Grotto entrance, you will see several boulders next to a sign. Move them out of your way, and head east. Dodge the moblins and ignore the ladders for now, and continue until you reach a boulder blocking a narrow path. Move this rock and go down the ladder just after it.
 |
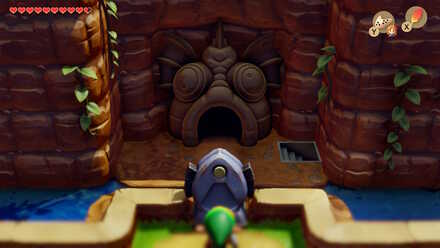 |
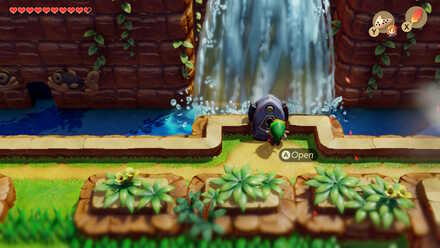
This area is littered with Moblins, Tektites, and Like-Likes (watch out for them in particular as they will eat your shield!). Walk up so you are near the river, and continue right until you reach a statue in front of a waterfall. Use the Angler Key on this statue to stop the waterfall. Before moving on, activate the warp zone just to your right, and throw a bomb into the hole on its right to obtain a Secret Seashell.
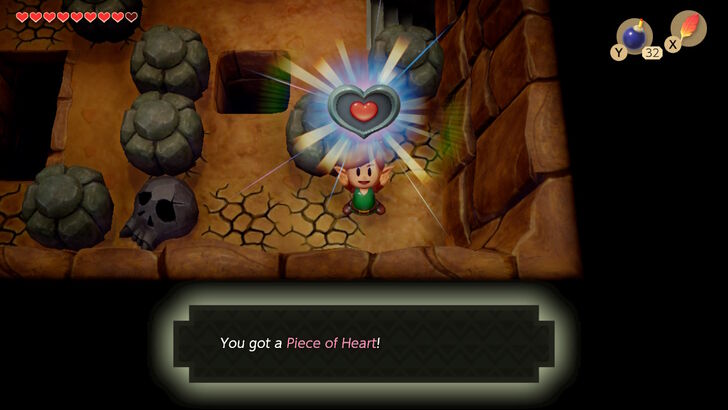
Go back to the ladders from earlier that you walked past, and climb the second one (the one that is further east). Move the boulders out of the way here to enter a cave. Head right, and push the first stone off the ledge. Quickly break the purple crystal and kill the zol and move to the uncracked tile. Push the stone below you forward to reach the stairs. Go down these stairs, then back up them again to move the stones and reach Piece of Heart #26. Go down the stairs again and, then dash through this room to reach another set of stairs. Climb them, and exit the room south of you for a chest with 50 rupees.
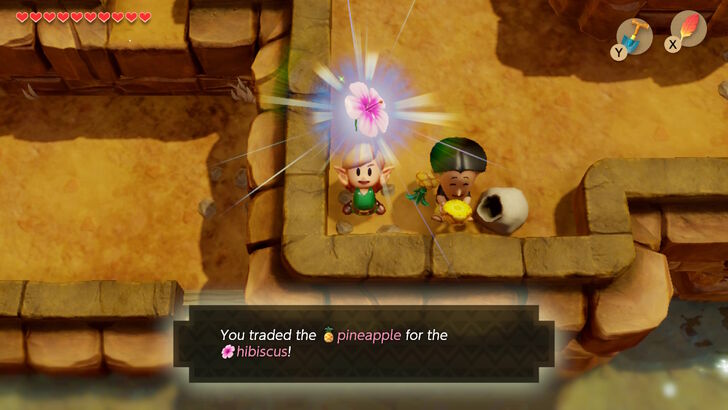
Go back into the cave and dash through the green blocks on your right to reach the east exit of this room. Exit out to Tal Tal Mountain Range. Walk right and go through the cave entrance you come across. Dash north through this room to reach some stairs. After ascending, you will see a chest, but it is a trick chest, so leave it closed and continue forward. Exit the cave to find a man by the ledge. Speak with him and answer Yes
to trade your pineapple for a Hibiscus. Then go back through the cave you just went through.
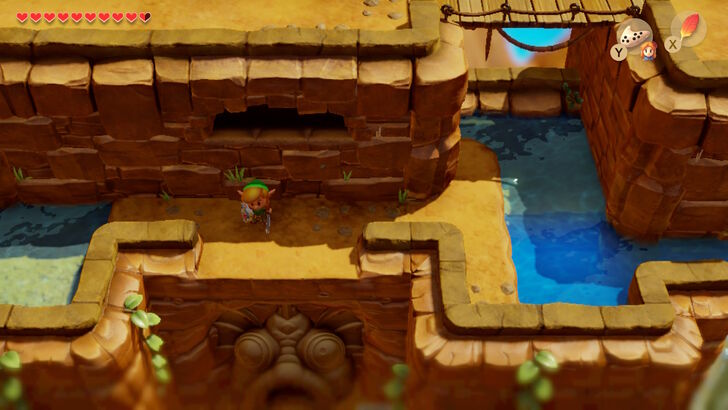
Exit back to Tal Tal Mountain Range, and continue right. You should come across the spot where the waterfall previously was. Jump down the wide space to reach the entrance to Angler's Tunnel. There is a staircase here, but it is only used if you want to leave the area, and since doing so will require another trip through the mountain, you are best leaving it alone for the time being. Enter Angler's Tunnel.
Angler's Tunnel Dungeon Walkthrough
Angler's Tunnel Map and Items
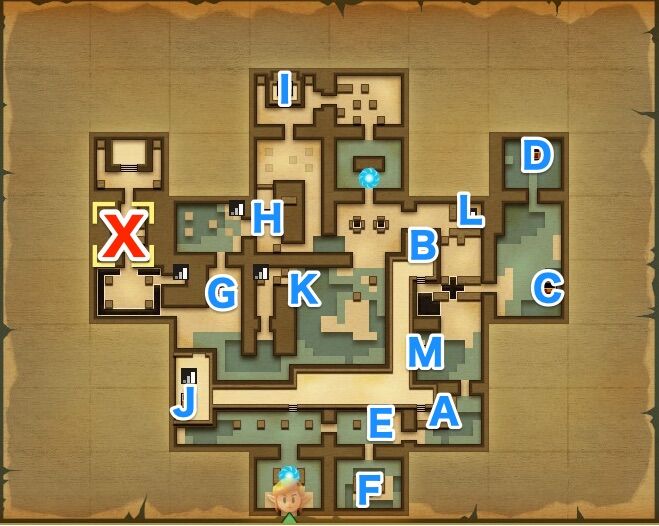
| Location on Map | Item |
|---|---|
| A | Stone Beak |
| B | Map |
| C | Small Key #1 |
| D | Small Key #2 |
| E | Compass |
| F | Small Key #3 |
| G | Trick Treasure Chest |
| H | Small Key #4 |
| I | Flippers |
| J | Nightmare Key |
| K | 50 Rupees |
| L | Small Key #5 |
| M | 50 Rupees |
Angler's Tunnel Objectives
| No. | Objective |
|---|---|
| 1 | Go up the stairs and all the way to the end. Jump across the large gap and obtain the first small key from the next room. |
| 2 | Continue north to obtain Small Key #2. |
| 3 | Return to the second room of the dungeon and go east. Grab Small Key #3 from the bottom right room. |
| 4 | Proceed forward through the gap and locked doors. Go past the room with the light-up tiles and obtain Small Key #4. |
| 5 | Back track to where the small key fell. Go into the northern room. |
| 6 | Defeat the mini-boss, and go through the next two rooms to obtain the Flippers. |
| 7 | Return to the light-up tile room and step on the tiles in the correct order to open a staircase. |
| 8 | Go through the underground area and emerge to get the Nightmare Key. |
| 9 | Go east of where you fought the mini-boss. Go down the stairs and grab Small Key #5. |
| 10 | Just east of where you got the Nightmare Key, go into the next room and hit the switch. Proceed forward until you reach the door to the Nightmare Lair. |
| 11 | Defeat the Angler Fish and obtain the Surf Harp. |
Stone Beak and Map
 |
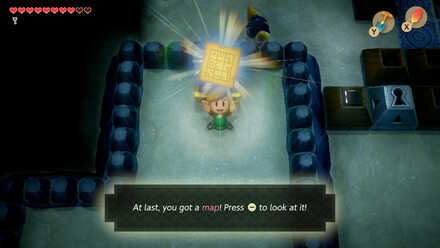 |
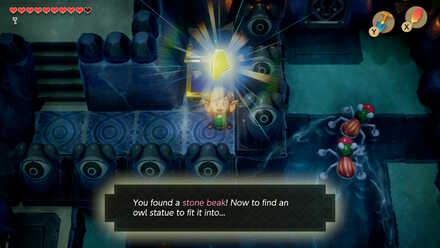
Walk straight ahead from the dungeon entrance into the next room and climb the stairs here. Go right and then go down the stairs in the next screen here. Open a treasure chest containing the Stone Beak. Go back one screen and head two screens north to find another chest, containing the Map.
Small Key #1
 |
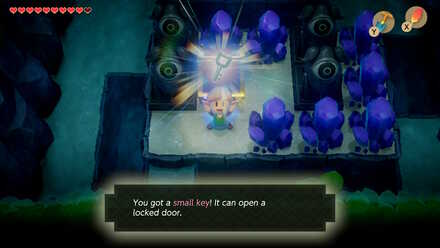 |
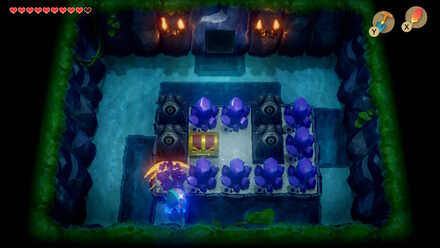
Head down the stairs and use a dash-jump to get across the large hole in the ground. Go into the room on your right here, and bomb the cracked block you see. Then push the block to its right into the water to reach the chest containing Small Key #1. Defeat the enemies in your way and head north into the next room.
Small Key #2
 |
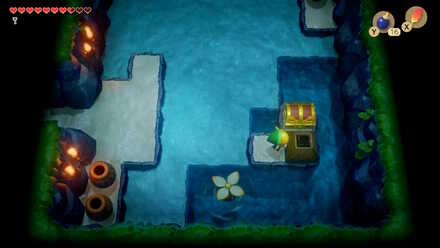 |
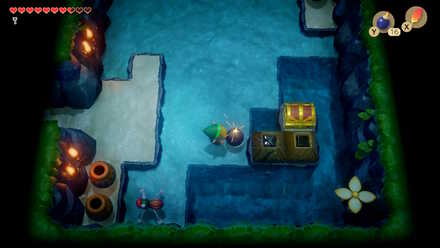
This room is home to a water tektite and two sparks, so dispose of the tektite, and dodge the sparks. Drop a bomb to blow up the blocks and grab Small Key #2. Jump over and grab the 3 Hearts if you took damage during this encounter. Now head back toward the entrance of the dungeon.
Compass
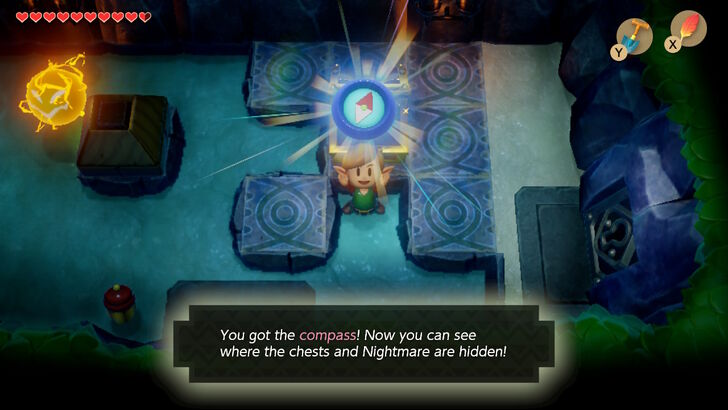
Go back to the room with the stairs you climbed and dispose of the Zol and Spiny Beetles here. Doing so will allow you to go into the rightside room. Defeat the enemies here as well, and open the treasure chest for the Compass. Then head into the room below you.
Small Key #3
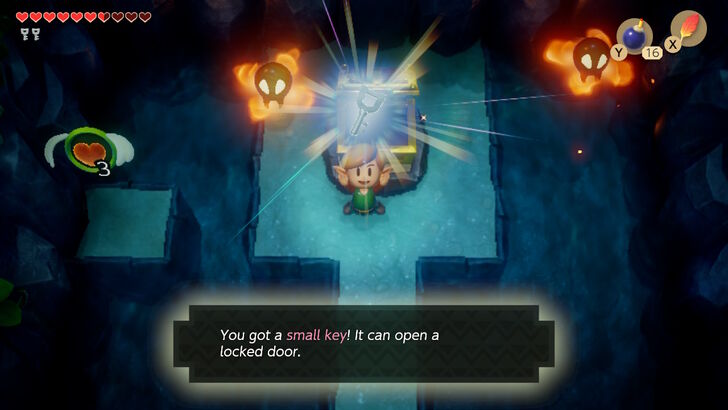
This room contains four Water Tekties, and defeating them will reopen the door you came from. Watch out for the deep puddles of watter here, as Link cannot swim, so you will take damage if you fall in. Go to the bottom of the screen and break the purple crystals to reach a chest containing Small Key #3.
Head back to the previous room, and unlock the door on your right. Defeat the tekties and jump across the gaps to reach another locked door. Unlock it and proceed into the next room. You cannot reach the chest here on your left just yet, so proceed north to the large gap from earlier and dash-jump to the other side. Unlock the locked block here, and push the block above it forward. Defeat the stalfos here, then continue to the left screen.
Trick Treasure Chest
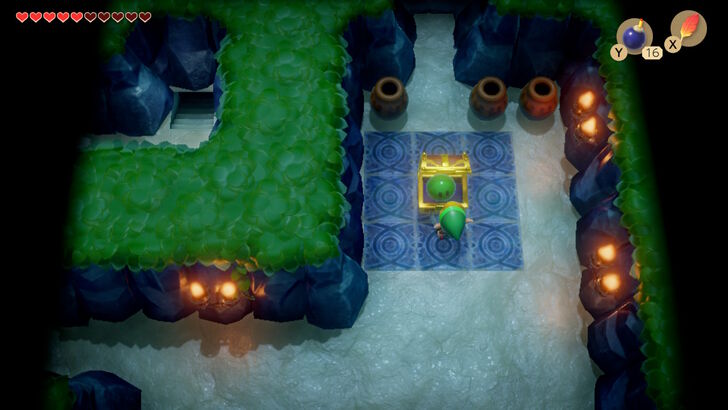
Defeat the Zol in this room, and a Small Key will drop into the left hole. Go south, and the Owl statue will mention following the glint of the tile
. Continue south, then west into the next room, being cautious of the peahats/tektites. This room has many peahats (which can only be damaged while grounded) and shrouded stalfos. The treasure chest in this room is a trick chest containing a zol, so skip it and continue north.
Small Key #4
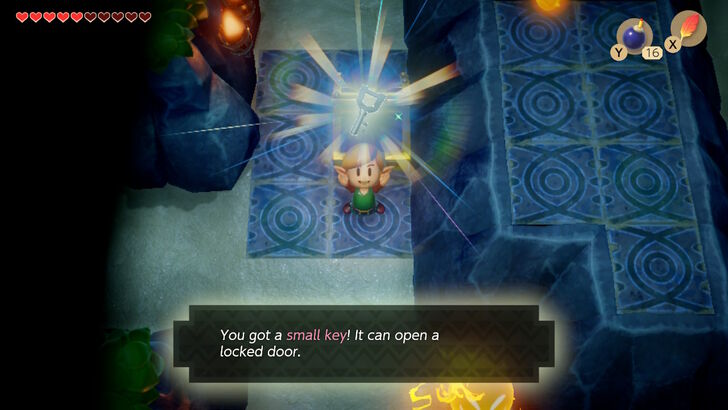
In the next room, you are faced with several tiles, but until you obtain this dungeon's item, you will be unable to complete this puzzle, so go right into the next room. Open the treasure chest you see after entering to obtain Small Key #4. Now head back to the room where the small key dropped into the hole. Open the locked door here and enter the next room.
Mini-Boss: Cue Ball
 |
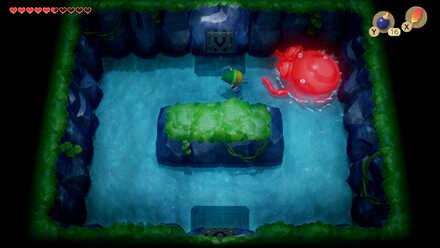 |
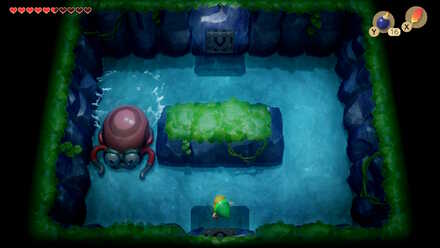
Upon entering this room, you are greeted by a big sea creature that will come charging at you. He will briefly pause each time he runs into a wall, which is your chance to strike his large round head. When you do so, he will momentarily reverse his movement, although the method of attacking remains the same. After hitting him around 11-12 times, he will explode and leave behind a fairy. Use a bottle to catch it if you have one, then continue north into the next room.
Flippers
 |
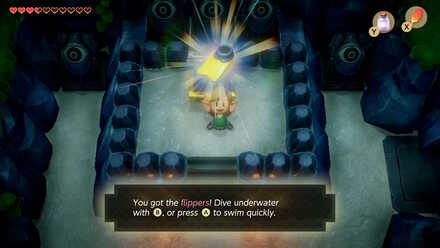 |
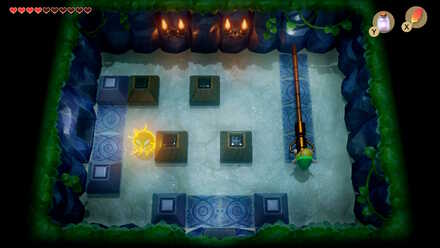
The next room has block gradually moving together to block off both doorways. Run quickly and you can enter the left door before they close. If you miss your chance, simply go to the lever on the right side of the room and hold A while backing up to reopen them. Run into the left room and defeat the Zol, then open the treasure chest up the stiars to obtain the Flippers. Using these, you can access new areas of the dungeon by swimming in the water. While in the water, tap A to swim faster.
The Glint of the Tiles
 |
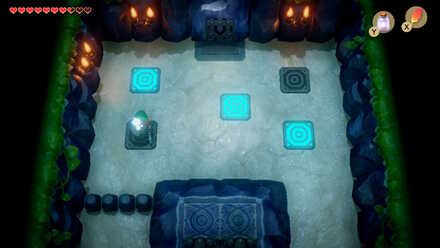 |
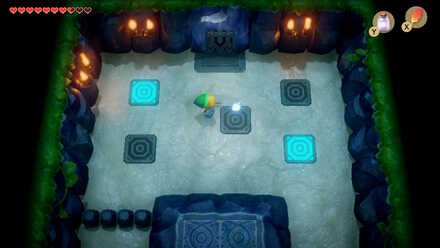
Step into the room below and encounter two enemies called Iron Masks. They can be defeated by striking their back while they are turned away. Step on the tiles here as the light appears over them. The order is bottom right, top left, middle, bottom left, top right. Remember this order, as you will be using it again. Proceed south and push the block here left to go back to the other room with tiles.
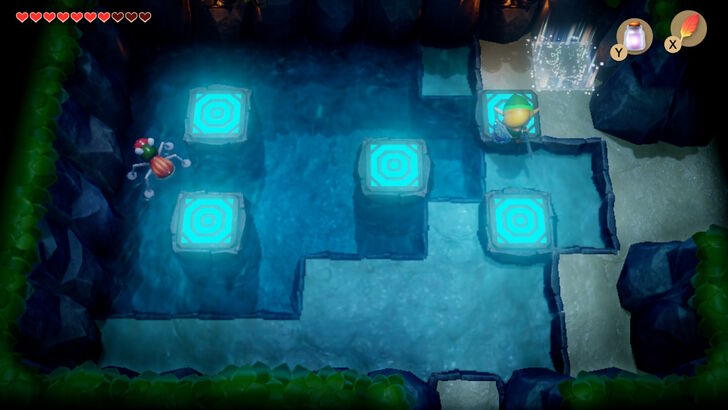
Just like before, stepping on the correct one will turn the light blue, but the incorrect one will turn red and reset the tiles. First defeat the water tektites, then step on the bottom right tile, then swim to the top left, the middle, bottom left, then top right tile to reveal a hidden staircase.
Nightmare Key
 |
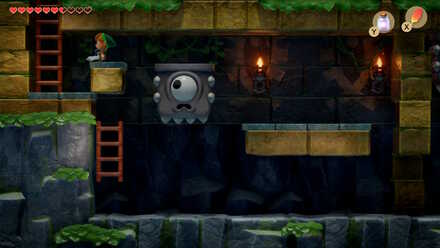 |
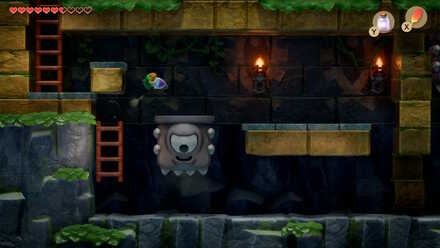
In the next room, use your Pegasus Boots to dash through to the other side and avoid the Thwomps to reach the ladder. You will have to bait the second Thwomp to fall so that you can jump on top of him and exit out the left side. After emerging, go down a screen and open the treasure chest here to obtain the Nightmare Key. Go back up a screen, then jump into the water below, and head right. In this room, you can swim to a chest that contains 50 Rupees. Go all the way back to the room before the mini-boss, then go right to find a staircase that we have not yet visited.
Small Key #5
 |
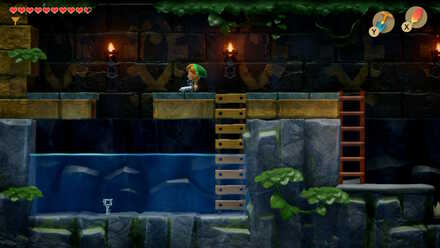 |
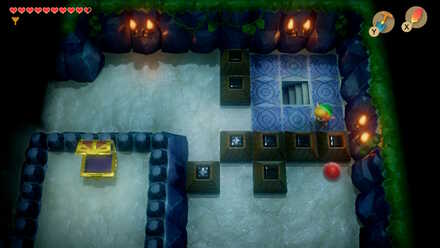
Go down the staircase and ride the platform to a pool of water. Dive in and sink to the bottom to obtain Small Key #5. There is still one more chest containing 50 rupees that can be obtained by going back to the room where one screen east and one screen north of where you picked up the compass. Warp back to the beginning of the dungeon to go get it if you would like.
Getting to the Nightmare Lair
 |
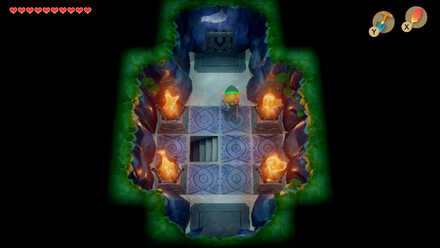 |
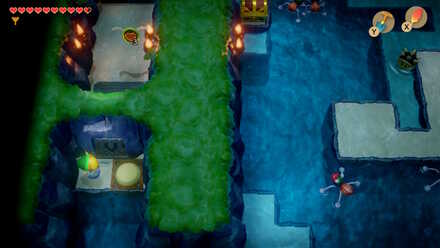
Small Key #5 in hand, go back to the room you went to right after obtaining the Nightmare Key. On the bottom left area of this level, you should see a switch that seals off a door. Swim across to hit the switch and continue forward. Open the locked block and go down the stairs. In the next room, you will need to swim across the room to the other side, slashing the Cheep-Cheeps. Go up the stairs and continue into the next room and push a block to reach the door to the Nightmare Lair. Head down the stairs here and swim to the bottom to find the boss waiting for you.
Angler's Tunnel Nightmare: Angler Fish
 |
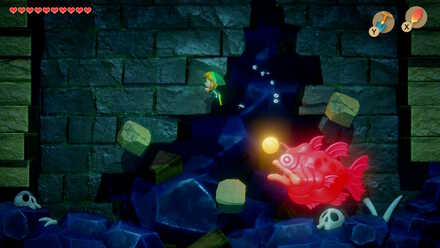 |
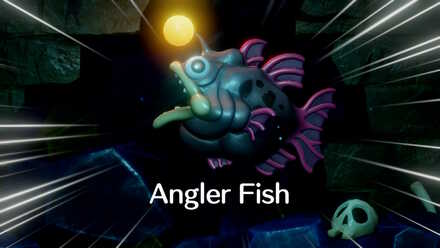
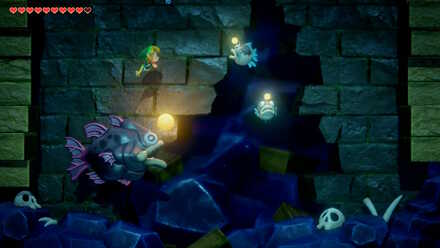
This entire battle will take place underwater, meaning that you are only able to move, attack with B, and swim quickly with A. As you might have guessed, that big shiny light attached to the Angler Fish's head is its weak spot, so swim close to it and unleash a flurry of sword slashes. It wlll sometimes charge forward at the wall, which will cause debris to fall down from above. This debris will damage you, so stay clear of it.
 |
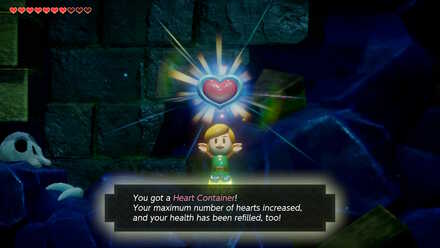 |
After you hit him enough, he will roar and call for more smaller fish, so try and attack him as soon as he starts this roar. Just keep slashing his antenna, and he will eventually explode, leaving behind a Heart Container.
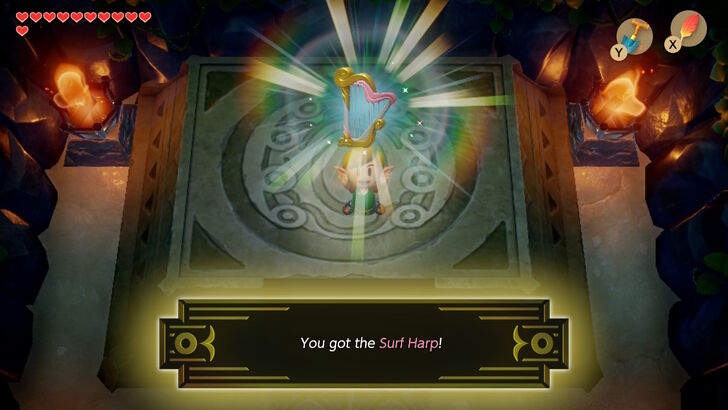
Collect the Heart Container and swim back up to the ladder and go up the stairs you came down from. Then the door ahead of you will unlock, allowing you to go through and obtain the Surf Harp to complete the dungeon.
Link's Awakening Related Guides

List of All Dungeons and Story Walkthrough
All Dungeon Walkthroughs
Author
The Legend of Zelda: Link's Awakening Walkthrough & Guides Wiki
Level 4 - Angler's Tunnel Walkthrough
improvement survey
03/2026
improving Game8's site?

Your answers will help us to improve our website.
Note: Please be sure not to enter any kind of personal information into your response.

We hope you continue to make use of Game8.
Rankings
- We could not find the message board you were looking for.
Gaming News
Popular Games

Genshin Impact Walkthrough & Guides Wiki

Honkai: Star Rail Walkthrough & Guides Wiki

Umamusume: Pretty Derby Walkthrough & Guides Wiki

Pokemon Pokopia Walkthrough & Guides Wiki

Resident Evil Requiem (RE9) Walkthrough & Guides Wiki

Monster Hunter Wilds Walkthrough & Guides Wiki

Wuthering Waves Walkthrough & Guides Wiki

Arknights: Endfield Walkthrough & Guides Wiki

Pokemon FireRed and LeafGreen (FRLG) Walkthrough & Guides Wiki

Pokemon TCG Pocket (PTCGP) Strategies & Guides Wiki
Recommended Games

Diablo 4: Vessel of Hatred Walkthrough & Guides Wiki

Fire Emblem Heroes (FEH) Walkthrough & Guides Wiki

Yu-Gi-Oh! Master Duel Walkthrough & Guides Wiki

Super Smash Bros. Ultimate Walkthrough & Guides Wiki

Pokemon Brilliant Diamond and Shining Pearl (BDSP) Walkthrough & Guides Wiki

Elden Ring Shadow of the Erdtree Walkthrough & Guides Wiki

Monster Hunter World Walkthrough & Guides Wiki

The Legend of Zelda: Tears of the Kingdom Walkthrough & Guides Wiki

Persona 3 Reload Walkthrough & Guides Wiki

Cyberpunk 2077: Ultimate Edition Walkthrough & Guides Wiki
All rights reserved
© 1993-2019 Nintendo
The copyrights of videos of games used in our content and other intellectual property rights belong to the provider of the game.
The contents we provide on this site were created personally by members of the Game8 editorial department.
We refuse the right to reuse or repost content taken without our permission such as data or images to other sites.


![Everwind Review [Early Access] | The Shaky First Step to A Very Long Journey](https://img.game8.co/4440226/ab079b1153298a042633dd1ef51e878e.png/thumb)

![Monster Hunter Stories 3 Review [First Impressions] | Simply Rejuvenating](https://img.game8.co/4438641/2a31b7702bd70e78ec8efd24661dacda.jpeg/thumb)


