Level 2 - Bottle Grotto Walkthrough
Bottle Grotto is the second dungeon in The Legend of Zelda: Links Awakening (Remake) for the Nintendo Switch. Read on for a guide on how to reach Bottle Grotto, solve its puzzles, and defeat its bosses!
| ◀︎ Previous Dungeon | Next Dungeon ▶︎︎ |
|---|---|
| Tail Cave | Key Cavern |
List of Contents
Getting to Bottle Grotto
Getting to Bottle Grotto Objectives
| No. | Objective |
|---|---|
| 1 | Leave Tail Cave, and go through the Mysterious Forest toward the witch's hut. |
| 2 | Jump over the holes and pick up Piece of Heart #7 before proceeding to Tal Tal Heights. |
| 3 | Continue north and east to find Moblin's Cave. Step inside and defeat the moblin. |
| 4 | Defeat the 4 moblins in the next room, then continue to the next room to fight with the mini-boss: King Moblin. |
| 5 | Defeat King Moblin to free BowWow. |
| 6 | Go back to the Mysterious Forest, and go to where you go the Tail Key and continue west. Go north to exit the forest, then head east toward Goponga Swamp. |
| 7 | Arrive at Goponga Swamp, and have BowWow eat the plants blocking the path to the dungeon. |
| 8 | After he eats the plants blocking the dungeon, enter Bottle Grotto. |
BowWow's Kidnapping
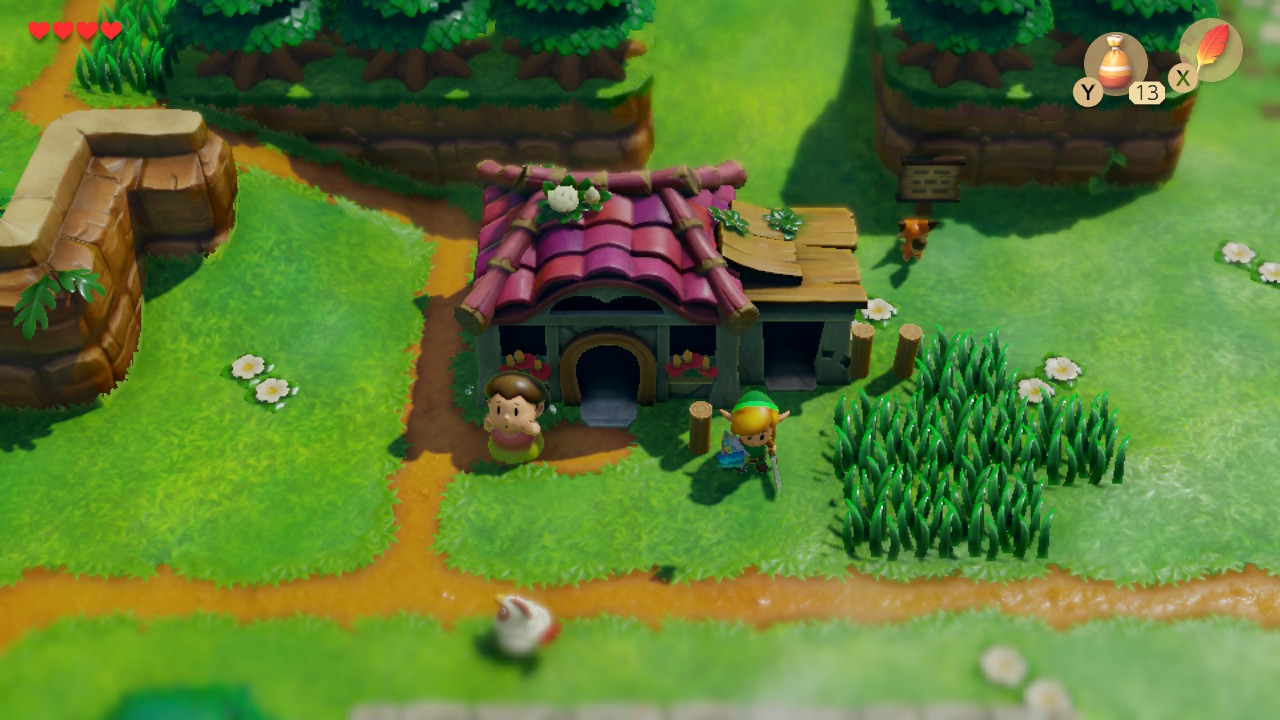
Using your new Roc’s Feather, you will be able to enter many areas of Koholint Island that you could not before. After exiting Tail Cave, the owl will come and tell you to head toward the Goponga Swamp. As you near towards Mabe Village, the two ball playing boys will come and tell you that BowWow, one of the villagers’ pets, had been kidnapped by moblins. Now it’s up to you to go save him.
If you have not done so already, there are several items that can be picked up in Mabe Village. Here they are:
Trendy Game Prizes
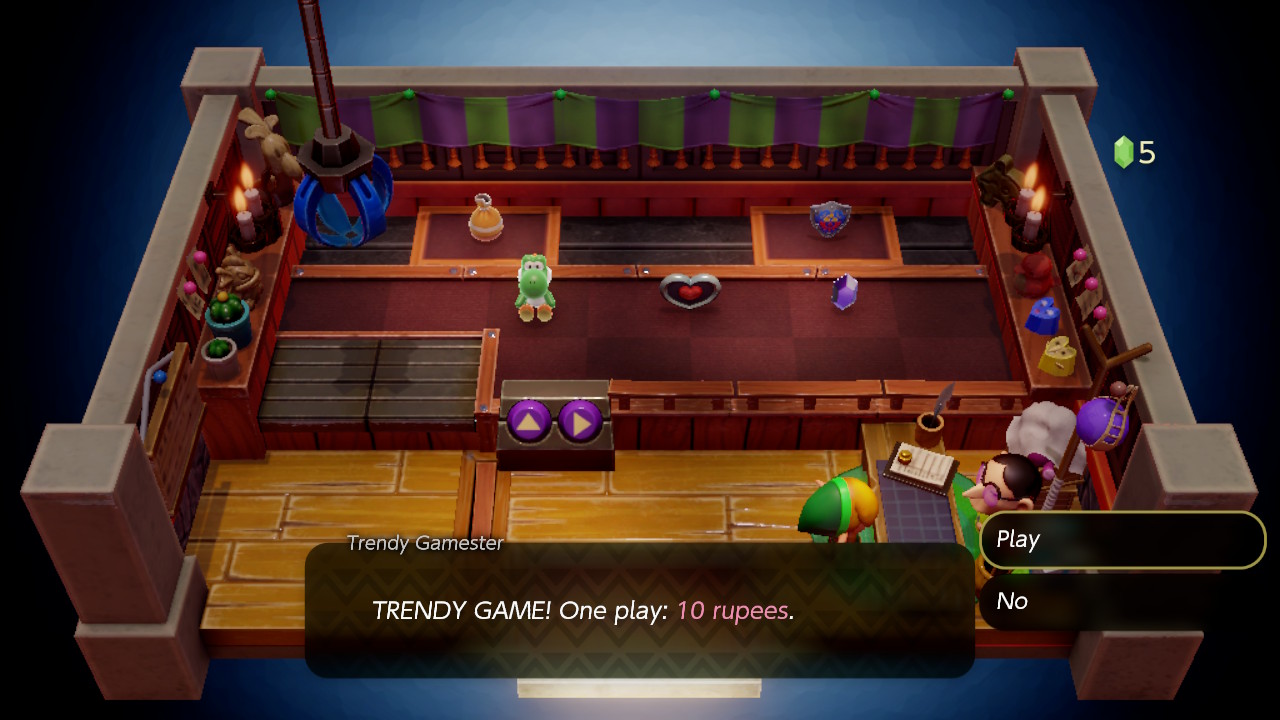
Piece of Heart #3 and the Yoshi Doll (which is used in the Trade Sequence) can be obtained here, in addition to other items like figurines, hearts, rupees, magic powder, and refills of bombs (after obtaining them). A second Piece of Heart can be obtained here after winning enough times. For more information on this mini game, see the Trendy Game Walkthrough.
Fishing Hole Prizes
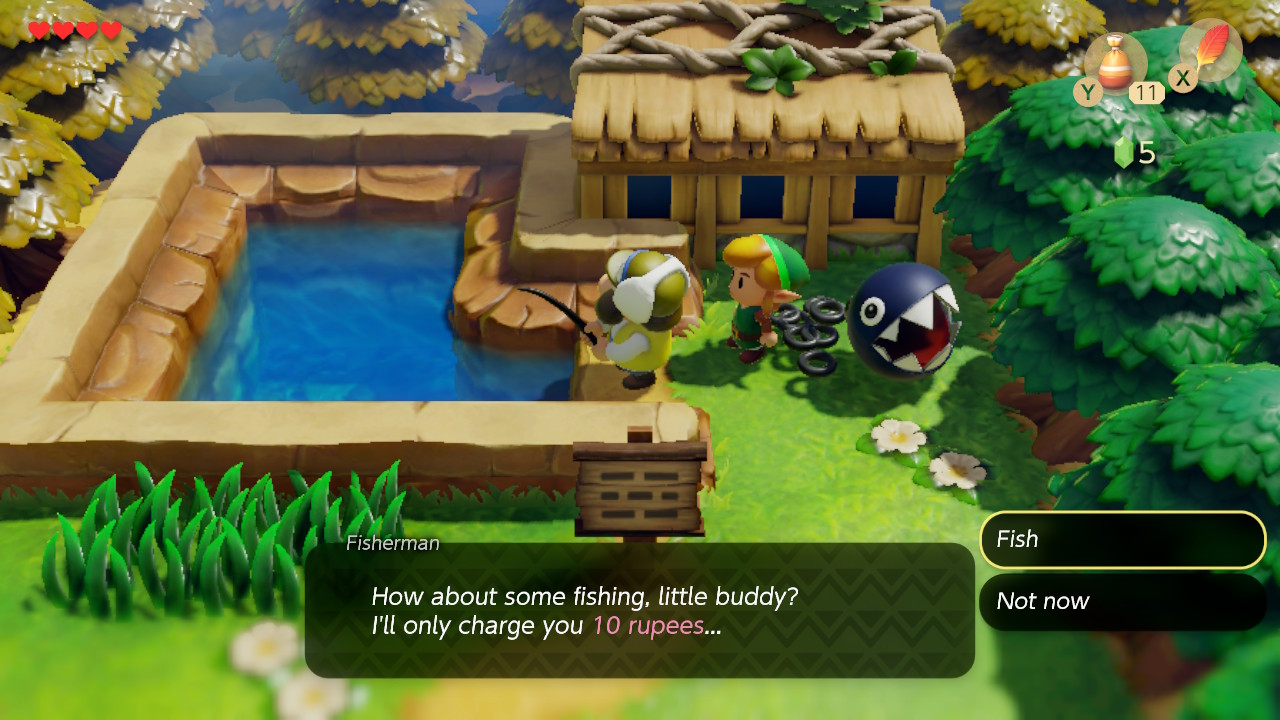
Piece of Heart #4 and #5 can be obtained from the fishing hole by catching a small fish and a medium sized fish. Like the Trendy Game, the minigame is playable for 10 rupees. For more information on this mini game, see the Fishing Hole Walkthrough.
Town Shop Items
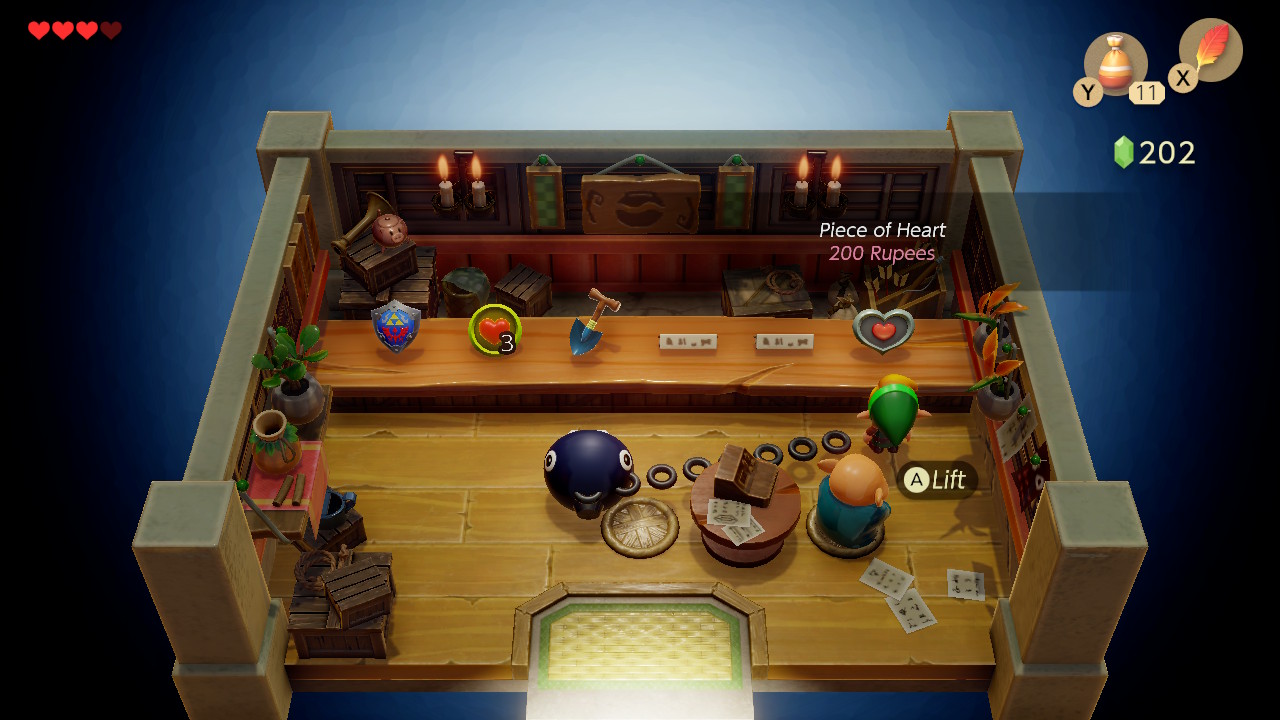
Several items can also be purchased for your hard earned rupees at the shop. They include Piece of Heart #6 (200 rupees) and the Deluxe Shovel (200 rupees). The shovel will be needed later on, but at the moment you will be fine without it, so get whatever items you want (and can afford) head out.
Secret Seashell #1
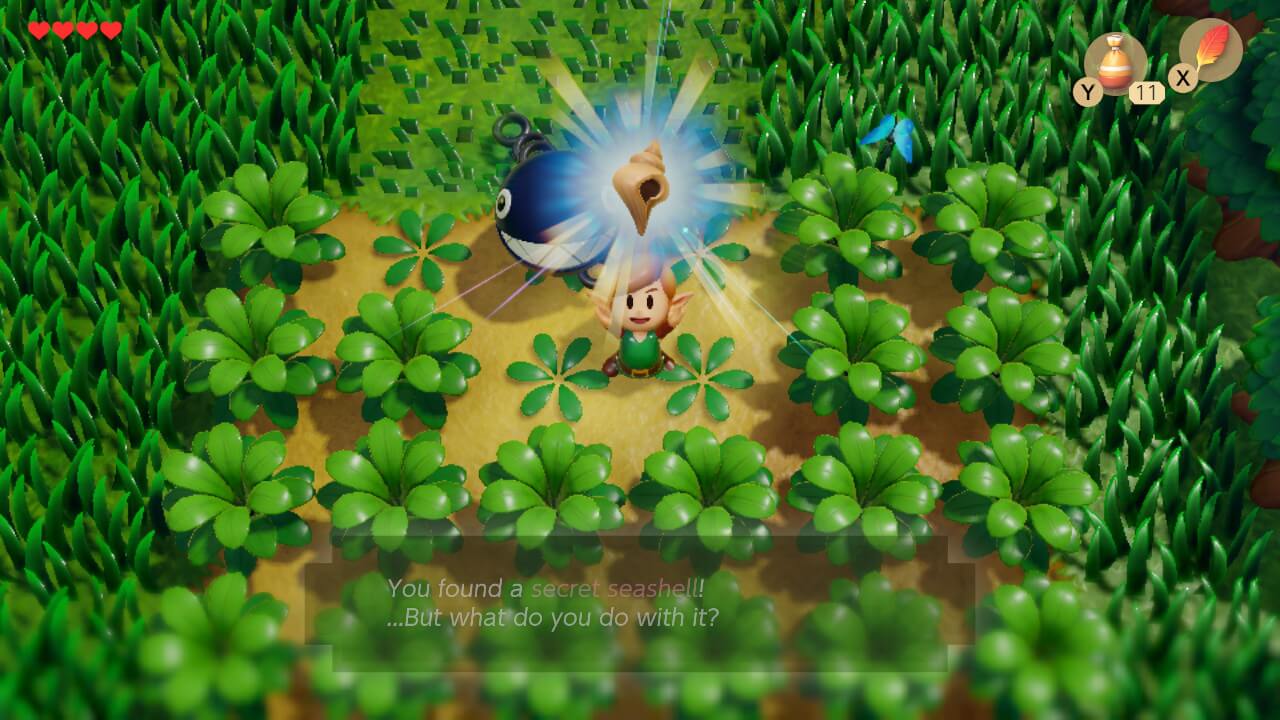
Near the shop, there is a large patch of cuttable grass. Toward the center, there is a patch that can be cut to obtain Secret Seashell #1. These shells can be collected to trade later on for various prizes.
After you are ready, head northwest toward the Mysterious Forest.
Piece of Heart #2
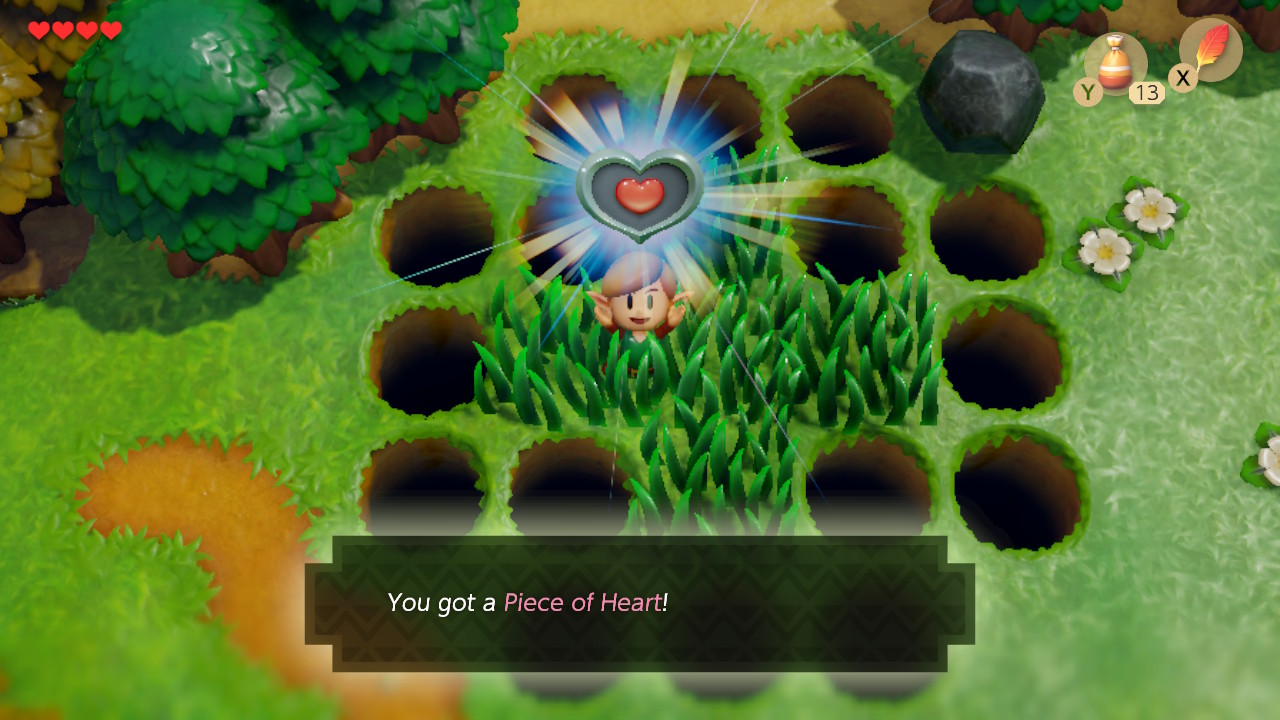
Head through the mysterious forest toward the witch’s hit from earlier. This time, you will be able to jump over the holes and obtain Piece of Heart #7.
Moblin's Cave
 |
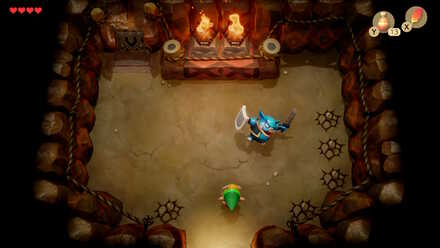 |
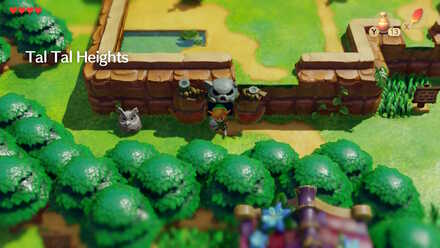
Continue north to reach Tal Tal Heights. Immediately go right to see a cave with a skull on it the front. Step inside to be challenged by a Sword Moblin. Shield his attack and strike, then continue to the door that opens on the upper left side. Four moblins are waiting for you in the next room. Defeat them and continue to the room on your right.
Mini-Boss: King Moblin
 |
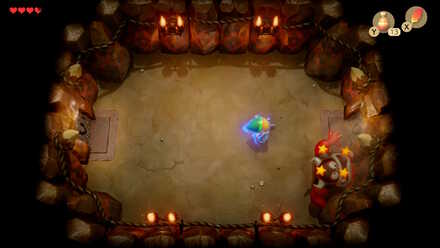 |
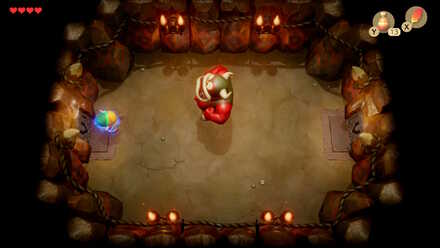
In the next room, you will encounter King Moblin. This foe has two attacks. For the most part, he will stand to your right or left and face you will side stepping and throwing javelins, and he cannot be damaged during this phase. Occasionally, he will roar and charge at you. If he misses, he will headbutt the wall, leaving him dizzy and immobile for a moment, allowing you to damage him. Repeat this until he is defeated.
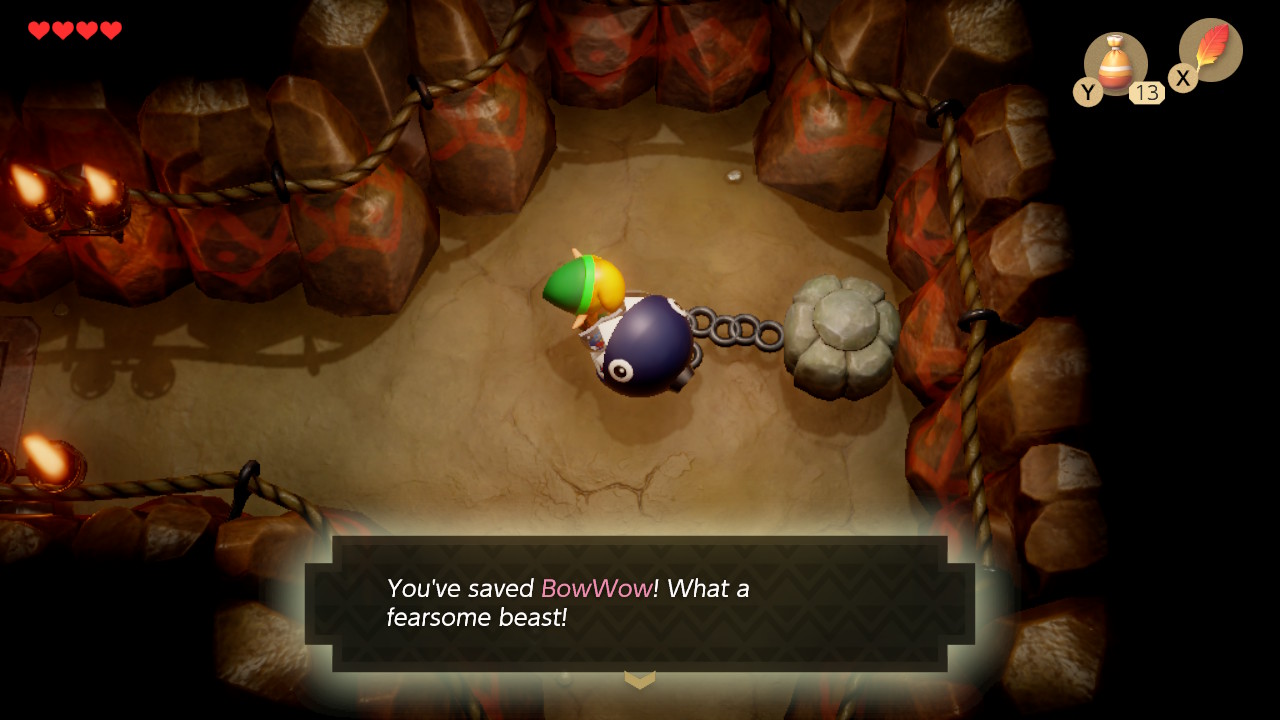
He will drop a fairy when defeated, and the right side door will open. Step in this room to free BowWow, who will stay by your side on a leash. BowWow will devour nearby enemies (making you wonder how was captured to begin with), but more importantly, he will eat the plants blocking the path to Bottle Grotto, allowing you to gain entry to the dungeon.
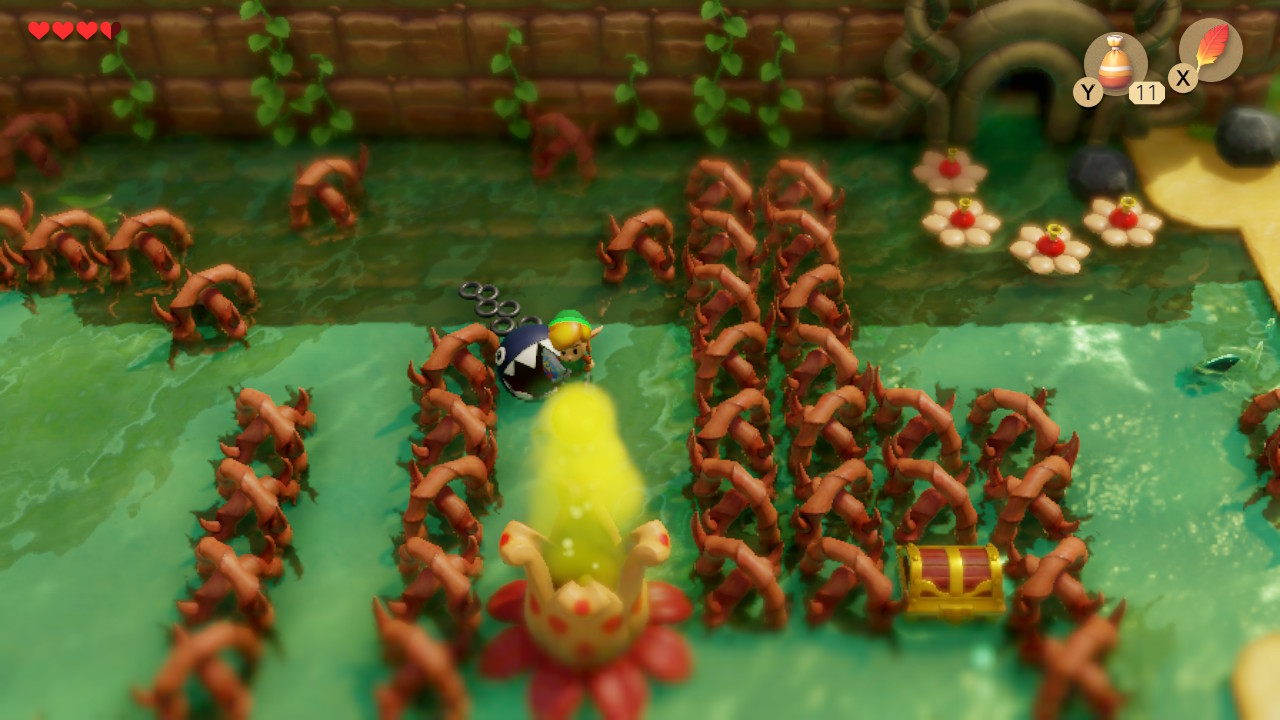
To get to Bottle Grotto, you will need to leave Moblin's Cavern, and go back to the mysterious forest. Go to the northwest area, near where you obtained the Tail Key. From here, exit the mysterious forest by going north. Watch out for the Like-Likes encountered here, as they cannot resist the flavor of your shield, and if they devour it, you will be the one left buying a new one.
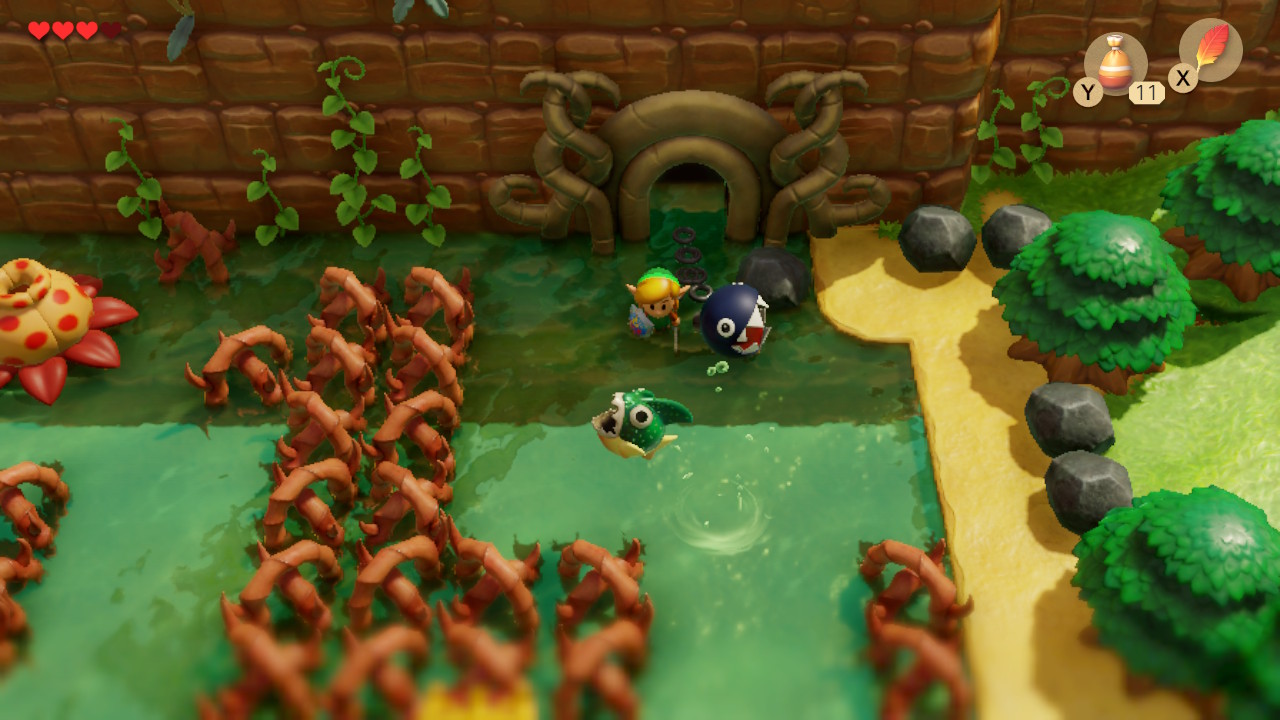
Continue west to arrive at Goponga Swamp. Have BowWow eat the plants in your way and make your way to the dungeons entrance. After he eats the plants blocking the door, you are free to enter.
Level 2 - Bottle Grotto Dungeon Walkthrough
Bottle Grotto Map and Items
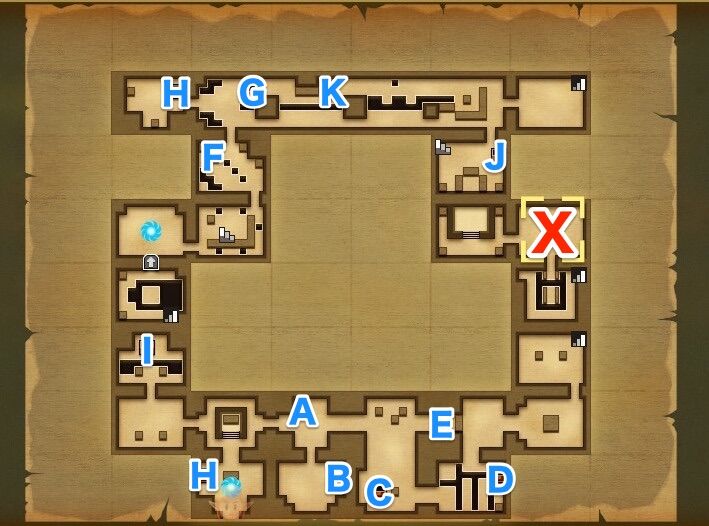
| Location on Map | Item |
|---|---|
| A | Small Key #1 |
| B | Compass |
| C | Small Key #2 |
| D | Small Key #3 |
| E | Small Key #4 |
| F | Map |
| G | 20 Rupees |
| H | Power Bracelet |
| I | Stone Beak |
| J | Nightmare Key |
| K | Small Key #5 |
Bottle Grotto Objectives
| No. | Objective |
|---|---|
| 1 | Go north and light the torches to open the east door. Defeat the stalfos in the next room for Small Key #1. |
| 2 | Open the door south of this room and defeat the Mask-Mimic in this room to obtain the Compass. |
| 3 | Go back and head east. Hit the colored switch and head south. Hit the switch in this room to reach the chest with Small Key #2. |
| 4 | Go east and step on the switch to reveal Small Key #3. |
| 5 | Go up to the next room and defeat the Mask-Mimics to make Small Key #4 appear. Go back to retreive it. |
| 6 | From the Mask-Mimics, head east, unlock the door in the next room, and enter it. Push the blocks toward each other to reveal some stairs. |
| 7 | Travel all the way left, climb the stairs, and go through the revolving door in this room. |
| 8 | Defeat Hinox, and proceed forward through the next two rooms. |
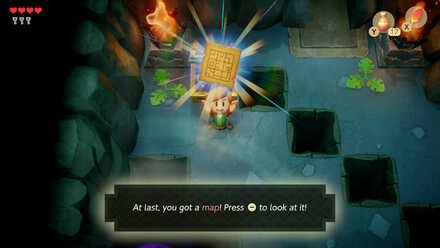
| 9 | Get the map from the chest in the room with the vacuum mouth. |
| 10 | Go north and left. Unlock the door and light a torch to defeat the boos inside and get the Power Bracelet. |
| 11 | Warp to the start of the dungeon, and head to the locked room. Continue moving forward for the Stone Beak. |
| 12 | Take the stairs near the warp point and go to the room with a Pols Voice, Keese, and Stalfos. Defeat them in that order to reveal the Nightmare Key. |
| 13 | Near the northern room, where you go the Power Bracelet, use the color switch to get Small Key #5. |
| 14 | Continue east, unlock the door here, and defeat the enemies to reveal a staircase. |
| 15 | Go through the platform section while holding a pot to lower the platform. Climb the stairs and find the Nightmare Lair. |
| 16 | Defeat Genie to obtain the Conch Horn, as well as a Heart Container. |
Small Key #1
 |
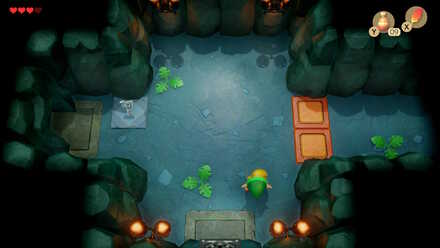 |
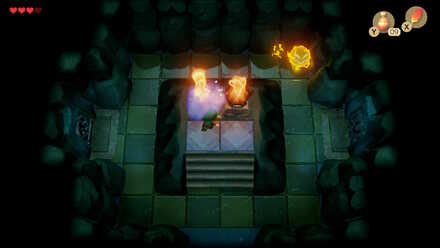
Once inside, you will see a chest surrounded by pots. Surprise! It cannot be obtained just yet. Continue north into a dark room. The only visible thing here are the sparks, which will damage you if you touch them. In the center of the room, there are two unlit torches. Add some magic powder to light up the room and reveal the door on the right. In the next room you will encounter two stalfos. Defeating them both will make small key #1 fall to the ground.
Compass
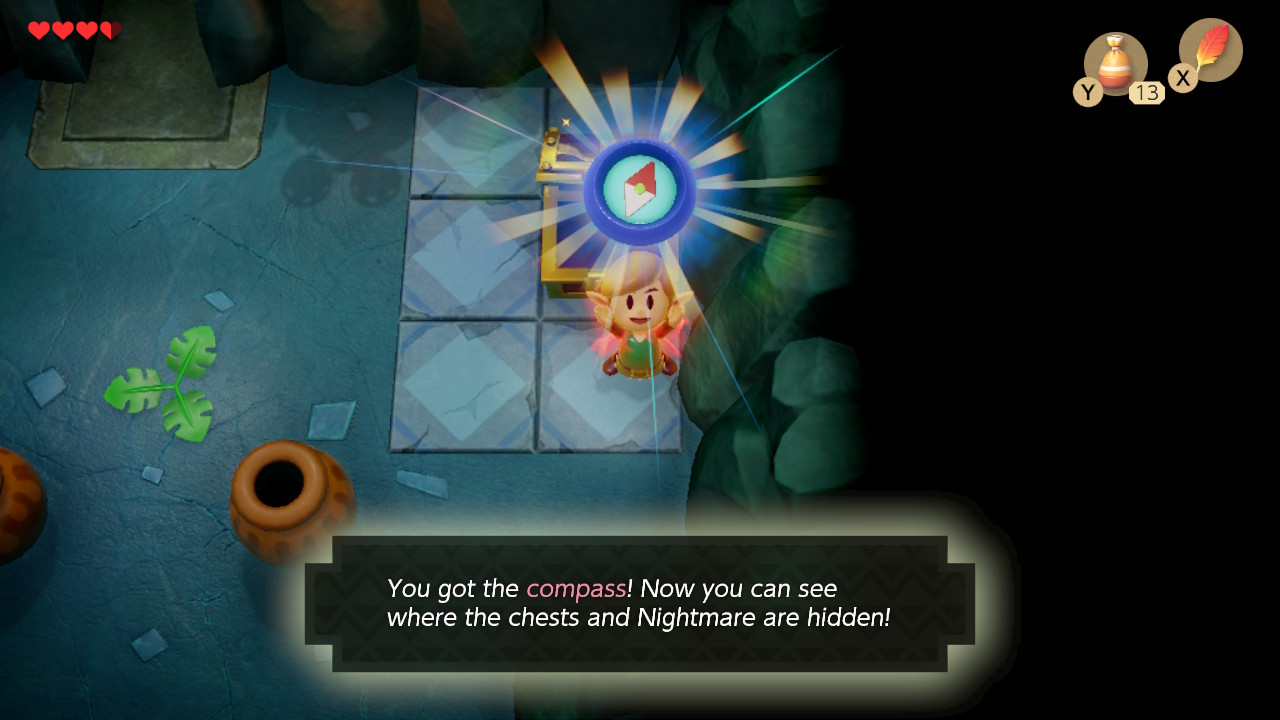
Use a key to open the door south of this one. Inside you will have to fight a Mask Mimic. These foes will mirror your movement, and can only be damaged from behind. Draw near it and turn away so you are both back to back, then hold B to charge up a spin attack and slay it. Doing so will give you a chest with the Compass.
Small Key #2
 |
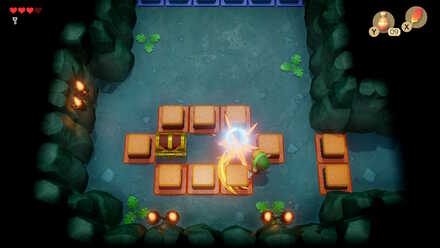 |
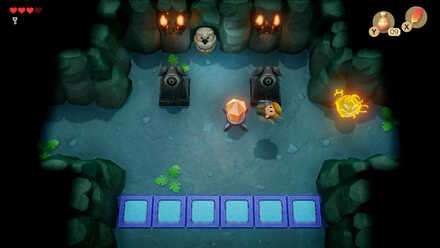
Go back, and continue east. In the next room you will see a color switch. Slash it with your sword to flip the color blocks, allowing you to go south into the next room. Here you will encounter a Shrouded Stalfos. Shield its attack and strike when it is caught off guard. Go to the corner of the colored blocks and slash the switch to flip the blocks again, allowing you to open the chest containing small key #2.
Small Key #3
 |
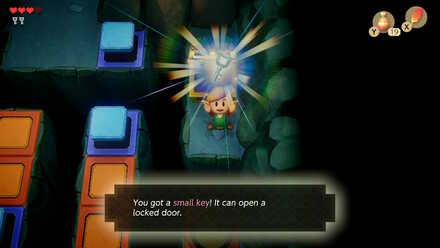 |
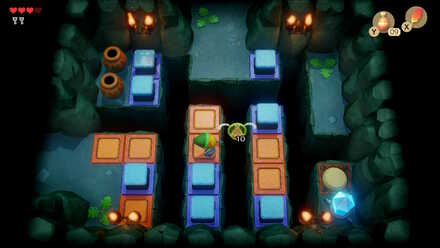
Continue to the room on your right and jump over the gaps with Rocs feather to the other side (pick up the magic powder if needed) and step on the switch here to reveal a chest containing small key #3. Jump back to the center of the room, then jump to the northernmost platform to enter the next room.
Small Key #4
 |
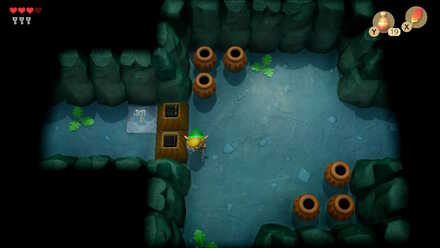 |
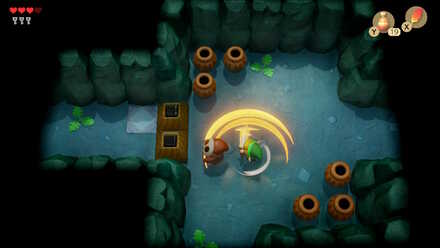
Here you will encounter two Mask-Mimics. Defeating them will make small key #4 will drop on the other side, so you will need to go back to where the first color switch was, and then go right to obtain it.
 |
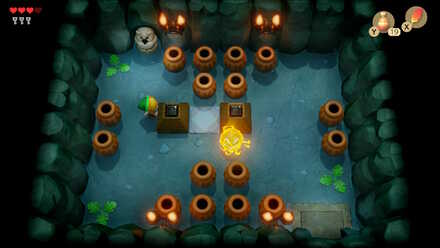 |
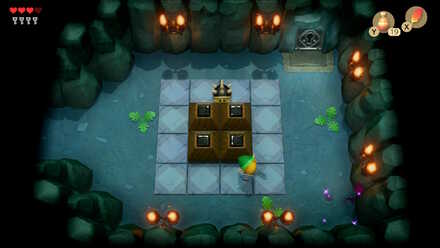
Go back to where you fought the two Mask-Mimics, and head into the next room. Two Spiked Beetles are here, so either defeat them or just run ahead to reach the locked door. Open it and go into the next room. In this room you will encounter a spark and two keese. There are two blocks in the center of the room, and a two white floor panels in between them. Push the blocks onto the panels to reveal a hidden staircase.
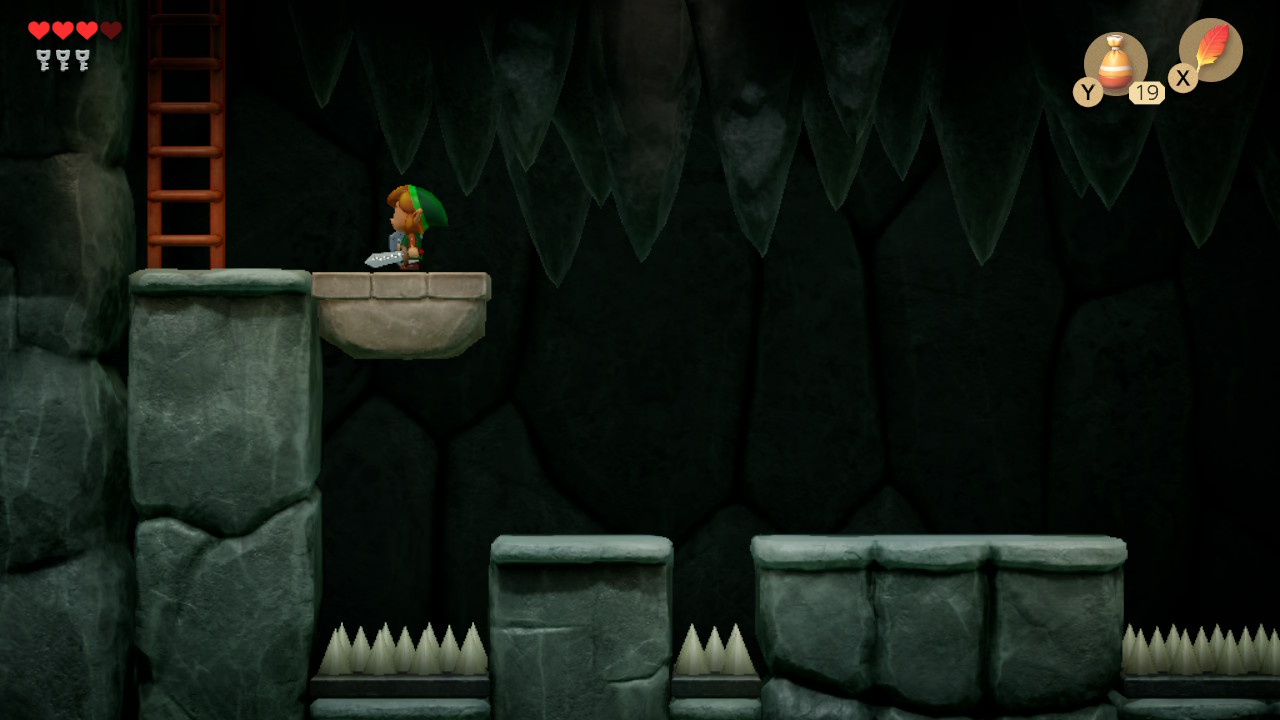
You will go through a platforming section with moving platforms and spikes underneath. Time your jumps so you do not fall, and reach the ladder on the far left side. Once you arrive in the next room, head to the revolving door on the north wall, while being careful not to get hit by the keese/spark here.
Mini-Boss: Hinox
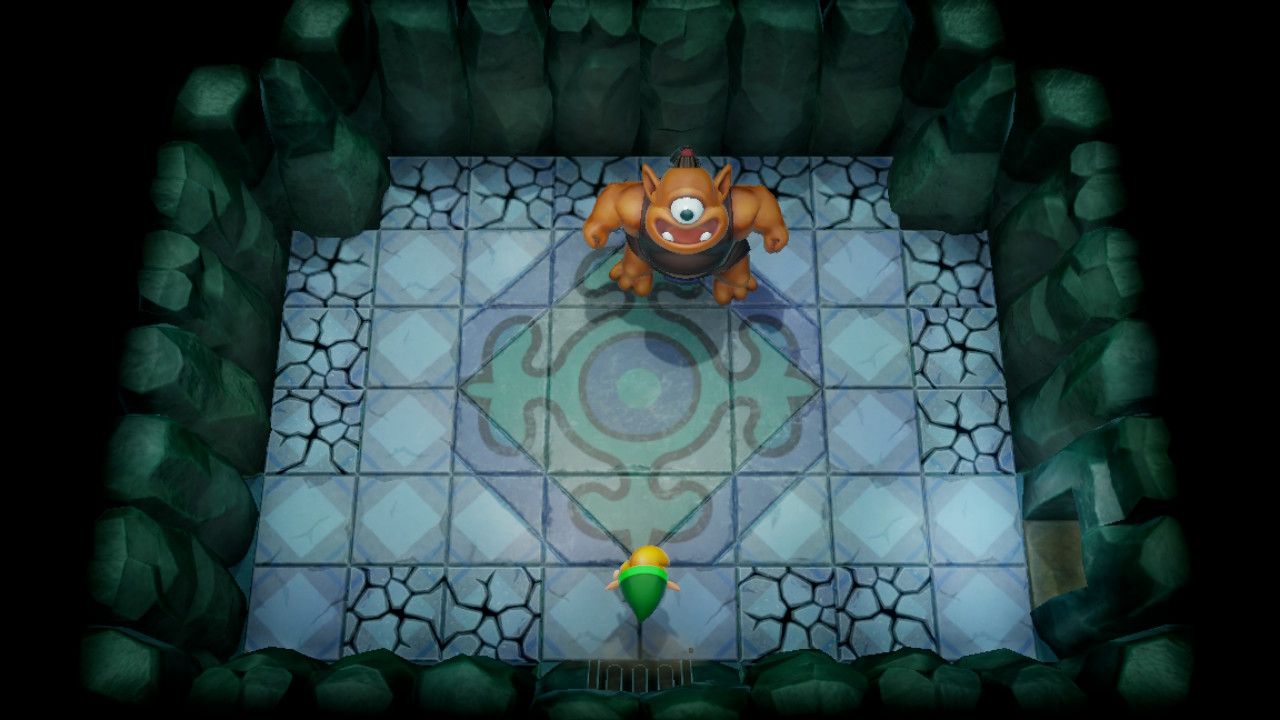
Coming into this room, you will be greeted by a large cyclopes known as a Hinox. He has two attacks: one where he throws a bomb at you, and one where he rushes at you to grab and throw you. Watch out for the cracked tiles while you avoid his rush-in attack. When he rushes at you and misses, you will be able to deal 2-3 hits to him. After awhile he will die, leaving behind a fairy and a warp point.
 |
 |
Map
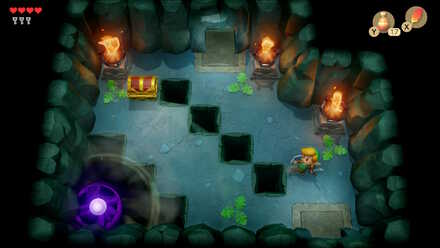
Proceed through the room on your right, and then in this room, jump over the hole to go into the door on the top right section of this room. The next room has a vacuum mouth that will suck up everything, including the keese here. Its pull will usually just make you fall into a hole, but if it somehow manages to suck you up completely, you will return to the start of the dungeon. Avoid its pull by running in the opposite direction, then grap the map form the chest right above it.
Power Bracelet
 |
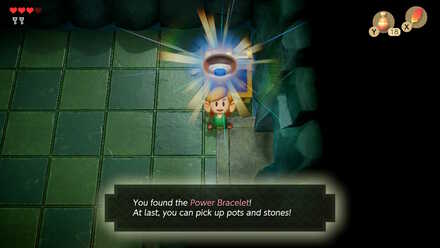 |
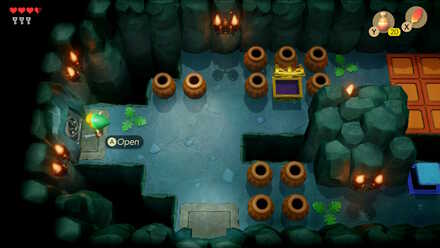
Continue north, and obtain 20 rupees from the treasure chest in this room. Use a key to unlock the door on the left wall. Here, you will fight two boos, who will vanish if you try to attack them with your sword. Use some magic powder in the torch to light up the room, which will allow you to attack the boos. After defeating them, a chest with the Power Bracelet will appear. In this game, this item is automatically equipped to the A button, so now you will be able to move pots and rocks that previously stood in your way.
Stone Beak
 |
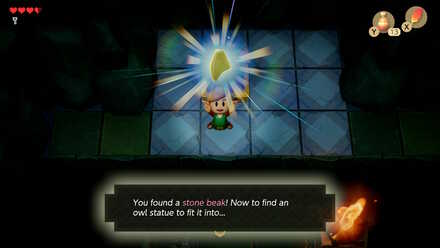 |
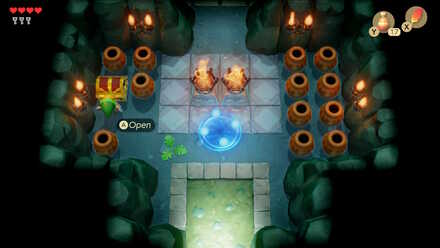
Head back to where you defeated the Hinox, and warp to the start of the dungeon. Grab the 50 rupees from the chest here, and go north, then go west in the next room to pass through the locked door. The room here contains keese, as well as blade traps right next to the door, so jump over them or time your movement to walk ahead. You do not need to light the two torces with powder, simply go north into the next room. In this room, jump across the hole and open the chest for the stone beak.
Nightmare Key
 |
 |
 |
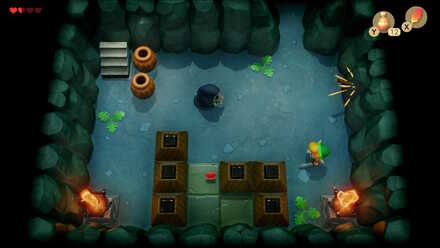 |
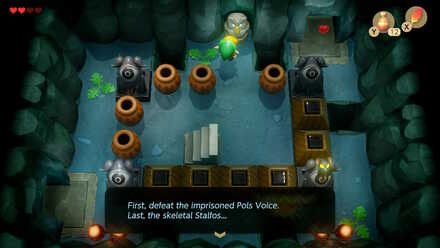
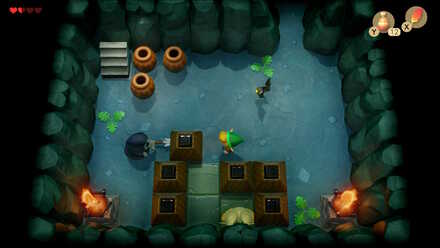
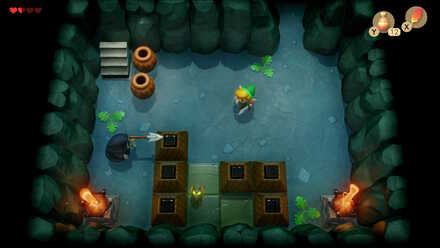
Going back to the warp point and into the next room, the owl statue will tell you to defeat the Pols Voice first, and the Stalfos last. Pick up and throw a pot to reach the stairs. Cross through the platforming area (watch out for Piranha Plants here), and upon reaching the next room, you will encounter 3 enemies. First, move the blocks to free the Pols Voice, and throw a pot at it to kill it. Next, slash down the keese, and finally the stalfos to reveal a chest with the Nightmare Key.
Small Key #5
 |
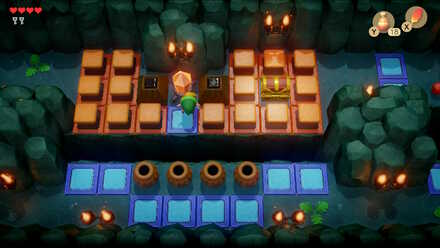 |
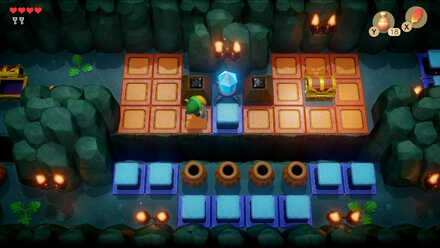
Go back to where you picked up the 20 rupees near where you obtained the Power Bracelet and head right. Hit the color switch while on the orange titles to raise the ground, and then go right and hit it again, which will let you reach the chest containing small key #5. From here, continue right until you reach a locked door. Unlock it and go through.
Getting to the Nightmare Lair
 |
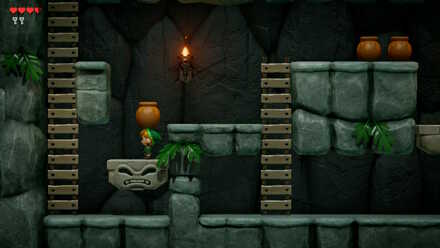 |
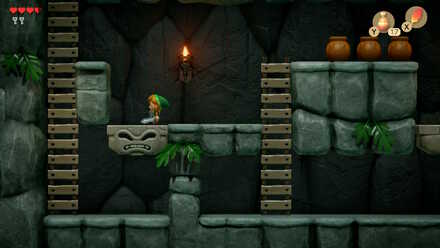
The next room is surrounded with pots. Pick them up with A and throw them at the Pols Voice to kill them. After defeating the enemies here, go to the staircase that appears. You will enter another plaforming section. The first platform will lower automatically when standing on it, but the second one can only be lowered by holding a pot while standing on it. Go up the stairs into the next room and jump across the holes to reach the Nightmare Lair.
Bottle Grotto Nightmare: Genie
 |
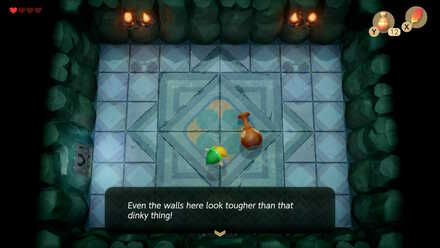 |
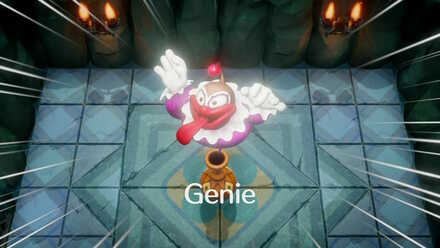
Genie will begin by throwing fireballs at you. Dodge these until he runs out, at which point he will retreat into his bottle and approach you. Slice him with your sword, then after the bottle falls, pick it up and throw it at the wall. Repeat this two more times, and on the third time his bottle will break.
 |
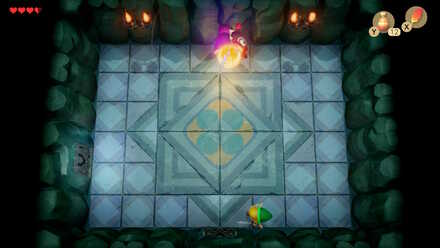 |
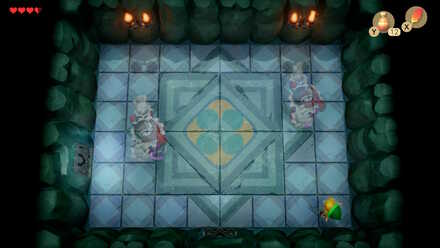
After this, two Genies will spin around the room, but they are transparent and incapable of hurting you or taking damage. Eventually, Genie will come out and throw a large fireball and swing punches. Dodge this fireball and hack away at him with your sword. Repeat this two more times to defeat Genie and get a Heart Container.
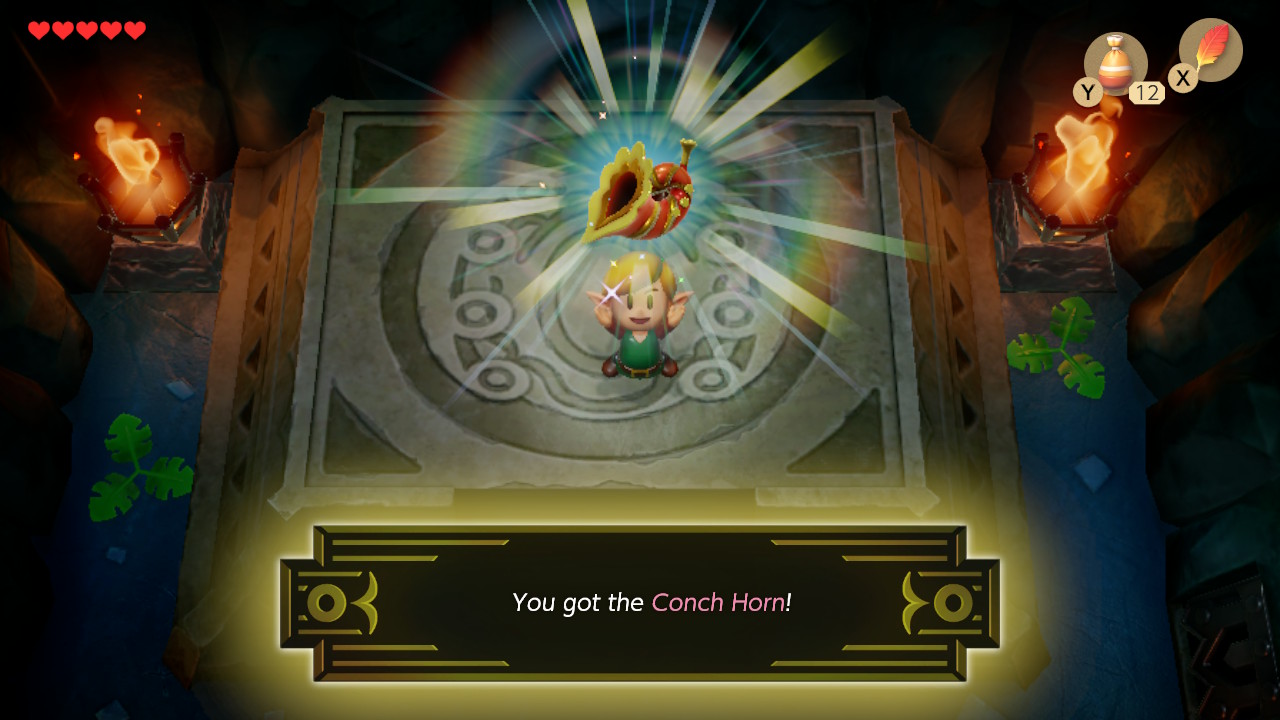
Continue into the next room and pick up the Conch Horn to complete the dungeon.
Link's Awakening Related Guides

List of All Dungeons and Story Walkthrough
All Dungeon Walkthroughs
Author
The Legend of Zelda: Link's Awakening Walkthrough & Guides Wiki
Level 2 - Bottle Grotto Walkthrough
improvement survey
03/2026
improving Game8's site?

Your answers will help us to improve our website.
Note: Please be sure not to enter any kind of personal information into your response.

We hope you continue to make use of Game8.
Rankings
- We could not find the message board you were looking for.
Gaming News
Popular Games

Genshin Impact Walkthrough & Guides Wiki

Honkai: Star Rail Walkthrough & Guides Wiki

Umamusume: Pretty Derby Walkthrough & Guides Wiki

Pokemon Pokopia Walkthrough & Guides Wiki

Resident Evil Requiem (RE9) Walkthrough & Guides Wiki

Monster Hunter Wilds Walkthrough & Guides Wiki

Wuthering Waves Walkthrough & Guides Wiki

Arknights: Endfield Walkthrough & Guides Wiki

Pokemon FireRed and LeafGreen (FRLG) Walkthrough & Guides Wiki

Pokemon TCG Pocket (PTCGP) Strategies & Guides Wiki
Recommended Games

Diablo 4: Vessel of Hatred Walkthrough & Guides Wiki

Fire Emblem Heroes (FEH) Walkthrough & Guides Wiki

Yu-Gi-Oh! Master Duel Walkthrough & Guides Wiki

Super Smash Bros. Ultimate Walkthrough & Guides Wiki

Pokemon Brilliant Diamond and Shining Pearl (BDSP) Walkthrough & Guides Wiki

Elden Ring Shadow of the Erdtree Walkthrough & Guides Wiki

Monster Hunter World Walkthrough & Guides Wiki

The Legend of Zelda: Tears of the Kingdom Walkthrough & Guides Wiki

Persona 3 Reload Walkthrough & Guides Wiki

Cyberpunk 2077: Ultimate Edition Walkthrough & Guides Wiki
All rights reserved
© 1993-2019 Nintendo
The copyrights of videos of games used in our content and other intellectual property rights belong to the provider of the game.
The contents we provide on this site were created personally by members of the Game8 editorial department.
We refuse the right to reuse or repost content taken without our permission such as data or images to other sites.


![Everwind Review [Early Access] | The Shaky First Step to A Very Long Journey](https://img.game8.co/4440226/ab079b1153298a042633dd1ef51e878e.png/thumb)

![Monster Hunter Stories 3 Review [First Impressions] | Simply Rejuvenating](https://img.game8.co/4438641/2a31b7702bd70e78ec8efd24661dacda.jpeg/thumb)


