Chapter 3 Walkthrough: Dead History Comes for Vengeance
The Game8 TRIBE NINE Team has ended coverage as of June 30, 2025. Information on certain pages may no longer be up-to-date. TRIBE NINE is also scheduled to end service on November 27, 2025. Thank you for your continued support!
This is a walkthrough for Chapter 3: Dead History Comes for Vengance of TRIBE NINE. Read on for a complete walkthrough of Chapter 3: Dead History Comes for Vengance, its objectives, bosses, as well as a guide on the XB Battle in Chapter 3.
| Previous Quest | Next Quest |
|---|---|
| Chapter 2 | - |
List of Contents
Chapter 3 Walkthrough: Dead History Comes for Vengeance Part 1
| Chapter 3: Dead History Comes for Vengeance Walkthrough Part 1 | |
|---|---|
| 1 | Head to the Designated Location at Neo Chiyoda City 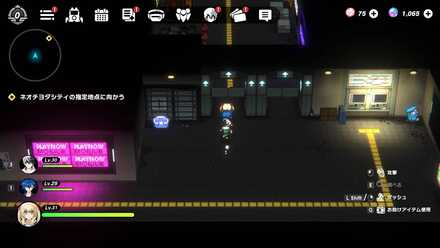 Head to Subway: Minato Ticket Gate in Minato City. Once inside the subway, keep going right until you arrive at Subway: Neo Chiyoda Ticket Gate. Afterwards, go up the stairs ahead to arrive at Akiba Station Front Plaza. |
| 2 | Head to Akiba Station Front Plaza 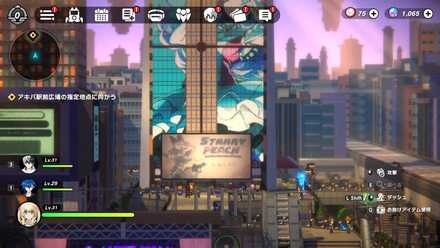 After watching the cutscene, interact with the Respite Unit nearby then head north towards a tall building to watch another cutscene. |
| 3 | Talk to Enoki Yukigaya at Television Studio Front  After the cutscene, head east then south to reach Akiba Sewers: B1. Follow the underground passage until you reach Akiba Roundabout. Open the Respite Unit in the area, then continue east to reach Station Front Main Avenue. Head south and fight Kanon N to open the path to Television Studio Front. Once there, interact with the Respite Unit in the area then head to the yellow objective marker on your map to reach Enoki Yukigaya. |
| 4 | Head to Hina Cafe 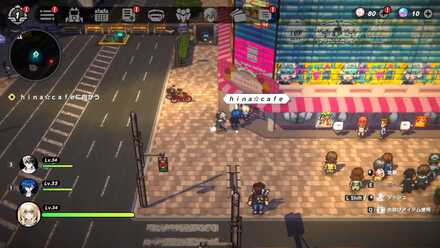 Head west after the cutscene to reach Akiba South Intersection. Head northwest until you reach Central Avenue: B1. Follow the underground passage until you reach Akiba Viaduct Arch Avenue. Interact with the Respite Unit in the area, then fight Maid Ninja to unblock the path ahead. Head north to Central Intersection and keep going north until you reach Akiba Street. Then, interact with the Respite Unit up north. From there, simply follow the yellow objective marker until you reach Hina Cafe. Watch the cutscene afterwards. |
| 5 | Head to the Designated Location at Ancient Sanctuary 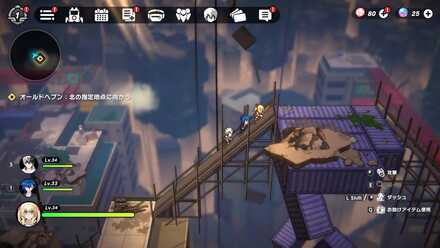 Head north to reach the rooftop, then west to reach Ancient Sanctuary: North. |
| 6 | Head to Ancient Sanctuary: North Interact with the Respite Unit in the area after the cutscene. Then, keep following the yellow objective marker to join Yo in his livestream! |
| 7 | Talk to Hinagiku Akiba at Ancient Sanctuary: North Go back to the empty lot next to the Respite Unit and talk to Hinagiku Akiba. |
| 8 | Head to Maid Building Area  Head west after the cutscene to reach the rooftop, then go inside Hina Cafe. Exit to Akiba Street, then head west to Maid Avenue North. Go north to reach Maid Building Area. Once there, follow the yellow objective marker and watch a cutscene. |
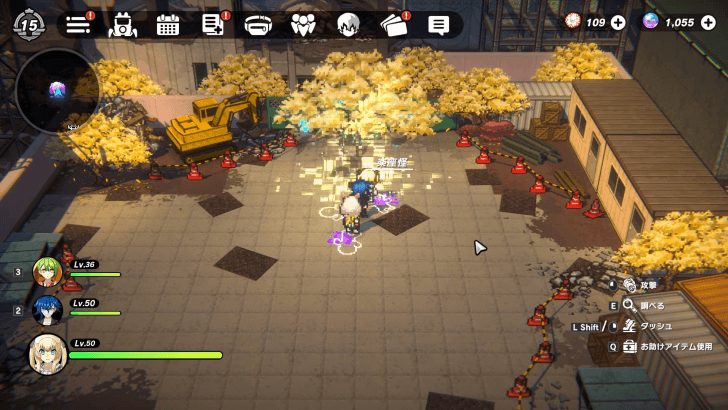
| 9 | Investigate Zenichi Magata Part 1 - Talk to the Gloomy Boy at Ancient Sanctuary: Center 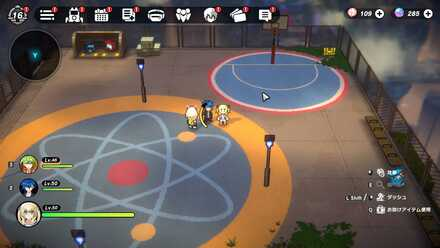 Fast travel to the Respite Unit in Ancient Sanctuary: North, then head southeast to reach Ancient Sanctuary: Center. From there, keep heading south. At one point, you need to fight Tentacles to unblock the path behind it. After the fight, go up the ramp to your right to reach the Gloomy Boy and talk to him. |
| 10 | Investigate Zenichi Magata Part 2 - Talk to the Energetic Woman at Central Avenue Backstreets  Head to Central Avenue Backstreets and talk to the Energetic Woman. |
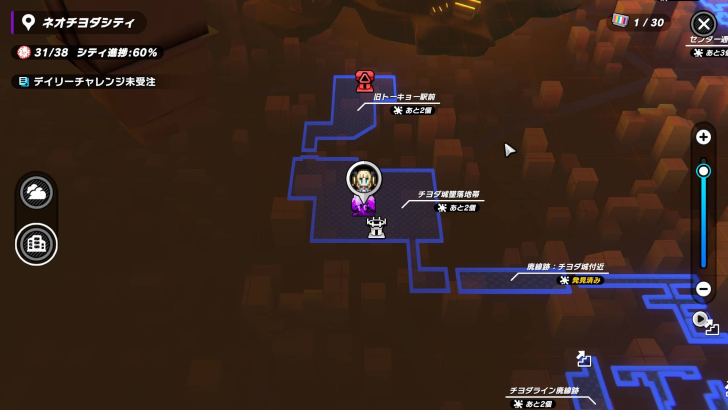
| 11 | Investigate Zenichi Magata Part 3 - Talk to the Knowing Man at Abandoned Tracks 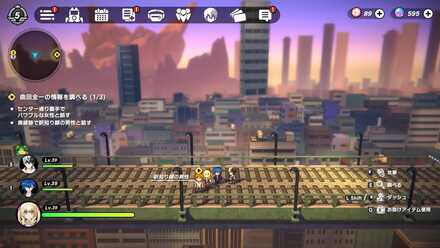 Go to Abandoned Tracks: Chiyoda Castle Vicinity and talk to the Knowing Man in the area. |
| 12 | Head to Hina Cafe Front  Fast travel to the Respite Unit in Akiba Street, then head to Hina Cafe. |
| 13 | Head to Ancient Sanctuary: Northwest 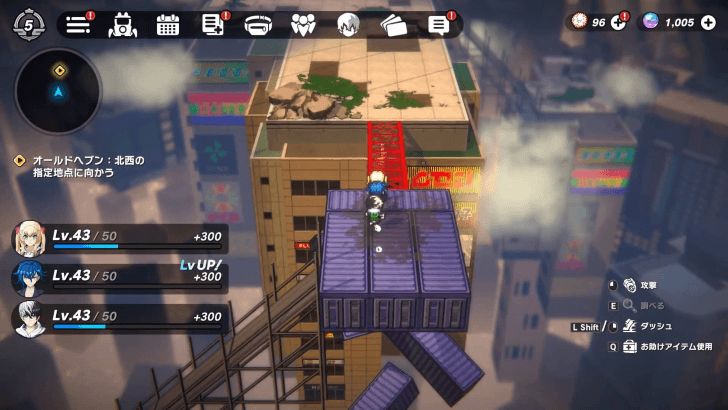 Head to Ancient Sanctuary: Northwest. Try to collect as many Full Mark Stickers as possible to unlock the next level cap. |
Chapter 3 Walkthrough: Dead History Comes for Vengeance Part 2
| Chapter 3: Dead History Comes for Vengeance Walkthrough Part 2 | |
|---|---|
| 1 | Head to Magata Building 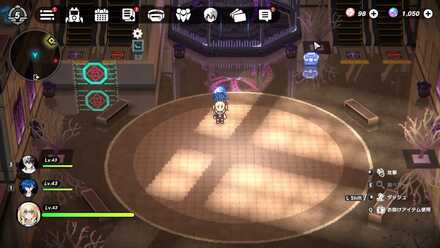 Go down the ramp to your right after the cutscene and enter Magata Building Front. Interact with the Respite Unit in the area, then head north towards Magata Building: Entrance. |
| 2 | Head to Magata Building: Private Quarters  Go up the escalator after the cutscene, then head right to Magata Building: Museum Area. Go down the escalator, then up another one on your right. As you explore the building, don't forget to solve puzzles that will open up blocked paths so you'll have an easier time going around the place later. Afterwards, go down then left to reach Magata Building: Entrance. Head north towards Magata Building: Massive Lab and go down the stairs up ahead. Head northeast and follow the path to your right to reach Magata Building: Greenhouse Plaza. Afterwards, keep going right until you reach Magata Building: Massive Greenhouse. Go through the labyrinthian area. Your goal is to reach the stairs in the west, so you can get to Magata Building: Greenhouse Plaza. From there, go left and enter Magata Building: Massive Lab. Interact with the Respite Unit and the control panel in the area. Go down the stairs next to the Respite Unit. Then, keep going south until you reach a pathway to your left. Follow the pathway to Magata Building: Garden. Go through the area while solving control panel puzzles along the way to open blocked paths. Keep following the path on the second floor to reach Magata Building: Massive Lab again. Enter the lab once more and follow the yellow objective marker. Solve the control panel south of the boss to open a blocked path, then fight Deadly Red Alert. After the fight, enter Magata Building: Private Quarters and watch a cutscene. |
| 3 | Talk to Tsuki Iroha at Television Studio Front  Fast travel to the Respite Unit at Television Studio Front, then talk to Tsuki. |
| 4 | Defeat Magata in an XB Battle  After talking to Tsuki, you have to defeat Magata in an XB Battle. |
| 5 | Defeat U-DX Robot  Watch a cutscene after the XB Battle, then defeat U-DX Robot to clear Chapter 3. You can't lose to this boss battle, so just keep attacking U-DX Robot. |
Chapter 3 Bosses
Deadly Red Alert
| Deadly Red Alert | |
|---|---|
 Deadly Red Alert Deadly Red Alert |
|
| Map Image | Overworld Image |
 |
 |
| Tips on How to Beat Deadly Red Alert | |
|
|
|
Deadly Red Alert is a boss that you will encounter in Chapter 3. After defeating it, its icon will show up on the map and you can challenge it again.
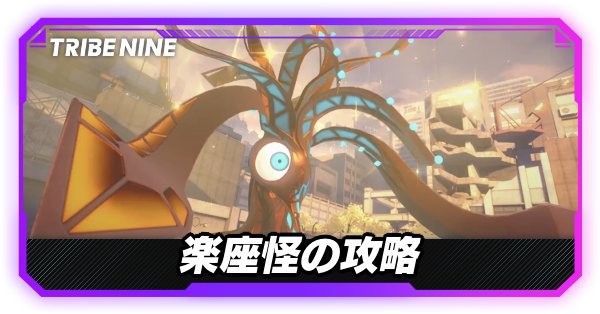
Rakuzakai
| Rakuzakai | |
|---|---|
 Rakuzakai Rakuzakai |
|
| Map Image | Overworld Image |
 |
 |
| Tips on How to Beat Deadly Red Alert | |
|
|
|
Rakuzakai is an optional boss. You won't be forced to fight this powerful boss but if you do, make sure to prepare well for the battle ahead.
Chapter 3 XB Battle Guide
Choose Choices That Show “SUGGEST”
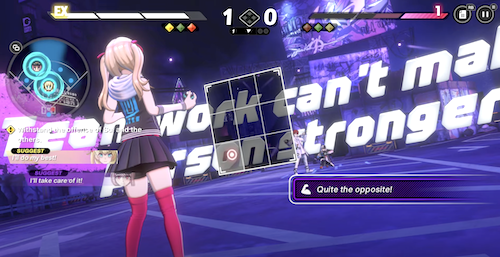
Unlike in Chapter 0, you can lose in the XB Battle in Chapter 3. The same rule applies for this fight: though! Simply choose the options marked with “SUGGEST” since these are usually the correct choices.
By choosing the correct dialogue option and using Verity Orbs, you can gain an advantage in the match.
Chapter 3 XB Verity Orb Battle Choices
| Line | Correct Choice |
|---|---|
| Were there sufferings behind all the craze for Magata...? | Use a Verity Orb and choose “A Boy's Misery” |
| Is Magata's rule absolute...? | Use a Verity Orb and choose “Peer Pressure” |
| Is it unquestionably safe to follow Magata...? | Use a Verity Orb and choose “Missing Person” |
| What is the strange feeling Magata's giving off...? | Use a Verity Orb and choose “Magata's Stock Phrases?” |
| What's the mechanism behind Magata's livestreams...? | Use a Verity Orb and choose “Mysterious data” |
| What's Magata obsessed about...? | Use a Verity Orb and choose “Magata's Area of Research” |
| What's Magata's ultimate goal...? | Use a Verity Orb and choose “Magata's Already Dead” |
Chapter 3 Previous and Next Quest
| Previous Quest | Next Quest |
|---|---|
| Chapter 2 | - |
TRIBE NINE Related Guides

All Story Walkthroughs
| All Story Walkthroughs |
|---|
| Chapter 0 |
| Chapter 1 |
| Chapter 2 |
| Chapter 3 |
All Story Bosses
| All Chapter 0 Bosses | |
|---|---|
| Endrone | |
| All Chapter 1 Bosses | |
| S.H.A.R.K. | |
| All Chapter 2 Bosses | |
| Brave Diver | Destroyer |
| Sui Yakumo | - |
| All Chapter 3 Bosses | |
| Rakuzakai | Deadly Red Alert |
| Tentacles | - |
All Graffiti Locations
| All Graffiti Locations | |
|---|---|
| All Shinagawa Graffiti Locations | All Minato Graffiti Locations |
| All Neo Chiyoda Graffiti Locations | - |
Comment
Author

Chapter 3 Walkthrough: Dead History Comes for Vengeance
Rankings
- We could not find the article you were looking for.
- We could not find the message board you were looking for.
Gaming News


![Everwind Review [Early Access] | The Shaky First Step to A Very Long Journey](https://img.game8.co/4440226/ab079b1153298a042633dd1ef51e878e.png/thumb)

![Monster Hunter Stories 3 Review [First Impressions] | Simply Rejuvenating](https://img.game8.co/4438641/2a31b7702bd70e78ec8efd24661dacda.jpeg/thumb)
Popular Games

Genshin Impact Walkthrough & Guides Wiki
Honkai: Star Rail Walkthrough & Guides Wiki
Umamusume: Pretty Derby Walkthrough & Guides Wiki
Pokemon Pokopia Walkthrough & Guides Wiki
Resident Evil Requiem (RE9) Walkthrough & Guides Wiki
Monster Hunter Wilds Walkthrough & Guides Wiki
Wuthering Waves Walkthrough & Guides Wiki
Arknights: Endfield Walkthrough & Guides Wiki
Pokemon FireRed and LeafGreen (FRLG) Walkthrough & Guides Wiki
Pokemon TCG Pocket (PTCGP) Strategies & Guides Wiki


Recommended Games
Diablo 4: Vessel of Hatred Walkthrough & Guides Wiki
Fire Emblem Heroes (FEH) Walkthrough & Guides Wiki
Yu-Gi-Oh! Master Duel Walkthrough & Guides Wiki
Super Smash Bros. Ultimate Walkthrough & Guides Wiki
Pokemon Brilliant Diamond and Shining Pearl (BDSP) Walkthrough & Guides Wiki
Elden Ring Shadow of the Erdtree Walkthrough & Guides Wiki
Monster Hunter World Walkthrough & Guides Wiki
The Legend of Zelda: Tears of the Kingdom Walkthrough & Guides Wiki
Persona 3 Reload Walkthrough & Guides Wiki
Cyberpunk 2077: Ultimate Edition Walkthrough & Guides Wiki


All rights reserved
Game Copyright©Akatsuki Games Inc. All Rights Reserved
The content we provide on this site were created personally by members of the Game8 editorial department.
We refuse the right to reuse or repost content taken without our permission such as data or images to other sites.
©Akatsuki Games Inc. (Provider)