Chapter 1 Walkthrough: Dangerous Working Conditions
The Game8 TRIBE NINE Team has ended coverage as of June 30, 2025. Information on certain pages may no longer be up-to-date. TRIBE NINE is also scheduled to end service on November 27, 2025. Thank you for your continued support!
This is a walkthrough for Chapter 1 of TRIBE NINE. Read on for a complete walkthrough of Chapter 1, its objectives, bosses, XB choices and strategy, as well as tips on how to complete Chapter 1.
| Previous Quest | Next Quest |
|---|---|
| Chapter 0 | Chapter 2 |
List of Contents
Chapter 1 Walkthrough 1
| Walkthrough Flow | |
|---|---|
| 1 | Head to the designated spot in the B1F Lounge 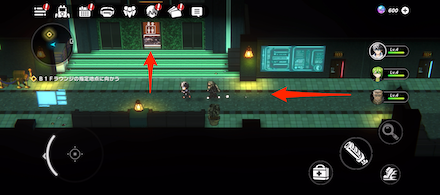 Exit the room, go left, and take the elevator down to B1F. Upon reaching B1F, the Safe Area and Map features become unlocked. |
| 2 |
Investigate the B1F Lounge 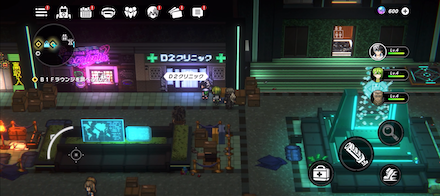 D2 Clinic 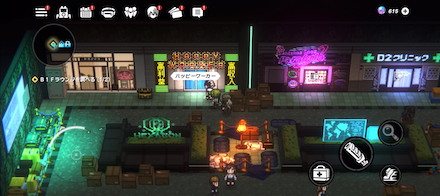 Happy Worker Head to "D2 Clinic" and "Happy Worker". At Happy Worker, "Daily Challenge" and "Delivery Request" features become unlocked. |
| 3 | Talk to Enoki and Miu near the hotel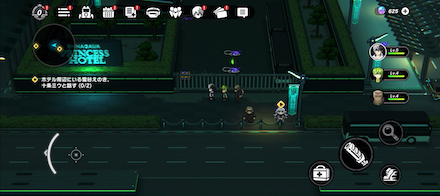 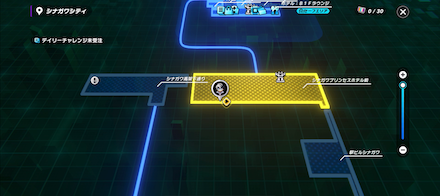 1. Take the elevator to 1F and exit the hotel. 2. Found in the lower left of the Shinagawa Princess Hotel Front. 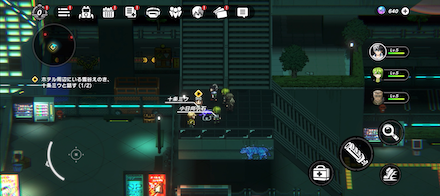 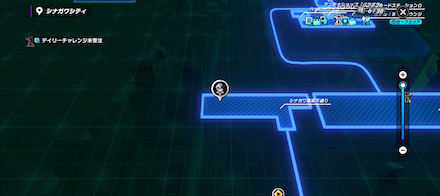 [Directions to Miu Jujo] 1. After talking to Enoki, move left to Shinagawa Underpass. 2. Found at the top of the stairs on the left side of the map. |
| 4 | Talk to Aoyama Kazuki at Shinagawa Station Plaza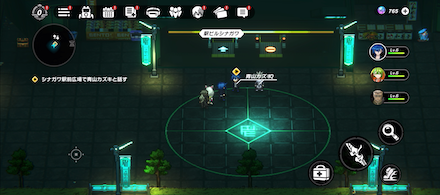 [Directions to Kazuki Aoyama] 1. After speaking to Jujo Miu, climb the stairs. 2. After the stairs, head right and follow the bridge. 3. Proceed along the bridge to Shinagawa Station Plaza. 4. Go left from the map entrance. Prepare to battle enemies. 5. After the battle, go down the stairs ahead, head right and speak with Kazuki Aoyama. |
| 5 | Talk to Hyakuichitaro Senju at Hotel 1F 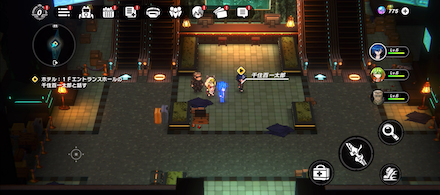 [Directions to Senju Hyakuichitaro] 1. After speaking with Aoyama Kazuki, activate the Respite Unit to the right. 2. Warp from the map to Hotel: B1F Lounge. 3. Take the elevator to 1F. 4. Speak with Hyakuichitaro. 5. After the conversation, Zero-sensei Full Mark Stickers mechanic becomes unlocked. |
| 6 | Talk to Tsuki Iroha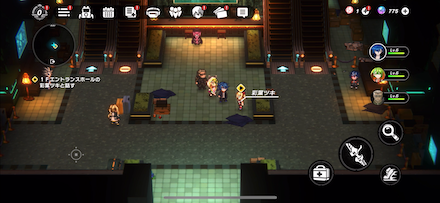 [Directions to Iroha Tsuki] 1. After speaking with Hyakuichitaro, talk to Tsuki Iroha. 2. After the conversation, a guest character joins. ┗ ※Tsuruko Semba is a strong guest character, so use her in your party. |
| 7 | Head to the designated spot in Kubikiri Plaza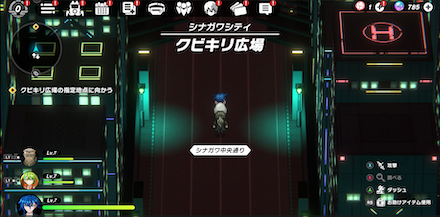 [Directions to Kubikiri Plaza] 1. Take the elevator to Hotel 10F. 2. On 10F, head left into the control room. 3. From the back left of the control room, enter the emergency stairs. 4. Climb the stairs to Connecting Bridge: Toward Kubikiri Plaza. 5. Go up the bridge to Shinagawa Main Street. 6. Descend the escalator and cross the topmost crosswalk. 7. Activate the Respite Unit found up ahead. 8. Climb the escalator and be prepared for a battle. 9. After the battle, proceed to Kubikiri Plaza. |
| 8 | Go to the designated spot in Meiousu Isle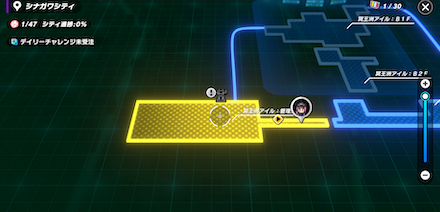 [Directions to Meiousu Isle] 1. Warp from the map to Hotel: B1F Lounge. 2. Take the elevator to 10F. 3. From 10F, go left to Connecting Bridge: Toward Meiousu Isle. 4. Proceed left on the bridge into the Business District. 5. Head left through the path to Shinagawa Industrial Zone. 6. Go straight left to enter Meiousu Isle: Control District. (※ Aggressive enemies always chase you in the Industrial Zone, so dash through quickly). 7. Upon entering Meiousu Isle: Control District, the story progresses. |
| 9 | Head to the designated spot in the Office Buildin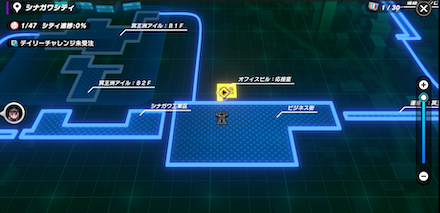 [Directions to the Office Building] . 1. After the conversation, solve the container and broken drone gimmicks. 2. After solving the gimmicks, activate the Respite Unit. 3. Enter Meiousu Isle: B1F via the manhole to the left of the Respite Unit. 4. Follow the path to Meiousu Isle: B2F. 5. Go downward on the map and return to Meiousu Isle: B1F. 6. Prepare to fight a powerful enemy located at the top right of the map. 7. After the battle, the Rift becomes unlocked. [Container & Drone Gimmick Solution Guide] |
| 10 | Clear the Rift battle challenge  1. Enter the Rift. 2. Proceed and defeat the enemy deep in the dungeon to clear the Rift. |
| 11 | Head to the designated spot in the Office Building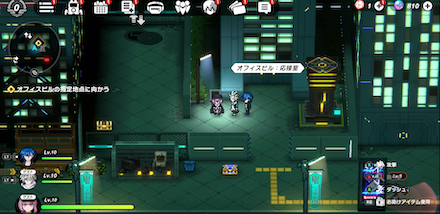 [Directions to the Office Building] 1. After clearing the Rift, go right into the Business District. 2. After emerging to the surface, unlock the Respite Unit and open the shortcut. 3. Then, enter Office Building: Reception Room. |
| 12 | Head to the designated spot in the Marine Life Research Facility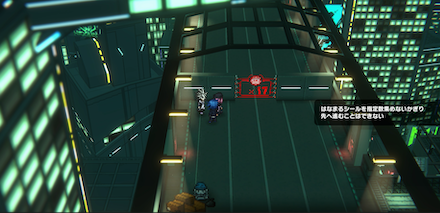 [Directions to the Marine Life Research Facility] 1. Go to Hotel: B1F Lounge. 2. Take the elevator to 20F. 3. A conversation event will occur and you'll receive the Verity Orb. 4. After the event, Smile Kitchen at Hotel: B1F Lounge becomes unlocked. 5. From the left of the elevator, head to Connecting Bridge: Toward Marine Life Research Facility. 6. Start to collect 17 Full Mark Stickers by completing objectives. ※ Advance with Zero-sensei to collect Full Mark Stickers. |
Chapter 1 Walkthrough 2
| 1 | Head to the designated spot in the Marine Biology Research Center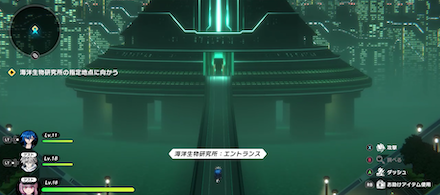 Route to the Marine Biology Research Center 1. Continue collecting 17 Full Mark Stickers and go to Shinagawa Science Street. 2. Go down the stairs on the left side of the map all the way to the bottom and head left . 3. Prepare to battle an enemy.. 4. After the battle, enter the Marine Biology Research Center. |
|---|---|
| 2 | Head to the designated location in the director's office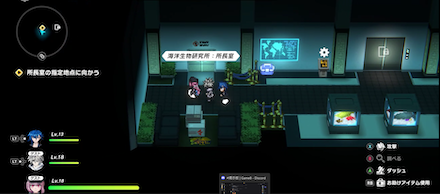 [Directions to the Director's Office] 1. After the conversation that will take place, the Respite Unit becomes unlocked. 2. Go to Marine Biology Research Center: Researcher Passageway. 3. Then, go to Marine Biology Research Center: Floor A. 4. Operate the panel and proceed to Marine Biology Research Center: Testing Field. 5. Unlock the Respite Unit located on the left side of the map, then proceed to the designated location. 6. Prepare to fight a mid-boss. 7. After the battle, go to Marine Biology Research Center: Floor B. 8. Operate the panel to proceed to the Marine Biology Research Center: Researcher Passageway. 9. Follow the path on the left side of the map then go to Marine Biology Research Center: Corridor. 10. Enter the director's office in the back left to progress the story. [Puzzle Solution 1] [Puzzle Solution 2] |
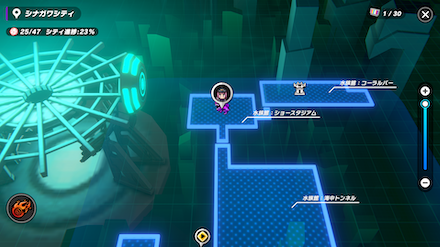
| 3 | Go to the designated location at the Aquarium [Directions to the Aquarium] 1. Go to Hotel: B1F Lounge. 2. Take the elevator to the 30F then go to Connecting Bridge: Aqua Marine Park. 3. Take the connecting bridge to the right and head to Shinagawa Resort Avenue. 4. Take the elevator to go to Aqua Marine Park Front. 5. Collect 25 Full Mark Stickers. ※ Advance with Zero-sensei to collect Full Mark Stickers. |
Chapter 1 Walkthrough 3
| 1 | Search for the Breaker inside Aquamarine Park [Directions to the Breaker] 1. From the entrance, head north on the map to Aquarium: Undersea Tunnel. 2. Cross the moving walkway to reach “Aquarium: Show Stadium. 3. Go up the escalator on the right of the entrance and head to “Aquarium: Coral Bar” at the end of the corridor. 4. Proceed to the right of the Coral Bar to find and unlock the Respite Unit. Talk to the woman next to the Respite Unit to obtain a Verity Orb. 5. Continue heading to the right to trigger a conversation event. |
|---|---|
| 2 | Defeat the S.H.A.R.K. and Retrieve the Key Card [Directions to S.H.A.R.K.] 1. After the conversation event, return to Aquarium: Show Stadium. 2. Battle the boss S.H.A.R.K. ▶How to Defeat the Chapter 1 Boss S.H.A.R.K. and Their Attack Patterns |
| 3 | Head to the Marked Point in the Materials Depot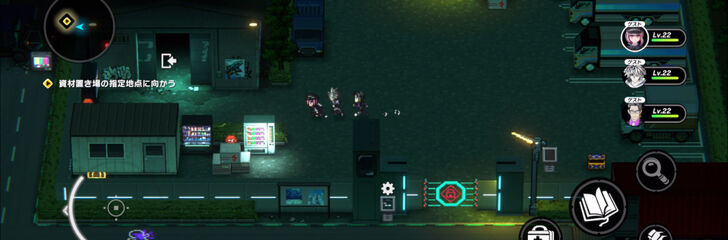 [Directions to the Materials Depot] 1. Warp to the front of Aqua Marine Park and re-enter the Aquarium. 2. Take the path on the right of the entrance. 3. Go back to the Materials Depot. |
| 4 | Give the Azuchi-Momoyama Half-Baked Castella to the Chairman at Kubikiri Square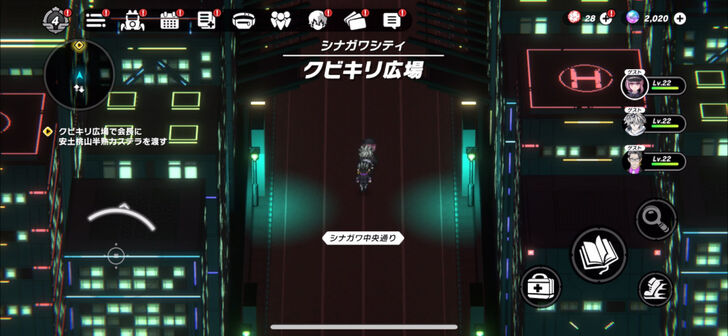 1. Warp to Shinagawa Main Street. 2. Go up the escalator to reach Kubikiri Square. |
| 5 | Defeat Kazuma Ichinose in XB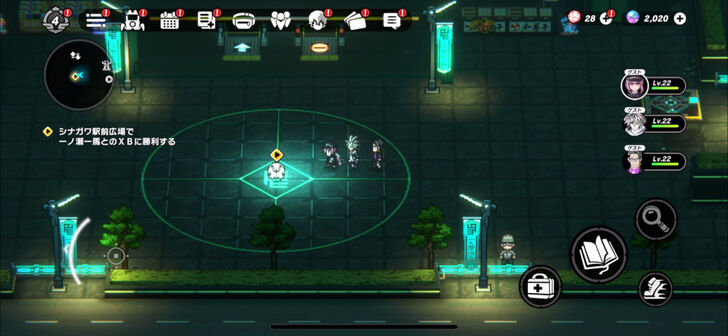 1. Go to Shinagawa Station Plaza. 2. Approach Zero at the center of the plaza to start the XB. ▶ XB Guide and All XB Choices |
Chapter 1 Walkthrough 4
| 1 | Go to room 1001 on 10F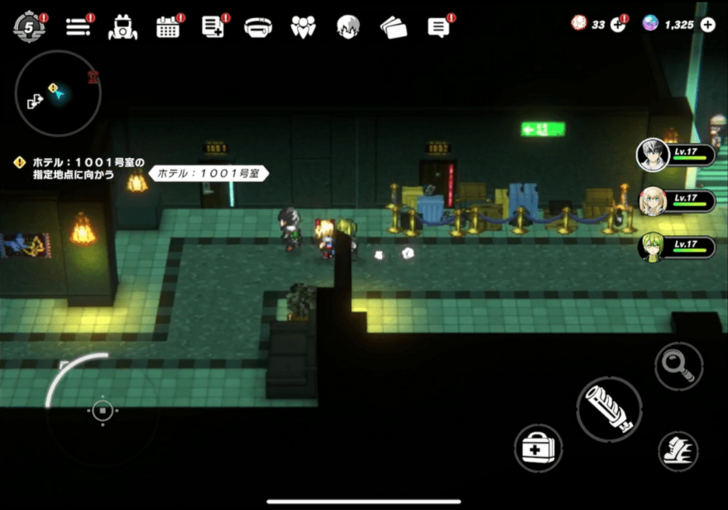 The conversation event will occur and you will receive the card keys for B10F and 40F. |
|---|---|
| 2 | Go to the newly opened shops at B1F Go to the new shops located at Hotel B1F. Stock up on items to prepare for tough enemies.  Pachimon Shop
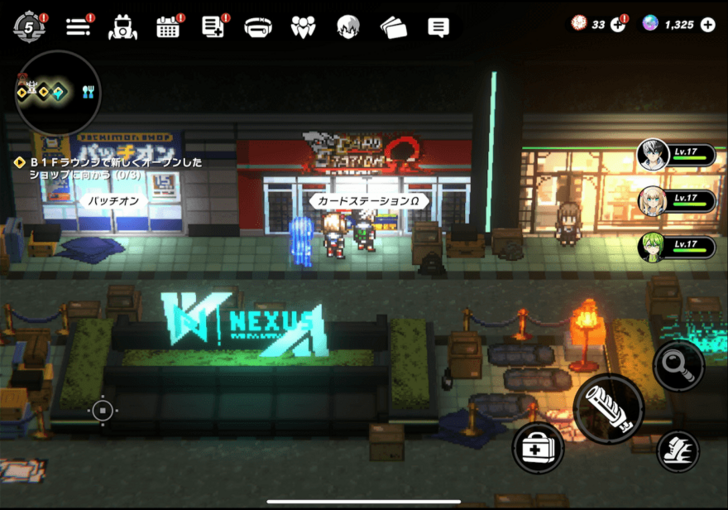 Card Station
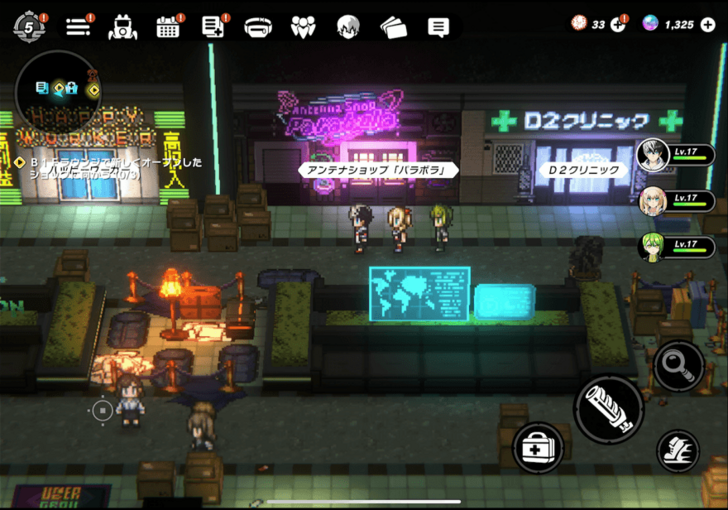 Antenna Shop Parabola
|
| 3 | Go to the designated location at Shinagawa ticket gate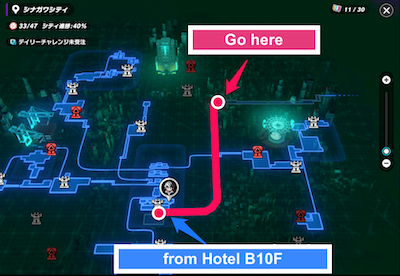 [Directions to the destination] 1. Take the elevator down to B10F. 2. Take the exit at the Shinagawa ticket gate. 3. Continue along the road. 4. Collect 43 Full Mark Stickers. 5. Continue along the road all the way to the rightside. |
| 4 | Head to the designated location in Minato City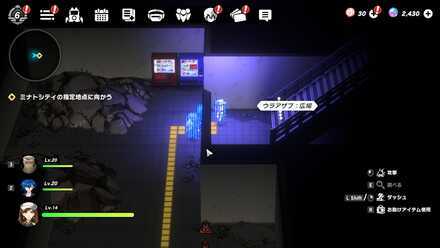 [Directions to Minato City]] 1. From the ticket gate, proceed through Subway: Passage→Overpass→Railroad Tracks. 2. From Subway: Minato ticket gate exit to Inner Azabu: Square. 3. Chapter 1 Cleared. |
Chapter 1 Bosses
S.H.A.R.K.
| Map Image | Overhead Image |
|---|---|
 |
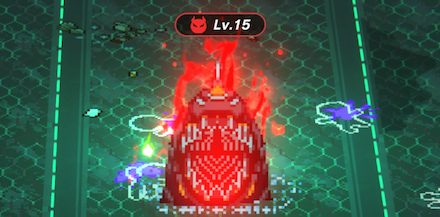 |
How to Beat S.H.A.R.K (Chapter 1 Boss)
The S.H.A.R.K. are the boss you'll fight at the end of Chapter 1’s main story. They are significantly stronger than enemies you've encountered so far, so make sure to prepare well before challenging them.
Use Guest Characters
| Guest Characters | ||
|---|---|---|
 Tsuruko Semba Tsuruko Semba
|
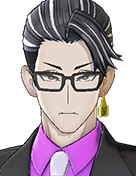 Yutaka Gotanda Yutaka Gotanda
|
 Q Q
|
If your own characters are underleveled, use the guest characters instead to defeat enemies more easily. In particular, Tsuruko Semba is excellent as a ranged attacker and makes the battle much easier.
If you're having too much trouble, consider using all the guest characters in your party.
Counterattack S.H.A.R.K's Opening Attack
S.H.A.R.K will perform a rush attack toward your character at the start of the fight. Time a counterattack well to exploit the opening to deal damage.
Use Bombs to Stun
S.H.A.R.K performs a Bomb Placement→Rush combo.
After this action, position yourself behind the deployed bomb. Then, feed the bomb to S.H.A.R.K to knock them down, giving you a chance to land a flurry of attacks.
Use Ranged Characters as Your Main Fighter
| Long-Range Attackers | ||
|---|---|---|
|
Tsuruko Semba
(Guest) |
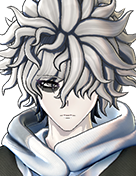
 Tsuki Iroha Tsuki Iroha
|
Yutaka Gotanda
|
Since S.H.A.R.K shows fast attack animations and deals heavy damage in close range, characters like Tsuruko, Yutaka, and Tsuki are recommended to use.
These characters specialize in ranged attacks, can deal damage from a distance and avoid taking hits, making them ideal for this boss fight.
Especially as a guest character, Tsuruko is highly recommended due to her ability to deal damage from afar and heal allies.
Prioritize Dodging in the Second Half and Wait for Openings
Once S.H.A.R.K's HP drops below half, its attacks become more aggressive. It's not uncommon to get caught in a wide-range ring attack followed by a rush, which will lead to a quick defeat.
Don’t panic and rush down the boss in the latter half. Instead, play cautiously and look for safe opportunities to attack.
Consider Lowering the Difficulty If You Can't Win
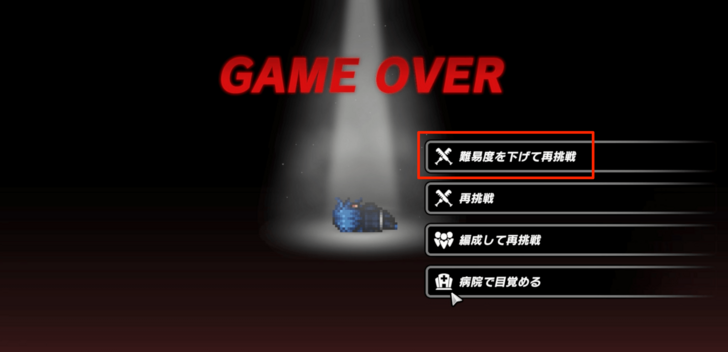
If all your characters are defeated and you get a game over, you'll be given the option to "Retry at Lower Difficulty." At a lower difficulty, your characters get significantly boosted, mainly in HP and damage reduction. If you’re stuck, consider lowering the difficulty to enjoy the story.
Chapter 1 XB (Ichinose) Guide
Just Like in Chapter 0, Choose the Options with the Most “SUGGEST” Indicators
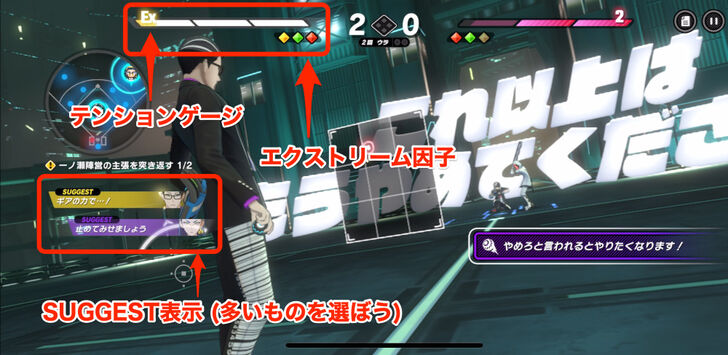
While you can lose in Chapter 1's XB (unlike Chapter 0), the basic strategy remains the same: select the options with the most “SUGGEST” tags.
Choosing the right options and using Verity Orb choices will let you consume Tension Gauge and Extreme Factors to gain the upper hand in the match, and win the XB.
All Chapter 1 Ichinose XB Choices
| Cue (Line/Dialogue) | Verity Orb |
|---|---|
| Is it really the subordinate's fault...? | Ichinose Delivers the Cake |
| The true identity of Ichinose...? | Ordinary Employee Ichinose |
| The reason why Ichinose's subordinates listen to him...? | Mind Control |
| The true feelings of Ichinose's subordinates...? | Desperate Cry |
| Does Ichinose need subordinates...? | Can't Do Anything Alone |
| Is Ichinose really brilliant...? | Ichinose's Problem |
Chapter 1 Previous and Next Quest
| Previous Quest | Next Quest |
|---|---|
| Chapter 0 | Chapter 2 |
TRIBE NINE Related Guides

All Story Walkthroughs
| All Story Walkthroughs |
|---|
| Chapter 0 |
| Chapter 1 |
| Chapter 2 |
| Chapter 3 |
All Story Bosses
| All Chapter 0 Bosses | |
|---|---|
| Endrone | |
| All Chapter 1 Bosses | |
| S.H.A.R.K. | |
| All Chapter 2 Bosses | |
| Brave Diver | Destroyer |
| Sui Yakumo | - |
| All Chapter 3 Bosses | |
| Rakuzakai | Deadly Red Alert |
| Tentacles | - |
All Graffiti Locations
| All Graffiti Locations | |
|---|---|
| All Shinagawa Graffiti Locations | All Minato Graffiti Locations |
| All Neo Chiyoda Graffiti Locations | - |
Comment
Author

Chapter 1 Walkthrough: Dangerous Working Conditions
Rankings
- We could not find the message board you were looking for.
Gaming News


![Everwind Review [Early Access] | The Shaky First Step to A Very Long Journey](https://img.game8.co/4440226/ab079b1153298a042633dd1ef51e878e.png/thumb)

![Monster Hunter Stories 3 Review [First Impressions] | Simply Rejuvenating](https://img.game8.co/4438641/2a31b7702bd70e78ec8efd24661dacda.jpeg/thumb)
Popular Games

Genshin Impact Walkthrough & Guides Wiki
Honkai: Star Rail Walkthrough & Guides Wiki
Umamusume: Pretty Derby Walkthrough & Guides Wiki
Pokemon Pokopia Walkthrough & Guides Wiki
Resident Evil Requiem (RE9) Walkthrough & Guides Wiki
Monster Hunter Wilds Walkthrough & Guides Wiki
Wuthering Waves Walkthrough & Guides Wiki
Arknights: Endfield Walkthrough & Guides Wiki
Pokemon FireRed and LeafGreen (FRLG) Walkthrough & Guides Wiki
Pokemon TCG Pocket (PTCGP) Strategies & Guides Wiki


Recommended Games
Diablo 4: Vessel of Hatred Walkthrough & Guides Wiki
Fire Emblem Heroes (FEH) Walkthrough & Guides Wiki
Yu-Gi-Oh! Master Duel Walkthrough & Guides Wiki
Super Smash Bros. Ultimate Walkthrough & Guides Wiki
Pokemon Brilliant Diamond and Shining Pearl (BDSP) Walkthrough & Guides Wiki
Elden Ring Shadow of the Erdtree Walkthrough & Guides Wiki
Monster Hunter World Walkthrough & Guides Wiki
The Legend of Zelda: Tears of the Kingdom Walkthrough & Guides Wiki
Persona 3 Reload Walkthrough & Guides Wiki
Cyberpunk 2077: Ultimate Edition Walkthrough & Guides Wiki


All rights reserved
Game Copyright©Akatsuki Games Inc. All Rights Reserved
The content we provide on this site were created personally by members of the Game8 editorial department.
We refuse the right to reuse or repost content taken without our permission such as data or images to other sites.
©Akatsuki Games Inc. (Provider)