Roku Saigo Best Build, Team, and Tension Cards
The Game8 TRIBE NINE Team has ended coverage as of June 30, 2025. Information on certain pages may no longer be up-to-date. TRIBE NINE is also scheduled to end service on November 27, 2025. Thank you for your continued support!
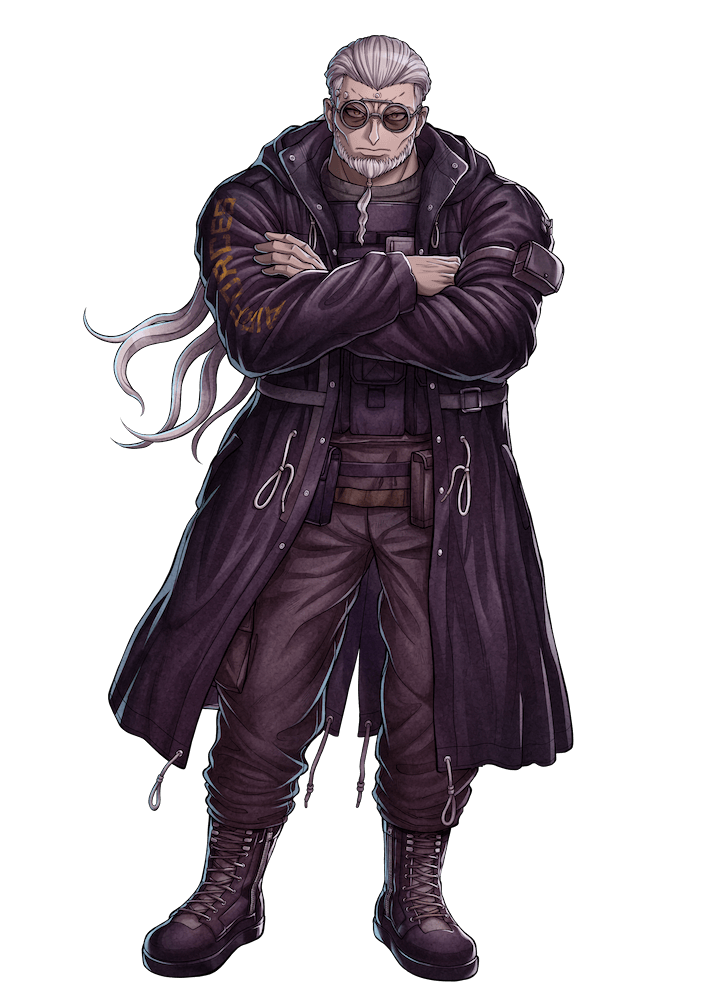
Roku Saigo is a 2-star character in TRIBE NINE. Here you'll find information on Roku's stats, rating, Transcend effects, best builds and Tension Cards, as well as recommended teams. Read on to learn more about Roku's skills and how to play Roku in the game.
List of Contents
Roku Saigo Best Build and Team
Roku as Tank + 2 Attackers
| Recommended Team Members | ||
|---|---|---|
 Roku Saigo Roku Saigo
|
 Kazuki Aoyama Kazuki Aoyama
|
 Tsuki Iroha Tsuki Iroha
|
| Recommended Tension Cards | ||


|
||
This team uses Roku as a tank, and Kazuki and Tsuki as the two attackers. Take note that while this team's main goal is maximizing damage potential and output, it does not have a natural way to recover health.
To help with the team's survivability, use Kazuki's ability to grant party members shield via his Strategy Skill. In line with this, it is recommended to use the Things to Hold On To tension card, as it increases crit.rate through stacks gained from additional attacks when a shield is applied.
The Thing to Hold On To tension card turns Kazuki's shield into offense by using its crit.rate buff to help in producing more consistent damage output across the team.
This team comp uses Roku's Ultimate as a main source of high damage. Additionally as the team's tank, Roku's ability to apply Attention and Rage status effects must be maximized at all times. Keep the enemy on him and "tank" the damage dished out by the enemy.
Kazuki is used to help trigger Break, and reinforce team durability. Meanwhile, Tsuki is used to efficiently increase the tension gauge, as well as to effectively counterattack.
Balanced Lineup
| Recommended Team Members | ||
|---|---|---|
|
Tsuki Iroha
(Player) |
 Koishi Kohinata Koishi Kohinata
|
Roku Saigo
(NPC) |
| Recommended Tension Cards | ||
|
||
This team uses Roku as a tank, Tsuki as the main attacker, and Koishi as the support/healer. Roku and Koishi fight in the front line, while Tsuki forces breaks from the backline. As this is a balanced team, it is recommended to use in particular for the story battles.
When using this team comp, it is recommended that Roku is to be an NPC and controlled by the game. In this way, Roku acts as a pure tank, while the player controls Tsuki as a long-range attacker.
How to Play Roku Saigo
|
|
Provoke Enemies to Attack
With Roku's ability to grant himself [Attention] and [Rage] status effects, he is able to increase his defense whenever he gets attacked by the enemy. As a result, he is able to gain more survivability and endurance despite his DEF stat.
Once [Attention] and [Rage] are applied, Roku should provoke enemies to attack him to get the most out of his role as a tank.
Use [Strategy Skill→Max. Charged Secondary Attack]
Roku has a powerful Strategy Skill that reduces damage taken by 70% while it is active. To let Roku effectively recover and survive while fulfilling his role as a tank, it is recommended to deal damage with the Strategy Skill→Max. Charged Secondary Attack combo.
Position Roku Away From Allies
As a tank, Roku has the [Attention] effect which attracts enemy attacks towards him. To keep Roku's teammates safe, position him away from them so that his teammates do not get caught in the line of fire.
Increase [Rage] to Maximize Ultimate Damage
The damage of Roku's Ultimate attack increases according to the number [Rage] stacks Roku has. Keep stacking [Rage] until the gauge displayed on the left side reaches MAX, then activate his Ultimate. However, take note that its required tension phase is 3.
Invest in Passive 1 to Unlock Healing Ability
Invest in Roku's Passive 1 so he becomes capable of recovering health at regular intervals. Additionally, since the recovery amount is based on Roku's HP limit, it is recommended to prioritize increasing the HP sub-status of your equipped Patimon.
Roku Saigo's Rating
 |
Rarity | 2 |
|---|---|---|
| Roll | Tank | |
| Tension card | - | |
| Voice Actor | Kenichiro Matsuda | |
| Best Tier | Reroll Tier | Rating |
|
|
|
9.7 |
Roku Saigo's Information
| Attack Ability | Break Ability |
|---|---|

|

|
| Support Ability | Operating Difficulty |

|

|
Roku Saigo's Stats
| HP | Attack | Defence | Support | Stamina |
|---|---|---|---|---|
| 1,341 | 284 | 341 | 0 | 1,000 |
※Display the maximum stats.
Roku Saigo's Skills
Primary Attack
| Effect |
|---|
| Performs up to three melee attacks. Applies [Attention] to enemies hit. |
Secondary Attack
| Effect |
|---|
| Closes the distance to the target while performing a wide swing attack. On hit, player gains [Rage] and inflicts [Attention] on enemy. The number of attacks increases based on how long the button is held. |
Counterattack
| Effect |
|---|
| Performs a parry counter. If successful, suppresses the enemy's actions with a posture-breaking attack. Is unable to block attacks that lack a physical form. |
Strategy Skill
| Shock Absorber |
|---|
| While holding the button, assumes a defensive stance that reduces damage taken from enemy attacks. If an attack is received while in this stance, the secondary attack will remain fully charged for as long as the stance is maintained. |
Invigorating Skill
| Outrage Roar |
|---|
| Unleashes an area attack against enemies around the user. During execution, Ultimate damage multiplier increases based on the number of Rage stacks. |
Chain Skill
| Boost Exhaust |
|---|
| Activates upon enemy break. Launches a follow-up strike and applies [Focus] to the struck enemy. |
XB
| Jet Thrust |
|---|
| More likely to hit the ball far out, and more likely to win a bout on base. Additionally, obtain [Breakthrough Factor]. |
Roku Saigo's Transcend Effects
| T1【Support】 |
|---|
| When Outrage Roar is performed, party members will receive an increased healing effect for 15 seconds. The increase is 5% for each Rage stack at the time Outrage Roar is performed. |
| T2【Build Up】 |
| Earn 2 potential points. |
| T3【Steel Body】 |
| Reduces stamina consumption when performing "Shock Absorber" by 50%. |
| T4【Bulk Up】 |
| Earn 3 potential points. |
| T5【Hot-Blooded】 |
| When a party member (excluding the user) falls below 50% HP, all enemies are inflicted with Taunt, forcing them to target the user for 20 seconds. This effect cannot trigger again for 50 seconds after activation. |
Roku Saigo's Other Information
Profile
 |
Birthday | June 29 | |
|---|---|---|---|
| Height | 192 ㎝ | ||
| Weight | 101 kg | ||
| Dominant Hand | Pitch/Bat - R/R | ||
| Profile | |||
| A former mercenary with tremendous strength. He can lift cars and rubble with ease. His unflappable appearance suggests that he has survived in a harsh environment. | |||
TRIBE NINE Related Guides

Characters Tier List
| Characters Tier List | |
|---|---|
| Best Characters Tier List (May 2025) | Reroll Tier List |
All Characters By Rarity
| All Characters by Rarity | |
|---|---|
| All ★2 Characters | All ★3 Characters |
All 2-Star Characters
 Yo Kuronaka Yo Kuronaka
|
Tsuki Iroha
|
 Santaro Mita Santaro Mita
|
 Hyakuichitaro Senju Hyakuichitaro Senju
|
 Eiji Todoroki Eiji Todoroki
|
 Minami Oi Minami Oi
|
 Yutaka Gotanda Yutaka Gotanda
|
Roku Saigo
|
Koishi Kohinata
|
Comment
Author

Roku Saigo Best Build, Team, and Tension Cards
Rankings
- We could not find the article you were looking for.
- We could not find the message board you were looking for.
Gaming News


![Everwind Review [Early Access] | The Shaky First Step to A Very Long Journey](https://img.game8.co/4440226/ab079b1153298a042633dd1ef51e878e.png/thumb)

![Monster Hunter Stories 3 Review [First Impressions] | Simply Rejuvenating](https://img.game8.co/4438641/2a31b7702bd70e78ec8efd24661dacda.jpeg/thumb)
Popular Games

Genshin Impact Walkthrough & Guides Wiki
Honkai: Star Rail Walkthrough & Guides Wiki
Umamusume: Pretty Derby Walkthrough & Guides Wiki
Pokemon Pokopia Walkthrough & Guides Wiki
Resident Evil Requiem (RE9) Walkthrough & Guides Wiki
Monster Hunter Wilds Walkthrough & Guides Wiki
Wuthering Waves Walkthrough & Guides Wiki
Arknights: Endfield Walkthrough & Guides Wiki
Pokemon FireRed and LeafGreen (FRLG) Walkthrough & Guides Wiki
Pokemon TCG Pocket (PTCGP) Strategies & Guides Wiki


Recommended Games
Diablo 4: Vessel of Hatred Walkthrough & Guides Wiki
Fire Emblem Heroes (FEH) Walkthrough & Guides Wiki
Yu-Gi-Oh! Master Duel Walkthrough & Guides Wiki
Super Smash Bros. Ultimate Walkthrough & Guides Wiki
Pokemon Brilliant Diamond and Shining Pearl (BDSP) Walkthrough & Guides Wiki
Elden Ring Shadow of the Erdtree Walkthrough & Guides Wiki
Monster Hunter World Walkthrough & Guides Wiki
The Legend of Zelda: Tears of the Kingdom Walkthrough & Guides Wiki
Persona 3 Reload Walkthrough & Guides Wiki
Cyberpunk 2077: Ultimate Edition Walkthrough & Guides Wiki


All rights reserved
Game Copyright©Akatsuki Games Inc. All Rights Reserved
The content we provide on this site were created personally by members of the Game8 editorial department.
We refuse the right to reuse or repost content taken without our permission such as data or images to other sites.
©Akatsuki Games Inc. (Provider)