List of Overworld Enemies
A list of all Overworld Enemies found in The Legend of Zelda: Link's Awakening (Remake) for the Nintendo Switch. Read on to see where each enemy is found and how to beat them!
List of Contents
List of Overworld Enemies
| Enemy | Location(s) | How to Beat |
|---|---|---|
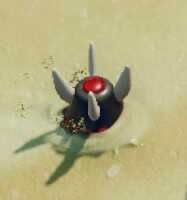
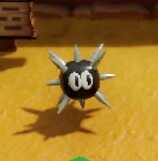 Sea Urchin Sea Urchin
|
Toronbo Shores | Sea Urchin can only damage you when you get too close. They are easily defeated with your sword. Also Sea Urchins can be pushed by using your shield. |
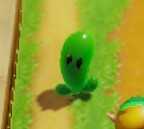 Buzzblob Buzzblob
|
Koholint Prairie, Ukuku Prairie, Martha's Bay | Attacking Buzzblob with your Sword will electrocute you, dealing damage. Use your Magic Powder to turn Buzzblob into Cukeman. Hitting Buzzblob twice with a Boomerang will kill it. |
 Cukeman Cukeman
|
Koholint Prairie, Ukuku Prairie, Martha's Bay | Unlike Buzzblob, Cukeman is vulnerable to sword attacks. Hitting him twice with your sword can instantly kill him. |
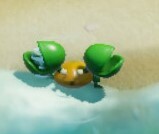 Sand Crab Sand Crab
|
Toronbo Shores | Sand Crab gets knocked back by when attacked by your sword, so use this advantage to quickly kill the Sand Crab before it gets too close. |
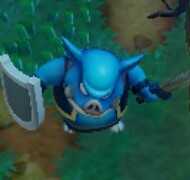 Moblin (Sword & Shield) Moblin (Sword & Shield)
|
Mysterious Forest | Use your Shield to parry his attacks, then hit him while he is stunned. |
 Moblin (Spear) Moblin (Spear)
|
Mysterious Forest | Use your Shield to block his long range attacks while closing the gap. |
 Leever Leever
|
Toronbo Shores, Yarna Desert, Western Tal Tal Mountains | Use your shield when the Leever is trying to get close to you. Then attack when it is trying to move away. |
 Octorok Octorok
|
Toronbo Shores | Close the gap using your shield to prevent getting hit from his long range attacks. |
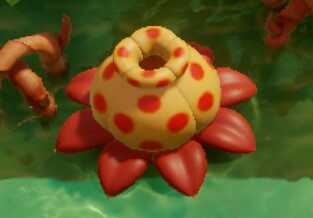 Giant Goponga Flower Giant Goponga Flower
|
Goponga Swamp | Giant Goponga Flowers are invulnerable to sword attacks. However they are vulnerable to Boomerang or Magic Rod attacks. BowWow can also devour them. |
 Goponga Flower Goponga Flower
|
Goponga Swamp | Goponga Flowers are invulnerable to sword attacks. However they are vulnerable to Boomerang or Magic Rod attacks. BowWow can also devour them. |
 Pirahna Pirahna
|
Goponga Swamp, Ukuku Prairie, Martha's Bay, Ancient Ruins, Tal Tal Mountain | Time your attacks to when the Piranha is about to jump off the water. Doing this fast enough will kill him before he can hide underwater again. |
 Like Like Like Like
|
Mysterious Forest, Tal Tal Heights, Eagle's Tower, Western Tal Tal Mountains | When fighting Like Like, be as aggressive as possible. You will not be able to block Like Like's attacks. Also if you get sucked into its mouth, there is a chance that you will lose your shield. You can reclaim your shield by killing the Like Like that sucked you in. |
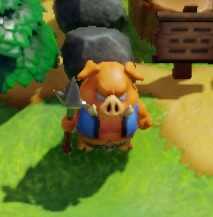 Boarbin (Spear) Boarbin (Spear)
|
Koholint Prairie, Ukuku Prairie | Raise your shield as you try to get closer to Boarrbin to block the spear damage. |
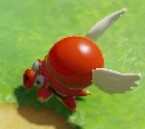 Winged Octorok Winged Octorok
|
Ukuku Prairie | It is easier to land your attacks to Winged Octorok when he is flying. Try to attack him while on land to make him fly, then follow him by jumping then attacking to land your attacks. |
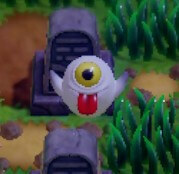 Ghini Ghini
|
Cemetery | Attacking Ghini before it gets too close will push him back. Use the knock back to continuously attack Ghini. |
 Zombie Zombie
|
Cemetery | Zombies can be killed with a single blow, but they will spawn non stop. It is better to ignore them and just run away. |
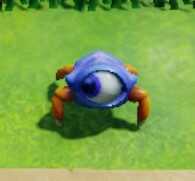 Blue Tektite Blue Tektite
|
Tal Tal Heights, Ancient Ruins, Tal Tal Mountain Range | Blue Tektite is vulnerable to your attacks all the time. Try to hit him twice before he gets too close to you. |
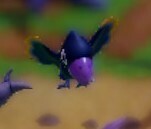 Crow Crow
|
Tabahl Wasteland | Wait for the crow to come closer to the ground when it attacks to make it an easier target. |
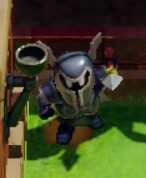 Darknut (Spear) Darknut (Spear)
|
Kanalet Castle | Use your Shield to block his long range attacks while trying to close the gap. |
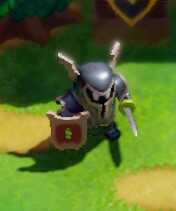 Darknut (Sword and Shield) Darknut (Sword and Shield)
|
Kanalet Castle | Use your shield to parry his stab attacks, making him vulnerable to your attacks. |
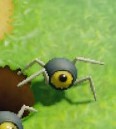 Beetle Beetle
|
Ukuku Prairie | Beetle will always spawn in groups and they will crawl out of a nearby hole. Spam you sword attacks on the hole to kill them as soon as they spawn. |
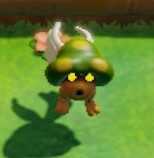 Zirro Zirro
|
Ukuku Prairie, Martha's Bay, Ancient Ruins | Zirro will constantly fly and drop bombs. Use your Boomerang to stun and stop its movements to land your sword attacks. |
 Pincer Pincer
|
Ukuku Prairie, Yarna Desert | Pincer hides its body and head on the hole. Stand still and use your shield to make it come out then attack when he is vulnerable. |
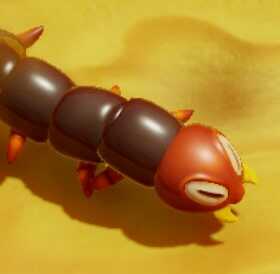 Lanmola Lanmola
|
Yarna Desert | Lanmola can only be damaged when attacking the head. Aim for Lanmola's head as soon as he tries to come out of the sand. Keep in mind that entering the quicksand will reset Lanmola's HP, making the fight start all over again. |
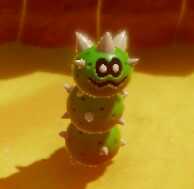 Pokey Pokey
|
Yarna Desert | When attacking Pokey, make sure you attack 3 consecutive times because each head has its own life. |
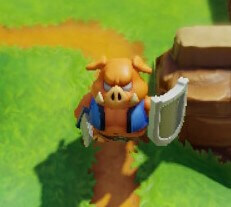 Boarbin (Sword and Shield) Boarbin (Sword and Shield)
|
Ukuku Prairie | Use your Shield to parry his attack, making him vulnerable to your sword attacks. |
 Ball and Chain Soldier Ball and Chain Soldier
|
Kanalet Castle | Use your shield to block all of its attacks and charge your Sword attack before getting too close to deal more damage. |
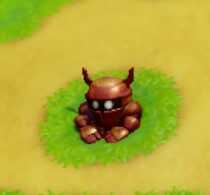 Mad Bomber Mad Bomber
|
Kanalet Castle | Mad Bombers will hide inside of potholes. Charge your sword attack to deal more damage. |
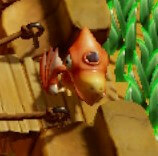 Dacto Dacto
|
Western Tal Tal Mountains | Dacto will come close to the ground when it attacks. After its attack, you will have a few seconds to strike before it starts flying again. |
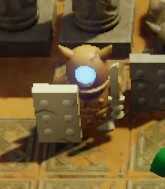 Armos Armos
|
Ancient Ruins | Use your Hookshot to disable Armos making it easier to land your Bow attacks. If you have the Boomerang, it is very effective. |
 Zora Zora
|
Martha's Bay, Koholint Prairie | Zoras can only be found in water. You can dodge their attacks by diving underwater, or by running if you are on land. |
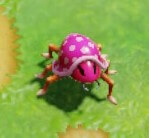 Spiny Beetle Spiny Beetle
|
Martha's Bay, Ukuku Prairie, Tal Tal Mountains, Western Tal Tal Mountains | Spiny Beetle are always camouflaged with tall grass or a rock on its back. You need to get rid of whatever is on its back before it becomes vulnerable to your attacks. You can use the Power Bracelet to lift the item on its back. |
 Giant Ghini Giant Ghini
|
Cemetery | Spam your sword attack to knock him back and to prevent him from getting close and damaging you. |
Link's Awakening Related Guides

Enemy Types
| Overworld Enemies | Dungeon Enemies |
| Traps | Mini-Bosses |
Author
The Legend of Zelda: Link's Awakening Walkthrough & Guides Wiki
List of Overworld Enemies
improvement survey
03/2026
improving Game8's site?

Your answers will help us to improve our website.
Note: Please be sure not to enter any kind of personal information into your response.

We hope you continue to make use of Game8.
Rankings
- We could not find the message board you were looking for.
Gaming News
Popular Games

Genshin Impact Walkthrough & Guides Wiki

Honkai: Star Rail Walkthrough & Guides Wiki

Umamusume: Pretty Derby Walkthrough & Guides Wiki

Pokemon Pokopia Walkthrough & Guides Wiki

Resident Evil Requiem (RE9) Walkthrough & Guides Wiki

Monster Hunter Wilds Walkthrough & Guides Wiki

Wuthering Waves Walkthrough & Guides Wiki

Arknights: Endfield Walkthrough & Guides Wiki

Pokemon FireRed and LeafGreen (FRLG) Walkthrough & Guides Wiki

Pokemon TCG Pocket (PTCGP) Strategies & Guides Wiki
Recommended Games

Diablo 4: Vessel of Hatred Walkthrough & Guides Wiki

Fire Emblem Heroes (FEH) Walkthrough & Guides Wiki

Yu-Gi-Oh! Master Duel Walkthrough & Guides Wiki

Super Smash Bros. Ultimate Walkthrough & Guides Wiki

Pokemon Brilliant Diamond and Shining Pearl (BDSP) Walkthrough & Guides Wiki

Elden Ring Shadow of the Erdtree Walkthrough & Guides Wiki

Monster Hunter World Walkthrough & Guides Wiki

The Legend of Zelda: Tears of the Kingdom Walkthrough & Guides Wiki

Persona 3 Reload Walkthrough & Guides Wiki

Cyberpunk 2077: Ultimate Edition Walkthrough & Guides Wiki
All rights reserved
© 1993-2019 Nintendo
The copyrights of videos of games used in our content and other intellectual property rights belong to the provider of the game.
The contents we provide on this site were created personally by members of the Game8 editorial department.
We refuse the right to reuse or repost content taken without our permission such as data or images to other sites.


![Everwind Review [Early Access] | The Shaky First Step to A Very Long Journey](https://img.game8.co/4440226/ab079b1153298a042633dd1ef51e878e.png/thumb)

![Monster Hunter Stories 3 Review [First Impressions] | Simply Rejuvenating](https://img.game8.co/4438641/2a31b7702bd70e78ec8efd24661dacda.jpeg/thumb)


