List of Dungeon and Underworld Enemies
A list of all Dungeon and Underworld Enemies found in The Legend of Zelda: Link's Awakening (Remake) for the Nintendo Switch. Read on to see where each enemy is found and how to beat them!
List of Contents
List of Dungeon and Underworld Enemies
| Enemy | Location(s) | How to Beat |
|---|---|---|
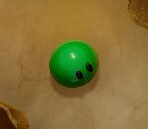 Green Zol Green Zol
|
Mysterious Forest, Key Cavern, Angler's Tunnel, Ancient Ruins, Tal Tal Mountains, Eagle's Tower, Turtle Rock | Dodge its jump attack and swing your sword. |
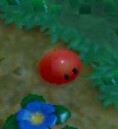 Mini Red Zol Mini Red Zol
|
Mysterious Forest, Key Cavern, Angler's Tunnel, Ancient Ruins, Catfish's Maw, Ukuku Prairie, Eagle's Tower, Martha's Bay | This monster may not deal damage on contact but it can prevent you from using your shield and sword once he is latched in to you. Try to get rid of them before that. |
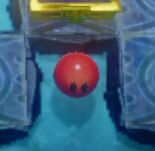 Red Zol Red Zol
|
Mysterious Forest, Key Cavern, Angler's Tunnel, Ancient Ruins, Catfish's Maw, Ukuku Prairie, Eagle's Tower, Martha's Bay | Swing your sword twice when killing Red Zol, doing this will also kill the newly spawned Mini Red Zol. |
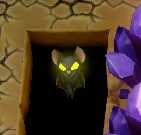 Keese Keese
|
Mysterious Forest, Bottle Grotto, Catfish's Maw, Tal Tal Mountains | Swing your sword as soon as he approaches you. |
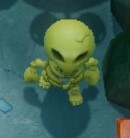 Yellow Stalfos Yellow Stalfos
|
Bottle Grotto, Key Cavern, Catfish's Maw, Color Dungeon | Run away from his jump attack then instantly swing your sword as soon as he lands. |
 Stalfos Stalfos
|
Tail Cave, Key Cavern | Perfectly time your attacks by swinging your sword after he jumps. |
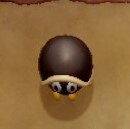 Hardhat Beetle Hardhat Beetle
|
Tail Cave, Tal Tal Mountains | Use your sword to push him over a ledge into the abyss. |
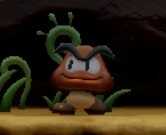 Goomba Goomba
|
Tail Cave, Catfish's Maw, Face Shrine, Eagle's Tower, Turtle Rock | Step on its head or slash with your sword to defeat it. |
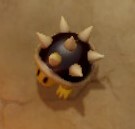 Spiked Beetle Spiked Beetle
|
Tail Cave, Angler's Tunnel | Deflect it with your shield to turn it over and strike its belly with your sword. |
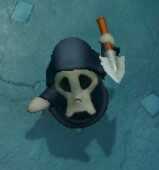 Shrouded Stalfos (Spear) Shrouded Stalfos (Spear)
|
Bottle Grotto, Key Cavern, Angler's Tunnel, Western Tal Tal Mountains | Use your shield to block the spear attacks while closing the gap. |
 Boo Boo
|
Bottle Grotto | Use Magic Powder on the brazier to make them vulnerable. |
 Vacuum Mouth Vacuum Mouth
|
Bottle Grotto, Turtle Rock | Use Pegasus Boots to close the distance if the Vacuum Mouth is pushing you away. If you are being pulled, slash before you get too close or you will be warped to the dungeon entrance. |
 Mask Mimic Mask Mimic
|
Bottle Grotto, Face Shrine | You can use your boomerang to stun them, holding them in place so you can position yourself better to fight them. |
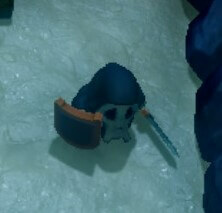 Shrouded Stalfos (Sword and Shield) Shrouded Stalfos (Sword and Shield)
|
Bottle Grotto, Key Cavern, Angler's Tunnel, Catfish's Maw | Use your shield block its attack, making it vulnerable to your attacks. |
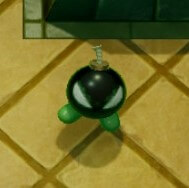 Bombite Green Bombite Green
|
Key Cavern | Run away when the number is counting down. The explosion cannot be blocked. |
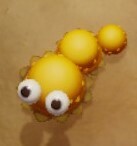 Mini-Moldorm Mini-Moldorm
|
Tail Cave, Face Shrine, Eagle's Tower, Western Tal Tal Mountain, | Use your shield to block its attack. |
 Pairodd Pairodd
|
Key Cavern | Use your dash move to close the gap and hit him before he teleports away. |
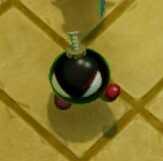 Bombite Red Bombite Red
|
Key Cavern | Use your shield to bounce it off when it is about to explode after attacking. |
 Pols Voice Pols Voice
|
Bottle Grotto, Face Shrine | If available, throwing a pot at Pols Voice can 1 shot them. You can also use your Ocarina and play Ballad of the Wind Fish to 1 shot them. |
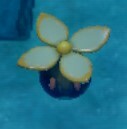 Peahat Peahat
|
Angler's Tunnel, Eagle's Tower | Peahats are invulnerable when the flower on their head is spinning. Only fight them when they are on the ground. |
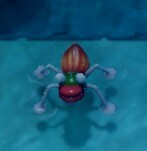 Water Tektite Water Tektite
|
Angler's Tunnel | Water Tektite floats on water but they can also walk on land. You will not be able to attack while swimming on the water. Try to kill them on land. |
 Arm-Mimic Arm-Mimic
|
Dream Shrine, Turtle Rock, Martha's Bay | Use your dash attack to instantly kill the Arm-Mimic. Arm-Mimic deals the most damage on a single hit in the game. |
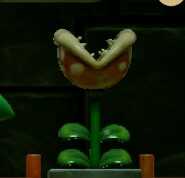 Piranha Plant Piranha Plant
|
Key Cavern | Wait for Piranha Plant to show up before attacking to prevent getting hit. |
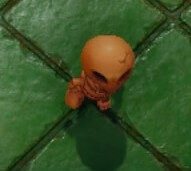 Red Stalfos Red Stalfos
|
Catfish's Maw, Eagle's Tower, Turtle Rock | Attacking red stalfos will make him evade and jump, time your second attack on his landing to guaranteed the hit. |
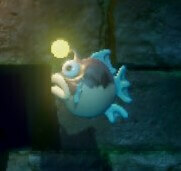 Angler Fry Angler Fry
|
Angler's Tunnel | You will not be able to use your shield underwater. Try to attack them before they get too close. |
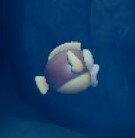 Cheep Cheep Cheep Cheep
|
Angler's Tunnel, Catfish's Maw | You will not be able to use your shield underwater. Try to attack them before they get too close. |
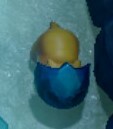 Helmasaur Helmasaur
|
Angler's Tunnel, Catfish's Maw, Eagle's Tower | Attack it from behind. You can use your Hookshot to remove the helmet making it vulnerable on all sides. |
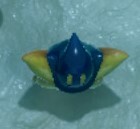 Star Star
|
Angler's Tunnel, Catfish's Maw, Face Shrine | Spam your sword attacks when Star starts spinning to make sure you land your attack before getting hit. |
 Kirby Kirby
|
Eagle's Tower | Fight Kirby from afar to prevent being damaged from its vaccum attack. |
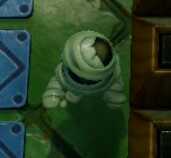 Gibdo Gibdo
|
Eagle's Tower | You can use your Boomerang or Hookshot to stun Gibdo, making it an easier target. |
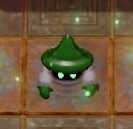 Wizzrobe Wizzrobe
|
Face Shrine, Eagle's Tower | Throw or drop your bomb after their attack. The bomb will explode perfectly timed when they spawn. You can also use your Boomerang to wipe them out easily. |
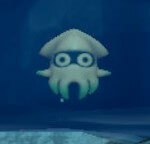 Blooper Blooper
|
Catfish's Maw | Can be killed with a single blow. |
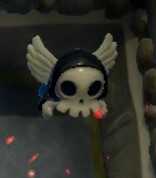 Flying Bone Putter Flying Bone Putter
|
Color Dungeon | Jump before attacking to reach them with your sword. |
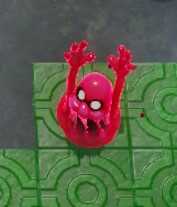 Camo Goblin Camo Goblin
|
Color Dungeon | Can be killed in a single blow. |
 Orb Monster Orb Monster
|
Color Dungeon | You can only kill Orb Monsters by throwing them to the hole of the same color. You can hit them once to make them retreat into their shell. Once inside, they can be pushed with a sword attack or lifted and thrown to the hole. |
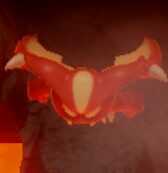 Vire Vire
|
Turtle Rock | Always jump before attacking, or wait for his dive attack before you attack with your sword. |
 Rope Rope
|
Eagle's Tower, Turtle Rock | Can be killed with a single hit from your sword. |
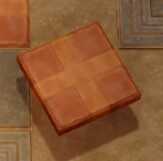 Flying Tile Flying Tile
|
Face Shrine | Can be defeated with a single sword strike, but it is often best to just stand in the corner and hold your shield. |
 Three-of-a-Kind Three-of-a-Kind
|
Eagle's Tower, Tail Cave | You must time your attacks and make all 3 of them display the same icon on their body. |
Link's Awakening Related Guides

Enemy Types
| Overworld Enemies | Dungeon Enemies |
| Traps | Mini-Bosses |
Author
The Legend of Zelda: Link's Awakening Walkthrough & Guides Wiki
List of Dungeon and Underworld Enemies
improvement survey
03/2026
improving Game8's site?

Your answers will help us to improve our website.
Note: Please be sure not to enter any kind of personal information into your response.

We hope you continue to make use of Game8.
Rankings
- We could not find the message board you were looking for.
Gaming News
Popular Games

Genshin Impact Walkthrough & Guides Wiki

Honkai: Star Rail Walkthrough & Guides Wiki

Umamusume: Pretty Derby Walkthrough & Guides Wiki

Pokemon Pokopia Walkthrough & Guides Wiki

Resident Evil Requiem (RE9) Walkthrough & Guides Wiki

Monster Hunter Wilds Walkthrough & Guides Wiki

Wuthering Waves Walkthrough & Guides Wiki

Arknights: Endfield Walkthrough & Guides Wiki

Pokemon FireRed and LeafGreen (FRLG) Walkthrough & Guides Wiki

Pokemon TCG Pocket (PTCGP) Strategies & Guides Wiki
Recommended Games

Diablo 4: Vessel of Hatred Walkthrough & Guides Wiki

Fire Emblem Heroes (FEH) Walkthrough & Guides Wiki

Yu-Gi-Oh! Master Duel Walkthrough & Guides Wiki

Super Smash Bros. Ultimate Walkthrough & Guides Wiki

Pokemon Brilliant Diamond and Shining Pearl (BDSP) Walkthrough & Guides Wiki

Elden Ring Shadow of the Erdtree Walkthrough & Guides Wiki

Monster Hunter World Walkthrough & Guides Wiki

The Legend of Zelda: Tears of the Kingdom Walkthrough & Guides Wiki

Persona 3 Reload Walkthrough & Guides Wiki

Cyberpunk 2077: Ultimate Edition Walkthrough & Guides Wiki
All rights reserved
© 1993-2019 Nintendo
The copyrights of videos of games used in our content and other intellectual property rights belong to the provider of the game.
The contents we provide on this site were created personally by members of the Game8 editorial department.
We refuse the right to reuse or repost content taken without our permission such as data or images to other sites.


![Everwind Review [Early Access] | The Shaky First Step to A Very Long Journey](https://img.game8.co/4440226/ab079b1153298a042633dd1ef51e878e.png/thumb)

![Monster Hunter Stories 3 Review [First Impressions] | Simply Rejuvenating](https://img.game8.co/4438641/2a31b7702bd70e78ec8efd24661dacda.jpeg/thumb)


