
 9F
9F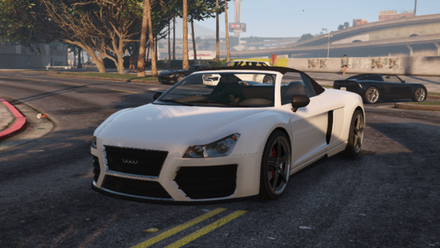 9F Cabrio
 Adder
Adder Airport Bus
 Airtug
 Alpha
Alpha Ambulance
 Asea
Asea Asterope
 Baller
 Baller II
 Banshee
 Barracks
 Barracks Semi
 BeeJay XL
 Benson
 Biff
Biff Bifta
Bifta Bison
Bison Blade
Blade Blista
 Blista Compact
 Bobcat XL
 Bodhi
Bodhi Boxville
 Brawler
 Buccaneer
 Buffalo
 Buffalo S
 Bugstars Burrito
 Bullet
 Burger Shot Stallion
 Burrito
 Bus
Bus Caddy
Caddy Caddy (Civilian)
 Camper
 Carbonizzare
 Cavalcade
 Cavalcade II
 Cheetah
 Chino
Chino Cognoscenti Cabrio
 Comet
Comet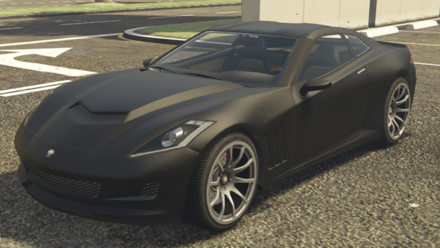 Coquette
 Coquette BlackFin
 Coquette Classic
 Crusader
 Dashound
 Dilettante
 Dilettante (Merryweather)
 Docktug
 Dominator
 Dozer
Dozer Dubsta
 Dubsta 2
 Dubsta 6x6
 Duke O'Death
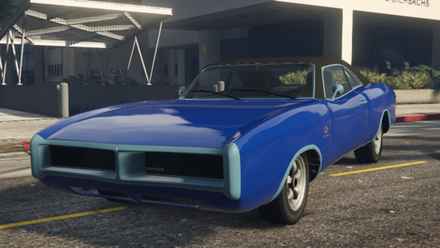 Dukes
Dukes Dump
Dump Dune Buggy
 Duneloader
 Elegy RH8
 Emperor
 Entity XF
 Exemplar
 F620
F620 Felon
Felon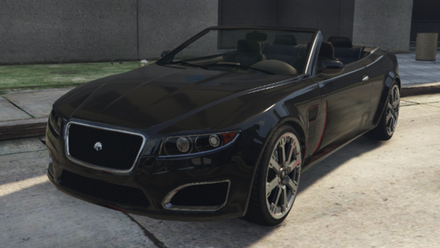 Felon GT
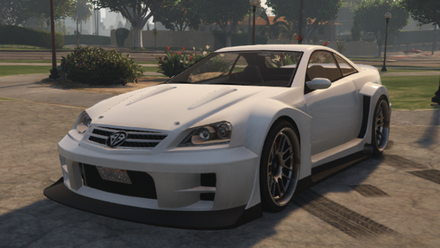 Feltzer
 FIB (Granger)
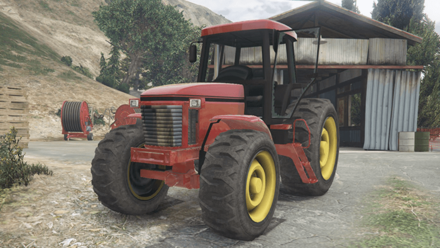 Fieldmaster
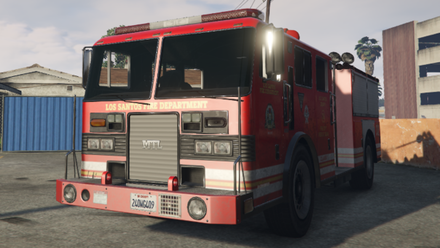 Fire Truck
 Flatbed
 Forklift
 FQ 2
FQ 2 Fugitive
 Furore GT
 Fusilade
 Futo
Futo Gang Burrito
 Gauntlet
 Glendale
 Go Go Monkey Blista
 Granger
 Gresley
 Habanero
 Hauler
 Hotknife
 Huntley S
 Infernus
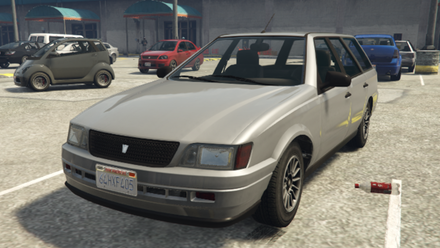 Ingot
Ingot Injection
 Intruder
 Issi
Issi Jackal
 JB 700
 Jester
 Jester (Racecar)
 Journey
 Kalahari
 Landstalker
 Lawn Mower
 Liberator
 Lifeguard (Granger)
 Manana
 Marshall
 Massacro
 Massacro (Racecar)
 Mesa
Mesa Minivan
 Mixer
Mixer Mixer II
 Monroe
 Mule
Mule Oracle
 Oracle XS
 Osiris
 Packer
 Paradise
 Park Ranger
 Patriot
 Penumbra
 Peyote
 Phantom
 Phoenix
 Picador
 Pigalle
 Pißwasser Dominator
 Police Cruiser (Buffalo)
 Police Cruiser (Interceptor)
 Police Cruiser (Stanier)
 Police Prison Bus
 Police Riot
 Police Transporter
 Pony
Pony Pounder
 Prairie
 Premier
 Primo
Primo Radius
 Rancher XL
 Rapid GT
 Rat-Loader
 Rat-Truck
 Rebel
Rebel Redwood Gauntlet
 Regina
 Rental Shuttle Bus
 Rhapsody
 Rhino Tank
 Ripley
 Rocoto
 Romero Hearse
 Roosevelt
 Rubble
 Ruiner
 Rumpo
Rumpo Rusty Rebel
 Sabre Turbo
 Sadler
 Sandking SWB
 Sandking XL
 Schafter
 Schwartzer
 Scrap Truck
 Seminole
 Sentinel
 Sentinel XS
 Serrano
 Sheriff Cruiser
 Sheriff SUV
 Slamvan
 Space Docker
 Speedo
 Sprunk Buffalo
 Stallion
 Stanier
 Stinger
 Stirling GT
 Stockade
 Stratum
 Stretch
 Sultan
 Super Diamond
 Surano
 Surfer
 Surge
Surge T20
T20 Taco Van
 Tailgater
 Taxi
Taxi Tipper (4 Wheels)
 Tipper (6 Wheels)
 Tornado
 Tourbus
 Towtruck
 Tractor
 Trashmaster
 Turismo R.
 Unmarked Cruiser
 Utility Truck
 Vacca
Vacca Vigero
 Virgo
Virgo Voltic
 Voodoo
 Warrener
 Washington
 Windsor
 Youga
Youga Z-Type
 Zentorno
 Zion
Zion Zion Cabrio
 Akuma
Akuma Bagger
 Bati 801
 Bati 801RR
 Blazer
 Blazer Lifeguard
 BMX
BMX Carbon RS
 Cruiser
 Daemon
 Double-T
 Endurex Race Bike
 Faggio
 Fixter
 Hakuchou
 Hexer
Hexer Hot Rod Blazer
 Innovation
 Nemesis
 PCJ 600
 Police Bike
 Ruffian
 Sanchez
 Sanchez (Livery)
 Scorcher
 Sovereign
 Thrust
 Tri-Cycles Race Bike
 Vader
Vader Vindicator
 Whippet Race Bike
This survey will take about 1 minute.
Your answers will help us to improve our website.
Grand Theft Auto V (GTA 5)
How to Get Panto: Spawn Locations and Customization Options
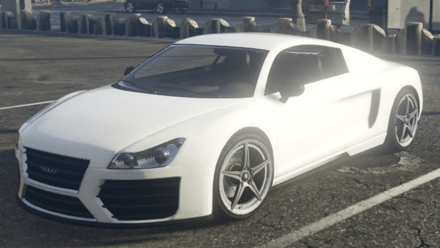
The Benefactor Panto is a type of Car found in Grand Theft Auto V (GTA 5). Read on to learn more about this vehicle's availability, customization options, spawn locations, and more!
List of Contents
Panto Overview
Panto Capacity and Availability
| Panto | |
|---|---|

|
|
| Vehicle Type | Car (Compacts) |
| Capacity | 2 |
| Manufacturer | Benefactor |
| Extra Mods | Bodywork, Bumpers, Exhausts, Grilles, Roll Cage, Roofs, Skirts, Spoilers, Turbo |
| Availability | GTA V |
Panto Stats
| Speed |

|
|---|---|
| Acceleration |

|
| Braking |

|
| Traction |

|
Panto Spawn Locations
Panto Locations
The Panto can be found randomly in traffic in the enhanced versions of GTA V. It is also rarely found at Los Santos Customs in Burton and at the Archipelago in Rockford Hills.
Panto Customization Options
| The following only lists the cost of each customization options exclusive to the Benefactor Panto. To see the complete list of all customization options, check our All Vehicle Customization Options. |
Armor
| Armor Customizations | Price |
|---|---|
| No Armor | $100 (GTA V) |
| Armor Upgrade 20% | $500 (GTA V) |
| Armor Upgrade 40% | $1250 (GTA V) |
| Armor Upgrade 60% | $2000 (GTA V) |
| Armor Upgrade 80% | $3500 (GTA V) |
| Armor Upgrade 100% | $5000 (GTA V) |
Brakes
| Brakes Customizations | Price |
|---|---|
| Stock Brakes | $100 (GTA V) |
| Street Brakes | $2000 (GTA V) |
| Sport Brakes | $2700 (GTA V) |
| Race Brakes | $3500 (GTA V) |
Engine
| Engine Customizations | Price |
|---|---|
| EMS Upgrade, Level 1 | $900 (GTA V) |
| EMS Upgrade, Level 2 | $1250 (GTA V) |
| EMS Upgrade, Level 3 | $1800 (GTA V) |
| EMS Upgrade, Level 4 | $3350 (GTA V) |
Lights
| Lights Customizations | Price |
|---|---|
| Stock Lights | $100 (GTA V) |
| Xenon Lights | $300 (GTA V) |
Transmission
| Transmission Customizations | Price |
|---|---|
| Stock Transmission | $100 |
| Street Transmission | $2950 |
| Sports Transmission | $3250 |
| Race Transmission | $4000 |
Bodywork
| Bodywork Customizations | Price |
|---|---|
| Stock Bodywork | $150 (GTA V) |
| Carbon Fenders | $450 (GTA V) |
| Stickerbomb Fenders | $750 (GTA V) |
Bumpers
| Bumper Customizations | Price |
|---|---|
| Stock Front Bumper | $250 (GTA V) |
| Custom Front Splitter | $500 (GTA V) |
| Carbon Front Bumper | $750 (GTA V) |
| Extreme Aero Front Bumper | $1000 (GTA V) |
| Stickerbomb Front Bumper | $1300 (GTA V) |
| Stock Rear Bumper | $250 (GTA V) |
| Carbon Rear Bumper | $500 (GTA V) |
| Stickerbomb Rear Bumper | $750 (GTA V) |
Exhausts
| Exhaust Customizations | Price |
|---|---|
| Stock Exhaust | $130 (GTA V) |
| Titanium Exhaust | $375 (GTA V) |
| Chrome Tip Exhaust | $899 (GTA V) |
| Titanium Tuner Exhaust | $1499 (GTA V) |
| Shakotan Exhaust | $4770 (GTA V) |
| Side Mounted Carbon Can | $4870 (GTA V) |
Grilles
| Grilles Customizations | Price |
|---|---|
| Stock Grille | $100 (GTA V) |
| Bullbars | $375 (GTA V) |
| Stickerbomb Bullbars | $670 (GTA V) |
| Enforcer Pushbar | $825 (GTA V) |
Roll Cage
| Roll Cage Customizations | Price |
|---|---|
| No Roll Cage | $350 (GTA V) |
| Roll Cage and Chassis Upgrade | $550 (GTA V) |
Roof
| Roof Customizations | Price |
|---|---|
| Stock Roof | $100 (GTA V) |
| Carbon Roof | $350 (GTA V) |
| Carbon Roof & Tailgate | $575 (GTA V) |
| Stickerbomb Roof | $800 (GTA V) |
| Stickerbomb Roof & Tailgate | $975 (GTA V) |
Skirts
| Skirts Customizations | Price |
|---|---|
| Stock Skirts | $300 (GTA V) |
| Low Skirts | $415 (GTA V) |
| Sport Skirts | $500 (GTA V) |
| Stickerbomb Skirts | $750 (GTA V) |
| Carbon Skirts | $1000 (GTA V) |
Spoiler
| Spoiler Customizations | Price |
|---|---|
| No Spoiler | $150 (GTA V) |
| Color Coded Wing | $275 (GTA V) |
| Carbon Wing | $350 (GTA V) |
| Drift Wing | $525 (GTA V) |
| Roof Rack | $750 (GTA V) |
| Roof Rack o' Crap | $1000 (GTA V) |
Turbo
| Turbo Customizations | Price |
|---|---|
| No Turbo | $500 (GTA V) |
| Turbo Tuning | $2500 (GTA V) |
Grand Theft Auto V (GTA 5) Related Guides
Vehicles by Type
| All Vehicles by Type | ||
|---|---|---|
| Land Vehicles | Water Vehicles | Air Vehicles |
List of Cars
List of Bikes
Comment
Author

How to Get Panto: Spawn Locations and Customization Options
Please participate in our site
improvement survey
12/2025
improvement survey
12/2025
Would you assist in
improving Game8's site?
improving Game8's site?

×
We are listening to our users' valuable opinions and discussing how to act on them.
The information collected through this survey will be used for the purpose of improving our services. In addition, the information will only be disclosed a part of a statistic in a format that will not allow identification of personal information.
Begin Survey
Not Now
×
Please rate each item regarding Game8.co's Advertisements.
Amount of Ads
Very Dissatisfied
Somewhat Dissatisfied
Fine
Somewhat Satisfied
Highly Satisfied
Placement of Ads
Timing of Ad Display
Ad Loading Speed
Safeness of Ads
Content of Ads
×
Please rate each item regarding Game8.co's Quality of Articles.
Amount of information
Very Dissatisfied
Somewhat Dissatisfied
Fine
Somewhat Satisfied
Highly Satisfied
Frequency of updates
Speed of new information
Accuracy of articles
Understandibility of articles
Readability of sentences
×
Please rate each item regarding Game8.co's Usability of the Site.
Ease of finding information
Very Dissatisfied
Somewhat Dissatisfied
Fine
Somewhat Satisfied
Highly Satisfied
Loading Speed
Use of Color
Font Size
Visibility of Images
Easy to Understand Layout
×
Please rate each item regarding Game8.co's Message Boards, Comments.
Ease of Writing
Very Dissatisfied
Somewhat Dissatisfied
Fine
Somewhat Satisfied
Highly Satisfied
Readability
Ease in Finding Information
Comment Quality
Comment Quantity
Admin Response
×
Please rate each item regarding Game8.co's Site's new design.
Please rate our site's new design
Very Dissatisfied
Somewhat Dissatisfied
Fine
Somewhat Satisfied
Highly Satisfied
Do you think that the website's design change makes the site easier to use?
Has the new design made it easier for you to find information on the site?
Has the new design improved the overall visual appeal of the site?
How would you rate your overall satisfaction with the new design of the site?
×
How likely are you to recommend Game8 to someone you know?
Very Unlikely
0
1
2
3
4
5
6
7
8
9
10
Very Likely
If you have other opinions regarding potential improvement to the website, please share them with us. We would appreciate your honest opinion.
Note: This is a free response section, so you can proceed without entering anything.
Note: Please be sure not to enter any kind of personal information into your response.
Note: Please be sure not to enter any kind of personal information into your response.
×
Thank You

×
Thank you for participating in our survey! Your answers will help us to improve the quality of our website and services.
We hope you continue to make use of Game8.
We hope you continue to make use of Game8.
Close
Rankings
- We could not find the message board you were looking for.
Gaming News


Popular Games

Genshin Impact Walkthrough & Guides Wiki
Umamusume: Pretty Derby Walkthrough & Guides Wiki
Where Winds Meet Walkthrough & Guides Wiki
Honkai: Star Rail Walkthrough & Guides Wiki
Digimon Story: Time Stranger Walkthrough & Guides Wiki
Wuthering Waves Walkthrough & Guides Wiki
Chaos Zero Nightmare Walkthrough & Guides Wiki
Pokemon TCG Pocket (PTCGP) Strategies & Guides Wiki
Pokemon Legends: Z-A Walkthrough & Guides Wiki
Elden Ring Nightreign Walkthrough & Guides Wiki


Recommended Games
Diablo 4: Vessel of Hatred Walkthrough & Guides Wiki
Yu-Gi-Oh! Master Duel Walkthrough & Guides Wiki
Fire Emblem Heroes (FEH) Walkthrough & Guides Wiki
Elden Ring Shadow of the Erdtree Walkthrough & Guides Wiki
Super Smash Bros. Ultimate Walkthrough & Guides Wiki
Monster Hunter World Walkthrough & Guides Wiki
Pokemon Brilliant Diamond and Shining Pearl (BDSP) Walkthrough & Guides Wiki
The Legend of Zelda: Tears of the Kingdom Walkthrough & Guides Wiki
Persona 3 Reload Walkthrough & Guides Wiki
Cyberpunk 2077: Ultimate Edition Walkthrough & Guides Wiki


All rights reserved
All trademarks referenced herein are the properties of their respective owners.
©Rockstar Games, Inc.
The copyrights of videos of games used in our content and other intellectual property rights belong to the provider of the game.
The contents we provide on this site were created personally by members of the Game8 editorial department.
We refuse the right to reuse or repost content taken without our permission such as data or images to other sites.