 Tiger Leap
 Power Alley
 Strong Side
 Pancake
 Daylight Robbery
 Trophy Trespass
 Twisted Plan
 Super City
 Bot Riot
 Olive Branch
 Factory Rush
 Robo Highway
 Nuts and Bolts
 Bot Drop
 Assembly Attack
 Mecha Match
 Bric-a-Brac
 The Galaxy
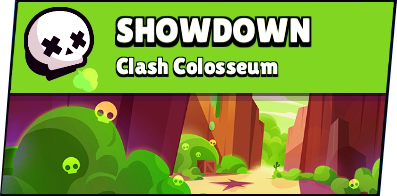 Clash Colosseum
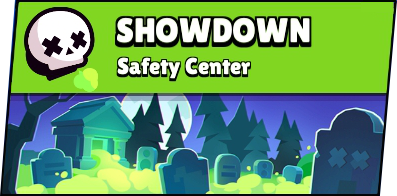 Safety Center
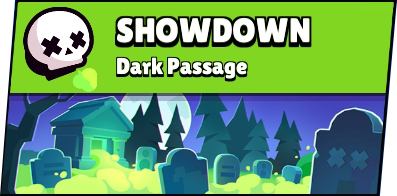 Dark Passage
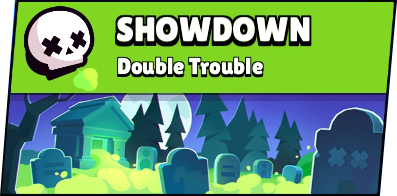 Double Trouble
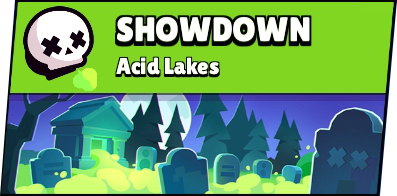 Acid Lakes
 Rockwall Brawl
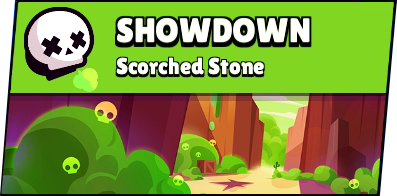 Scorched Stone
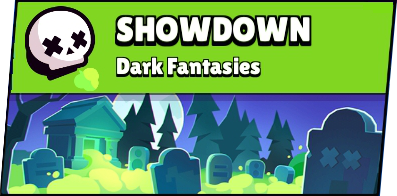 Dark Fantasies
 Risky Cliffs
 Mystic Touch
 Trap Map
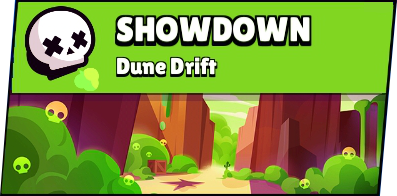 Dune Drift
 Dried Up River
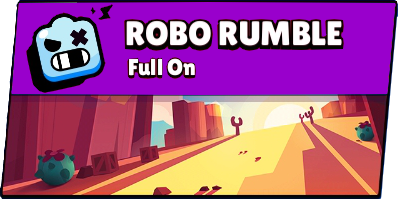 Full On
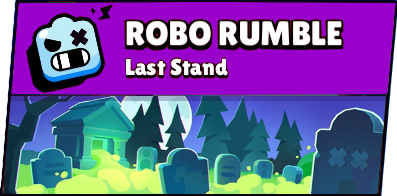 Last Stand
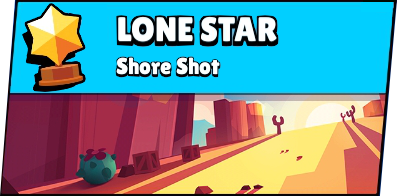 Shore Shot
 Cauliflower
 Middle Ground
 Close Call
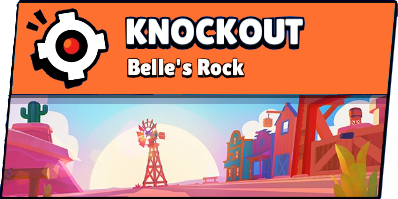 Belle's Rock
 Crimewater
 Zip Zap
 Double Bluff
 Goldarm Gulch
 Ends Meet
 Deep End
 Flaring Phoenix
 Magnetic Field
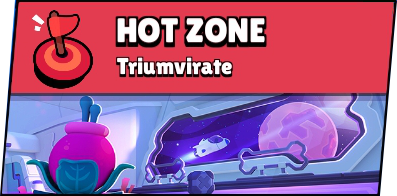 Triumvirate
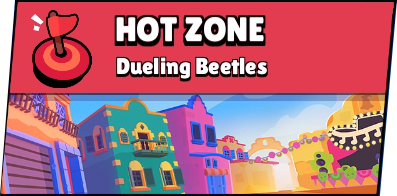 Dueling Beetles
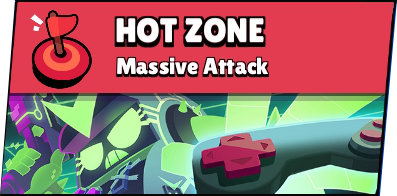 Massive Attack
 Ring of Fire
 Time Warp
 Sabotage Strip
 Open Business
 Controller Chaos
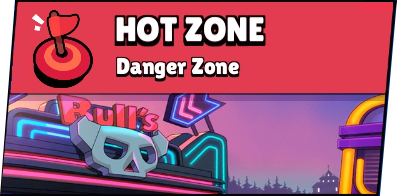 Danger Zone (Hot Zone)
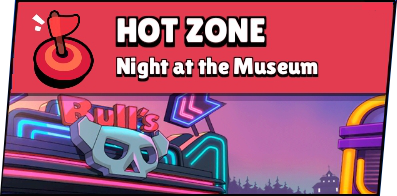 Night at the Museum
 Cornered
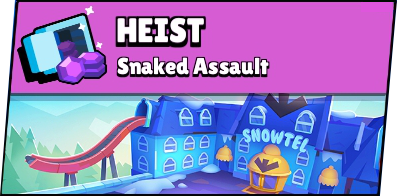 Snaked Assault
 Hot Potato
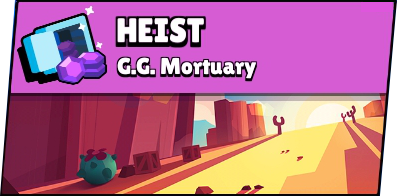 G.G. Mortuary
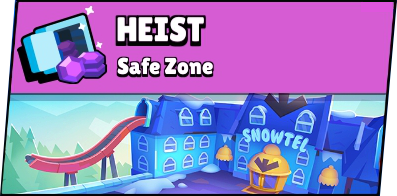 Safe Zone
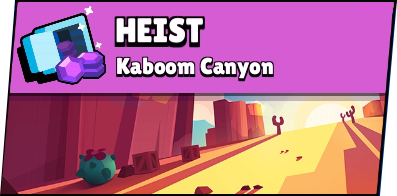 Kaboom Canyon
 Bridge Too Far
 Beachcombers
 Rattlesnake Ravine
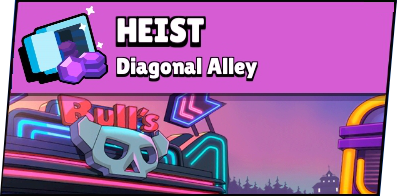 Diagonal Alley
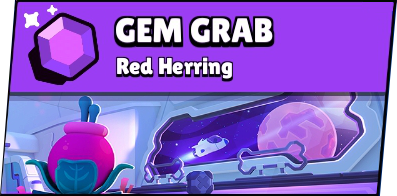 Red Herring
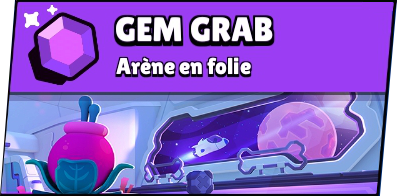 Arène en folie
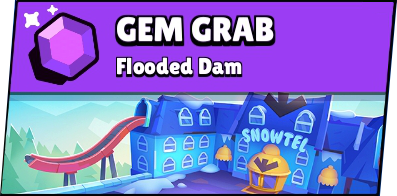 Flooded Dam
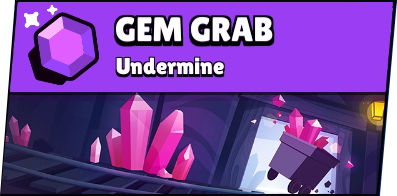 Undermine
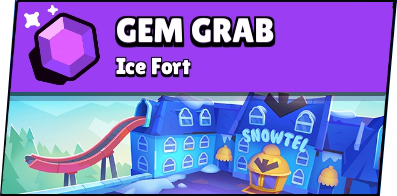 Ice Fort
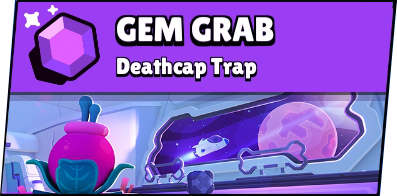 Deathcap Trap
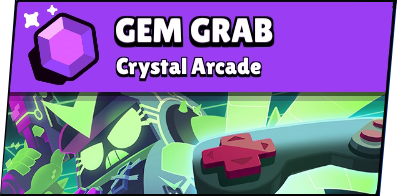 Crystal Arcade
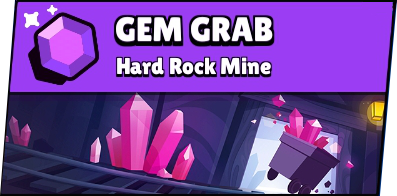 Hard Rock Mine
 Rustic Arcade
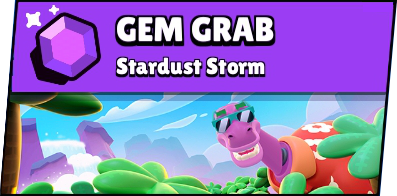 Stardust Storm
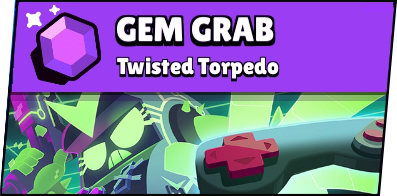 Twisted Torpedo
 Gem Bash
 Pierced
 Gem Source
 Flooded Mine
 Boxing Day
 Clean Shot
 Fast Fork
 Jumping Beans
 Encirclement
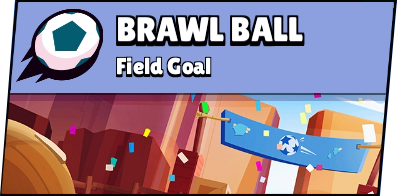 Field Goal
 Super Stadium
 Backyard Bowl
 Triple Dribble
 Sticky Notes
 Side Strike
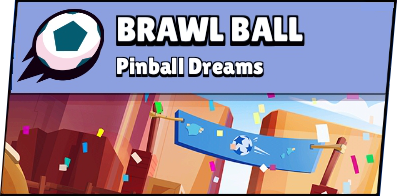 Pinball Dreams
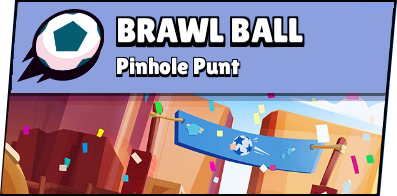 Pinhole Punt
 Power Shot
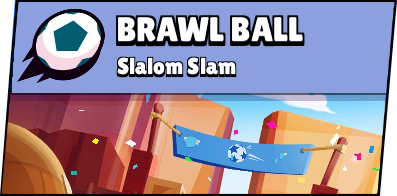 Slalom Slam
 Firm Grip
 Binary Coding
 Quick Skip
 Purple Paradise
 Land Ahoy
 Dry Season
 Shooting Star
 Storm Attack
 Hideout
 Excel
Excel Cube Force
 Electric Zone
 Metal Scrap
 Open Season
 Reversal
 Ball Hog
 Pocket Pass
 Turnover
 Block Party
 Floater
 Walk In Walk Out
 Zip Line
 Some Assembly Required
 Power Washer
 Rust Belt
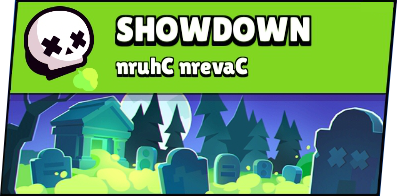 nruhC nrevaC
 Stormy Plains
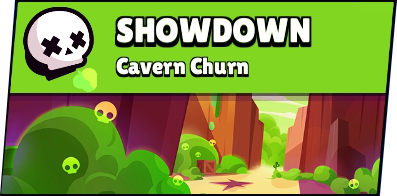 Cavern Churn
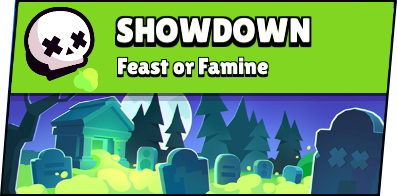 Feast or Famine
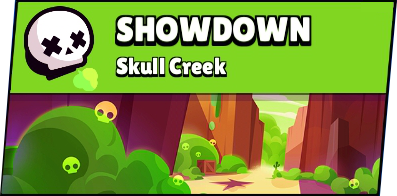 Skull Creek
 Stocky Stockades
 Ruins
Ruins Snake Out
 Split Difference
 Splash Out
 Luis' Revenge
 Split
Split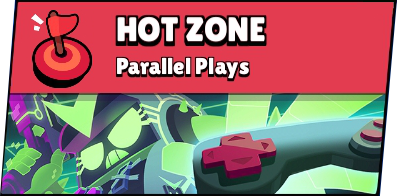 Parallel Plays
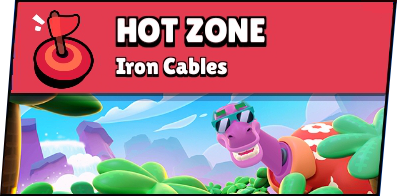 Iron Cables
 Breakout Brawl
 Medal Madness
 In the Mix
 Central Traffic
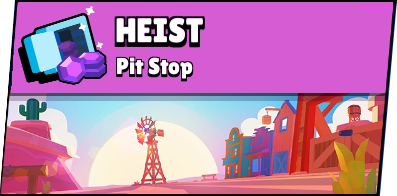 Pit Stop
 Bandit Hook
 Snake Shop
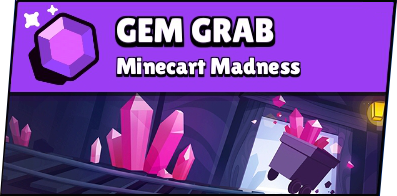 Minecart Madness
 Double Swoosh
 Acute Angle
 Cotton Candy Dreams
 Four Squared
 Diamond Dust
 Winter Party
 Bank Shot
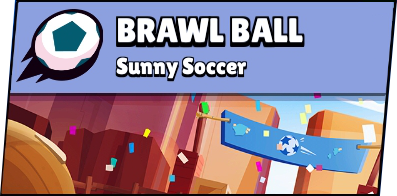 Sunny Soccer
 Center Stage
 Turtle Shell
 Wavedash
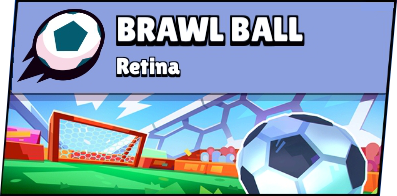 Retina
 Center Field
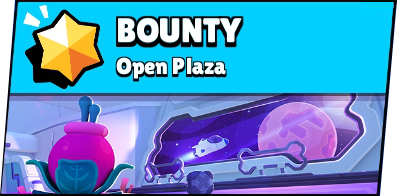 Open Plaza
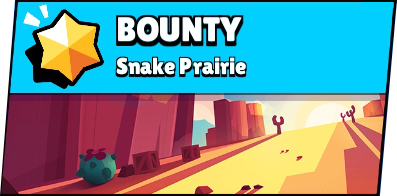 Snake Prairie
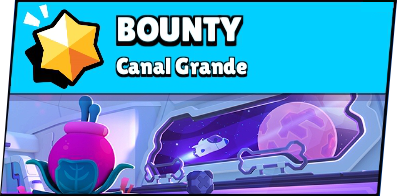 Canal Grande
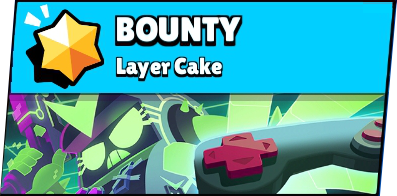 Layer Cake
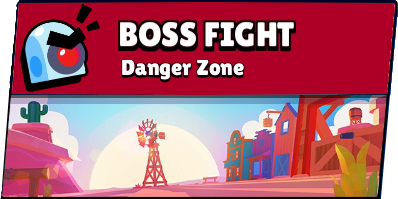 Danger Zone (Boss Fight)
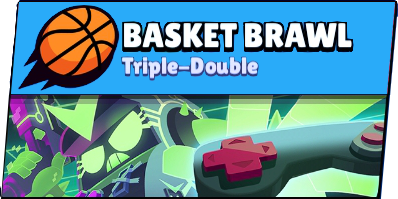 Triple-Double
This survey will take about 1 minute.
Your answers will help us to improve our website.
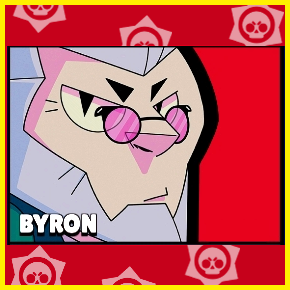
Brawl Stars
Byron Stats, Skills, and Skins
This page will show you all about Byron, a character in Brawl Stars. Read on to learn Byron's stats, attacks, gadgets, star powers, skins, best maps, and how to use him!
We regret to announce that we are ending the coverage of Brawl Stars. Thank you for all the support in reading our coverage of updates, event guides and character releases for Brawl Stars.
This page will show you all about Byron, a character in Brawl Stars. Read on to learn Byron's stats, attacks, gadgets, star powers, skins, best maps, and how to use him!
List of Contents
Basic Information
 Byron Byron |
|
| Brawler Type | Support |
|---|---|
| Rarity | Mythic |
| Health | 2400 (Lv. 1) |
| Movement Speed | Normal |
| Range | Very Long |
| How to Get | Shop or Brawl Boxes |
Strengths
| • His Normal Attack can heal and inflict damage over time. • His Normal attack can reach faraway teammates and enemies. • Currently the best healer in the game. |
Weaknesses
| • Requires a Gadget to heal himself using his attack. • Low health makes him easy to kill. |
Normal Attack and Super
Careful Dose - Normal Attack
Shoots a long range dart that can hit both opponents and friendlies. Opponents will take damage over time and friendlies will heal over time.
| Damage | 340 |
|---|---|
| Range | Very Long | Reload Speed | Very Fast |
Note: This is the stat of Careful Dose at Power Level 1.
Full Treatment - Super Skill
Throws a vial that heals friendlies and damages opponents.
| Damage/Heal | 1500 |
|---|---|
| Range | Long |
Note: This is the stat of Full Treatment at Power Level 1.
Gadgets and Star Powers
Gadgets
 Shot in the Arm Shot in the Arm |
Byron uses on of his shots to heal himself 800 per second for 3 seconds.
Charges per match: 3 |
|---|
Star Powers
 Malaise Malaise |
Byron's Super will also cause opponents to receive 75% less healing from any source for 9 seconds. |
|---|---|
 Injection Injection |
Every 3.5 seconds the next basic attack will pierce through targets. |
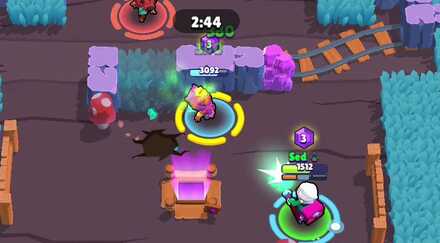
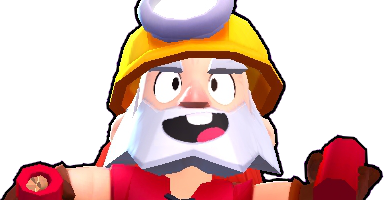
Best Maps for Byron
Best Maps
Good Maps
How to Use Byron
Focus on healing
Focus on healing your teammates rather than trying to hit and kill enemies. Consider going on offense against your enemies when your teammates have 80% health or higher.
Attack from a distance

Take advantage of Byron's long-distance attacks. Hit enemies from afar rather than going close to them to avoid getting killed instead. Leave the frontlines to your teammates and just focus on assisting them!
Shot in the Arm Gadget

Since Byron can't heal himself with his Normal Attack, his Shot in the Arm Gadget will do the work for him! He will consume one of his attack and heal himself over time if this Gadget is used. It is good for keeping him up in battle.
Malaise Star Power

Byron's Star Powers both increase his support prowess in a match. His Malaise will decrease the healing effects of their enemies by 50% if they're hit by his Super for a long time. It is a good Star Power against a team of healers.
His Injection Star Power makes his next Normal Attack pierce through allies and enemies alike. It is the best Star Power you can have if there are tons of close-range fights between team/s, as you can hit more Brawlers if the situation is like that.
Byron's Skins
Wizard Byron
 Wizard Byron Wizard Byron
|
|||
| Cost: 25,000 Star Points | Where: Star Shop / Power League | ||
Brawl Stars Related Guides
By Rarity
 Reward Reward |
 Rare Rare |
 Super Rare Super Rare |
 Epic Epic |
 Mythic Mythic |
 Legendary Legendary |
 Chromatic Chromatic |
|
By Type
 Fighter Fighter |
 Sharp Shooter Sharp Shooter |
 Heavy Weight Heavy Weight |
 Thrower Thrower |
 Support Support |
 Unique Type Unique Type |
By Range
 Short Range Short Range |
 Normal Range Normal Range |
 Long Range Long Range |
 Very Long Range Very Long Range |
Author
Byron Stats, Skills, and Skins
Please participate in our site
improvement survey
03/2026
improvement survey
03/2026
Would you assist in
improving Game8's site?
improving Game8's site?

×
We are listening to our users' valuable opinions and discussing how to act on them.
The information collected through this survey will be used for the purpose of improving our services. In addition, the information will only be disclosed a part of a statistic in a format that will not allow identification of personal information.
Begin Survey
Not Now
×
Please rate each item regarding Game8.co's Advertisements.
Amount of Ads
Very Dissatisfied
Somewhat Dissatisfied
Fine
Somewhat Satisfied
Highly Satisfied
Placement of Ads
Timing of Ad Display
Ad Loading Speed
Safeness of Ads
Content of Ads
×
Please rate each item regarding Game8.co's Quality of Articles.
Amount of information
Very Dissatisfied
Somewhat Dissatisfied
Fine
Somewhat Satisfied
Highly Satisfied
Frequency of updates
Speed of new information
Accuracy of articles
Understandibility of articles
Readability of sentences
×
Please rate each item regarding Game8.co's Usability of the Site.
Ease of finding information
Very Dissatisfied
Somewhat Dissatisfied
Fine
Somewhat Satisfied
Highly Satisfied
Loading Speed
Use of Color
Font Size
Visibility of Images
Easy to Understand Layout
×
Please rate each item regarding Game8.co's Message Boards, Comments.
Ease of Writing
Very Dissatisfied
Somewhat Dissatisfied
Fine
Somewhat Satisfied
Highly Satisfied
Readability
Ease in Finding Information
Comment Quality
Comment Quantity
Admin Response
×
Please rate each item regarding Game8.co's Site's new design.
Please rate our site's new design
Very Dissatisfied
Somewhat Dissatisfied
Fine
Somewhat Satisfied
Highly Satisfied
Do you think that the website's design change makes the site easier to use?
Has the new design made it easier for you to find information on the site?
Has the new design improved the overall visual appeal of the site?
How would you rate your overall satisfaction with the new design of the site?
×
How likely are you to recommend Game8 to someone you know?
Very Unlikely
0
1
2
3
4
5
6
7
8
9
10
Very Likely
If you have other opinions regarding potential improvement to the website, please share them with us. We would appreciate your honest opinion.
Note: This is a free response section, so you can proceed without entering anything.
Note: Please be sure not to enter any kind of personal information into your response.
Note: Please be sure not to enter any kind of personal information into your response.
×
Thank You
×
Thank you for participating in our survey! Your answers will help us to improve the quality of our website and services.
We hope you continue to make use of Game8.
We hope you continue to make use of Game8.
Close
Rankings
- We could not find the message board you were looking for.
Gaming News


![Monster Hunter Stories 3 Review [First Impressions] | Simply Rejuvenating](https://img.game8.co/4438641/2a31b7702bd70e78ec8efd24661dacda.jpeg/thumb)

Popular Games

Genshin Impact Walkthrough & Guides Wiki
Honkai: Star Rail Walkthrough & Guides Wiki
Umamusume: Pretty Derby Walkthrough & Guides Wiki
Pokemon Pokopia Walkthrough & Guides Wiki
Resident Evil Requiem (RE9) Walkthrough & Guides Wiki
Monster Hunter Wilds Walkthrough & Guides Wiki
Wuthering Waves Walkthrough & Guides Wiki
Arknights: Endfield Walkthrough & Guides Wiki
Pokemon FireRed and LeafGreen (FRLG) Walkthrough & Guides Wiki
Pokemon TCG Pocket (PTCGP) Strategies & Guides Wiki


Recommended Games
Diablo 4: Vessel of Hatred Walkthrough & Guides Wiki
Fire Emblem Heroes (FEH) Walkthrough & Guides Wiki
Yu-Gi-Oh! Master Duel Walkthrough & Guides Wiki
Super Smash Bros. Ultimate Walkthrough & Guides Wiki
Pokemon Brilliant Diamond and Shining Pearl (BDSP) Walkthrough & Guides Wiki
Elden Ring Shadow of the Erdtree Walkthrough & Guides Wiki
Monster Hunter World Walkthrough & Guides Wiki
The Legend of Zelda: Tears of the Kingdom Walkthrough & Guides Wiki
Persona 3 Reload Walkthrough & Guides Wiki
Cyberpunk 2077: Ultimate Edition Walkthrough & Guides Wiki


All rights reserved
@ 2017 Supercell Oy
The copyrights of videos of games used in our content and other intellectual property rights belong to the provider of the game.
The contents we provide on this site were created personally by members of the Game8 editorial department.
We refuse the right to reuse or repost content taken without our permission such as data or images to other sites.