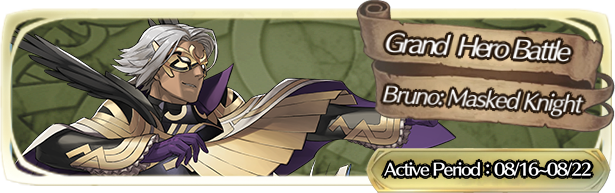
 Bruno: Masked Knight
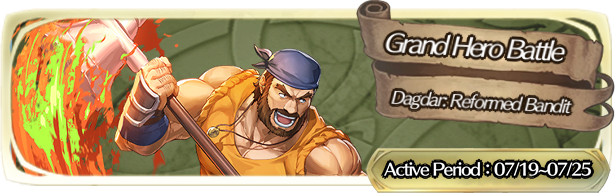 Dagdar: Reformed Bandit
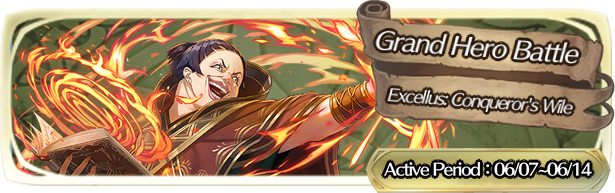 Excellus: Conqueror's Wile
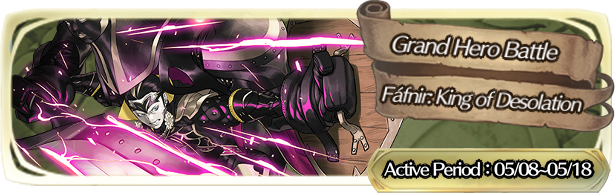 Fáfnir: King of Desolation
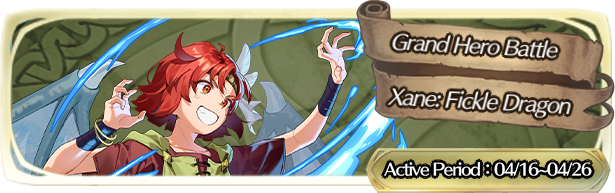 Xane: Fickle Dragon
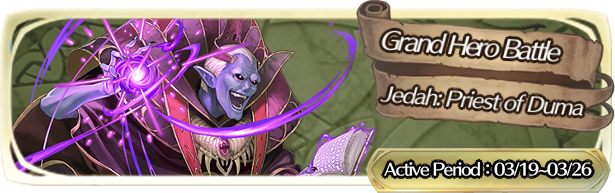 Jedah: Priest of Duma
 Griss: Indulging Pain
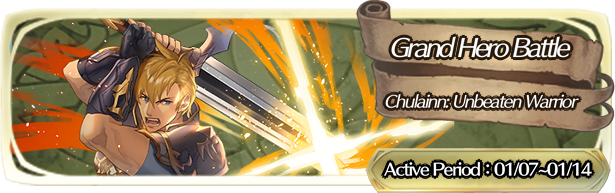 Chulainn: Unbeaten Warrior
 Vaida: Dracofang General
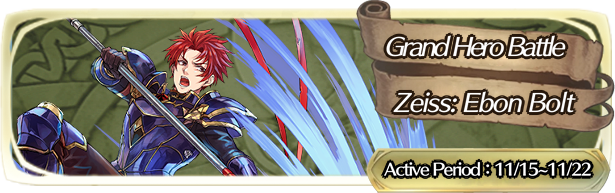 Zeiss: Ebon Bolt
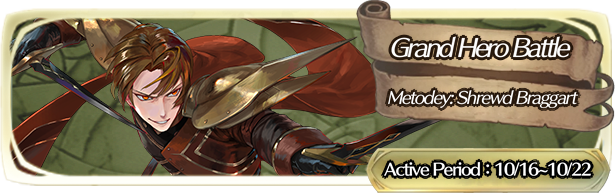 Metodey: Shrewd Braggart
 Marni: Pining for Praise
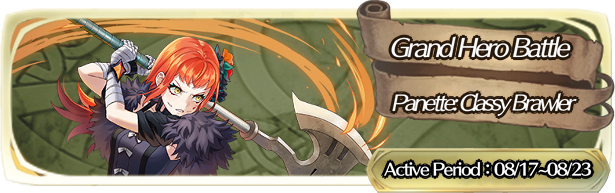 Panette: Classy Brawler
 Glen: Sunstone
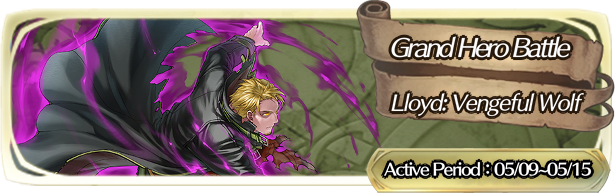 Lloyd: Vengeful Wolf
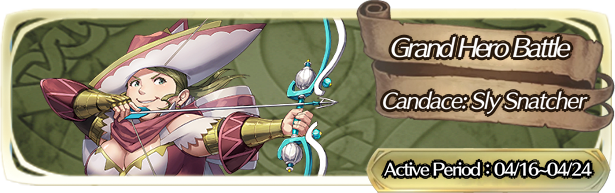 Candace: Sly Snatcher
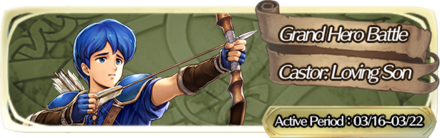 Castor: Loving Son
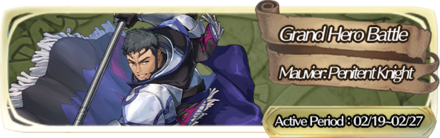 Mauvier: Penitent Knight
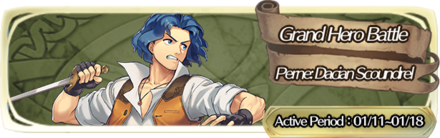 Perne: Dacian Scoundrel
 Validar: Fell Architect
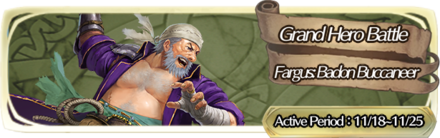 Fargus: Badon Buccaneer
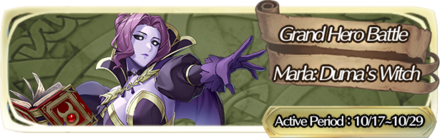 Marla: Duma's Witch
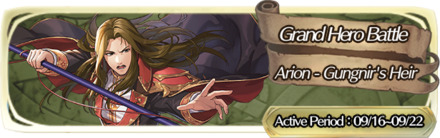 Arion: Gungnir's Heir
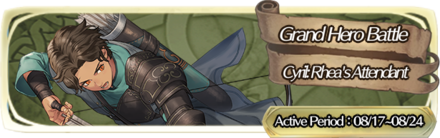 Cyril: Rhea's Attendant
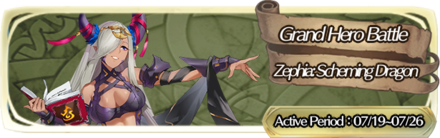 Zephia: Scheming Dragon
 Murdock: Loyal General
 Linus: Savage Dog
 Cornelia: Sant Consumed
 Vigarde: Silent Emperor
 Ludveck: Rebellious Duke
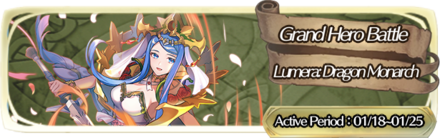 Lumera: Dragon Monarch
 Hans: Ambitious Brute
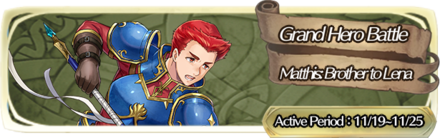 Matthis: Brother to Lena
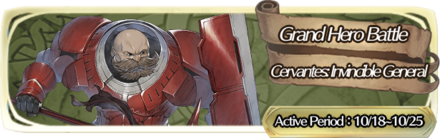 Cervantes: Invincible General
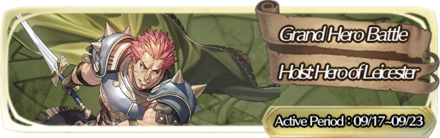 Holst: Hero of Leicester
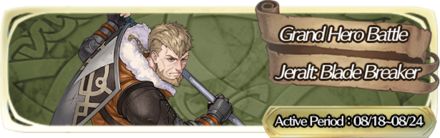 Jeralt: Blade Breaker
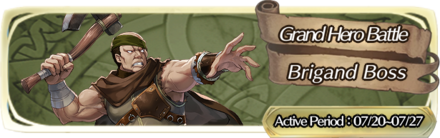 Brigand Boss: Known Criminal
 Limstella: Living Construct
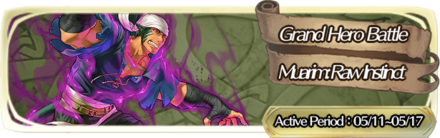 Muarim: Raw Instinct
 Hilda:Queen of Friege
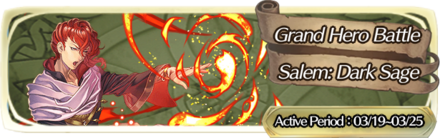 Salem: Dark Sage
 Riev: Blood Beryl
 Gonzalez: Kindly Bandit
 Yen'fay: Blade Legend
 Bertram: Dread Cavalier
 Sedgar: Coyote's Faithful
 Aelfric: Custodian Monk
 Pelleas: Ashnard's Orphan
 Arete: Requiem's Beauty
 Fernand: Traitorous Knight
 Orson: Passion's Folly
 Sonia: Inhuman Beauty
 Solon: Church Shadow
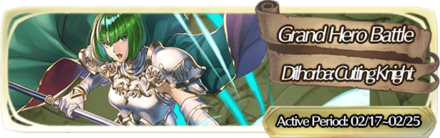 Díthorba: Cutting Knight
 Veld: Manfroy's Rock
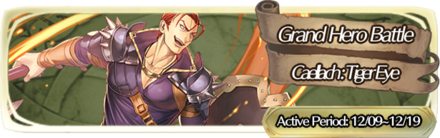 Caellach: Tiger Eye
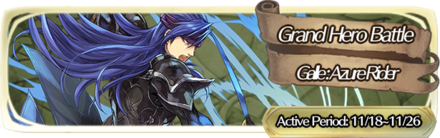 Galle: Azure Rider
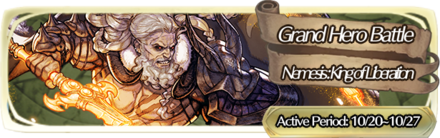 Nemesis: King of Liberation
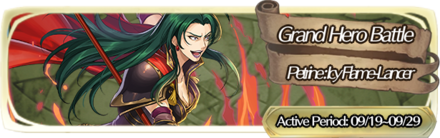 Petrine: Icy Flame-Lancer
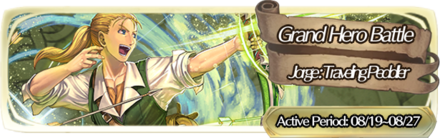 Jorge: Traveling Peddler
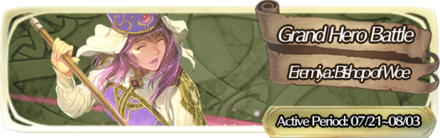 Eremiya: Bishop of Woe
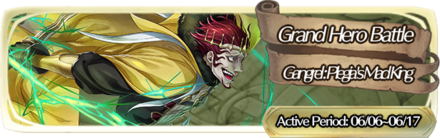 Gangrel: Plegia's Mad King
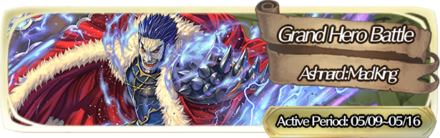 Ashnard: Mad King
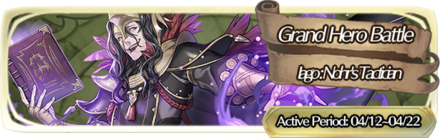 Iago: Nohr's Tactician
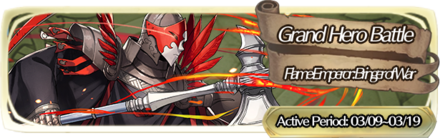 Flame Emperor: Bringer of War
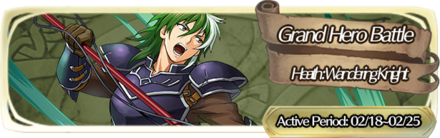 Heath: Wandering Knight
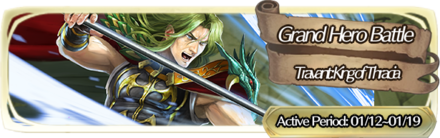 Travant: King of Thracia
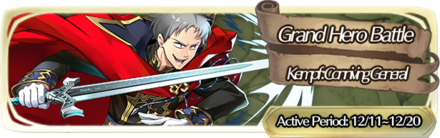 Kempf: Conniving General
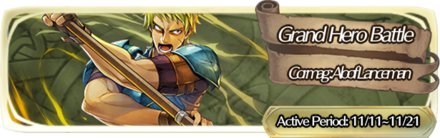 Cormag: Aloof Lanceman
 Conrad: Masked Knight
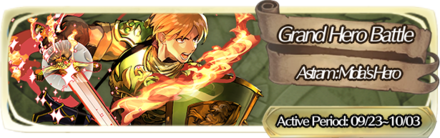 Astram: Midia's Hero
 Death Knight: The Reaper
 Kronya: Gleaming Blade
 Cynthia: Hero Chaser
 Delthea: Tatarrah's Puppet
 Haar: Black Tempest
 Rutger: Lone Swordsman
 Panne: Proud Taguel
 Naesala: Sky's Shadow
 Gharnef: Dark Pontifex
 Aversa: Dark One
 Garon: King of Nohr
 Jamke: Prince of Verdane
 Walhart: The Conqueror
 Linus: Mad Dog
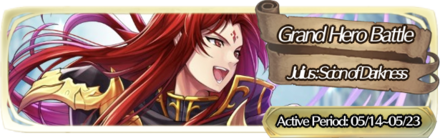 Julius: Scion of Darkness
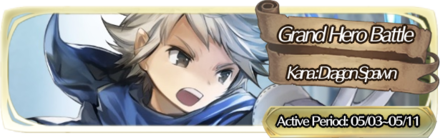 Kana: Dragon Spawn
 Saias: Bishop of Flame
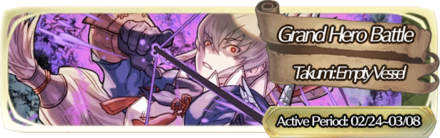 Takumi: Empty Vessel
 Lyon: Shadow Prince
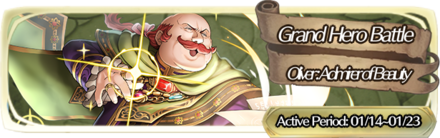 Oliver: Admirer of Beauty
 Arvis: Emperor of Flame
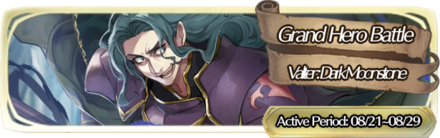 Valter: Dark Moonstone
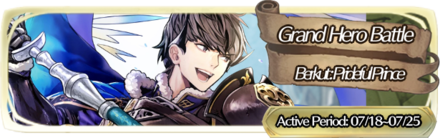 Berkut: Prideful Prince
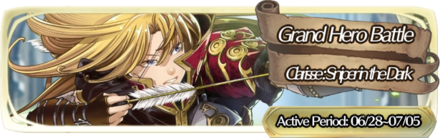 Clarisse: Sniper in the Dark
 Legion: Masked Maniac
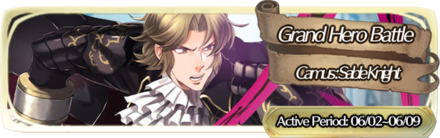 Camus: Sable Knight
 Lloyd: White Wolf
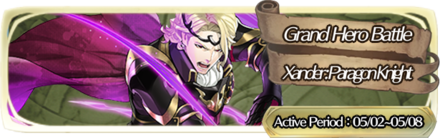 Xander: Paragon Knight
 Zephiel: The Liberator
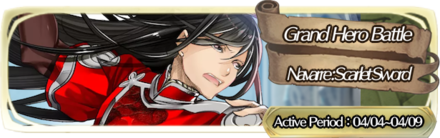 Navarre: Scarlet Sword
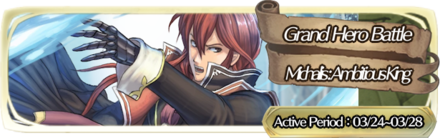 Michalis: Ambitious King
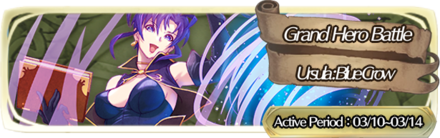 Ursula: Blue Crow
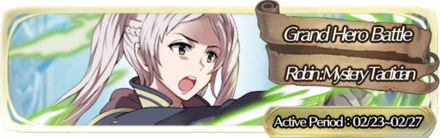 Robin: Mystery Tactician
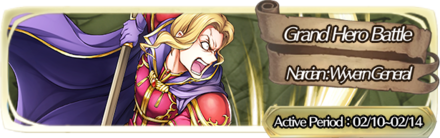 Narcian: Wyvern General
This survey will take about 1 minute.
Your answers will help us to improve our website.
Fire Emblem Heroes (FEH)
Jarod Infernal Guide and Recommended Team (Grand Hero Battle)
★ Latest Banners: Tiki: Everlasting Voice | Springtime Sisters
☆ New: Mythic Tiki (Adult) | Spring Thórr, Spring Dorothea, Spring Sothe, Spring Eirika
★ Free Units: Spring Bernadetta
☆ State of the Meta (February 2026)
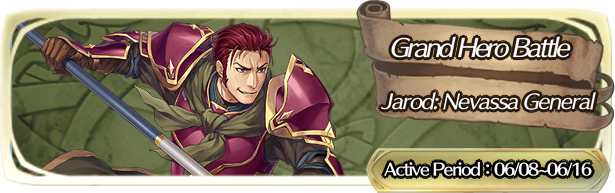
This is a guide to clearing the Infernal and Lunatic maps for Jarod: Nevassa General in Fire Emblem Heroes (FEH). To see strategy for defeating Jarod, enemy information, as well as the best units and party to use, read on!
Table of Contents
Jarod Strategy Overview
| Obtainable Unit |
|
|---|---|
| Recommended Level | Lv.40 |
| Difficulty | Infernal Lunatic Hard |
| Conditions | Condition 1: All 4 units must survive. Condition 2: You cannot use Light's Blessing |
| Dates Active | 06/08/2024 - 06/16/2024 |
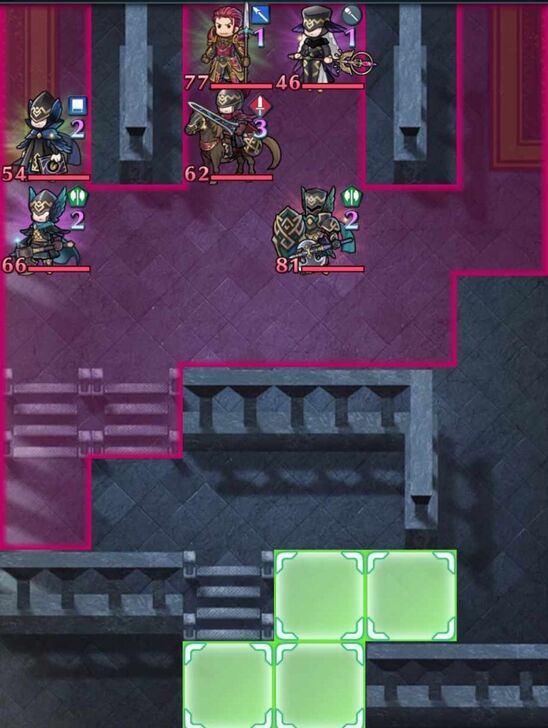
Initial Unit Placement
| Infernal | Lunatic |
|---|---|
 |
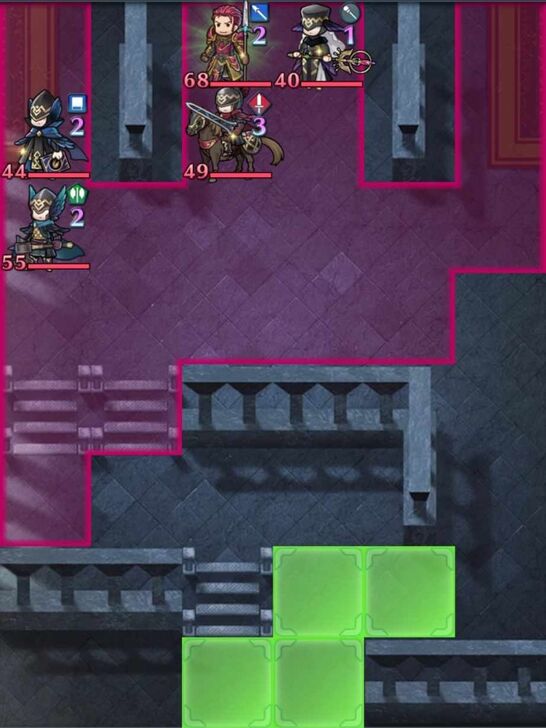 |
Infernal Enemy Information
| A
|
HP 77 |
Atk 65 |
Spd 51 |
Def 37 |
Res 30 |
||||||
|---|---|---|---|---|---|---|---|---|---|---|---|
|
|
|
||||||||||
B
 Cleric Cleric
|
HP 46 |
Atk 42 |
Spd 34 |
Def 29 |
Res 46 |
||||||
|
|
|
||||||||||
C
 Blue Mage Blue Mage
|
HP 54 |
Atk 49 |
Spd 40 |
Def 22 |
Res 33 |
||||||
|
|
|
||||||||||
D
 Sword Cavalier Sword Cavalier
|
HP 62 |
Atk 45 |
Spd 22 |
Def 31 |
Res 33 |
||||||
|
|
|
||||||||||
E
 Axe Fighter Axe Fighter
|
HP 66 |
Atk 53 |
Spd 40 |
Def 39 |
Res 27 |
||||||
|
|
|
||||||||||
F
 Axe Knight Axe Knight
|
HP 81 |
Atk 60 |
Spd 17 |
Def 47 |
Res 21 |
||||||
|
|
|
||||||||||
Infernal Reinforcements
Turn 2 Reinforcements
Reinforcements 1  Blue Thief Blue Thief | HP 56 | Atk 52 | Spd 45 | Def 13 | Res 42 | ||||||
|---|---|---|---|---|---|---|---|---|---|---|---|
| | | ||||||||||
Reinforcements 1  Red Mage Red Mage | HP 54 | Atk 50 | Spd 38 | Def 22 | Res 33 | ||||||
| | | ||||||||||
Reinforcements 1  Lance Fighter Lance Fighter | HP 68 | Atk 55 | Spd 37 | Def 45 | Res 19 | ||||||
| | | ||||||||||
Turn 3 Reinforcements
Reinforcements 2  Red Cavalier Red Cavalier | HP 45 | Atk 51 | Spd 28 | Def 18 | Res 37 | ||||||
|---|---|---|---|---|---|---|---|---|---|---|---|
| | | ||||||||||
Reinforcements 2  Lance Cavalier Lance Cavalier | HP 62 | Atk 53 | Spd 27 | Def 31 | Res 33 | ||||||
| | | ||||||||||
Lunatic Enemy Information
| A
|
HP 68 |
Atk 60 |
Spd 47 |
Def 34 |
Res 27 |
||||||
|---|---|---|---|---|---|---|---|---|---|---|---|
|
|
|
||||||||||
| B
Cleric
|
HP 40 |
Atk 39 |
Spd 31 |
Def 27 |
Res 42 |
||||||
|
|
|
||||||||||
| C
Blue Mage
|
HP 44 |
Atk 46 |
Spd 35 |
Def 20 |
Res 30 |
||||||
|
|
|
||||||||||
| D
Sword Cavalier
|
HP 49 |
Atk 42 |
Spd 19 |
Def 28 |
Res 30 |
||||||
|
|
|
||||||||||
| E
Axe Fighter
|
HP 55 |
Atk 50 |
Spd 37 |
Def 36 |
Res 25 |
||||||
|
|
|
||||||||||
Lunatic Reinforcements
Turn 2 Reinforcements
| Reinforcements 1 Blue Thief | HP 46 | Atk 48 | Spd 41 | Def 12 | Res 39 | ||||||
|---|---|---|---|---|---|---|---|---|---|---|---|
| | | ||||||||||
| Reinforcements 1 Red Mage | HP 44 | Atk 46 | Spd 35 | Def 20 | Res 30 | ||||||
| | | ||||||||||
| Reinforcements 1 Lance Fighter | HP 55 | Atk 52 | Spd 34 | Def 38 | Res 17 | ||||||
| | | ||||||||||
Turn 3 Reinforcements
| Reinforcements 2 Red Cavalier | HP 39 | Atk 48 | Spd 25 | Def 17 | Res 34 | ||||||
|---|---|---|---|---|---|---|---|---|---|---|---|
| | | ||||||||||
| Reinforcements 2 Lance Cavalier | HP 49 | Atk 48 | Spd 24 | Def 28 | Res 30 | ||||||
| | | ||||||||||
Jarod Strategy
Use Player Phase Strategies
This map has no refresher enemies and no enemies with movement assists, making it the ideal situation for a Hit and Run composition. It also helps that a small group of enemies are separated from the initial spawns, allowing your units to easily kite them while you slowly pick them off one at a time.
The enemies will advance on turn one regardless of whether you are in their threat range or not. Use the first turn to position your units to cover choke points and wait for the enemies to advance.
Use the next few turns to slowly clear the enemies, using refresher and movement assists to keep your units outside the danger area.
Keep in mind that two enemies spawn on the lower left corner of the map on turn two; the Red Mage and the Lance Fighter. Ensure you have a unit capable of defeating them in one round waiting nearby to take care of them.
Additionally, remember that the Red Mage has Canto Control 3 to prevent your units from retreating post-combat using Canto.
Tank Strategies are also viable
Tank strategies are also viable on this map as there are no enemy units that are too threatening. Jarod himself may pose a threat, but he can be left alone for a while until all the other generic enemies are defeated.
The enemies advance on the first turn even if your units are not in their threat range. Use the first turn to place your tank units in choke points while having support units at the bottom middle of the map, ready to provide assistance whenever necessary.
The enemies will then walk right into your tank units and enter combat, where your tank units can defeat them one at a time.
Keep in mind that both the Red Mage and the Lance Fighter spawn on the lower left corner of the map on turn two, right where your support units are. Ensure you have units capable of defeating them as they spawn in. A Lance Cavalier spawns in the same area on turn three as well.
A good team composition here is having three tank units and one support unit. The tank units can block off choke points on the middle left (near the two trenches), the lower left (near the starting area), and the lower right (below the impassable structure). The support unit can stand on the tile in the fourth column, second row from the bottom, and provide support to all three tank units at the same time.
If you have a Savior Ball team, then the strategy for this map is simpler than ever. Form a ball on turn one and end your turn, letting all the enemies approach. Have your support units heal or buff up the Savior tanks every turn and wait until all the enemies are dead.
Best Units for Jarod
Player Phase Units
| Unit Name | |
|---|---|
|
|
Lance Armored Black Yule Lance creates 【Divine Vein (Flame)】 tiles, grants Special cooldown charges pre-combat, and cuts the effectiveness of enemy damage reduction skills. Raging Tempest grants mobility and one additional action after combat. Inheriting Galeforce can grant a third action per turn. |
|
|
Sword Armored Regal Sunshade's brave effect can quickly eliminate enemies. Raging Storm can grant one additional action after combat. Inheriting Galeforce can grant a third action per turn. |
|
|
Lance Cavalry Incredibly mobile with United Bouquet granting movement+1 and Forever Yours granting 【Canto (Dist, +1; Max 4)】. Both Forever Yours and Duo Skill generate additional actions while refreshing Canto. |
|
|
Red Tome Cavalry Can act up to four times in one turn with Golden Sunlight, Time and Light, and her Duo Skill. Flared Sparrow leaves behind 【Divine Vein (Flame)】 terrain, softening up enemies for future engagements. |
|
|
Red Tome Cavalry Great nuking power with Radiant Scrolls. Flared Mirror creates Divine Veins that hinder movement for enemy ranged units and deal pre-combat damage to foes when they enter combat. Duo Skill grants another action post-combat. |
|
|
Green Tome Cavalry Ninjutsu Scrolls' brave effect can quickly defeat enemies. Duo Skill grants herself an additional action. |
|
|
Blue Bow Flying Flamefrost Bow's brave effect can quickly defeat enemies. Duo Skill grants herself an additional action. |
|
|
Colorless Dagger Flying Tailwind Shuriken's brave effect can quickly defeat enemies. Duo Skill grants herself an additional action. |
|
|
Sword Cavalry Arcane Devourer grants bonus Special charges and Special cooldown acceleration, allowing an easy Galeforce trigger. Fate Unchanged... allows repositioning an ally to safety and using the extra action for Fallen Chrom to retreat to safety himself. |
|
|
Lance Cavalry Geirdriful grants bonus Special charges and Special cooldown acceleration, allowing an easy Galeforce trigger. A Fate Changed! allows repositioning an ally to safety and using the extra action for Brave Chrom to retreat to safety himself. |
|
|
Blue Tome Flying Gold Unwinding grants herself an additional action after combat. Flared Sparrow leaves behind 【Divine Vein (Flame)】 terrain, softening up enemies for future engagements. |
|
|
Colorless Tome Cavalry Quietus Gullveig and Time is Light grant herself additional actions after combat. Flared Sparrow leaves behind 【Divine Vein (Flame)】 terrain, softening up enemies for future engagements. |
|
|
Lance Cavalry Moonlight Bangle grants Canto for mobility. Binding Reginleif allows her to defeat her foes in one round. |
|
|
Sword Cavalry Lyngheiðr grants Canto for mobility. Seiðr Shell+ is pre-charged and can defeat an enemy quickly. |
Tank Units
| Unit Name | |
|---|---|
|
|
Sword Infantry Emblem Ragnell neutralizes multiple penalties that affect his combat. Laguz Friend 4 provides strong damage reduction. Great Aether provides extra damage reduction and sustain to keep him healthy throughout multiple combats. |
|
|
Sword Armored Holy Yule Blade decays foe's Specials and grants multiple stat bonuses. Supreme Heaven deals bonus damage against dragons and beasts and also grants additional damage reduction. |
|
|
Colorless Breath Armored Multiple damage reduction effects and the 【Divine Vein (Stone)】 effect paired with high Spd allow her to survive multiple engagements. |
|
|
Lance Armored Guaranteed follow-up attack Weapon refine makes him a very powerful tank. |
|
|
Blue Breath Armored Guaranteed follow-up attack. Weapon is comparable to Brave Hector's refined Maltet. Can neutralize penalties inflicted on her. |
|
|
Red Breath Infantry A budget option that can fulfill the tank role to bait on turn one. A red unit is used here to help mitigate damage from the right side of the map, as she will not have color disadvantage against all the enemies on that side. |
|
|
Blue Breath Infantry A budget option that can fulfill the tank role to bait on turn one. A blue unit is used here to help mitigate damage from the left side of the map, as she will not have color disadvantage against all the enemies on that side. |
Support Units
| Unit Name | |
|---|---|
|
|
Staff Flying Grants damage reduction and can shut down "At start of turn" effects of foes in cardinal directions. |
|
|
Staff Cavalry Kitty-Cat Parasol grants Special cooldown charges, 30% damage reduction, and "neutralizes foe's bonuses to Atk" to nearby allies and can double as an offensive unit with high Atk and a guaranteed follow-up attack. |
|
|
Staff Flying Grants damage reduction and healing. |
|
|
Lance Infantry Grants bonus stats and Special acceleration to nearby allies during combat. |
|
|
Sword Infantry A budget support that grants bonus stats to his Ally Support during combat. |
|
|
Staff Flying Grants Atk+6 and Special acceleration to nearby allies during combat. |
|
|
Green Tome Cavalry Future-Focused can forcefully end a foe's turn, allowing you to play around the strongest foe. |
Recommended Dancer Units
|
|
Green Tome Flying Gentle Dream provides stat and mobility bonuses. Duo Skill grants an adjacent ally an extra action. |
|
|
Blue Tome Flying Gentle Dream+ provides stat and mobility bonuses. |
|
|
Blue Tome Flying Prayer Wheel and Gray Waves II combine to grant an ally stat and mobility bonuses. |
|
|
Green Tome Cavalry Dancing Flames and Gray Waves combine to grant an ally stat and mobility bonuses. S/R Far Trace 3 allows retreat after combat or using Gray Waves. |
List of All Dancers | Heroes with Refresher Skills
User Submitted Units / Parties for Jarod
We are looking for user submitted clears!
Let us know about your party and how you cleared the maps in the comments below, via a picture of your team and their skills.
If you have uploaded the walkthrough video on Twitter etc., please enter the URL as well!
FEH Related Guides
Other Grand Hero Battle Walkthroughs
Grand Hero Battles Walkthroughs and Schedule
List of Grand Hero Battles
Comment
Author

Jarod Infernal Guide and Recommended Team (Grand Hero Battle)
Please participate in our site
improvement survey
03/2026
improvement survey
03/2026
Would you assist in
improving Game8's site?
improving Game8's site?

×
We are listening to our users' valuable opinions and discussing how to act on them.
The information collected through this survey will be used for the purpose of improving our services. In addition, the information will only be disclosed a part of a statistic in a format that will not allow identification of personal information.
Begin Survey
Not Now
×
Please rate each item regarding Game8.co's Advertisements.
Amount of Ads
Very Dissatisfied
Somewhat Dissatisfied
Fine
Somewhat Satisfied
Highly Satisfied
Placement of Ads
Timing of Ad Display
Ad Loading Speed
Safeness of Ads
Content of Ads
×
Please rate each item regarding Game8.co's Quality of Articles.
Amount of information
Very Dissatisfied
Somewhat Dissatisfied
Fine
Somewhat Satisfied
Highly Satisfied
Frequency of updates
Speed of new information
Accuracy of articles
Understandibility of articles
Readability of sentences
×
Please rate each item regarding Game8.co's Usability of the Site.
Ease of finding information
Very Dissatisfied
Somewhat Dissatisfied
Fine
Somewhat Satisfied
Highly Satisfied
Loading Speed
Use of Color
Font Size
Visibility of Images
Easy to Understand Layout
×
Please rate each item regarding Game8.co's Message Boards, Comments.
Ease of Writing
Very Dissatisfied
Somewhat Dissatisfied
Fine
Somewhat Satisfied
Highly Satisfied
Readability
Ease in Finding Information
Comment Quality
Comment Quantity
Admin Response
×
Please rate each item regarding Game8.co's Site's new design.
Please rate our site's new design
Very Dissatisfied
Somewhat Dissatisfied
Fine
Somewhat Satisfied
Highly Satisfied
Do you think that the website's design change makes the site easier to use?
Has the new design made it easier for you to find information on the site?
Has the new design improved the overall visual appeal of the site?
How would you rate your overall satisfaction with the new design of the site?
×
How likely are you to recommend Game8 to someone you know?
Very Unlikely
0
1
2
3
4
5
6
7
8
9
10
Very Likely
If you have other opinions regarding potential improvement to the website, please share them with us. We would appreciate your honest opinion.
Note: This is a free response section, so you can proceed without entering anything.
Note: Please be sure not to enter any kind of personal information into your response.
Note: Please be sure not to enter any kind of personal information into your response.
×
Thank You
×
Thank you for participating in our survey! Your answers will help us to improve the quality of our website and services.
We hope you continue to make use of Game8.
We hope you continue to make use of Game8.
Close
Premium Articles
Rankings
- We could not find the message board you were looking for.
Gaming News


![Everwind Review [Early Access] | The Shaky First Step to A Very Long Journey](https://img.game8.co/4440226/ab079b1153298a042633dd1ef51e878e.png/thumb)

![Monster Hunter Stories 3 Review [First Impressions] | Simply Rejuvenating](https://img.game8.co/4438641/2a31b7702bd70e78ec8efd24661dacda.jpeg/thumb)
Popular Games

Genshin Impact Walkthrough & Guides Wiki
Honkai: Star Rail Walkthrough & Guides Wiki
Umamusume: Pretty Derby Walkthrough & Guides Wiki
Pokemon Pokopia Walkthrough & Guides Wiki
Resident Evil Requiem (RE9) Walkthrough & Guides Wiki
Monster Hunter Wilds Walkthrough & Guides Wiki
Wuthering Waves Walkthrough & Guides Wiki
Arknights: Endfield Walkthrough & Guides Wiki
Pokemon FireRed and LeafGreen (FRLG) Walkthrough & Guides Wiki
Pokemon TCG Pocket (PTCGP) Strategies & Guides Wiki


Recommended Games
Diablo 4: Vessel of Hatred Walkthrough & Guides Wiki
Cyberpunk 2077: Ultimate Edition Walkthrough & Guides Wiki
Fire Emblem Heroes (FEH) Walkthrough & Guides Wiki
Yu-Gi-Oh! Master Duel Walkthrough & Guides Wiki
Super Smash Bros. Ultimate Walkthrough & Guides Wiki
Pokemon Brilliant Diamond and Shining Pearl (BDSP) Walkthrough & Guides Wiki
Elden Ring Shadow of the Erdtree Walkthrough & Guides Wiki
Monster Hunter World Walkthrough & Guides Wiki
The Legend of Zelda: Tears of the Kingdom Walkthrough & Guides Wiki
Persona 3 Reload Walkthrough & Guides Wiki


All rights reserved
© 2025 Nintendo / INTELLIGENT SYSTEMS
The copyrights of videos of games used in our content and other intellectual property rights belong to the provider of the game.
The contents we provide on this site were created personally by members of the Game8 editorial department.
We refuse the right to reuse or repost content taken without our permission such as data or images to other sites.