Level 7 - Eagle's Tower Walkthrough
This is a walkthrough for Eagle's Tower, the seventh dungeon in The Legend of Zelda: Links Awakening (Remake) for the Nintendo Switch. Use this guide to learn how to reach this dungeon, solve its puzzles, and its bosses!
| ◀︎ Previous Dungeon | Next Dungeon ▶︎︎ |
|---|---|
| Face Shrine | Turtle Rock |
List of Contents
Getting to Eagle's Tower
Getting to Eagle's Tower Objectives
| No. | Objective |
|---|---|
| 1 | Go to Signpost Maze southwest of Mabe Village. |
| 2 | Follow the signs to reach Mamu and learn the Frog’s Song of Soul. |
| 3 | Push the Weather Vane in Mabe Village forward and go down the steps. |
| 4 | Play the Frog’s Song of Soul to awaken the Flying Rooster. |
| 5 | Go through the Tal Tal Mountain Range. Climb the ladder found near the area above the Angler's Tunnel entrance. |
| 6 | Enter the cave just under the Rooster House and use the Flying Rooster to fly across the abyss and obtain the Bird Key. |
| 7 | Continue east through Tal Tal Mountain until you reach the northeast most section (Eagle's Tower). |
| 8 | Lift the boulder blocking the statue and use the Bird Key to open Eagle's Tower before entering. |
Signpost Maze
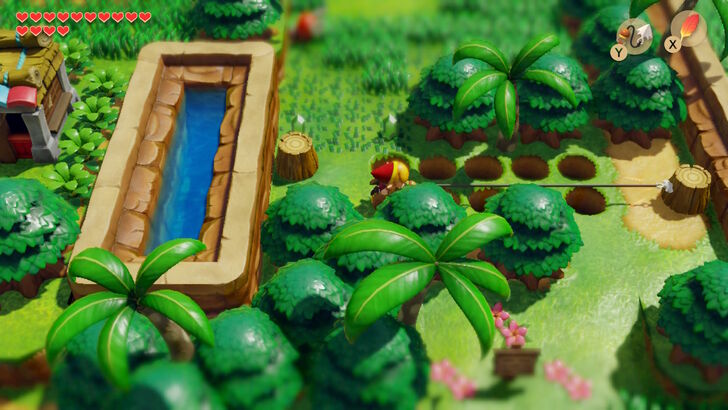
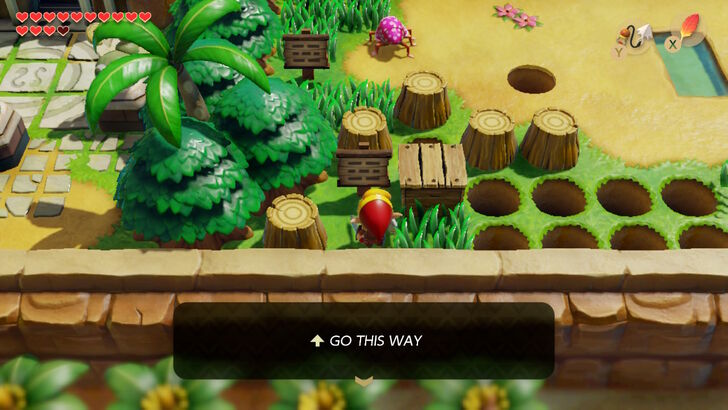
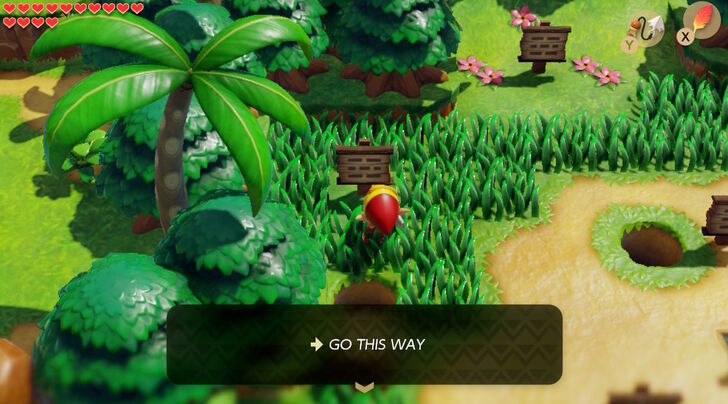
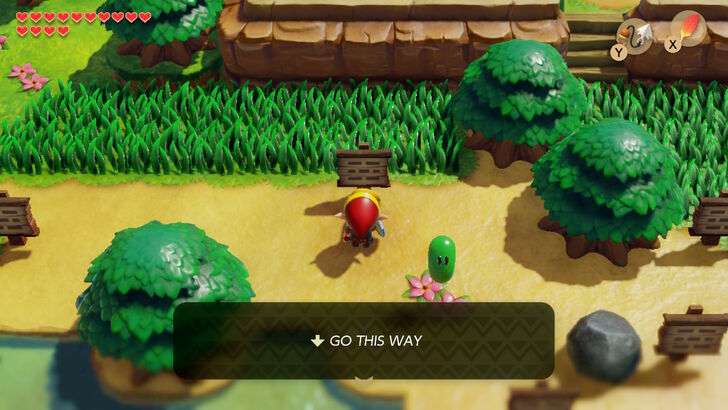
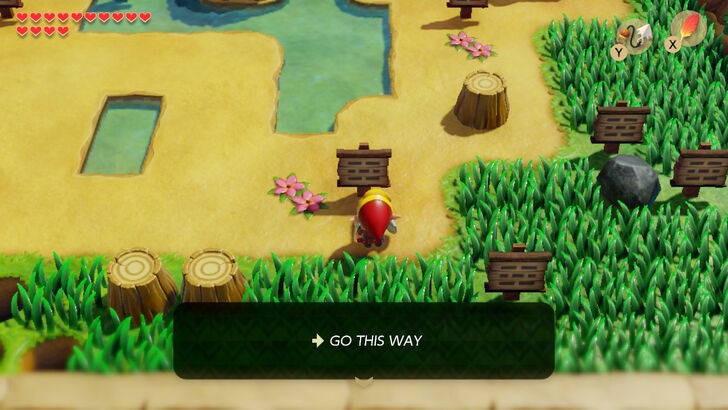
After exiting face shrine, you should first go to Mabe Village. Just southwest of the village (south of the phone booth) there is an area called Signpost Maze, which you most likely have not visited yet. Go there and use your hookshot to cross the large gap.
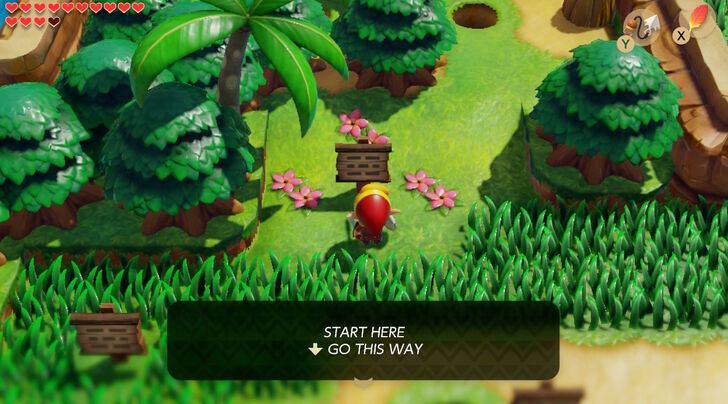
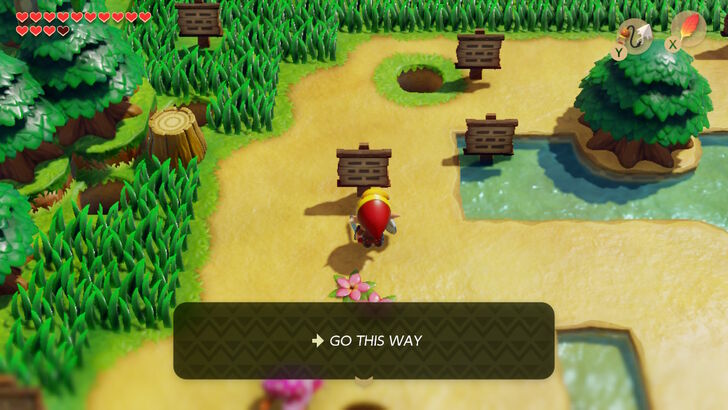
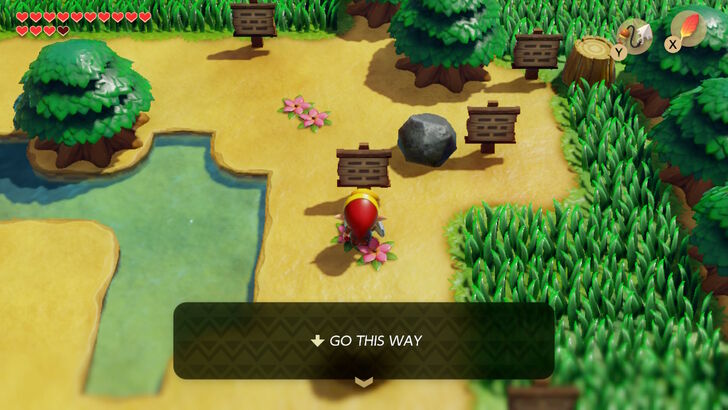
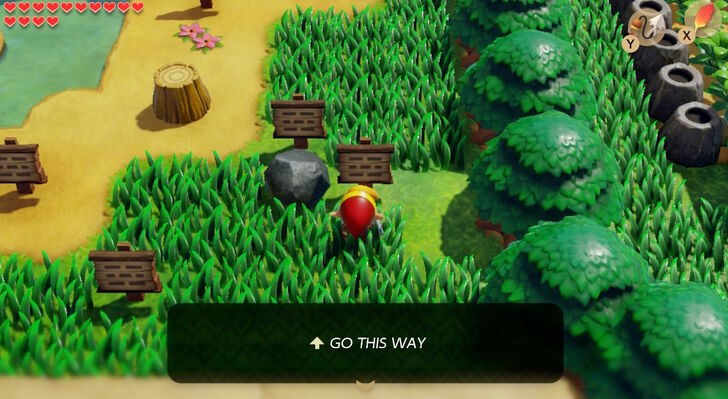
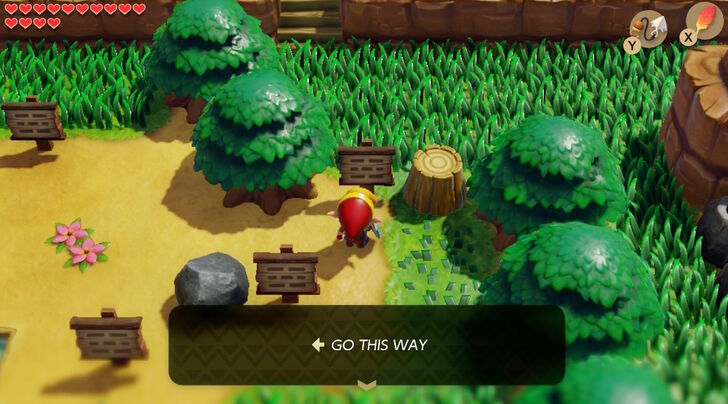
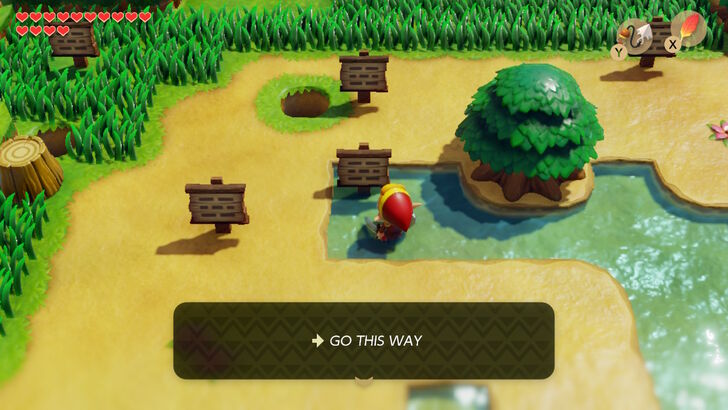
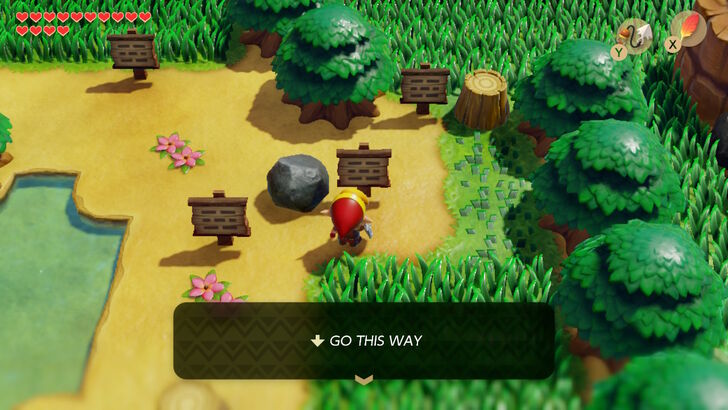
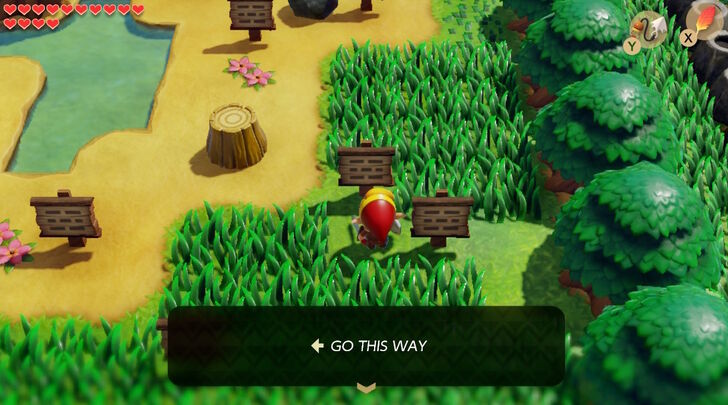
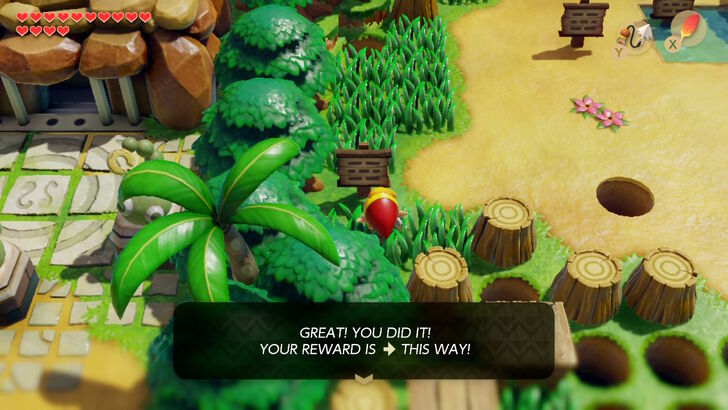
Once you arrive, you will reach a field with many signs. You must read each sign in the correct order, then follow the direction it tells you to go in before reading the next one. For the correct steps, click the button below.
 |
 |
 |
 |
 |
 |
 |
 |
 |
 |
 |
 |
 |
 |
Frog’s Song of Soul
 |
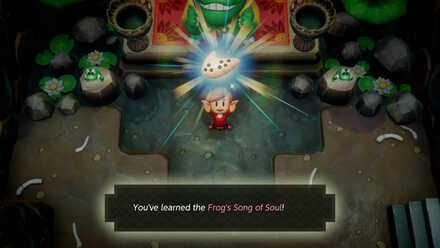 |
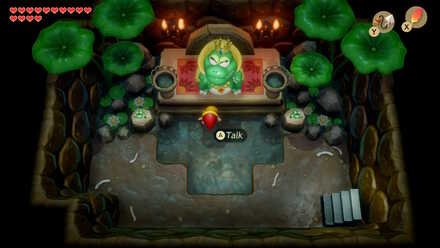
After reading all of the signs in order, a staircase will be revealed. Go down it, and speak with Mamu. Pay 300 rupees to hear his ‘jam’. This will teach you the song Frog’s Song of Soul.
The Flying Rooster
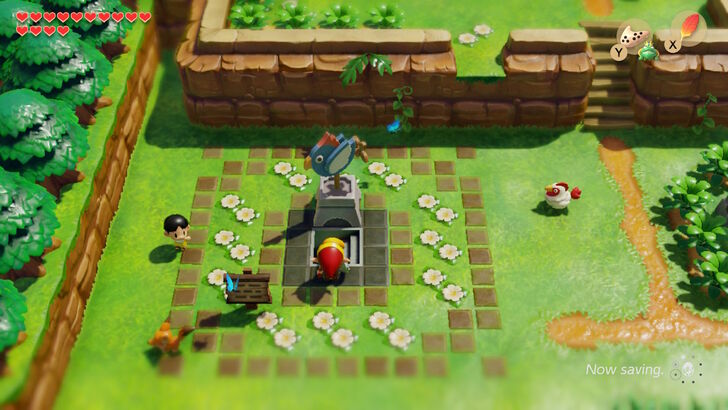
Return to Mabe Village, and go to the center of the village where the Flying Rooster statue sits. Using your new Powerful Bracelet, push the statue forward to reveal a set of stairs.
 |
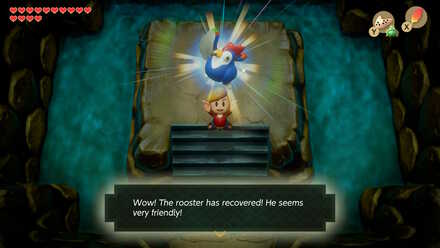 |
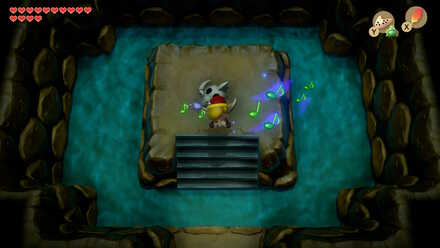
Go down them, and head forward until you find a pile of bones. Time to pull out that ocarina and try out your new tune! Playing Frog’s Song of Soul here will resurrect the flying rooster, who will follow you around.
The Bird Key
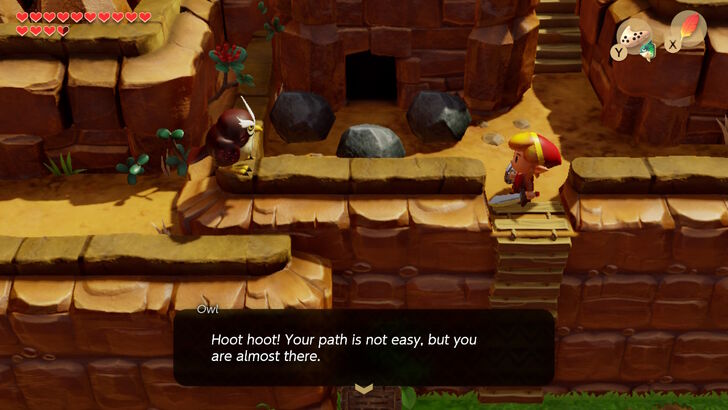
Now warp to Danpe’s Shack and head towards Tal Tal Mountain Range. Walk toward the cave entrance blocked by 3 boulders that you went to before entering Angler’s Tunnel, and after climbing the stairs, the owl will show up to give you some advice. After speaking with him, he will tell you to head east.
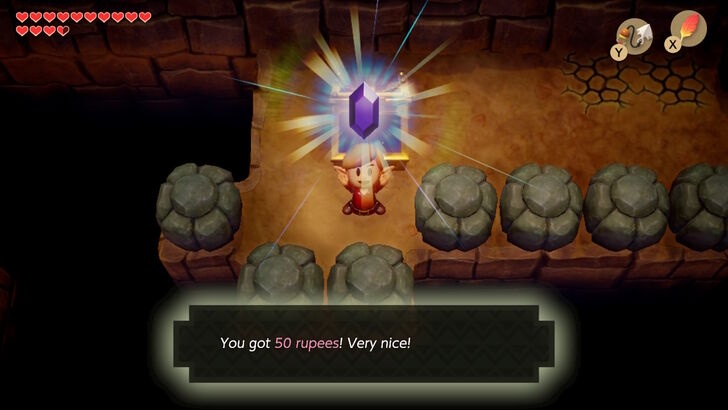
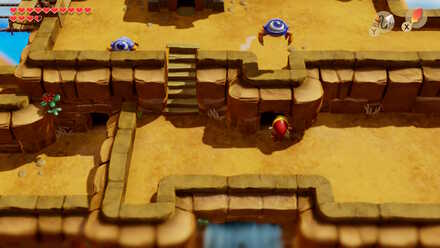
Enter the cave and go through it as before. When you emerge from the underground passage, you can hookshot to the treasure chest (or pick up the rooster and fly to it) for 50 rupees. After doing so, push the stone in front of the chest into the abyss and hop over the ledge. Take the right exit outside.
 |
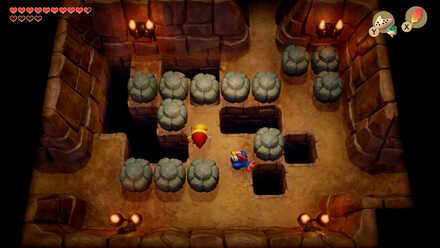 |
Head east from the cave you exited, and swim across the water until you reach a ladder. Climb up until and go left you reach a house. Just under the house, you should see a cave entrance. Go in here, and you will come across several moveable stones. Push the 3 center blocks over the ledge and hop the gap so you can reach the next room.
 |
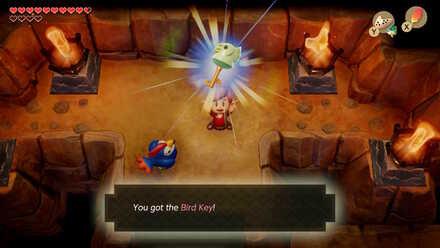 |
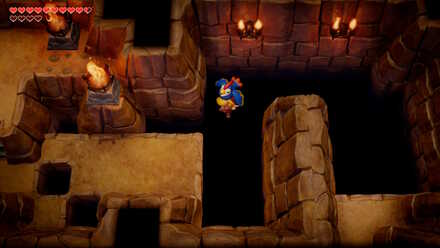
The next room is nothing but abyss. Pick up your feathered friend to fly over the large hole in the ground. Work your way to the left, until you reach some stairs. Go up them and pick up the Bird Key. Fall in the abyss to go back to the cave you exited on Tal Tal Mountain Range.
Heart Piece #25
 |
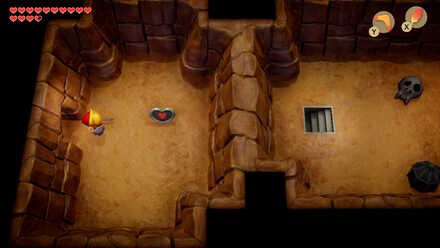 |
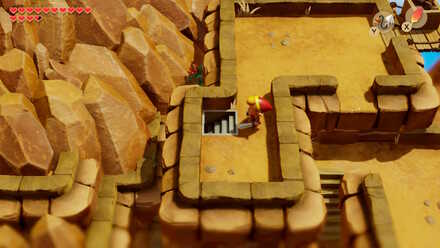
From the rooster house, use your hookshot on the boxes laid across the wooden bridge to get to the other side. Go left and cut the patch of grass to reveal a hidden staircase. The southern wall can be bombed to reveal another room. Go through the doorway in the right here to pick up Heart Piece #25.
Secret Seashell #34
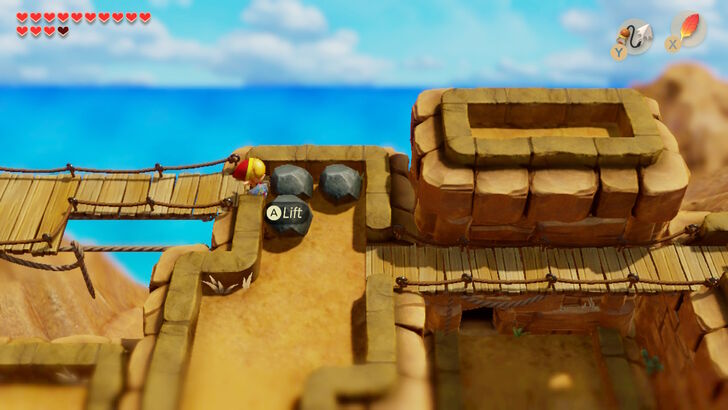
From the rooster house, head east toward a wooden bridge. There are 3 boulders here, although one is actually an enemy. The one on the right hides Secret Seashell #34.
Finding Eagle Tower
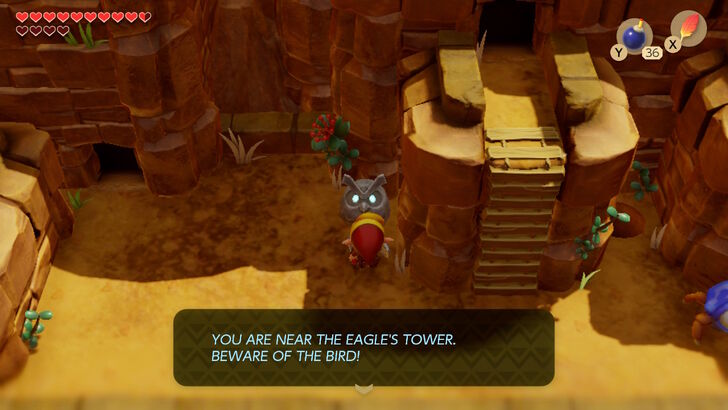
From the cave exit on Tal Tal Mountain Range, head east. Swim through the water and go past the ladder until you reach a cave entrance. Go through this cave, and on the other side, the owl statue will tell you that you are near the Eagle’s Tower.
Secret Seashell #27
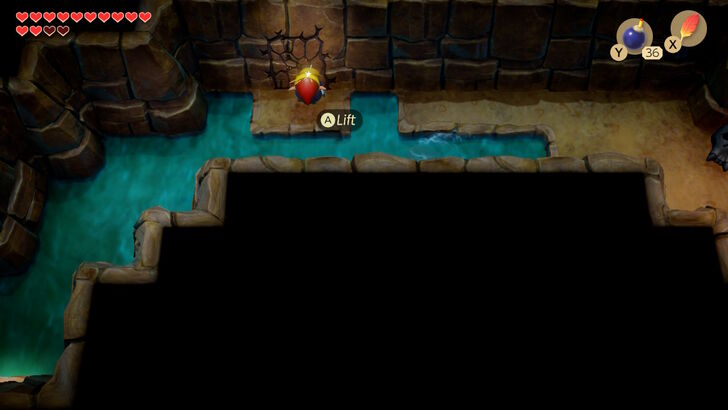
Inside of the cave you passed through after getting the Bird Key, you should come across a cracked area of the northern wall. Bomb it and enter, then go up the stairs in this room.
 |
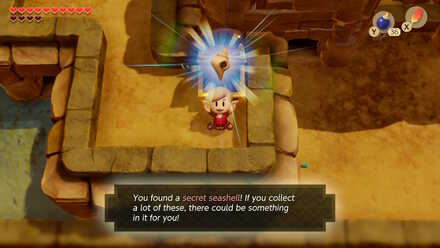 |
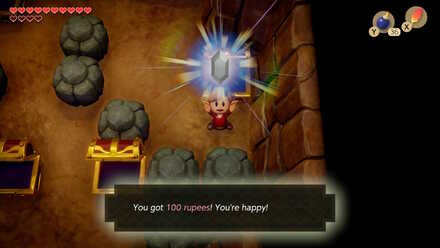
Head south and you will walk into a room with five treasure chests. You can obtain 100 rupees here by opening all 5 chests (the first four you open will contain a Zol). However, this can only be done by exiting through the southern door and then returning inside. Exit this room and open the chest here to obtain Secret Seashell #27.
Eagle Tower Entrance
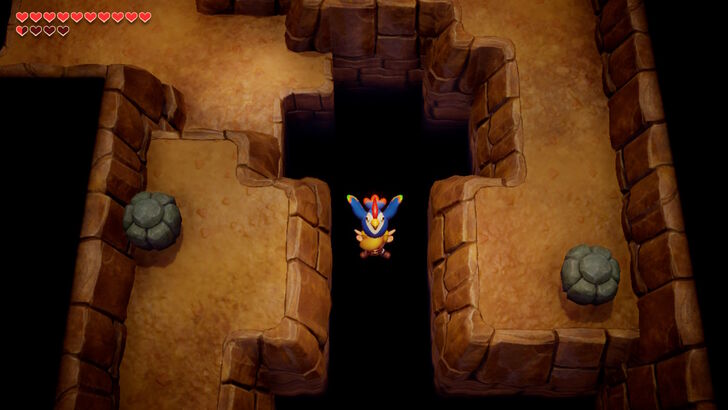
From the owl statue, head up the ladder and go through the room here, defeating the Keese and Zol along the way. Emerge, then go into the left cave, and head down the stairs. You can once again use the friendly rooster to fly across the large abyss by holding him over your head.
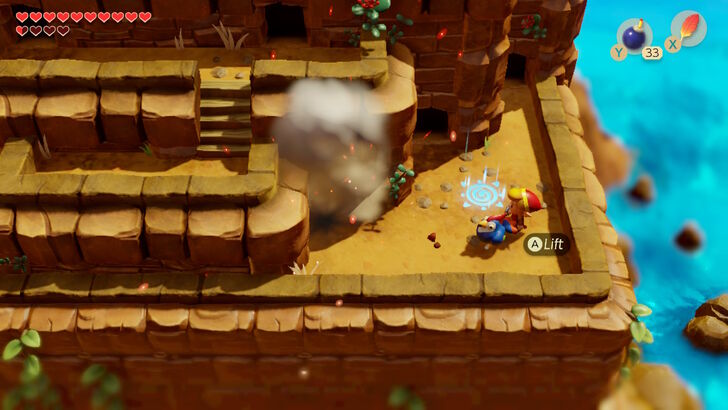
Emerge from this cave, and dig up the swirly piece of dirt to reveal a Warp Zone. The cracked wall here on the left can also be blown up to reach a Great Fairy, so visit her if you are low on hearts. After that, go into the cave on the northwest wall.
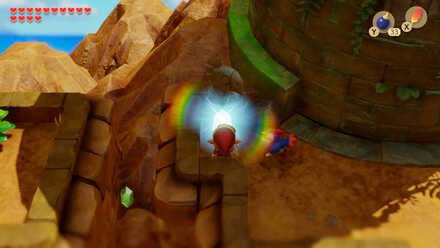 |
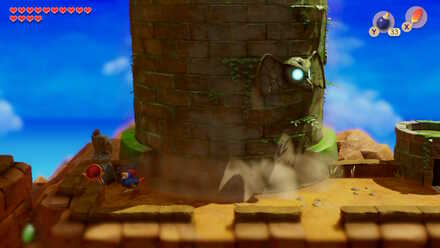 |
Go straight through the first room, then through the southern door here. After emerging, head left, and find the bird statue. Move the bottom boulder out of the way, then use the Bird Key to open this statue. This will reveal the entrance to Eagle’s Tower. Climb the stairs and go inside.
Eagle's Tower Dungeon Walkthrough
Eagle's Tower Map and Items
3F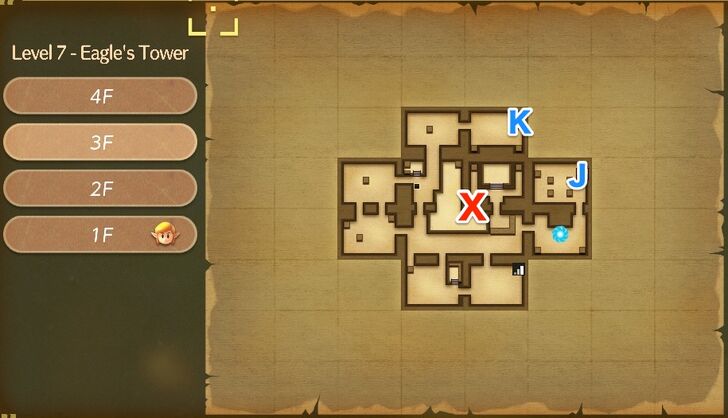 |
2F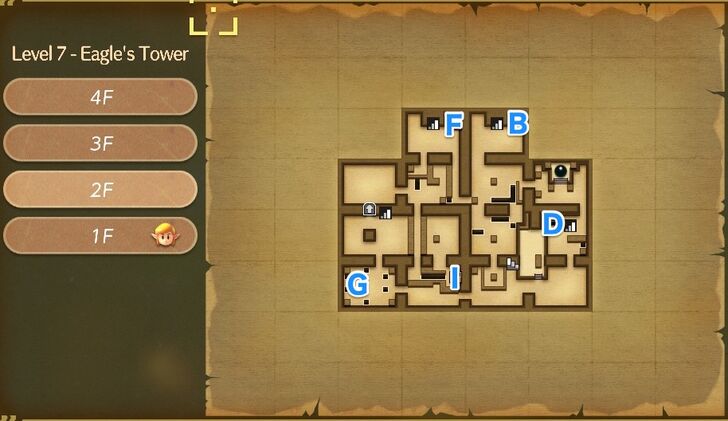 |
1F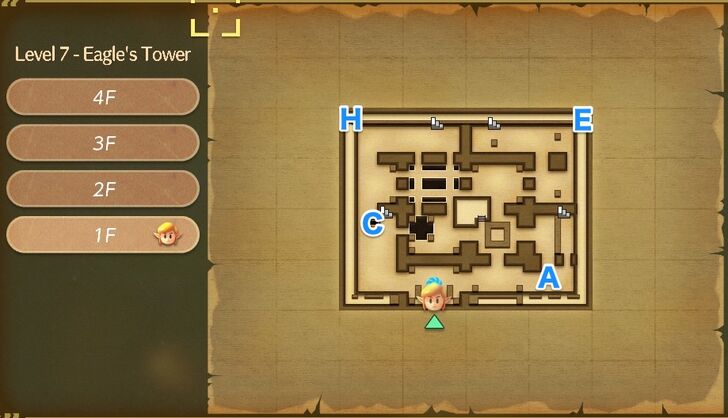 |
| Location on Map | Item |
|---|---|
| A | Small Key #1 |
| B | Map |
| C | Stone Beak |
| D | Mirror Shield |
| E | Small Key #2 |
| F | Compass |
| G | Small Key #3 |
| H | Secret Seashell #48 |
| I | Bombs |
| J | Nightmare Key |
| K | Secret Medicine |
Eagle's Tower Objectives
| No. | Objective |
|---|---|
| 1 | Go east and defeat the Like-Likes to obtain Small Key #1. Unlock the door and go north, then take the stairs. |
| 2 | Go up a room, left a room, then up another room. Put the chess pieces in place to get the Map. |
| 3 | Go back a room and fall in the hole. Head left and go south to reach the chest containing the Stone Beak. |
| 4 | Head back and this time go right to hit the color switch. Return to the stairs from earlier. |
| 5 | Go up the stairs and obtain the Mirror Shield. Then drop down the hole. |
| 6 | Run forward to reach a treasure chest containing Small Key #2. Jump down the ledge and take the stairs on the far left side. |
| 7 | Go to the room with the ball and pick it up, then head west. Break the pillar in the next room with the ball. |
| 8 | Take the ball south a room and break the pillar in this room. |
| 9 | Head up, left, and then up a room. Defeat the Three-of-a-Kind to obtain the Compass. |
| 10 | Go through the bottom left door and throw the ball over the gap. Go back a screen and go down the stairs. |
| 11 | Head to where you obtained the Stone Beak and take the stairs. Go up through the revolving door. |
| 12 | Go up a room and then right a room. Pick up the ball and break the pillar here. |
| 13 | Take the ball one room right and two rooms down. Throw it to the other side of the room. |
| 14 | Go back to the stairs near where you got the Stone Beak again. Head up the stairs and go down one room. |
| 15 | Defeat the Red Hinox and obtain Small Key #3. |
| 16 | (Optional:) Fall down one of the holes and go northwest to get Secret Seashell #48 |
| 17 | Go right two screens from where you fought the Hinox, then go back one room. Defeat the enemy here and throw the ball to the other side. |
| 18 | Return to where you broke the third pillar. Bomb the southern wall, then go down and bomb the southern wall in the next room. |
| 19 | Hookshot to the chest, pick up the ball and go up a room. Break the 4th pillar to collapse the tower. |
| 20 | Warp to the entrance, and make your way to the 3rd floor. |
| 21 | Head up a room, then right a room. Defeat the Grim Creeper, and obtain the Nightmare Key. |
| 22 | Go back two rooms and open the boss door. Take the stairs and hookshot across. Follow the path to reach a door leading outside. |
| 23 | Climb the ladder and defeat the Evil Eagle. Return back inside and hop down the ledge to the right, go up a room, and obtain the Organ of Evening Calm. |
Small Key #1
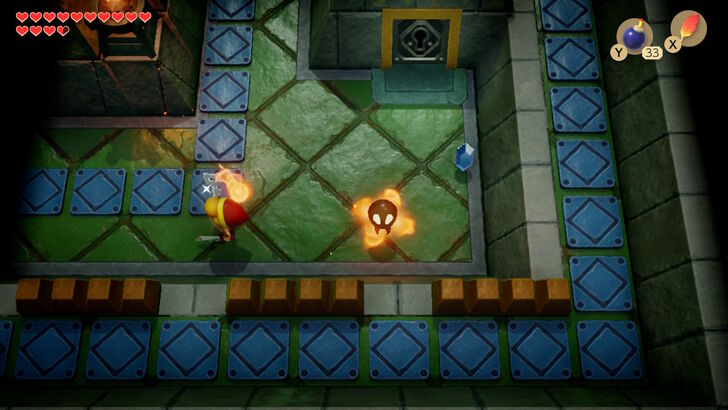
From the entrance, head to the room on the right. Avoid the Blade Traps by jumping over them, and continue to the next room on the right. In the next room, defeat the two Like-Likes to obtain Small Key #1 (the Bubble can also be defeated with Magic Powder or the Boomerang to obtain a fairy). Unlock the door in this room and proceed forward.
Map
 |
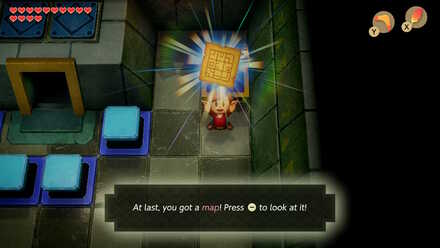 |
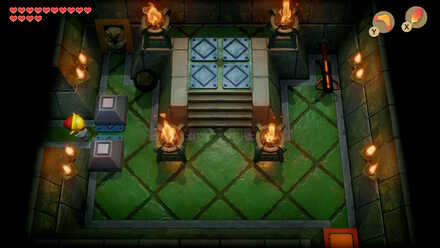
Head straight through to the stairs. After emerging, go into the northern room, walk past the ball, and head through the left side door (pull the lever back to move the blocks if necessary). Walk through the next room, defeating the Zol that pop up, and go to the northern room. In here, you will be faced with some chess pieces. Stand in the bottom green space, and throw the black chess piece to the left to land it into the other green space. Pick up the white piece and stand in the white space just one tile above the bottom right corner, then throw the piece left to land it in the other green space. Doing so will reveal a treasure chest containing the Map.
Stone Beak
 |
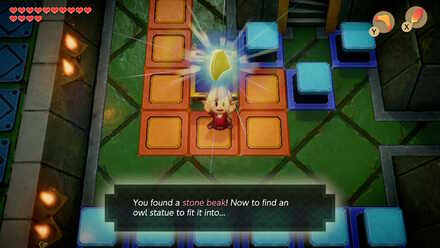 |
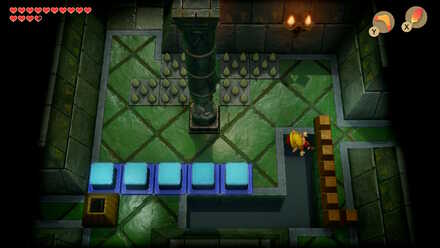
Head back to the previous room and fall through the hole toward the right door. The room you land in will have two Like-Likes and a Red Stalfos, so be ready to fight them or move away. Head left over the orange path into the next room. Once there, go south until you reach a treasure chest and open it up for the Stone Beak.
Mirror Shield
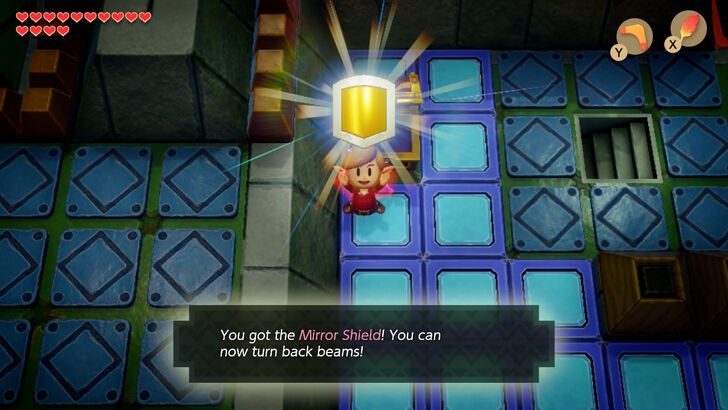
Head back to where you landed after falling down, and go into the right room. Use a projectile to hit the switch and turn it orange. Then head left. From this room, head south, then go through the eastern door. Jump over the Blade Traps and defeat the Gibdo. Go down a room, and defeat the Like-Likes here, then go through the doorway here and head north. Go through the stairway here and after emerging, open the chest to the left of the stairs to obtain the Mirror Shield. This will allow you to block lasers and projectiles from enmies such as Beamos.
Small Key #2
 |
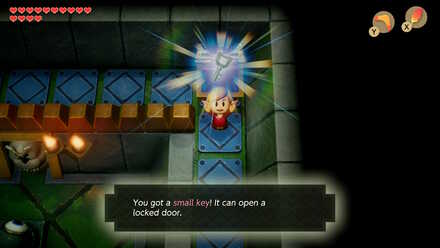 |
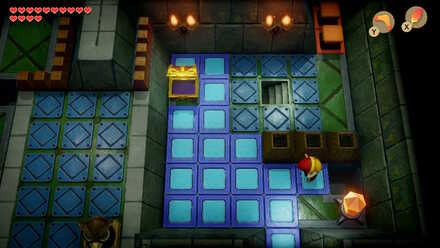
Just above the crystal in this room, there is a small hole, so walk up to it and fall through. Dash with your Pegsus Boots toward the north until you are two screens ahead. Open up the treasure chest here and obtain Small Key #2. Jump down the ledge and defeat the enemies here, using your Mirror Shield to paralyze the Beamos. Go up the stairs to the far left to emerge where you obtained the Map.
Breaking Pillars
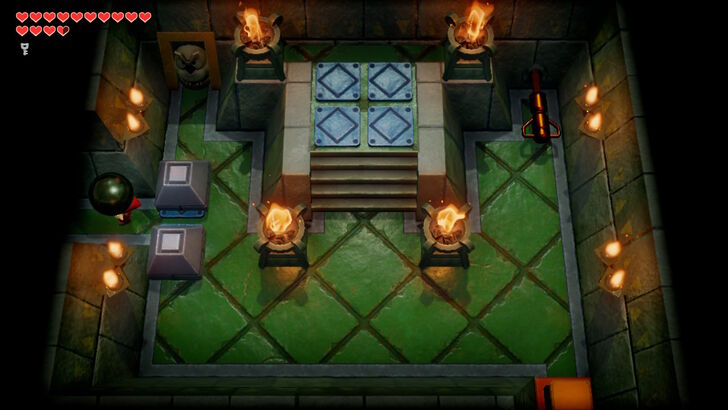
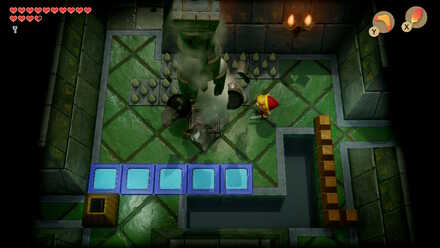
Back in the room where you got the Map, head down a room. From here head east and enter the room with the large ball. You can also speak with the owl stone here who tells you that The riddle is solved when the pillars fall
. Pick up the ball and place it near the doorway you came in from. Pull back the lever and then hurry over to the entrance you came in, pick up the ball, and go back to the left room (you will need to be quick!).
 |
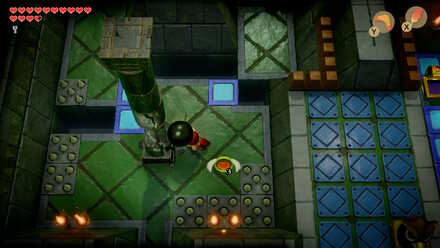 |
The next room has a large stone pillar, so we need to make it fall, as the owl suggested. Do this by throwing the ball directly at it. Pick the ball up and head south. Throw it at the pillar in this room as well. Pick the ball up, head back one room, and push the block here forward a space. Pick the ball up again and go through this room.
Compass
 |
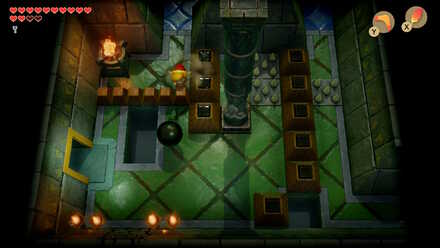 |
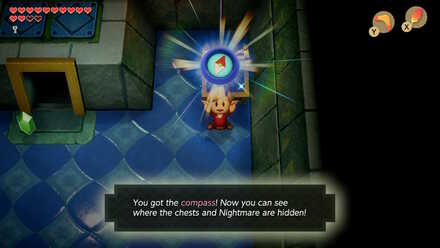
Continue north, throwing the ball over the spikes, then picking it up and heading that way. Once in the next room, you will encounter a set of Three-of-a-Kind. Defeat them by timing your attacks to hit them while their face shows the same card suit. A treasure chest will appear. Open it to obtain the Compass. Go down a room and throw the ball over the ledge so that it is on the ground. Head up a screen and go down the stairs.
The Third Pillar
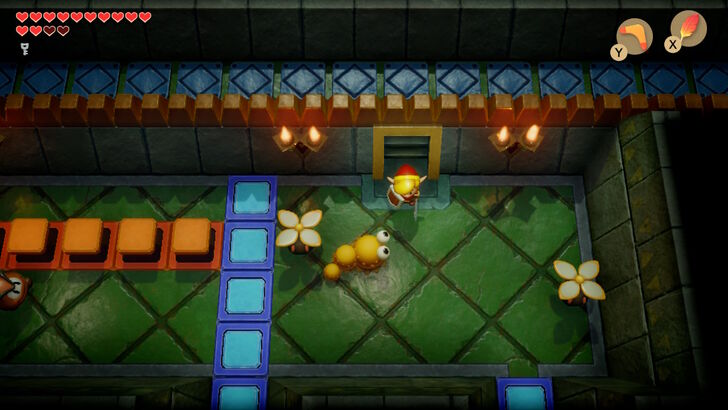
After going down the stairs you will encounter two Peahats and a Mini-Moldorm. Go left (above the raised orange tiles), and defeat the Kirby in your way with bombs or your Boomerang. Go down two screens until you reach the chest where you obtained the Stone Beak. Go up the stairs here, and go through the revolving door once you reach the next room.
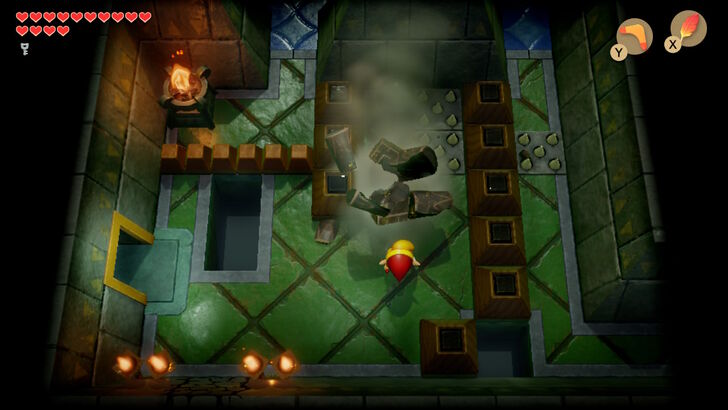
The next room is filled with Flying Tiles, so go to the corner and shield them until they run out. Carefully make your way to the room on the right, careful not to fall. Now you will be back to the ball and pillar, so once again throw the ball at the pillar. Push the bottom block of this room into the hole, toss the ball to the other side, then hop over, pick up the ball again, and continue to the right. Move the block here, and go south two rooms until you reach the color switch. Toss the ball over to the other side of the room.
Small Key #3
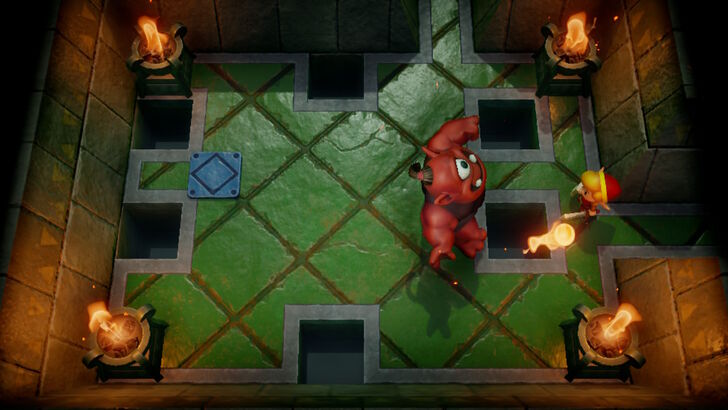
Now head back to the last room with a pillar that you broke. Go up a room to where you fought the Three-of-a-Kind (you can skip them this time), and head down the stairs. Return to the stairs from before by going left, then down two screens. After going up these stairs again, go down one screen to encounter the Red Hinox.
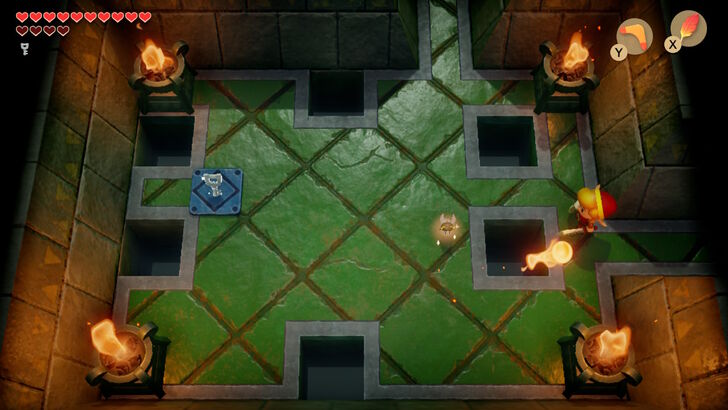
Much lke before, the Hinox will dash at you and try to grab you, or throw bombs at you. He can be difficult in this small space because of all the holes and projectiles being fired at you. The best thing to do is stand on the other side of a hole from him, and use a combination of bombs and boomerang to hit him until he is defeated. He will leave behind a fairy, and Small Key #3 will appear, so pick these both up.
Secret Seashell #48
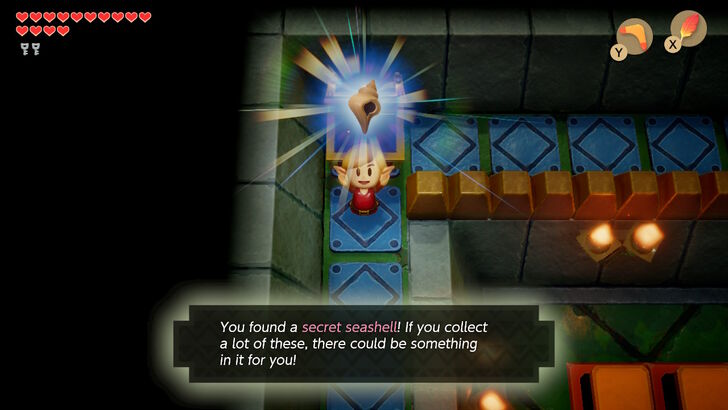
Fall through one of the holes left of where the small key just dropped down from. Dash north and go up two screens, until you reach a treasure chest. Open it up to receive Secret Seashell #48. Then drop down the ledge and head back to the room where you fought the Red Hinox.
The Last Pillar
 |
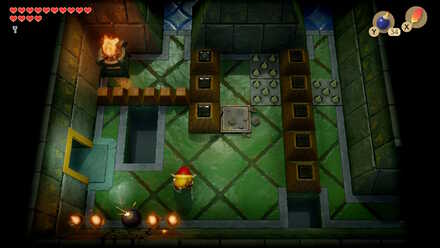 |
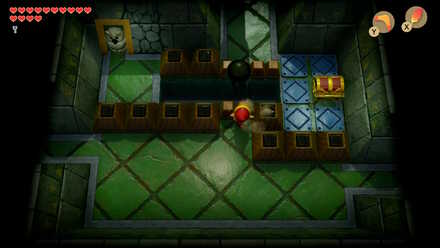
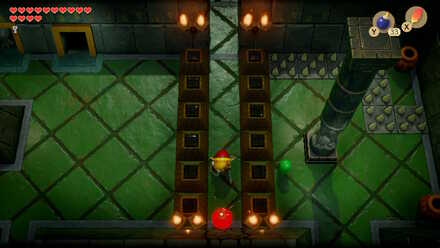
From the room where you defeated the Hinox, head right. In this next room, you will encounter another Three-of-a-Kind. Defeat them to make a treasure chest appear. However, you will not be able to open it yet. Go into the next room and pick up the ball, then go back to the previous room and go to the ledge, then throw it across to the other side. Go back two rooms and through the revolving door, and then go right. Bomb the cracked wall on the south part of the room and go through the hole.
 |
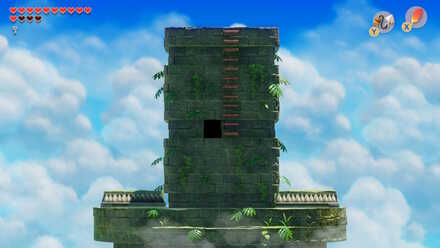 |
Continue along the path and bomb the next cracked wall to enter where we previously threw the ball. Hookshot to the chest and open it up to receive some bombs, pick up the ball and head up a screen to find the last pillar. Throw the ball at the final pillar. This will trigger a cutscene showing the a floor of the tower collapsing, turning this four-story tower into a three-story one. Now you can warp back to the entrance, or go down a screen and fall into the hole.
Mini-Boss: Grim Creeper
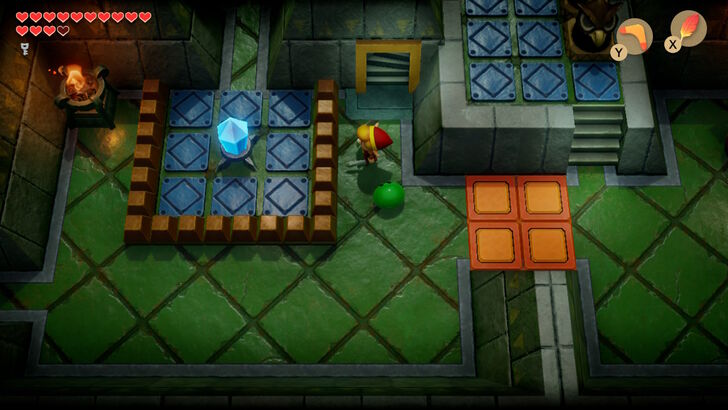
From the dungeon entrance, have a look at your map and locate the stairs on the right side of the first floor. Head two rooms right, and then one up to reach them. Emerge from the stairs and go down one room until you reach the locked block. Unlock it, then walk up the stairs. Hop down the ledge on the left side and hit the switch to turn it blue, then go up the stairs here. After reaching the 3rd floor, go north one screen, then right to find the Grim Creeper.
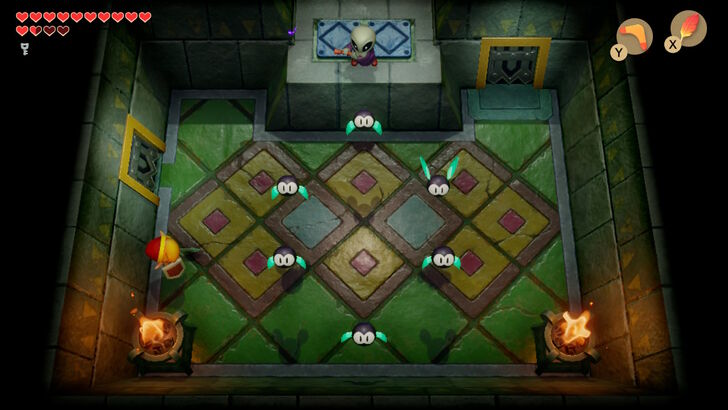
Grim Creeper will sit on a ledge to play his flute and summon six big Keese, which will proceed to fly at you. You need to hit all 6 hit your sword before they have a chance to fly away, or else he will summon six more. The easiest way to do this is to stand by a wall facing the center and spam the B button so that the Keese fly into your sword. You only need to do this one time to defeat him. He will leave behind a warp point to the beginning of the dungeon, and the doors will open up.
Nightmare Key
 |
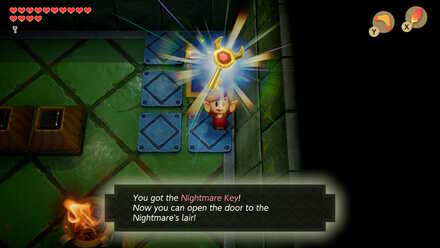 |
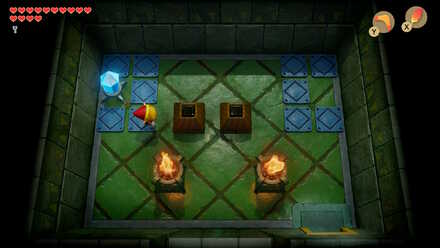
Go through the top right door that opens after defeating Grim Creeper. There are three Sparks here, so take them out with your Boomerang if you have it to clear up some space. Then move the two blocks into the center of the room to reveal a treasure chest. Open it up and get the Nightmare Key.
Getting to the Nightmare Lair
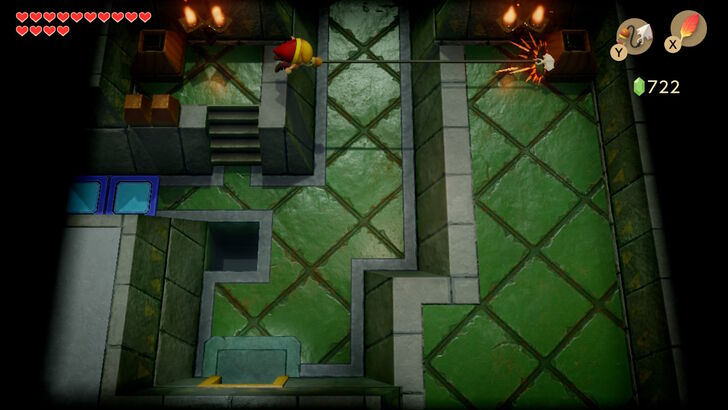
From where you got the Nightmare Key, go back to rooms. Go to the left side, taking out the Goombas in the way, until you reach the boss door. Use your Nightmare Key and go through. From here, you can go a few rooms forward and get the Secret Medicine if you do not have any. If not, walk up the stairs here and use your Hookshot to get to the block on the other side of the room. Go south, then head right and go up the stairs here. You will show up outside, so climb the stairs to the stop to meet with Grim Creeper once again.
(Optional) Secret Medicine
 |
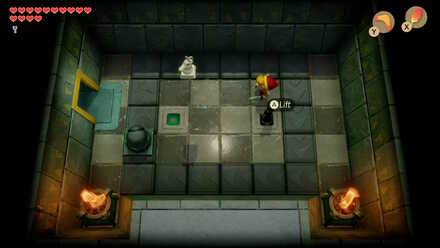 |
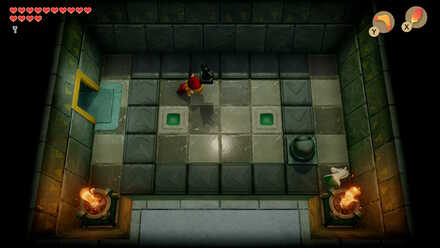
After opening the door to the Nightmare Lair, go north. From the northern room, go right to find a room with a conveyor belt, a Zol, and a Beamos. Reflect the Beamos' laser and defeat the Zol. Then throw the chess pieces into the green spaces here. Stand one space above or below a green space and throw the pieces straight ahead toward the opposite tiles to get them in perfectly. Doing so will reveal a chest with some Secret Medicine.
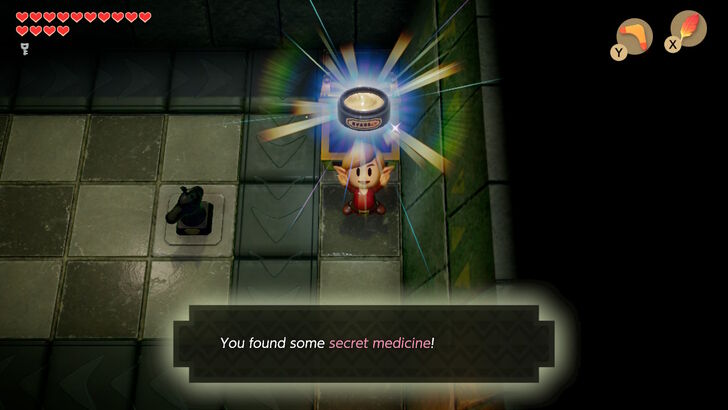
Now you are ready to take on the Nightmare, so go back two rooms, go up the stairs, hookshot over, and proceed forward.
Eagle's Tower Nightmare: Evil Eagle
 |
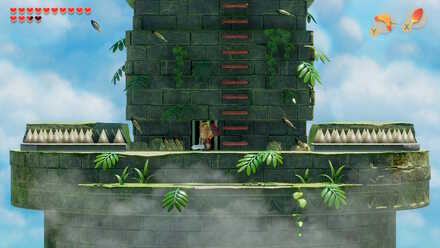 |
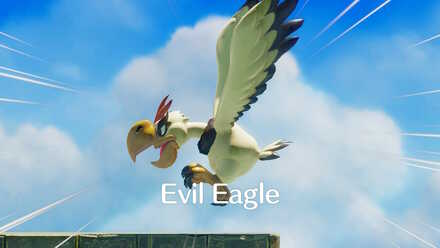
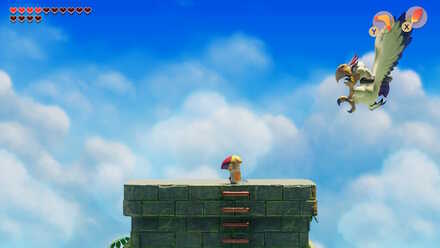
The Evil Eagle is one of the least linear battles so far. The first thing to remember is to always remain on top of the tower. If you are below due to falling or getting knocked off, or climbing the ladder, the Evil Eagle will use its feather attack to send an onslaught of feathers your way, which will not end until you are back up. If this happens, take your time climbling up, being cautious not to get hit.
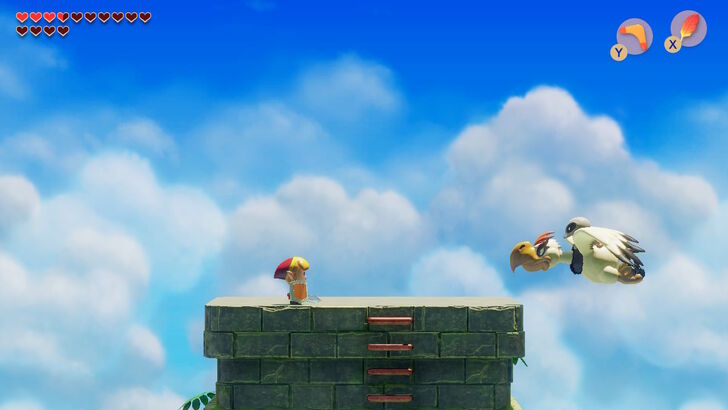
While actually on the tower, the Eagle has many attacks it will use. When it flies in a straight line across the screen to run into you, it is very easy to hit it with your sword or Boomerang, so this will be the best time to attack it. Be sure not to get hit though, as it will deal a lot of damage.
 |
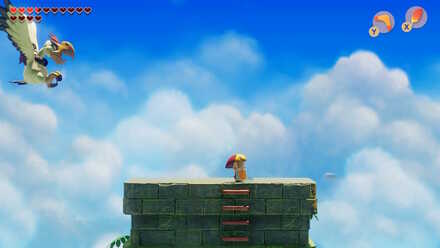 |
When the Eagle goes to one of the top corners and stops, it is going to do one of two attacks. One of these is an attack where it shoots heavy wind and feathers in your direction. When this attack occurs, hold the left stick to run forward so you do not fall off, and repeatedly jump with Roc's Feather to dodge its feathers. The other attack is one where it pauses in the corner before swooping in toward the center of the tower to attack you. This is another good time to hit it with your sword or boomerang.
 |
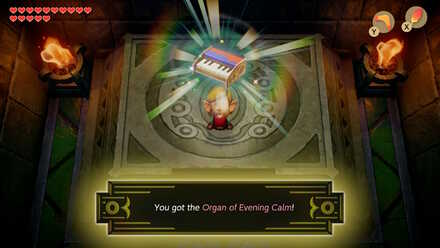 |
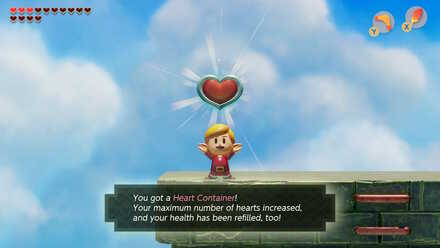
After dealing enough damage, the Grim Creeper and Evil Eagle will be defeated, dropping a Heart Container. Pick it up, then go down the ladder and through the stairs. Hop down the ledge to the right and go through the door that opens here. Pick up the Organ of Evening Calm to complete the dungeon.
Link's Awakening Related Guides

List of All Dungeons and Story Walkthrough
All Dungeon Walkthroughs
Author
The Legend of Zelda: Link's Awakening Walkthrough & Guides Wiki
Level 7 - Eagle's Tower Walkthrough
improvement survey
03/2026
improving Game8's site?

Your answers will help us to improve our website.
Note: Please be sure not to enter any kind of personal information into your response.

We hope you continue to make use of Game8.
Rankings
- We could not find the message board you were looking for.
Gaming News
Popular Games

Genshin Impact Walkthrough & Guides Wiki

Honkai: Star Rail Walkthrough & Guides Wiki

Umamusume: Pretty Derby Walkthrough & Guides Wiki

Pokemon Pokopia Walkthrough & Guides Wiki

Resident Evil Requiem (RE9) Walkthrough & Guides Wiki

Monster Hunter Wilds Walkthrough & Guides Wiki

Wuthering Waves Walkthrough & Guides Wiki

Arknights: Endfield Walkthrough & Guides Wiki

Pokemon FireRed and LeafGreen (FRLG) Walkthrough & Guides Wiki

Pokemon TCG Pocket (PTCGP) Strategies & Guides Wiki
Recommended Games

Diablo 4: Vessel of Hatred Walkthrough & Guides Wiki

Cyberpunk 2077: Ultimate Edition Walkthrough & Guides Wiki

Fire Emblem Heroes (FEH) Walkthrough & Guides Wiki

Yu-Gi-Oh! Master Duel Walkthrough & Guides Wiki

Super Smash Bros. Ultimate Walkthrough & Guides Wiki

Pokemon Brilliant Diamond and Shining Pearl (BDSP) Walkthrough & Guides Wiki

Elden Ring Shadow of the Erdtree Walkthrough & Guides Wiki

Monster Hunter World Walkthrough & Guides Wiki

The Legend of Zelda: Tears of the Kingdom Walkthrough & Guides Wiki

Persona 3 Reload Walkthrough & Guides Wiki
All rights reserved
© 1993-2019 Nintendo
The copyrights of videos of games used in our content and other intellectual property rights belong to the provider of the game.
The contents we provide on this site were created personally by members of the Game8 editorial department.
We refuse the right to reuse or repost content taken without our permission such as data or images to other sites.


![Monster Hunter Stories 3 Review [First Impressions] | Simply Rejuvenating](https://img.game8.co/4438641/2a31b7702bd70e78ec8efd24661dacda.jpeg/thumb)


